Why Resetting Your DJI Mavic Air 2 Can Be Helpful
Resetting your DJI Mavic Air 2 drone may not be the first thing that comes to mind when you encounter issues or want to optimize its performance. However, performing a reset can often be a helpful solution in various scenarios. Here are a few reasons why resetting your DJI Mavic Air 2 can be beneficial:
- Fixing Technical Glitches: Like any electronic device, the DJI Mavic Air 2 may experience technical glitches or software issues from time to time. Resetting the drone can help to resolve these problems, allowing you to get back to capturing those stunning aerial shots.
- Improving Performance: Over time, your DJI Mavic Air 2 may slow down or become less responsive due to the accumulation of temporary files or settings changes. Performing a reset will clear out these unnecessary files and reset the drone’s settings, potentially improving its overall performance and responsiveness.
- Restoring Default Settings: If you’ve made numerous adjustments to your DJI Mavic Air 2’s settings and prefer to start fresh, a reset can restore the drone to its default factory settings. This is especially useful if you’ve made changes that have had unintended consequences or if you simply want a clean slate to work with.
- Resolving Connection Issues: If you’re experiencing connectivity problems between your controller and drone, a reset can help to establish a stable connection. Resetting both the drone and the controller can often resolve communication issues and ensure a smooth flying experience.
Resetting your DJI Mavic Air 2 should be approached with caution, as it will erase all saved settings and data on the drone. Therefore, it’s important to back up any important flight logs or media files before proceeding with a reset.
By understanding the benefits of resetting your DJI Mavic Air 2, you can confidently utilize this troubleshooting method to overcome technical issues and optimize your drone’s performance.
Before You Begin: Important Precautions
Before proceeding with resetting your DJI Mavic Air 2, it’s essential to take certain precautions to ensure a safe and successful reset process. Here are some important steps and considerations to keep in mind:
- Read the User Manual: Familiarize yourself with the user manual provided by DJI for the Mavic Air 2. This will give you a better understanding of the reset process, as well as any specific instructions or warnings to be aware of.
- Backup Important Data: Prior to resetting the drone, make sure to back up any important files or data that you want to preserve. This includes flight logs, photos, videos, and customized settings. Copy them to a separate storage device or cloud storage to prevent any loss.
- Ensure Sufficient Battery Level: It’s crucial to have an adequate battery level in both the drone and the controller before initiating a reset. Low battery levels can interfere with the reset process or cause unexpected shutdowns. Ensure that both devices have a battery level of at least 50% or follow the manufacturer’s recommendations.
- Perform a Controller Firmware Update: Check if there are any available firmware updates for your DJI Mavic Air 2 controller. Updating the firmware can potentially address software-related issues and provide an overall smoother experience during the reset process.
- Choose a Stable Environment: Find a clear and stable outdoor or indoor area to conduct the reset. Keep in mind that the drone might move or make noise during the process, so make sure there is enough space and avoid any obstacles or hazards nearby.
- Follow the Reset Instructions Properly: Carefully follow the reset instructions provided by DJI to ensure a successful reset. Skipping steps or performing the process incorrectly can lead to unexpected consequences or further issues. Take your time and double-check each step before proceeding.
By following these precautions, you can minimize the risk of encountering any problems during the reset process and ensure a smooth and successful reset of your DJI Mavic Air 2.
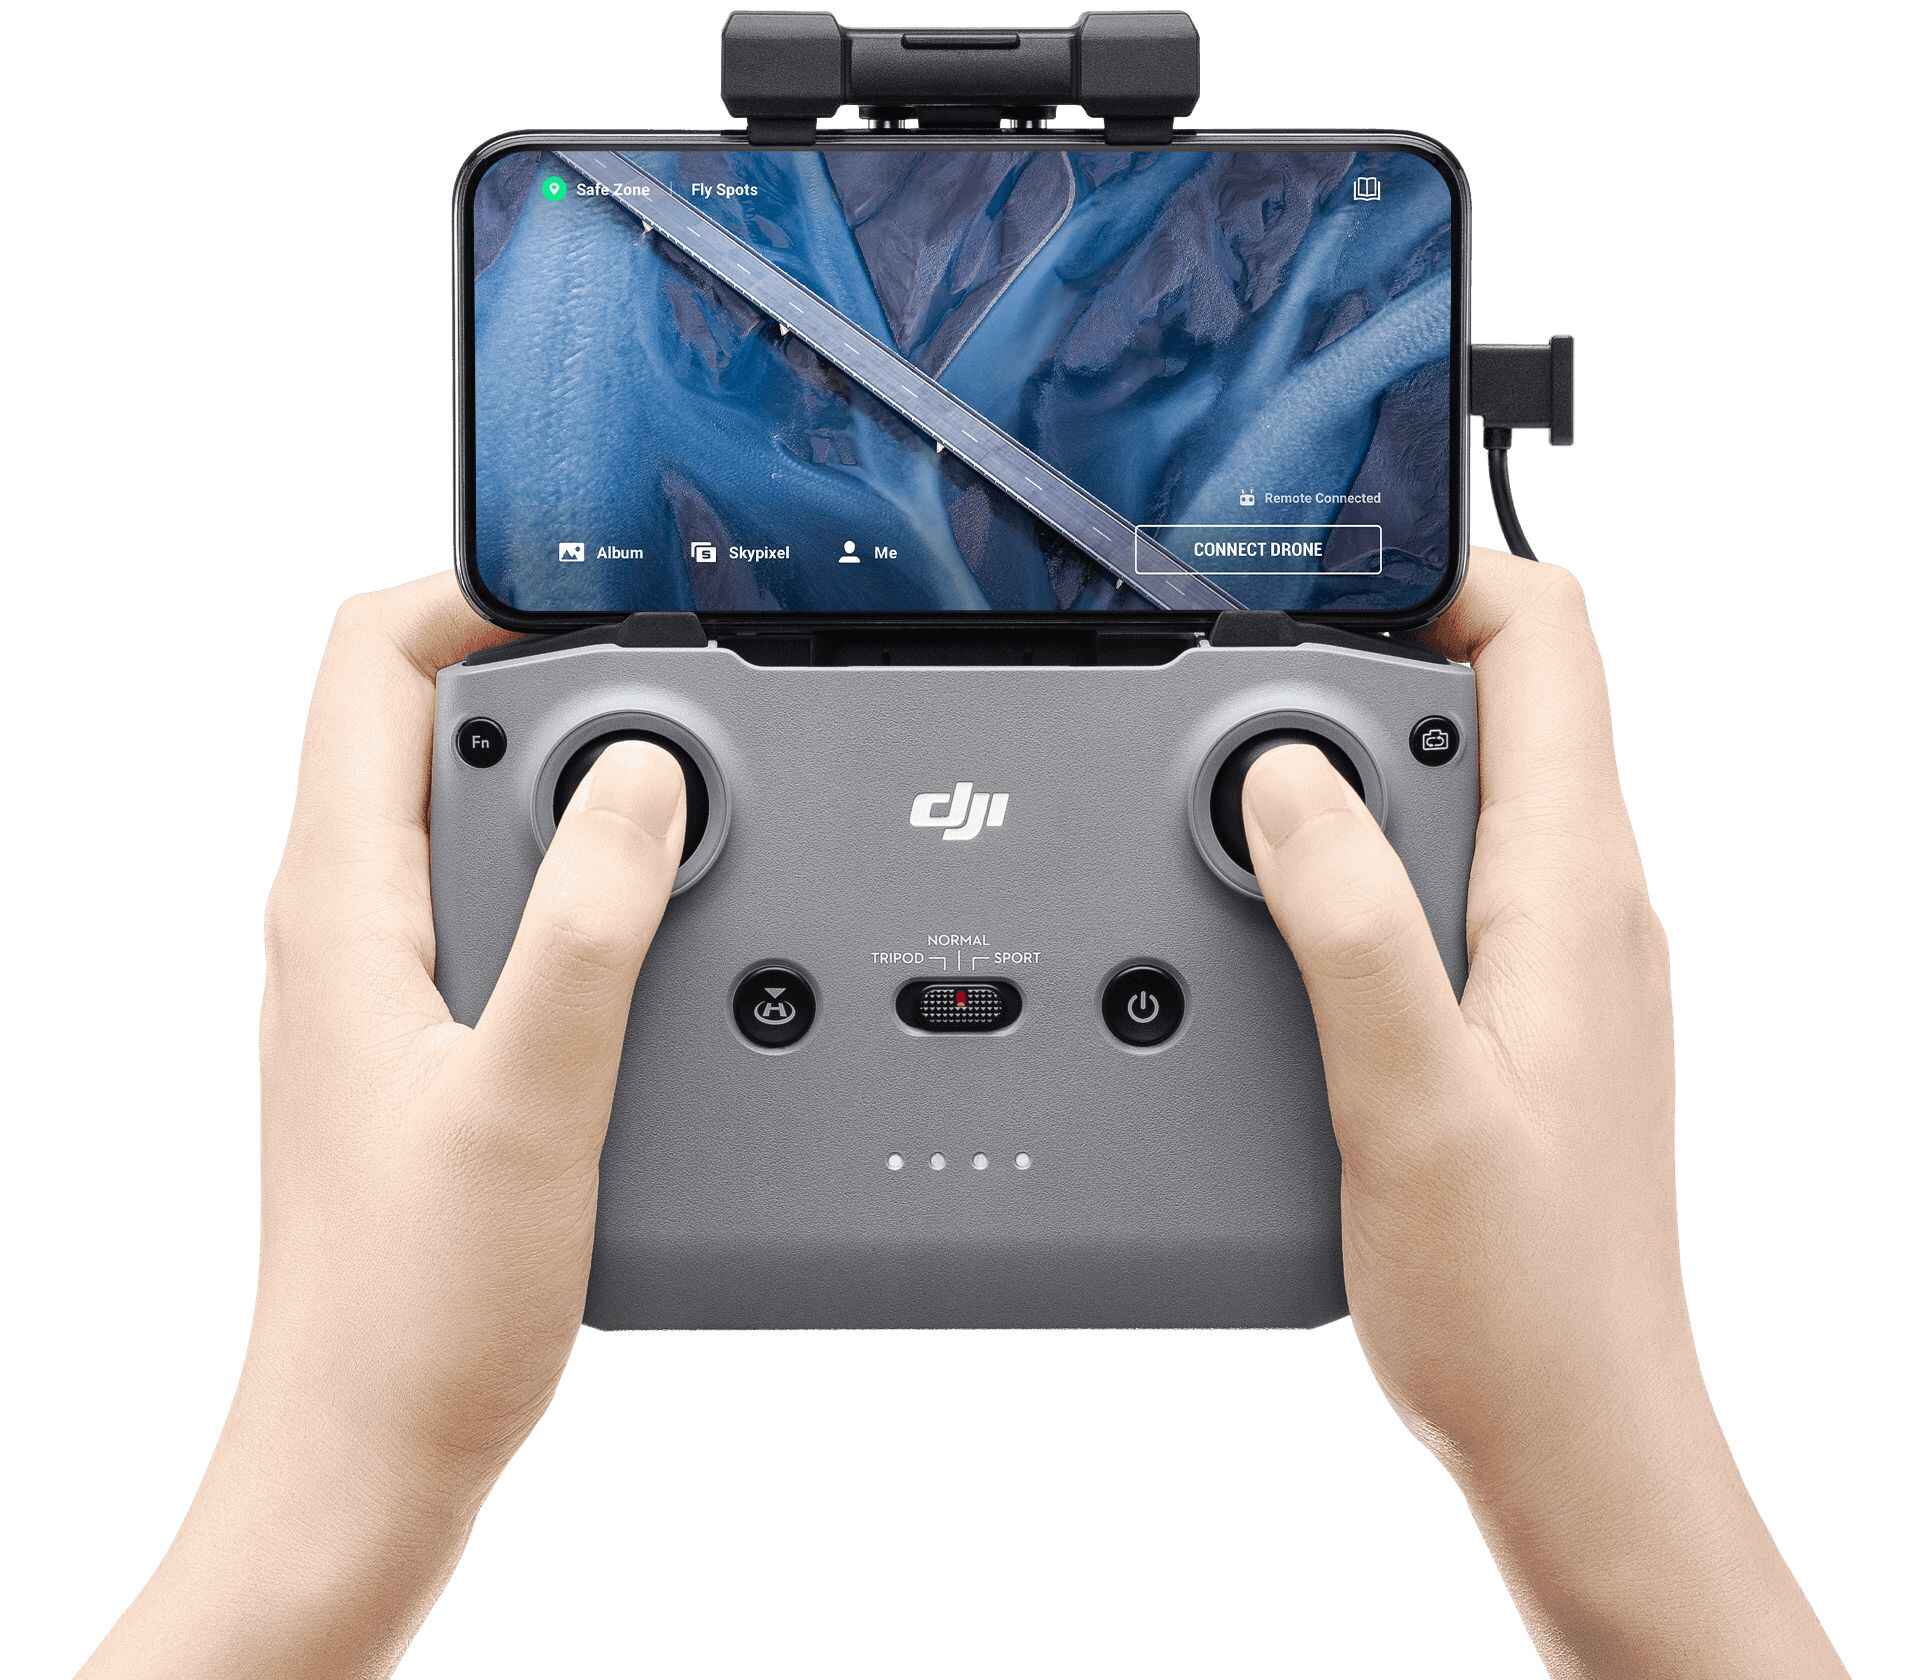
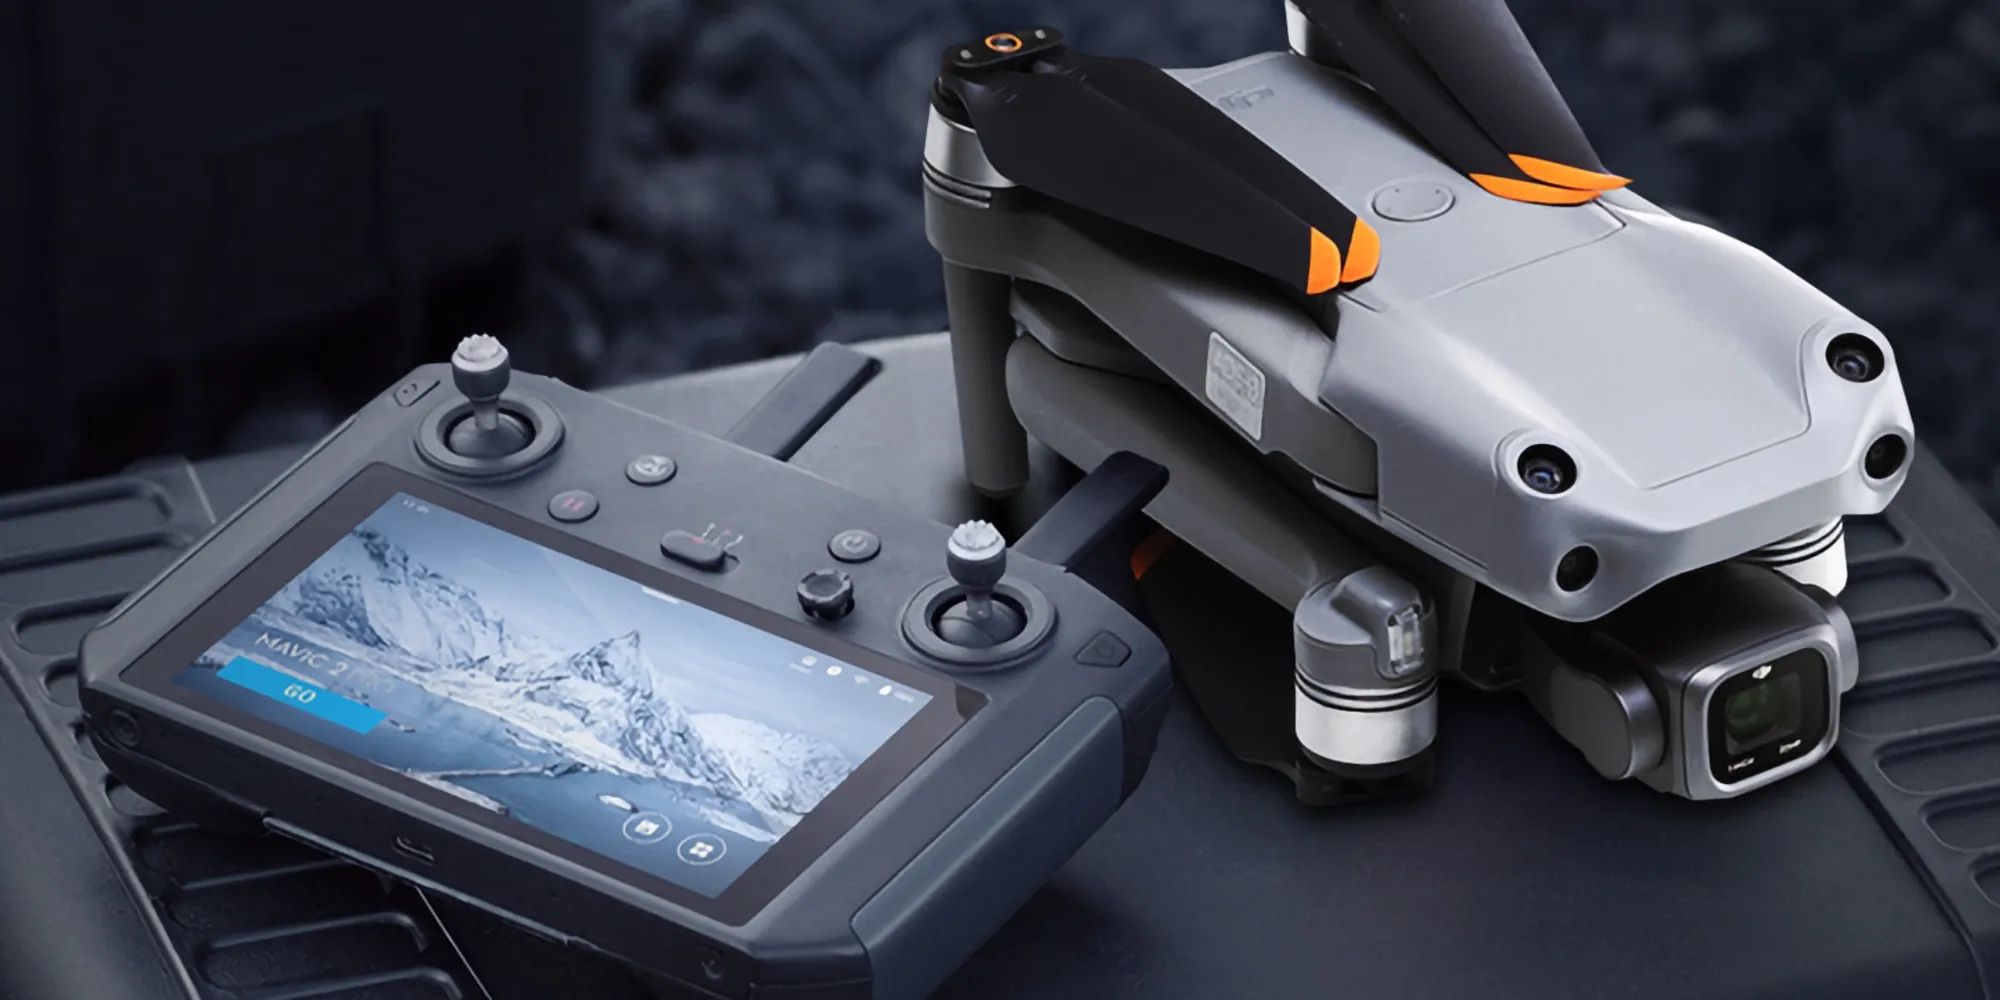
Resetting the DJI Mavic Air 2 Controller
If you’re experiencing connectivity issues or unresponsive controls with your DJI Mavic Air 2, resetting the controller might help resolve the problem. Here’s a step-by-step guide on how to reset the controller:
- Power off the controller: Press and hold the power button on the controller until it shuts down completely. This ensures that the controller is completely powered off before proceeding with the reset.
- Locate the reset button: Look for a small reset button on the side or back of the controller. It is usually a small pinhole that requires a paperclip or a similar tool to access.
- Press the reset button: Carefully insert the paperclip into the reset button’s pinhole and gently press and hold it for about five seconds. This will initiate the reset process for the controller.
- Release the reset button: After holding the reset button for the specified time, release it and wait for the controller to restart. This may take a few seconds, and you may notice the controller’s lights blinking during this process.
- Reconnect the controller: Once the controller has restarted, you can reestablish the connection with your DJI Mavic Air 2 drone by following the connection instructions provided by DJI. This will ensure that the controller and drone are properly paired and ready for flight.
Resetting the controller can help resolve connectivity issues and restore proper functionality. However, it’s important to note that resetting the controller will not affect any drone settings or data. If you’re experiencing issues with the drone itself, you may need to perform a separate reset on the DJI Mavic Air 2 drone.
By following these steps, you can effectively reset the controller and potentially resolve any connectivity or control-related problems you may be encountering with your DJI Mavic Air 2.
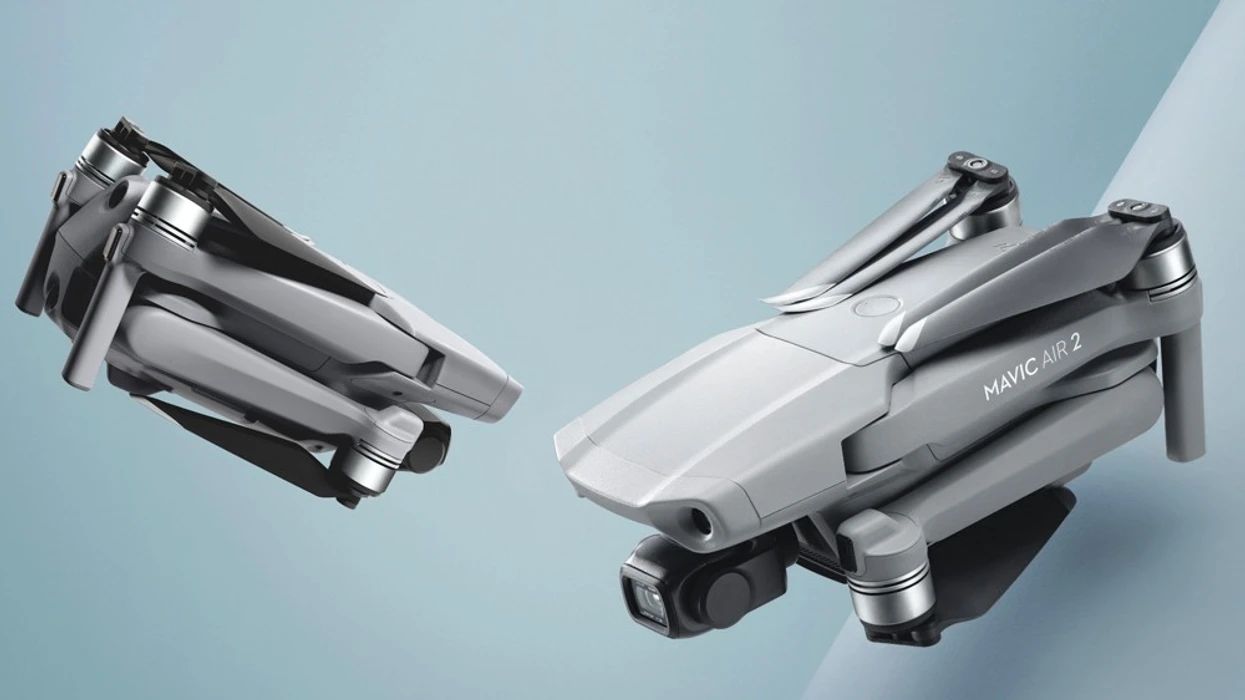
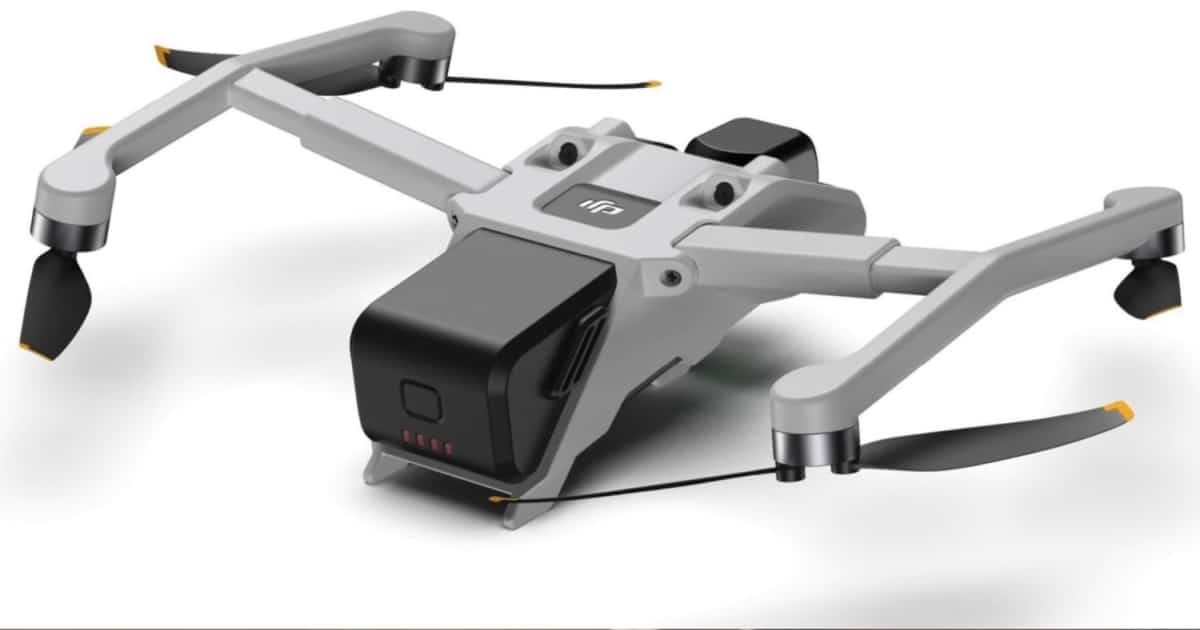
Performing a Soft Reset on Your DJI Mavic Air 2 Drone
If you’re experiencing performance issues or encountering unexpected behavior with your DJI Mavic Air 2 drone, performing a soft reset can often help resolve these problems. Here’s a step-by-step guide on how to perform a soft reset:
- Landing the drone: Safely land the DJI Mavic Air 2 on a flat and stable surface. This will ensure that the drone is in a safe position and ready for the reset process.
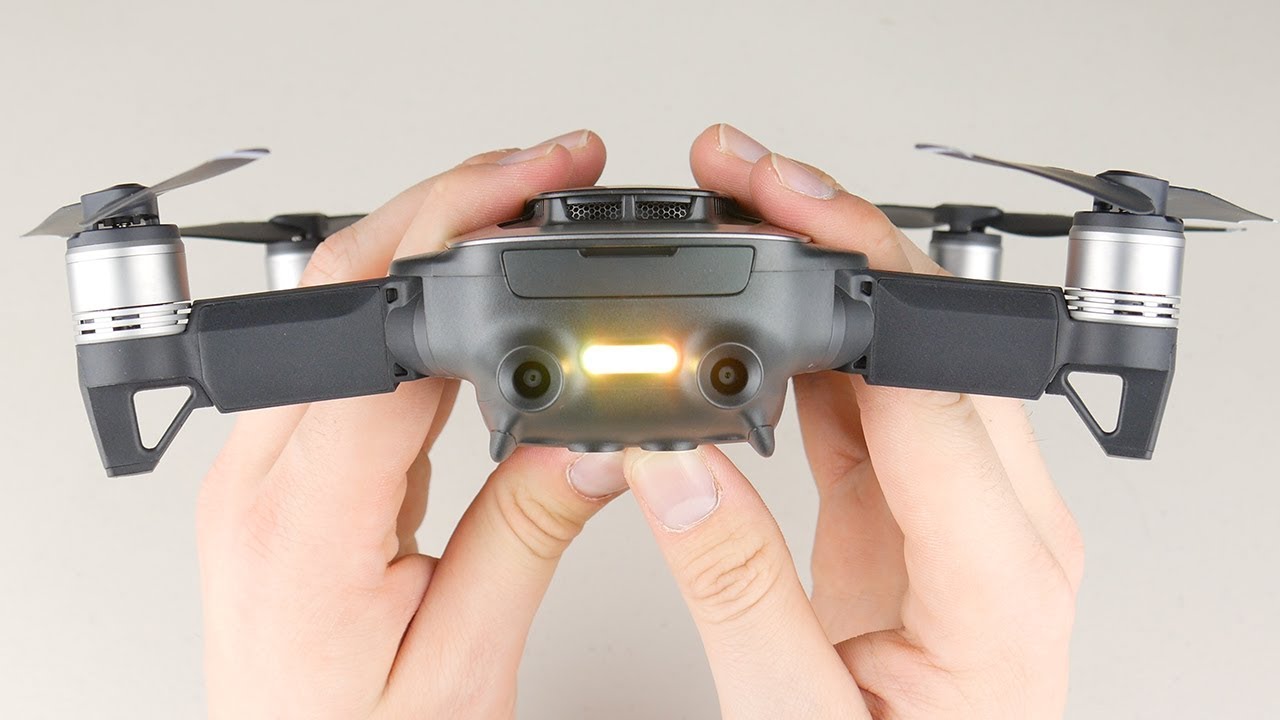
- Power off the drone: Press and hold the drone’s power button until the LED lights turn off. This indicates that the drone has powered off completely.
- Remove the battery: Carefully remove the drone’s battery by sliding the release tabs located on each side of the battery compartment. Gently pull the battery out, ensuring not to apply excessive force or damage any components.
- Wait for a few seconds: Allow the drone to remain without power for approximately 10 to 15 seconds. This will ensure that any residual power is drained and the drone’s internal circuits are reset.
- Reinsert the battery: After waiting for the designated time, reinsert the battery back into the drone’s battery compartment. Ensure that the battery is properly aligned and securely inserted.
- Power on the drone: Press and hold the power button again until the drone’s LED lights turn on. This signifies that the drone has powered on and is ready to reconnect.
- Reconnect the drone: Follow the instructions provided by DJI to reconnect your DJI Mavic Air 2 drone with the controller and any other devices or accessories you use during flight. This will reestablish the connection and ensure proper functionality.
Performing a soft reset on your DJI Mavic Air 2 drone can help resolve performance issues and reset any temporary settings that may have been causing the problem. However, it’s important to note that a soft reset will not erase any captured media or customized settings on the drone.
By following these steps, you can perform a soft reset on your DJI Mavic Air 2 and potentially resolve any performance-related issues you may be experiencing.
Factory Resetting Your DJI Mavic Air 2: Step-by-Step Guide
If you’re looking to start fresh with your DJI Mavic Air 2 or troubleshooting more complex issues, performing a factory reset is an option worth considering. Here’s a step-by-step guide on how to factory reset your DJI Mavic Air 2:
- Landing the drone: Find a safe and stable spot to land your DJI Mavic Air 2 drone. Ensure that the drone is powered on and in a ready-to-fly state.
- Access the menu: Open the DJI Fly app on your connected smartphone or tablet and navigate to the main menu.
- Select the drone icon: Within the main menu, locate and select the drone icon that represents your DJI Mavic Air 2.
- Access the settings: Once you’re in the drone’s specific menu, look for the settings icon. It is usually represented by a gear or cogwheel symbol.
- Navigate to the advanced settings: Within the settings menu, scroll down or navigate to find the “Advanced Settings” option. Tap on it to access the advanced settings menu.
- Locate the factory reset option: In the advanced settings menu, search for the “Factory Reset” option. This is the setting that will initiate the factory reset process for your DJI Mavic Air 2.
- Confirm the factory reset: Once you’ve found the factory reset option, tap on it to confirm your decision. A prompt may appear asking for your confirmation to proceed with the reset.
- Wait for the reset to complete: After confirming the factory reset, the DJI Mavic Air 2 will start the reset process. This may take a few minutes, and you may see the drone’s lights flashing or hear audible cues during the process.
- Reconfigure the drone: After the factory reset is complete, you will need to follow the initial setup instructions provided by DJI. This includes calibrating the compass, updating firmware if necessary, and configuring any specific settings or preferences.
Performing a factory reset on your DJI Mavic Air 2 drone will erase all customized settings and data, returning the drone to its original factory state. It’s important to note that a factory reset will also delete any captured media or flight logs stored on the drone.
By following these steps, you can successfully perform a factory reset on your DJI Mavic Air 2 and reset it to its original factory settings. Remember to back up any important data before proceeding with the reset.
What to Do After Resetting Your DJI Mavic Air 2
After successfully resetting your DJI Mavic Air 2 drone, there are a few important steps to take to ensure a smooth transition and optimal performance. Here’s what you should do after resetting your DJI Mavic Air 2:
- Perform Firmware Updates: Check for any available firmware updates for both the drone and the controller. Keeping your DJI Mavic Air 2 firmware up to date can enhance its performance, add new features, and address any known issues.
- Calibrate the Compass: It’s crucial to calibrate the compass of your DJI Mavic Air 2 after a reset. This will ensure accurate flight performance and prevent any unwanted drift or positioning inaccuracies. Follow the manufacturer’s instructions for compass calibration.
- Configure Settings: Take the time to set up your DJI Mavic Air 2 according to your preferences. This includes adjusting flight modes, camera settings, and any other personalized configurations that enhance your flying and shooting experience.
- Rebind and Test the Controller: Reconnect and test the controller’s functionality with your DJI Mavic Air 2. Ensure that all controls are working correctly and that the connection is stable before taking the drone for a flight.
- Perform a Test Flight: Before engaging in any critical or professional flights, it’s advisable to perform a test flight to ensure that everything is functioning as expected. Pay attention to the drone’s responsiveness, stability, and camera performance during the flight.
- Monitor for any Issues: After the reset, closely monitor your DJI Mavic Air 2 for any recurring issues or irregularities. If you notice any unexpected behavior, malfunctions, or performance problems, consult the user manual or reach out to DJI customer support for assistance.
- Keep Updated on Maintenance: Regularly check for maintenance recommendations from DJI for your DJI Mavic Air 2. This can include cleaning the drone, inspecting propellers, and keeping an eye on battery health. Following proper maintenance guidelines will help prolong the lifespan of your drone.
By following these steps, you can ensure that your DJI Mavic Air 2 is properly configured and ready for safe and enjoyable flights after the reset. Remember to periodically check for updates, maintain the drone, and address any issues promptly to optimize your DJI Mavic Air 2’s performance.
Troubleshooting Tips if Resetting Does Not Solve Issues
If resetting your DJI Mavic Air 2 drone did not resolve the issues you were experiencing, there are additional troubleshooting steps you can take. Here are some tips to help you identify and address persistent problems:
- Check for Updates: Ensure that both your DJI Mavic Air 2 drone and the controller have the latest firmware installed. Keeping the devices updated can often resolve compatibility issues and provide bug fixes.
- Inspect the Drone: Examine the physical condition of your DJI Mavic Air 2. Look for any visible damage, loose connectors, or obstructions that may be affecting its performance. If you notice any issues, contact DJI support for further assistance.
- Review User Manual and Forums: Consult the user manual and online forums dedicated to the DJI Mavic Air 2. They can provide valuable insights, troubleshooting tips, and solutions shared by other users who may have encountered similar issues.
- Contact DJI Support: If you are unable to resolve the problem on your own, reach out to DJI customer support. They have dedicated teams that can provide technical assistance and guide you through the troubleshooting process.
- Consider Professional Repair: If the issue persists despite your best efforts, it may be necessary to send your DJI Mavic Air 2 for professional repair. DJI offers repair services, and their technicians can diagnose and fix more complex issues.
- Document the Issue: If you need to contact DJI support or seek professional repair, document the issue by capturing photos or videos that clearly demonstrate the problem. This will help the technicians identify the issue and provide appropriate solutions.
- Exercise Caution: When troubleshooting further or attempting repairs, exercise caution and follow any safety guidelines provided by DJI. Avoid unauthorized modifications or repairs that may void your warranty or compromise the safety of the drone.
Remember, troubleshooting complex issues may require expert assistance. By following these tips and seeking the appropriate support, you can increase the chances of resolving persistent problems with your DJI Mavic Air 2 drone.
Conclusion
Resetting your DJI Mavic Air 2 drone can be a useful troubleshooting technique to address various issues and optimize its performance. Whether you’re experiencing technical glitches, connection problems, or simply want to start fresh, performing a reset can often provide a solution.
Before resetting your DJI Mavic Air 2, it’s important to take precautions such as backing up important data, ensuring sufficient battery levels, and following the manufacturer’s instructions. Additionally, familiarize yourself with the user manual and explore online resources for additional guidance.
You can perform a soft reset on the drone itself or reset the controller separately. In more complex situations, a factory reset may be required. After resetting, be sure to update the firmware, configure settings, and conduct a test flight to ensure everything is working properly.
If resetting doesn’t solve the issues you’re facing, utilize troubleshooting tips, contact DJI support, or consider professional repair. Documenting the problem and exercising caution during the process are essential.
By following these guidelines, you can effectively reset your DJI Mavic Air 2 and address a range of issues, allowing you to enjoy optimal performance and capture breathtaking aerial footage with confidence.