Introduction
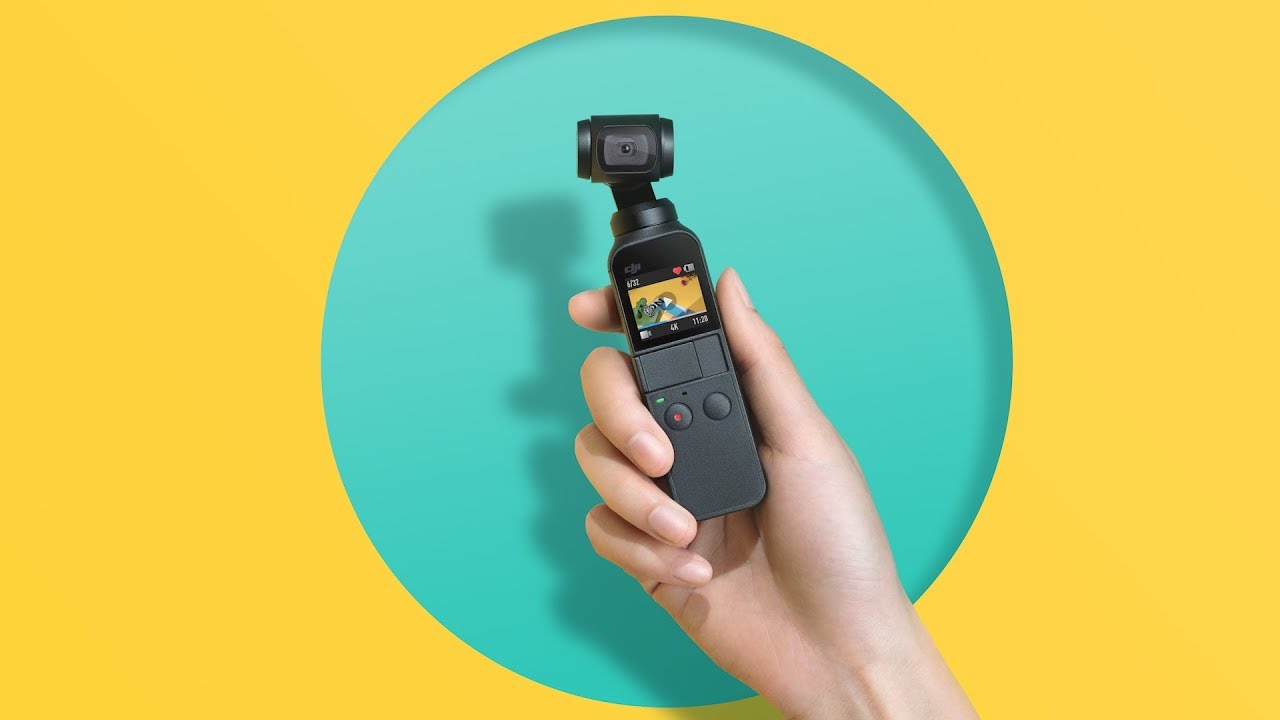
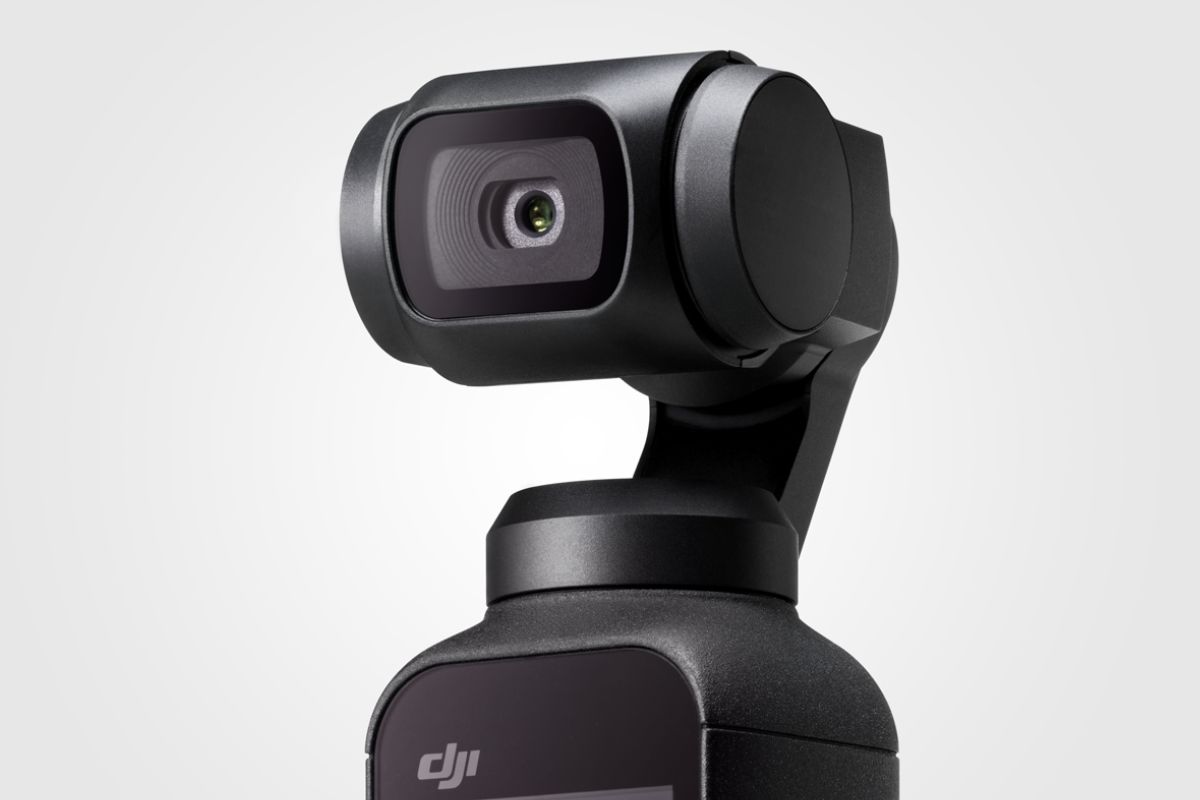
The DJI Pocket 2 is a powerful and compact handheld camera that allows you to capture stunning videos and photos with ease. Whether you’re a professional content creator or simply enjoy capturing memories, connecting your DJI Pocket 2 to your phone is a game-changer. By doing so, you can access the full range of features and functionalities offered by the DJI Mimo app, enhancing your creative possibilities.
In this guide, we will explore the step-by-step process of connecting your DJI Pocket 2 to your phone. Whether you’re using an iOS or Android device, the process is relatively straightforward. By establishing this connection, you can not only control your DJI Pocket 2 remotely but also preview, edit, and share your content on the go.
Before we dive into the steps, it’s important to note that the DJI Pocket 2 and DJI Mimo app may undergo updates from time to time. Therefore, it’s always a good idea to ensure that both your camera and app are running the latest versions to experience optimal performance and compatibility.
Now, let’s get started and learn how to connect your DJI Pocket 2 to your phone!
Step 1: Check for Compatibility
Before you begin the process of connecting your DJI Pocket 2 to your phone, it’s important to ensure that both devices are compatible with each other. The DJI Pocket 2 is designed to work seamlessly with a wide range of smartphones, but there are a few requirements that you need to keep in mind.
Firstly, make sure that your smartphone meets the minimum system requirements for the DJI Mimo app. It’s recommended to have a device running iOS 12.0 or later for iPhones and Android 6.0 or later for Android phones. Additionally, your phone should have a stable internet connection to download and install the app.
It’s also important to check if your DJI Pocket 2 is updated to the latest firmware version. DJI regularly releases firmware updates that introduce new features, improvements, and bug fixes. To check for updates, simply launch the DJI Mimo app and connect your DJI Pocket 2 to your phone via Wi-Fi or a USB connection.
If there’s a firmware update available, the app will prompt you to download and install it. It’s recommended to keep your DJI Pocket 2 up to date to ensure compatibility with the latest features and enhancements.
Lastly, ensure that your phone has sufficient storage space to accommodate the media files captured by the DJI Pocket 2. Video footage and high-resolution photos can occupy a significant amount of storage, so it’s advisable to have ample free space on your device or have a microSD card inserted in the DJI Pocket 2 to store the media.
By checking for compatibility before proceeding, you can avoid any potential issues and have a smooth experience connecting your DJI Pocket 2 to your phone.
Step 2: Install the DJI Mimo App
To connect your DJI Pocket 2 to your phone, you’ll need to install the DJI Mimo app. This app serves as the bridge between your camera and your phone, allowing you to access and control the various features and settings of the DJI Pocket 2.
The DJI Mimo app is available for both iOS and Android devices. Simply open the App Store (for iPhones) or the Google Play Store (for Android phones) and search for “DJI Mimo”. Once you find the app, tap on the “Install” or “Get” button to initiate the download and installation process.
Ensure that you have a stable internet connection to facilitate a quick and smooth installation. The app is relatively lightweight, but it’s always a good idea to have a strong Wi-Fi connection to avoid any potential interruptions during the download.
Once the DJI Mimo app is successfully installed on your phone, you’re one step closer to connecting your DJI Pocket 2!
It’s worth mentioning that the DJI Mimo app offers a wide range of features and functionalities beyond just connecting your camera. You can access features like ActiveTrack, story templates, and various shooting modes to enhance your filmmaking and photography experience. Take some time to explore the app and familiarize yourself with its capabilities to make the most out of your DJI Pocket 2.
In the next step, we’ll guide you through the process of turning on your DJI Pocket 2.
Step 3: Turn on the DJI Pocket 2
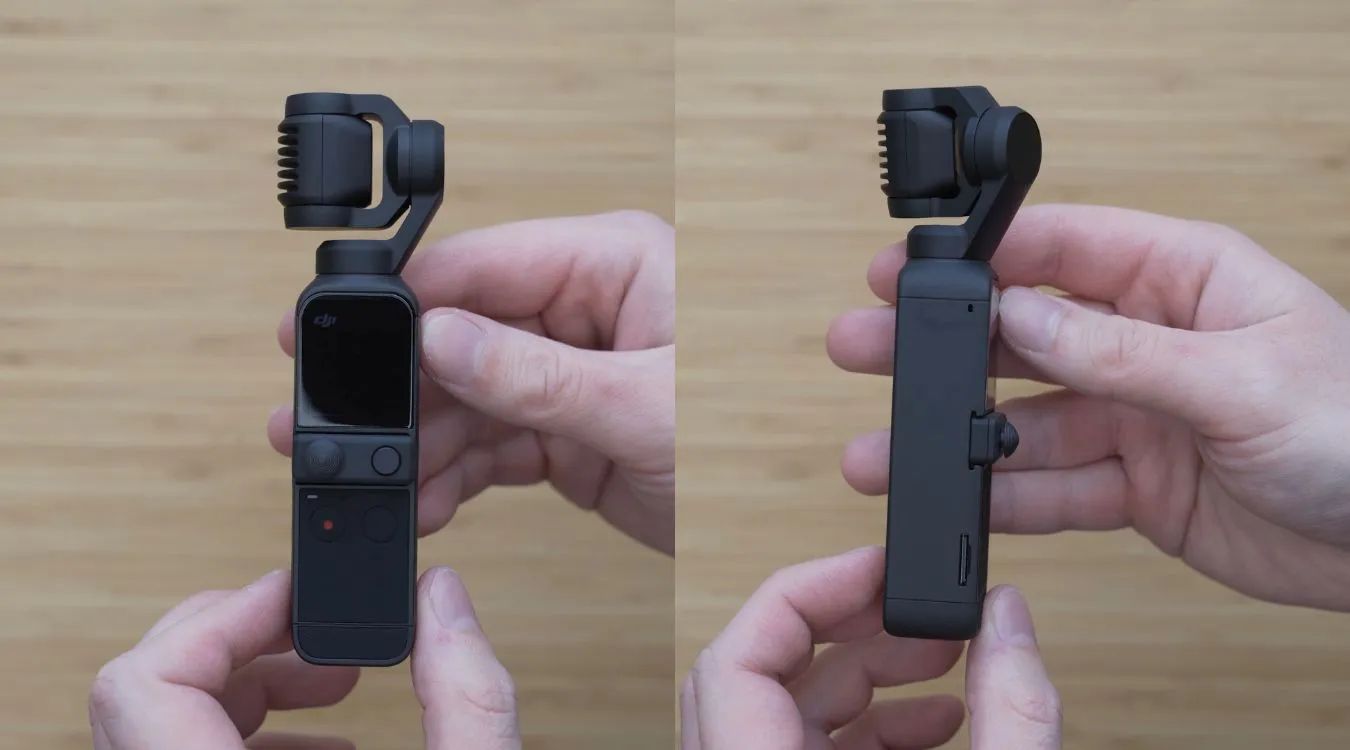
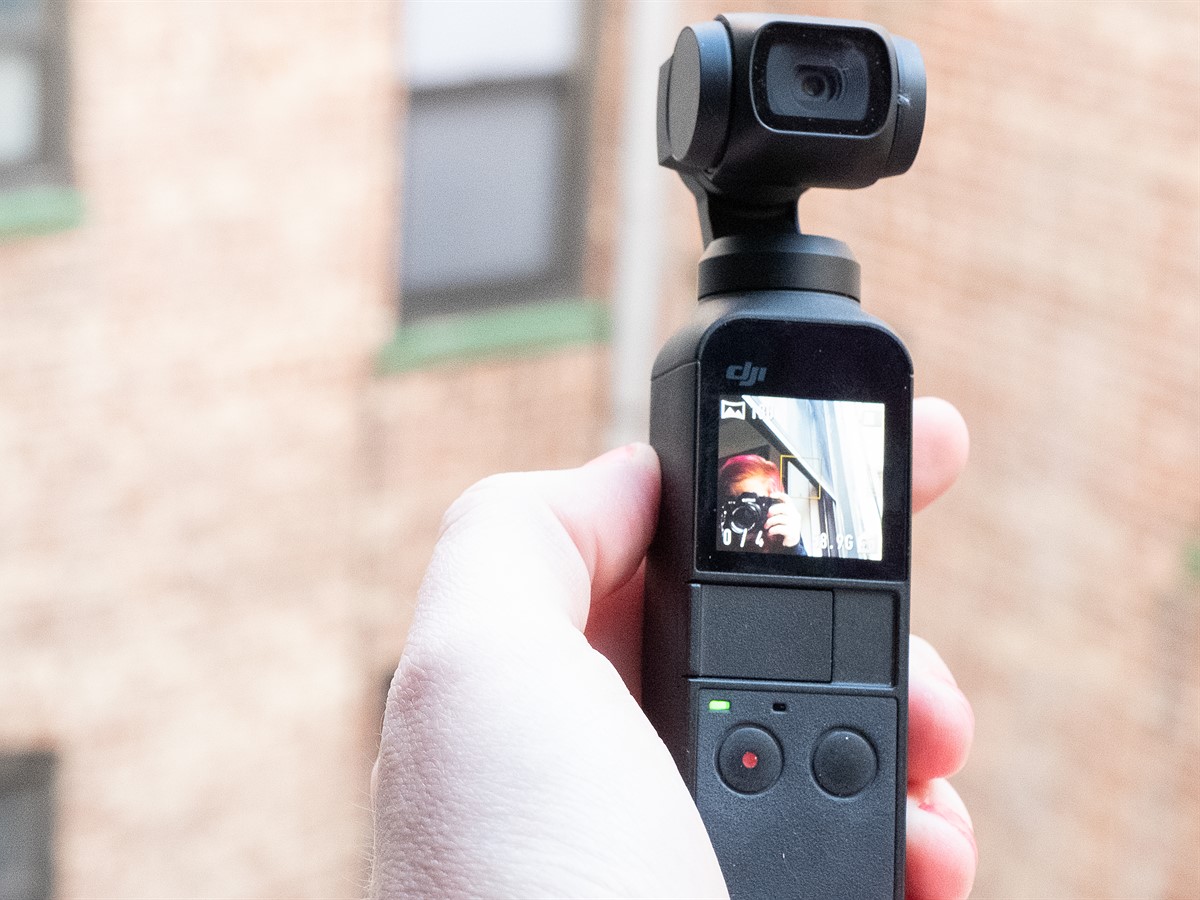
Now that you have installed the DJI Mimo app on your phone, it’s time to turn on your DJI Pocket 2. The power button can be found on the right side of the camera, near the top.
To turn on the DJI Pocket 2, press and hold the power button for a few seconds. You will see the camera’s OLED screen light up, indicating that it has powered on. The camera will go through a brief initialization process before it is ready to use.
While turning on the DJI Pocket 2, make sure that the camera is in a stable position. This will prevent any accidental drops or damage to the device.
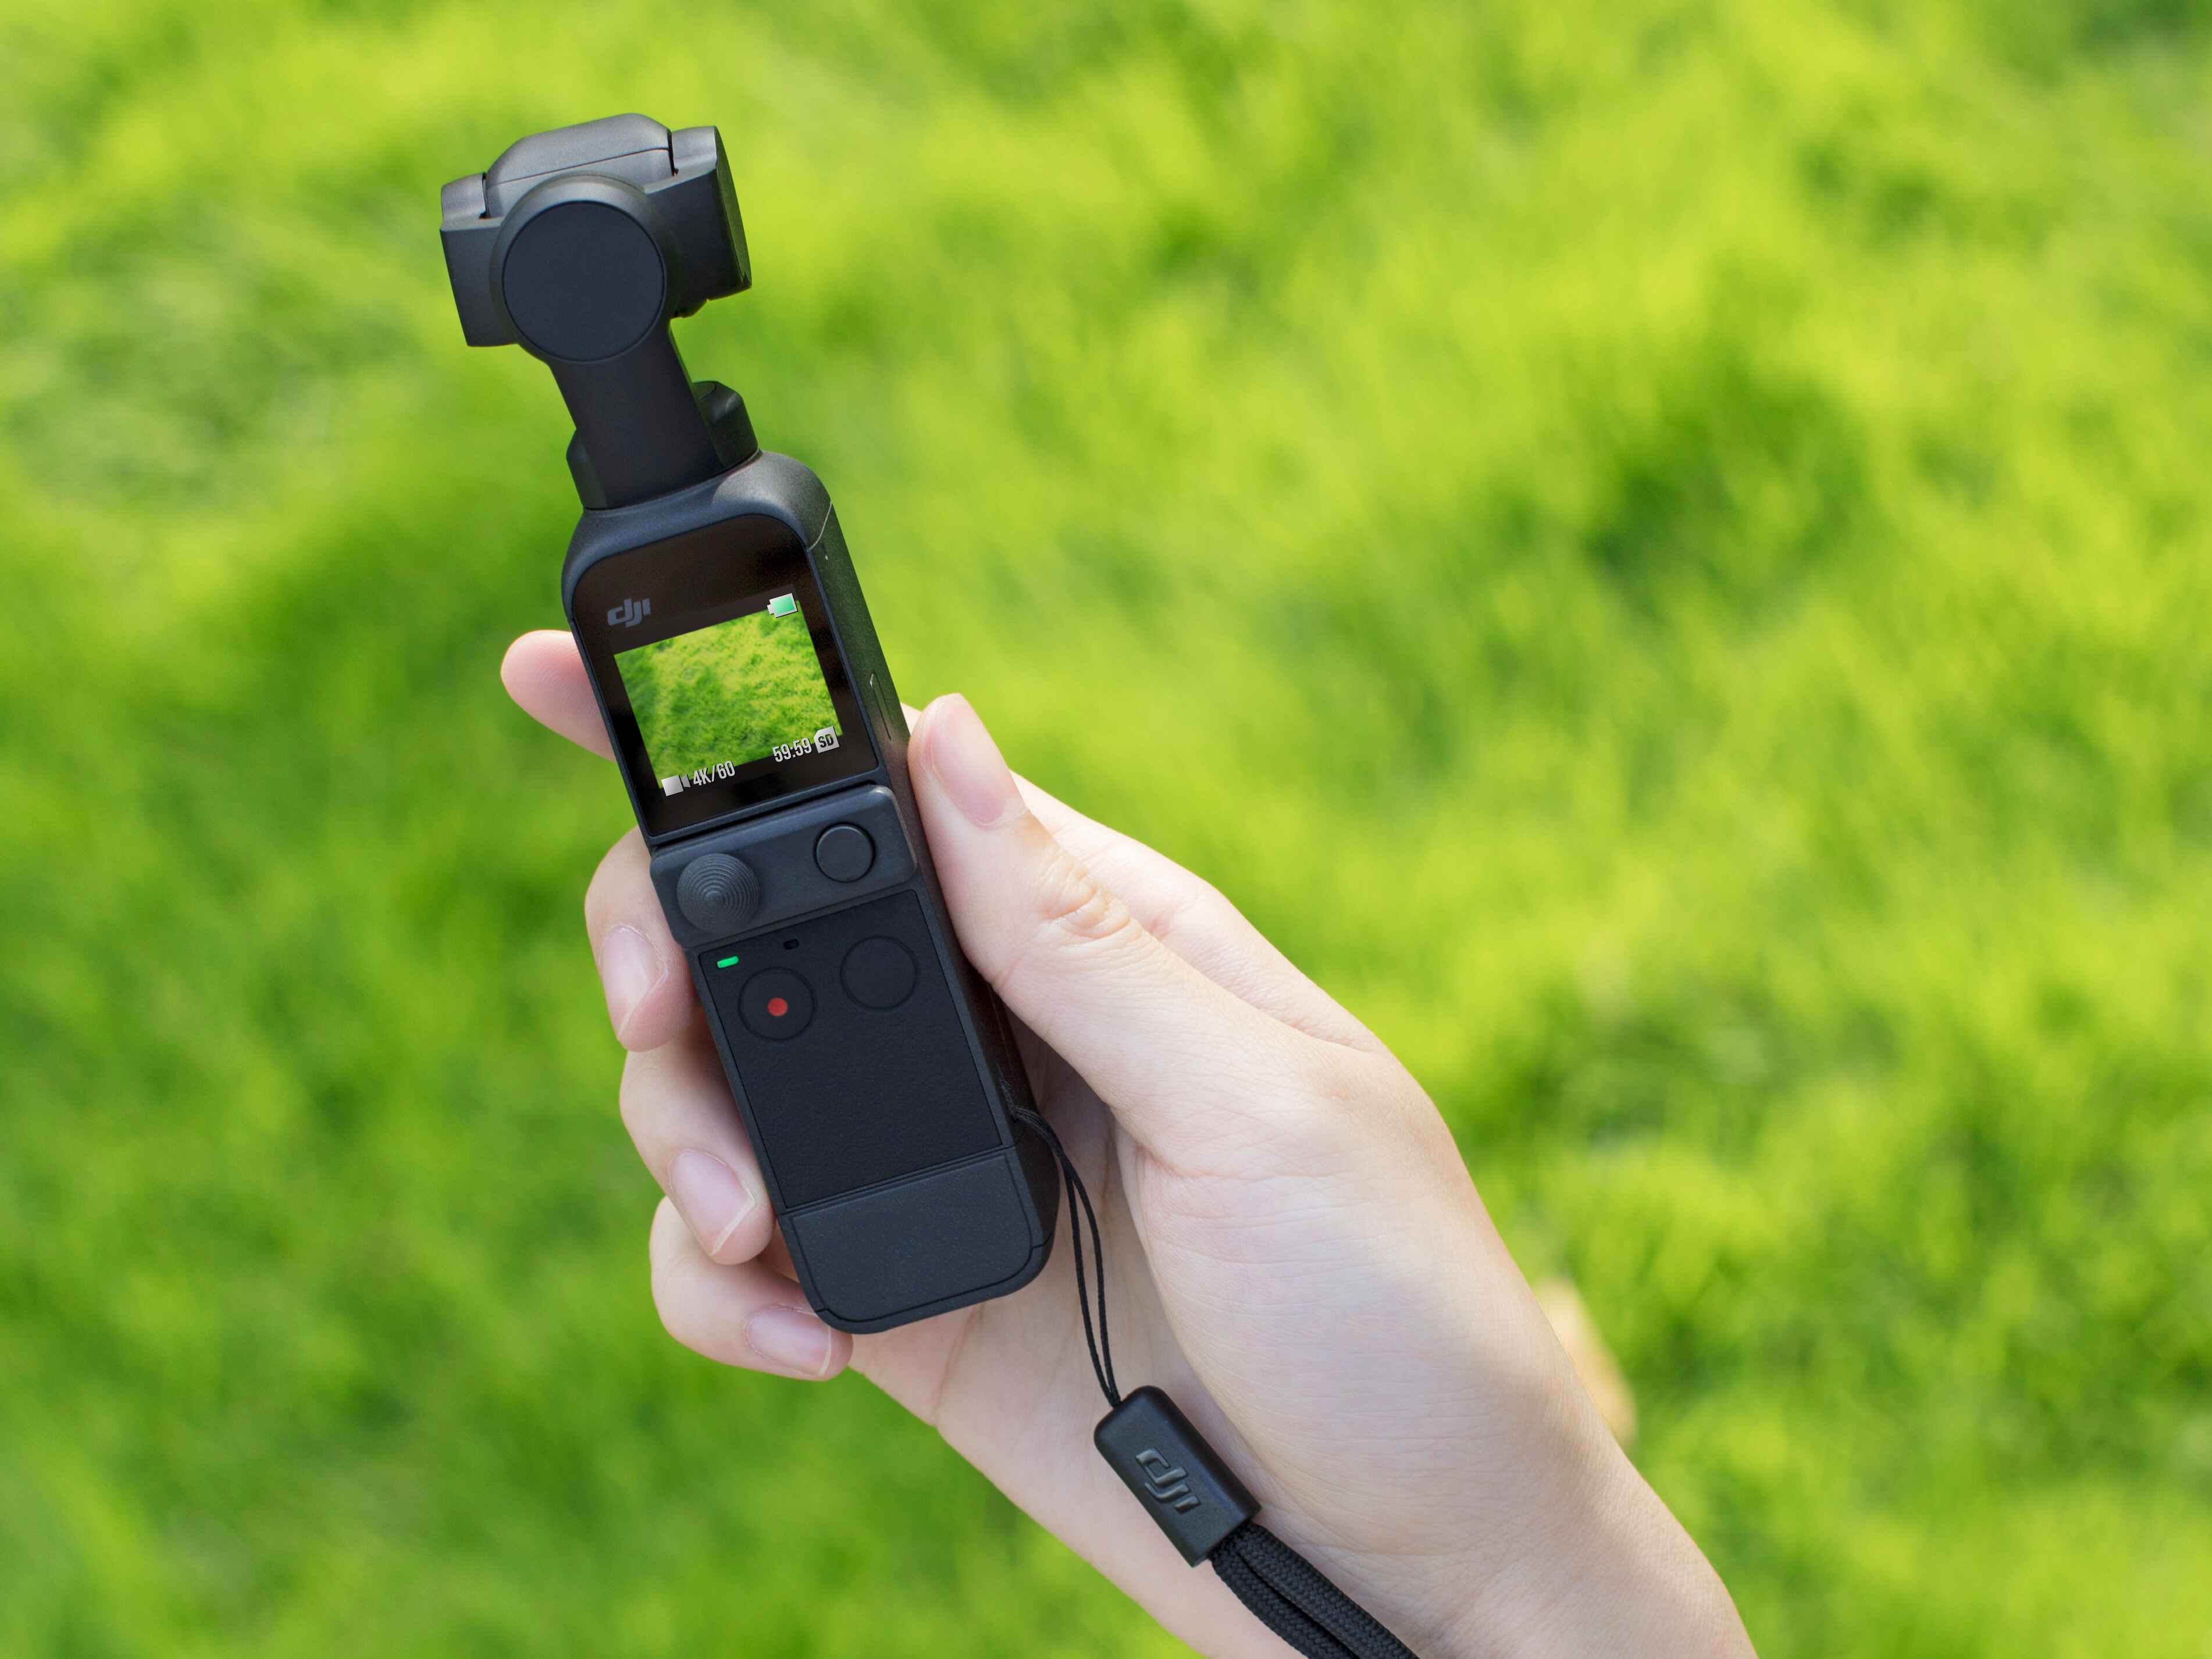
Once the DJI Pocket 2 is powered on, you will see the camera’s default screen, ready to capture your creative moments. The DJI Pocket 2 comes with a built-in touchscreen, allowing you to navigate through the camera’s settings and options directly on the device.
Now that your DJI Pocket 2 is turned on and ready, it’s time to proceed to the next step and enable Wi-Fi on the camera. This will allow you to establish a connection between your DJI Pocket 2 and your phone.
Step 4: Enable Wi-Fi on the DJI Pocket 2
In order to connect your DJI Pocket 2 to your phone, you’ll need to enable Wi-Fi on the camera. This will allow your phone to detect and establish a connection with the camera, enabling seamless communication between the two devices.
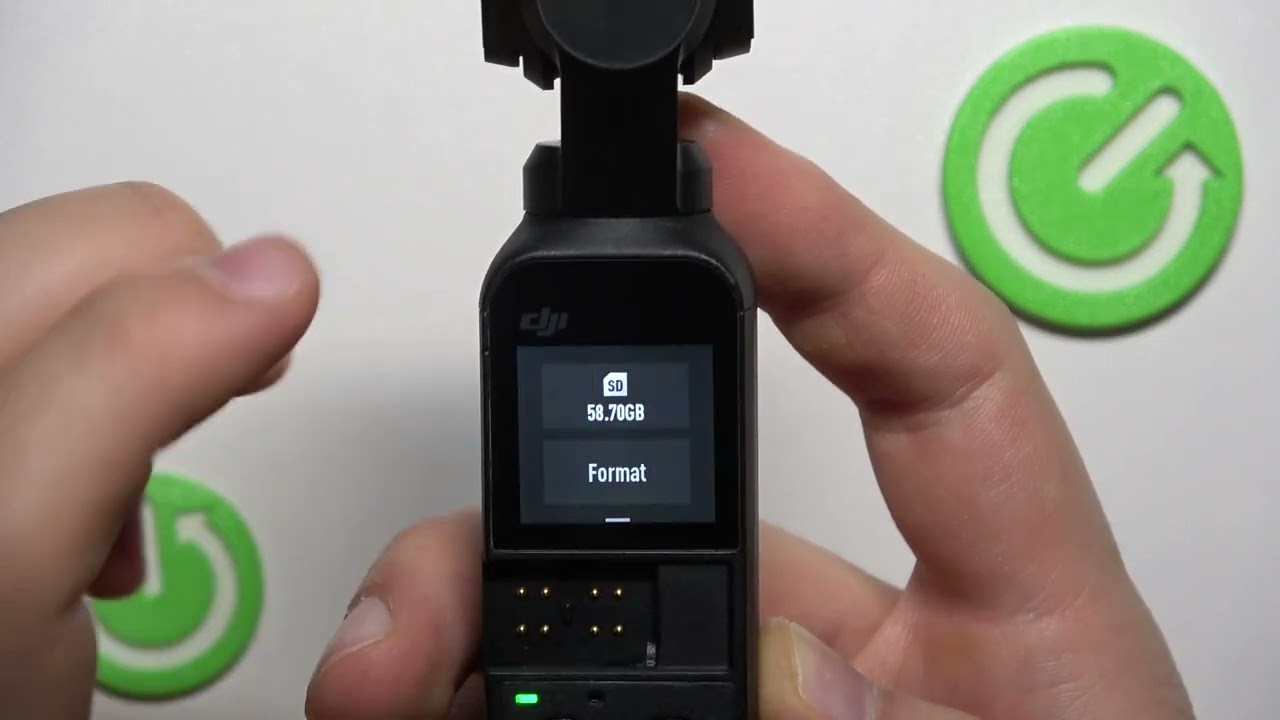
To enable Wi-Fi on the DJI Pocket 2, start by tapping on the three small dots on the lower right corner of the camera’s touchscreen. This will bring up the settings menu.
In the settings menu, locate and tap on the Wi-Fi icon. This will open the Wi-Fi settings where you can enable the Wi-Fi function of the DJI Pocket 2.
Once the Wi-Fi function is turned on, you will see the camera’s Wi-Fi network name (SSID) and Wi-Fi password displayed on the screen. The Wi-Fi network name typically starts with “Pocket2_” followed by a series of numbers and letters, unique to your camera.
Remember the Wi-Fi password as you will need it in the next step when connecting your phone to the DJI Pocket 2’s Wi-Fi network.
It’s important to note that enabling Wi-Fi on the DJI Pocket 2 will temporarily disconnect it from any previously connected Bluetooth devices, such as remote controllers or headphones. You can always reconnect these devices once the Wi-Fi connection is established with your phone.
With Wi-Fi enabled on your DJI Pocket 2, you’re now ready to proceed to the next step and connect your phone to the camera’s Wi-Fi network.
Step 5: Connect Your Phone to the DJI Pocket 2 Wi-Fi
Now that Wi-Fi is enabled on your DJI Pocket 2, it’s time to connect your phone to the camera’s Wi-Fi network. This will establish a direct connection between your phone and the DJI Pocket 2, allowing you to control the camera and access its features through the DJI Mimo app.
Start by unlocking your phone and accessing the Wi-Fi settings. On both iOS and Android devices, you can usually find the Wi-Fi settings in the main settings menu.
Within the Wi-Fi settings, you should see a list of available networks. Look for the network name (SSID) that starts with “Pocket2_” followed by a series of numbers and letters. This is the Wi-Fi network broadcasted by your DJI Pocket 2.
Tap on the DJI Pocket 2’s Wi-Fi network to connect to it. You may be prompted to enter the Wi-Fi password that you obtained in the previous step. Enter the password correctly and proceed to connect to the network.
Once your phone is successfully connected to the DJI Pocket 2’s Wi-Fi network, you will see a confirmation message on your phone’s screen. The Wi-Fi icon in the status bar should also indicate that you are connected to the DJI Pocket 2.
Keep in mind that when your phone is connected to the DJI Pocket 2’s Wi-Fi network, your phone’s internet connection may be temporarily disabled. This is normal, as you are now communicating directly with the camera.
Congratulations! Your phone is now connected to the DJI Pocket 2’s Wi-Fi network. In the next step, we’ll guide you through the process of opening the DJI Mimo app on your phone.
Step 6: Open the DJI Mimo App
With your phone connected to the DJI Pocket 2’s Wi-Fi network, it’s time to open the DJI Mimo app. This is where you will be able to access the full range of features and functionalities offered by the DJI Pocket 2.
Locate the DJI Mimo app on your phone. It should be visible on your home screen or in your app drawer. Tap on the app icon to launch it.
Upon opening the DJI Mimo app, you may be prompted to log in to your DJI account or create a new one if you don’t have an existing account. Sign in with your credentials or follow the steps to create a new account.
Once you’re logged in to the DJI Mimo app, it will automatically detect the connection with your DJI Pocket 2. A pop-up message will appear, confirming that the app has successfully connected to the camera. Tap on the “OK” or “Continue” button to proceed.
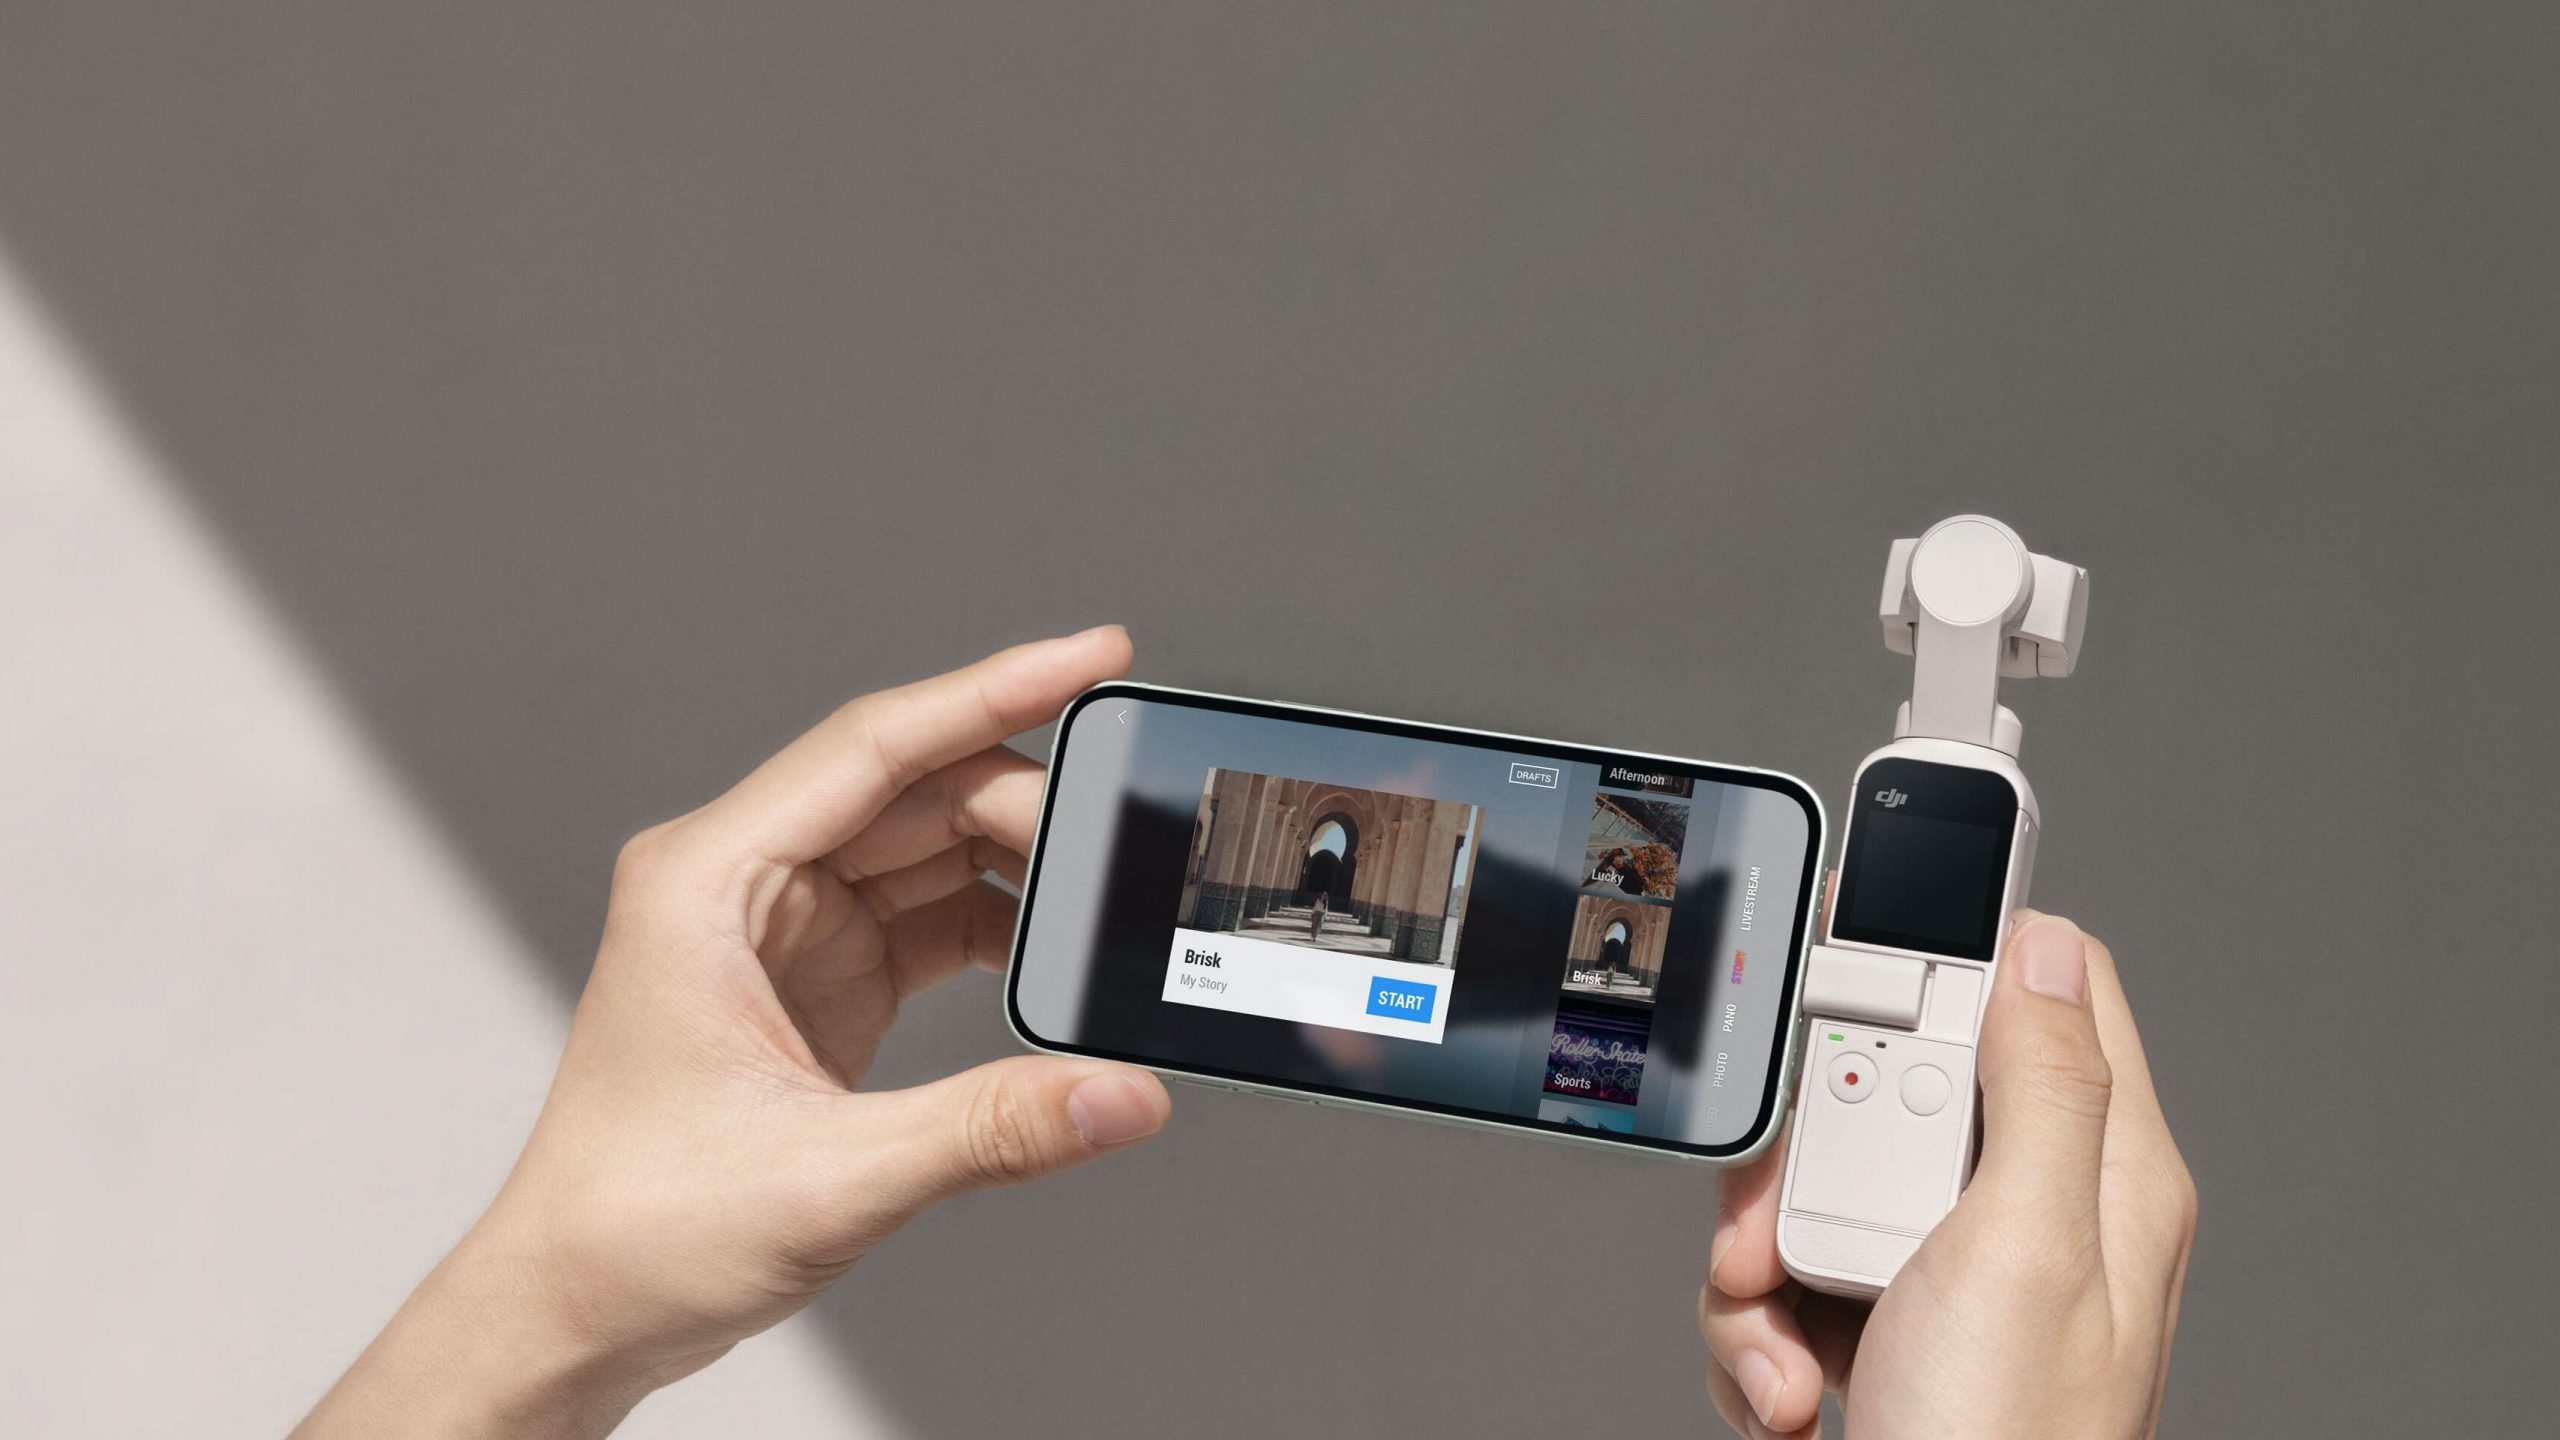
After establishing the connection, you will be able to see the live view from your DJI Pocket 2’s camera on your phone’s screen. This allows you to frame your shots, adjust settings, and capture footage or photos remotely.
Take some time to explore the various features and settings available in the DJI Mimo app. From manual camera controls to intelligent recording modes, the app provides you with a range of tools to unleash your creativity and capture stunning content with ease.
With the DJI Mimo app open and connected to your DJI Pocket 2, you’re now ready to move on to the next step and pair the camera with your phone.
Step 7: Pair the DJI Pocket 2 with Your Phone
Now that you have opened the DJI Mimo app on your phone and established a connection with the DJI Pocket 2, it’s time to pair the camera with your phone. This process ensures that the app and the camera are synchronized, allowing for seamless control and access to the camera’s features.
In the DJI Mimo app, you may be prompted to pair the DJI Pocket 2 with your phone. Follow the on-screen instructions to complete the pairing process.
If you don’t see a prompt to pair the camera, you can manually initiate the pairing process. Simply tap on the camera icon or the settings icon within the app and navigate to the “Device” section.
Within the “Device” section, you should see an option to “Pair” or “Connect” with the DJI Pocket 2. Tap on this option to initiate the pairing process.
During the pairing process, the app will establish a secure and stable connection with the DJI Pocket 2. This may take a few moments, so be patient and ensure that both your phone and the camera are in close proximity.
Once the pairing is successful, you will receive a confirmation message on your phone’s screen. The DJI Pocket 2 is now fully paired with your phone, and you can begin exploring the app’s features and using your phone to control the camera.
Remember that when using the DJI Pocket 2 with your phone, you’ll have access to various controls and settings right at your fingertips. From adjusting camera settings to switching shooting modes and even accessing advanced features like ActiveTrack or Story Templates, the DJI Mimo app empowers you to unleash your creativity and upgrade your content creation.
With the DJI Pocket 2 successfully paired with your phone, you’re now ready to move on to the next step and customize the camera’s settings.
Step 8: Adjust the DJI Pocket 2 Settings
Now that you have successfully paired your DJI Pocket 2 with your phone, it’s time to customize the camera’s settings according to your preferences. The DJI Mimo app gives you full control over various settings, allowing you to optimize your shooting experience and capture the content you envision.
To adjust the settings of your DJI Pocket 2, open the DJI Mimo app on your phone if it’s not already open. On the app’s main screen, you will find several icons or menus that provide access to the camera’s settings.
Tap on the settings icon to enter the camera settings menu. Here, you will find an array of options to tailor the camera’s behavior to your specific needs. These settings may vary depending on the firmware version and updates from DJI, but some common settings you can adjust include:
- Resolution and Frame Rate: Select the desired video and photo resolution, as well as the frame rate, to capture the desired level of detail and smoothness in your footage.
- Exposure and White Balance: Adjust the exposure level and fine-tune the white balance to ensure your footage looks natural and well-balanced.
- Shooting Modes: Explore different shooting modes such as Pro mode, Slow Motion, and Timelapse, to experiment with creative techniques and capture unique visuals.
- Audio Settings: Customize the audio recording options, including external microphone support, to enhance the sound quality of your videos.
- Gimbal Control: Fine-tune the gimbal settings to adjust the stabilization settings and smoothness of camera movements for steady and professional-looking footage.
Take your time to navigate through the different settings and experiment with various configurations to find the perfect setup for your shooting style and preferences. Remember, the DJI Mimo app offers a comprehensive range of options to ensure you have full control over the camera’s performance.
Once you have adjusted the settings to your liking, you’re ready to start capturing stunning content with your DJI Pocket 2!
In the final step, we’ll explore how you can conveniently capture and share your footage and photos directly from your DJI Pocket 2.
Step 9: Capture and Share Content from Your DJI Pocket 2
With your DJI Pocket 2 connected to your phone and all the settings adjusted to your liking, it’s time to start capturing incredible content. The DJI Pocket 2 provides you with a wealth of creative options to capture high-quality videos and photos.
To capture content using your DJI Pocket 2, simply use the camera’s controls or control it directly from the DJI Mimo app. The app gives you access to various shooting modes, intelligent features like ActiveTrack and QuickShots, and manual controls for a truly customizable shooting experience.
Experiment with different angles, compositions, and camera movements to capture dynamic and engaging footage. Make use of the camera’s built-in gimbal for smooth and stabilized shots, and take advantage of the high-resolution sensor to capture crisp and detailed images.
Once you have captured your footage or photos, the DJI Mimo app provides you with tools to edit and enhance your content directly on your phone. You can trim and rearrange clips, apply filters and color grading, add music and sound effects, and much more to bring your vision to life.
Once your edits are complete, it’s time to share your content with the world. The DJI Mimo app allows you to easily share your videos and photos directly to social media platforms like Instagram, TikTok, YouTube, and more. You can also save your content to your phone’s camera roll for further sharing or editing using other apps.
Don’t forget to take advantage of the DJI Pocket 2’s wireless capabilities to transfer your files directly to your phone without the need for a computer. This makes it convenient to quickly access and share your content on the go.
With the power of the DJI Pocket 2 and the convenience of the DJI Mimo app, you have all the tools you need to capture, edit, and share breathtaking content with ease.
Experiment, explore, and push the boundaries of your creativity with your DJI Pocket 2. Capture the moments that matter and share your unique perspective with the world.
Conclusion
Connecting your DJI Pocket 2 to your phone opens up a world of possibilities for capturing and creating stunning content. By following the step-by-step process outlined in this guide, you can easily connect your DJI Pocket 2 to your phone and unlock the full potential of this powerful handheld camera.
We started by checking for compatibility, ensuring that your phone meets the system requirements and that your DJI Pocket 2 is updated to the latest firmware. Then, we guided you through installing the DJI Mimo app on your phone, the essential companion for controlling and accessing the features of your DJI Pocket 2.
Turning on the DJI Pocket 2 and enabling Wi-Fi allowed us to establish a connection between your phone and the camera. Through the DJI Mimo app, you gained control over the camera settings, adjusting them to suit your shooting style and preferences.
Once your DJI Pocket 2 was paired with your phone, capturing breathtaking content became a breeze. The DJI Pocket 2 offers various shooting modes, intelligent features, and a built-in gimbal for smooth and stabilized footage. You can also edit and enhance your content directly in the DJI Mimo app, and easily share it with others on social media platforms.
With the DJI Mimo app and your DJI Pocket 2, you have a powerful combination that empowers you to capture and share your vision with the world. Whether you’re a professional content creator or simply love documenting your adventures, the DJI Pocket 2 and your phone offer the perfect synergy to unleash your creativity and capture memories like never before.
So, grab your DJI Pocket 2, connect it to your phone, and embark on a journey of visual storytelling. Let your imagination soar and create captivating content that will leave a lasting impact.
Happy shooting!