Introduction
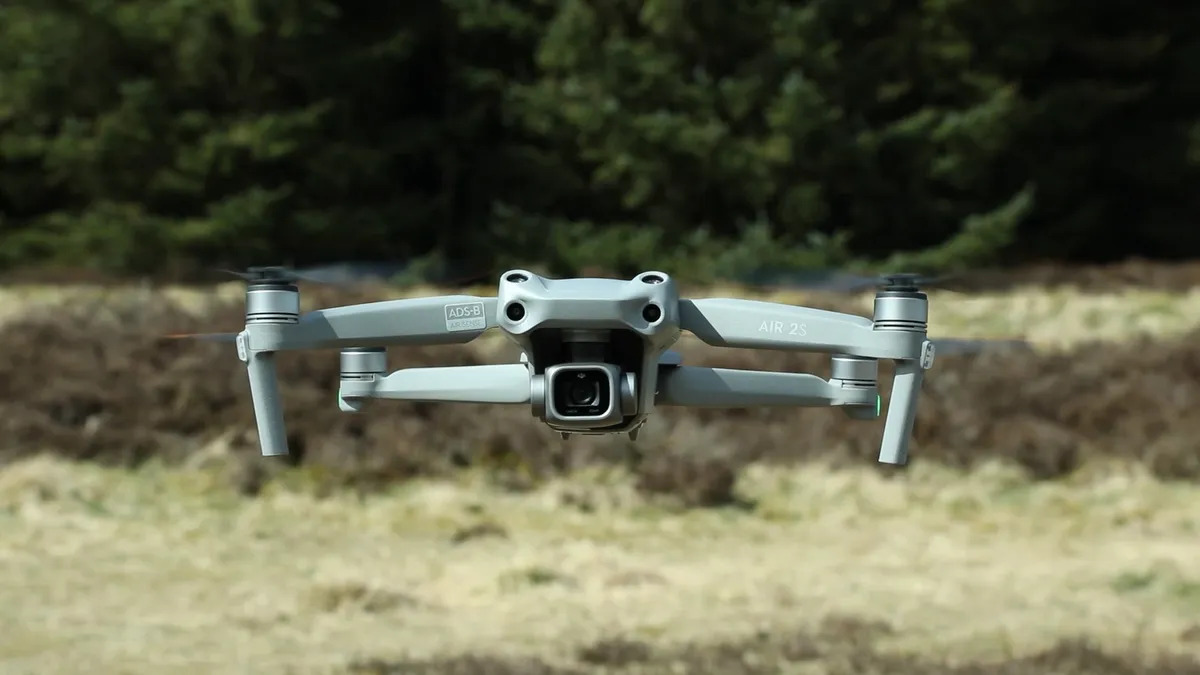
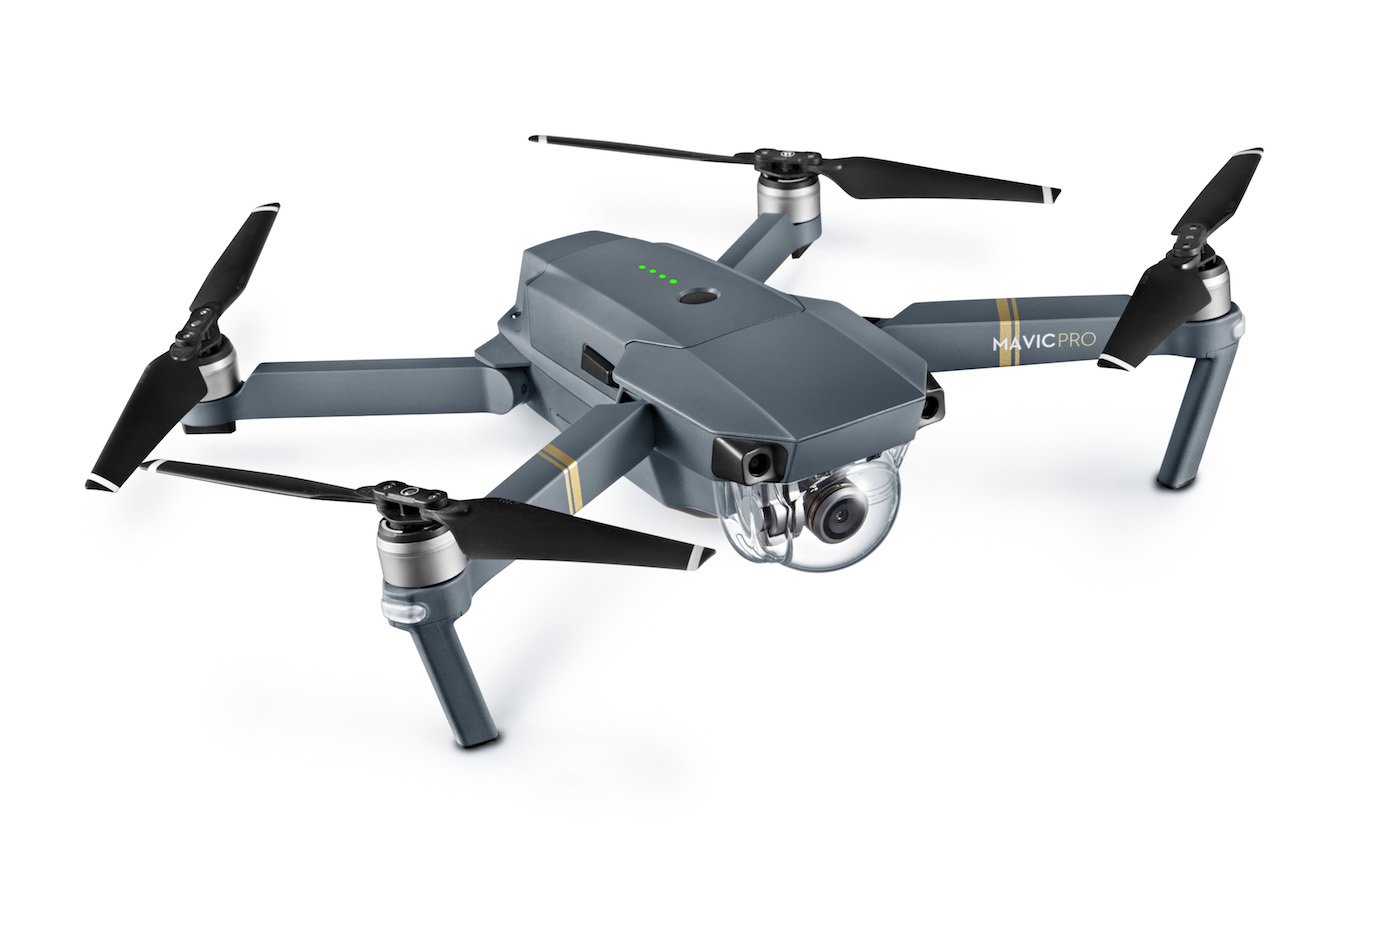
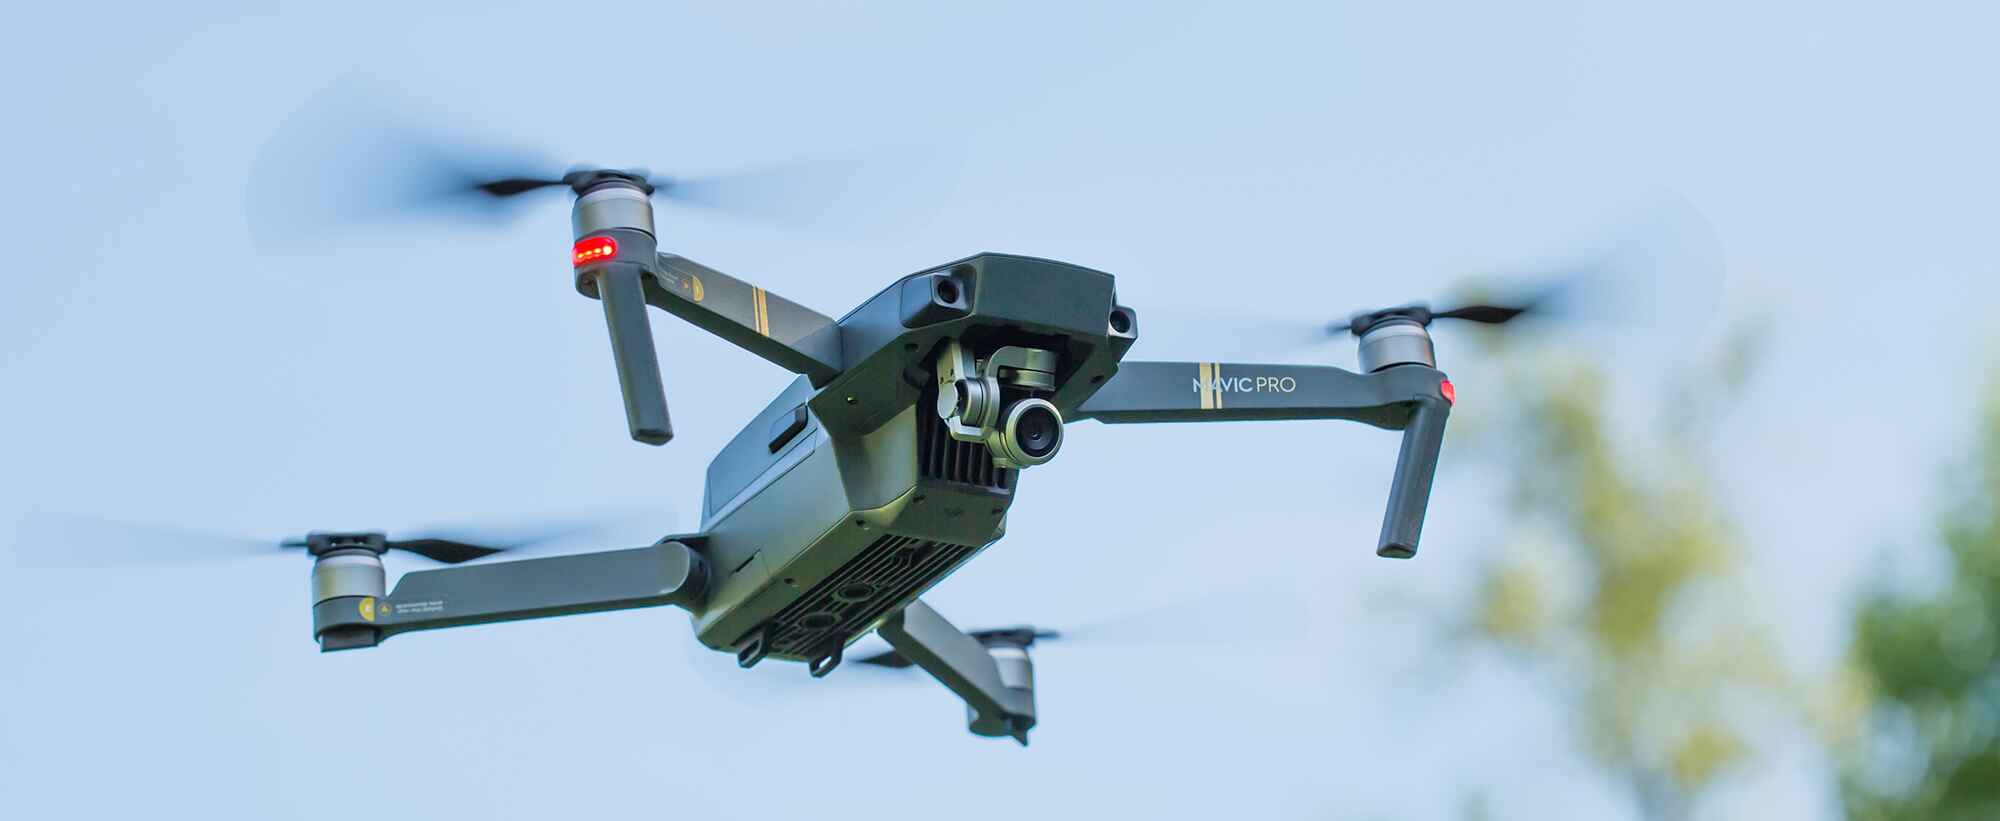
Welcome to the world of aerial photography and breathtaking drone flights with the DJI Mavic Pro. This compact and powerful drone has gained immense popularity among photography enthusiasts and professionals alike. With its advanced features and impressive flight capabilities, the Mavic Pro allows you to capture stunning aerial shots and videos like never before.
But before you take to the skies, it’s important to understand how to properly charge your DJI Mavic Pro battery. A fully charged battery is the lifeline of your drone, ensuring long flight times and uninterrupted aerial adventures. In this guide, we will walk you through the process of charging your Mavic Pro battery, as well as provide you with some valuable tips to maximize charging efficiency.
Whether you’re a beginner or an experienced drone pilot, mastering the art of charging your Mavic Pro battery is essential for a seamless flying experience. With proper charging techniques, you can extend the lifespan of your batteries, avoid unnecessary downtime, and make the most out of your drone’s capabilities.
In the following sections, we will dive deeper into the specifics of charging the DJI Mavic Pro battery, using the DJI Mavic Pro charger, charging the remote controller, and even tips for charging multiple batteries simultaneously. So, let’s get started and ensure your drone is powered up for your next adventure in the sky!
Understanding the DJI Mavic Pro Battery
Before we delve into the charging process, it’s important to have a basic understanding of the DJI Mavic Pro battery. The Mavic Pro is equipped with an intelligent flight battery that provides the necessary power to keep your drone soaring through the skies.
The Mavic Pro battery is a high-capacity lithium polymer (LiPo) battery. LiPo batteries are known for their compact size and lightweight nature, making them an ideal choice for drones. The Mavic Pro battery has a voltage rating of 11.4 volts and a capacity of 3830 mAh, allowing for a lengthy flight time.
One of the standout features of the Mavic Pro battery is its intelligent components. The battery is equipped with a built-in processor that constantly monitors the battery’s status, including voltage, current, and temperature. This intelligent system ensures the battery’s performance remains optimal while providing accurate battery information.
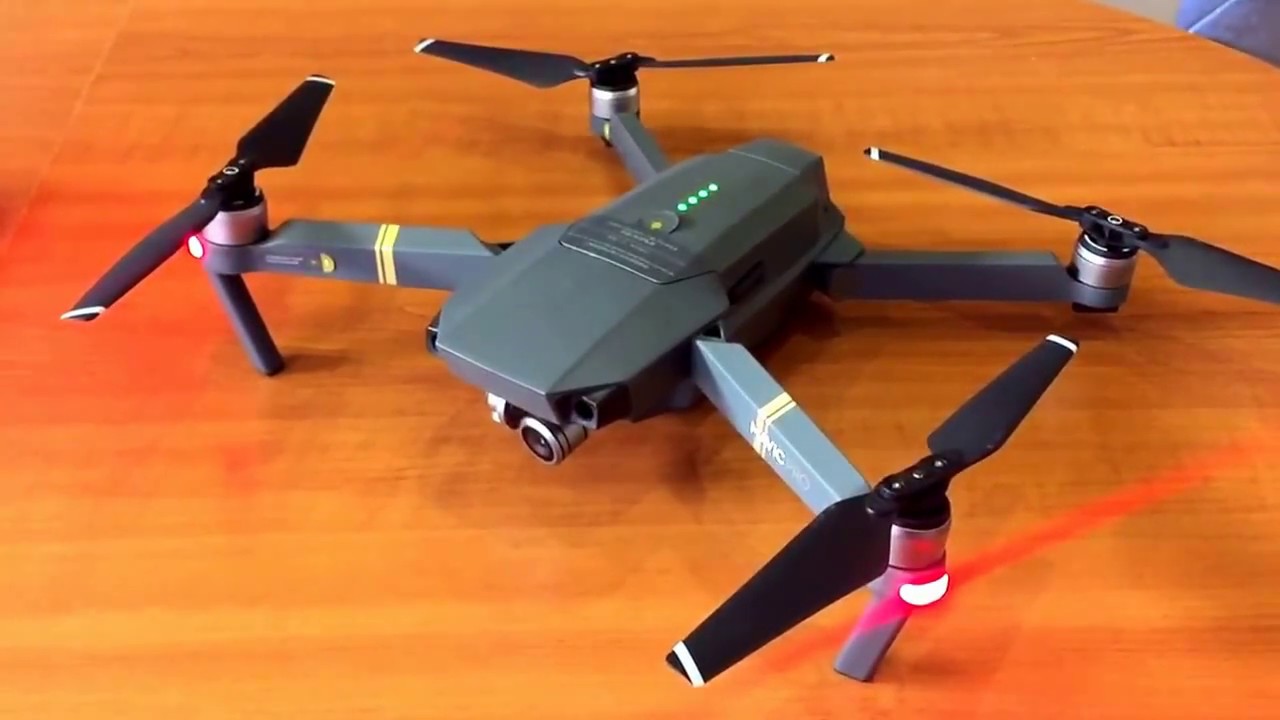
The battery also features a set of LED lights that indicate the battery’s current level of charge. These lights can be found on the front side of the battery and can be activated by tapping them when the battery is not connected to the drone. Each LED light represents approximately 25% of the battery’s charge.
It’s worth noting that the Mavic Pro battery has its own unique identification code, known as the Intelligent Flight Battery Management System. This code allows the drone to identify the battery and ensures compatibility and proper communication between the drone and battery.
Charging the DJI Mavic Pro Battery
Now that you have a good understanding of the DJI Mavic Pro battery, it’s time to learn how to charge it effectively. The process of charging your Mavic Pro battery is straightforward, ensuring that you are ready for your next flight in no time.
To begin, make sure you have the DJI Mavic Pro charger and the battery that needs to be charged. The charger has a simple and intuitive design, with a port specifically designed for connecting the battery.
Start by connecting the charger to a power source, such as a wall socket or a portable power bank. Once the charger is connected, you will notice a set of LED lights on the charger itself. These lights indicate the charging status of the battery.
Next, take the battery and locate the charging port. Align the charging port on the battery with the port on the charger, ensuring a secure connection. Once connected, the LED lights on the charger will illuminate, indicating that the charging process has begun.
It’s important to note that while the battery is charging, the LED lights on the battery will not be active. This is normal and indicates that the charging process is in progress. It’s recommended to let the battery charge until all the LED lights on the charger turn solid green, indicating a full charge.
Depending on the battery’s level of charge when you begin charging, it can take anywhere from 60 to 90 minutes for a complete charge. It’s crucial to use the provided DJI charger as using third-party chargers may result in poor performance or damage to the battery.
Once the battery is fully charged, carefully disconnect it from the charger. Remember to unplug the charger from the power source as well. At this point, you’re ready to insert the charged battery back into your DJI Mavic Pro and embark on your aerial adventures.
Remember to follow all safety instructions provided by DJI when charging your Mavic Pro battery to ensure a safe and efficient charging process. Proper charging practices will not only extend battery life but also contribute to the overall longevity and performance of your drone.
Using the DJI Mavic Pro Charger
The DJI Mavic Pro charger is a vital component for charging your Mavic Pro battery efficiently and safely. It is designed specifically for the Mavic Pro battery and provides a reliable and stable power supply for optimal charging performance.
The Mavic Pro charger features a compact and lightweight design, making it convenient to carry and use wherever you go. It has a foldable AC plug, which allows for easy storage and portability. The charger also has built-in safety features to protect against overheating, overcharging, and short circuits.
To use the DJI Mavic Pro charger, start by plugging it into a power source such as a wall socket or a power bank. Ensure that the power source is compatible with the charger’s input voltage, which is typically 100-240V AC.
Next, connect the charger output port to the battery charging port. The charger and the battery charging port are designed to fit seamlessly together, allowing for a secure and stable connection. Once connected, you will see the LED lights on the charger illuminate, indicating that the charging process has begun.
It’s important to note that the charger can only charge one battery at a time. If you have multiple batteries that need charging, it’s best to charge them one by one to ensure the most efficient charging process. Additionally, it’s recommended to charge the batteries in a cool and dry environment, away from direct sunlight or extreme temperatures.
When the charging process is complete, the LED lights on the charger will turn solid green, indicating a full charge. Disconnect the charger from the power source and carefully remove the charged battery from the charger.
Always ensure that you use the original DJI Mavic Pro charger provided with your drone. Using third-party chargers may lead to subpar charging performance and potential harm to your battery. It’s also essential to follow the provided safety guidelines and instructions to prevent any accidents or damage to your equipment.
By utilizing the DJI Mavic Pro charger correctly, you can maintain the longevity and performance of your drone’s battery. With a fully charged battery, you are ready to take to the skies and capture stunning aerial shots with your DJI Mavic Pro.
Charging the Remote Controller
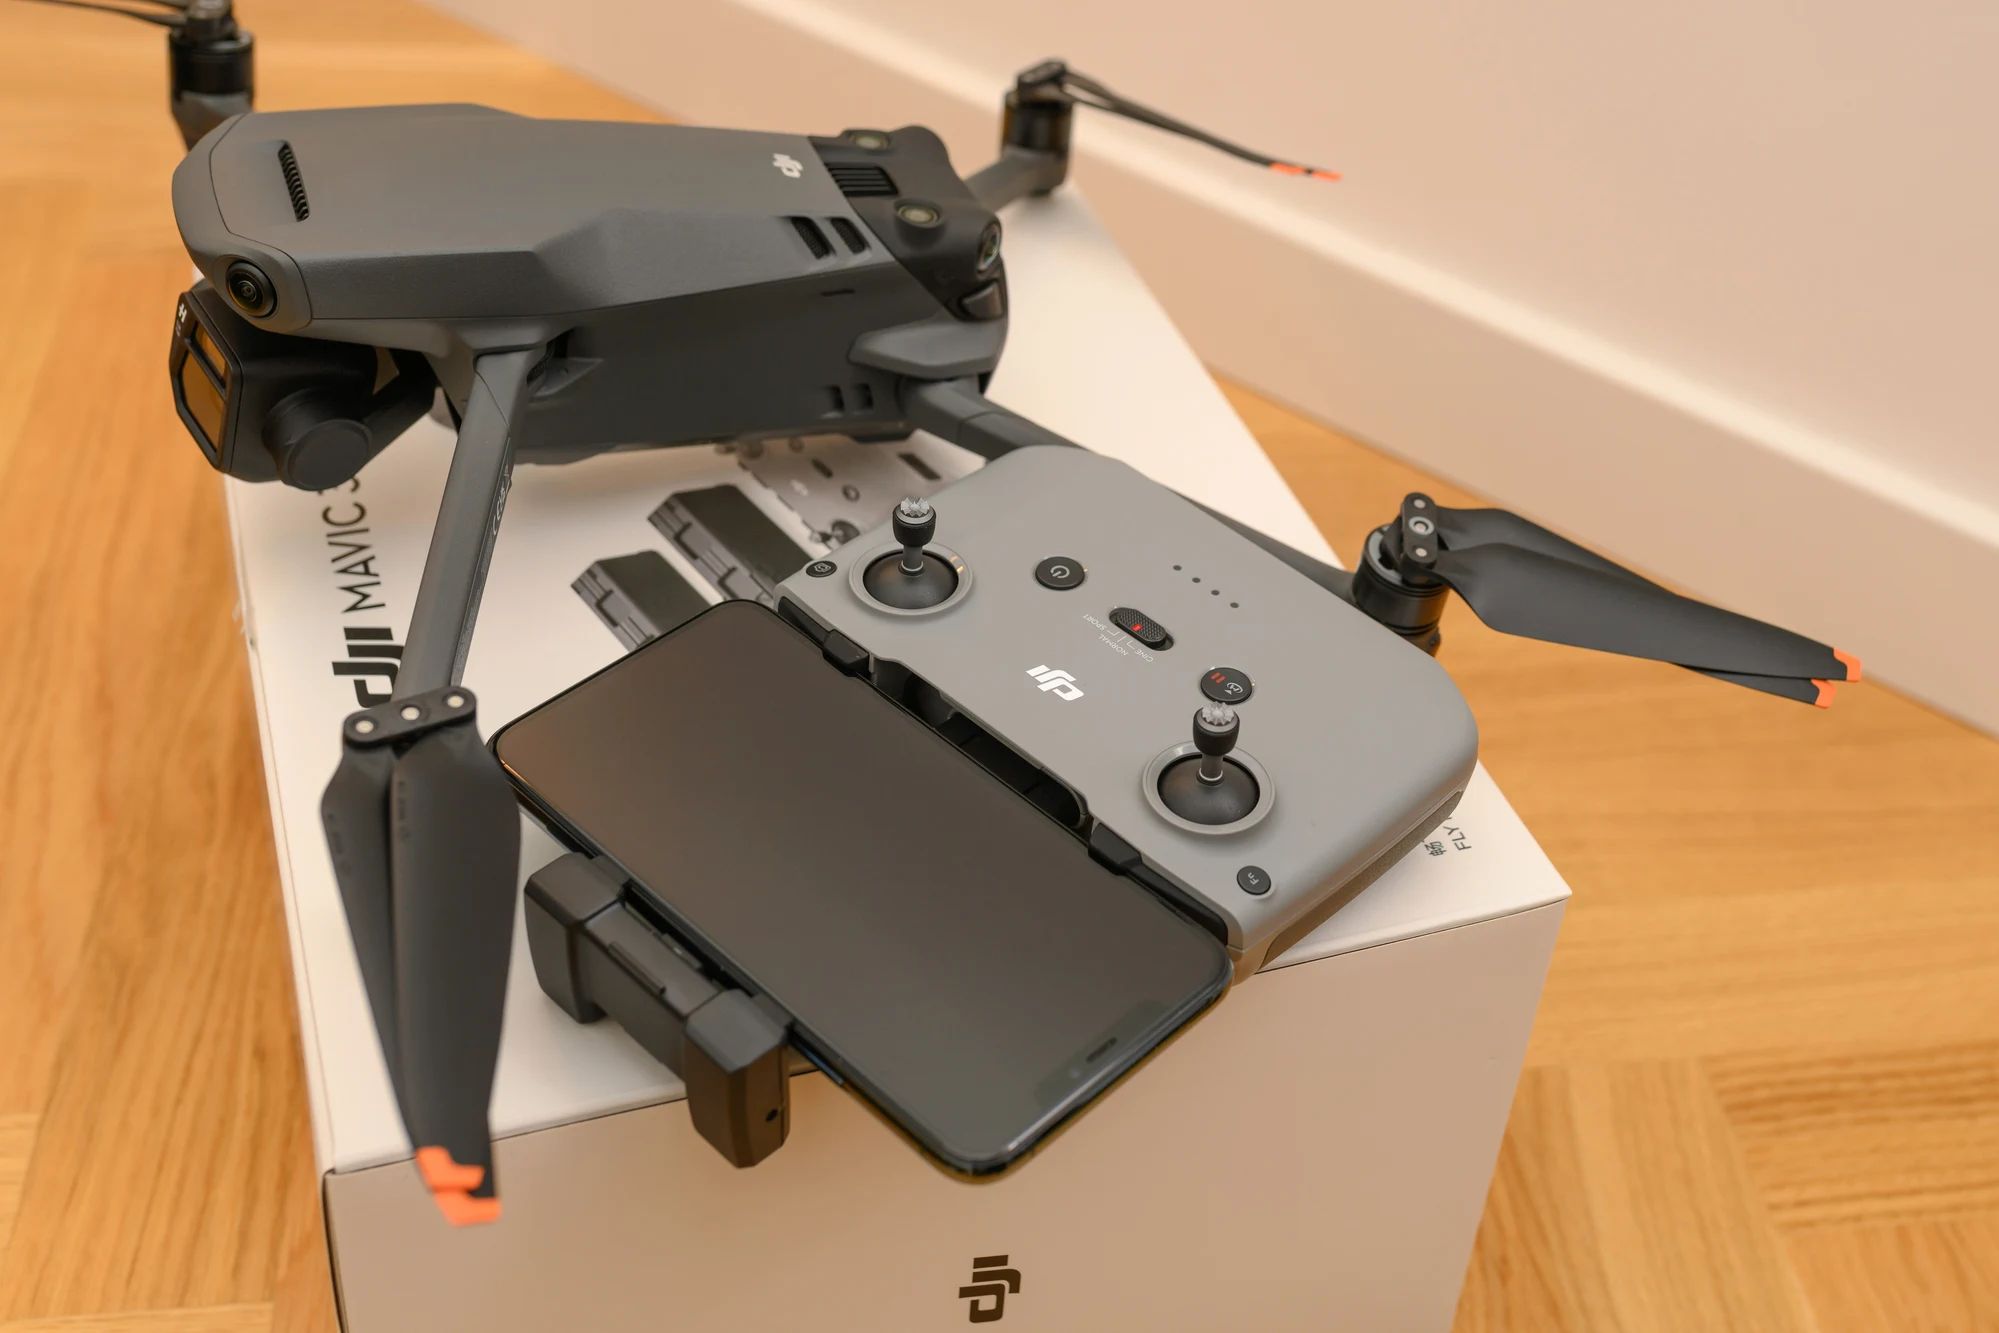
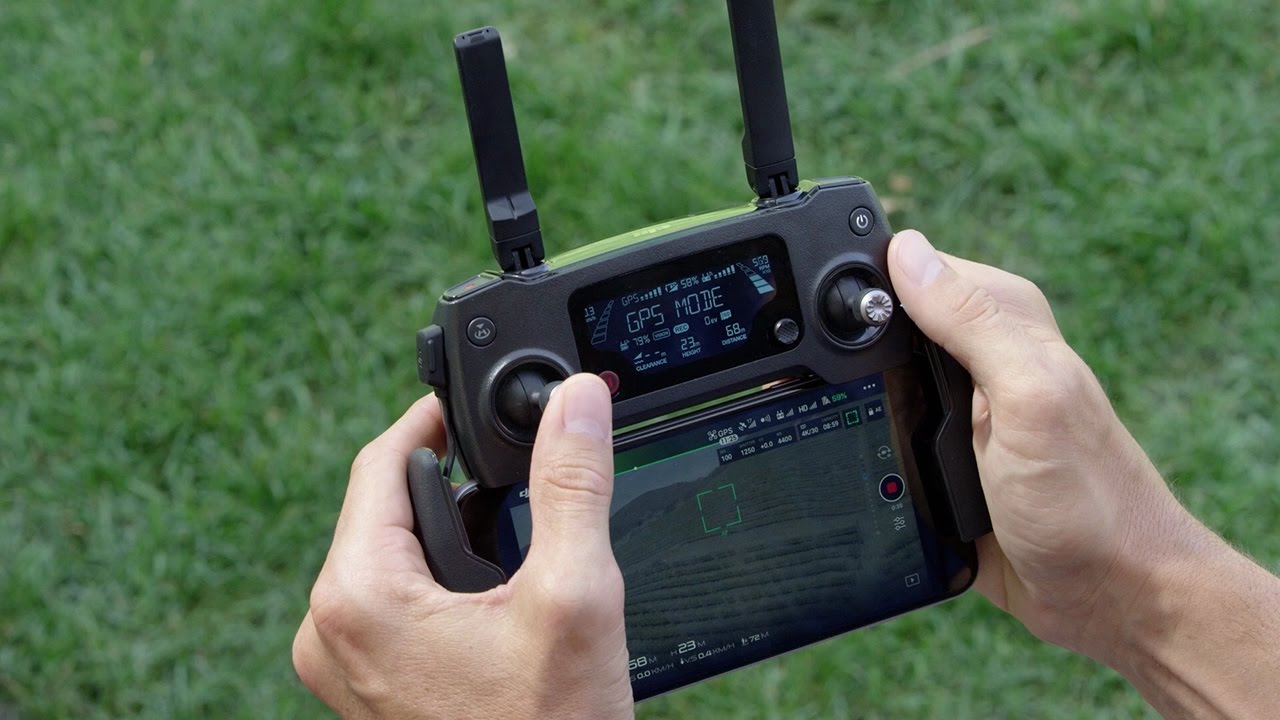
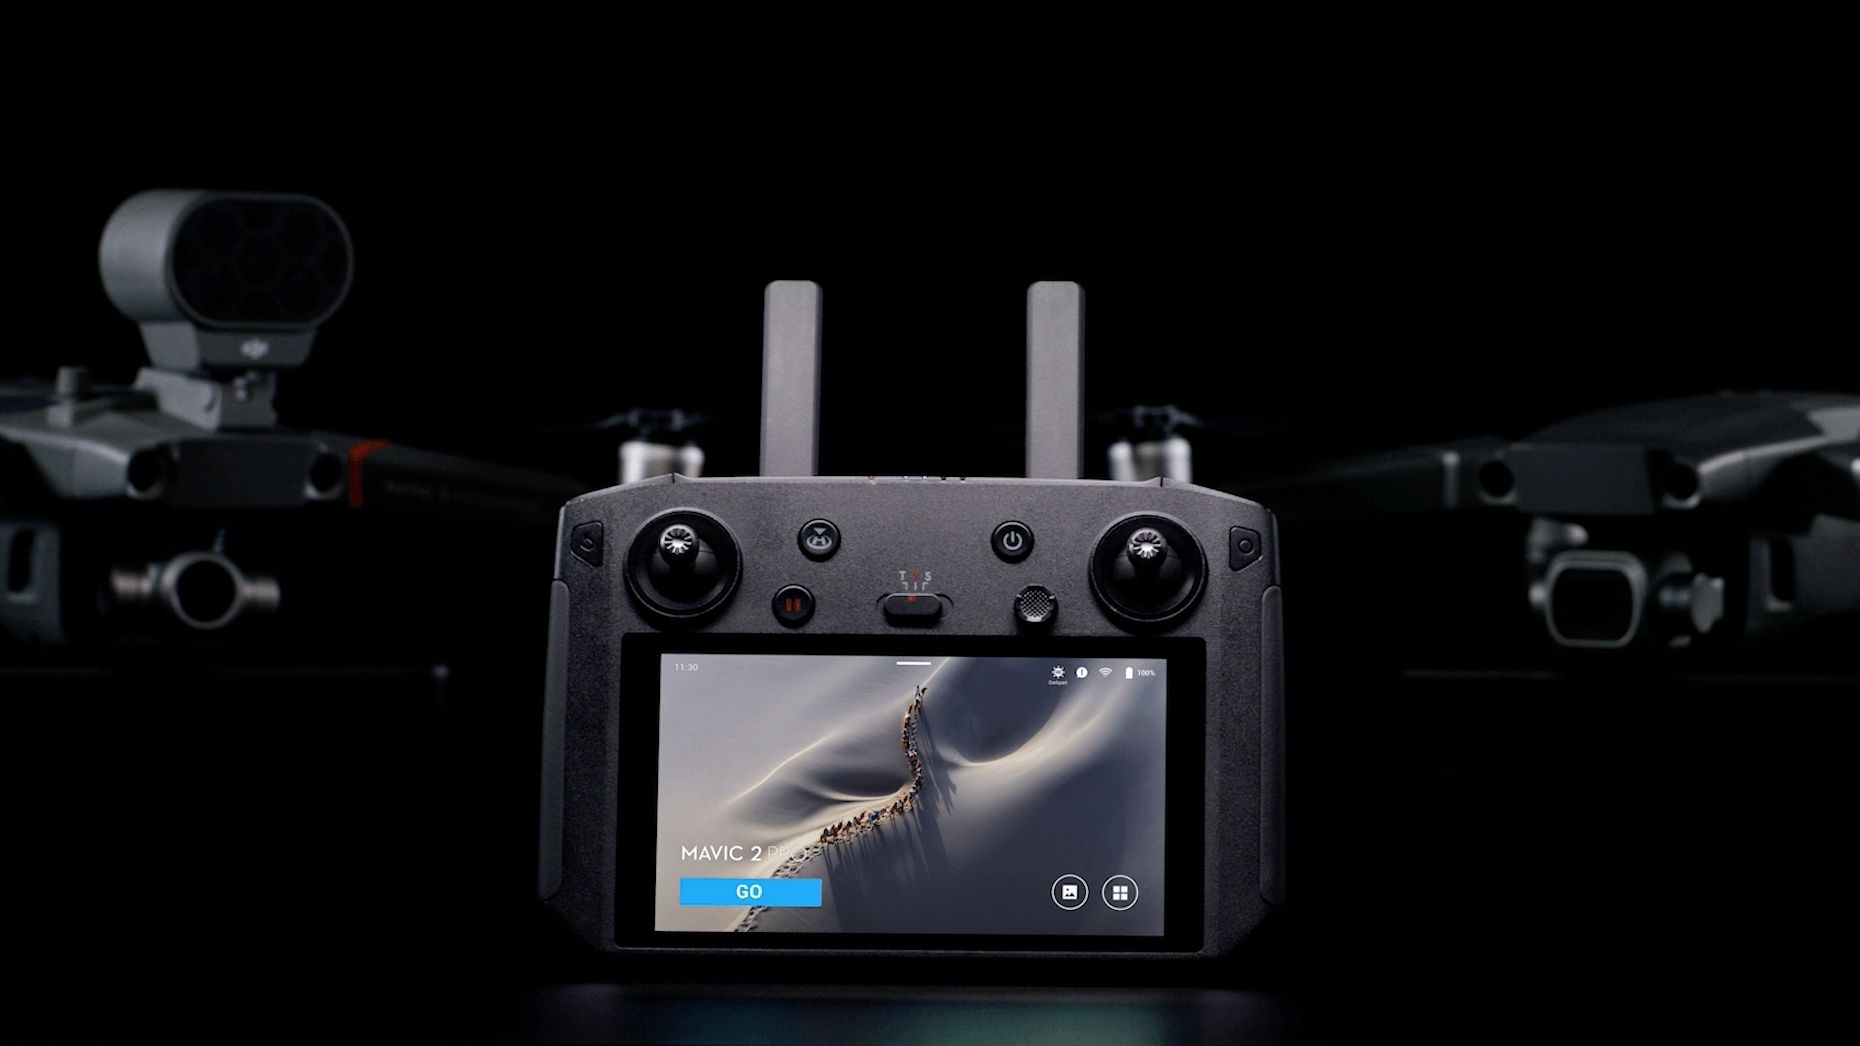
The DJI Mavic Pro remote controller is an integral part of your drone flying experience, allowing you to control your drone with precision and ease. Just like the battery, the remote controller also needs to be charged regularly to ensure uninterrupted operation.
To charge the DJI Mavic Pro remote controller, you will need a micro USB cable, which is usually included with the drone package. Start by locating the micro USB port on the remote controller. It is usually found on the side or at the bottom of the controller, depending on the specific model.
Once you’ve located the micro USB port, connect one end of the micro USB cable to it. The other end of the cable will vary depending on your preference and available charging options. It can be connected to a USB wall charger, a computer USB port, or a portable power bank.
After connecting the remote controller to the power source using the micro USB cable, you will notice an LED indicator on the remote controller. The LED will light up to indicate that the charging process has begun. The specific behavior of the LED may differ between different remote controller models, so it’s always advisable to consult the user manual for more precise instructions.
When charging the remote controller, it’s recommended to keep it in a stable position to avoid any accidental damage to the micro USB port. Avoid placing any unnecessary pressure on the cable or the connector to ensure a reliable and consistent charging connection.
Keep the remote controller connected to the power source until the LED indicator shows a full charge. The time required for a full charge may vary depending on the remaining battery level. Once fully charged, disconnect the micro USB cable from the remote controller and the power source.
Periodic charging of the remote controller is essential for maintaining optimal performance and reliability. It ensures that you have full control over your drone during your flights and allows you to explore the skies with confidence.
Remember to always use the original DJI micro USB cable or a trusted third-party cable that is compatible with your specific remote controller model. Additionally, observe proper charging precautions and avoid exposing the remote controller to excessive heat or moisture during the charging process.
By following these guidelines, you can ensure that your DJI Mavic Pro remote controller is always ready for action, giving you the ultimate drone piloting experience.
Charging Multiple Batteries
If you own multiple batteries for your DJI Mavic Pro, charging them efficiently can save you time and ensure that you have enough power for extended flights or multiple shooting sessions. While the DJI Mavic Pro charger can only charge one battery at a time, there are a few methods you can employ to charge multiple batteries effectively.
Sequential Charging: The easiest method is to charge your batteries one by one using the DJI Mavic Pro charger. Start by connecting the charger to a power source, and then connect one battery at a time to the charger. Once a battery is fully charged, disconnect it and replace it with the next battery until all the batteries are charged. This method ensures that each battery gets a full and uninterrupted charge.
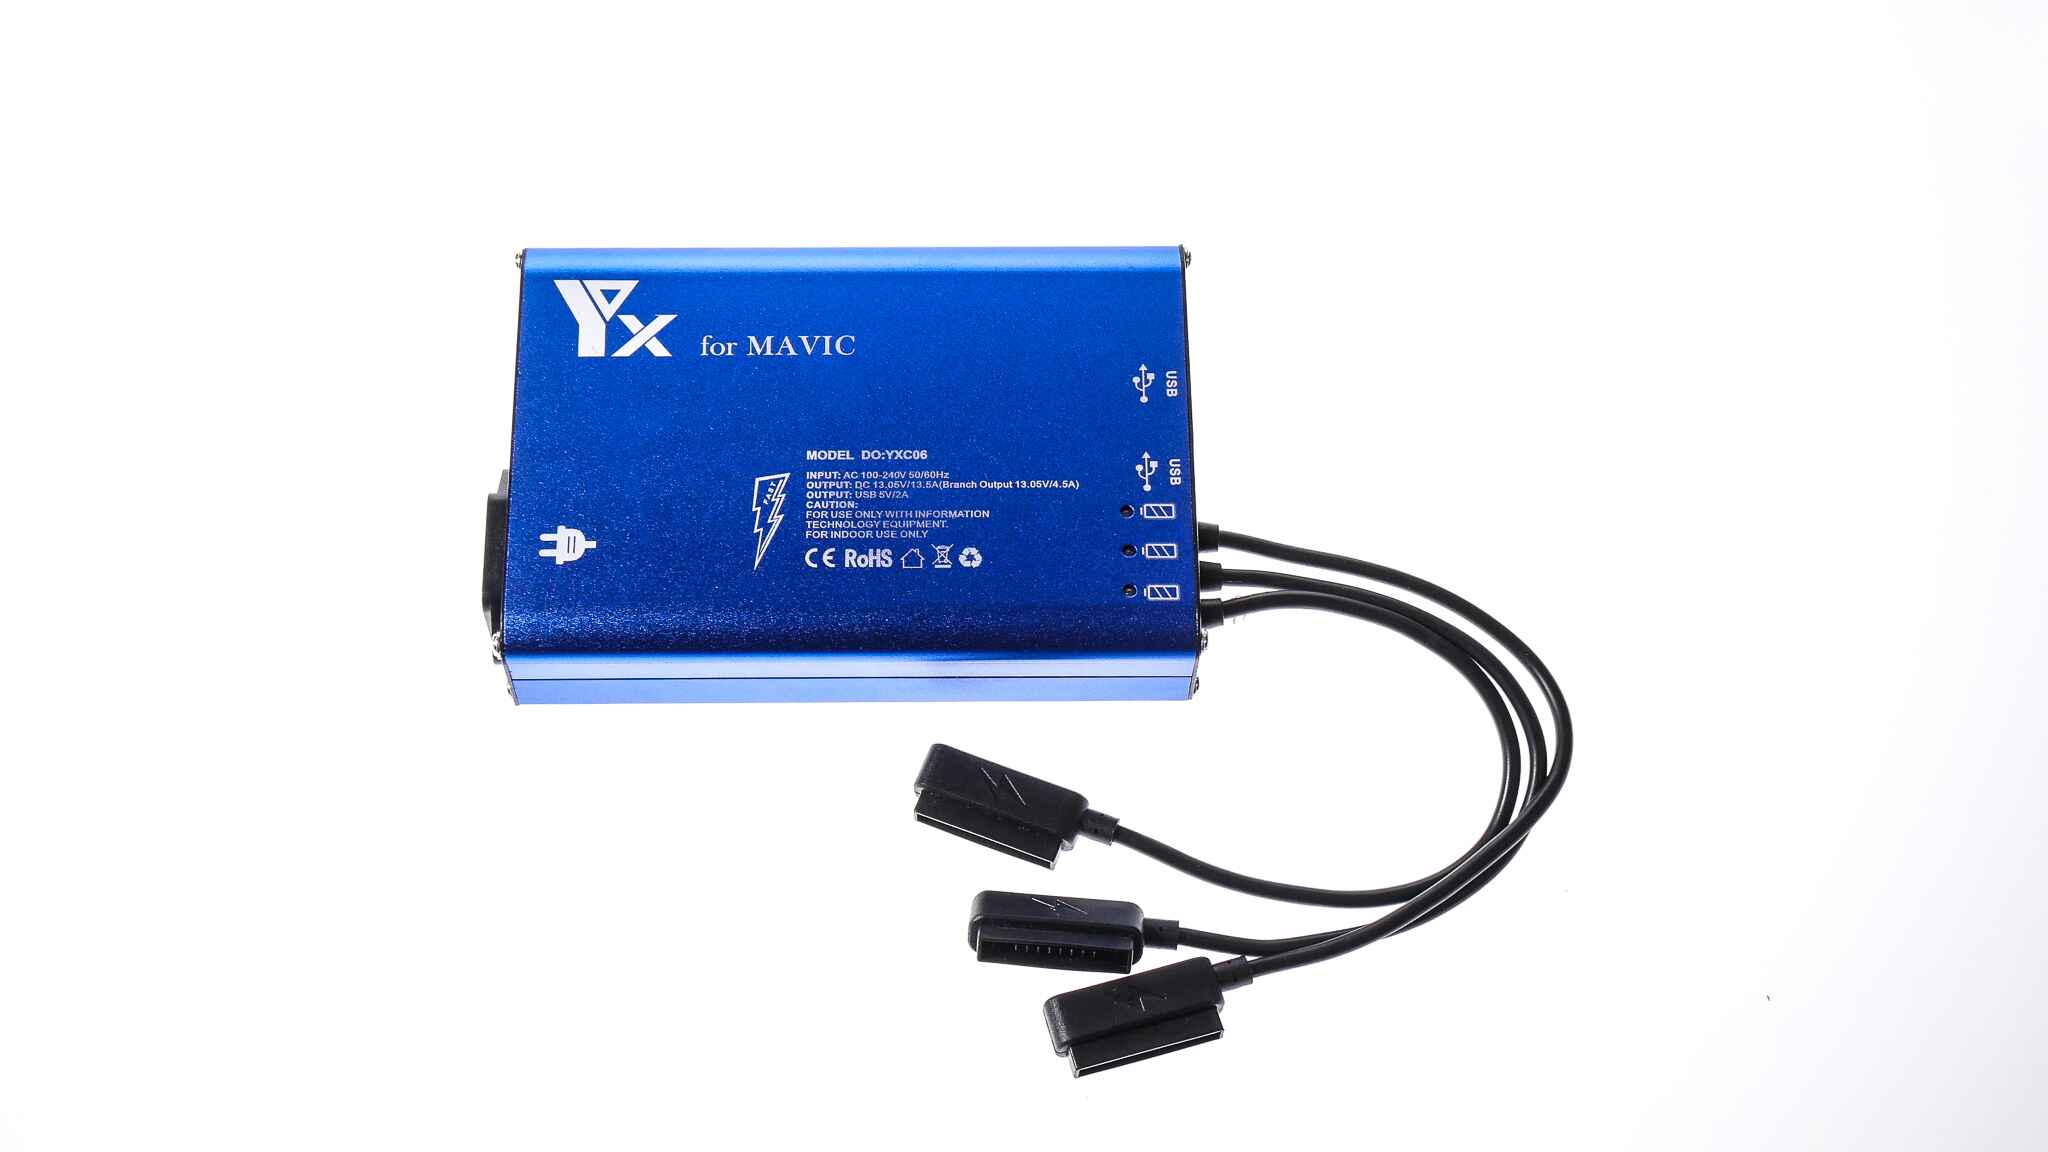
Parallel Charging: If you need to charge multiple batteries simultaneously, you can use a parallel charging board. These boards can be purchased separately and have multiple ports where you can connect the batteries. Connect the parallel charging board to the DJI Mavic Pro charger, and then connect each battery to a separate port on the board. The charger will distribute the power to charge all the batteries simultaneously. Keep in mind that when using a parallel charging board, it’s crucial to ensure that the batteries are balanced and have similar remaining charge levels for optimal charging performance.
Multiple Chargers: Another option is to use multiple DJI Mavic Pro chargers if you have them available. Connect each charger to a separate power source and then connect one battery to each charger. This method allows you to charge multiple batteries simultaneously without the need for a parallel charging board. However, it may require access to multiple power outlets or power sources.
When charging multiple batteries, it’s essential to monitor the charging process closely. Keep an eye on the LED lights on the charger or use a battery charging hub that provides status indicators for each battery. This will allow you to ensure that each battery is charging correctly and keep track of their individual charge levels.
Remember to adhere to safety guidelines provided by DJI when charging multiple batteries. Avoid overloading power sources or using incompatible chargers, as this can lead to damage or reduced performance of the batteries. Additionally, always prioritize charging individual batteries one at a time if you are unable to supervise the charging process.
By optimizing your charging methods for multiple batteries, you can streamline the process and ensure that you always have fully charged batteries ready for your aerial adventures.
Tips for Efficient Charging
Efficient charging practices can help you maximize the lifespan of your DJI Mavic Pro batteries and ensure that they are always ready for your next flight. Here are some tips to make your charging process as efficient as possible:
1. Plan Ahead: Before your flight, check the battery levels of your Mavic Pro batteries. If you know you will be flying for an extended period or have multiple shooting sessions, charge your batteries in advance to avoid any unnecessary downtime.
2. Use Fast Chargers: Invest in fast chargers that are specifically designed for the DJI Mavic Pro batteries. These chargers can reduce charging time significantly and allow you to get back in the air quickly. However, ensure that the fast charger is compatible and safe to use with your batteries.
3. Optimize Charging Environment: Charge your Mavic Pro batteries in a cool, dry, and well-ventilated area. Avoid exposing them to direct sunlight, high temperatures, or excessive humidity. Charging in a favorable environment ensures optimal performance and prevents any potential damage to the batteries.
4. Monitor Charging Progress: Keep an eye on the LED lights on the charger or use a battery charging hub with status indicators to monitor the charging progress. This allows you to track the battery’s charge level and estimate the remaining charging time.
5. Avoid Overcharging: While the DJI Mavic Pro batteries have built-in protection mechanisms against overcharging, it’s still advisable to unplug the charger once the batteries are fully charged. This helps prevent unnecessary stress on the batteries and extends their overall lifespan.
6. Balance Battery Usage: Try to rotate the use of your Mavic Pro batteries to ensure that they are all being utilized evenly. This helps maintain battery health and prevents any single battery from being overused or underused.
7. Keep Spare Batteries Charged: If you have spare batteries, make sure to keep them charged and ready for use. This ensures that you always have a backup power source available, especially when shooting on location or during longer flights.
8. Maintain Battery Health: DJI recommends discharging the batteries to approximately 40-60% for long-term storage. This helps maintain the battery’s health during periods of inactivity and prevents any issues that may arise from leaving the batteries fully charged or fully discharged for extended periods.
By incorporating these tips into your charging routine, you can optimize the charging process, prolong the lifespan of your DJI Mavic Pro batteries, and enjoy uninterrupted flights with maximum power.
Conclusion
Charging your DJI Mavic Pro battery and remote controller properly is vital to ensure a seamless and enjoyable drone flying experience. By understanding the DJI Mavic Pro battery, using the DJI Mavic Pro charger correctly, and adopting efficient charging practices, you can maximize your drone’s flight time and maintain the longevity of your batteries.
Remember to always use the original DJI Mavic Pro charger provided with your drone and avoid using third-party chargers that may compromise performance or damage the batteries. Take advantage of sequential charging or consider investing in a parallel charging board to efficiently charge multiple batteries. Additionally, keep your Mavic Pro remote controller charged to ensure uninterrupted control during your flights.
Monitor the charging progress closely, follow the LED indicators on the charger, and create an optimal charging environment by avoiding extreme temperatures or direct sunlight. When not in use, store your batteries with a charge level of approximately 40-60% to maintain their health during long-term storage.
By following these guidelines and incorporating the tips for efficient charging, you can extend the lifespan of your DJI Mavic Pro batteries, minimize downtime, and make the most of your aerial photography and videography ventures. With powered-up and ready-to-fly equipment, you can capture stunning shots, explore new perspectives, and unlock the full potential of your DJI Mavic Pro.