Introduction
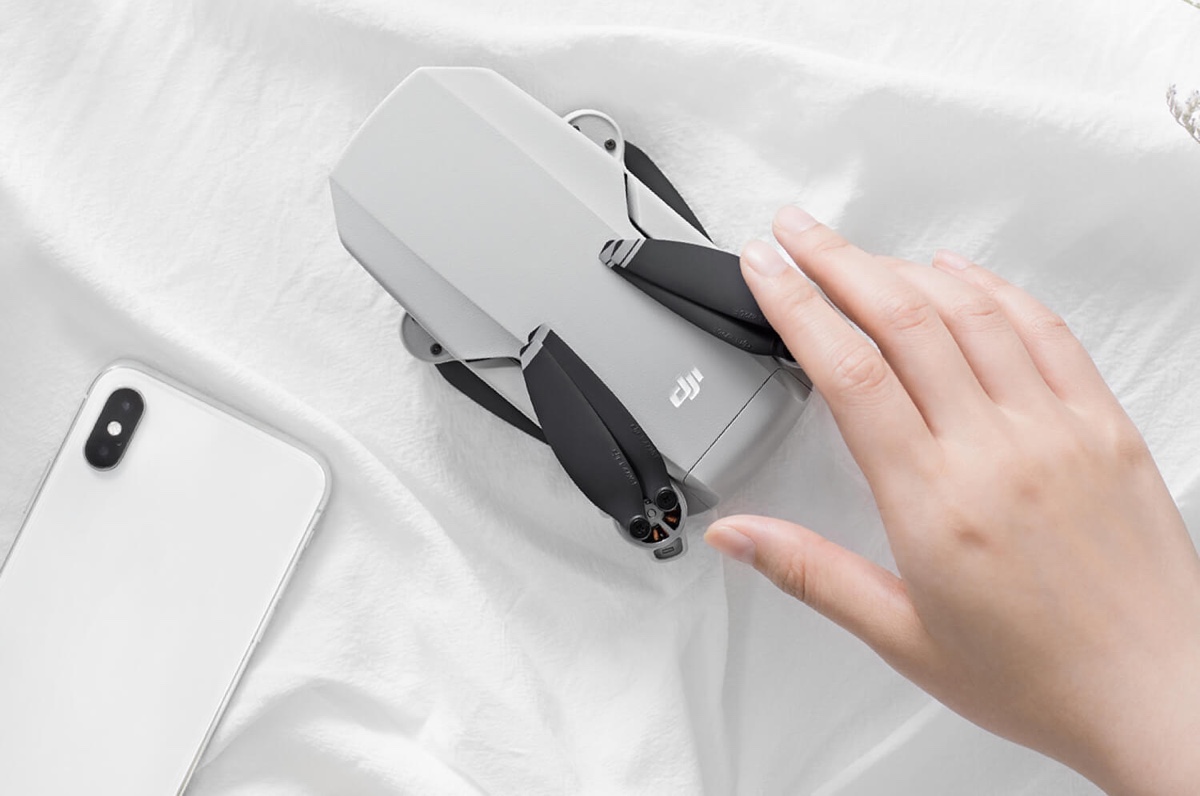
Welcome to the world of DJI Mavic Mini! As a proud owner of this compact and powerful drone, it’s important to understand how to properly charge its battery to ensure optimal performance and longevity.
The DJI Mavic Mini comes with a built-in lithium polymer battery, which provides it with the necessary power to take to the skies. Like any battery-powered device, it’s crucial to follow the correct charging procedure to avoid damaging the battery or compromising its performance.
In this guide, we will walk you through the various methods of charging your DJI Mavic Mini battery, including using the charging hub and charging with a power bank. We’ll also provide some valuable tips for battery maintenance to keep your Mavic Mini performing at its best. So, let’s dive in and learn how to properly charge your DJI Mavic Mini!
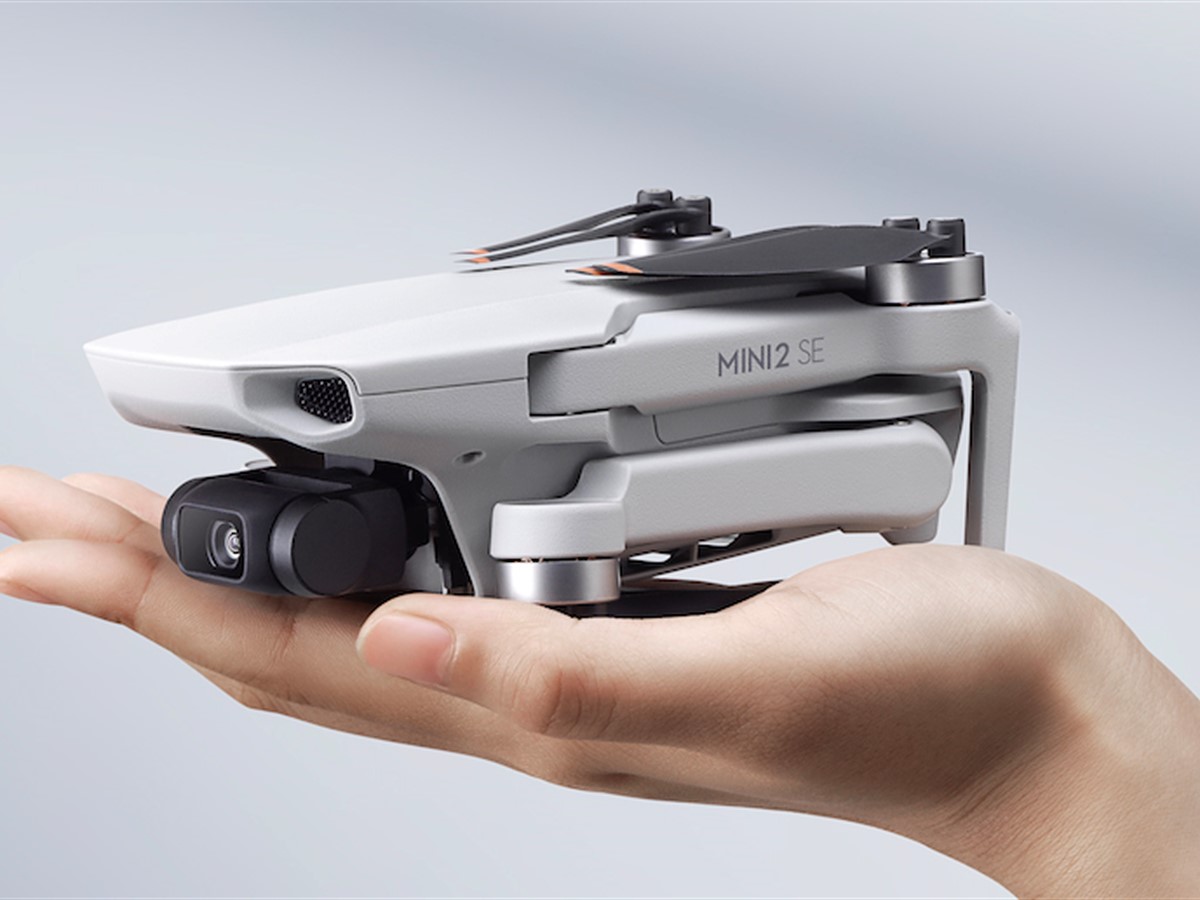
First, let’s familiarize ourselves with the battery of the DJI Mavic Mini. The Mavic Mini is equipped with an intelligent flight battery with a capacity of 2400mAh. This lightweight yet powerful battery provides up to 30 minutes of flight time, allowing you to capture stunning aerial footage and enjoy longer flights without interruptions.
To ensure the safety of the battery and the longevity of its lifespan, it’s recommended to only use the official DJI charger and accessories that come with the Mavic Mini. Using third-party chargers or cables may not only void the warranty but also pose a risk of damaging the battery.
Now that we are familiar with the battery and the importance of using official accessories, let’s explore the different methods of charging your DJI Mavic Mini battery and the best practices to follow. Whether you’re at home or on the go, you’ll have all the information you need to keep your Mavic Mini powered up and ready for your next adventure.
Understanding the Battery
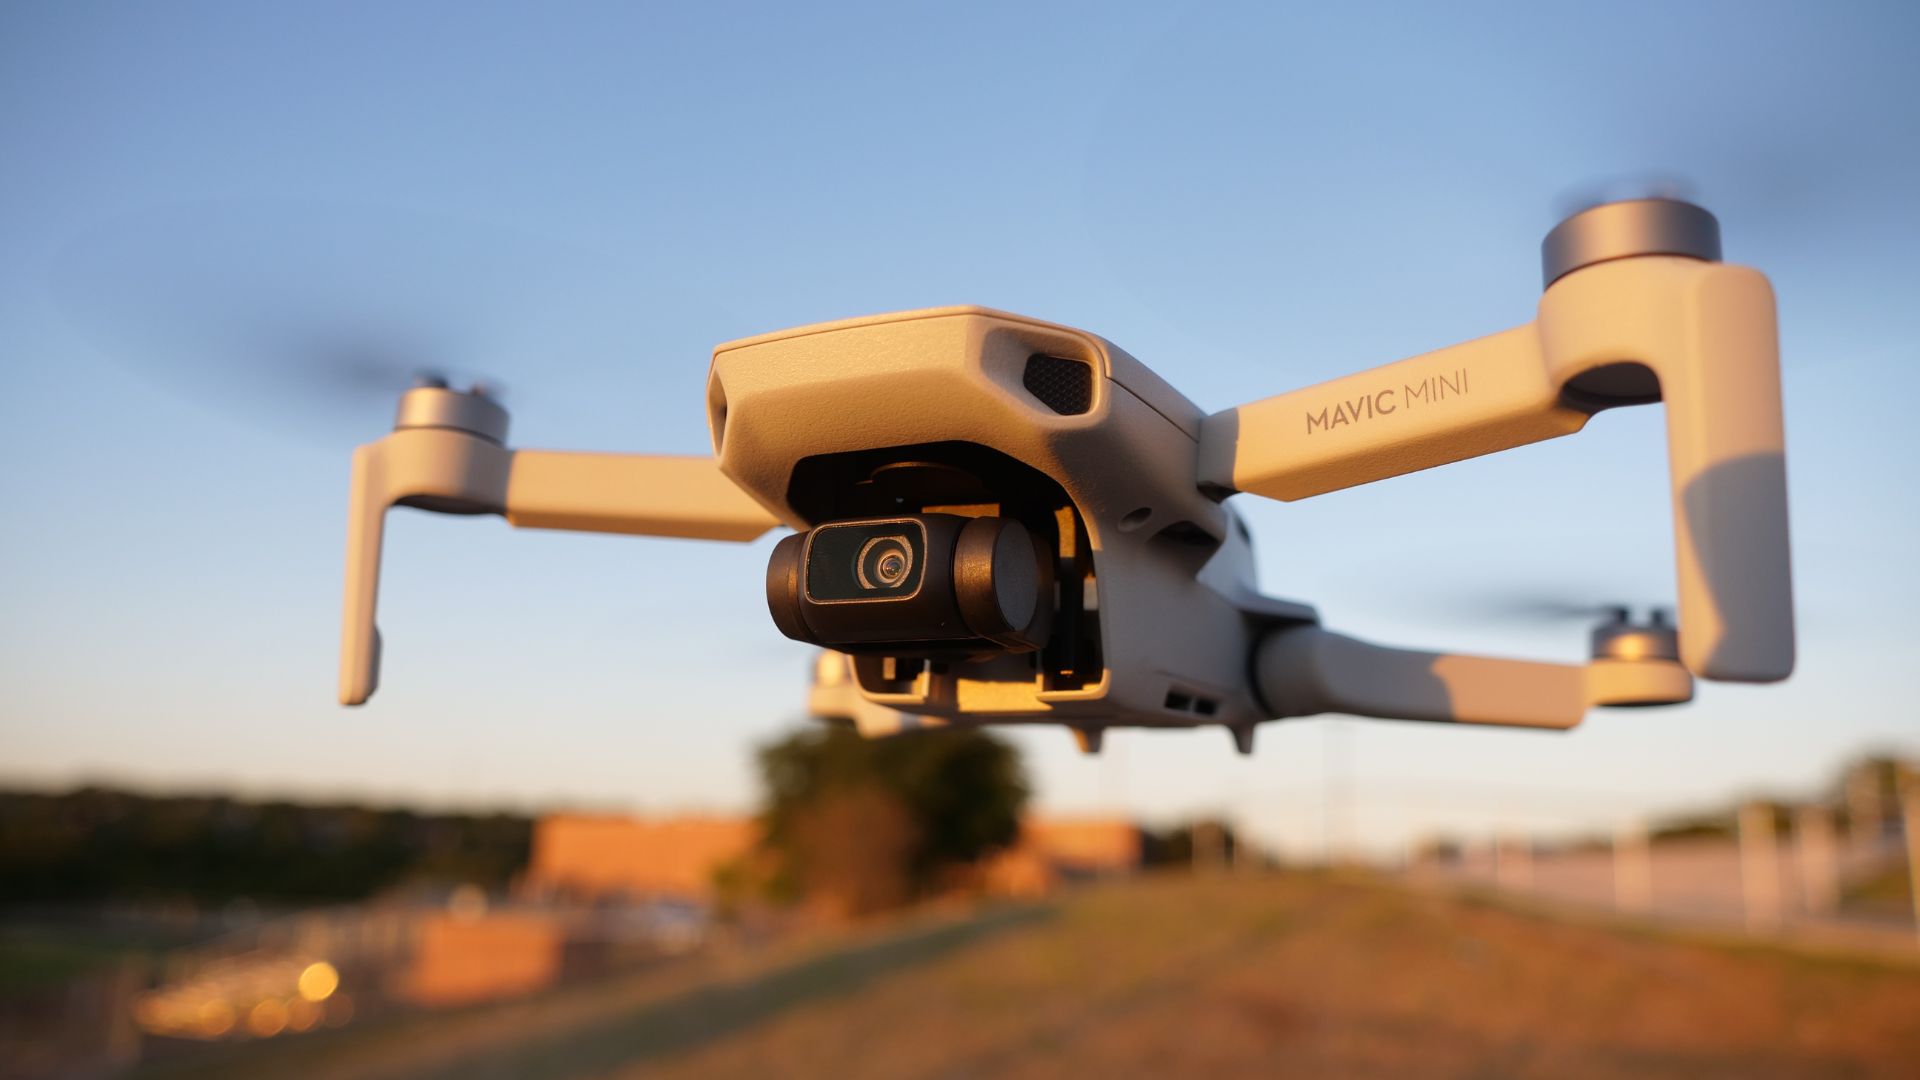
Before delving into the various charging methods, it’s essential to have a basic understanding of the DJI Mavic Mini battery. The Mavic Mini’s intelligent flight battery is a vital component that powers the drone and allows you to take to the skies.
The battery is a lithium polymer (LiPo) battery with a capacity of 2400mAh. LiPo batteries are known for their high energy density and lightweight nature, making them ideal for drones like the Mavic Mini. With this battery, you can enjoy up to 30 minutes of flight time, giving you ample opportunity to capture breathtaking aerial shots.
To ensure the battery’s longevity and safe operation, it’s crucial to handle and store it correctly. Here are some key points to keep in mind:
- Temperature Range: LiPo batteries perform best within a specific temperature range. It’s recommended to charge and discharge the battery at temperatures between 5°C and 40°C (41°F and 104°F). Extreme temperatures, whether hot or cold, can affect the battery’s performance and potentially cause damage.
- Storage: If you won’t be using your Mavic Mini for an extended period, it’s essential to store the battery properly. DJI recommends storing the battery at around 60% capacity in a cool and dry place. This helps maintain the battery’s health and prevents it from self-discharging too quickly.
- Avoid Over-Discharging: Discharging the battery to extremely low levels can be detrimental to its lifespan. The Mavic Mini is equipped with a low battery warning system that alerts you when it’s time to land the drone and change the battery. It’s crucial to heed these warnings to prevent over-discharging, which could lead to irreparable damage to the battery.
- Transportation: When transporting your Mavic Mini and its batteries, it’s essential to follow safety guidelines. Ensure the battery is securely installed in the drone or placed in a dedicated battery bag designed for transportation. This prevents any accidental short circuits or damage during transit.
By understanding these key aspects and following the manufacturer’s guidelines, you can ensure the optimal performance and longevity of your DJI Mavic Mini battery. Now that we have a good grasp of the battery, let’s move on to the various charging methods available to us.
Charging the Battery
Charging the DJI Mavic Mini battery is a straightforward process that can be done using the provided charger and cable. Here’s a step-by-step guide on how to charge your Mavic Mini battery:
- Connect the Charger: Start by plugging the USB end of the charger into a power source, such as a wall outlet or a portable power bank. Make sure the power source provides a stable and reliable electricity supply.
- Attach the Cable: Take the other end of the charger, which has a small connector, and plug it into the charging port located on the side of the drone. Ensure it is firmly connected to establish a reliable charging connection.
- Charging Indicator: Once the charger is connected, you’ll see a solid red light on the charger. This indicates that the battery is being charged. The light will turn green when the battery is fully charged.
- Charging Time: The Mavic Mini battery usually takes approximately 90-120 minutes to charge fully, depending on the remaining capacity. The charging process may take longer if the battery is deeply discharged.
- Unplug and Disconnect: Once the battery is fully charged, unplug the charger from the power source, and disconnect it from the charging port on the drone. Ensure both connections are secure before moving on.
It’s important to note that you should never leave the battery unattended while charging. While the Mavic Mini battery has safety features to prevent overcharging, it’s always a good practice to be present and vigilant during the charging process.
If you encounter any issues or abnormalities during the charging process, such as a faulty charging indicator or overheating, it’s recommended to contact DJI customer support for assistance. They will provide guidance on how to resolve the issue and ensure the battery’s safety.
Now that you know how to charge your DJI Mavic Mini battery using the provided charger and cable, let’s explore an alternative method – using the charging hub – in the next section.
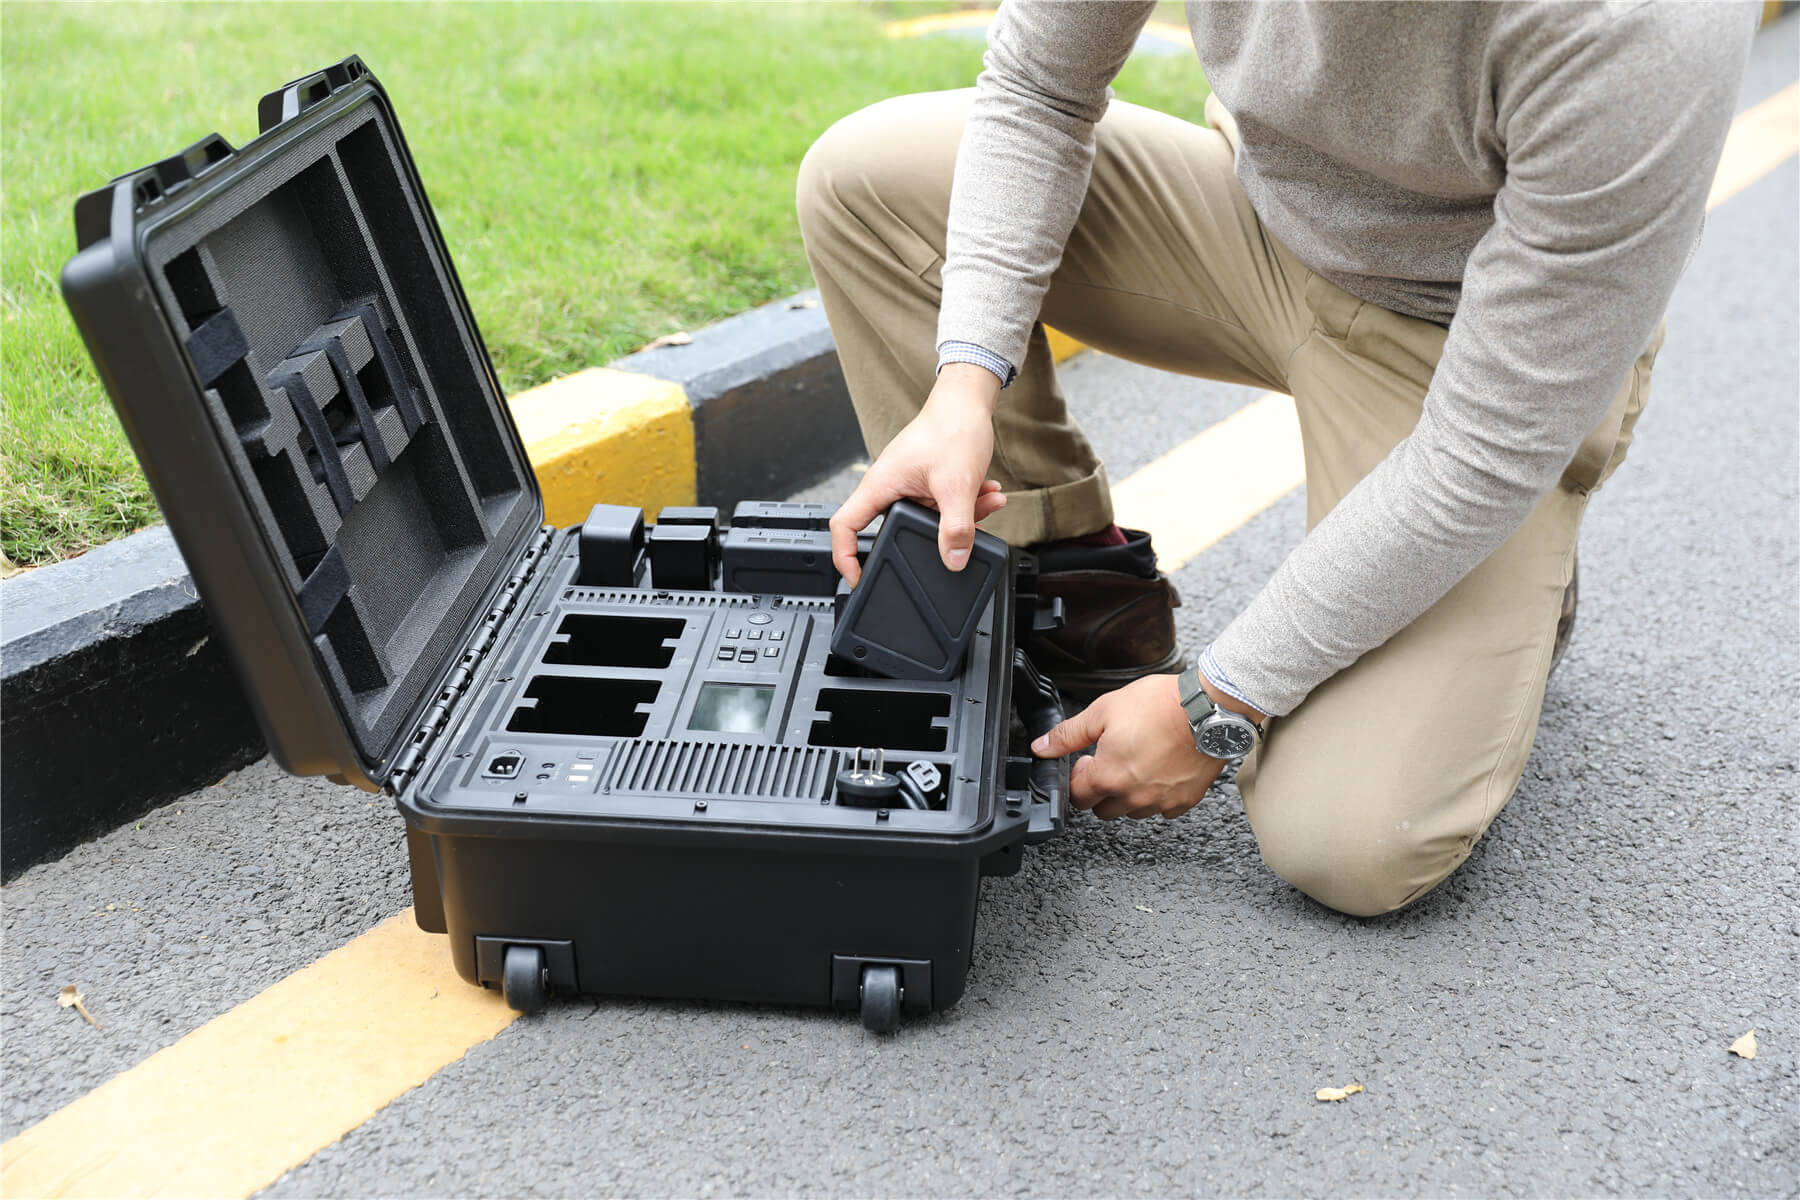
Using the Charging Hub
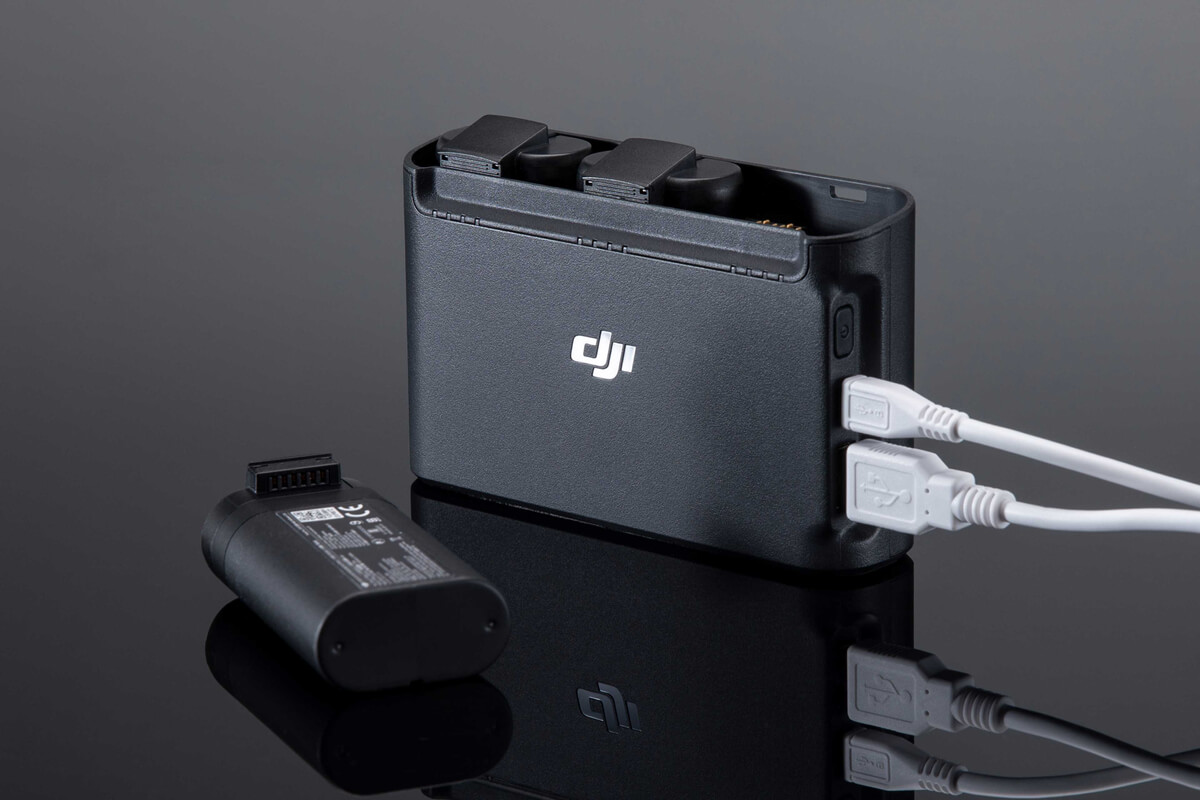
The DJI Mavic Mini Charging Hub is an efficient and convenient accessory that allows you to charge multiple batteries simultaneously. With the Charging Hub, you can save time and ensure all your batteries are ready for your next flight. Here’s how to use the Charging Hub:
- Connect the Charger: Start by connecting the charger to a power source using the provided cable. Make sure the power source is stable and reliable.
- Attach the Charging Hub: Plug the other end of the charger into the input port of the Charging Hub. You’ll see a solid red light on the hub, indicating that it is powered on.
- Insert the Batteries: Take your Mavic Mini batteries and insert them into the battery slots on the Charging Hub. The hub can accommodate up to three batteries simultaneously.
- Charge Initiation: Once the batteries are inserted, the Charging Hub will automatically detect them and start the charging process. Each battery’s charging progress will be indicated by the corresponding LED light on the hub.
- Charging Time: The charging time for multiple batteries may vary depending on the number of batteries and their remaining capacity. It typically takes around 90-120 minutes to fully charge multiple batteries.
- Battery Order: The Charging Hub prioritizes charging the battery with the highest remaining capacity first, followed by the other batteries in descending order. This ensures optimized charging performance.
- Charge Completion: Once the batteries are fully charged, the LED lights on the Charging Hub will turn green. You can then remove the batteries from the hub and disconnect the charger from the power source.
The Charging Hub provides a convenient solution for charging multiple batteries, particularly when you have limited time or need to charge batteries overnight. However, it’s important to note that the Charging Hub is not compatible with third-party chargers. Always use the official DJI charger and cable to ensure safe and reliable charging.
Now that you know how to use the Charging Hub, let’s explore another alternative method for charging your DJI Mavic Mini battery – using a power bank – in the next section.
Charging with a Power Bank
Another convenient method for charging your DJI Mavic Mini battery is by using a power bank. This allows you to charge your battery on the go, providing flexibility and convenience, especially during outdoor adventures. Here’s how to charge your Mavic Mini battery with a power bank:
- Select a Power Bank: Choose a power bank with sufficient capacity to charge your Mavic Mini battery. Look for a power bank that provides output compatible with the Mavic Mini’s charging requirements.
- Connect the Cable: Connect one end of the charging cable to the power bank’s output port. Ensure the cable you are using is compatible with both the power bank and the Mavic Mini battery.
- Connect to the Drone: Take the other end of the cable and connect it to the charging port on the side of the Mavic Mini drone. Ensure a secure connection is established.
- Power Bank Activation: Turn on the power bank to initiate the charging process. The power bank will supply power to the Mavic Mini battery, which will start charging.
- Charging Time: The charging time using a power bank may vary depending on the power bank’s capacity and the remaining capacity of the Mavic Mini battery. It is recommended to fully charge the power bank before using it to charge the drone battery.
- Monitor Charging: Keep an eye on the power bank’s remaining power or LED indicators to ensure it doesn’t run out of charge during the process. Some power banks may automatically turn off when the connected device is fully charged.
- Disconnect and Store: Once the Mavic Mini battery is fully charged, disconnect the cable from both the drone and the power bank. Store the power bank in a safe place for future use.
Charging your DJI Mavic Mini battery with a power bank provides portability and flexibility, ensuring you can power up your drone even when you’re away from traditional power sources. However, it’s important to consider the power bank’s capacity and charging compatibility to ensure efficient and safe charging.
Now that you have learned how to charge your DJI Mavic Mini battery using the charging hub and a power bank, let’s move on to some valuable tips for battery maintenance in the next section.
Tips for Battery Maintenance
Proper battery maintenance is crucial for maximizing the performance and lifespan of your DJI Mavic Mini battery. By following these tips, you can ensure the longevity and reliability of your battery:
- Regular Use and Charging: It’s recommended to use and charge your Mavic Mini battery at least once every few months, even if you’re not flying the drone regularly. Regular use and charging help maintain the battery’s health and prevent it from deteriorating.
- Avoid Extreme Temperatures: Exposure to extreme temperatures can negatively impact the battery’s performance and lifespan. Avoid using or charging the battery in overly hot or cold environments. Additionally, don’t store the battery in places with extreme temperatures.
- Inspect and Clean the Battery: Regularly inspect the battery and its connectors for any signs of damage or dirt. If you notice any abnormalities, such as bloating, corrosion, or debris, contact DJI customer support for guidance.
- Use Official Accessories: Stick to using official DJI chargers, cables, and accessories for charging and maintaining your Mavic Mini battery. Third-party accessories may not provide the required safety measures and could potentially damage the battery.
- Store the Battery Properly: When storing your Mavic Mini battery for an extended period, ensure it is stored in a cool, dry place at around 60% capacity. Avoid exposing the battery to direct sunlight, moisture, or extreme temperatures.
- Keep Firmware Updated: Regularly check for firmware updates for your Mavic Mini drone and battery. Firmware updates often include improvements and optimizations that can enhance the battery’s performance and stability.
- Handle with Care: Always handle the battery with care, avoiding dropping it or subjecting it to physical impact. Mishandling the battery can lead to internal damage, reducing its performance and potentially compromising safety.
By following these maintenance tips, you’ll ensure that your DJI Mavic Mini battery remains in top condition, providing reliable power for your drone flights. Proper battery care is an essential aspect of being a responsible drone owner.
Now that you’re equipped with the knowledge of charging methods and battery maintenance tips, you can confidently keep your DJI Mavic Mini battery performing at its best for countless flights to come!
Conclusion
Properly charging and maintaining your DJI Mavic Mini battery is essential for optimizing its performance and ensuring its longevity. By understanding the battery and following the correct charging procedures, you can enjoy longer flights and capture breathtaking aerial footage.
In this guide, we’ve covered various methods of charging your Mavic Mini battery, including using the provided charger, the charging hub, and a power bank. Each method offers its own advantages and provides flexibility depending on your charging needs and location.
Additionally, we’ve explored some valuable tips for battery maintenance, such as regular use and charging, avoiding extreme temperatures, using official accessories, and proper storage. Following these tips will help keep your battery in top condition and extend its overall lifespan.
Remember, always prioritize safety by using official DJI chargers and cables, and never leave the battery unattended while charging.
By taking the time to fully understand and implement the proper charging and maintenance practices, you can ensure that your DJI Mavic Mini battery remains reliable and performs at its best for all your drone adventures.
Now, it’s time to charge up your battery and take to the skies. Enjoy flying your DJI Mavic Mini and capturing stunning aerial experiences!