Introduction
Welcome to our step-by-step guide on how to take off with the DJI Mini 2, the popular and compact drone that delivers stunning aerial footage. Whether you’re a beginner or an experienced drone pilot, this guide will help ensure a safe and successful takeoff.
The DJI Mini 2 is known for its user-friendly features, excellent flight performance, and impressive camera capabilities. Before taking off, it’s crucial to follow some safety precautions and go through a few checklist items. By doing so, you can prevent accidents and enjoy a smooth flight experience.
In this guide, we’ll walk you through the entire process of taking off with the DJI Mini 2, from checking the drone’s condition to calibrating the compass and ensuring a stable GPS signal. We’ll also provide helpful tips and best practices for flying your drone safely and capturing fantastic aerial shots.
Whether you’re planning to use the DJI Mini 2 for recreational purposes, aerial photography, or videography, this guide has you covered. So, let’s dive into the details and get ready for an incredible drone flying experience!
Safety Precautions
Before taking off with your DJI Mini 2, it’s essential to prioritize safety. Here are some important safety precautions to keep in mind:
- Read the User Manual: Familiarize yourself with the DJI Mini 2’s user manual and understand the drone’s features and limitations.
- Check Local Laws and Regulations: Ensure that you are aware of the drone flying regulations in your country or region. Follow all the necessary guidelines and obtain any required permits or licenses.
- Perform a Pre-Flight Checklist: Before each flight, conduct a thorough pre-flight checklist. Inspect the drone, remote controller, and batteries to ensure they are in proper working condition.
- Choose a Safe Flying Location: Select a clear, open area away from people, buildings, and obstacles. Avoid flying near airports, restricted airspace, or other sensitive areas.
- Take Weather Conditions into Account: Check weather conditions before flying. Avoid flying in strong winds, rain, or foggy weather that can negatively impact the drone’s stability and performance.
- Prepare Spare Batteries: Have fully charged spare batteries on hand. Flying with a drained battery can be risky and might lead to a forced landing or even a crash.
- Stay Within Visual Line of Sight: Always keep the drone within visual range. Flying beyond your line of sight increases the risk of accidents and makes it challenging to maintain control.
- Respect Privacy: Be mindful of people’s privacy and avoid recording or flying over private property without permission.
- Be Aware of Emergency Procedures: Familiarize yourself with emergency procedures like manual landing and activating return-to-home function in case of unexpected situations.
- Stay Up to Date with Firmware Updates: Regularly update the drone’s firmware to ensure optimal performance and access to the latest features and improvements.
By adhering to these safety precautions, you’ll minimize the risks associated with drone flying and ensure a safe and enjoyable experience with your DJI Mini 2.
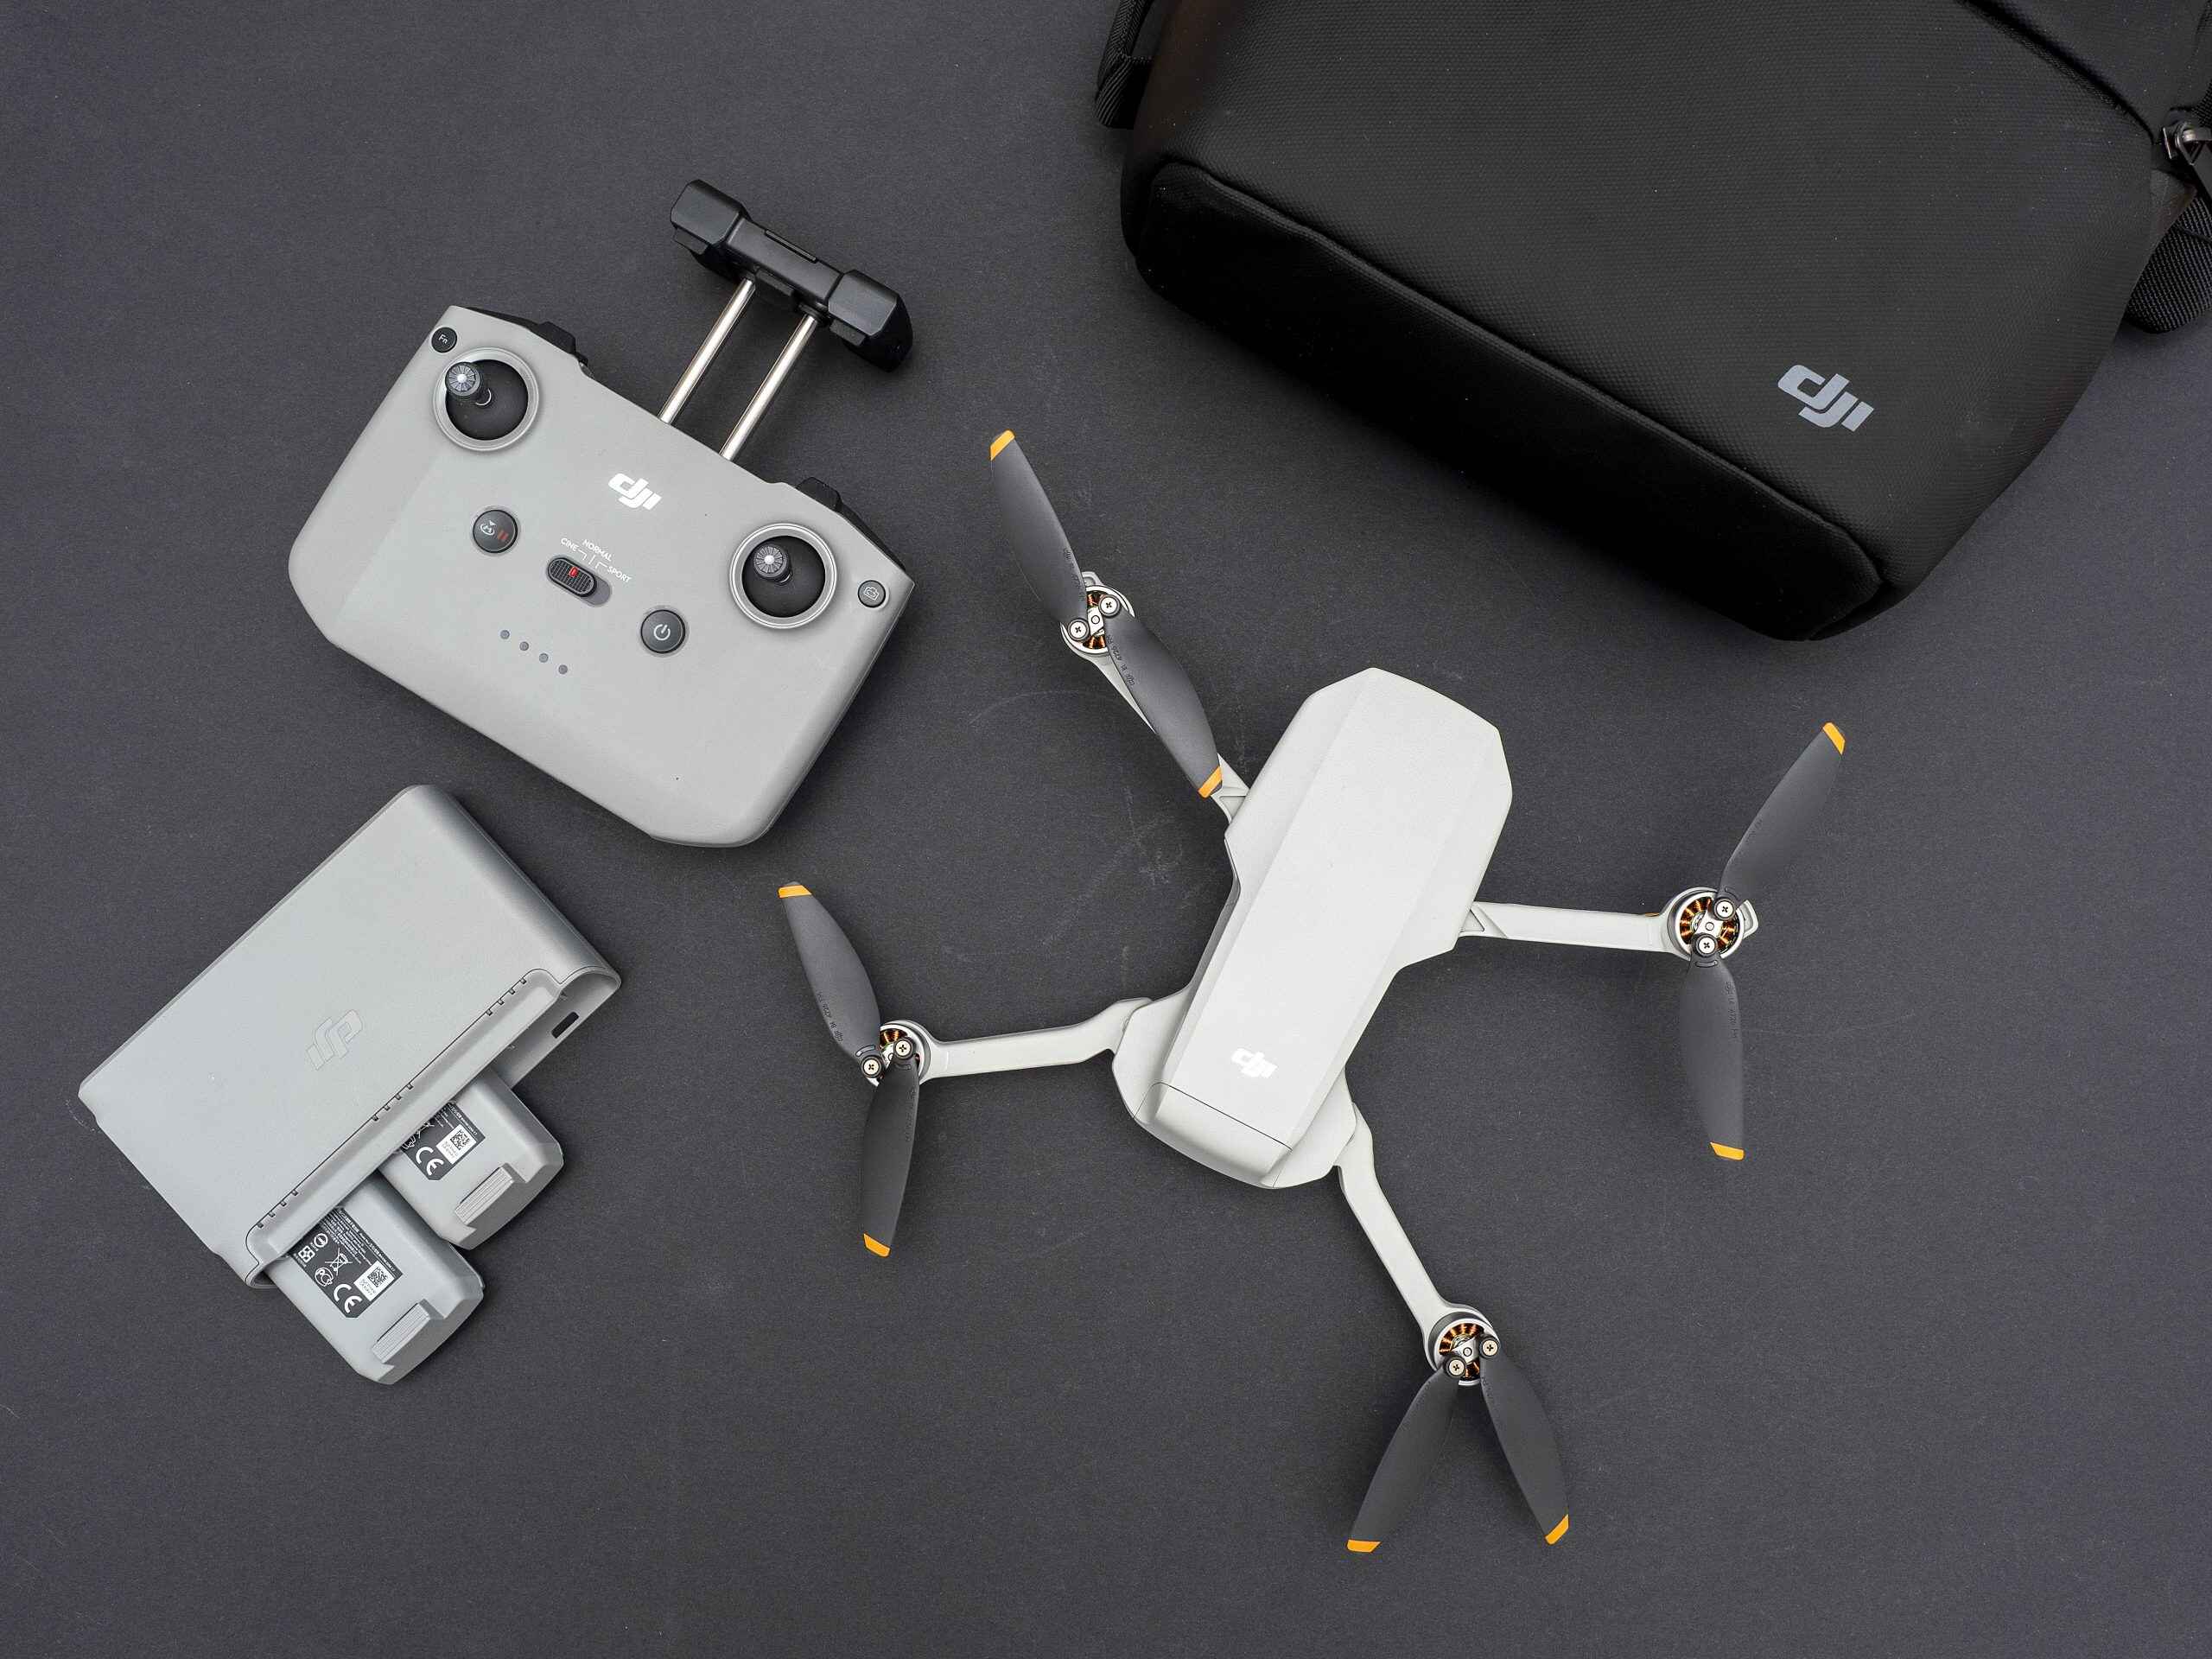
Step 1: Check the Drone
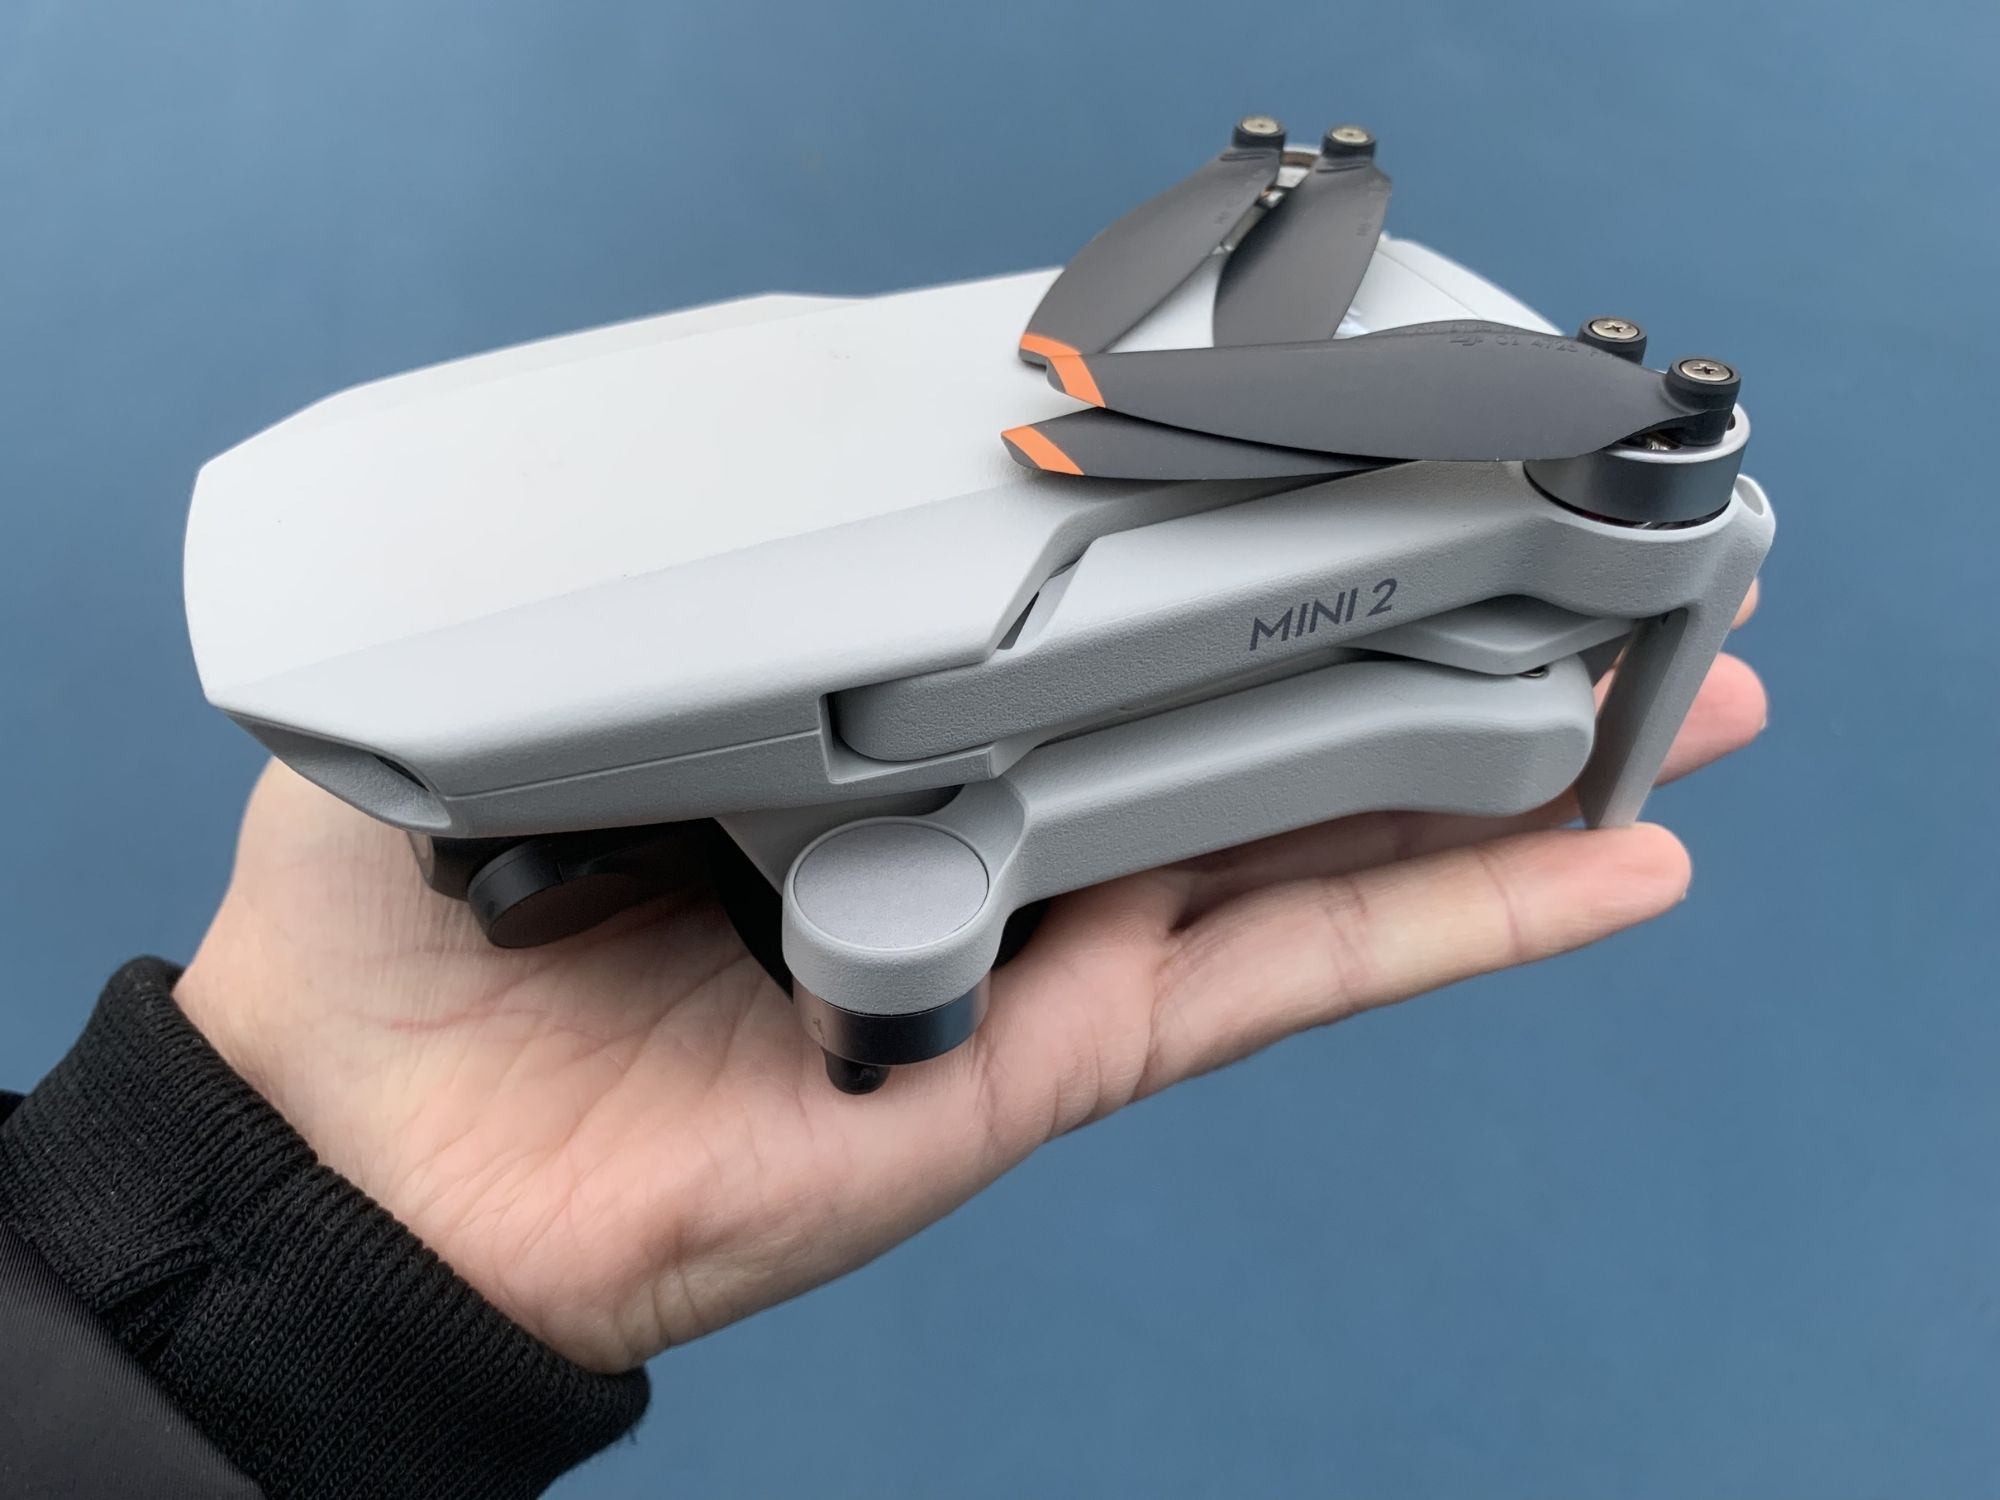
Before taking off, it’s crucial to thoroughly inspect your DJI Mini 2 to ensure that it is in perfect working condition. Follow these steps to check the drone:
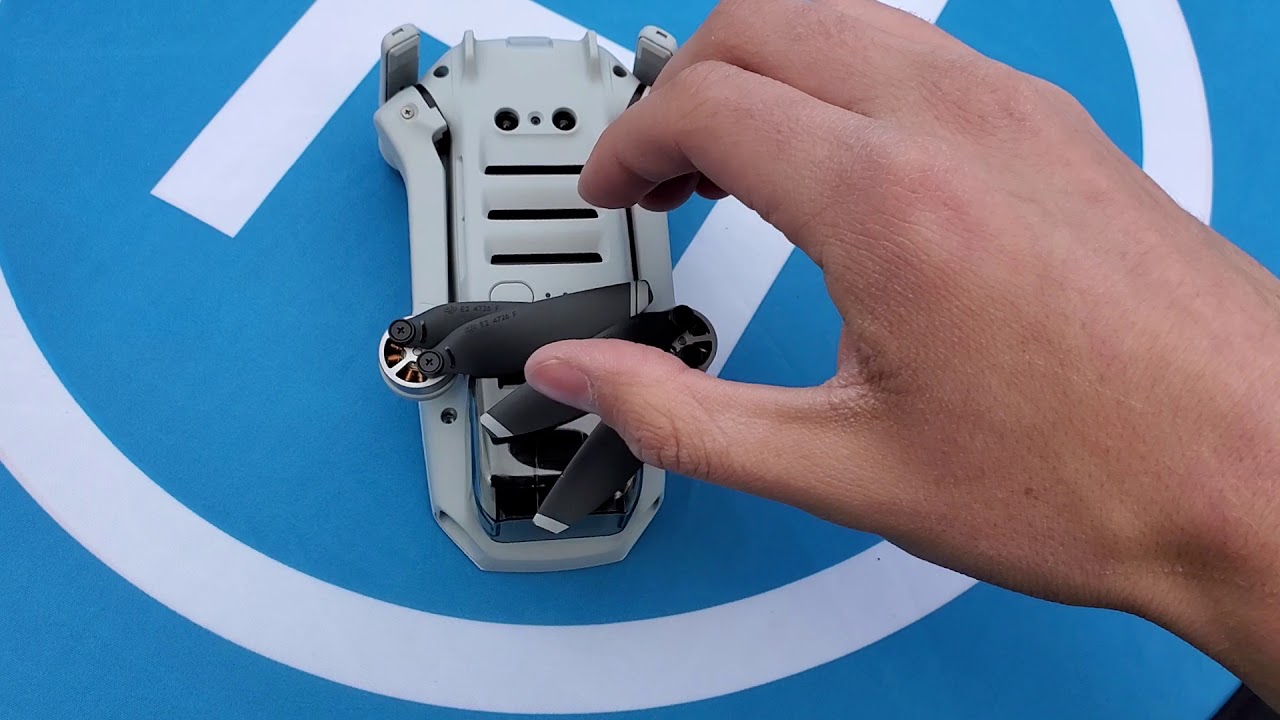
- Examine the Exterior: Inspect the drone’s body for any visible damage or cracks. Check the propellers for any signs of wear or damage. Replace any damaged propellers before flying.
- Check Battery Level: Ensure that the battery is fully charged and securely inserted in the drone. A low battery can lead to unexpected power loss during flight, so it’s important to have a sufficient charge.
- Inspect the Camera: Check the camera lens for any smudges or debris that could affect the image quality. Clean the lens gently with a microfiber cloth if necessary.
- Verify the Gimbal Stability: Check if the gimbal is stable and properly aligned. Gently move the drone to see if the gimbal maintains a level position. If the gimbal is not stable, follow the calibration process provided in the user manual.
- Ensure Proper GPS Connection: Look for the GPS signal indicator on the DJI Mini 2’s interface. Verify that there is a strong GPS connection before taking off. A weak or no GPS signal can result in unstable flight and compromised safety.
- Inspect the Sensors: Check all the available sensors, including obstacle avoidance sensors, if applicable. Ensure that they are clean and free from any obstructions to ensure accurate obstacle detection and avoidance capabilities.
- Verify Firmware Updates: Connect the DJI Mini 2 to the DJI Fly app and check for any firmware updates. If an update is available, follow the prompts to install the latest firmware for optimal performance and added features.
By carefully examining and verifying the condition of your DJI Mini 2 before takeoff, you’ll help ensure a safe and smooth flight experience. If you notice any issues during the inspection, address them before attempting to fly your drone.
Step 2: Choose a Safe Location
Choosing the right flying location is crucial for a successful and safe drone flight with your DJI Mini 2. Follow these guidelines to select a safe and suitable location:
- Check Local Regulations: Familiarize yourself with the local drone flying regulations, as each country or region may have specific rules about where and when you can fly. Avoid flying in restricted areas or near airports.
- Open and Unobstructed Area: Look for a spacious outdoor space with minimal obstructions such as trees, buildings, or power lines. Having a clear area allows for a wider flight range and reduces the risk of collisions.
- Avoid Crowded Areas: Choose a location that is away from crowded places, especially gatherings, events, or sports activities. This ensures the safety of people and minimizes the risk of accidents.
- Consider Weather Conditions: Assess the weather conditions before flying. Steer clear of flying in strong winds, rain, or fog, as these conditions can affect the stability and maneuverability of the DJI Mini 2.
- Privacy and Property: Respect people’s privacy and property rights. Avoid flying over private properties without permission and ensure that your flight path does not invade anyone’s privacy.
- Check for No-Fly Zones: Use the DJI Fly app or other reliable sources to identify any designated no-fly zones in your area. These could include national parks, government facilities, or sensitive areas where drone flights are prohibited.
- Consider Altitude Restrictions: Some regions may have specific altitude restrictions for drone flights. Ensure that you comply with these limitations to avoid any legal issues or hazards.
- Avoid Interference: Stay away from areas with strong electromagnetic interference, such as high-voltage power lines, radio towers, or busy cellular networks. Interference can affect the drone’s control signal and GPS accuracy.
- Plan an Emergency Landing Spot: Identify an open and safe area nearby that can be used as an emergency landing spot in case of any unforeseen circumstances, such as a low battery or connection issues.
By following these guidelines and carefully selecting a safe flying location, you’ll minimize the risk of accidents and ensure a smooth and stress-free flight experience with your DJI Mini 2.
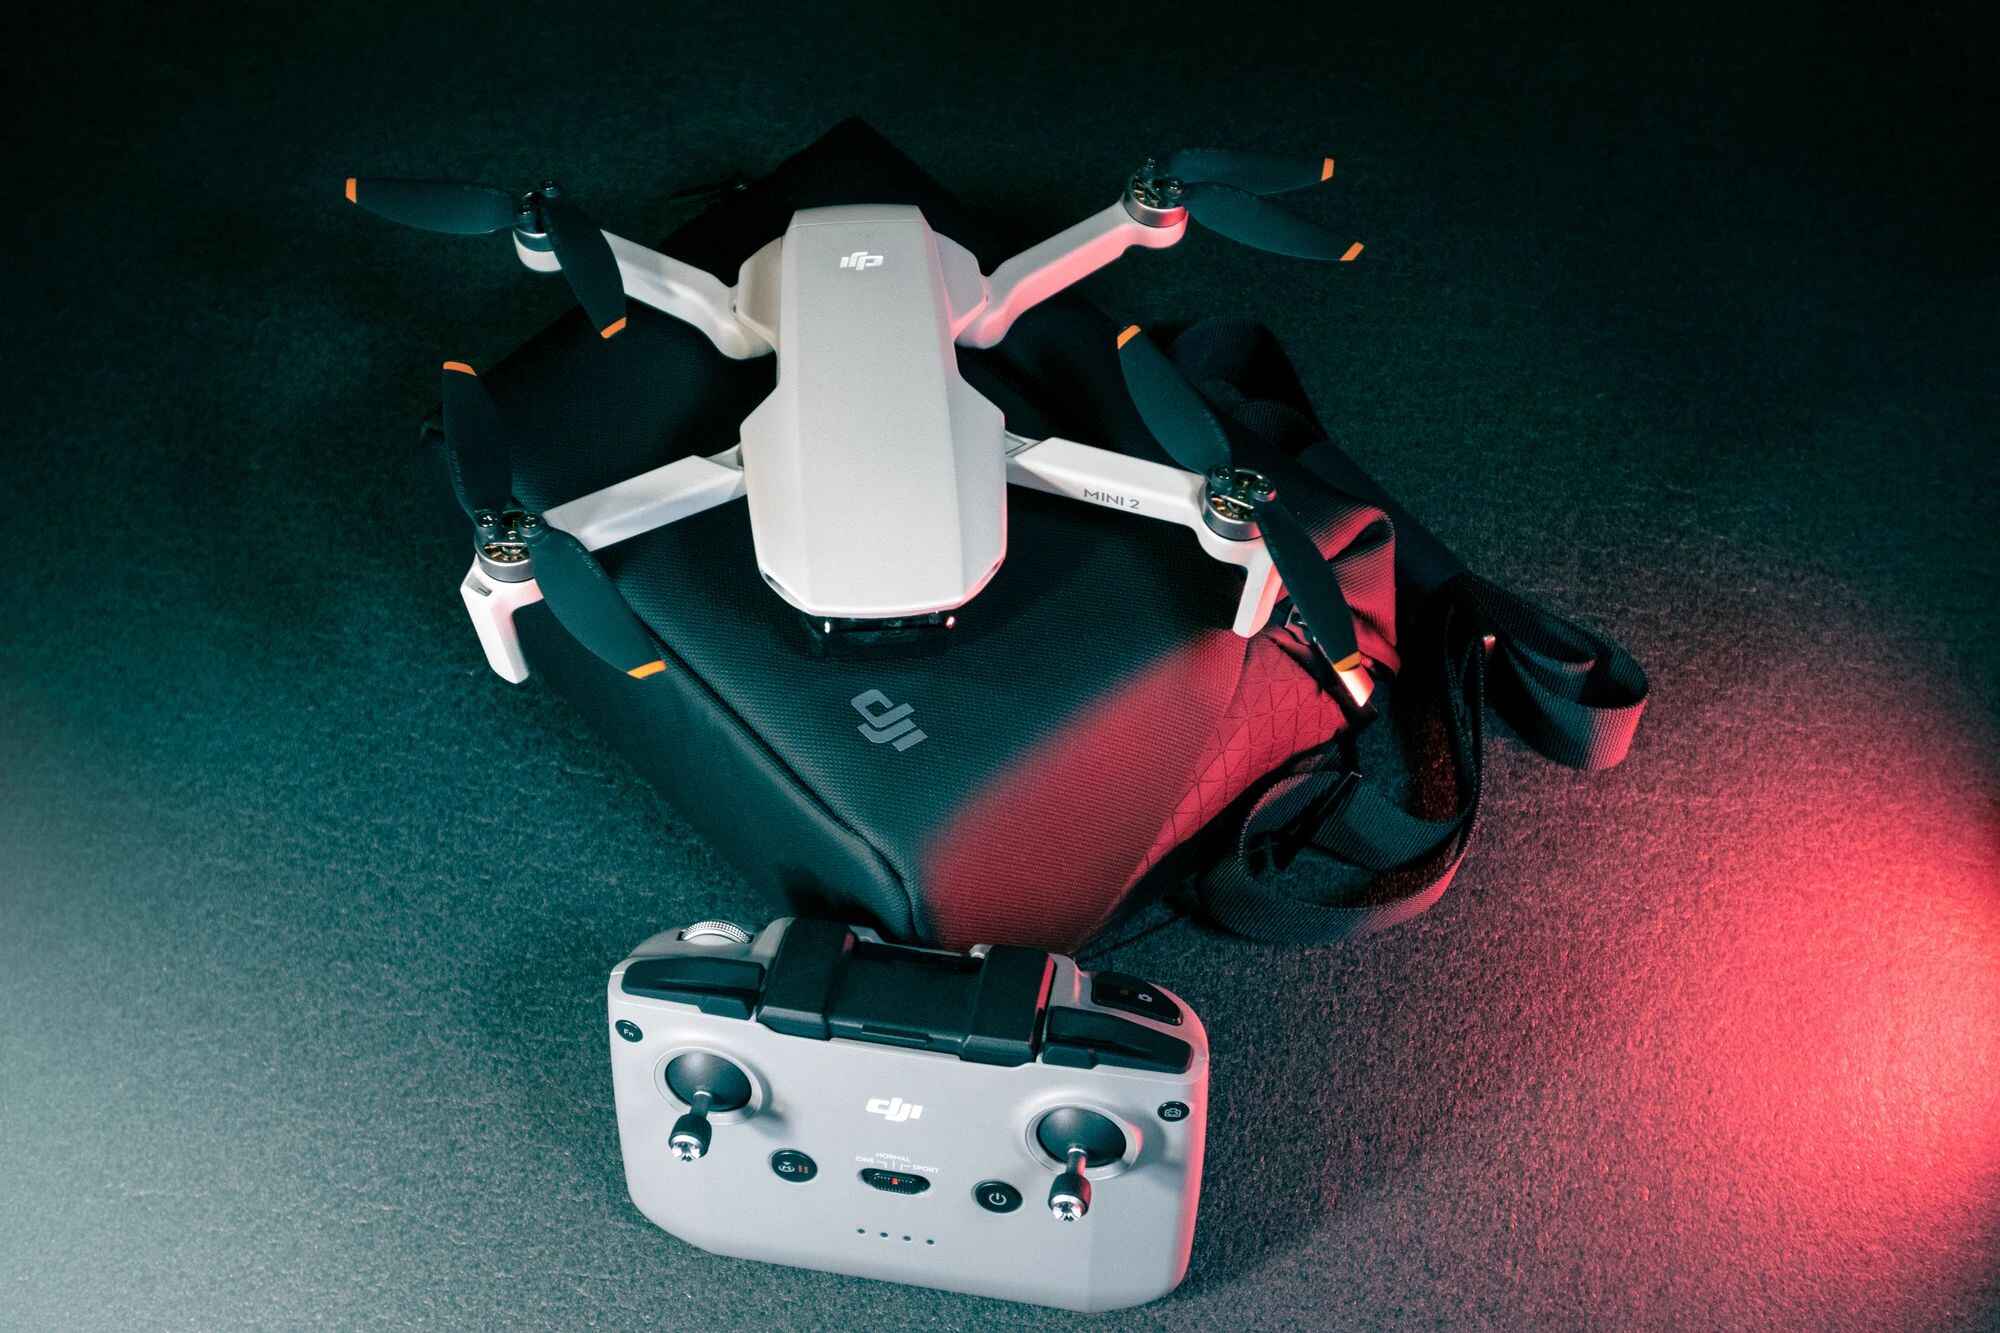
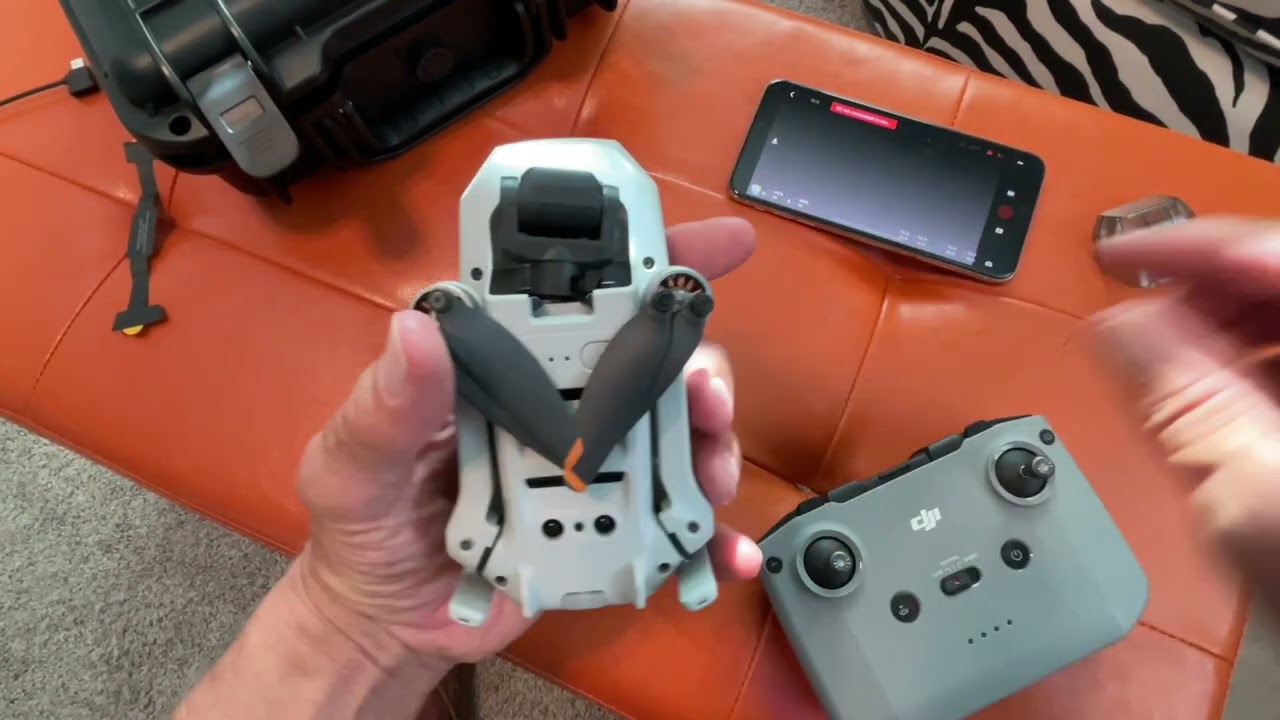
Step 3: Power On the Remote Controller
Now that you’ve checked the drone and chosen a safe location, it’s time to power on the remote controller for your DJI Mini 2. Follow these steps to ensure a proper power-up:
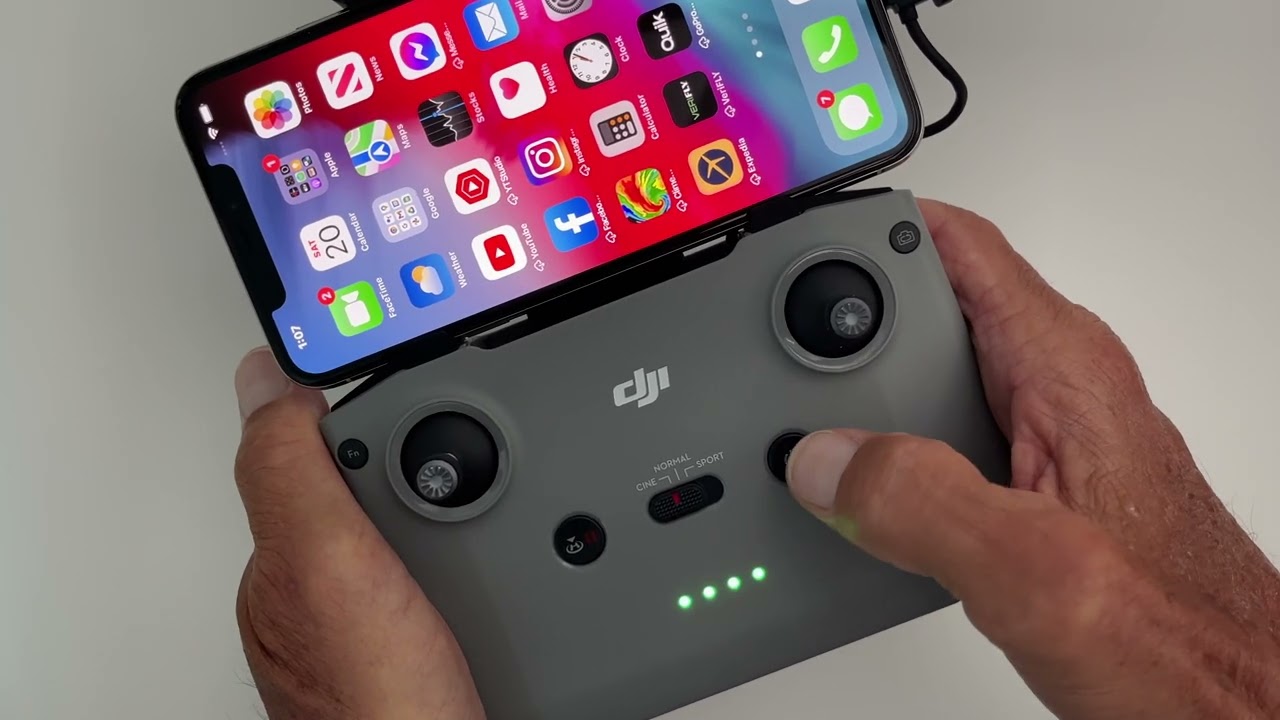
- Prepare the Batteries: Make sure the batteries in the remote controller are fully charged. If needed, insert a fresh set of batteries or connect the controller to a power source using a USB cable.
- Locate the Power Button: Locate the power button on the remote controller. It is usually located on the top or along the sides. Take a moment to familiarize yourself with its position.
- Power On the Remote Controller: Press and hold the power button for a few seconds until the controller’s lights and display turn on. You may need to press the power button once again to fully activate the controller.
- Check the Connection Status: Look for the indicator lights or messages on the controller’s display to confirm a successful connection. Ensure that the remote controller is properly connected to the DJI Mini 2 by checking the signal strength on the display.
- Calibrate Joysticks (if needed): If the controller’s joysticks are not centered or not responding correctly, follow the instructions in the user manual to calibrate them. Calibrated joysticks ensure accurate control of the drone.
- Adjust Controller Settings (optional): Use the DJI Fly app to access and customize the remote controller settings according to your preferences. This includes adjusting the sensitivity of the joysticks or configuring additional buttons for specific functions.
- Monitor Battery Level: Keep an eye on the battery level of the remote controller during flight. It’s crucial to have sufficient battery power to maintain control over the DJI Mini 2.
By properly powering on the remote controller, you’ll establish a stable connection with your DJI Mini 2 and be ready to proceed with the next steps of your flight adventure.
Step 4: Power On the DJI Mini 2
With the remote controller powered on, it’s time to power on your DJI Mini 2 drone. Follow these steps to ensure a proper power-up:
- Prepare the Battery: Ensure that the battery for the DJI Mini 2 is fully charged. Insert the battery securely into the drone’s battery compartment.
- Locate the Power Button: The power button is typically located on the side or underneath the DJI Mini 2. Take a moment to locate it and familiarize yourself with its position.
- Power On the DJI Mini 2: Press and hold the power button for a few seconds until the drone’s lights and indicators turn on. You may need to press the power button once again to fully activate the drone.
- Check the Status Indicators: Look for the LED lights on the DJI Mini 2 to verify a successful power-up. The lights may blink or remain solid to indicate different statuses, such as GPS connection, battery level, and readiness to fly.
- Confirm the Camera Stabilization: Listen for the sound of the gimbal motors and ensure that the camera is stable and properly aligned. This is important for capturing smooth and steady shots during your flight.
- Monitor Battery Level: Keep an eye on the battery level of the DJI Mini 2 during flight. The battery level can be checked on the DJI Fly app or through the indicators on the remote controller’s display.
- Perform a Pre-Flight Check: Before taking off, double-check the drone’s condition by inspecting the propellers, camera, sensors, and GPS signal. Ensure that everything is functioning properly and ready for flight.
Once your DJI Mini 2 is powered on, you’ll be one step closer to the exciting experience of flying a drone and capturing stunning aerial shots.
Step 5: Connect the Drone and Remote Controller
After powering on both the DJI Mini 2 drone and the remote controller, it’s time to establish a secure connection between the two devices. Follow these steps to connect the drone and the remote controller:
- Turn on the Wi-Fi and Bluetooth: Ensure that the Wi-Fi and Bluetooth functions are enabled on both the DJI Mini 2 drone and the connected mobile device.
- Open the DJI Fly App: Launch the DJI Fly app on your mobile device and make sure it is up to date. The app is essential for controlling the drone and accessing its features.
- Connect the Mobile Device: Using a USB cable or a compatible mobile device holder, connect your mobile device to the remote controller. The DJI Fly app will automatically launch once the connection is established.
- Power on the DJI Mini 2: Press and hold the power button on the drone until the LED lights start to blink. This indicates that the drone is in pairing mode and ready to connect.
- Pair the Devices: Within the DJI Fly app, follow the on-screen instructions to pair the DJI Mini 2 and the remote controller. This typically involves tapping the “Connect” button or scanning a QR code.
- Wait for the Connection Confirmation: Once the devices are successfully paired, you will see a confirmation message or icon on the DJI Fly app, indicating a stable connection between the drone and the remote controller.
- Verify Connection Status: Ensure that you can see the live video feed from the drone’s camera on your mobile device’s screen, indicating a successful connection. Check for GPS signal strength and battery level information as well.
- Perform a Control Check: Test the control functions by moving the joysticks and observing the DJI Mini 2’s response. Ensure that the drone is responding accurately to the remote controller’s commands.
Once the DJI Mini 2 and the remote controller are properly connected, you’re ready to move on to the next steps and prepare for takeoff. Remember to maintain a strong and stable connection throughout your flight for optimal control and smooth operation of the drone.
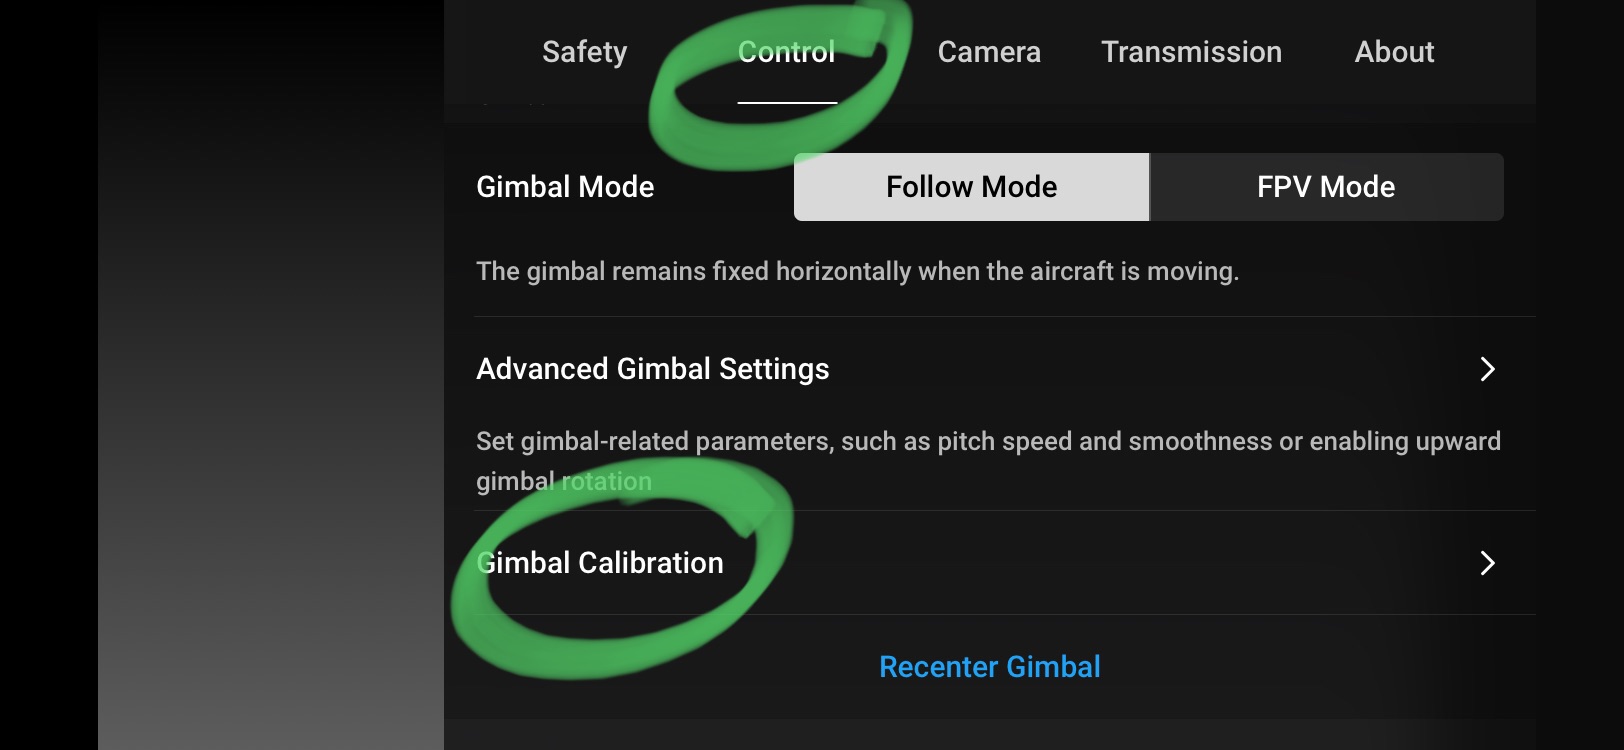
Step 6: Calibrate the Compass
Calibrating the compass of your DJI Mini 2 is an essential step to ensure accurate flight performance and precise navigation. Follow these steps to calibrate the compass:
- Find an Open Area: Choose a location that is free from any magnetic interference, such as metal objects or electronics. An open outdoor area away from power lines and structures is ideal.
- Enter Flight Mode: Ensure that your DJI Mini 2 is powered on and in flight mode. If it’s currently grounded, switch it to flight mode by toggling the switch or using the DJI Fly app.
- Access the Calibration Menu: In the DJI Fly app, navigate to the settings menu and find the compass calibration option. Select it to initiate the compass calibration process.
- Hold the Drone Level: Hold the DJI Mini 2 in a level position with the camera facing downward. It’s important to keep the drone steady throughout the calibration process.
- Follow the On-Screen Instructions: The DJI Fly app will provide on-screen instructions for compass calibration. Follow these instructions carefully to complete the calibration process.
- Rotate the Drone: Rotate the DJI Mini 2 in a smooth and continuous motion as instructed by the DJI Fly app. This helps the drone capture the necessary magnetic field data for calibration.
- Complete the Calibration: Once the rotation is complete, the DJI Fly app will indicate that the compass calibration is successful. You may need to repeat the process if the calibration fails.
- Verify Compass Accuracy: After calibration, verify the accuracy of the compass by checking the GPS signal, flight indicators, and stability of the drone during flight. If you notice any anomalies, consider recalibrating the compass.
Calibrating the compass ensures that the DJI Mini 2 has accurate heading information and can navigate properly during flight. It’s an important step that should be performed whenever you fly in a new location or if you experience any issues with the drone’s navigation.
Step 7: Check GPS Signal
Checking the GPS signal is crucial before taking off with your DJI Mini 2. The GPS signal provides important information for stable flight, precise positioning, and accurate return-to-home functionality. Follow these steps to ensure a strong GPS connection:
- Verify GPS Indicator: Before taking off, check the DJI Mini 2’s interface or the DJI Fly app for the GPS signal indicator. It is typically represented by a satellite icon or a signal strength bar.
- Seek Open Areas: To obtain a strong GPS signal, move to an open outdoor area free from obstructions such as tall buildings or dense tree canopies. A clear line of sight to the sky helps improve satellite reception.
- Wait for Signal Lock: Give the DJI Mini 2 a few moments to establish a stable GPS connection. It may take a short time to lock onto the necessary satellites and acquire a strong signal.
- Check Signal Strength: Ensure that the GPS signal strength is stable and strong. A weak signal can result in reduced flight stability and accuracy. Aim for at least a four-bar signal strength before taking off.
- Avoid Interference: Stay away from areas with strong electromagnetic interference, such as high-voltage power lines, radio towers, or dense urban areas where signals can be disrupted.
- Monitor Signal during Flight: Keep an eye on the GPS signal indicator throughout your flight. If you notice a sudden drop or loss of signal, adjust your flight path or altitude to maintain a stable and reliable connection.
- Be Mindful of Indoor Flying: Remember that GPS signals may be weak or unavailable indoors. It’s best to fly the DJI Mini 2 in open outdoor areas with a strong GPS signal for optimal performance.
- Consider Flight Modes: Some flight modes, such as Return-to-Home or ActiveTrack, rely heavily on GPS signal. Make sure to have a strong and stable GPS connection when utilizing these advanced features.
By checking the GPS signal and ensuring a strong connection, you’ll enhance the safety and reliability of your DJI Mini 2 flights. A stable GPS signal is essential for accurate positioning, smooth flight maneuvers, and a safe return home.
Step 8: Take Off in Beginner Mode
If you’re new to flying drones or want an extra layer of assistance, the DJI Mini 2 offers a Beginner Mode to help you get started safely. Follow these steps to take off in Beginner Mode:
- Verify GPS and Compass Calibration: Ensure that you have a strong GPS signal and that the drone’s compass is calibrated properly. These steps are essential for a stable flight.
- Enable Beginner Mode: In the DJI Fly app, access the settings and enable the Beginner Mode feature. This will activate the flight restrictions and limits designed to enhance safety and reduce the risk of accidents.
- Confirm Restricted Altitude: Beginner Mode typically restricts the maximum altitude that the DJI Mini 2 can reach. Check the settings to see the specific altitude limitations set for the mode.
- Perform Pre-Flight Checks: Before takeoff, conduct a final check of the drone’s condition, including the battery level, propeller tightness, and camera alignment. Also, ensure the remote controller is connected properly.
- Take Position and Orientation: Stand behind the drone, facing the same direction as its nose. Hold the remote controller with both hands and position your thumbs over the control sticks.
- Slowly Ascend: In Beginner Mode, gradually push the left joystick upwards to initiate a gentle ascent. Pay attention to the drone’s movement and responsiveness as it rises.
- Maintain a Safe Altitude: Keep the drone at a safe altitude, adhering to the restrictions set by the Beginner Mode. This helps prevent unintentionally flying too high and ensures optimal stability.
- Practice Basic Controls: Familiarize yourself with the basic flight controls, such as moving the drone forward, backward, left, and right. Practice these movements in a controlled manner to gain confidence and improve your piloting skills.
- Hover and Observe: Take time to hover the drone in place and observe its stability and responsiveness. Hovering allows you to get a feel for how the drone behaves and respond to its movements.
- Land Safely: To land the DJI Mini 2, slowly bring down the throttle on the left joystick until the drone descends gently. Continue to control the descent until the drone touches the ground.
Taking off in Beginner Mode provides an excellent opportunity for novice pilots to learn the basics of flying a drone and build confidence. Remember to always adhere to the flight restrictions and guidelines provided by the Beginner Mode to ensure a safe and enjoyable flight experience.
Step 9: Take Off in Normal Mode
If you’re comfortable with flying drones and wish to have more control and freedom, you can take off in Normal Mode with your DJI Mini 2. Follow these steps to take off in Normal Mode:
- Confirm GPS and Compass Calibration: Ensure that you have a strong GPS signal and that the drone’s compass is calibrated correctly. These steps are crucial for a stable flight and accurate positioning.
- Check Flight Restrictions: Familiarize yourself with any local flight restrictions or regulations in your area. Ensure that you are complying with such restrictions to avoid potential penalties or safety hazards.
- Perform Final Pre-Flight Checks: Assess the drone’s overall condition, including battery level, propeller tightness, and camera alignment. Verify that the remote controller is properly connected.
- Position and Orient Yourself: Stand behind the drone, facing the same direction as its nose. Hold the remote controller with a firm grip and position your thumbs over the control sticks.
- Gradually Increase Throttle: Slowly push the left joystick upwards to increase the throttle and initiate a gentle ascent. Keep an eye on the drone’s movement and responsiveness as it rises.
- Maintain Altitude Control: Use the control sticks to maintain the desired altitude. Be mindful of any obstacles or airborne disturbances that might affect the stability of the drone.
- Explore Flight Maneuvers: Take advantage of Normal Mode to experiment with different flight maneuvers, such as flying forward, backward, left, and right. Gradually increase your confidence and skill level as you become more comfortable with the controls.
- Reposition and Position Lock: Familiarize yourself with the repositioning feature and using GPS positioning lock. These features allow you to adjust the drone’s position and maintain a stable hover.
- Practice Advanced Functions: Once you have a good grasp of the basic controls, you can start exploring advanced features such as intelligent flight modes, waypoint navigation, and automated flight maneuvers. Be sure to familiarize yourself with these features before attempting them during flight.
- Safely Land the Drone: When it’s time to land, slowly reduce the throttle on the left joystick to initiate a gentle descent. Continue controlling the descent until the drone touches the ground smoothly.
Taking off in Normal Mode offers more freedom and control over your flight with the DJI Mini 2. Remember to always practice responsible and safe flying, adhering to local regulations and airspace restrictions. With practice, you’ll be able to confidently pilot your drone and capture stunning aerial footage.
Step 10: Flying Tips and Best Practices
As you embark on your drone flying journey with the DJI Mini 2, it’s important to keep these flying tips and best practices in mind:
- Start with Small Movements: Begin your flight with small and gradual movements. This helps you gain confidence in handling the controls and ensures smoother flight transitions.
- Maintain Line of Sight: Always keep the DJI Mini 2 within your visual line of sight during the flight. This allows you to monitor the drone’s position, detect any potential hazards, and maintain control over the aircraft.
- Monitor Battery Level: Keep a close eye on the drone’s battery level throughout the flight. Return to the takeoff point in advance to land safely and prevent any unexpected power loss.
- Be Aware of Surroundings: Continuously scan your surroundings for obstacles, people, and other aircraft. Stay clear of restricted areas, airports, wildlife, and crowds to maintain safety during flight.
- Use Intelligent Flight Modes Wisely: Familiarize yourself with the intelligent flight modes available on the DJI Mini 2, such as ActiveTrack or QuickShots. Use them responsibly and be aware of the surroundings to prevent accidents.
- Consider Wind Conditions: Be mindful of wind conditions when flying your DJI Mini 2. Avoid flying in strong winds that can affect stability and make it difficult to control the drone.
- Practice Smooth Movements: Aim for smooth and gradual movements with the drone’s controls to ensure stable and cinematic footage. Avoid sudden or jerky movements that can lead to shaky footage.
- Plan and Prepare: Before each flight, plan your route, take note of any potential obstacles or hazards in the area, and ensure that the drone’s software and firmware are up to date for optimal performance.
- Understand Emergency Procedures: Familiarize yourself with emergency procedures, such as manual landing or activating return-to-home function, in case of unexpected situations or loss of control.
- Respect Privacy and Laws: Always respect people’s privacy and follow local regulations and laws when flying your DJI Mini 2. Ensure you have the necessary permits or permissions to fly in certain areas.
By adhering to these flying tips and best practices, you’ll have a safe and enjoyable experience with the DJI Mini 2, while also maintaining the well-being of others and respecting the rules and regulations in place.
Conclusion
Congratulations on completing our step-by-step guide on how to take off with the DJI Mini 2! By following these instructions and safety tips, you are well-prepared to embark on your drone flying adventures. Remember, safety should always be your top priority when operating a drone.
We started by emphasizing the importance of safety precautions, including reading the user manual, checking local regulations, and performing a pre-flight checklist. We then guided you through essential steps such as checking the drone’s condition, selecting a safe location, powering on the remote controller, and the drone itself.
We discussed the significance of calibrating the compass and checking the GPS signal to ensure accurate flight performance and precise navigation. We provided guidance on taking off in both Beginner Mode and Normal Mode, offering options for both novice and experienced pilots.
Lastly, we shared essential flying tips and best practices to enhance your flying experience. By practicing responsible flying, being mindful of your surroundings, and following local laws and regulations, you can enjoy safe flights and capture stunning aerial footage with your DJI Mini 2.
Remember, practice makes perfect, so take the time to familiarize yourself with your drone’s controls and improve your piloting skills over time. Stay up to date with firmware updates and continue to explore the exciting features and capabilities of the DJI Mini 2.
Now that you are equipped with the knowledge and skills to take off with your DJI Mini 2, go out and enjoy the incredible experience of aerial exploration and creative filmmaking.