Introduction
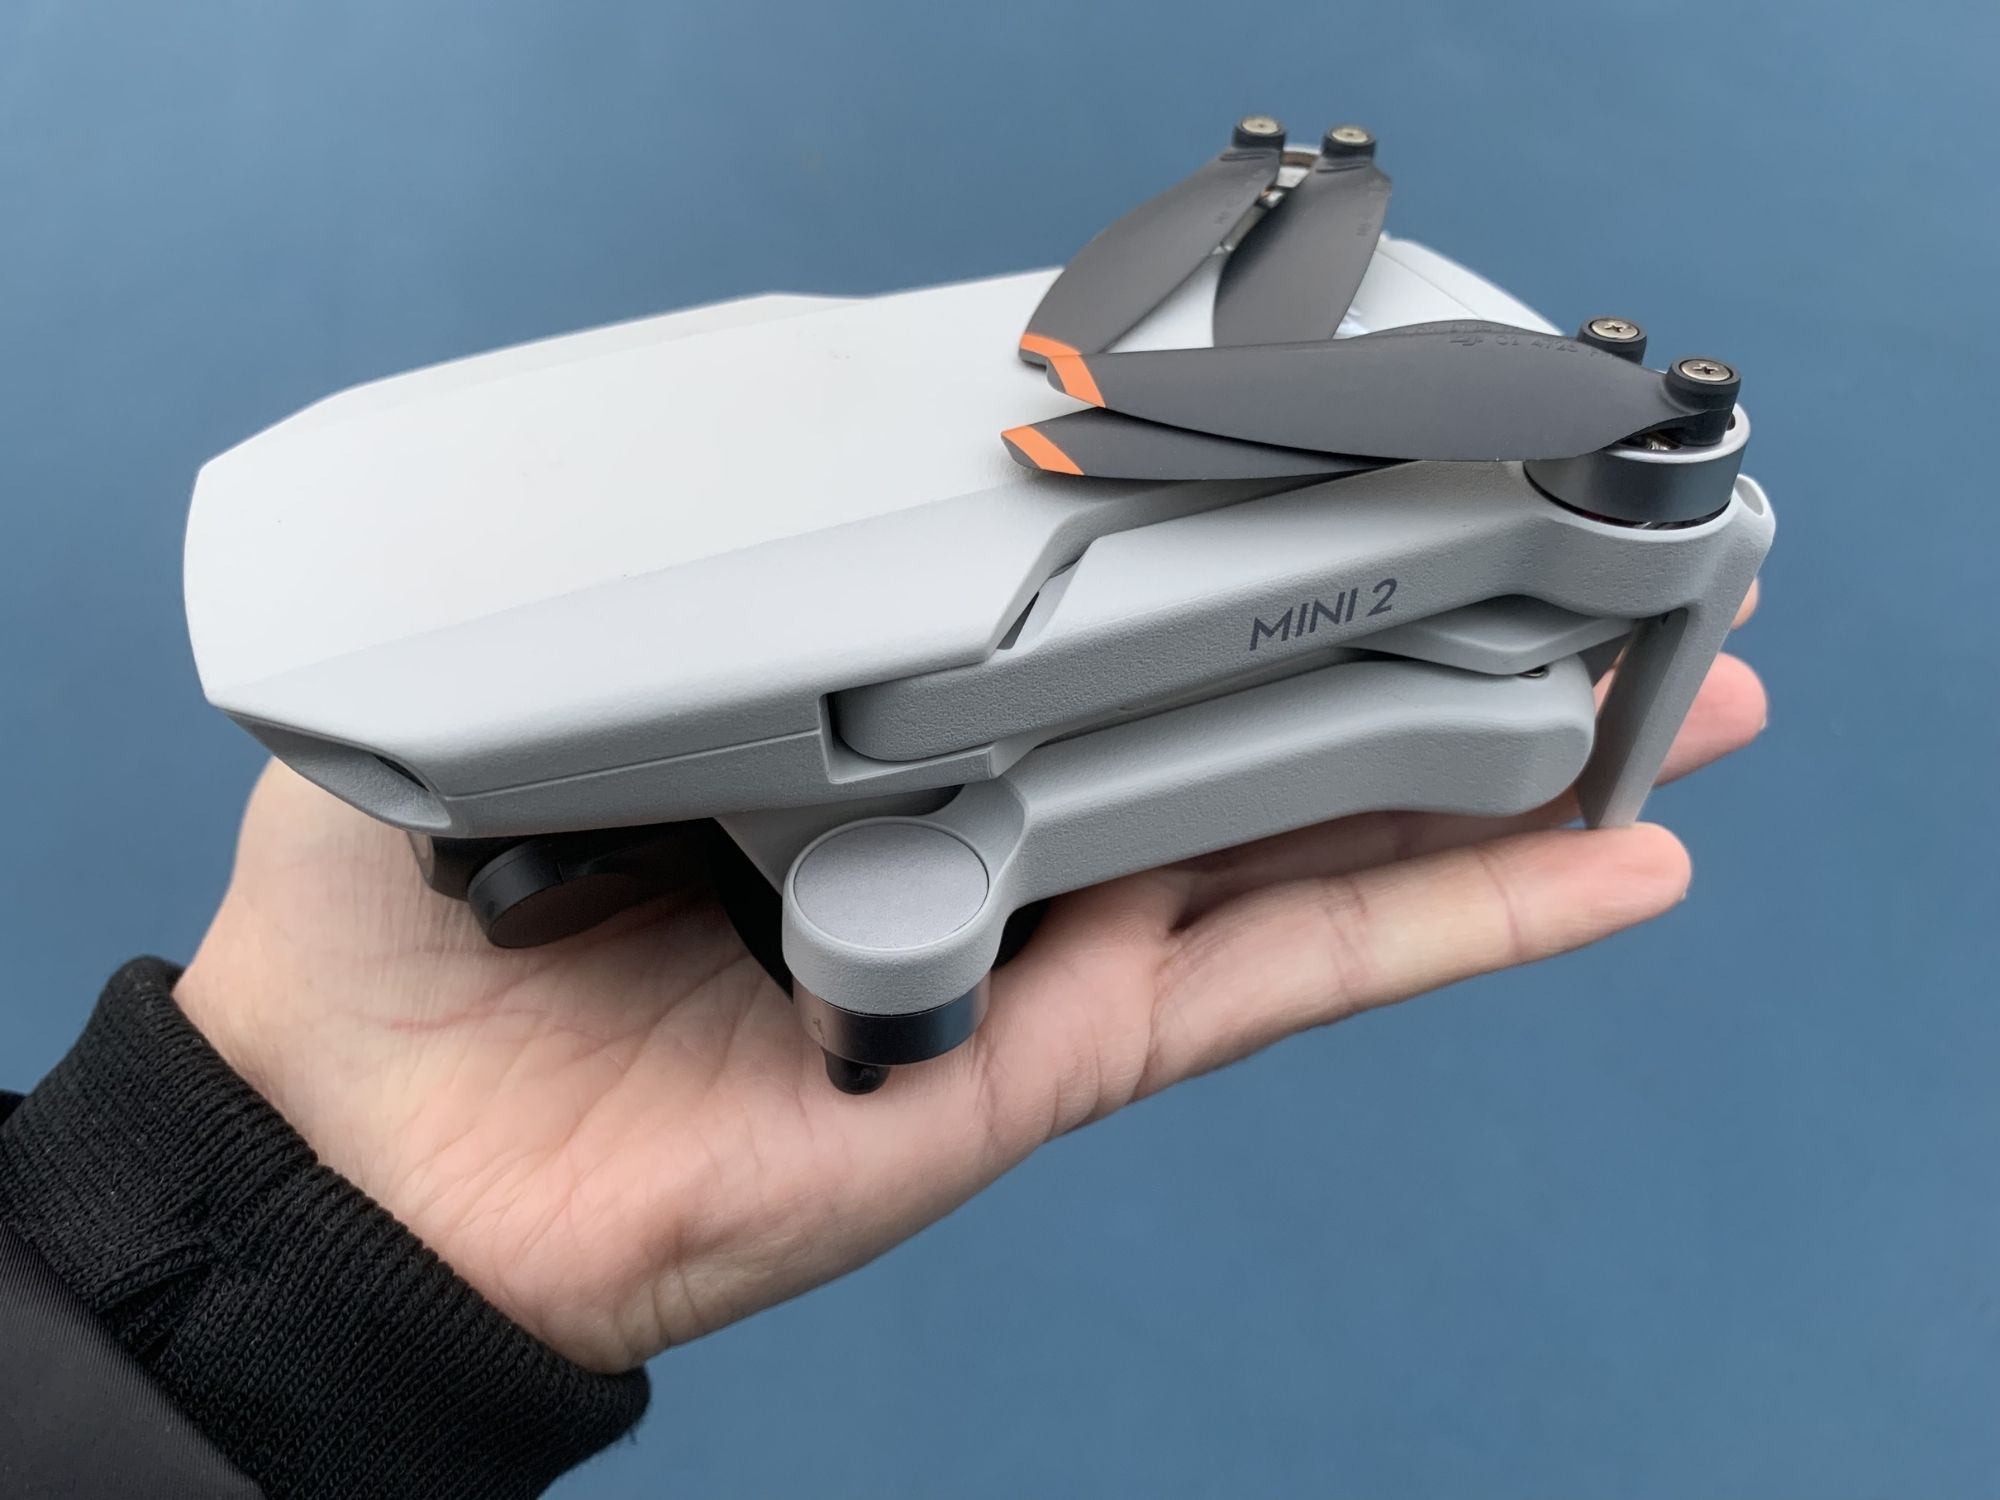
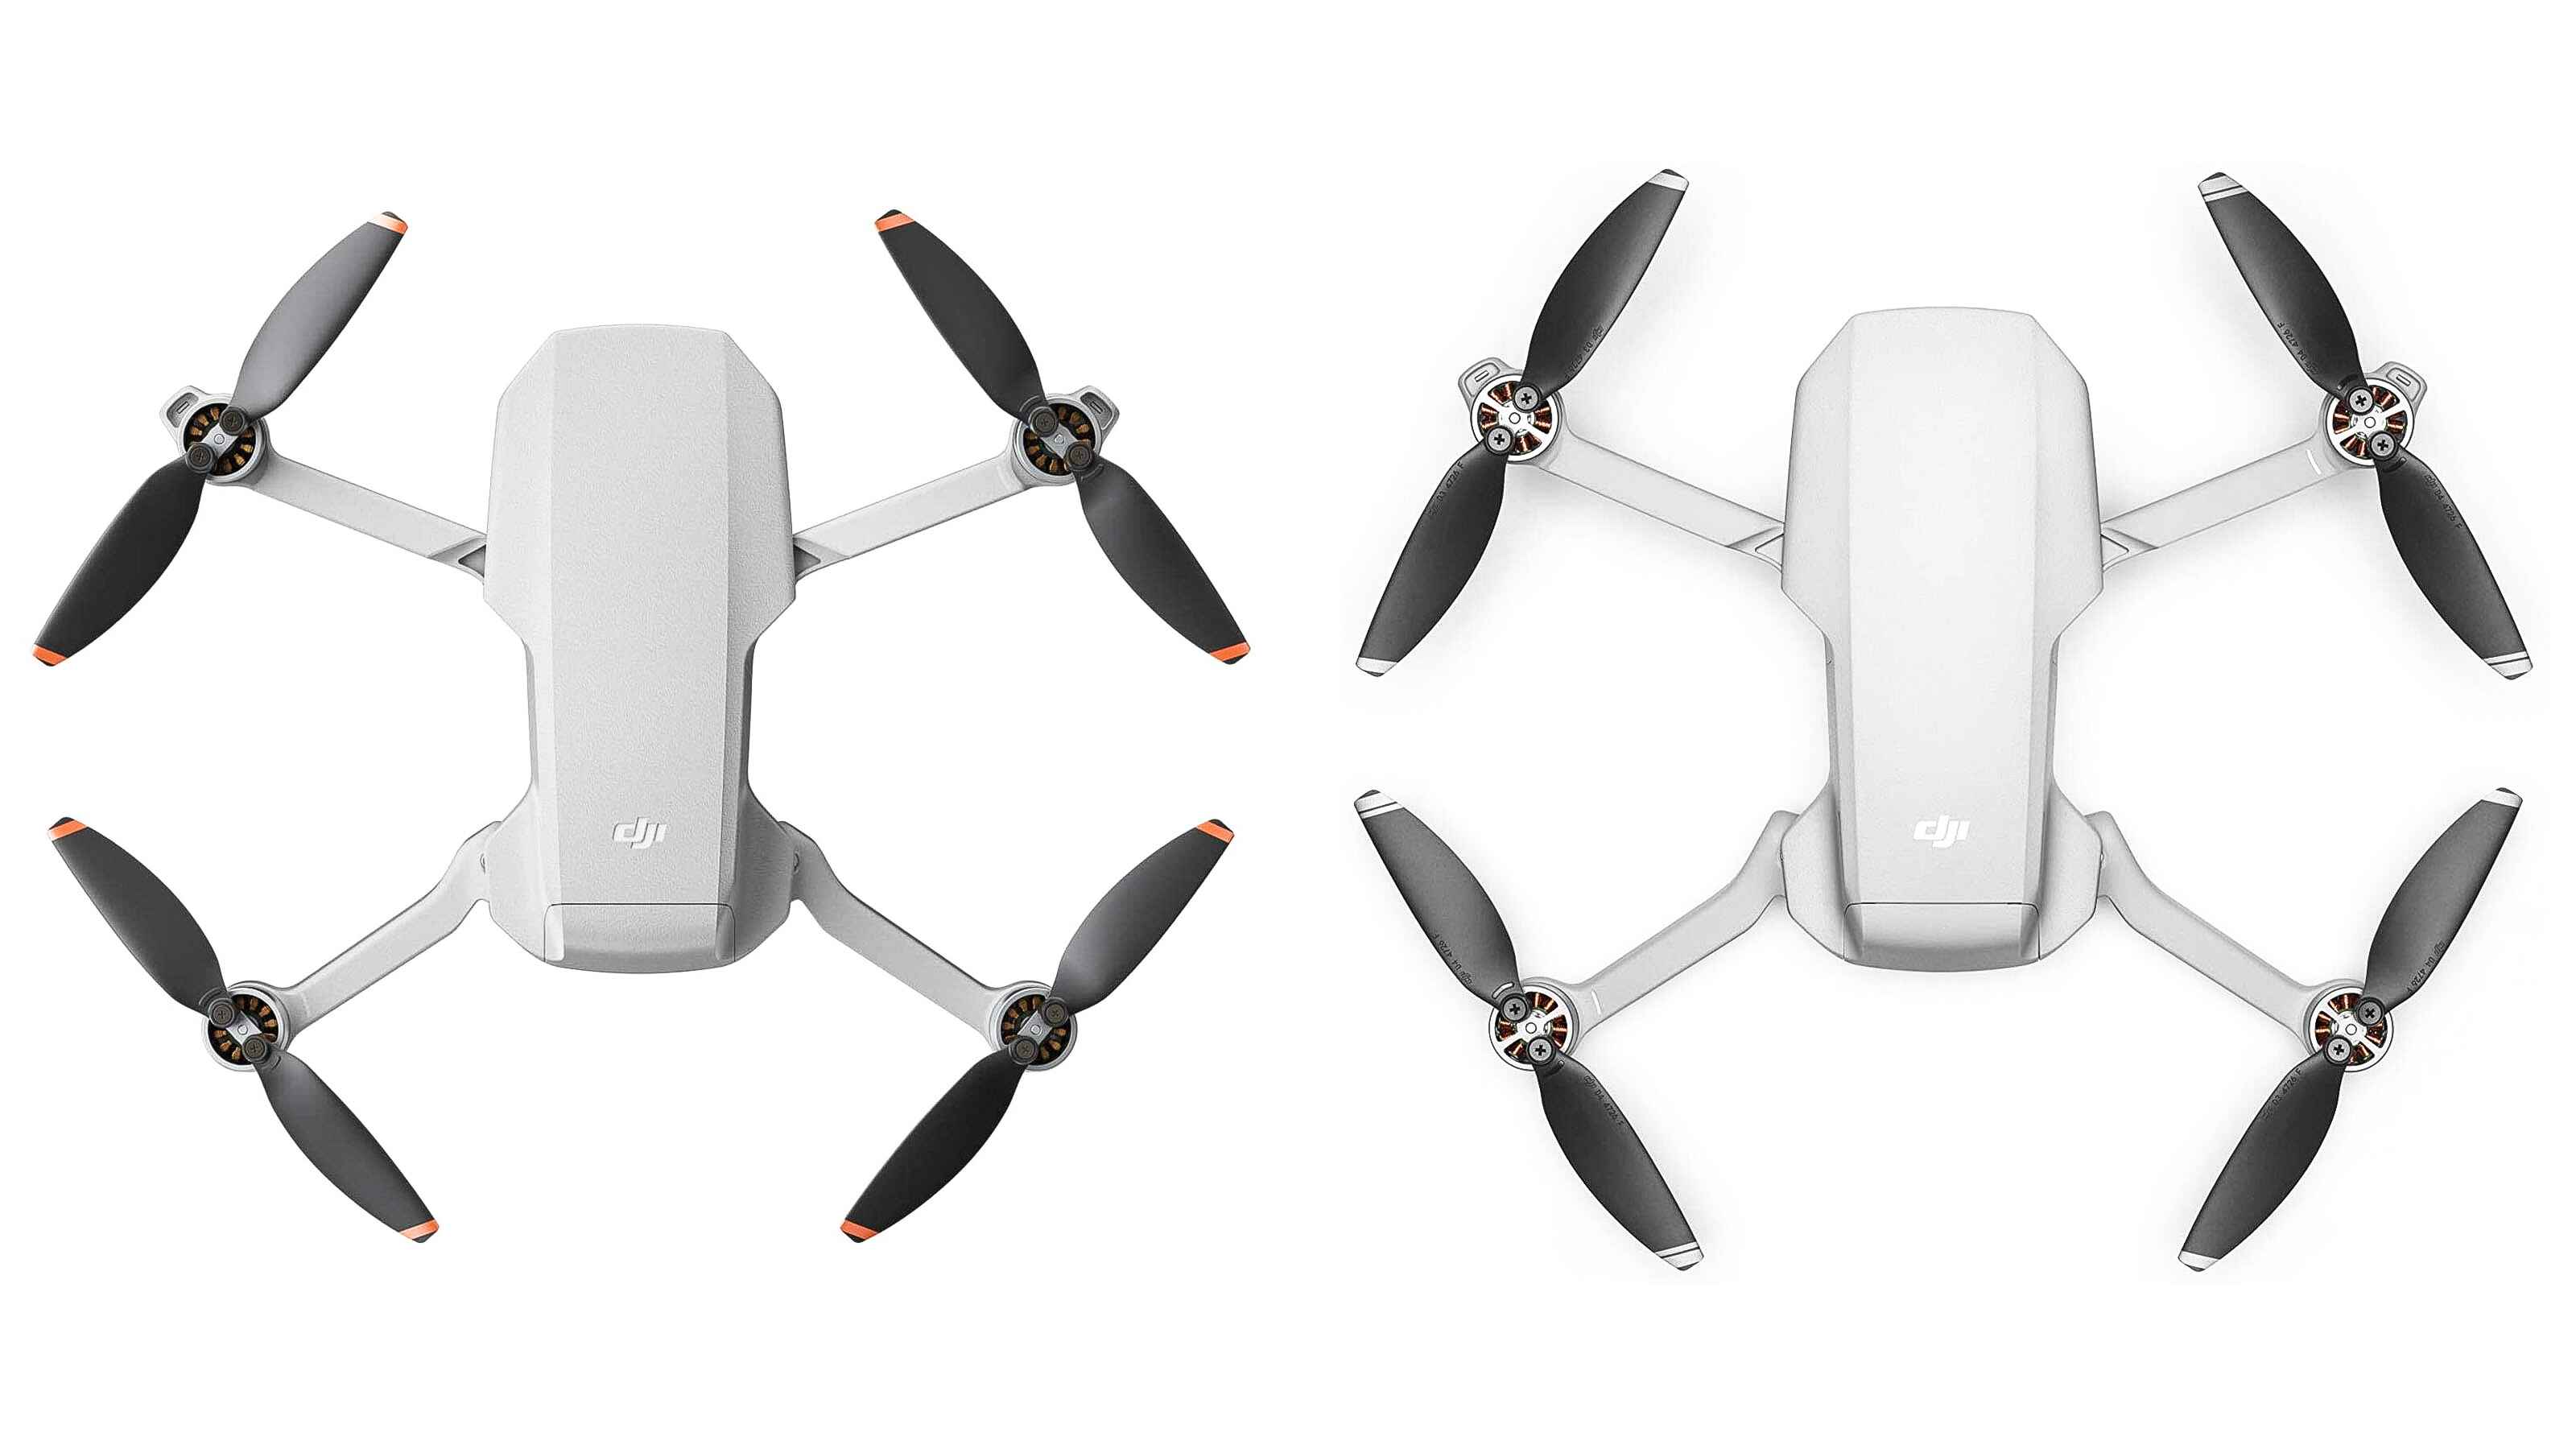
Welcome to this tutorial on how to connect the DJI Mini 2 to the controller. The DJI Mini 2 is a compact and powerful drone that offers an immersive flying experience. To operate the drone, you need to connect it to the controller, which allows you to control its movements and capture stunning aerial footage.
Connecting the DJI Mini 2 to the controller is a simple process that can be done in a few easy steps. Whether you’re a beginner or an experienced drone pilot, this guide will walk you through the process of establishing a stable and reliable connection between the drone and the controller.
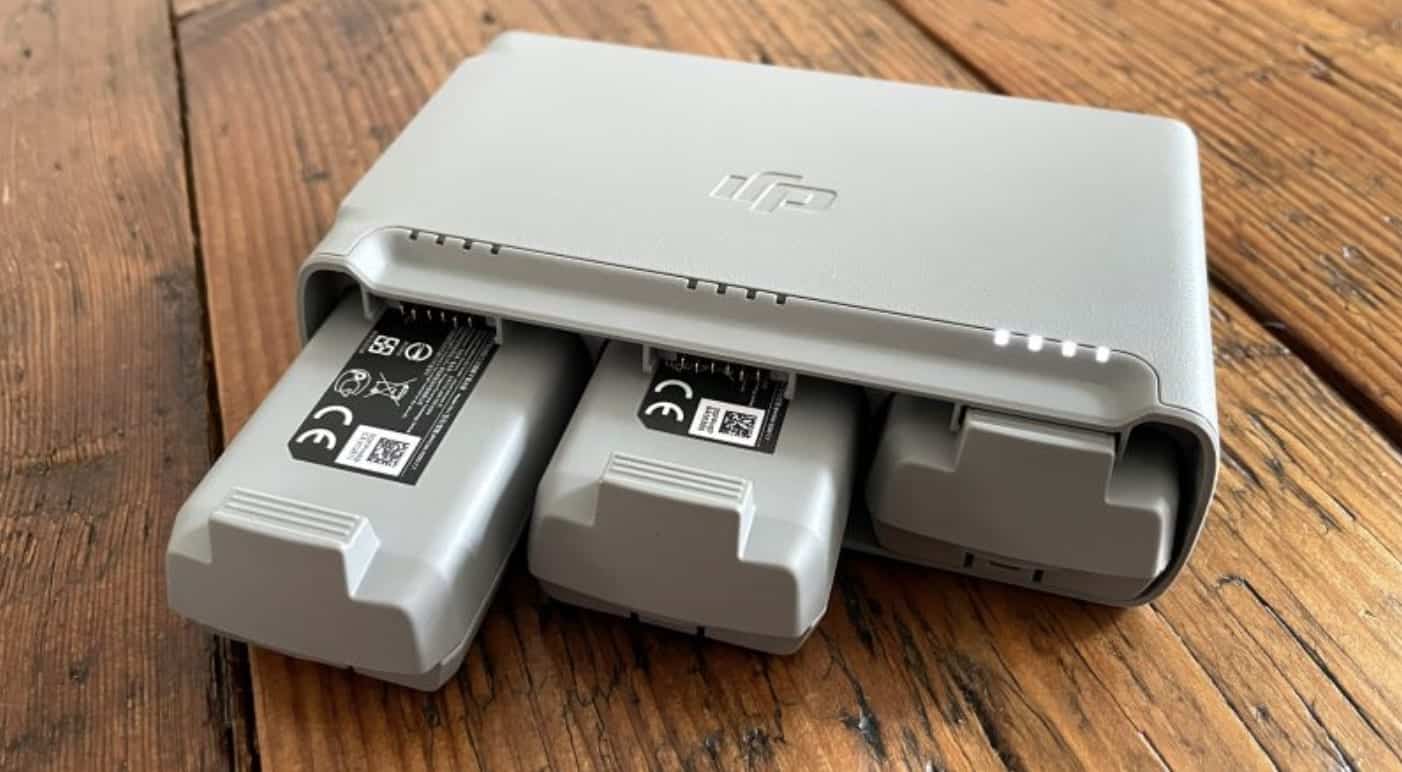
Before we dive into the steps, it’s important to make sure that you have your DJI Mini 2 and the controller fully charged. This will ensure that you have enough power to complete the setup process and enjoy an uninterrupted flight experience. Once you’ve done that, you’re ready to begin the connection process.
Connecting the DJI Mini 2 to the controller is not only essential for operating the drone, but it also unlocks a world of possibilities. By connecting the two devices, you can take advantage of advanced features such as real-time video transmission, intelligent flight modes, and precise control over the drone’s movements. Whether you’re a professional photographer, videographer, or simply an enthusiast looking to capture stunning aerial shots, connecting the DJI Mini 2 to the controller is the first step towards unlocking its full potential.
In the following sections, we’ll guide you through each step of the process, from powering on the DJI Mini 2 and the controller to calibrating the controller for optimal performance. By following these steps, you’ll be up and flying in no time, ready to explore the world from a whole new perspective. So let’s get started and connect your DJI Mini 2 to the controller!
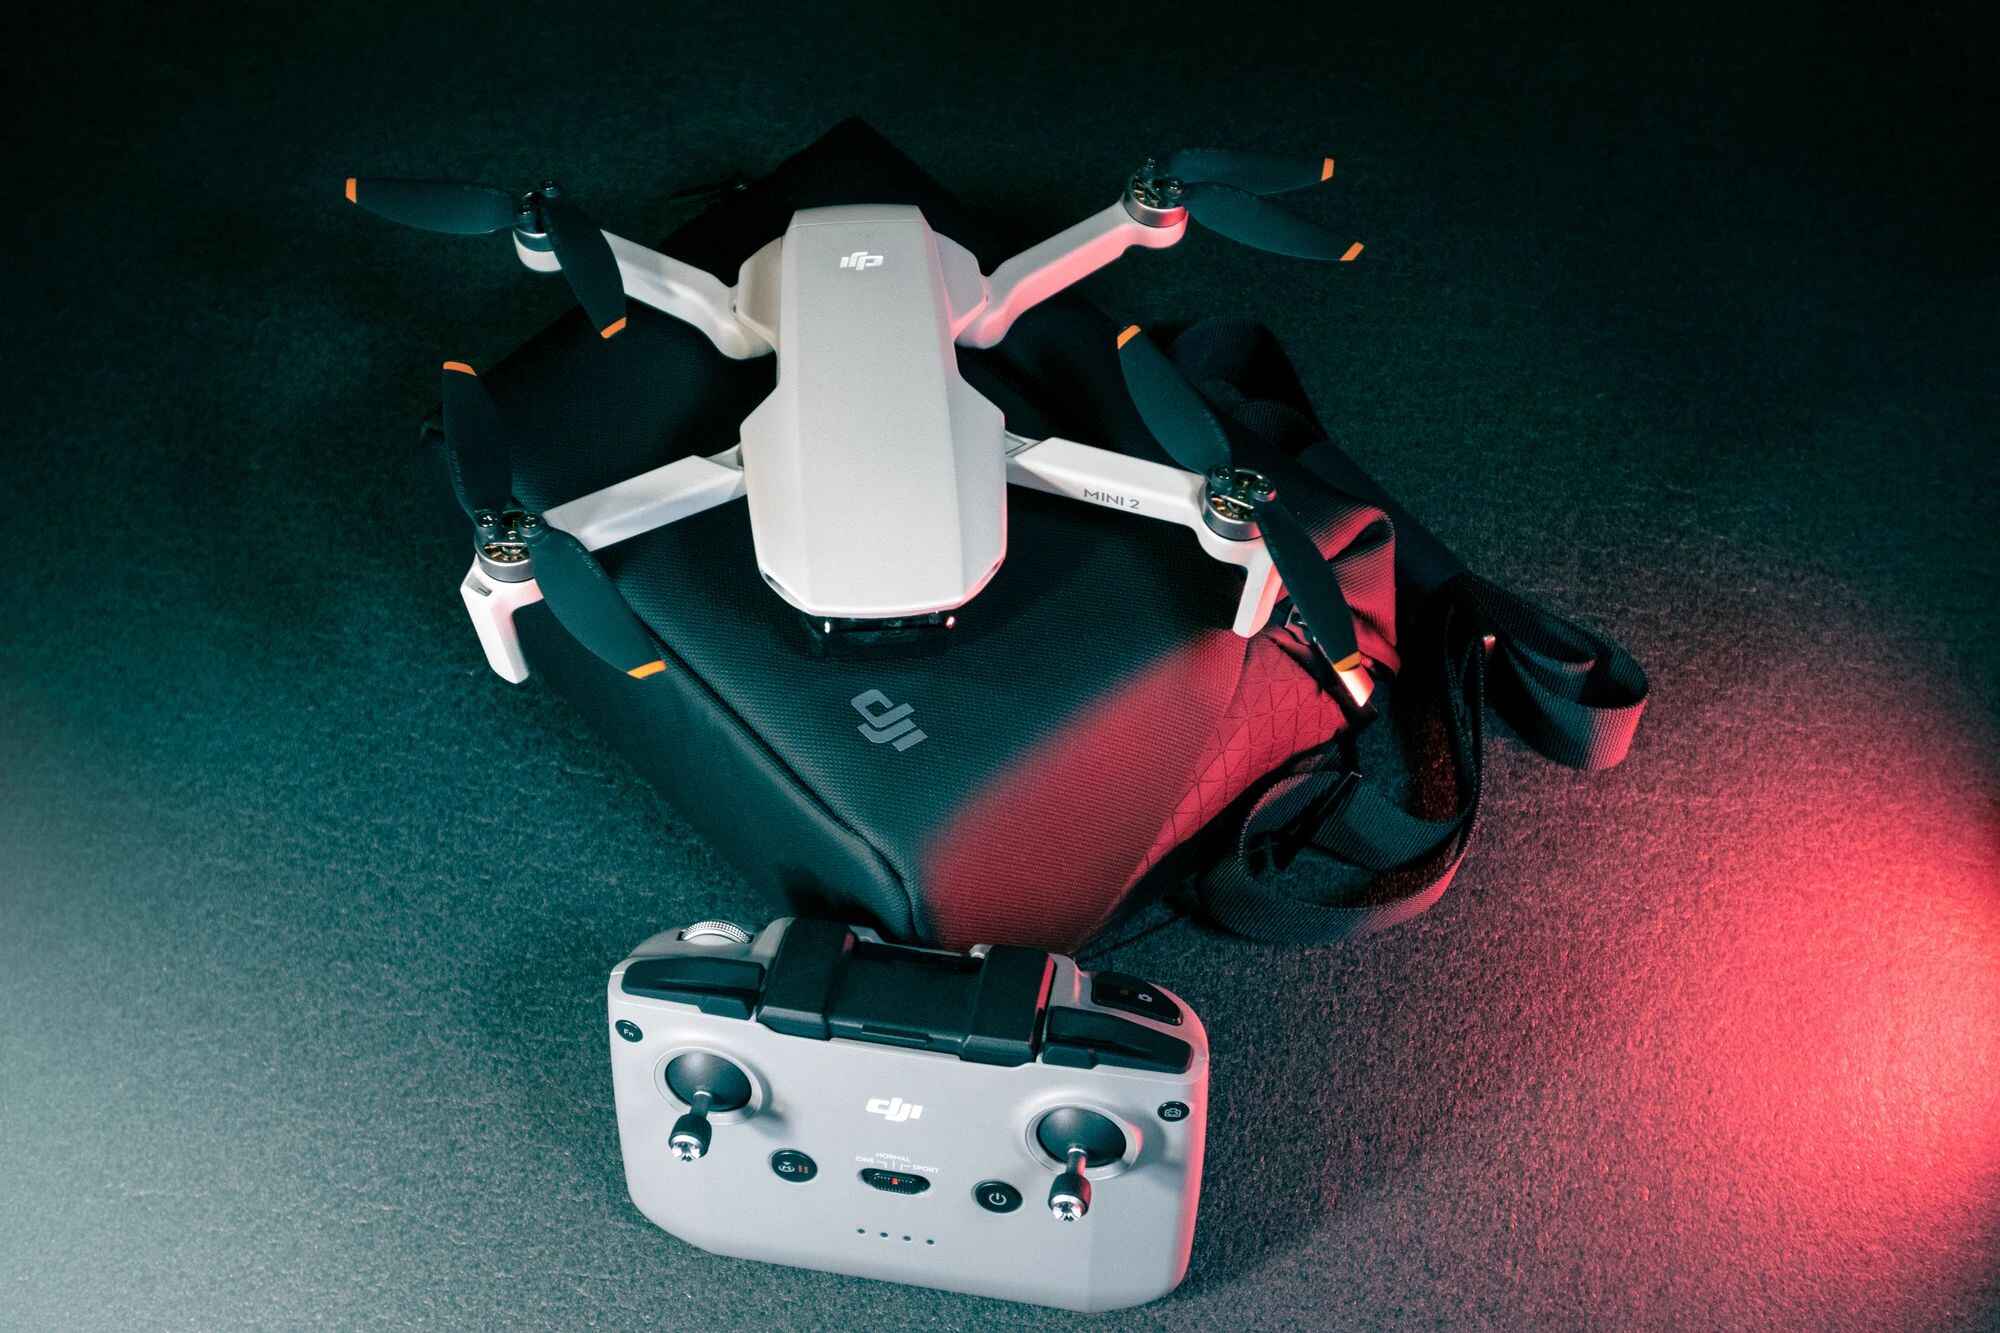
Step 1: Power on the DJI Mini 2 and the Controller
The first step in connecting the DJI Mini 2 to the controller is to ensure that both devices are powered on. This is a fundamental step that establishes the foundation for a successful connection.
To power on the DJI Mini 2, locate the power button on the drone’s body. It is usually located on the side or underneath the drone. Press and hold the power button until the indicator lights on the drone begin to blink. This indicates that the drone is now powering on.
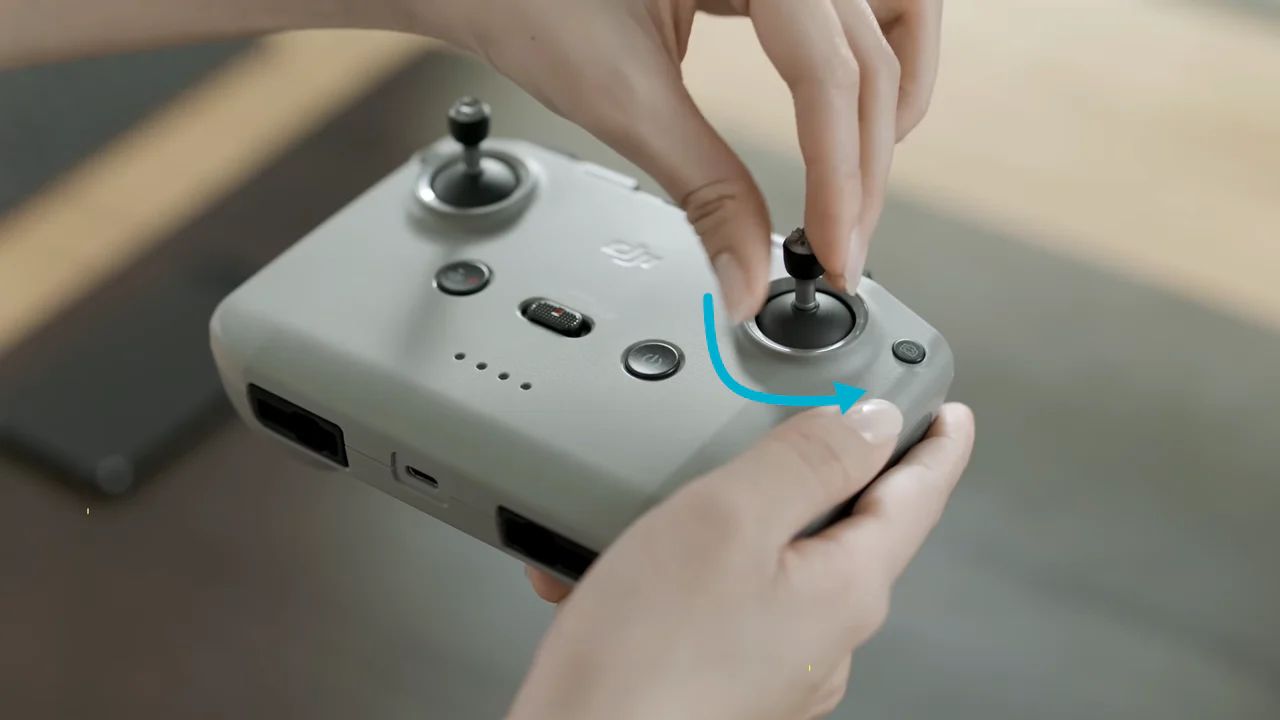
Next, you need to power on the controller. Locate the power button on the controller, usually located on the left side or top of the device. Press and hold the power button until you see the LED indicators on the controller start to light up. Once the LED indicators are lit, it means that the controller is now powered on and ready to establish a connection with the DJI Mini 2.
Ensure that the controller and the DJI Mini 2 are in close proximity to each other. This is important for a stable connection and to avoid any interference during the setup process. Make sure there are no obstacles between the controller and the drone that could interfere with the signal.
Now that both the DJI Mini 2 and the controller are powered on, you’re ready to move on to the next step, which is connecting the controller to your mobile device. This step is crucial as it allows you to access the DJI Fly app and control the drone’s functions through your mobile device.
In the following section, we’ll guide you through the process of connecting the controller to your mobile device, so you can take full control of your DJI Mini 2 and access its advanced features.
Step 2: Connect the Controller to your Mobile Device
After powering on the DJI Mini 2 and the controller, the next step is to establish a connection between the controller and your mobile device. This connection is necessary to access the DJI Fly app, which allows you to control and configure the drone’s settings.
Begin by unlocking your mobile device and navigating to the settings menu. Look for the Wi-Fi settings and make sure it is turned on. Locate the Wi-Fi network name that corresponds to your DJI controller. It should have a name similar to “DJI XXXX” or “DJI RC XXXX”, with the “XXXX” being a unique identifier.
Tap on the name of the DJI controller’s network to connect to it. Once connected, you may be prompted to enter a password or confirm the connection. Follow the on-screen instructions to complete the connection process.
Once your mobile device is connected to the DJI controller’s network, launch the DJI Fly app. If you haven’t installed the app yet, you can download it from the Google Play Store (for Android) or the App Store (for iOS).
Upon launching the app, you will be prompted to log in with your DJI account or create a new one. This account allows you to access additional features and services, so it is recommended to create one if you don’t already have an account.
Follow the on-screen instructions to log in or create a new account. Once logged in, you will have access to the main interface of the DJI Fly app. You are now ready to proceed to the next step of connecting the DJI Mini 2 to the controller.
In the next section, we will guide you through the process of accessing the settings menu in the DJI Fly app, where you can configure and fine-tune the controller for optimal performance.
Step 3: Open the DJI Fly App and Go to Settings
Now that you have successfully connected the controller to your mobile device, it’s time to open the DJI Fly app and access the settings menu. This is where you can customize various aspects of the drone’s behavior and performance.
Launch the DJI Fly app on your mobile device, and you’ll be greeted with the home screen. Look for the gear icon or the settings option, usually located in the top-right corner of the screen. Tap on it to open the settings menu.
Once the settings menu is open, you’ll see a range of options that allow you to fine-tune and configure the controller’s settings. This includes options for flight control, camera settings, battery management, and much more.
Take some time to explore the different settings and familiarize yourself with the options available. Depending on your preferences and flying style, you can adjust parameters such as control sensitivity, flight mode, and camera settings to get the best possible experience with your DJI Mini 2.
It’s important to note that the specific options and settings available may vary slightly depending on the version of the DJI Fly app and the firmware of your DJI Mini 2. Make sure to keep your app and firmware updated to access the latest features and improvements.
Once you have configured the settings to your liking, you’re ready to proceed to the next step of connecting the DJI Mini 2 to the controller.
In the following section, we’ll guide you through the process of accessing the remote controller settings, where you can establish the final connection between the DJI Mini 2 and the controller.
Step 4: Access the Remote Controller Settings
Now that you have opened the DJI Fly app and accessed the settings menu, the next step is to navigate to the remote controller settings. This is where you can establish the final connection between the DJI Mini 2 and the controller.
In the settings menu of the DJI Fly app, look for the “Remote Controller” or “Controller Settings” option. It is typically located towards the top of the settings menu. Tap on it to access the remote controller settings.
Within the remote controller settings, you should see an option to connect the controller to the DJI Mini 2. Tap on this option, and the app will begin searching for the DJI Mini 2 drone.
Ensure that the DJI Mini 2 is powered on and in close proximity to the controller. The app should detect the drone and establish a connection automatically. Once the connection is established, you will see an indicator or a confirmation message on the app.
It is important to note that the connection process may take a few moments, depending on the strength of the signal and any potential interference. Be patient and allow the app to establish a stable connection with the DJI Mini 2.
Once the connection is successful, you have now successfully connected the DJI Mini 2 to the controller. This means you are now ready to take flight and explore the capabilities of your drone.
Remember to always follow local regulations and guidelines when flying your DJI Mini 2, and ensure that you have a clear understanding of the drone’s flight controls and features before taking off.
In the next step, we will guide you through the process of connecting the DJI Mini 2 to the controller physically and ensuring proper calibration for optimal performance.
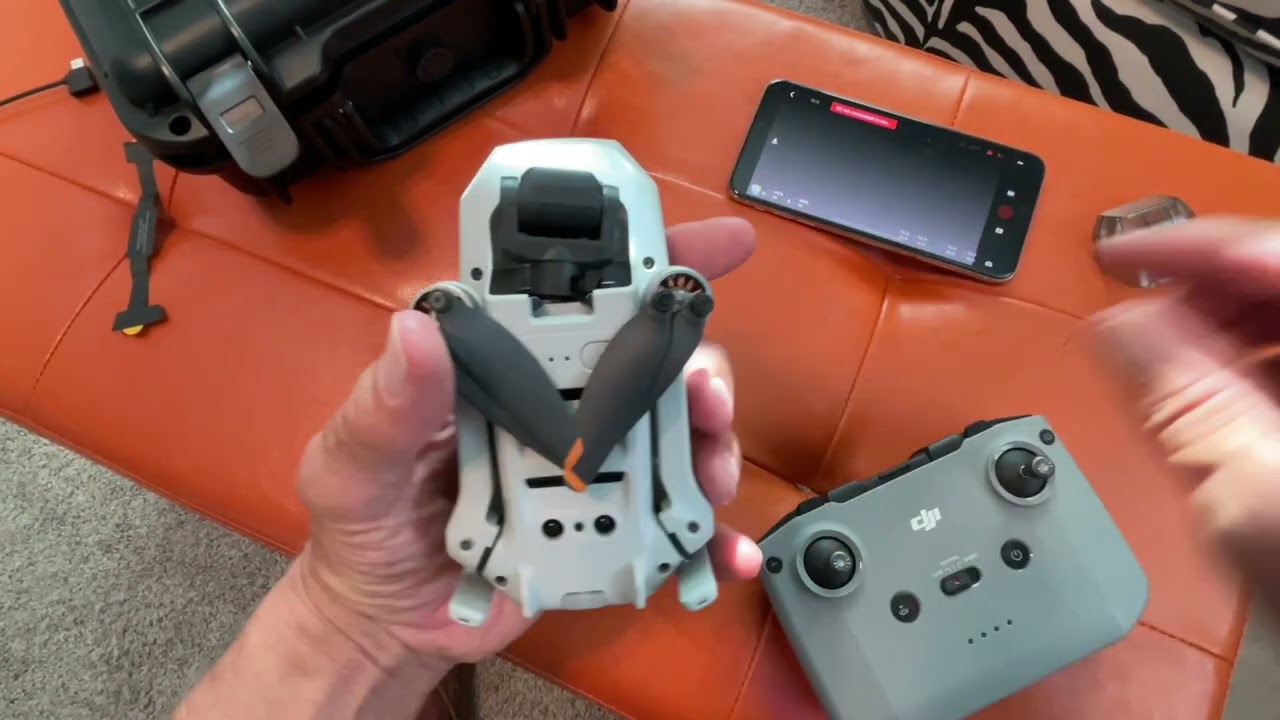
Step 5: Connect the DJI Mini 2 to the Controller
After accessing the remote controller settings, the next step is to physically connect the DJI Mini 2 to the controller. This step ensures that the controller can communicate with the drone and allows you to control its movements.
On the DJI Mini 2, locate the included USB cable. One end of the cable should have a standard USB port, while the other end has a USB-C or micro-USB connector, depending on the model of your drone.
Connect the USB end of the cable to the USB port on the bottom of the controller. Then, connect the other end of the cable to the USB port on the DJI Mini 2 drone. Make sure the connections are secure and properly aligned.
Once the cable is connected, you should see the control interface of the DJI Fly app update to reflect the connection between the drone and the controller. This indicates that the physical connection is successful, and you are now ready to control the DJI Mini 2 using the controller.
Make sure to keep the cable securely connected throughout your flight to maintain a stable connection. Also, ensure that the cable is not obstructing any of the drone’s moving parts, such as the propellers.
It is recommended to test the connection by moving the control sticks on the controller and observing how the DJI Mini 2 responds. You should see the drone’s movements mirrored in the app’s control interface, confirming that the connection is working properly.
With the DJI Mini 2 connected to the controller, you can now enjoy full control over the drone’s flight and camera functions. Explore the various flight modes and features offered by the DJI Mini 2 to capture stunning aerial footage and create unforgettable memories.
In the next step, we will cover the process of calibrating the controller to ensure optimal performance and responsiveness.
Step 6: Calibrate the Controller
After connecting the DJI Mini 2 to the controller, it is essential to calibrate the controller to ensure optimal performance and responsiveness during flight. Calibration helps to fine-tune the controller’s sensors and ensure accurate control over the drone’s movements.
To begin the calibration process, open the DJI Fly app on your mobile device. Ensure that the DJI Mini 2 is powered on and connected to the controller.
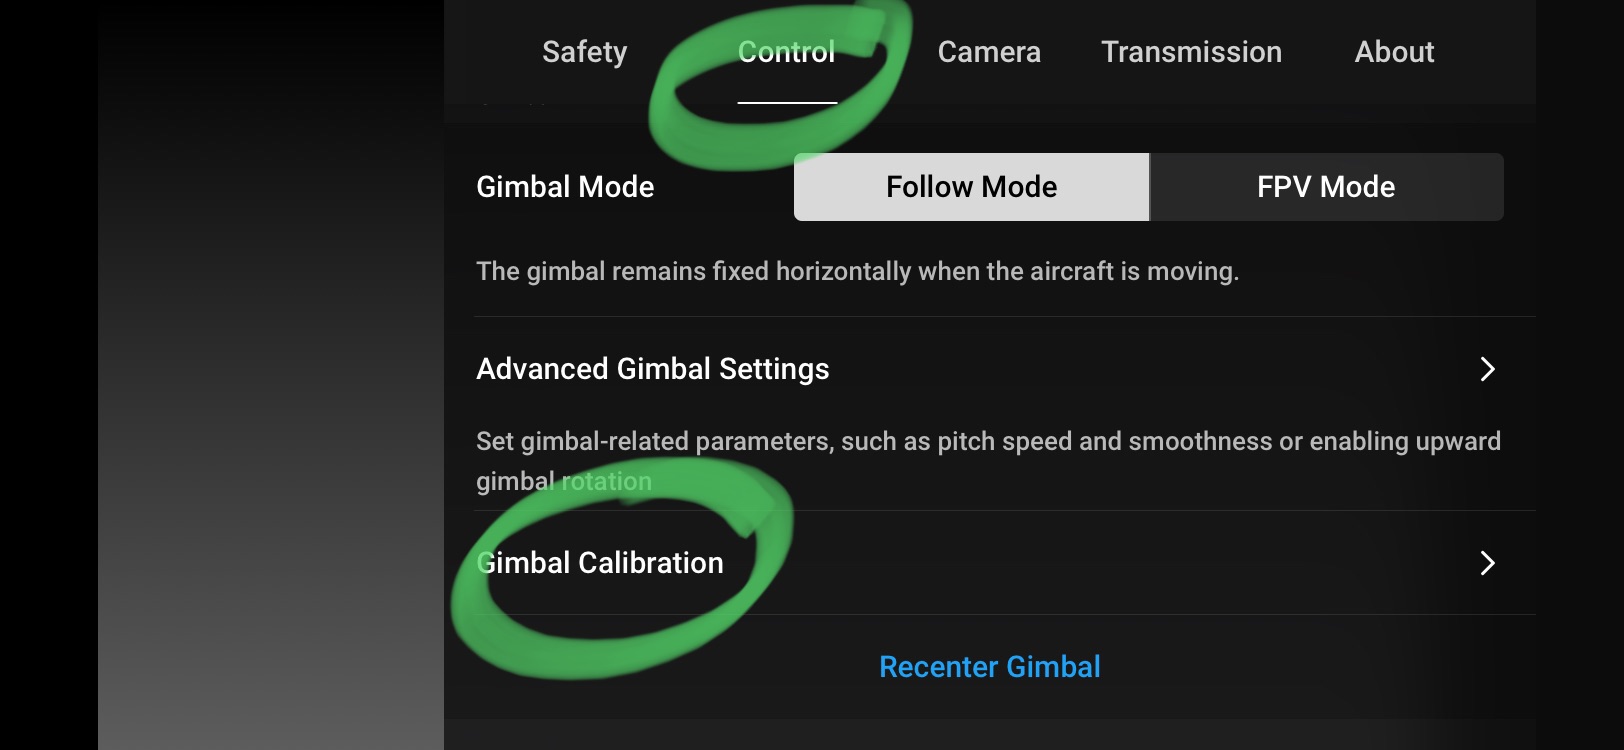
In the app, navigate to the settings menu and locate the “Controller Calibration” or “Calibrate Controller” option. This option is usually found within the remote controller settings.
Tap on the calibration option, and the app will guide you through the calibration process. It may involve rotating the controller around different axes, tilting it in various directions, or following on-screen instructions.
Follow the steps provided by the app carefully during the calibration process. Make sure to perform the movements smoothly and precisely for accurate calibration.
Once the calibration is complete, the app will confirm the successful calibration of the controller. This indicates that the controller is now optimized and ready for flight.
Calibrating the controller is an essential step to ensure accurate control and stability during flight. It helps to eliminate any drift or inaccuracies that may occur due to variations in the controller’s sensors.
It’s important to note that calibration may need to be performed periodically or after any significant changes or updates to the DJI Mini 2 or the controller. Regular calibration helps maintain optimal performance and responsiveness.
With the controller properly calibrated, you are now ready to take to the skies and enjoy the full capabilities of your DJI Mini 2 drone.
Remember to always fly responsibly, follow local regulations and guidelines, and respect the privacy and safety of others while operating your drone.
Congratulations! You have successfully connected the DJI Mini 2 to the controller, calibrated the controller, and are now prepared to embark on exciting aerial adventures!
Conclusion
Connecting the DJI Mini 2 to the controller is a crucial step in unlocking the full potential of this compact and powerful drone. Through the step-by-step process outlined in this guide, you have learned how to power on the DJI Mini 2 and the controller, connect the controller to your mobile device, access the DJI Fly app and settings, and physically connect the DJI Mini 2 to the controller. Additionally, you have discovered the importance of calibrating the controller for optimal performance.
By following these steps, you can now take control of the DJI Mini 2, explore its advanced features, and capture breathtaking aerial footage. The DJI Fly app provides a user-friendly interface that allows you to access various settings, flight modes, and camera controls to enhance your drone flying experience.
Remember to stay up to date with the latest firmware updates for both the DJI Mini 2 and the DJI Fly app, as these updates often bring improvements and new features to enhance your drone’s capabilities.
When flying your DJI Mini 2, always adhere to local regulations and guidelines to ensure safe and responsible flight operations. Familiarize yourself with the drone’s flight controls, practice in open and suitable areas, and respect the privacy and safety of others.
Whether you are an enthusiast, hobbyist, or professional drone pilot, the DJI Mini 2 offers an immersive and exciting flying experience. With its long flight time, high-quality camera, and intelligent flight modes, you can capture stunning aerial shots and explore the world from a whole new perspective.
Now that you have successfully connected the DJI Mini 2 to the controller and calibrated it, it’s time to unleash your creative potential and embark on incredible aerial adventures. So go out there, fly responsibly, and capture the beauty of the world with your DJI Mini 2!