Introduction
Welcome to the exciting world of drone flying with the DJI Mini 2! Whether you’re a beginner or a seasoned flyer, this compact and powerful drone is packed with features that will take your aerial photography and videography to new heights. In this guide, we will walk you through the step-by-step process of turning on your DJI Mini 2 so that you can get airborne in no time!
Before we dive into the details, it’s important to note that safety should always be your top priority when operating a drone. Familiarize yourself with the drone’s user manual, local regulations, and best practices for safe flying. Now let’s get started with the DJI Mini 2 setup.
The DJI Mini 2 comes with a compact and lightweight design that makes it easy to carry and transport. With its 12-megapixel camera and 4K video recording capabilities, it allows you to capture stunning visuals from unique perspectives. But before you take off, you need to ensure that the drone and its components are powered up correctly.
Ready to get started? Let’s move on to the first step: charging the battery.
Step 1: Charge the Battery
The first step in turning on your DJI Mini 2 is to ensure that the battery is fully charged. This is essential for a safe and uninterrupted flight experience.
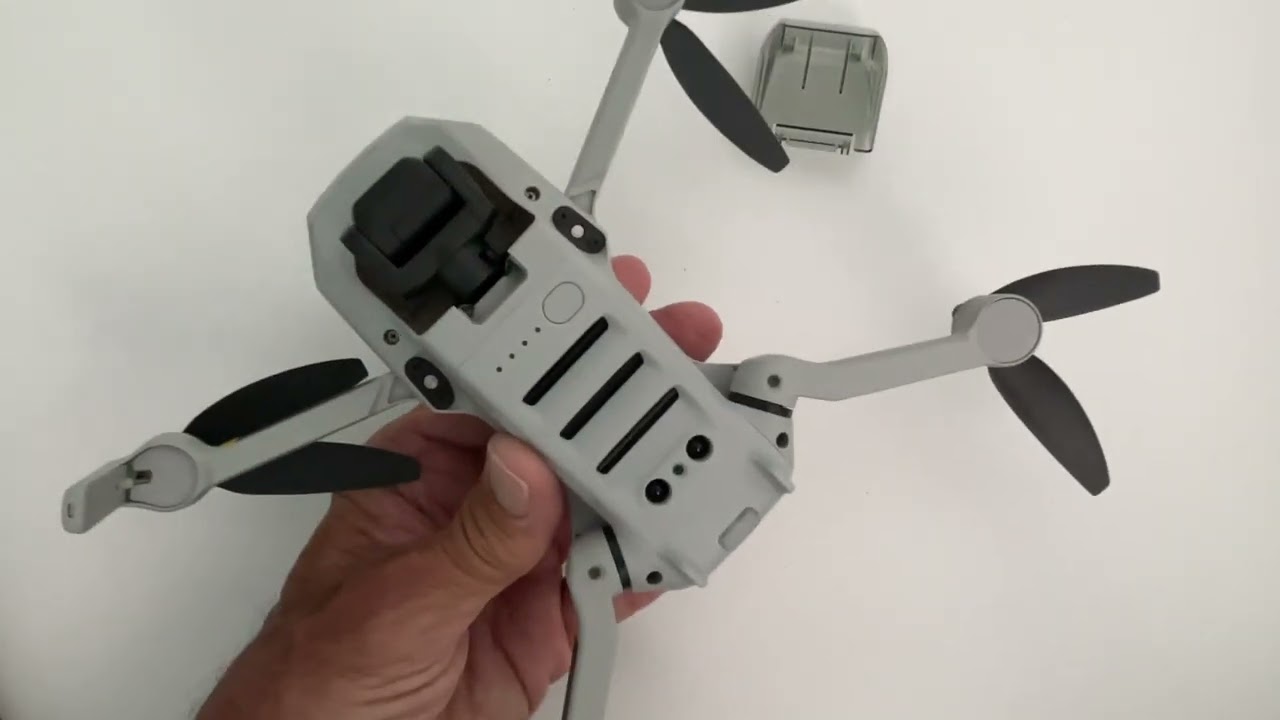
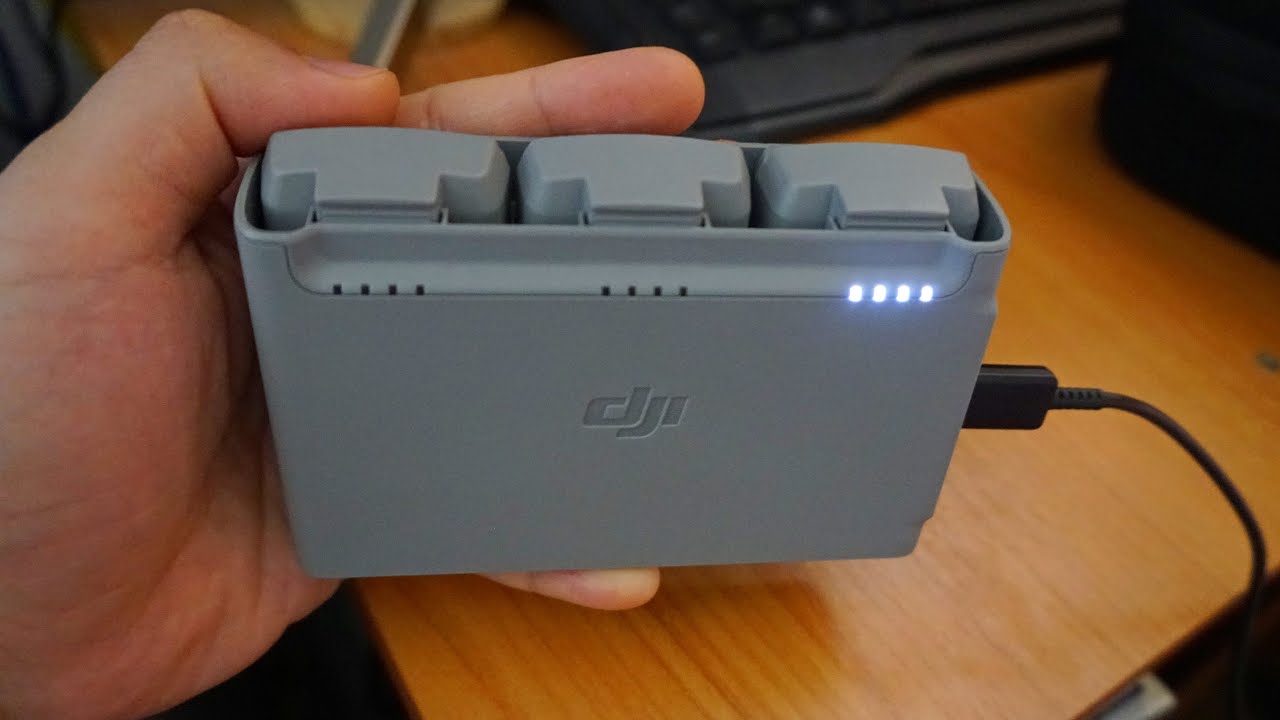
Start by locating the battery compartment on the underside of the drone. Gently slide the battery latch and remove the battery. Connect the battery to the charger provided in the DJI Mini 2 package. Plug the charger into a power source, such as a wall outlet or a portable power bank.
While the battery is charging, you can take this time to prepare for your flight by reviewing the drone’s user manual and familiarizing yourself with the DJI Fly app. It’s important to understand the various flight modes, settings, and safety features offered by the DJI Mini 2.
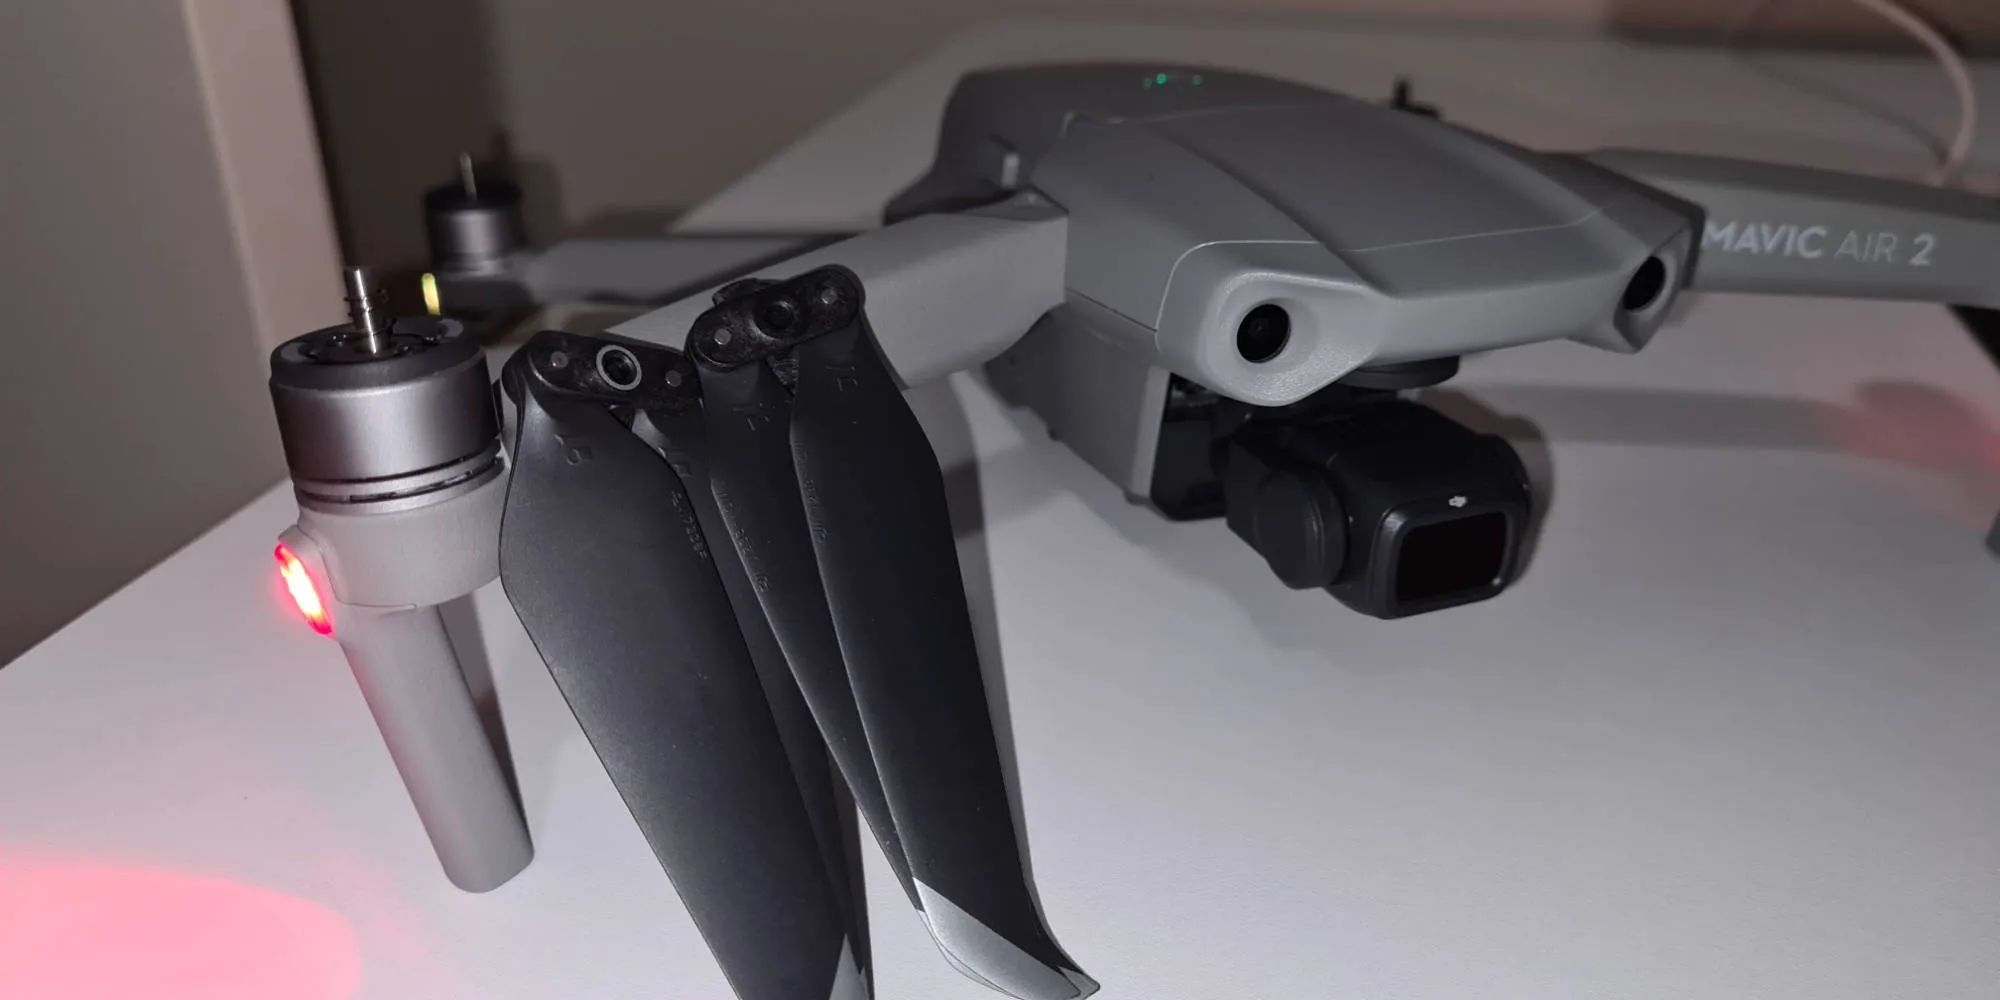
The DJI Mini 2 battery typically takes around 90 minutes to fully charge. During this time, the charger’s indicator light will turn red to indicate that the battery is charging. Once the battery is fully charged, the indicator light will turn green.
It’s a good practice to have spare batteries on hand, especially if you plan on capturing an extended flight session or covering a large area. This will ensure that you have enough power to explore and record your aerial adventures without any interruptions.
Once the battery is fully charged, carefully reinsert it into the battery compartment of the DJI Mini 2. Ensure that the battery is securely attached and the latch clicks into place. Now, you’re ready to move on to the next step: inserting the SD card.
Step 2: Insert the SD Card
Before you can start capturing amazing aerial footage with your DJI Mini 2, you need to insert an SD card into the drone to store your photos and videos. Follow these simple steps to insert the SD card:
- Locate the SD card slot on the side of the drone. It should be near the battery compartment.
- Gently push the SD card into the slot until it clicks into place. Make sure the card is fully inserted and secure.
- Check that the SD card is correctly inserted by giving it a slight pull. It should not come out easily if properly inserted.
It’s important to use a high-quality SD card with a Class 10 or UHS-I rating to ensure smooth recording and storage of your footage. This will help prevent any issues with data loss or corruption.
Having spare SD cards on hand is also a good idea, especially if you plan on capturing a lot of content during your flights. This allows you to quickly swap out full cards with empty ones, ensuring you never miss a moment.
Now that you have successfully inserted the SD card, you’re ready to move on to the next step: unfolding the drone.
Step 3: Unfold the Drone
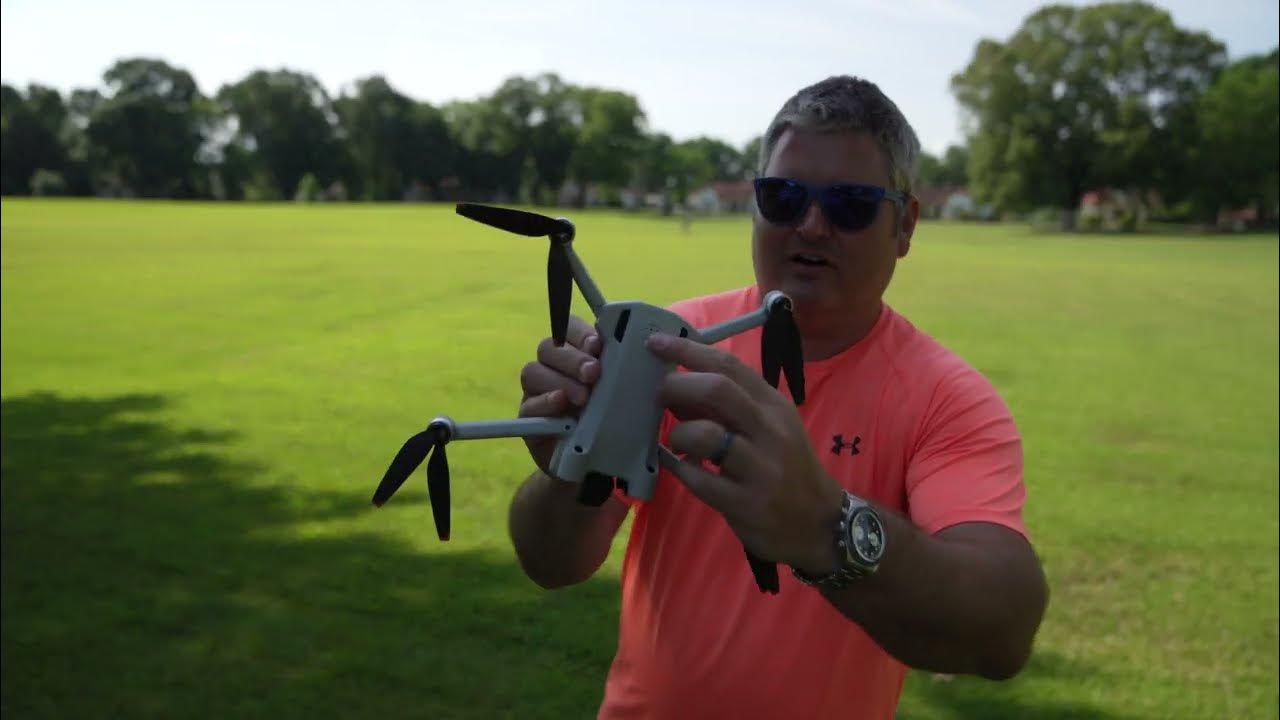
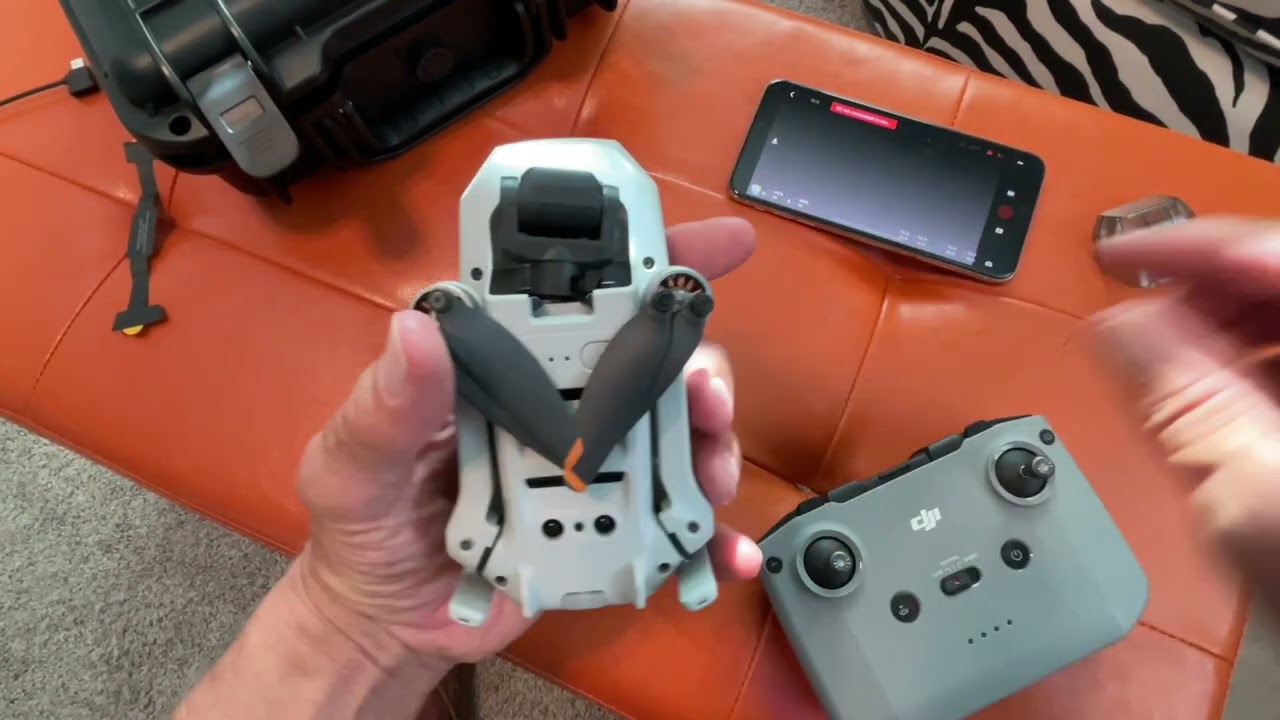
Now that your DJI Mini 2’s battery is charged and the SD card is inserted, it’s time to unfold the drone and prepare it for flight. Follow these simple steps to unfold your DJI Mini 2:
- Find the release switches on each arm of the drone. These switches will be located near the motors or the hinges of the arms.
- Gently press and hold down each release switch, one at a time.
- While holding down the release switch, carefully unfold each arm of the drone until it locks into place.
- Make sure that all the arms are fully extended and securely locked in place before proceeding.
It’s important to ensure that the arms are fully unfolded and secured before you power on the drone. This ensures the stability and integrity of the drone’s structure during flight.
Once the drone is fully unfolded and the arms are locked in place, you’re ready to move on to the next step: powering on the remote controller.
Remember to always handle the drone with care and avoid applying excessive force when unfolding or folding the arms. This will help prevent any damage to the drone and ensure its optimal performance.
Step 4: Power on the Remote Controller
Now that your DJI Mini 2 is unfolded and ready for flight, it’s time to power on the remote controller. The remote controller allows you to control the drone’s flight movements, adjust camera settings, and access various flight modes. Here’s how you can power on the remote controller:
- Locate the power button on the remote controller. It is usually located at the top or on the side of the controller.
- Press and hold the power button for a few seconds until the LED indicators on the remote controller start flashing.
- Release the power button once the LED indicators are flashing.
Once powered on, the remote controller will establish a connection with the DJI Mini 2. Make sure to keep the remote controller within a reasonable range of the drone to maintain a strong and stable connection.
The LED indicators on the remote controller will provide you with information about the connection status, battery level, and other important notifications. Familiarize yourself with the different LED indicator patterns as described in the user manual or DJI Fly app.
It’s important to note that the remote controller may require firmware updates from time to time. Make sure to check for any available updates through the DJI Fly app or DJI’s official website and follow the instructions provided to keep your remote controller up to date.
With the remote controller powered on and ready, you’re one step closer to taking flight with your DJI Mini 2. The next step is to connect your mobile device to the remote controller, which we will cover in the next section.
Step 5: Connect the Mobile Device
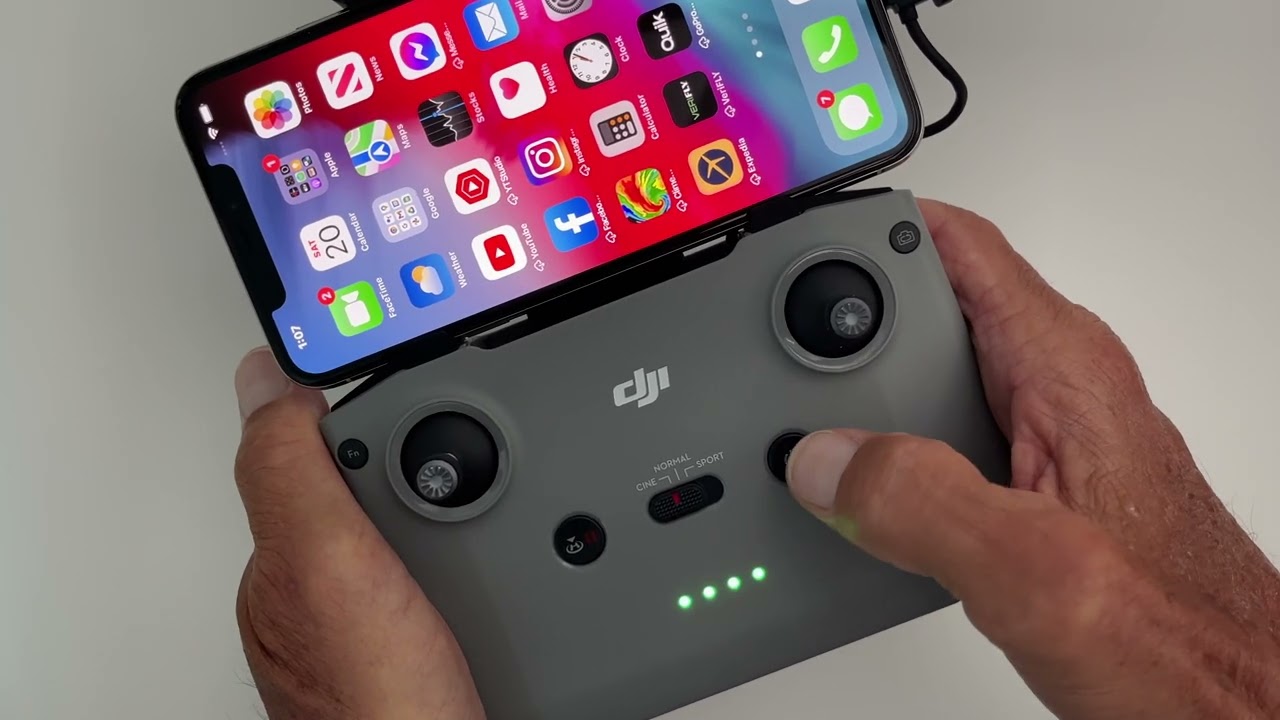
In order to fully utilize the features and capabilities of your DJI Mini 2, it’s important to connect a mobile device to the remote controller. This will allow you to access the DJI Fly app, which serves as the interface for controlling the drone, viewing live footage, adjusting camera settings, and more. Here’s how you can connect your mobile device:
- Make sure your mobile device is charged and has the DJI Fly app installed. You can download the app from the App Store or Google Play Store.
- Connect the USB cable provided with your DJI Mini 2 to the USB port on the bottom of the remote controller.
- Plug the other end of the USB cable into your mobile device.
- Once connected, launch the DJI Fly app on your mobile device.
After launching the DJI Fly app, it should automatically detect and establish a connection with your DJI Mini 2. Follow the on-screen instructions to complete the connection process. Once connected, you will have access to a range of features and settings that enhance your drone flying experience.
It’s important to note that your mobile device should meet the minimum system requirements specified by DJI to ensure smooth operation of the DJI Fly app. This information can be found in the user manual or on the DJI website.
Additionally, it’s a good practice to keep your mobile device in airplane mode during flight to avoid any interruptions or interference with the drone’s connection. This will help maintain a stable connection and prevent any potential issues.
With your mobile device connected to the remote controller, you’re ready to move on to the next step: powering on the drone.
Step 6: Power on the Drone
With your DJI Mini 2 unfolded and your mobile device connected to the remote controller, it’s time to power on the drone itself. Here’s how you can do it:
- Locate the power button on the drone. It is usually located on the top surface, near the front.
- Press and hold the power button for a few seconds until the LED indicators on the drone start flashing.
- Release the power button once the LED indicators are flashing.
As the drone powers on, it will go through a start-up sequence, initializing its systems and establishing a connection with the remote controller. Make sure to keep the drone in an open area with a clear view of the sky during this process.
Once the drone is powered on and connected to the remote controller, you will hear a series of beeps, along with visual cues from the LED indicators. These indicators will provide you with important information about the drone’s status, including battery level, GPS connection, and more.
It’s crucial to ensure that the drone is on a stable surface during the power-on process. This will help prevent any accidental movement or damage to the drone and its components.
Once the drone is fully powered on and connected, you’re almost ready to take off! However, before you do, it’s important to calibrate the compass to ensure accurate flight and navigation. We will cover this step in the next section.
Step 7: Calibrate the Compass
Calibrating the compass is an essential step in ensuring accurate flight and navigation with your DJI Mini 2. A calibrated compass will help the drone maintain its stability and accurately determine its orientation during flight. Follow these steps to calibrate the compass:
- Find a location with minimal magnetic interference, such as an open field or away from any metal objects.
- With the drone powered on and connected to the remote controller, launch the DJI Fly app on your mobile device.
- Go to the settings menu in the app and select the “General Settings” tab.
- Scroll down to find the “Calibrate Compass” option and tap on it.
- Follow the on-screen instructions to calibrate the compass. This typically involves rotating the drone in a specific pattern.
- Once the calibration process is complete, the app will display a notification indicating successful calibration.
It’s important to note that you may need to calibrate the compass under certain conditions, such as when you first start using the drone, when flying in a new location, or if the DJI Fly app prompts you to do so due to abnormal compass readings.
During the compass calibration process, make sure to keep the drone flat and level on the ground, and follow the instructions provided by the app precisely. Failure to calibrate the compass properly can result in inaccurate flight behavior and compromised drone performance.
Once the compass is calibrated, you’re one step closer to a smooth and precise flying experience with your DJI Mini 2. It’s important to perform this step each time you fly in a new location or if you experience any issues with the drone’s navigation.
Now that the compass is calibrated, you’re ready to move on to the next step: connecting the drone and remote controller.
Step 8: Connect the Drone and Remote Controller
Before taking flight with your DJI Mini 2, it’s important to establish a secure and stable connection between the drone and the remote controller. This ensures that you have full control over the drone’s movements and can receive live video feed on your mobile device. Follow these steps to connect the drone and remote controller:
- Ensure that both the drone and the remote controller are powered on and within close proximity to each other.
- On the remote controller, push the throttle stick (left stick) all the way up and then all the way down. This will enable the remote controller to start searching for the drone’s signal.
- Observe the LED indicators on both the remote controller and the drone. They will provide you with information about the connection status.
- Once the remote controller and drone are successfully connected, the LED indicators will display a steady light or a solid color, indicating a stable connection.
- In the DJI Fly app on your mobile device, you should see a live video feed from the drone’s camera, confirming that the connection is established.
If the connection is not established at first, you may need to repeat the process by powering off both the drone and the remote controller, then powering them back on and following the steps again.
It’s important to keep the drone and remote controller within the recommended maximum range and avoid any obstacles that may interfere with the signal. This will help maintain a strong and stable connection throughout your flight.
With a successful connection between the drone and remote controller, you’re now ready to move on to the next step: launching the DJI Fly app on your mobile device for a pre-flight check.
Step 9: Launch the DJI Fly App
Launching the DJI Fly app is an essential step in preparing for your DJI Mini 2 flight. The app provides you with a user-friendly interface that allows you to access a variety of features, flight settings, and camera controls. Follow these steps to launch the DJI Fly app:
- Ensure that your mobile device is connected to the remote controller and the drone is powered on.
- Locate and tap on the DJI Fly app icon on your mobile device’s home screen to open the app.
- The app will automatically detect the connected drone and establish a connection.
- Once the app is successfully connected, you will be greeted with the main interface, which displays important flight information and camera controls.
While using the DJI Fly app, you will have access to various features such as flight modes, intelligent flight controls, camera settings, and more. Familiarize yourself with the app’s layout and navigation to make the most out of your DJI Mini 2 flying experience.
Make sure to check for any available firmware updates within the DJI Fly app before each flight. Firmware updates often include important performance enhancements, bug fixes, and new features.
It’s important to ensure that your mobile device meets the minimum system requirements specified by DJI for optimal performance of the DJI Fly app. This information can be found in the user manual or on the DJI website.
With the DJI Fly app launched and connected to the drone, you’re one step closer to taking off with your DJI Mini 2. But before you do, it’s important to complete a pre-flight checklist, which we will cover in the next step.
Step 10: Complete Pre-flight Checklist
Before you take to the skies with your DJI Mini 2, it’s crucial to complete a pre-flight checklist. This checklist ensures that all systems are functioning properly, and you have taken the necessary precautions for a safe and successful flight. Follow these steps to complete your pre-flight checklist:
- Make sure that the drone’s battery is fully charged and securely inserted into the drone.
- Check that the SD card is properly inserted into the drone and has enough storage space for your flight.
- Ensure that the drone’s arms are unfolded and locked in place, and that there is no damage to the drone’s structure.
- Verify that the remote controller is powered on and connected to the drone.
- Launch the DJI Fly app on your mobile device and ensure that it is connected to the drone.
- Check the GPS signal strength on the DJI Fly app to ensure a stable and accurate connection.
- Inspect the surroundings for any potential obstacles or hazards that could affect your flight.
- Verify that you are flying in an area that complies with local laws and regulations for drone operation.
- Double-check the weather conditions, avoiding flying in strong winds, rain, or foggy conditions.
- Take note of any flight restrictions or no-fly zones in your intended flying area.
By completing this pre-flight checklist, you greatly reduce the risk of accidents or malfunctions during your flight. It ensures that you are well-prepared and aware of the conditions and limitations for safe drone flying.
Remember, safety should always be your top priority when operating a drone. Even experienced users should review the pre-flight checklist before each flight to account for any changes in conditions or equipment.
Once you have completed the pre-flight checklist, you’re ready for the final step: taking off and starting your exciting DJI Mini 2 flight!
Step 11: Take Off and Start Flying
With all the preparations done, it’s time to take off and start your exhilarating flight with the DJI Mini 2. Follow these steps to safely launch your drone into the sky:
- Ensure that the drone, remote controller, and mobile device are all powered on and connected.
- Confirm that you have a strong GPS signal on the DJI Fly app to ensure precise positioning.
- Position the drone on a flat and open area, away from any obstacles or people.
- Hold down the takeoff/landing button on the DJI Fly app to initiate the automatic takeoff sequence.
- Alternatively, you can manually take off by pushing the left joystick gently upwards.
- As the drone takes off, carefully monitor its ascent and maintain a safe distance from the ground.
- Once the drone is in the air, you can use the joystick controls to maneuver and explore your surroundings.
- Take advantage of the various flight modes and intelligent flight features provided by the DJI Mini 2 to capture stunning photos and videos.
- Keep a close eye on the battery level and return to a safe landing spot before the battery runs too low.
- Throughout your flight, follow local regulations, respect privacy, and be mindful of other people and wildlife in the area.
Enjoy the incredible views and creative possibilities that flying the DJI Mini 2 offers. Experiment with different angles, perspectives, and flight patterns to capture unique content.
Remember, practice and experience will improve your flying skills. Start with simple maneuvers and gradually explore the drone’s capabilities as you become more comfortable.
After your flight, be sure to follow proper landing procedures and take the necessary steps to safely power off and store your DJI Mini 2 for future use.
Now that you’re familiar with the entire process of turning on the DJI Mini 2, from charging the battery to taking off and flying, get ready to embark on incredible aerial adventures with your drone!
Conclusion
Congratulations on successfully turning on your DJI Mini 2 and getting ready for a thrilling drone flying experience! By following the step-by-step guide outlined in this article, you have learned how to charge the battery, insert the SD card, unfold the drone, power on the remote controller, connect your mobile device, power on the drone, calibrate the compass, connect the drone and remote controller, launch the DJI Fly app, complete a pre-flight checklist, and finally, take off and start flying.
Throughout this process, it’s important to prioritize safety and adhere to local regulations and best practices for drone operation. Familiarize yourself with the user manual, stay updated with any firmware or app updates, and always fly in open areas away from obstacles and people.
The DJI Mini 2 offers a compact and powerful drone experience, allowing you to capture stunning aerial photos and videos. Take advantage of its features such as GPS positioning, intelligent flight modes, and stable connection to the remote controller and the DJI Fly app. Experiment with different flight patterns and camera settings to unleash your creativity and capture breathtaking footage.
Remember, practice makes perfect. As you gain more experience and become more familiar with the capabilities of your DJI Mini 2, you’ll be able to unlock even more creative possibilities and expand your aerial photography and videography skills.
Enjoy your flights, explore captivating locations, and embrace the beauty of the world from a new perspective with your DJI Mini 2. Happy flying!