Introduction
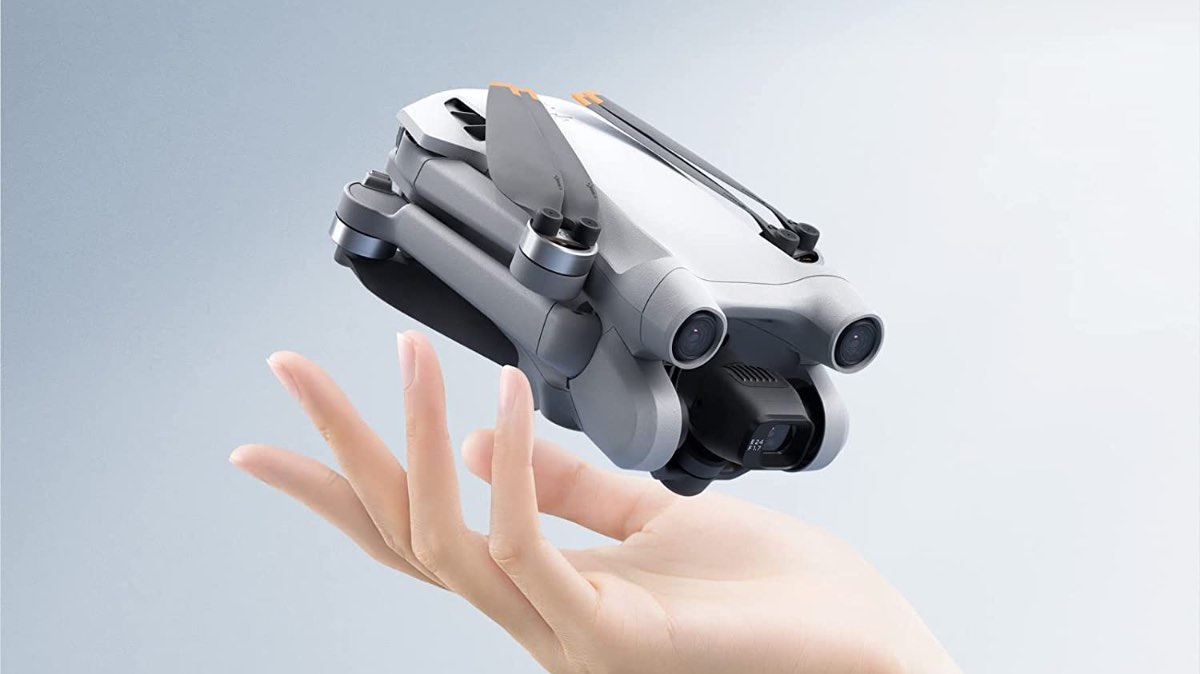
Welcome to this comprehensive guide on how to download DJI videos. DJI, a leading manufacturer of drones and aerial photography equipment, has gained immense popularity among enthusiasts and professionals alike. Whether you’ve captured stunning aerial footage or recorded memorable moments with your DJI device, having the ability to download and store your videos is crucial.
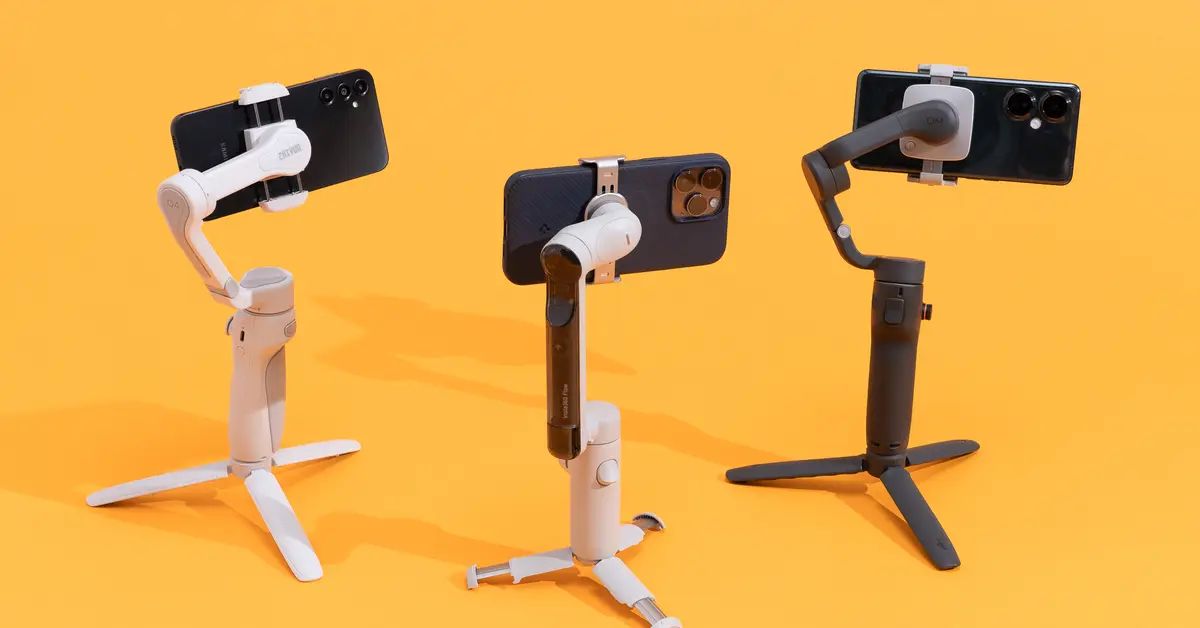
In this guide, we will walk you through the step-by-step process of downloading DJI videos, ensuring that you have a seamless experience from start to finish. Whether you’re using a DJI drone, gimbal, or any other DJI device, the methods shared here will apply to all models and variations.
Downloading your DJI videos not only allows you to preserve your work but also gives you the flexibility to edit, share, and showcase your footage with others. Whether you’re a professional videographer, a content creator, or simply a hobbyist, having easy access to your DJI videos is essential for unleashing your creativity.
Throughout this guide, we’ll be using the DJI Assistant 2 software, which is a powerful tool designed specifically for managing and updating DJI devices. This software provides a user-friendly interface along with a range of features to make the video downloading process as convenient as possible.
So, whether you’re new to the world of DJI or a seasoned user looking to enhance your video management skills, let’s dive into the steps required to download DJI videos and unlock the full potential of your aerial footage.
Step 1: Create a DJI Account
Before you can start downloading DJI videos, the first step is to create a DJI account. The DJI account provides you with access to various DJI services, including software updates, product registration, and video management.
To create a DJI account, follow these simple steps:
- Go to the DJI official website at www.dji.com.
- Click on the “Sign Up” button located in the top right corner of the website.
- You will be redirected to the account creation page, where you’ll need to provide the required information.
- Fill in the necessary details, including your email address and a strong password. Ensure that your password meets the security requirements provided on the page.
- Agree to the terms and conditions by checking the box.
- Click on the “Sign Up” button to create your DJI account.
- You will receive a confirmation email on the provided email address. Open the email and click on the confirmation link to verify your account.
Once your DJI account is created and verified, you’ll have access to a range of DJI services and features. Make sure to keep your login credentials secure and easily accessible for future use.
Creating a DJI account is a simple and essential step to enjoy the full benefits of DJI’s video management features. With your account set up, you can now move on to the next step of connecting your DJI device to your computer.
Step 2: Connect Your DJI Device to Your Computer
Once you have your DJI account set up, the next step is to connect your DJI device to your computer. This step is crucial for establishing a connection between your device and the DJI Assistant 2 software, which will facilitate the video downloading process.
Follow these steps to connect your DJI device to your computer:
- Using a USB cable, connect your DJI device (such as a drone or gimbal) to an available USB port on your computer.
- Ensure that your DJI device is powered on and in USB mode. Refer to your device’s user manual for detailed instructions on how to enable USB mode.
- Once the connection is established, your computer should recognize your DJI device and install any necessary drivers or software.
- If prompted, follow the on-screen instructions to complete the device driver installation process.
- On your computer, launch the DJI Assistant 2 software. If you don’t have the software installed, you can download it from the DJI official website.
By connecting your DJI device to your computer, you ensure that the DJI Assistant 2 software can communicate with and access your device’s files. This connection is essential for downloading your DJI videos smoothly.
Please note that the exact steps for connecting your DJI device may vary depending on the model and version you are using. Refer to the user manual or online resources provided by DJI for specific instructions related to your device.
Now that your DJI device is connected to your computer, you’re ready to move on to the next step of launching the DJI Assistant 2 software.
Step 3: Launch the DJI Assistant 2 Software
After connecting your DJI device to your computer, it’s time to launch the DJI Assistant 2 software. This software serves as a management tool for your DJI device and provides a user-friendly interface for accessing various settings and features.
Follow these steps to launch the DJI Assistant 2 software:
- If you haven’t already done so, download the DJI Assistant 2 software from the DJI official website. Make sure to download the version that is compatible with your specific DJI device.
- Once the software is downloaded, locate the installation file on your computer and double-click it to begin the installation process.
- Follow the on-screen instructions to complete the installation. Make sure to read and accept any terms and conditions if prompted.
- After the installation is complete, locate the DJI Assistant 2 software icon on your desktop or in your application folder and double-click to launch it.
Upon launching the DJI Assistant 2 software, you will be greeted with the main interface, which displays various options and settings related to your DJI device. You may need to log in to your DJI account using the credentials you created in Step 1.
It’s important to keep your DJI Assistant 2 software up to date to ensure compatibility with the latest DJI devices and features. Check the DJI official website regularly for software updates and download any available updates to enjoy the best performance and functionality.
Now that the DJI Assistant 2 software is up and running, it’s time to log in to your DJI account within the software. We’ll cover this step in detail in the next section.
Step 4: Log in to Your DJI Account
Now that you have launched the DJI Assistant 2 software, the next step is to log in to your DJI account. Logging in to your account is essential for accessing all the features and functionalities of the software.
Follow these steps to log in to your DJI account:
- In the DJI Assistant 2 software interface, locate the “Login” button. It is usually located in the top-right corner of the screen.
- Click on the “Login” button to bring up the login prompt.
- Enter the email address and password associated with your DJI account in the provided fields.
- Click on the “Login” or “Sign In” button to proceed.
Upon successful login, you will have access to all the features and functionalities of the DJI Assistant 2 software.
Logging in to your DJI account allows you to access and manage your DJI devices, update firmware, and perform various tasks related to video downloading and management.
If you encounter any issues while logging in, make sure you have entered the correct email address and password. If you have forgotten your password, click on the “Forgot Password” link and follow the instructions to reset it.
It’s important to keep your DJI account credentials secure to protect your data and ensure the smooth operation of the software. Avoid sharing your login information with anyone and consider using strong, unique passwords for enhanced security.
Now that you are logged in to your DJI account within the DJI Assistant 2 software, you can proceed to the next step, which is locating and selecting the video files you want to download.
Step 5: Locate and Select the Video Files
After logging in to your DJI account within the DJI Assistant 2 software, the next step is to locate and select the video files that you want to download. This step allows you to choose the specific videos that you wish to save on your computer.
Follow these steps to locate and select the video files:
- In the DJI Assistant 2 software interface, navigate to the “File Manager” or “Media Library” section. The exact location may vary depending on the software version.
- Within the file manager, you will see a list of folders that contain your DJI device’s media files. These folders usually include titles such as “Photos,” “Videos,” or specific dates or event names.
- Click on the folder that corresponds to the videos you want to download. This will open the folder and display the individual video files within it.
- Browse through the video files and select the specific ones you want to download. You can usually do this by clicking on the checkboxes next to each file or using the “Select All” option to choose all the files within the folder.
- Once you have selected the desired video files, proceed to the next step to choose the location where you want to download the videos on your computer.
It’s important to note that the DJI Assistant 2 software allows you to browse and select various types of media files, including photos and other data. Ensure that you specifically choose the video files you want to download to avoid unnecessary file transfers.
By locating and selecting the video files within the DJI Assistant 2 software, you are one step closer to downloading and preserving your valuable DJI footage. The next step will guide you through choosing the download location on your computer.
Step 6: Choose Download Location
After selecting the video files you wish to download in the DJI Assistant 2 software, the next step is to choose the download location on your computer. This step allows you to specify the folder or directory where you want to save the downloaded files.
Follow these steps to choose the download location:
- In the DJI Assistant 2 software interface, navigate to the “Download” or “Save To” section. This section is typically located near the file manager or media library.
- Click on the “Browse” or “Choose” button to open a dialog box that allows you to select the download location.
- Navigate through your computer’s file system and choose the folder or directory where you want the downloaded videos to be saved.
- Once you have selected the desired download location, click on the “OK” or “Save” button to confirm your choice.
Choosing the download location is essential for organizing your downloaded videos and ensuring easy access to them in the future. Consider creating a dedicated folder specifically for your DJI videos to maintain a well-structured library.
Additionally, make sure that the selected download location has sufficient storage space to accommodate the size of the video files you are downloading. High-resolution videos captured by DJI devices can often be large in size, so ensure that your chosen location has enough available storage.
By choosing the download location, you have set the destination for your downloaded DJI videos. The next step will guide you through initiating the downloading process.
Step 7: Begin Downloading the Videos
Now that you have selected the video files to download and chosen the download location, it’s time to initiate the downloading process. This step will start transferring the selected videos from your DJI device to your computer.
Follow these steps to begin downloading the videos:
- In the DJI Assistant 2 software interface, locate the “Download” or “Start Download” button. This button is usually located within the download section or near the selected video files.
- Click on the “Download” or “Start Download” button to initiate the downloading process.
- The DJI Assistant 2 software will start transferring the selected video files from your DJI device to the specified download location on your computer.
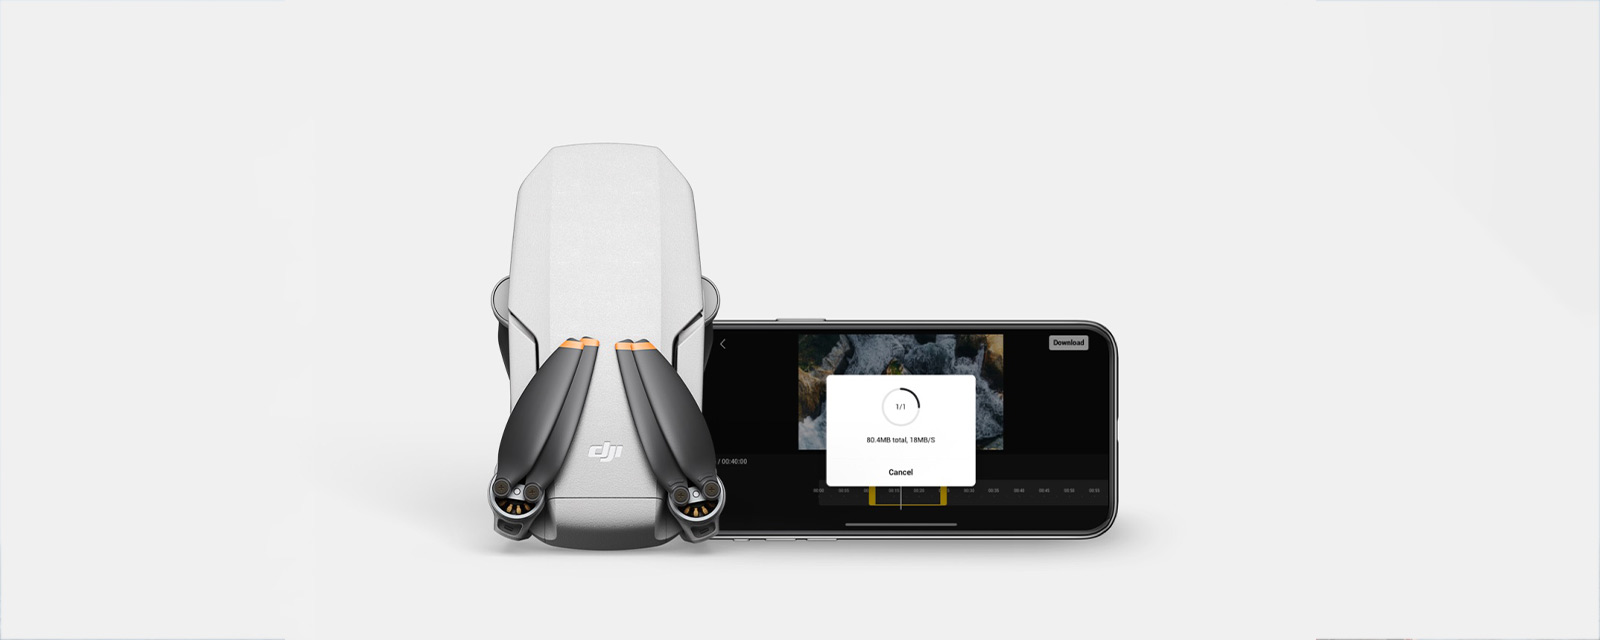
- Monitor the progress bar or download status displayed in the software interface to keep track of the downloading process.
- Depending on the size and number of selected video files, the downloading process may take some time. Be patient and allow the software to complete the transfer.
- Once the download is complete, you will find the downloaded video files in the specified download location on your computer.
It’s important to ensure a stable and uninterrupted connection between your DJI device and computer during the downloading process. Any interruptions or disconnections may affect the successful transfer of the videos.
While the DJI Assistant 2 software handles the technical aspects of downloading the videos, make sure to monitor the progress and verify that all selected files have been successfully downloaded before proceeding.
By beginning the downloading process, you are one step closer to having your DJI videos readily available on your computer. The final step will discuss monitoring the progress of the download.
Step 8: Monitor the Download Progress
Once you have initiated the downloading process of your selected DJI videos in the DJI Assistant 2 software, it’s important to monitor the download progress. This step allows you to ensure that the transfer is proceeding smoothly and to keep track of the time remaining for completion.
Follow these steps to monitor the download progress:
- In the DJI Assistant 2 software interface, locate the area where the download progress is displayed. This can be in the form of a progress bar, percentage, or estimated time remaining.
- Keep an eye on the progress bar or status indicator to monitor the percentage of the files downloaded.
- Take note of the estimated time remaining to have an idea of how long the download process will take.
- During the download process, avoid interrupting the connection between your DJI device and computer to ensure a smooth and uninterrupted transfer.
- If you encounter any issues or if the download progress appears to be stalled, you may need to troubleshoot the connection or check for any errors indicated in the software.
- Once the download progress reaches 100% or the software indicates that the download is complete, you can proceed to the specified download location on your computer to access your downloaded DJI videos.
Monitoring the download progress allows you to stay informed about the status of the transfer and ensures that you have a complete collection of your selected DJI videos.
It’s important to be patient during the download process, as the time it takes to transfer the files can vary depending on factors such as file size, download speed, and the number of selected videos.
By closely monitoring the download progress, you’ll be able to retrieve your downloaded DJI videos and proceed with editing, sharing, or enjoying your captured footage.
Conclusion
Congratulations! You have successfully learned how to download DJI videos using the DJI Assistant 2 software. By following the step-by-step guide outlined in this article, you are now equipped with the knowledge and skills to conveniently transfer your DJI footage to your computer.
Throughout this guide, we covered the essential steps, from creating a DJI account and connecting your DJI device to your computer, to launching the DJI Assistant 2 software, logging in to your DJI account, locating and selecting the video files, choosing the download location, initiating the download process, and monitoring the progress.
Remember to keep your DJI account credentials secure and regularly update the DJI Assistant 2 software to ensure compatibility with the latest features and devices. Additionally, make sure you have sufficient storage space on your computer to accommodate the size of the downloaded videos.
Now, with your DJI videos safely downloaded on your computer, you can utilize them in various ways. Edit your footage, create captivating videos, share your adventures with others, or simply relive your most memorable moments captured by your DJI device.
Whether you’re a professional videographer, an aspiring filmmaker, or a hobbyist capturing beautiful aerial shots, downloading your DJI videos allows you to unlock the full potential of your creativity and showcase your work to the world.
We hope this guide has been informative and has provided you with the necessary guidance to download DJI videos with ease. Enjoy your video editing and sharing journey!