Introduction
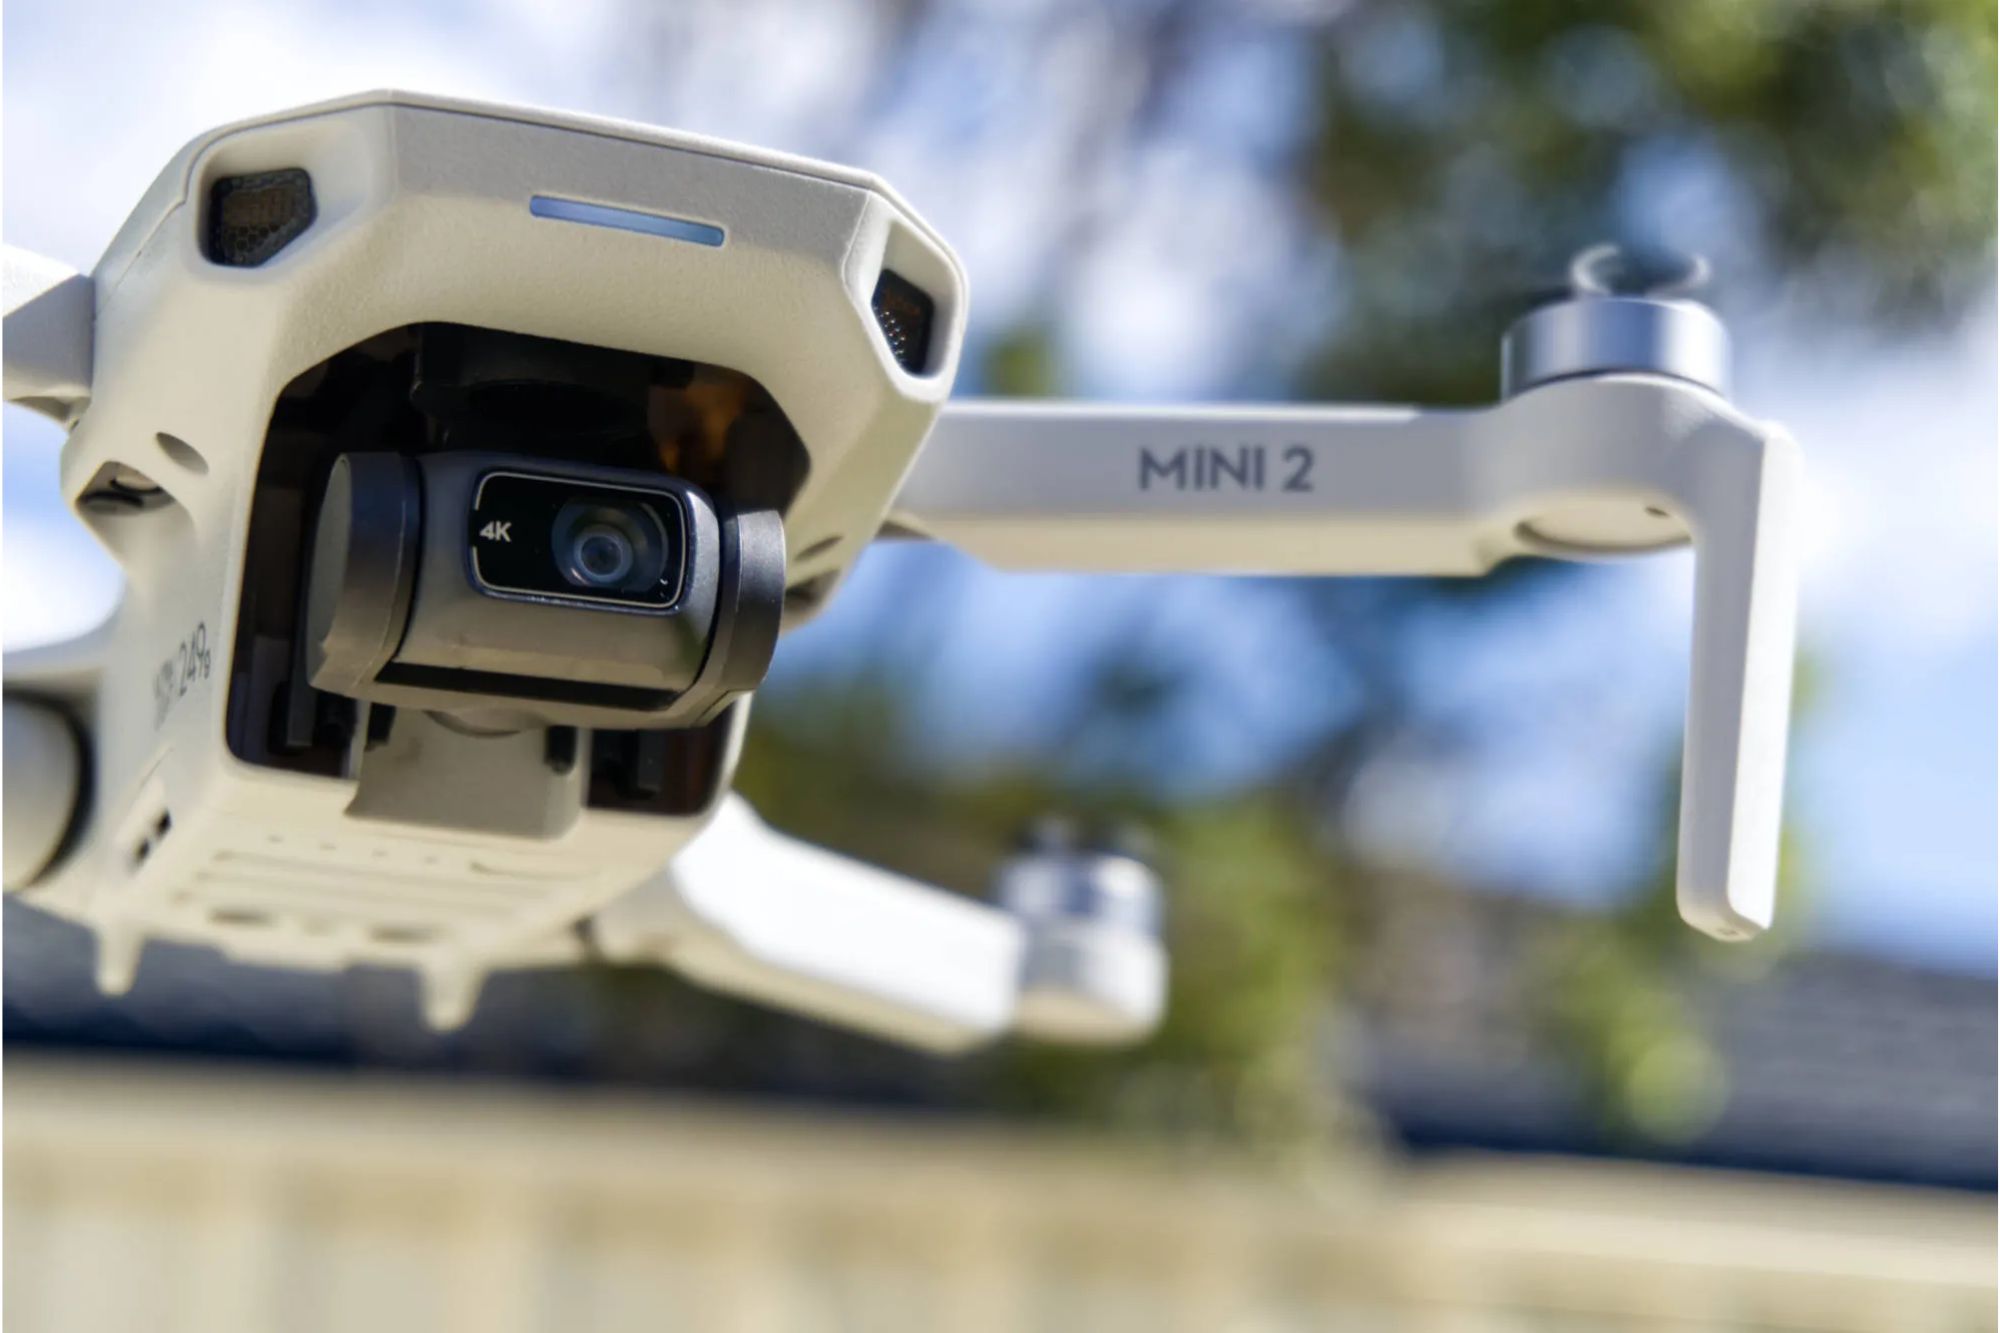
Welcome to our guide on how to change the propellers of the DJI Mini 2. The propellers are crucial components of any drone, responsible for generating lift and maintaining stability during flight. Over time, propellers may become damaged or worn out, requiring replacement to ensure optimal performance and safety.
The process of changing the propellers on the DJI Mini 2 is relatively straightforward, and with a few simple steps, you’ll have your drone ready to take to the skies again. In this guide, we will walk you through the process, from the tools you’ll need to the careful steps for installation.
Before we begin, it’s important to note that safety should always be a top priority when working with drones. Make sure you are in a well-lit area, away from any obstacles, and familiarize yourself with the DJI Mini 2 user manual for specific instructions. Let’s get started!
Tools Required
Before you begin the propeller replacement process, gather the following tools to ensure a smooth and efficient procedure:
- Screwdriver: Depending on the type of propellers you have, you may need a small screwdriver to remove or attach the propellers. Check your drone’s user manual for the specific screwdriver size required.
- New Propellers: Make sure you have a set of replacement propellers suitable for your DJI Mini 2. It’s always wise to have spare propellers on hand in case of any emergencies or accidents.
- Propeller Guard (optional): If you have a propeller guard installed on your drone, you may need to remove it before replacing the propellers. Refer to the user manual for instructions on removing the propeller guard.
Having these tools ready will save you time and ensure a hassle-free experience when changing the propellers of your DJI Mini 2. Now that you have all the necessary tools, let’s move on to the step-by-step process of replacing the propellers.
Step 1: Preparation
Before beginning the propeller replacement process, it’s important to ensure that you have taken the necessary precautions to protect yourself and your DJI Mini 2. Follow these steps to prepare for the propeller replacement:
- Find a suitable workspace: Choose a clean, well-lit area to work on your drone. Make sure there is ample space for you to move around and place your tools safely.
- Turn off the drone: Before handling any part of the drone, power it off completely. This will prevent any accidental activation of the motors during the propeller replacement process.
- Inspect the propellers: Take a close look at the current propellers to identify any visible damage or signs of wear. This will give you an idea of the condition of the propellers and the urgency of replacing them.
- Read the manual: Familiarize yourself with the instructions provided in the DJI Mini 2 user manual. This will give you a clearer understanding of the propeller replacement process and any specific guidelines you need to follow.
By taking the time to prepare for the propeller replacement process, you’ll minimize the risk of accidents and ensure a smoother experience as you move onto the actual propeller removal and installation. Now that you’re ready, let’s move on to Step 2: Removing the Propeller.
Step 2: Removing the Propeller
Now that you’re prepared, it’s time to remove the old propellers from your DJI Mini 2. Follow these steps carefully:
- Locate the motor: Identify the motor to which the propeller you want to remove is attached. The DJI Mini 2 has four motors, each with a propeller attached.
- Secure the drone: Hold the DJI Mini 2 firmly and make sure it is stable throughout the propeller removal process. You can rest it on a flat surface or use a propeller holder if available.
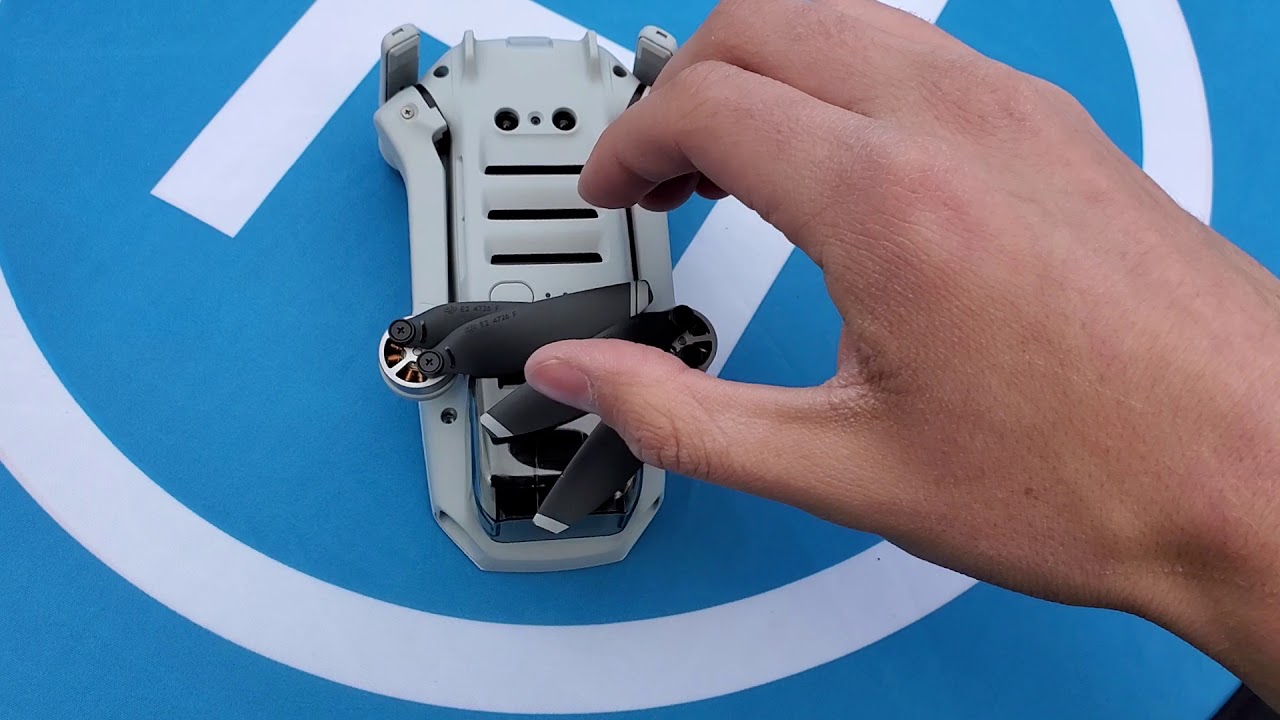
- Remove the lock: Look for the propeller lock located at the base of the existing propeller. Rotate it counterclockwise to unlock it and loosen the propeller.
- Remove the propeller: Gently pull the propeller upwards and away from the motor shaft. Do this with caution, ensuring that you do not damage any other components of the drone.
- Repeat for other propellers: Follow the same steps to remove the remaining propellers from the other motors.
Remember to handle the propellers with care and keep them in a safe place to avoid any damage. With the old propellers removed, you’re ready to move on to the next step: attaching the new propellers.
Step 3: Attaching the New Propeller
With the old propellers safely removed, it’s time to attach the new propellers to your DJI Mini 2. Follow these steps to ensure a proper installation:
- Inspect the new propellers: Before attaching them, closely examine the new propellers for any defects or damage. Ensure that they are the correct size and type for your DJI Mini 2.
- Align the propeller: Hold the new propeller near the motor shaft and align it so that the mounting holes match up with the holes on the motor.
- Secure the propeller: Gently push the propeller down onto the motor shaft. Apply gentle pressure and rotate it clockwise to lock it in place. Make sure it is securely fastened to prevent any accidental detachment during flight.
- Repeat for other propellers: Follow the same steps to attach the remaining propellers to their respective motors. Take your time to ensure that each propeller is properly aligned and securely attached.
Take note of any markings or color coding on the propellers that indicate the specific motor they should be attached to. This will help ensure proper placement and balance.
Once all the new propellers are securely attached, you’re ready to move on to the next step: checking for proper attachment.
Step 4: Checking for Proper Attachment
After attaching the new propellers to your DJI Mini 2, it’s crucial to check if they are properly attached and balanced. Follow these steps to ensure a safe and stable flight:
- Visual inspection: Carefully examine each propeller to verify that it is securely attached and there are no signs of misalignment or wobbling. Any loose or improperly attached propellers should be reinstalled immediately.
- Spin test: Power on your DJI Mini 2 and perform a spin test. Place it on a level surface and slowly increase the throttle to a low level. Observe the propellers as they spin to ensure smooth and even rotation.
- Listen for abnormal noises: As the propellers spin, pay attention to any strange or irregular noises. Unusual noises could indicate an issue with the propeller attachment or balance and prompt further investigation.
- Perform a hover test: After the spin test, put your DJI Mini 2 into hover mode and observe its stability. Make sure it maintains a steady hover and there are no sudden dips or instability caused by the propellers.
If you notice any concerns during the checks, power off your drone immediately and review the propeller attachment process. It’s essential to address any issues before attempting to fly your DJI Mini 2 to ensure the safety of both the drone and its operator.
With the propellers securely attached and properly balanced, you’re almost ready to take your DJI Mini 2 for a test flight. But before that, let’s move on to the final step: ensuring a successful test flight.
Step 5: Test Flight
Now that you’ve replaced the propellers and checked for proper attachment, it’s time to conduct a test flight to ensure everything is functioning correctly. Follow these steps for a successful test flight:
- Choose a suitable location: Find an open and spacious area, preferably away from obstacles and crowds. This will give you ample space to maneuver the DJI Mini 2 during the test flight.
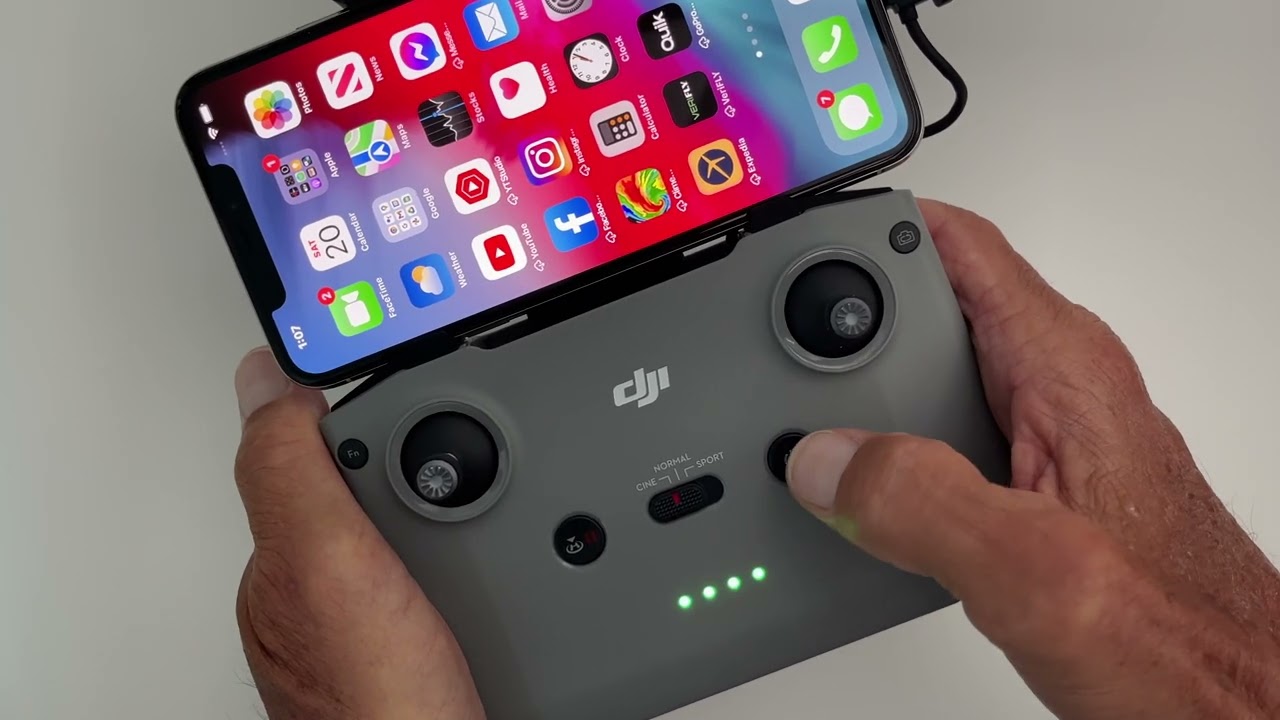
- Power on the drone: Turn on your DJI Mini 2 and ensure that it establishes a stable GPS connection and receives a sufficient number of satellite signals.
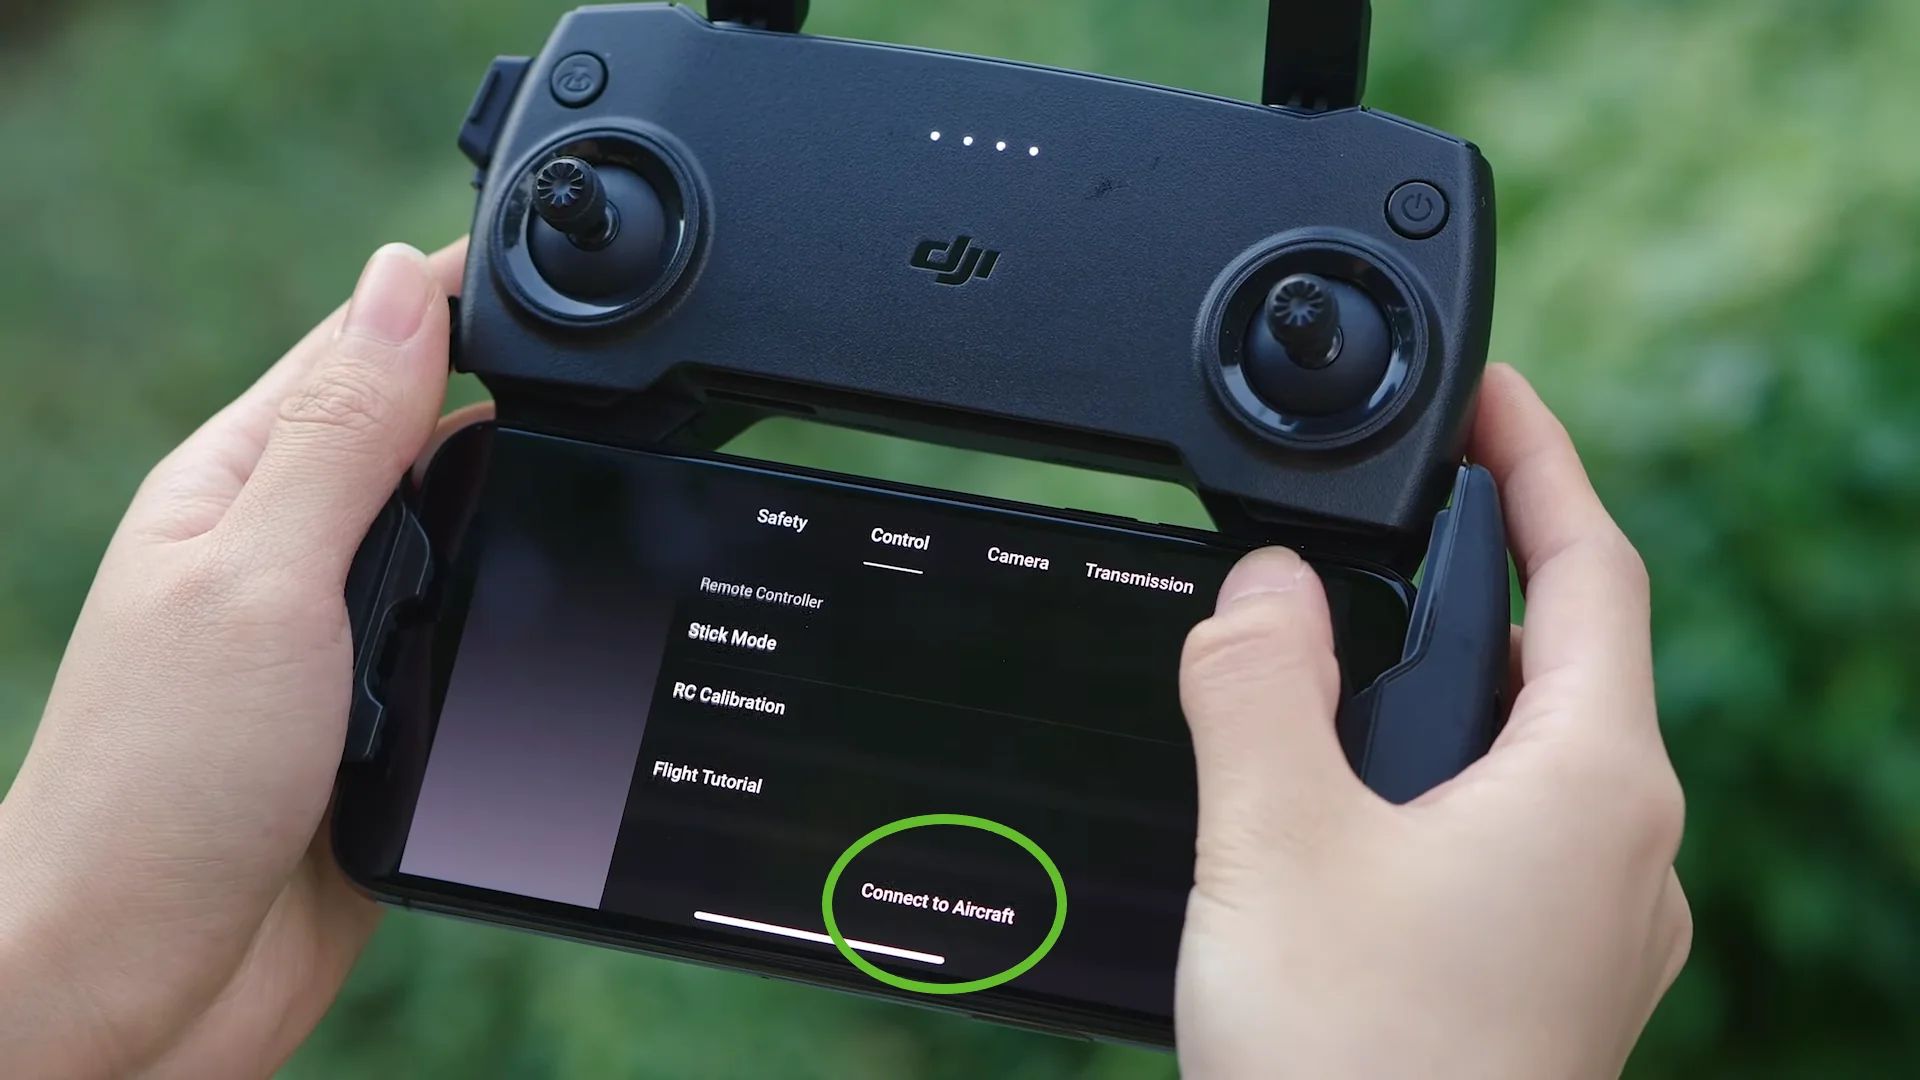
- Perform pre-flight checks: Before taking off, conduct the necessary pre-flight checks. These include checking the battery level, ensuring that the remote control is properly paired, and assessing the general flight conditions.
- Take off and hover: Slowly increase the throttle and let your DJI Mini 2 ascend into the air. Once airborne, allow it to hover at a low altitude to confirm stable flight and responsiveness to control inputs.
- Flight maneuvers: Gradually test the flight capabilities of your DJI Mini 2 by performing basic maneuvers, including forward and backward movement, side-to-side flight, and gentle turns. Observe how the drone responds and adjust any settings as necessary.
- Monitor for any issues: Throughout the test flight, continuously monitor the performance of the drone. Pay attention to any abnormal behavior, such as sudden drops in altitude, unexpected vibrations, or difficulties in controlling the drone.
If everything goes smoothly during the test flight and you are satisfied with the performance and stability of the DJI Mini 2, you can confidently proceed to plan your next aerial adventures. However, if you encounter any issues or have concerns, it is important to review the propeller installation process and seek assistance if needed.
Congratulations! You have successfully completed the propeller replacement and test flight for your DJI Mini 2. With properly attached propellers and a fully functional drone, you can now enjoy your flying experiences with peace of mind.
Conclusion
Changing the propellers of your DJI Mini 2 is a necessary maintenance task to ensure optimal performance and flight safety. By following the steps outlined in this guide, you can easily replace the propellers and get your drone back in the air.
Remember to prepare the necessary tools and create a suitable workspace before beginning the propeller replacement process. Take your time to carefully remove the old propellers and securely attach the new ones. Verify the proper attachment and balance by conducting thorough visual inspections, spin tests, and hover tests.
Once you are confident in the propeller replacement, perform a test flight in an open area to ensure that your DJI Mini 2 is flying smoothly and responding well to your commands. Monitor for any potential issues and address them promptly to maintain the safety and performance of your drone.
By following these steps and exercising caution throughout the process, you can confidently change the propellers of your DJI Mini 2 and enjoy continued flight adventures. Happy flying!