Overview of the DJI Mini 3 Pro
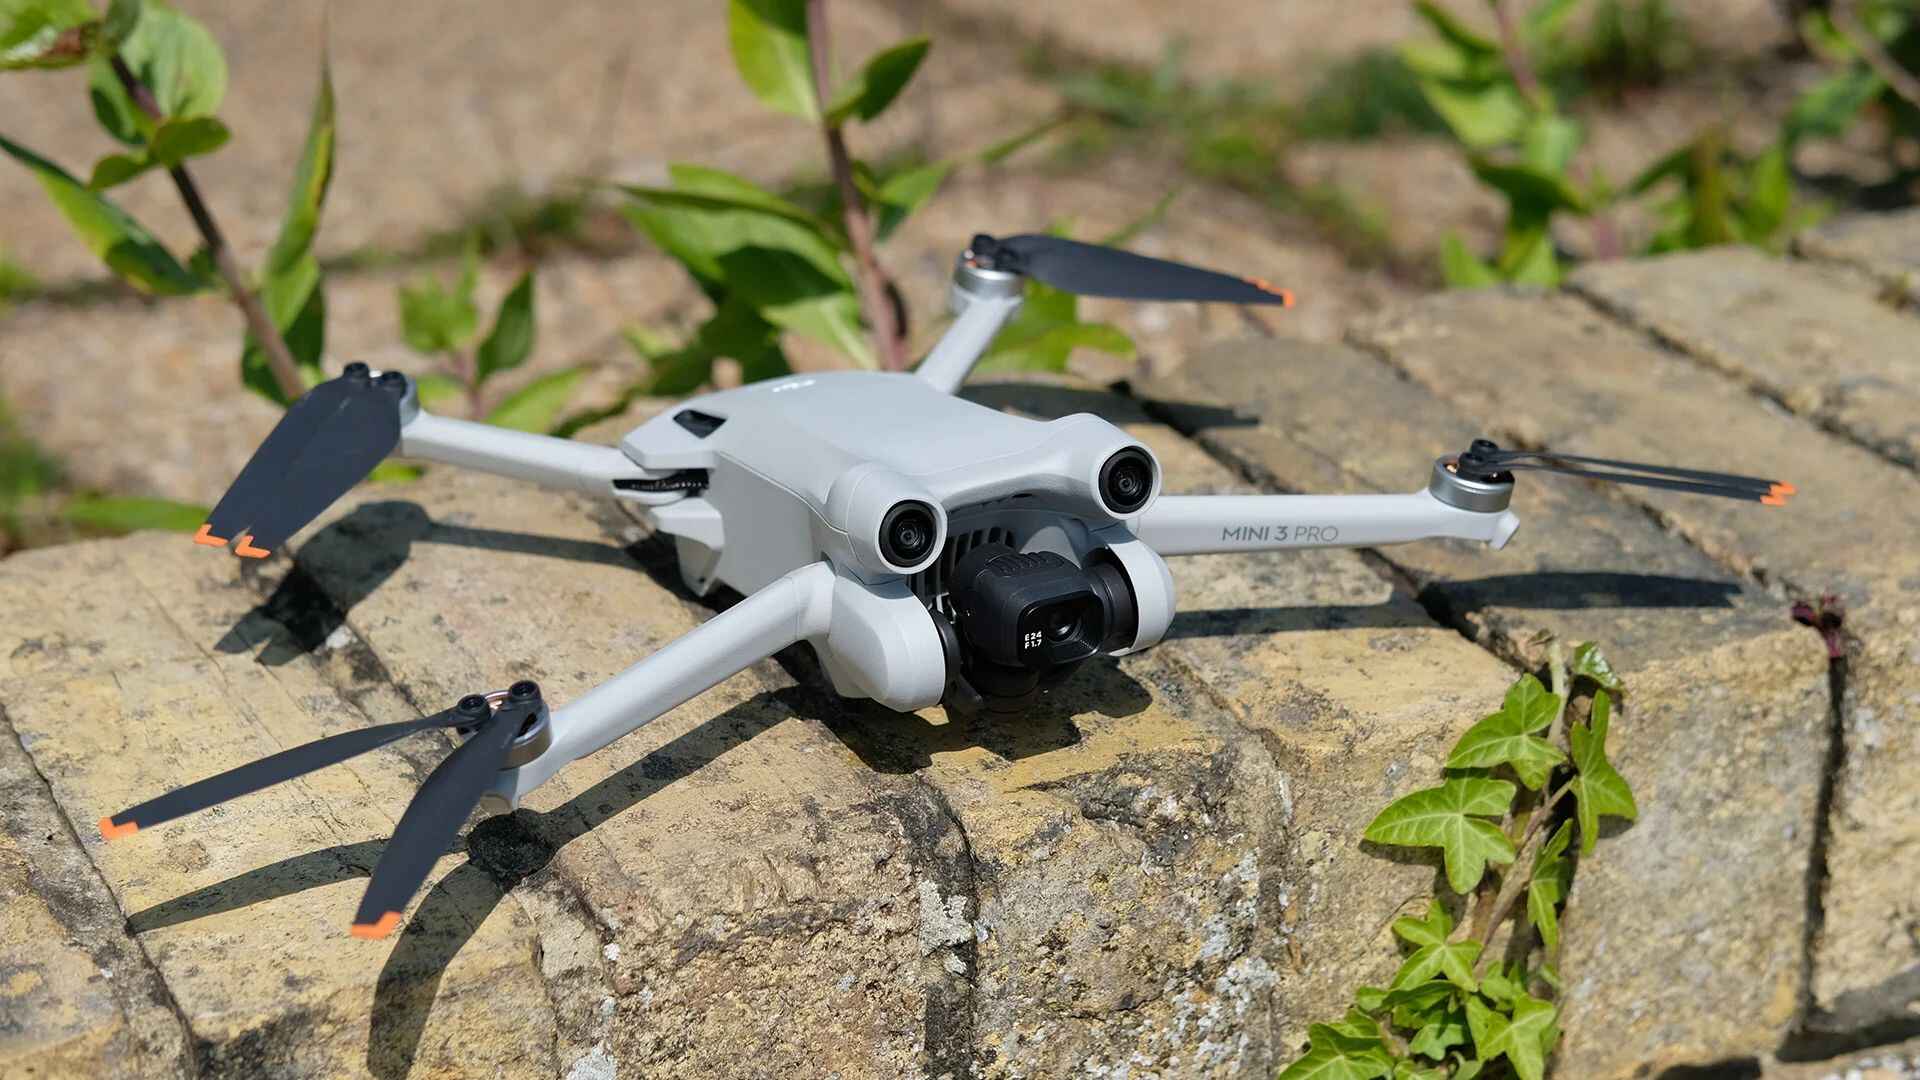
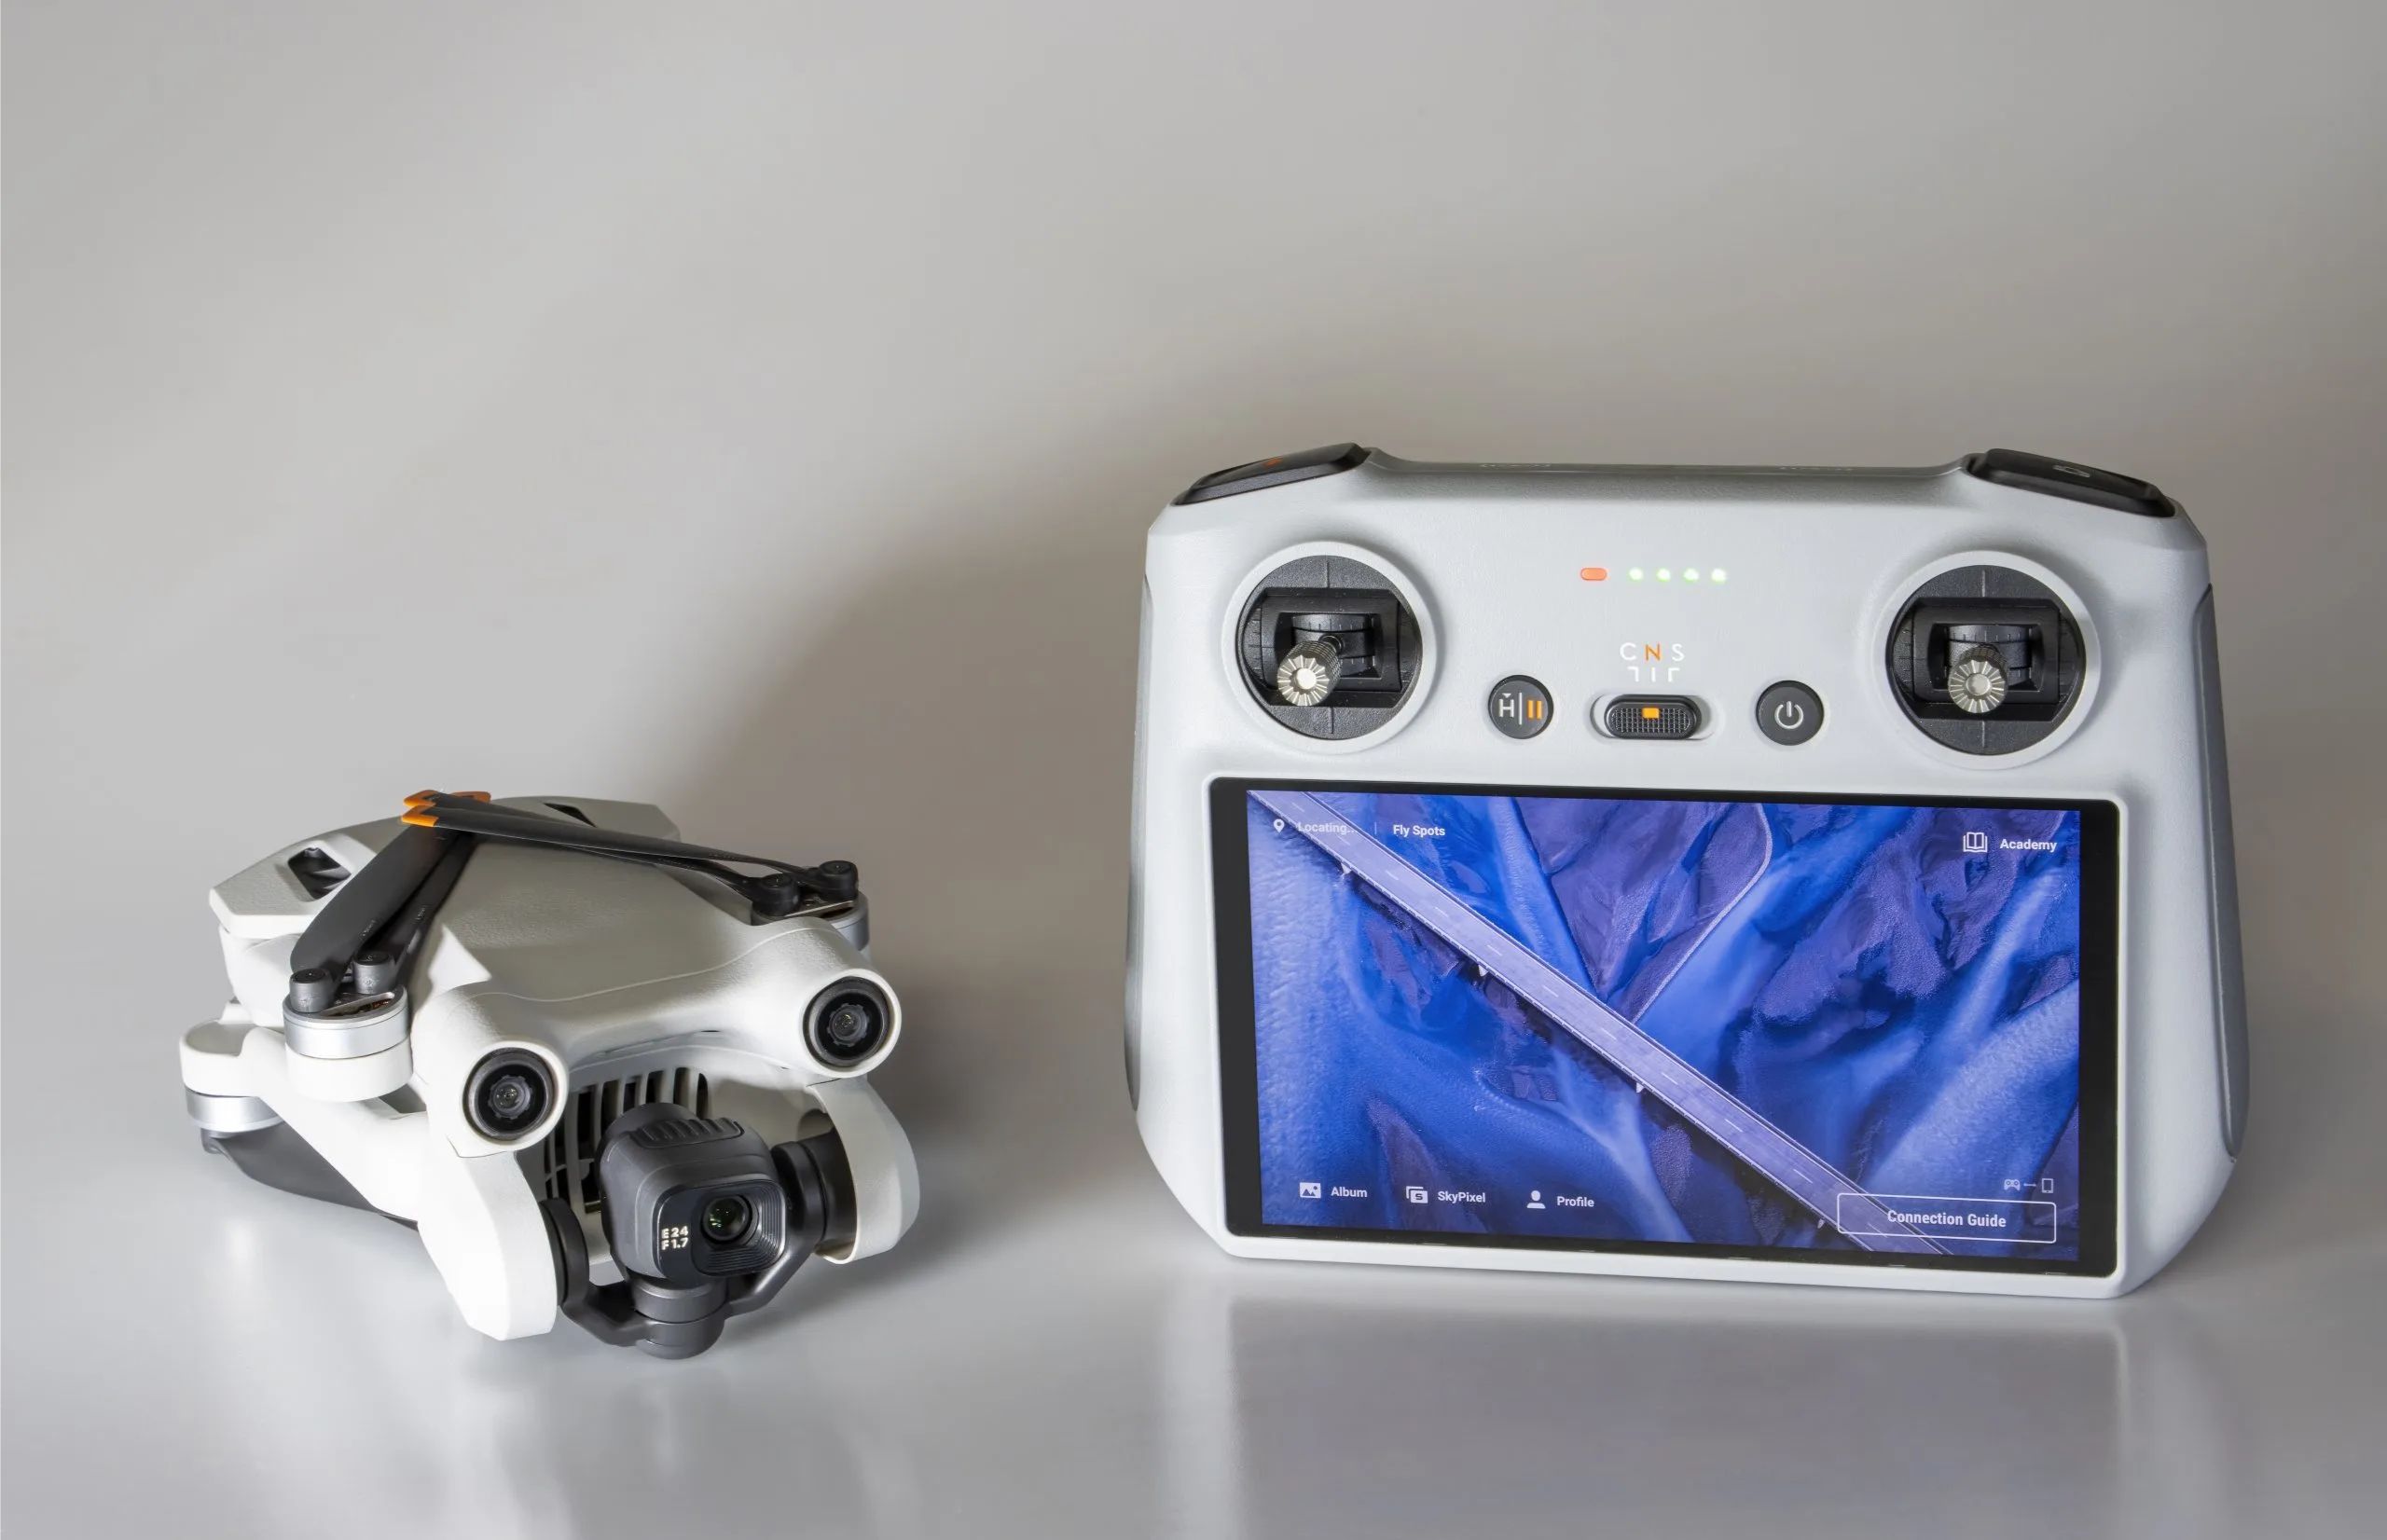
The DJI Mini 3 Pro is the latest addition to the popular lineup of mini drones from DJI, a leading manufacturer of consumer drones. This compact and lightweight drone packs a punch with advanced features and a high-quality camera, making it perfect for both beginner and intermediate drone enthusiasts.
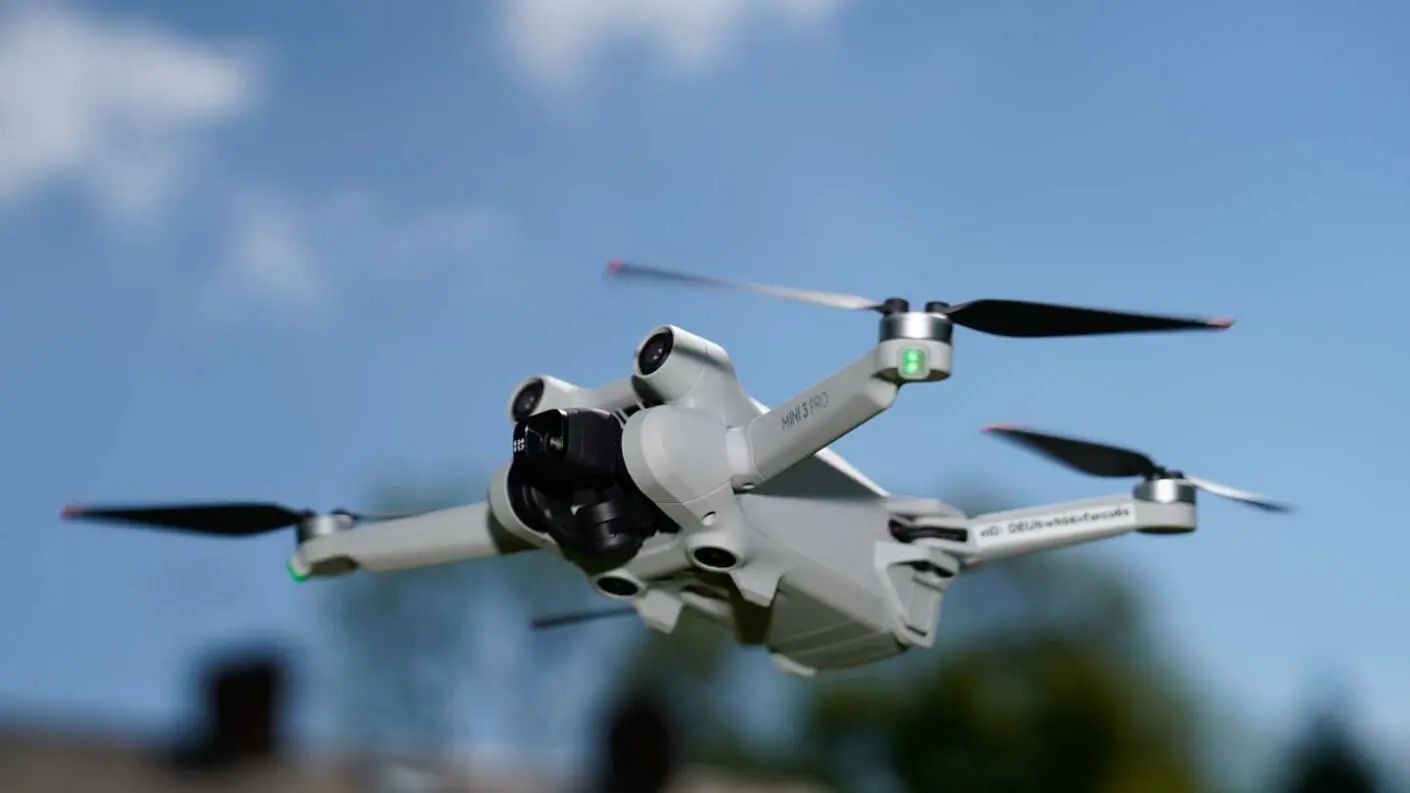
With its sleek design and improved aerodynamics, the DJI Mini 3 Pro offers enhanced stability and maneuverability in flight. It boasts a longer flight time of up to 31 minutes, thanks to its powerful battery. Whether you’re capturing breathtaking aerial shots or exploring new landscapes, this drone provides an immersive and enjoyable flying experience.
The DJI Mini 3 Pro is equipped with a 12-megapixel camera that can capture stunning photos and videos in sharp detail. It supports various shooting modes, including panorama, time-lapse, and slow-motion, allowing you to unleash your creativity and capture epic moments from unique perspectives.
Controlling the DJI Mini 3 Pro is a breeze, thanks to its intuitive remote controller and DJI Fly app. The app provides a user-friendly interface with intelligent flight modes, such as QuickShots and ActiveTrack, which enable you to capture professional-quality footage effortlessly.
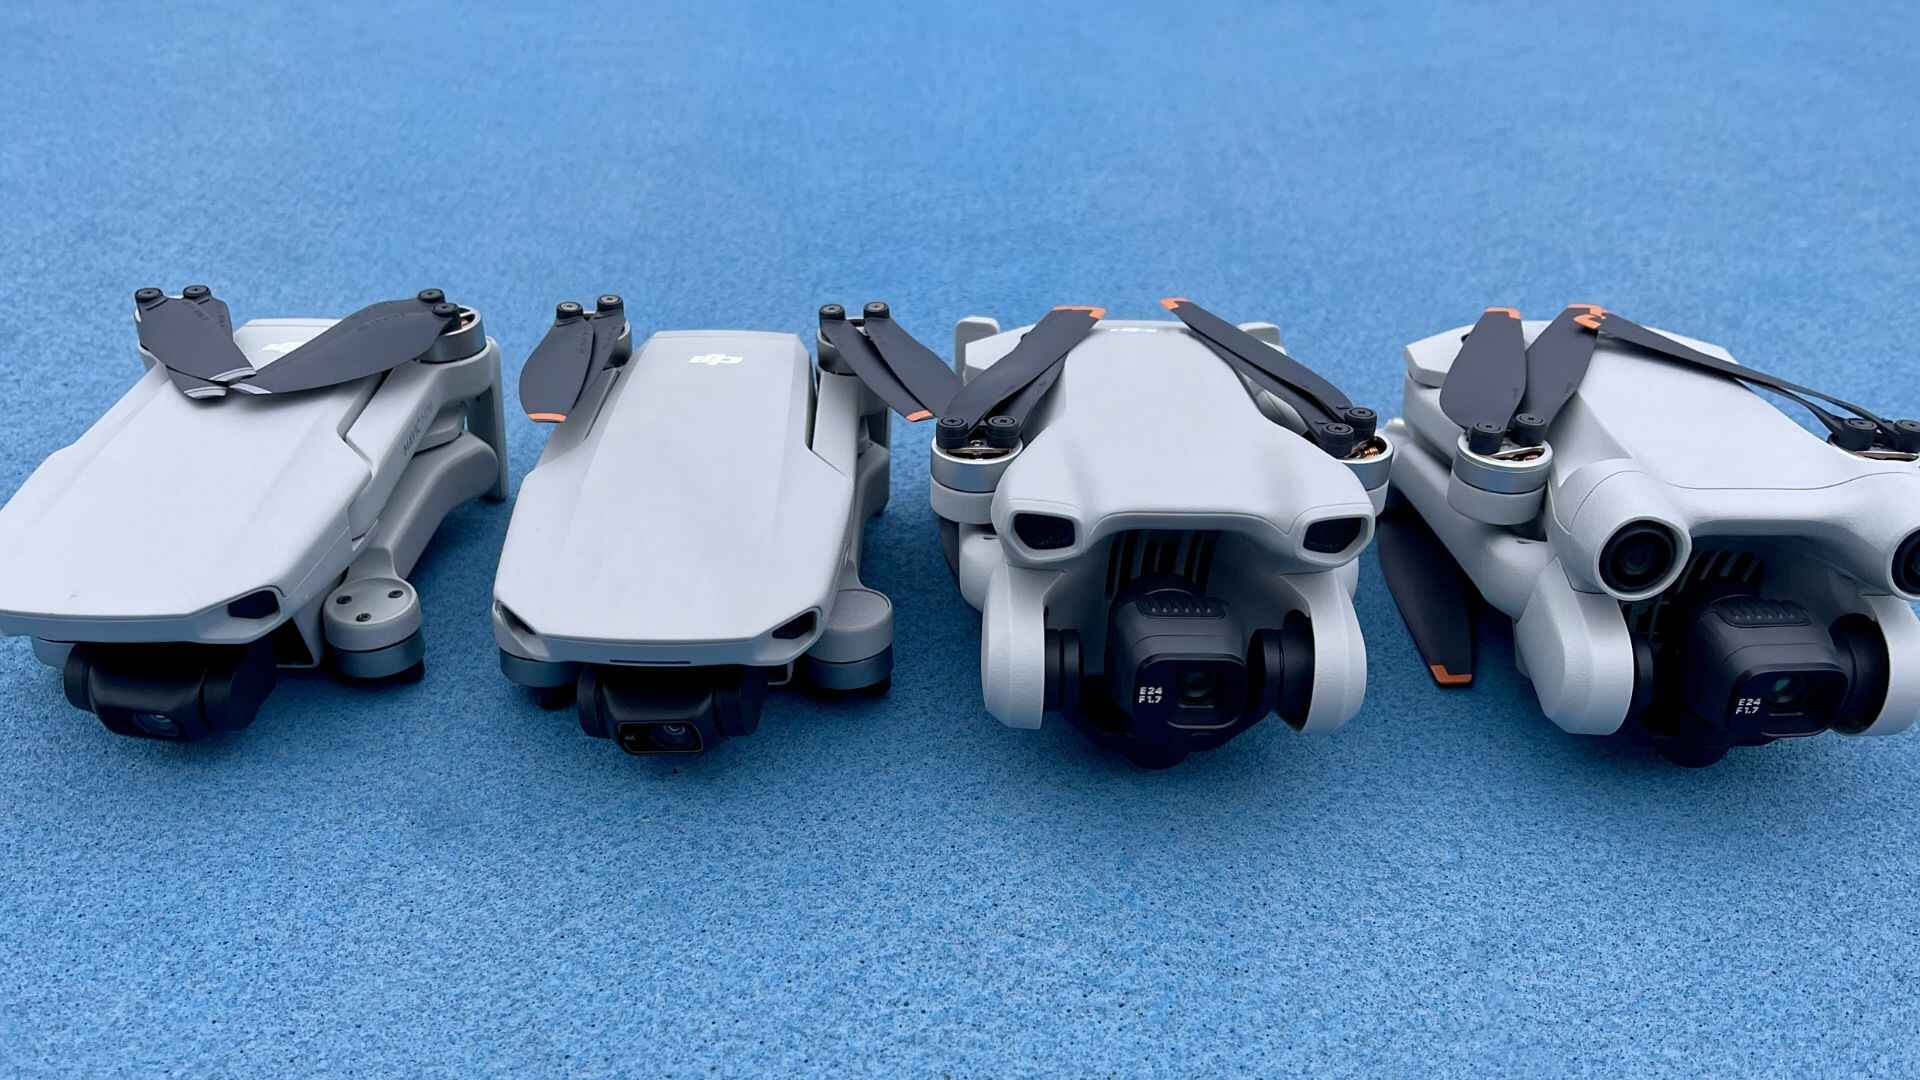
One of the standout features of the DJI Mini 3 Pro is its compact size and portability. Weighing just under 250 grams, it’s incredibly lightweight and can easily fit into your backpack or pocket. This makes it an excellent choice for travel and outdoor adventures, allowing you to capture stunning aerial views wherever you go.
Overall, the DJI Mini 3 Pro is a powerful and versatile drone that offers an impressive array of features in a compact package. Whether you’re a hobbyist photographer or an aspiring filmmaker, this drone is sure to take your aerial photography and videography to new heights.
Understanding the Battery
The battery is a crucial component of the DJI Mini 3 Pro drone and plays a vital role in powering its flight. Understanding how the battery works and how to properly manage it is essential for maximizing your drone’s performance and ensuring a long lifespan for the battery.
The DJI Mini 3 Pro comes with a high-capacity lithium polymer (LiPo) battery that provides the necessary energy for the drone to take off, fly, and perform various functions. This rechargeable battery is designed specifically for the DJI Mini 3 Pro and is optimized to deliver optimal power output and longevity.
Before using the battery, it’s important to ensure that it is fully charged. This can be done using the provided charging equipment, which we will discuss in detail later. It’s worth noting that a completely drained battery should be avoided, as it can lead to degradation and reduced overall battery life.
The DJI Mini 3 Pro battery features built-in safeguards to protect against overheating, overcharging, and overdischarging. These safety mechanisms help prevent any potential damage to the battery or the drone itself. However, it’s still recommended to follow proper charging and usage guidelines to maintain the battery’s health.
When handling the battery, it’s important to keep it away from extreme temperatures and avoid exposing it to direct sunlight for extended periods. High temperatures can negatively impact the battery’s performance and overall lifespan. Similarly, storing the battery in extremely cold conditions can affect its ability to hold a charge.
It’s advisable to charge the battery in a well-ventilated area and on a non-flammable surface to minimize any risks. Additionally, it’s essential to use only the provided charging equipment or official DJI accessories to ensure compatibility and safety.
Understanding the battery’s capacity and flight time is crucial for planning your drone activities efficiently. The DJI Mini 3 Pro battery can provide a flight time of up to 31 minutes on a full charge, depending on various factors such as wind conditions and flight maneuvers.
By properly understanding and managing the battery, you can ensure optimal performance and longevity for your DJI Mini 3 Pro drone. Remember to follow the recommended charging guidelines, handle the battery with care, and store it in a suitable environment to maximize its lifespan and enjoy seamless flights.
Preparing the Charging Equipment
Before you can charge the battery of your DJI Mini 3 Pro drone, it’s important to ensure that you have the necessary charging equipment and that it is in proper working condition. Preparing the charging equipment correctly is essential for a safe and efficient charging process.
The DJI Mini 3 Pro comes with a specific charger designed to charge its battery. It’s crucial to use only the provided charger or official DJI accessories to prevent any damage to the battery or the drone. Using third-party chargers can be risky and may void the warranty.
Inspect the charger and the charging cable for any visible signs of damage, such as frayed wires or bent connectors. If you notice any damage, do not use the charger as it may pose a safety hazard. Instead, contact DJI for a replacement or visit an authorized service center.
Ensure that you have access to a reliable power source. The charging equipment utilizes a standard AC power outlet, so make sure the outlet is in good working condition. Avoid using extension cords or power strips, as they may not provide a stable power supply and could affect the charging process.
Take note of the charging time required for the DJI Mini 3 Pro battery. The charging time can vary depending on the battery’s current level and the power supply’s output. It’s recommended to allow sufficient time for the battery to reach a full charge, especially if you have an upcoming flight or photography session.
Creating a dedicated charging station for your DJI Mini 3 Pro can help streamline the charging process. Designate an area where you can safely and conveniently charge the battery, away from any potential hazards, and ensure proper airflow to prevent overheating.
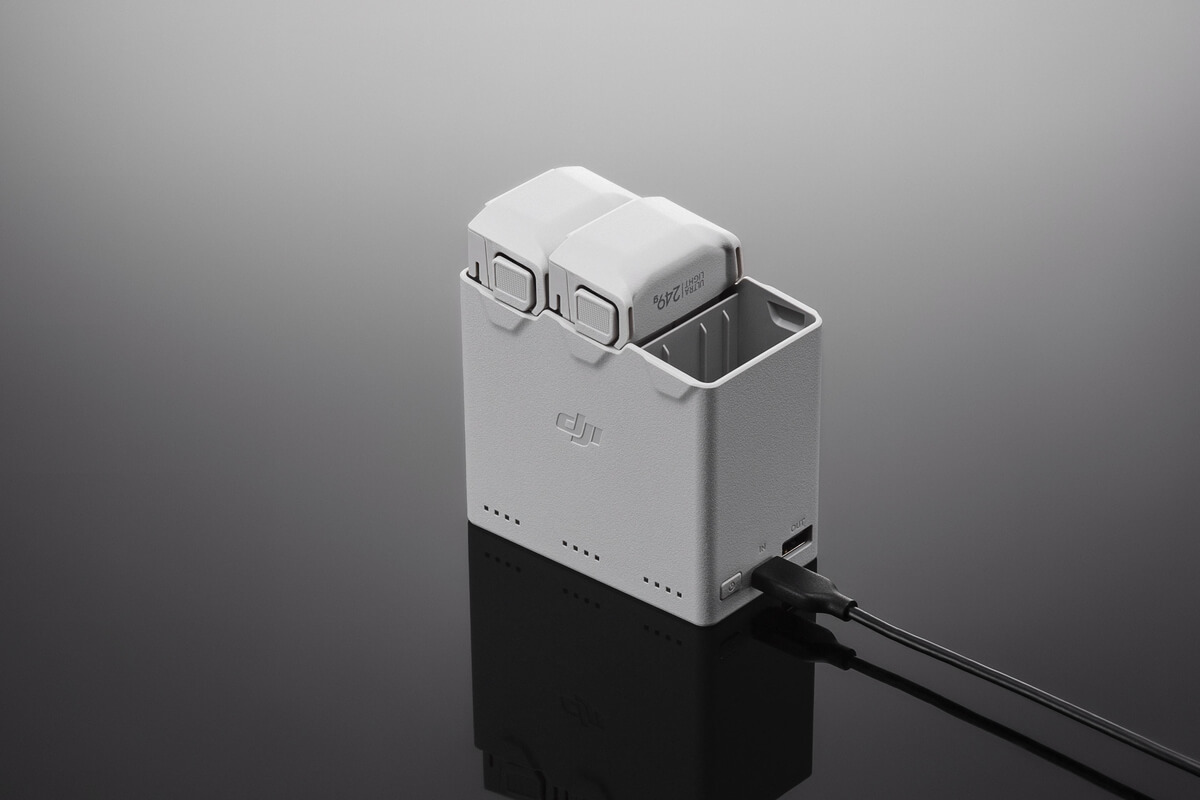
Consider investing in a spare battery and a multi-battery charging hub if you plan on extended flying sessions or need to charge multiple batteries simultaneously. This allows you to have a backup battery ready to go and ensures you can keep flying without significant downtime.
Lastly, familiarize yourself with the LED indicators on the charger. These indicators provide crucial information about the charging status, such as whether the battery is still charging, fully charged, or if there’s an error. Understanding these indicators will help you monitor the charging process effectively.
By properly preparing the charging equipment, you can ensure a smooth and efficient charging process for your DJI Mini 3 Pro battery. This will help maintain the battery’s health and performance, ensuring that your drone is always ready to take flight and capture stunning aerial footage.
Connecting the Charging Cable
Connecting the charging cable properly is an essential step in charging the battery of your DJI Mini 3 Pro drone. The charging cable serves as the bridge between the charger and the battery, allowing the power to flow and recharge the battery efficiently.
Start by locating the charging port on your DJI Mini 3 Pro drone. The charging port is typically located on the side or bottom of the drone’s body. It’s important to handle the drone with care and avoid applying excessive force when connecting the charging cable to prevent any damage.
Next, connect the charging cable to the charger. Ensure that the cable is securely plugged into the charger’s output port. A firm connection will ensure a stable power supply to the battery during the charging process.
With the charger and the charging cable ready, carefully insert the charging cable’s connector into the charging port of the DJI Mini 3 Pro. Gently push the connector into the port until it is fully inserted. Take care not to force the connection or bend the connector, as this could damage the charging port or the cable.
Once the charging cable is connected to both the charger and the DJI Mini 3 Pro, verify that the connections are secure. Check for any loose or wobbly connections, as these can disrupt the charging process or lead to inefficient charging.
Take a moment to double-check that all the connections are correct and that there are no visible signs of damage to the charging cable. If you notice any issues or abnormalities, disconnect the charging cable from both the drone and the charger and inspect it carefully. Replace the cable if necessary or contact DJI for guidance.
Now that the charging cable is properly connected, you’re ready to begin charging the DJI Mini 3 Pro battery. Plug the charger into a reliable power source, such as a standard AC power outlet, and ensure that it is securely plugged in.
Throughout the charging process, it’s important to monitor the charger and the drone for any unusual heat or signs of overheating. If you notice excessive heat or any other anomalies, immediately disconnect the charger and discontinue the charging process. Contact DJI support for assistance and further guidance.
By ensuring a proper connection between the charging cable and the DJI Mini 3 Pro drone, you can safely and effectively recharge the battery. This step is crucial for maintaining the battery’s health and ensuring its optimal performance for the next flight.
Charging the DJI Mini 3 Pro Battery
Charging the battery of your DJI Mini 3 Pro drone is a straightforward process that ensures your drone is ready for its next flight. With the proper charging equipment and a reliable power source, you can efficiently recharge the battery to its full capacity.
Before initiating the charging process, ensure that the charging cable is securely connected between the charger and the DJI Mini 3 Pro drone, as outlined in the previous section. Once the connections are confirmed, plug the charger into a standard AC power outlet or a reliable power source.
Upon plugging in the charger, the LED indicators on the charger should light up, indicating the charging process has begun. These indicators will provide information about the charging status, such as whether the battery is still charging, fully charged, or if there’s an error.
During the charging process, it’s crucial to keep an eye on the LED indicators to monitor the progress. Typically, the indicators will display a solid or blinking light to indicate that the battery is being charged. Refer to the user manual for specific details on the LED indicator’s behavior.
It’s important to note that the charging time can vary depending on the battery’s current level and the power supply’s output. On average, it takes approximately 90-120 minutes to charge the DJI Mini 3 Pro battery fully. However, charging times may be longer if the battery is significantly depleted.
While the battery is charging, it’s recommended to keep the charging area well-ventilated and away from flammable materials. This helps dissipate any heat generated during the charging process and minimizes any potential risks.
While it may be tempting to check on the battery frequently, it’s advisable to avoid disconnecting and reconnecting the charging cable during the charging process. Doing so can disrupt the charging flow and may result in inefficient or incomplete charging.
Once the battery is fully charged, the LED indicators on the charger will display a solid light or turn off, depending on the charger model. This indicates that the battery is ready to be disconnected from the charger.
To disconnect the charging cable, first unplug the charger from the power source. Then, carefully remove the charging cable from the DJI Mini 3 Pro drone by gently pulling the connector out of the charging port. Take care not to bend or damage the charging port during this process.
After charging, it’s important to let the battery cool down for a few minutes before handling it or inserting it back into the DJI Mini 3 Pro drone. This allows the battery to stabilize and helps prevent any potential issues during flight.
By following these steps, you can effectively charge the DJI Mini 3 Pro battery and ensure that it is ready to power your next drone adventure. Regularly maintaining and charging the battery in a safe and proper manner will contribute to a longer battery lifespan and optimal performance of your DJI Mini 3 Pro drone.
Monitoring the Charging Progress
Monitoring the charging progress of your DJI Mini 3 Pro battery is crucial to ensure a successful charging process and maintain the battery’s health. By keeping an eye on the indicators and being aware of the charging time, you can effectively monitor the progress and address any potential issues.
Start by observing the LED indicators on the charger. These indicators provide valuable information about the charging status. Depending on the charger model, the LED indicators may display a solid light, a flashing light, or a combination of lights to indicate the battery’s charging status.
Typically, a solid light indicates that the battery is being charged, while a flashing light may indicate that there’s an error or that the battery is nearly charged. Refer to the user manual for specific details on the LED indicator’s behavior for your charger model.
Throughout the charging process, it’s important to maintain a safe and well-ventilated charging area. Avoid covering or obstructing the charger or the LED indicators to ensure proper airflow and prevent overheating. Keep the charging area away from flammable materials and out of reach of children or pets.
While you may be tempted to continuously check on the charging progress, it’s advisable to allow the charging process to run uninterrupted. Frequent disconnection and reconnection of the charging cable can disrupt the flow and lead to inefficient charging or incomplete charging.
Instead, set a timer or make a mental note of the estimated charging time provided in the user manual or by the manufacturer. This will give you an idea of when the charging process should be completed, allowing you to plan your activities accordingly.
If the charging process takes longer than expected or if you notice any unusual behavior, such as excessive heat or no LED indicator activity, it’s important to proceed with caution. Immediately disconnect the charger from the power source and inspect the charging cable and connectors for any visible damage or abnormalities.
If you encounter any issues or have concerns about the charging progress, it’s best to contact DJI support or consult an authorized service center for assistance. They can provide guidance and help troubleshoot any charging-related problems.
By actively monitoring the charging progress, you can ensure a safe and efficient charging process for your DJI Mini 3 Pro battery. Being attentive to the LED indicators, maintaining a suitable charging area, and seeking assistance when needed will help maintain the battery’s health and ensure it is ready for your next drone adventure.
Safety Tips for Charging
Charging your DJI Mini 3 Pro battery should always be done with safety in mind. Following these safety tips will help prevent accidents, reduce the risk of damage to the battery or the drone, and ensure a smooth and worry-free charging experience.
1. Use the provided charger and accessories: It’s crucial to use only the charger and accessories that came with your DJI Mini 3 Pro drone or official DJI accessories. Using third-party chargers or incompatible equipment can be dangerous and may cause damage to the battery or pose a safety risk.
2. Avoid charging unattended: It’s recommended to never leave the battery charging unattended. While charging, periodically check on the charging process, keeping a close eye on the charger, the LED indicators, and the charging area. This can help identify any issues or abnormalities early on.
3. Charge in a well-ventilated area: Ensure that the charging area is well-ventilated to prevent the buildup of heat. Avoid charging the battery near flammable materials or in confined spaces. Proper airflow will help dissipate any heat generated during the charging process and reduce the risk of heat-related incidents.
4. Use a stable power source: Always plug the charger into a stable power source, such as a standard AC power outlet. Avoid using extension cords or power strips, as they may provide an unstable power supply and affect the charging process. It’s essential to use a reliable power source to ensure a safe and efficient charge.
5. Keep the charging area clean and free from obstructions: Ensure that the charging area is clean and free from any clutter or obstructions. This reduces the risk of accidental tripping or knocking over the charger during the charging process, preventing potential damage to the battery, the charger, or any surrounding objects.
6. Avoid charging in extreme temperatures: Charging the battery in extreme temperatures is not recommended, as it can impact the battery’s performance and pose safety risks. Avoid charging the battery in excessively hot or cold environments. Instead, charge the battery in a temperature-controlled area within the recommended operating range.
7. Follow the recommended charging guidelines: Always follow the manufacturer’s recommended charging guidelines provided in the user manual. This includes information on charging times, verifying LED indicator behavior, and handling precautions. Adhering to these guidelines will ensure a safe and proper charging process.
8. Handle the battery and charger with care: When handling the battery or the charger, take extra care to avoid dropping, impacting, or exposing them to unnecessary force. Rough handling can cause damage to the battery or its connectors, leading to potential malfunctions during charging or flight.
9. Disconnect the charger after charging: Once the battery is fully charged, unplug the charger from the power source and disconnect the charging cable from the DJI Mini 3 Pro drone. This prevents overcharging and minimizes the risk of any electrical issues that may occur if the charger remains plugged in unnecessarily.
10. If in doubt, seek professional assistance: If you have any concerns or encounter any issues during the charging process, it’s best to seek assistance from DJI support or consult an authorized service center. They can provide professional guidance, troubleshoot any problems, and ensure your safety.
By following these safety tips, you can ensure a safe and worry-free charging experience for your DJI Mini 3 Pro battery. Prioritize safety at all times and take the necessary precautions to protect yourself, your equipment, and your surroundings.
Battery Care and Maintenance
Proper care and maintenance of your DJI Mini 3 Pro battery are essential in ensuring its longevity and optimal performance. By following these tips, you can extend the lifespan of the battery and enjoy consistent and reliable power for your drone flights.
1. Store the battery correctly: When not in use, store the battery in a cool and dry place, away from direct sunlight and extreme temperatures. Avoid storing the battery for prolonged periods with a full charge or in a completely depleted state. Instead, aim to store the battery at around 50-60% charge to maintain its health.
2. Charge the battery before each flight: Before your drone flight, ensure that the battery is fully charged. This will provide you with the maximum flight time and prevent unexpected battery depletion during flight. Regularly charging the battery before each use helps maintain its overall health and performance.
3. Avoid overcharging or undercharging: Overcharging or undercharging the battery can negatively impact its lifespan and performance. Follow the recommended charging guidelines provided by DJI. Disconnect the charger once the battery is fully charged and avoid leaving the battery on the charger for an extended period.
4. Do not drain the battery completely: While it’s essential to avoid overcharging, it’s equally important not to fully deplete the battery. Allow for a safe margin of power remaining in the battery after each flight. Completely draining the battery can lead to irreversible damage and a decrease in battery capacity over time.
5. Perform regular power cycles: Occasionally, perform a full discharge and recharge cycle on the battery. This helps recalibrate the battery’s power gauge and ensures accurate battery level readings. DJI recommends performing a power cycle every few months or when you notice battery level inconsistencies.
6. Clean the battery contacts: Over time, dirt and debris can accumulate on the battery contacts, affecting their performance. Regularly inspect and clean the battery contacts using a dry and lint-free cloth. Avoid using harsh cleaning agents or liquids that could damage the contacts.
7. Inspect the battery regularly: Periodically check the battery for any visible signs of damage or swelling. If you notice any abnormalities, such as leaks, cracks, or unusual bulging, discontinue using the battery and contact DJI support or an authorized service center for assistance.
8. Update firmware and software: Keep your drone’s firmware and software updated to ensure compatibility and optimize battery usage. Updates often include improvements to battery management and overall performance, so staying up to date is important for the battery’s health.
9. Use the battery regularly: Regularly using the battery and keeping it in active rotation helps prevent deterioration due to prolonged storage. Even if you don’t have immediate drone flights planned, it’s beneficial to discharge and recharge the battery periodically to maintain its health.
10. Handle with care: Always handle the battery with care, avoiding dropping, impacting, or exposing it to excessive force. Damaged batteries can pose safety risks and may not perform as expected. Treat the battery as a valuable component of your drone system and handle it accordingly.
By following these battery care and maintenance tips, you can maximize the lifespan and performance of your DJI Mini 3 Pro battery. A well-maintained battery ensures a reliable power source for your drone flights and allows you to capture breathtaking aerial footage with confidence.
Frequently Asked Questions
Here are some common questions about charging the DJI Mini 3 Pro battery:
Q: Can I use a different charger to charge the DJI Mini 3 Pro battery?
A: It is highly recommended to use only the provided charger or official DJI accessories to charge the DJI Mini 3 Pro battery. Using third-party chargers can be risky and may affect the battery’s performance or even cause damage.
Q: How long does it take to charge the DJI Mini 3 Pro battery fully?
A: The charging time for the DJI Mini 3 Pro battery can vary depending on the current battery level and the power output of the charger. On average, it takes approximately 90-120 minutes to fully charge the battery, but it may take longer if the battery is significantly depleted.
Q: Can I leave the battery on the charger after it is fully charged?
A: It is not recommended to leave the battery on the charger after it is fully charged. Overcharging the battery can negatively impact its lifespan and performance. Once the battery is fully charged, disconnect it from the charger to avoid any potential issues.
Q: How long can I expect the DJI Mini 3 Pro battery to last on a full charge?
A: The DJI Mini 3 Pro battery provides a flight time of up to 31 minutes on a full charge. However, the actual flight time may vary depending on factors such as flight conditions, wind speed, and flight maneuvers.
Q: Is it safe to charge the DJI Mini 3 Pro battery overnight?
A: It is generally not recommended to leave the battery charging overnight or unattended. While the DJI Mini 3 Pro battery features built-in safety mechanisms, it’s best to monitor the charging process to ensure a safe and efficient charge.
Q: Can I use a power bank to charge the DJI Mini 3 Pro battery?
A: While it is possible to charge the DJI Mini 3 Pro battery using a power bank, it’s important to ensure that the power bank provides sufficient power output and is compatible with the drone’s charging requirements. It’s recommended to check the power bank’s specifications and follow DJI’s guidelines.
Q: How often should I perform a full power cycle on the DJI Mini 3 Pro battery?
A: DJI recommends performing a full power cycle, which involves fully discharging and then fully recharging the battery, every few months or when you notice battery level inconsistencies. This helps recalibrate the battery’s power gauge and ensures accurate readings.
Q: Can I charge the DJI Mini 3 Pro battery while it is inside the drone?
A: No, it is not possible to charge the DJI Mini 3 Pro battery while it is inside the drone. The battery needs to be removed from the drone and connected to the charger using the provided charging cable.
Q: Can I use a higher-capacity charger to charge the DJI Mini 3 Pro battery faster?
A: It is recommended to use the charger specifically designed for the DJI Mini 3 Pro battery. Using a different charger with a higher power output may not necessarily charge the battery faster and could potentially damage the battery.
Q: What should I do if I notice any issues or abnormalities during the charging process?
A: If you encounter any issues or notice any abnormalities, such as excessive heat or no LED indicator activity, immediately disconnect the charger and discontinue the charging process. Contact DJI support or consult an authorized service center for guidance and assistance.
These FAQs should provide helpful information about charging the DJI Mini 3 Pro battery. If you have any other questions or concerns, feel free to consult the DJI user manual or reach out to DJI support for further assistance.
Conclusion
Charging the DJI Mini 3 Pro battery is a vital part of ensuring your drone is ready for flight and capturing breathtaking aerial footage. By understanding the battery, preparing the charging equipment, and following the recommended charging guidelines, you can maintain the battery’s health and maximize its lifespan. Monitoring the charging progress and adhering to safety tips will help prevent accidents and ensure a safe and efficient charging process.
Proper care and maintenance of the battery are equally important. Storing the battery correctly, avoiding overcharging or undercharging, and performing regular power cycles are all essential practices to extend the battery’s lifespan. Handling the battery with care and keeping it clean contribute to its longevity and optimal performance.
Frequently asked questions provide additional clarity on various aspects of charging the DJI Mini 3 Pro battery, addressing common concerns and providing guidance for a seamless charging experience. Remember to follow the manufacturer’s guidelines and seek professional assistance when needed.
By prioritizing safety, following proper charging procedures, and taking care of the battery, you can ensure that your DJI Mini 3 Pro drone is always armed with a fully charged and reliable power source. With a well-maintained battery, you can embark on exciting drone adventures and capture stunning aerial photographs and videos with confidence.