Introduction
Welcome to our guide on how to reset the DJI Osmo Mobile 4. Whether you are experiencing technical issues, want to start with a clean slate, or simply need to troubleshoot your device, resetting your Osmo Mobile 4 can often be an effective solution. In this article, we will walk you through the step-by-step process of resetting your Osmo Mobile 4 and offer some tips for calibrating it afterward.
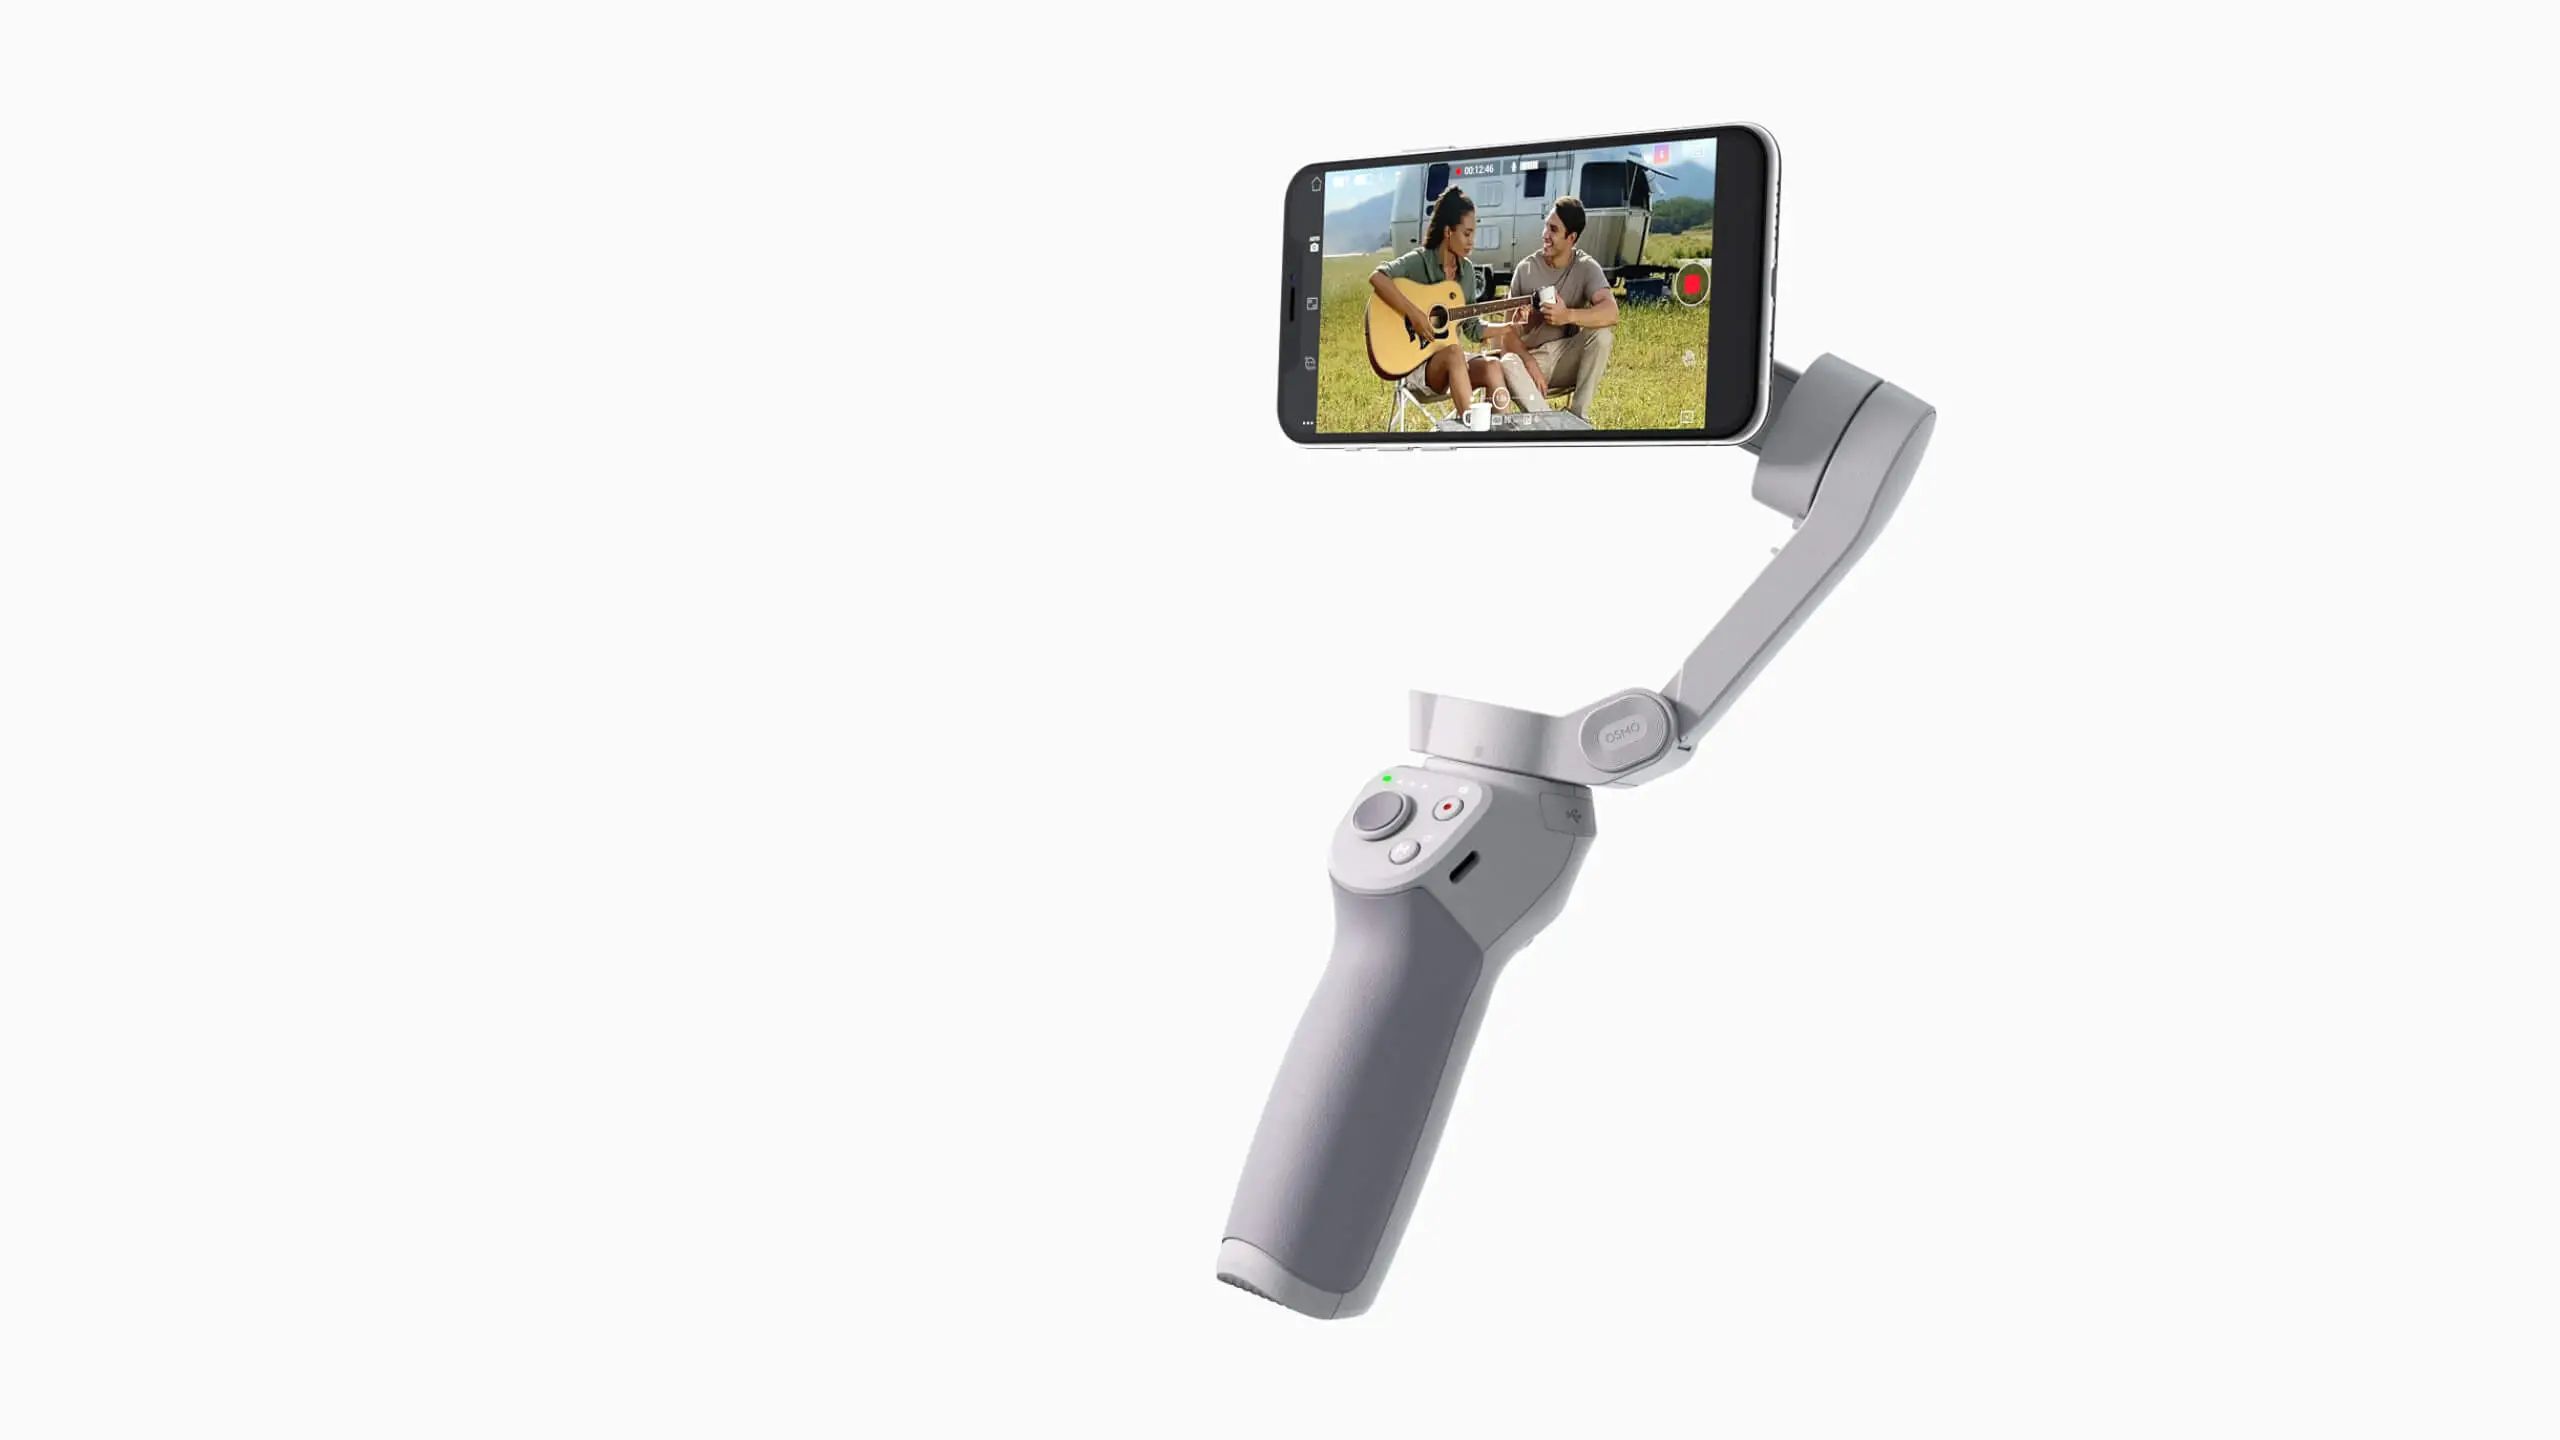
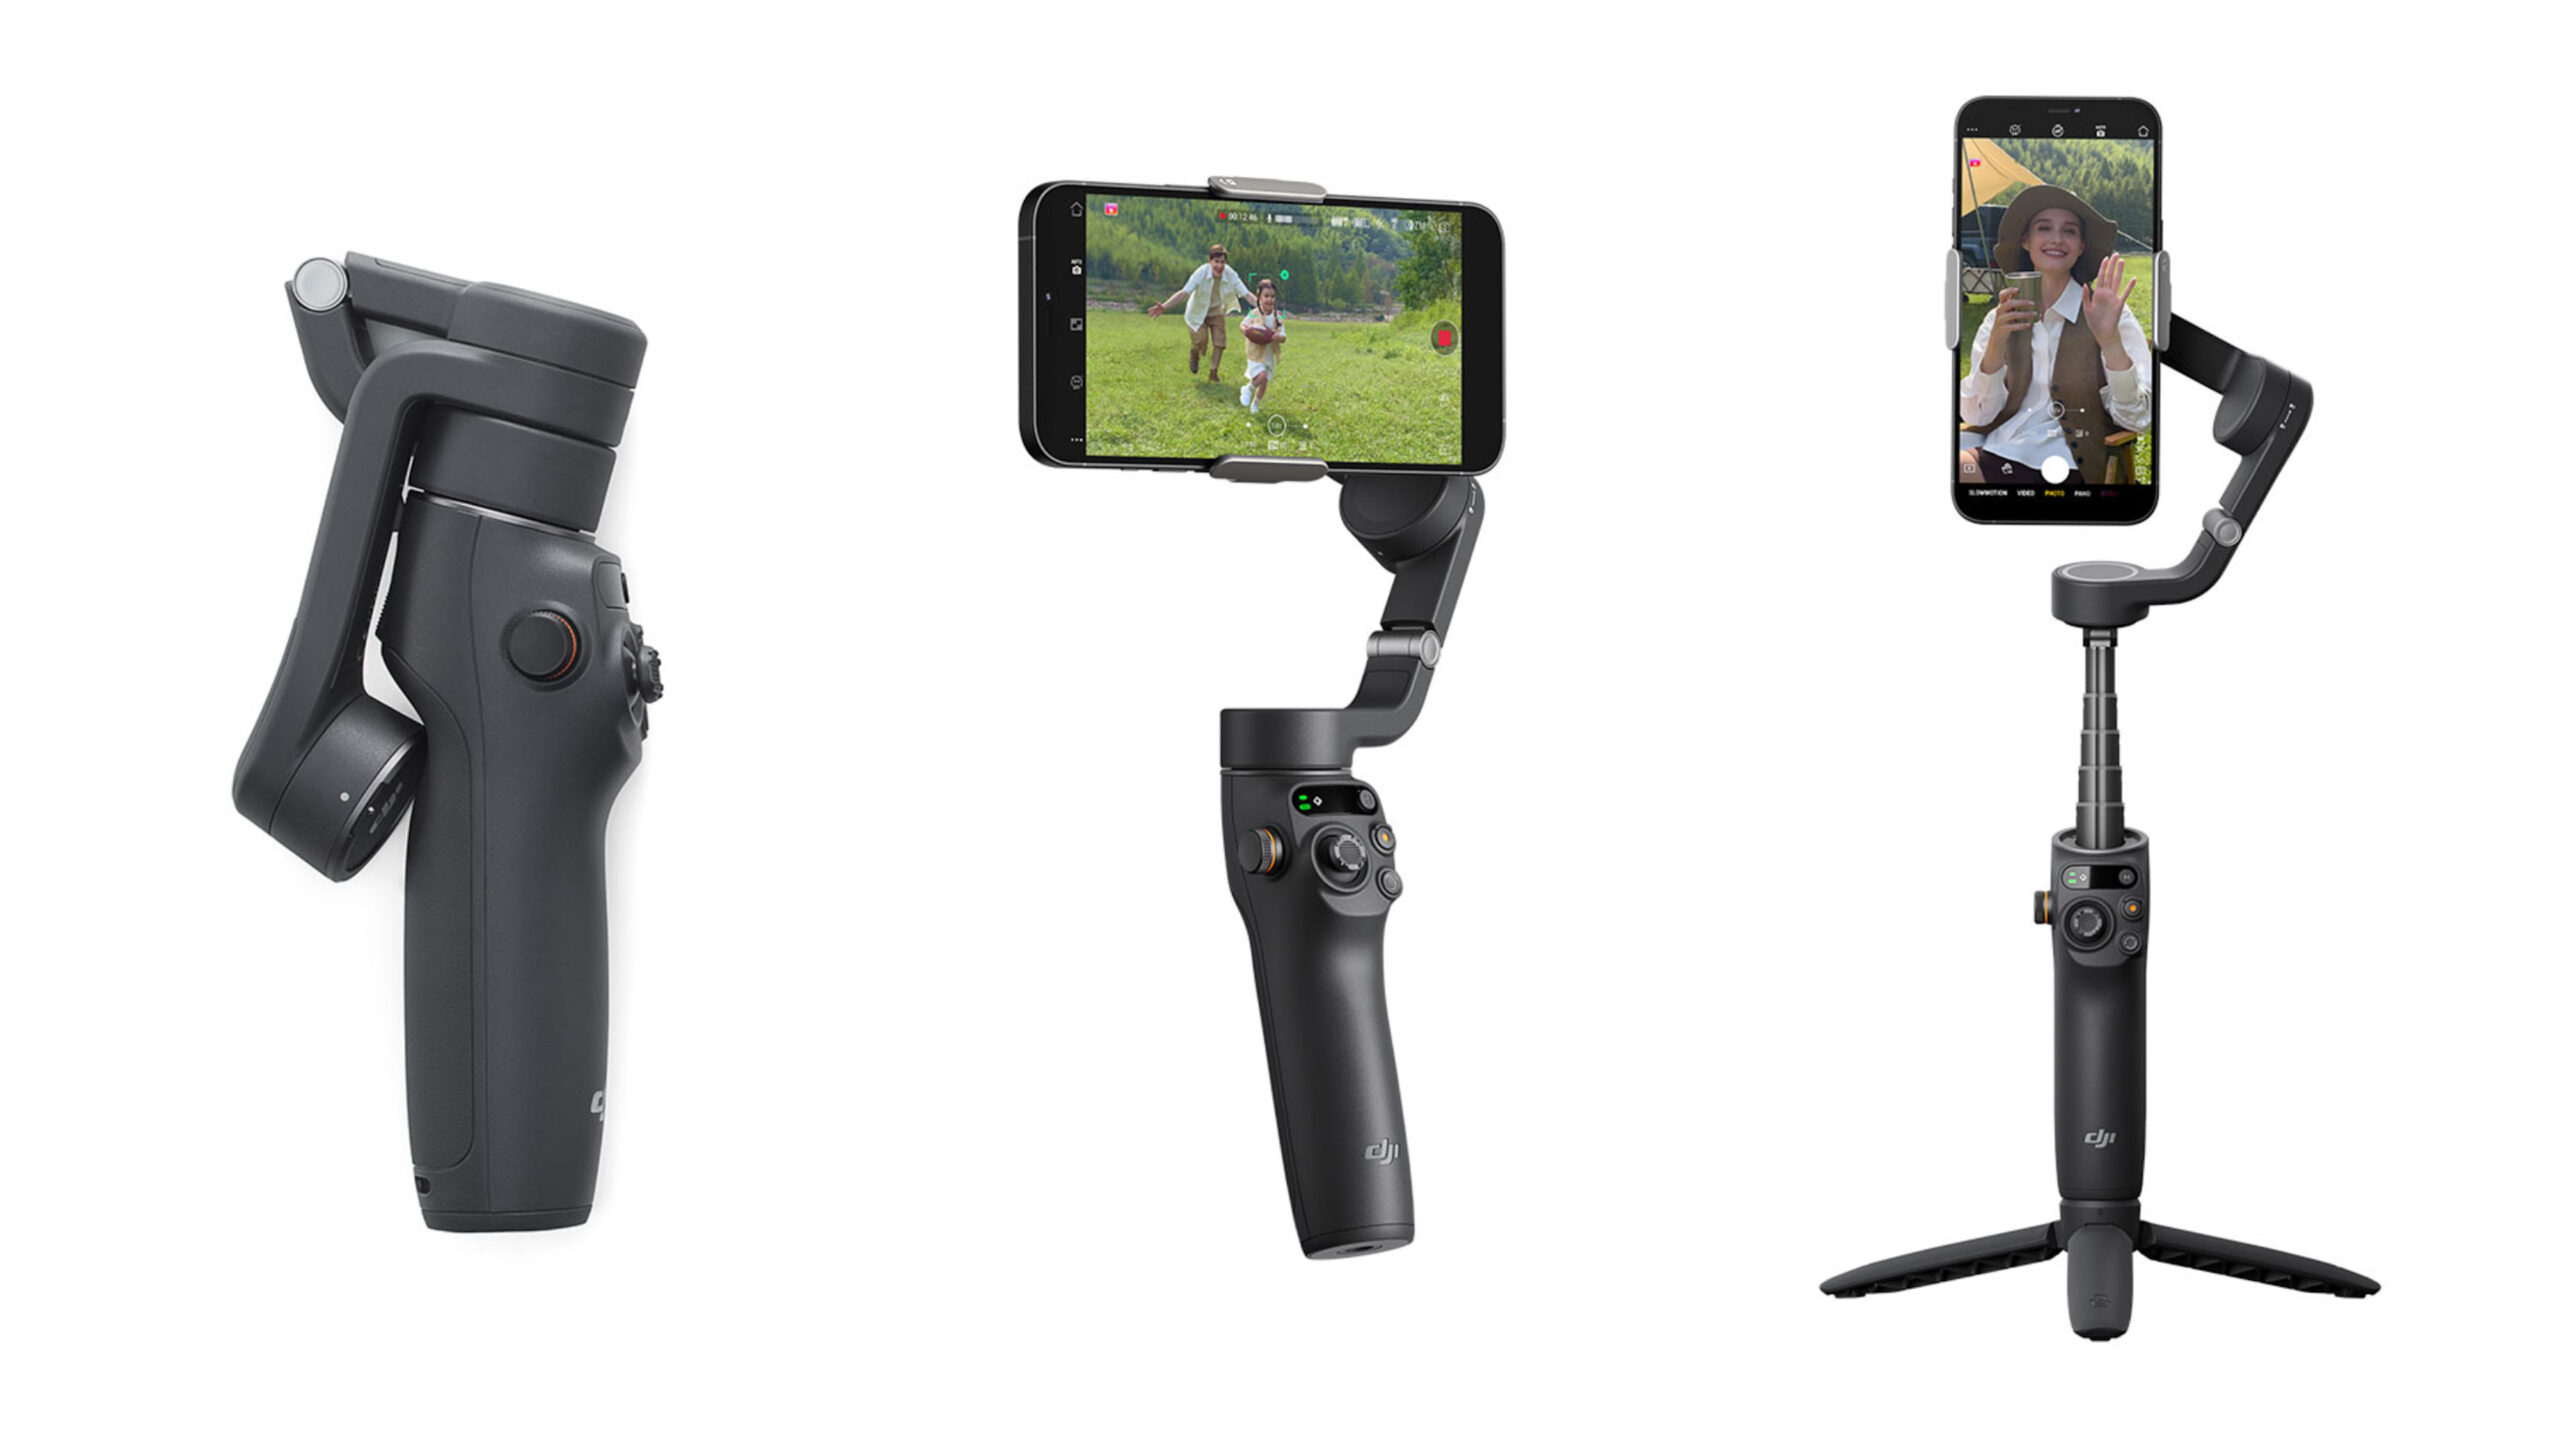
The DJI Osmo Mobile 4 is a revolutionary smartphone gimbal that allows you to capture smooth and stable footage on the go. It is packed with features like active tracking, gesture control, and various shooting modes, making it a favorite among content creators, vloggers, and videographers.
However, just like any electronic device, the Osmo Mobile 4 may encounter glitches or performance issues over time. In such cases, resetting the device to its factory settings can often resolve these problems and restore it to its original state.
Before we proceed, it is essential to note that resetting your Osmo Mobile 4 will erase all personalized settings, including calibration data, customized button configurations, and other user-specific preferences. Therefore, it is crucial to back up any important data or configurations before proceeding with the reset.
Now that we understand the importance of resetting the Osmo Mobile 4 and the implications it may have, let’s dive into the step-by-step process of powering off and resetting the device. By following these instructions, you’ll be able to troubleshoot your device and get it back on track in no time!
Reasons to Reset DJI Osmo Mobile 4
Resetting your DJI Osmo Mobile 4 can be beneficial for a variety of reasons. Here are a few scenarios where performing a reset might be necessary:
- Fixing Technical Issues: If you experience frequent crashes, software glitches, or connectivity problems with your Osmo Mobile 4, a reset can help resolve these issues. It can clear out any temporary bugs or conflicts that may be affecting the performance of your device.
- Restoring Default Settings: Over time, you may have made several changes to the settings and configuration of your Osmo Mobile 4. If you want to revert back to the default settings or start fresh with a clean slate, a reset will help you achieve that.
- Troubleshooting Calibration Problems: Sometimes, the Osmo Mobile 4 may experience issues with its calibration, resulting in inaccurate stabilization or erratic movements. Resetting the device and recalibrating it can often resolve these calibration problems and improve the performance of your gimbal.
- Preparing for an Upgrade: If you are planning to upgrade the firmware or software of your Osmo Mobile 4, it is advisable to perform a reset beforehand. This ensures that any existing settings or configurations do not interfere with the upgrade process and helps prevent potential compatibility issues.
- Resolving Unresponsive Behavior: In rare cases, the Osmo Mobile 4 may become unresponsive to commands or fail to connect with your smartphone. A reset can help alleviate these issues and restore the normal functionality of the device.
Remember, resetting your Osmo Mobile 4 should be considered as a troubleshooting step when all other methods have failed to resolve the problem. It is important to keep in mind that a reset will erase all personalized settings and data, so make sure to back up any important information before proceeding with the reset.
In the next section, we will guide you through the process of powering off your Osmo Mobile 4 before proceeding with the reset.
Step 1: Powering Off the Osmo Mobile 4
Before you can proceed with resetting your DJI Osmo Mobile 4, it is important to power off the device properly. Here’s how you can do it:
- Ensure Stability: Make sure that your Osmo Mobile 4 is securely mounted on a stable surface or held firmly in your hand. This will prevent any accidental movements during the power-off process.
- Access the Power Button: Locate the power button on your Osmo Mobile 4. It is usually located on the side or front of the device, depending on the version of the gimbal you are using.
- Press and Hold the Power Button: Press and hold the power button for a few seconds until you see the device’s LED lights start to flash and hear a confirmation sound. This indicates that the Osmo Mobile 4 is in the process of powering off.
- Wait for Shutdown: Allow the Osmo Mobile 4 to complete the power-off process. The LED lights will eventually turn off completely, signifying that the device is now powered off and ready for the reset.
It is essential to power off your Osmo Mobile 4 properly to ensure a smooth reset process and avoid any potential issues or data corruption. Once you have successfully powered off your device, you can move on to the next step: resetting the Osmo Mobile 4, which we will cover in the following section.
Step 2: Resetting the Osmo Mobile 4
Now that you have powered off your DJI Osmo Mobile 4, it’s time to proceed with the reset. Follow these steps to reset your device to its factory settings:
- Press and Hold the Trigger Button: Locate the trigger button on your Osmo Mobile 4. It is usually positioned near the handle or grip. Press and hold the trigger button.
- Press the Power Button: While continuing to hold the trigger button, press and hold the power button simultaneously. Keep both buttons pressed for about five seconds.
- Release the Buttons: After holding both buttons for the specified time, release both the trigger button and the power button. The Osmo Mobile 4 will now begin the reset process.
- Wait for Reset: Give the Osmo Mobile 4 some time to perform the reset. You may notice the device’s LED lights blinking or the gimbal motors moving briefly during this time. This indicates that the reset process is underway.
- Reset Complete: Once the reset process is complete, the Osmo Mobile 4 will power on automatically. You will now have a clean slate with the default settings restored.
It’s important to note that resetting your Osmo Mobile 4 will erase all personalized settings, configurations, and calibration data. If there is any important information stored on the device, make sure to back it up before performing the reset.
With the Osmo Mobile 4 successfully reset, you can now proceed to the next step: calibrating the device to ensure optimal performance and stability. We will guide you through this process in the following section.
Step 3: Calibrating the Osmo Mobile 4 after Reset
After resetting your DJI Osmo Mobile 4, it’s important to calibrate the device to ensure accurate stabilization and optimal performance. Follow these steps to calibrate your device:
- Ensure Stability: Place your Osmo Mobile 4 on a stable surface or hold it securely in your hand. Make sure there are no obstructions or loose objects that could interfere with the calibration process.
- Power On the Osmo Mobile 4: Press and hold the power button until your Osmo Mobile 4 powers on. The LED lights will indicate that the device is powered on and ready for calibration.
- Launch the DJI Mimo App: Open the DJI Mimo app on your smartphone and connect your device to the Osmo Mobile 4 via Bluetooth or Wi-Fi. Follow the on-screen instructions to establish a stable connection between the app and your gimbal.
- Access Calibration Settings: Once connected, navigate to the settings menu within the DJI Mimo app. Look for the calibration or stabilizer settings option, which may vary depending on the version of the app you are using.
- Follow the Calibration Instructions: The DJI Mimo app will provide step-by-step instructions for calibrating your Osmo Mobile 4. Typically, this involves placing the gimbal in a few specific orientations or performing certain movements to help the device recalibrate its internal sensors.
- Complete the Calibration Process: Follow the on-screen instructions closely and complete each calibration step as directed. Take your time and make sure each calibration task is performed accurately.
- Confirm Calibration Success: Once you have completed the calibration process, the app will notify you of successful calibration. You can then proceed to use your Osmo Mobile 4 with confidence, knowing that it is properly calibrated for optimal performance.
It is recommended to calibrate your Osmo Mobile 4 after resetting to ensure consistent stabilization and accurate motion tracking. Regular calibration can help maintain the device’s performance and prevent any potential issues in the future.
Congratulations! You have now successfully reset and calibrated your DJI Osmo Mobile 4. Enjoy capturing smooth and steady footage with your gimbal!
Conclusion
Resetting your DJI Osmo Mobile 4 can be a helpful solution for fixing technical issues, restoring default settings, troubleshooting calibration problems, preparing for upgrades, and resolving unresponsiveness. By following the step-by-step process outlined in this guide, you can easily power off your device, perform a reset, and recalibrate it to ensure optimal performance.
Remember, before proceeding with the reset, it is essential to back up any important data or configurations as the process will erase all personalized settings and data. Also, make sure to power off your Osmo Mobile 4 properly before initiating the reset.
After resetting your Osmo Mobile 4, take the time to calibrate the device using the DJI Mimo app. This will enable accurate stabilization and improve overall performance while using the gimbal.
Whether you’re a content creator, vlogger, or videographer, the DJI Osmo Mobile 4 is an incredible tool for capturing smooth and professional-looking footage. By utilizing the reset and calibration process, you can ensure that your device is functioning optimally and ready to capture your creative vision.
We hope this guide has been helpful in guiding you through the steps to reset and calibrate your Osmo Mobile 4. Now it’s time to unleash your creativity and capture stunning videos with the help of this remarkable gimbal!