Introduction
Welcome to the ultimate guide on how to charge your DJI Osmo. As a proud owner of this powerful and versatile device, it’s essential to understand the various charging methods available to ensure that you never miss a moment of capturing stunning footage. Whether you’re a professional filmmaker or an enthusiastic hobbyist, having a fully charged DJI Osmo is crucial for uninterrupted shooting sessions.
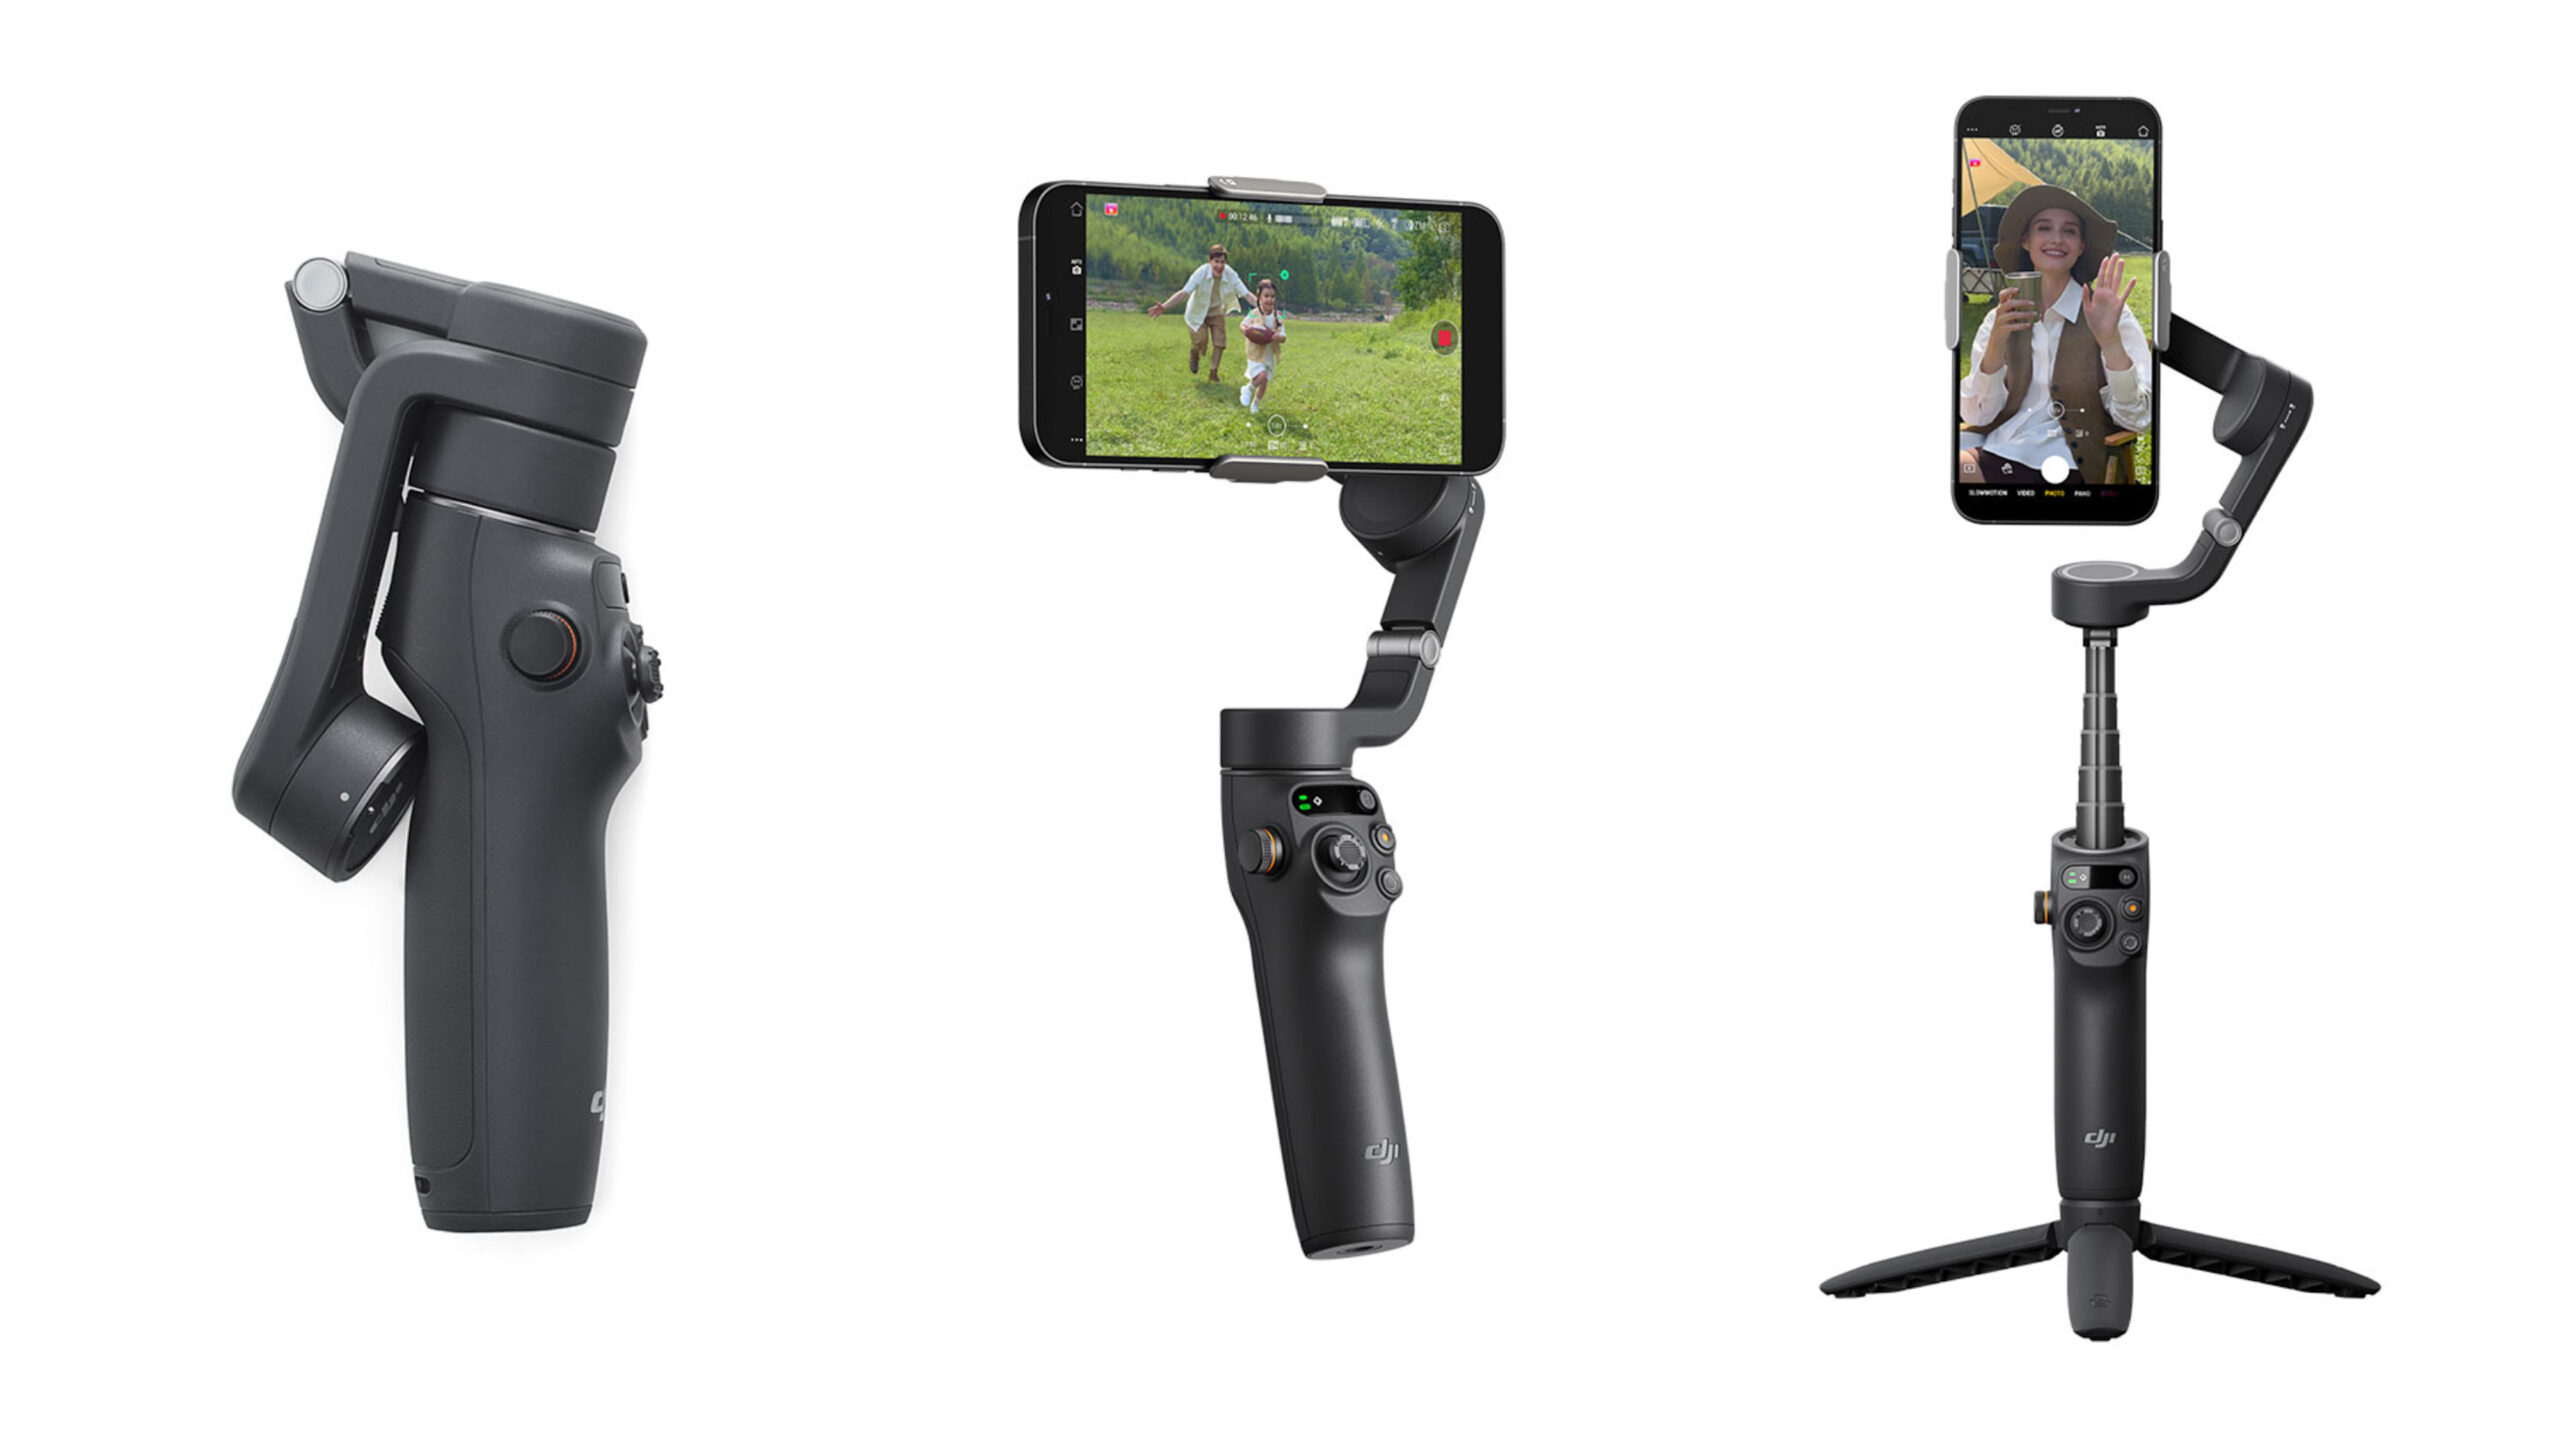
The DJI Osmo comes with a rechargeable battery that can be easily charged using different methods, depending on your needs and preferences. In this article, we will explore the three primary charging options for your DJI Osmo: charging via a micro USB cable, charging via a charging hub, and charging via an external battery.
Before diving into the specific charging methods, let’s briefly discuss how to check the battery life of your DJI Osmo. The Osmo features an LED indicator on the battery itself, which provides a quick and convenient way to determine the remaining battery capacity. Simply press the power button once, and the LEDs will illuminate to indicate the current charge level. This allows you to plan your shooting sessions accordingly and ensure that you have enough power to capture all the incredible moments.
Now that we have a basic understanding of the battery indicator, let’s explore the different charging options in detail, starting with charging via a micro USB cable.
Checking the Battery Life
Before diving into the various charging methods, it’s important to have a clear understanding of how to check the battery life of your DJI Osmo. By doing so, you can ensure that you never run out of power during an important shooting session.
The DJI Osmo is equipped with an LED battery indicator, conveniently located on the battery itself. To check the battery life, simply press the power button once. The LED lights will illuminate, indicating the current charge level. Here’s a breakdown of the different LED light patterns and what they signify:
- Four solid lights: This indicates that the battery is fully charged, with a capacity ranging from 76% to 100%. You’re good to go and can start shooting without any worries.
- Three solid lights: This means that the battery is around 51% to 75% charged. You still have a decent amount of power left, but it’s a good idea to consider charging the battery soon.
- Two solid lights: This indicates that the battery is at a charge level of 26% to 50%. It’s advisable to recharge the battery before embarking on a new shooting session to ensure uninterrupted filming.
- One solid light: This signifies that the battery is at a charge level of 1% to 25%. It’s essential to charge the battery immediately to prevent any unexpected power loss during filming.
- Blinking lights: When the lights on the battery blink rapidly, it means that the battery charge level is critically low, below 1%. Connect your Osmo to a power source immediately to avoid any disruption to your recording.
By regularly checking the battery life before each filming session, you can plan accordingly and ensure that you have sufficient power to capture all your desired footage. Now that you’re familiar with how to check the battery life, let’s dive into the different charging methods available for the DJI Osmo.
Charging via Micro USB Cable
Charging your DJI Osmo via a micro USB cable is one of the most straightforward and commonly used methods. It allows you to charge the Osmo using a computer, wall adapter, or any other compatible USB power source.
To charge your Osmo using a micro USB cable, follow these simple steps:
- Locate the micro USB port on the Osmo. It is usually located on the side or bottom of the device, depending on the model.
- Connect one end of the micro USB cable to the port on the Osmo and ensure it is securely plugged in.
- Connect the other end of the micro USB cable to a power source, such as a computer’s USB port or a wall adapter.
- Once the cable is connected, the Osmo will begin charging, and the battery indicator lights will illuminate accordingly.
- Allow the Osmo to charge until it reaches a full battery level, as indicated by all four LED lights remaining solid.
- Once fully charged, disconnect the micro USB cable from both the Osmo and the power source.
It’s important to note that charging times may vary depending on the power source and the current battery level. It is recommended to use a high-quality micro USB cable and a reliable power source for optimal charging speed and efficiency.
Charging your DJI Osmo via a micro USB cable provides the convenience of charging on the go, especially when a dedicated charging hub or external battery is not readily available. However, it’s worth considering investing in additional charging options for more efficient and versatile charging capabilities.
Charging via Charging Hub
For those looking to charge multiple DJI Osmo batteries simultaneously or seeking a more efficient charging solution, using a charging hub is the way to go. A charging hub allows you to charge multiple batteries at once, saving you time and ensuring that you have fully charged batteries ready for your next filming session.
To charge your DJI Osmo batteries using a charging hub, follow these steps:
- Ensure that the charging hub is properly connected to a power source, either through a wall outlet or a USB port on your computer.
- Insert the DJI Osmo batteries into the corresponding slots on the charging hub. Make sure each battery is securely placed.
- Once the batteries are inserted, the charging hub will automatically detect them and begin the charging process.
- Observe the LED indicators on the charging hub. Each LED light corresponds to the charging status of a specific battery.
- Allow the batteries to charge until they reach a full charge. The LED lights will indicate when each battery is fully charged.
- Once the batteries are fully charged, remove them from the charging hub for future use.
Charging hubs offer the convenience of charging multiple batteries simultaneously, ensuring that you have an ample power supply for extended filming sessions or when shooting in remote locations. It eliminates the need to charge each battery individually, saving time and effort.
It’s worth noting that DJI provides charging hubs specifically designed for the Osmo, offering optimal charging performance and compatibility. Investing in a dedicated charging hub can significantly enhance the charging experience and streamline your workflow.
Charging via External Battery
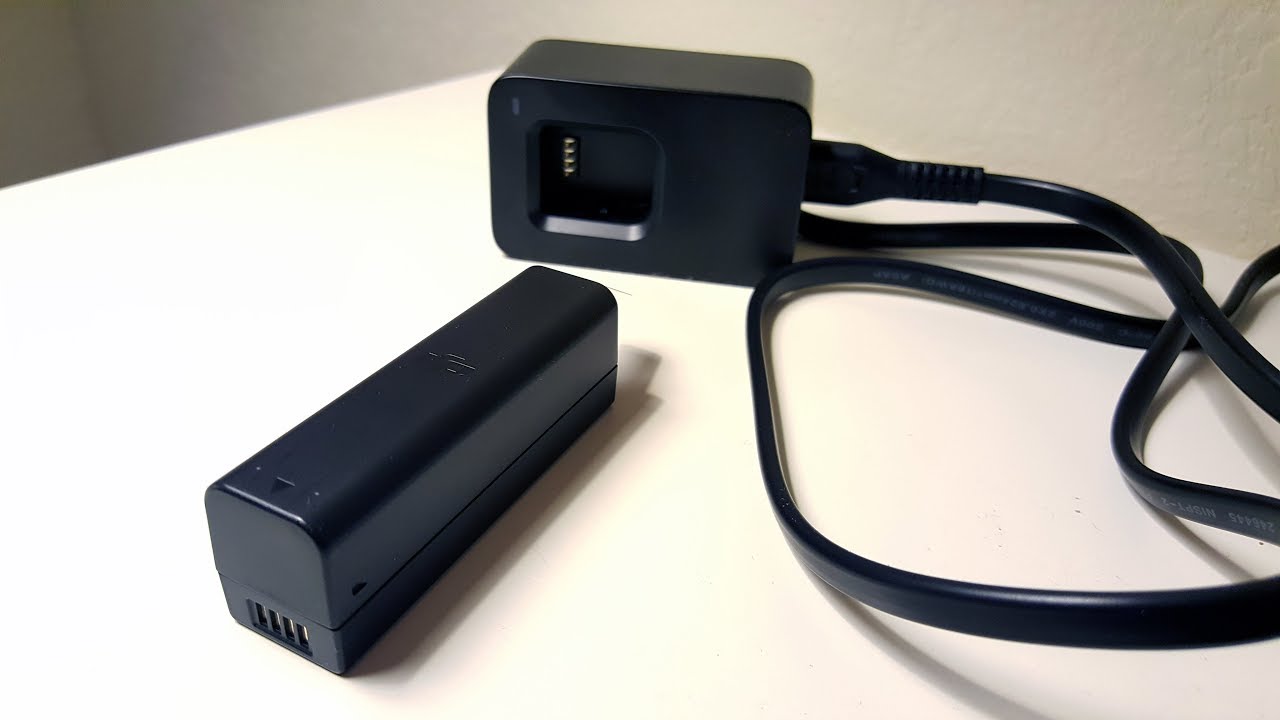
If you find yourself in situations where a power outlet is inaccessible or limited, charging your DJI Osmo using an external battery is a convenient solution. An external battery, also known as a power bank, allows you to charge your Osmo on the go, providing you with an extended power supply for uninterrupted filming.
To charge your DJI Osmo using an external battery, follow these simple steps:
- Ensure that your external battery is fully charged and ready for use.
- Locate the USB port on the external battery. It is typically found on the side or front of the device.
- Connect one end of the USB cable to the USB port on the external battery.
- Connect the other end of the USB cable to the micro USB port on the DJI Osmo.
- Once connected, the Osmo will begin charging, and the battery indicator lights will illuminate to indicate the charging status.
- Allow the DJI Osmo to charge until it reaches a full battery level.
- Once fully charged, disconnect the USB cable from both the external battery and the Osmo.
An external battery provides a portable and reliable power source for your DJI Osmo, allowing you to capture incredible footage without worrying about running out of battery power. It’s a great option for outdoor adventures, travel, or any situation where access to a power outlet is limited.
When choosing an external battery, consider factors such as capacity, portability, and compatibility. Look for a reliable brand that offers sufficient power capacity to adequately charge your Osmo. Additionally, ensure that the external battery has a USB output compatible with the micro USB port on the Osmo.
With an external battery in your gear bag, you can extend your shooting sessions and explore new horizons without the constraint of limited battery life.
Tips to Extend Battery Life
As a DJI Osmo user, you want to make the most out of your battery life to ensure uninterrupted filming and capturing incredible shots. Here are some helpful tips to help you extend the battery life of your DJI Osmo:
- Lower the Brightness: One easy way to conserve battery power is by reducing the screen brightness of your DJI Osmo. High screen brightness consumes more energy, so lowering it to a reasonable level can significantly extend the battery life.
- Turn Off Wi-Fi and Bluetooth: When not in need of Wi-Fi or Bluetooth connectivity, consider turning them off. These wireless features can drain the battery quickly, so disabling them when not in use can help conserve power.
- Use Power Save Mode: The DJI Osmo often comes with a power-saving mode that can be enabled to optimize battery performance. This mode reduces the device’s overall power consumption, extending battery life while still allowing you to capture stunning footage.
- Avoid Extreme Temperatures: Extreme temperatures, both hot and cold, can negatively impact the performance and lifespan of your DJI Osmo battery. Avoid exposing your device to extreme temperatures, as this can lead to faster battery depletion or potential damage.
- Manage Storage Space: Having limited storage space on your DJI Osmo can affect its overall performance, including battery life. Regularly offload and backup your footage to free up storage space, as this can help reduce the strain on the battery and improve its longevity.
- Use Quality Memory Cards: Investing in high-quality memory cards for your DJI Osmo not only ensures smooth and reliable operation but also reduces battery drain. Efficient memory cards require less power for read and write operations, optimizing battery performance.
- Turn Off Unused Features: When not actively using certain features such as GPS, voice control, or advanced shooting modes, consider turning them off. These features can consume additional battery power even when not in use, so disabling them can help prolong battery life.
- Avoid Overcharging: It’s important to avoid overcharging your DJI Osmo battery, as this can shorten its overall lifespan. Once the battery is fully charged, disconnect it from the power source to protect it from unnecessary strain.
By applying these tips, you can maximize the battery life of your DJI Osmo and ensure that you have ample power for all your filming endeavors.
Conclusion
Having a thorough understanding of how to charge your DJI Osmo is essential for ensuring uninterrupted filming and capturing stunning footage. In this guide, we explored the three primary charging methods: charging via a micro USB cable, charging via a charging hub, and charging via an external battery.
Charging your Osmo using a micro USB cable provides a convenient and versatile option, allowing you to charge on the go using a computer or a compatible power source. The charging hub, on the other hand, offers the convenience of charging multiple batteries simultaneously, saving time and ensuring a sufficient power supply for extended shooting sessions.
For those seeking portability and flexibility, charging via an external battery or power bank provides a reliable solution, especially in situations where a power outlet is not readily available. By following the recommended tips to extend battery life, you can maximize the usage time of your DJI Osmo and optimize the overall performance of the device.
Remember to check the battery life before each filming session and plan accordingly to ensure you have sufficient power to capture all the incredible moments. Whether you’re a professional filmmaker or an enthusiastic hobbyist, a well-charged DJI Osmo will allow you to unleash your creativity and capture stunning visuals.
Now that you have a comprehensive understanding of the various charging methods for your DJI Osmo, you can confidently navigate the world of filmmaking, knowing that you are equipped with the knowledge to keep your device powered up and ready for action. So, grab your DJI Osmo, charge it up, and let your creativity soar!