Introduction
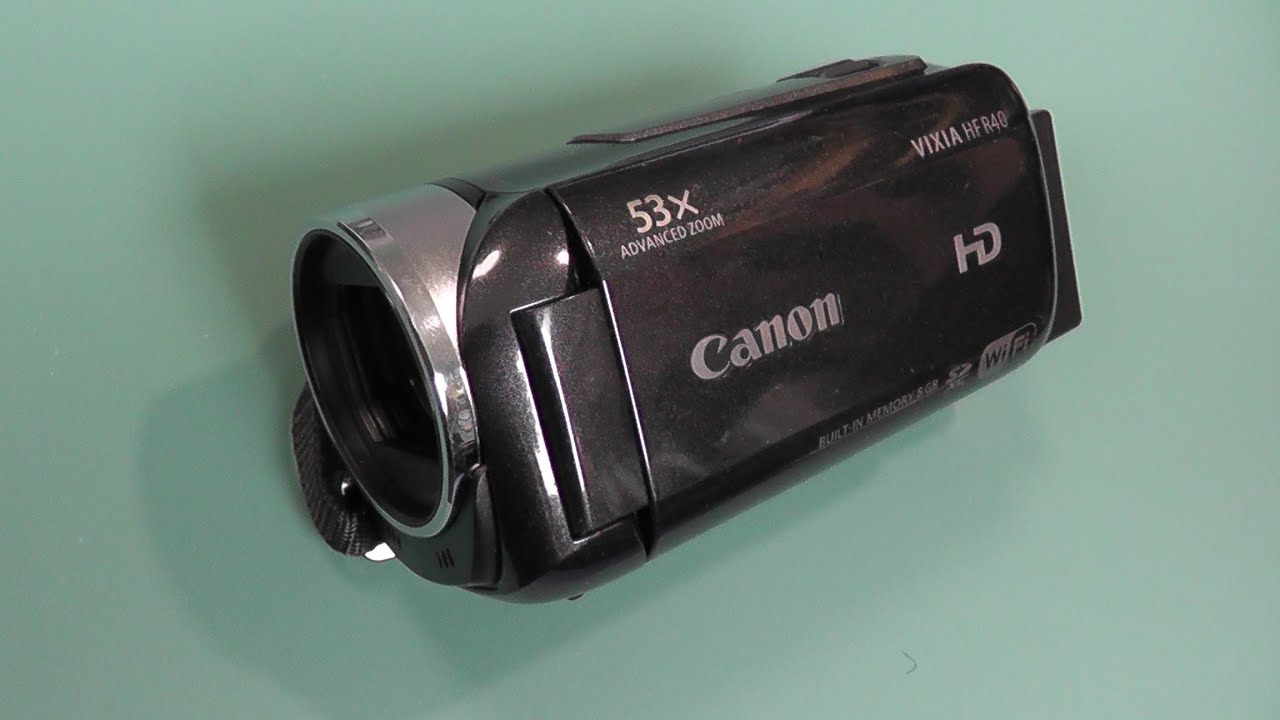
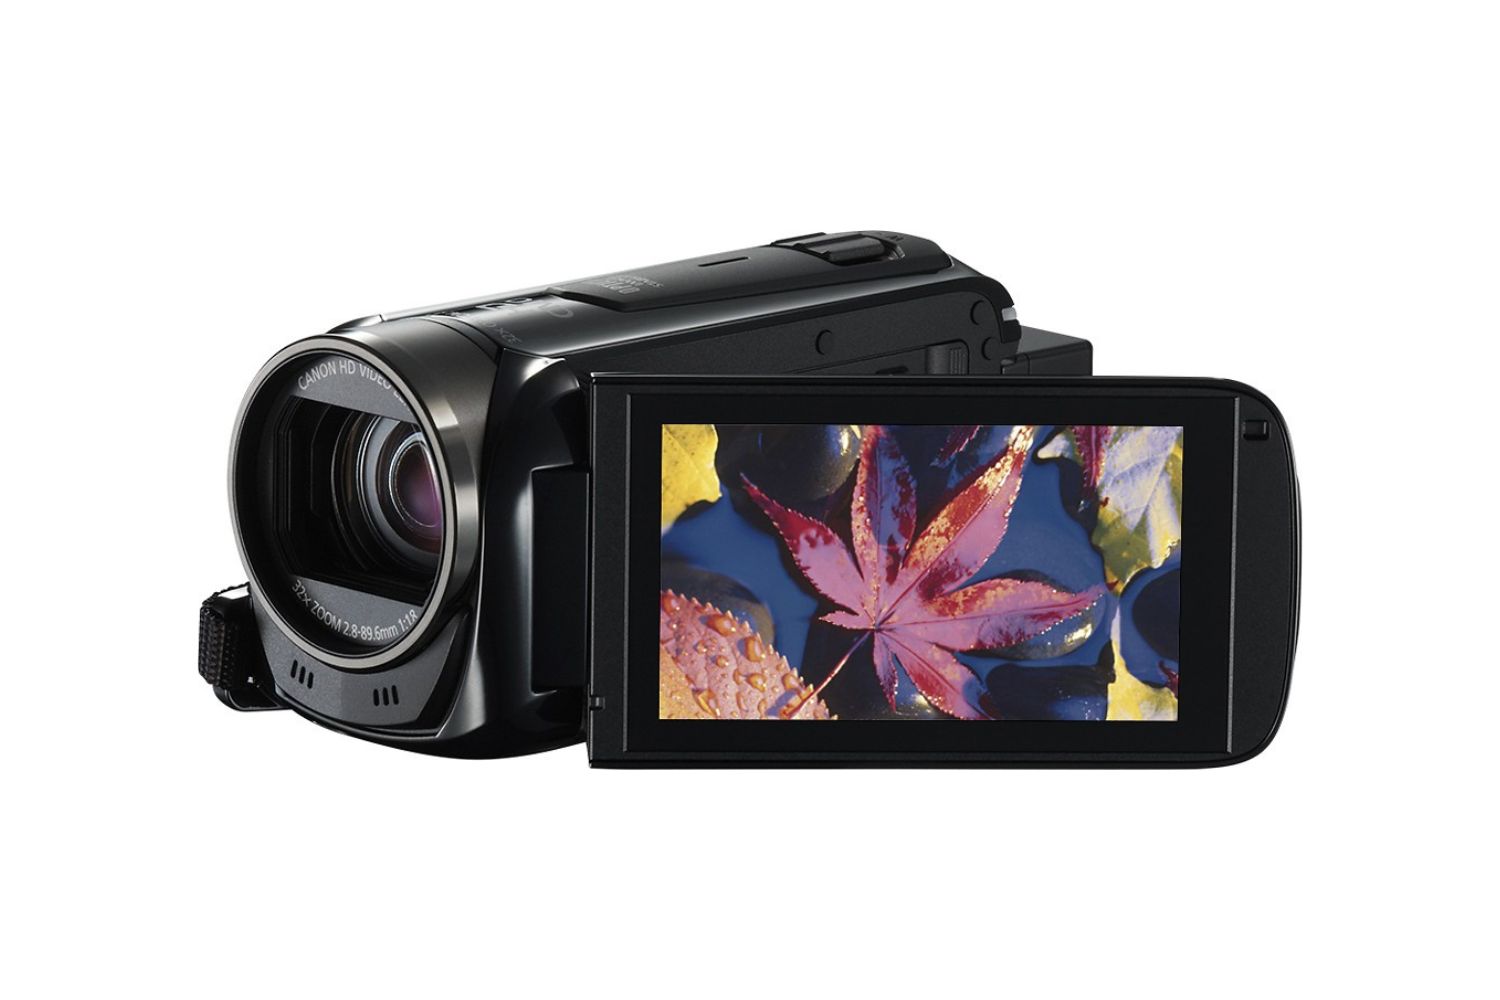
If you're a proud owner of a Canon Vixia camcorder, you're likely to accumulate a substantial amount of video footage over time. However, managing these files can become a daunting task, especially when it comes to deleting unwanted or outdated content. Whether you're looking to free up space on your device or simply declutter your video library, knowing how to effectively delete files from your Canon Vixia camcorder is essential.
In this comprehensive guide, we'll explore various methods for deleting files from your Canon Vixia camcorder, providing step-by-step instructions to ensure a seamless process. From connecting your camcorder to your computer to utilizing the Canon Transfer Utility, we'll cover everything you need to know to efficiently manage and organize your video files.
By the end of this guide, you'll have a clear understanding of the different approaches to deleting files from your Canon Vixia camcorder, empowering you to maintain a tidy and efficient digital workspace. Let's dive in and discover the best practices for file management on your beloved camcorder.
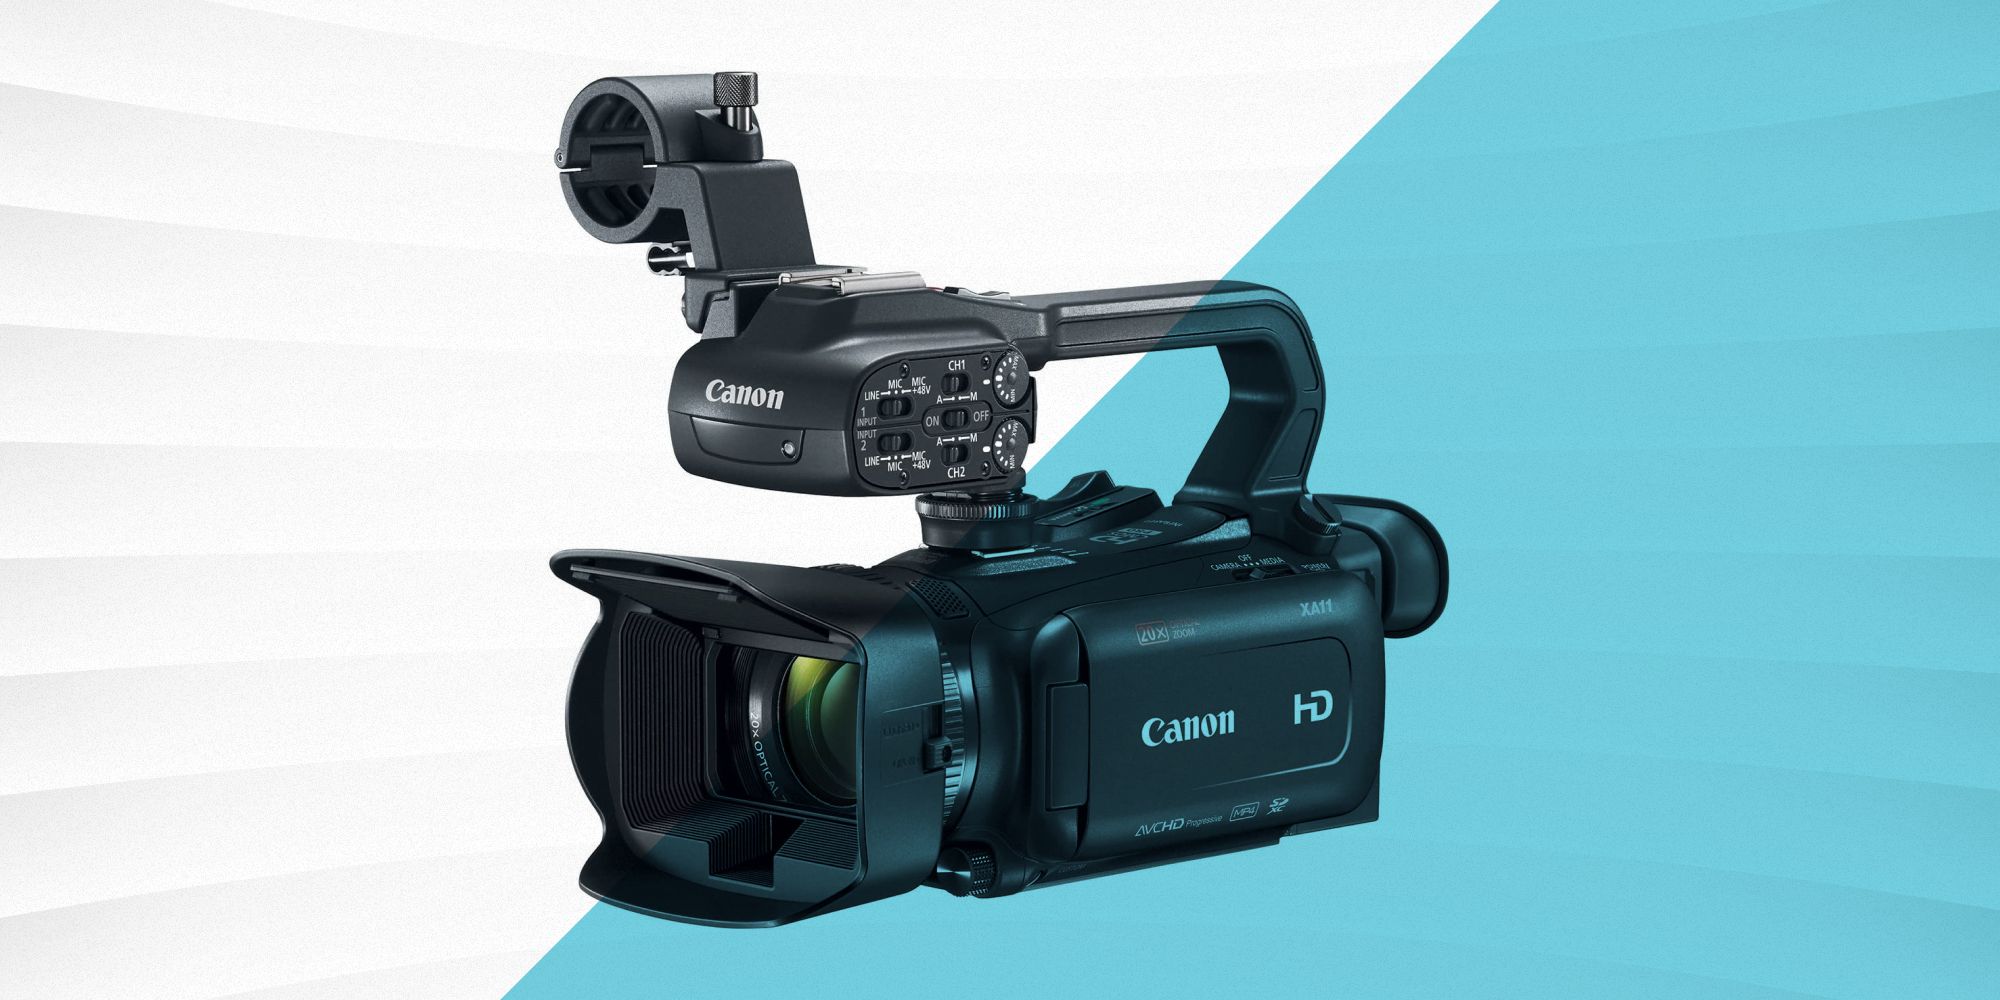
Connecting the Canon Vixia Camcorder to Your Computer
Before delving into the process of deleting files from your Canon Vixia camcorder, it’s crucial to establish a connection between the device and your computer. This allows for seamless file transfer and management, enabling you to efficiently delete unwanted content.
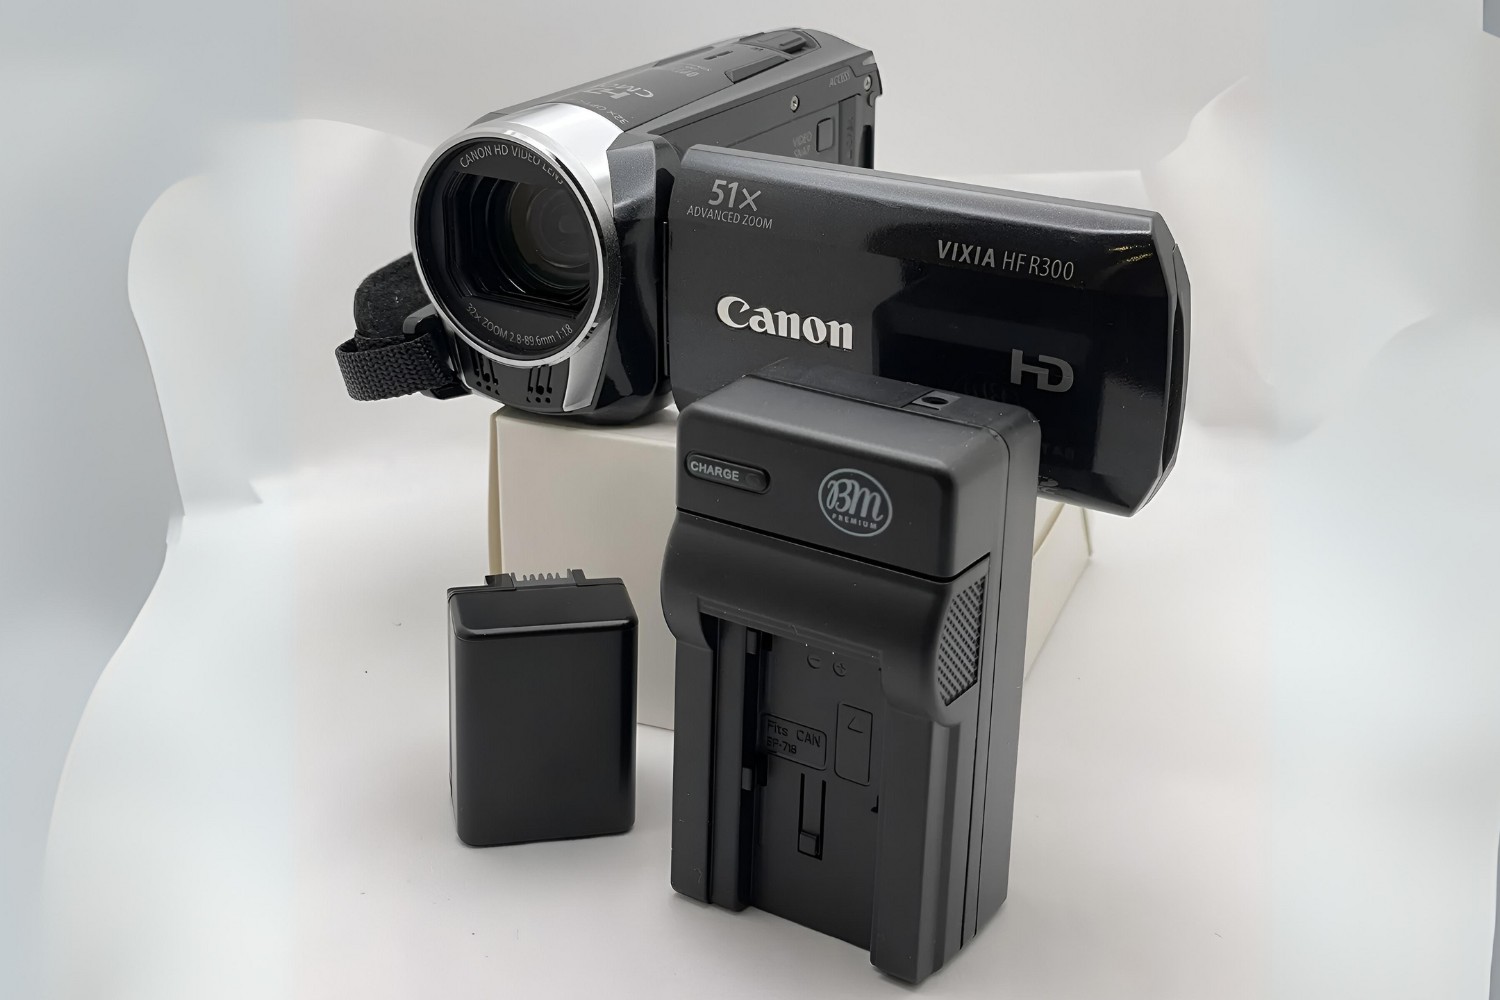
To initiate the connection, you will need a USB cable compatible with your Canon Vixia camcorder. Begin by locating the USB port on your camcorder, typically situated beneath a protective cover on the device. Once the USB port is accessible, connect one end of the USB cable to the camcorder and the other end to an available USB port on your computer.
Upon establishing the physical connection, your computer should recognize the Canon Vixia camcorder as an external storage device. Depending on your operating system, you may receive a prompt indicating the detection of new hardware. If prompted, follow the on-screen instructions to install any necessary drivers for the camcorder.
Once the connection is successfully established, you can access the contents of your Canon Vixia camcorder through your computer’s file explorer or designated media management software. This access is essential for deleting files directly from the camcorder or utilizing the Canon Transfer Utility for more advanced file management tasks.
Ensuring a stable and reliable connection between your Canon Vixia camcorder and your computer is the first step towards efficient file management. With the connection established, you’re ready to explore the various methods for deleting files from your camcorder, empowering you to maintain a well-organized and clutter-free digital library.
Deleting Files Directly from the Camcorder
Deleting files directly from your Canon Vixia camcorder is a straightforward process that allows for quick removal of unwanted content without the need for additional software or tools. This method is ideal for deleting individual files or specific footage directly from the device, providing a convenient way to free up storage space on the camcorder.
To begin, power on your Canon Vixia camcorder and ensure that it is connected to your computer via the USB cable as outlined in the previous section. Once the connection is established, navigate to the file explorer on your computer and locate the Canon Vixia camcorder listed as a removable storage device.
Upon accessing the camcorder’s storage, you will be able to view all the recorded video files and folders. From here, you can browse through the content and identify the files you wish to delete. Simply select the unwanted files, right-click, and choose the “Delete” option to remove them from the camcorder’s storage.
It’s important to exercise caution when deleting files directly from the camcorder to avoid unintentionally removing valuable footage. Take the time to review the content and ensure that you are deleting the correct files before confirming the action. Additionally, consider backing up important footage to your computer or an external storage device before initiating the deletion process.
By deleting files directly from the Canon Vixia camcorder, you can efficiently manage the content stored on the device, creating space for new recordings and organizing your video library. This method provides a convenient way to remove unwanted footage without the need for complex software, offering a direct and practical approach to file management on your camcorder.
Using Canon Transfer Utility to Delete Files
The Canon Transfer Utility offers a versatile and user-friendly platform for managing and organizing files on your Canon Vixia camcorder. In addition to facilitating seamless file transfers, this software provides the capability to delete unwanted files directly from the camcorder, streamlining the process of file management.
To begin, ensure that your Canon Vixia camcorder is connected to your computer via the USB cable as detailed in the previous section. Once the connection is established, launch the Canon Transfer Utility software on your computer. The software should detect the connected camcorder and display the available files and folders for management.
Within the Canon Transfer Utility interface, you can navigate through the contents of your camcorder and select specific files or folders for deletion. This allows for a more organized and targeted approach to file management, enabling you to remove unwanted footage while retaining essential recordings.
When deleting files using the Canon Transfer Utility, it’s important to review the selected content before confirming the deletion. This ensures that you are removing the intended files and prevents accidental deletion of valuable footage. The software provides a straightforward interface for selecting and deleting files, offering a seamless and intuitive experience for users.
Once the unwanted files have been identified and selected for deletion, the Canon Transfer Utility allows you to initiate the removal process with a simple command. The software will prompt for confirmation before permanently deleting the selected files from the camcorder’s storage, providing an added layer of security to prevent inadvertent data loss.
By utilizing the Canon Transfer Utility to delete files from your Canon Vixia camcorder, you can efficiently manage your video library and maintain a well-organized collection of recordings. The software’s intuitive interface and file management capabilities empower users to streamline the process of deleting unwanted content, ensuring that the camcorder’s storage remains optimized and clutter-free.
Tips for Managing and Organizing Files on Your Canon Vixia Camcorder
Effectively managing and organizing files on your Canon Vixia camcorder is essential for maintaining a streamlined and efficient video library. By implementing the following tips, you can optimize your file management approach and ensure that your camcorder’s storage remains well-organized and clutter-free.
- Regularly Review and Delete Unwanted Footage: Take the time to review your recorded footage regularly and identify any content that is no longer needed. By promptly deleting unwanted files, you can free up storage space and prevent the accumulation of unnecessary data on your camcorder.
- Utilize Folders for Organization: Organize your video files into distinct folders based on categories, events, or recording dates. This approach facilitates efficient file management and makes it easier to locate specific footage when needed.
- Backup Important Recordings: Prioritize the backup of crucial or irreplaceable recordings to a separate storage device or cloud storage platform. This precaution ensures that valuable footage is safeguarded against accidental deletion or device malfunctions.
- Utilize Metadata and Tags: Leverage the metadata and tagging features available on your Canon Vixia camcorder to add descriptive information to your recordings. This metadata can include details such as recording date, location, and event, enabling easier search and categorization of files.
- Regular Maintenance and Firmware Updates: Keep your camcorder’s firmware up to date to ensure optimal performance and compatibility with file management software. Additionally, perform regular maintenance checks to identify and address any storage or file system issues.
- Consider External Storage Options: If your camcorder supports external storage devices, such as SD cards or external hard drives, consider utilizing these options to expand storage capacity and segregate specific types of recordings.
- Implement a File Naming Convention: Establish a consistent file naming convention for your recordings to facilitate easier sorting and identification. Including relevant details in file names can streamline the organization of your video library.
By incorporating these tips into your file management strategy, you can effectively manage and organize files on your Canon Vixia camcorder, ensuring that your video library remains well-maintained and easily accessible. These practices not only optimize storage space but also contribute to a more efficient and enjoyable recording experience.