Introduction
Are you ready to elevate your home entertainment experience to a whole new level? Connecting your TV and projector to an AV receiver can unlock a world of immersive audio and visual delights. Whether you're a cinephile seeking a cinematic experience in the comfort of your living room or a sports enthusiast craving larger-than-life game nights, the AV receiver serves as the central hub that brings your audio and video components together in perfect harmony.
In this comprehensive guide, we'll walk you through the process of connecting your TV and projector to an AV receiver, demystifying the technical jargon and simplifying the setup steps. By the end of this journey, you'll be empowered with the knowledge and confidence to seamlessly integrate your TV, projector, and AV receiver, paving the way for a captivating multimedia experience that will leave you and your guests in awe.
So, grab your favorite beverage, put on your DIY hat, and let's embark on this adventure to unlock the full potential of your home entertainment system. Whether you're a tech enthusiast or a novice, this guide is designed to be your trusted companion, offering clear and practical insights every step of the way. Get ready to transform your living space into a captivating audiovisual haven where every movie, show, or game becomes an unforgettable experience.
Understanding the AV Receiver
Before diving into the intricacies of connecting your TV and projector to an AV receiver, it’s essential to grasp the pivotal role that the AV receiver plays in your home entertainment setup. An AV receiver, short for audio-video receiver, serves as the nerve center of your audio and video components, seamlessly integrating various devices to deliver a cohesive and immersive multimedia experience.
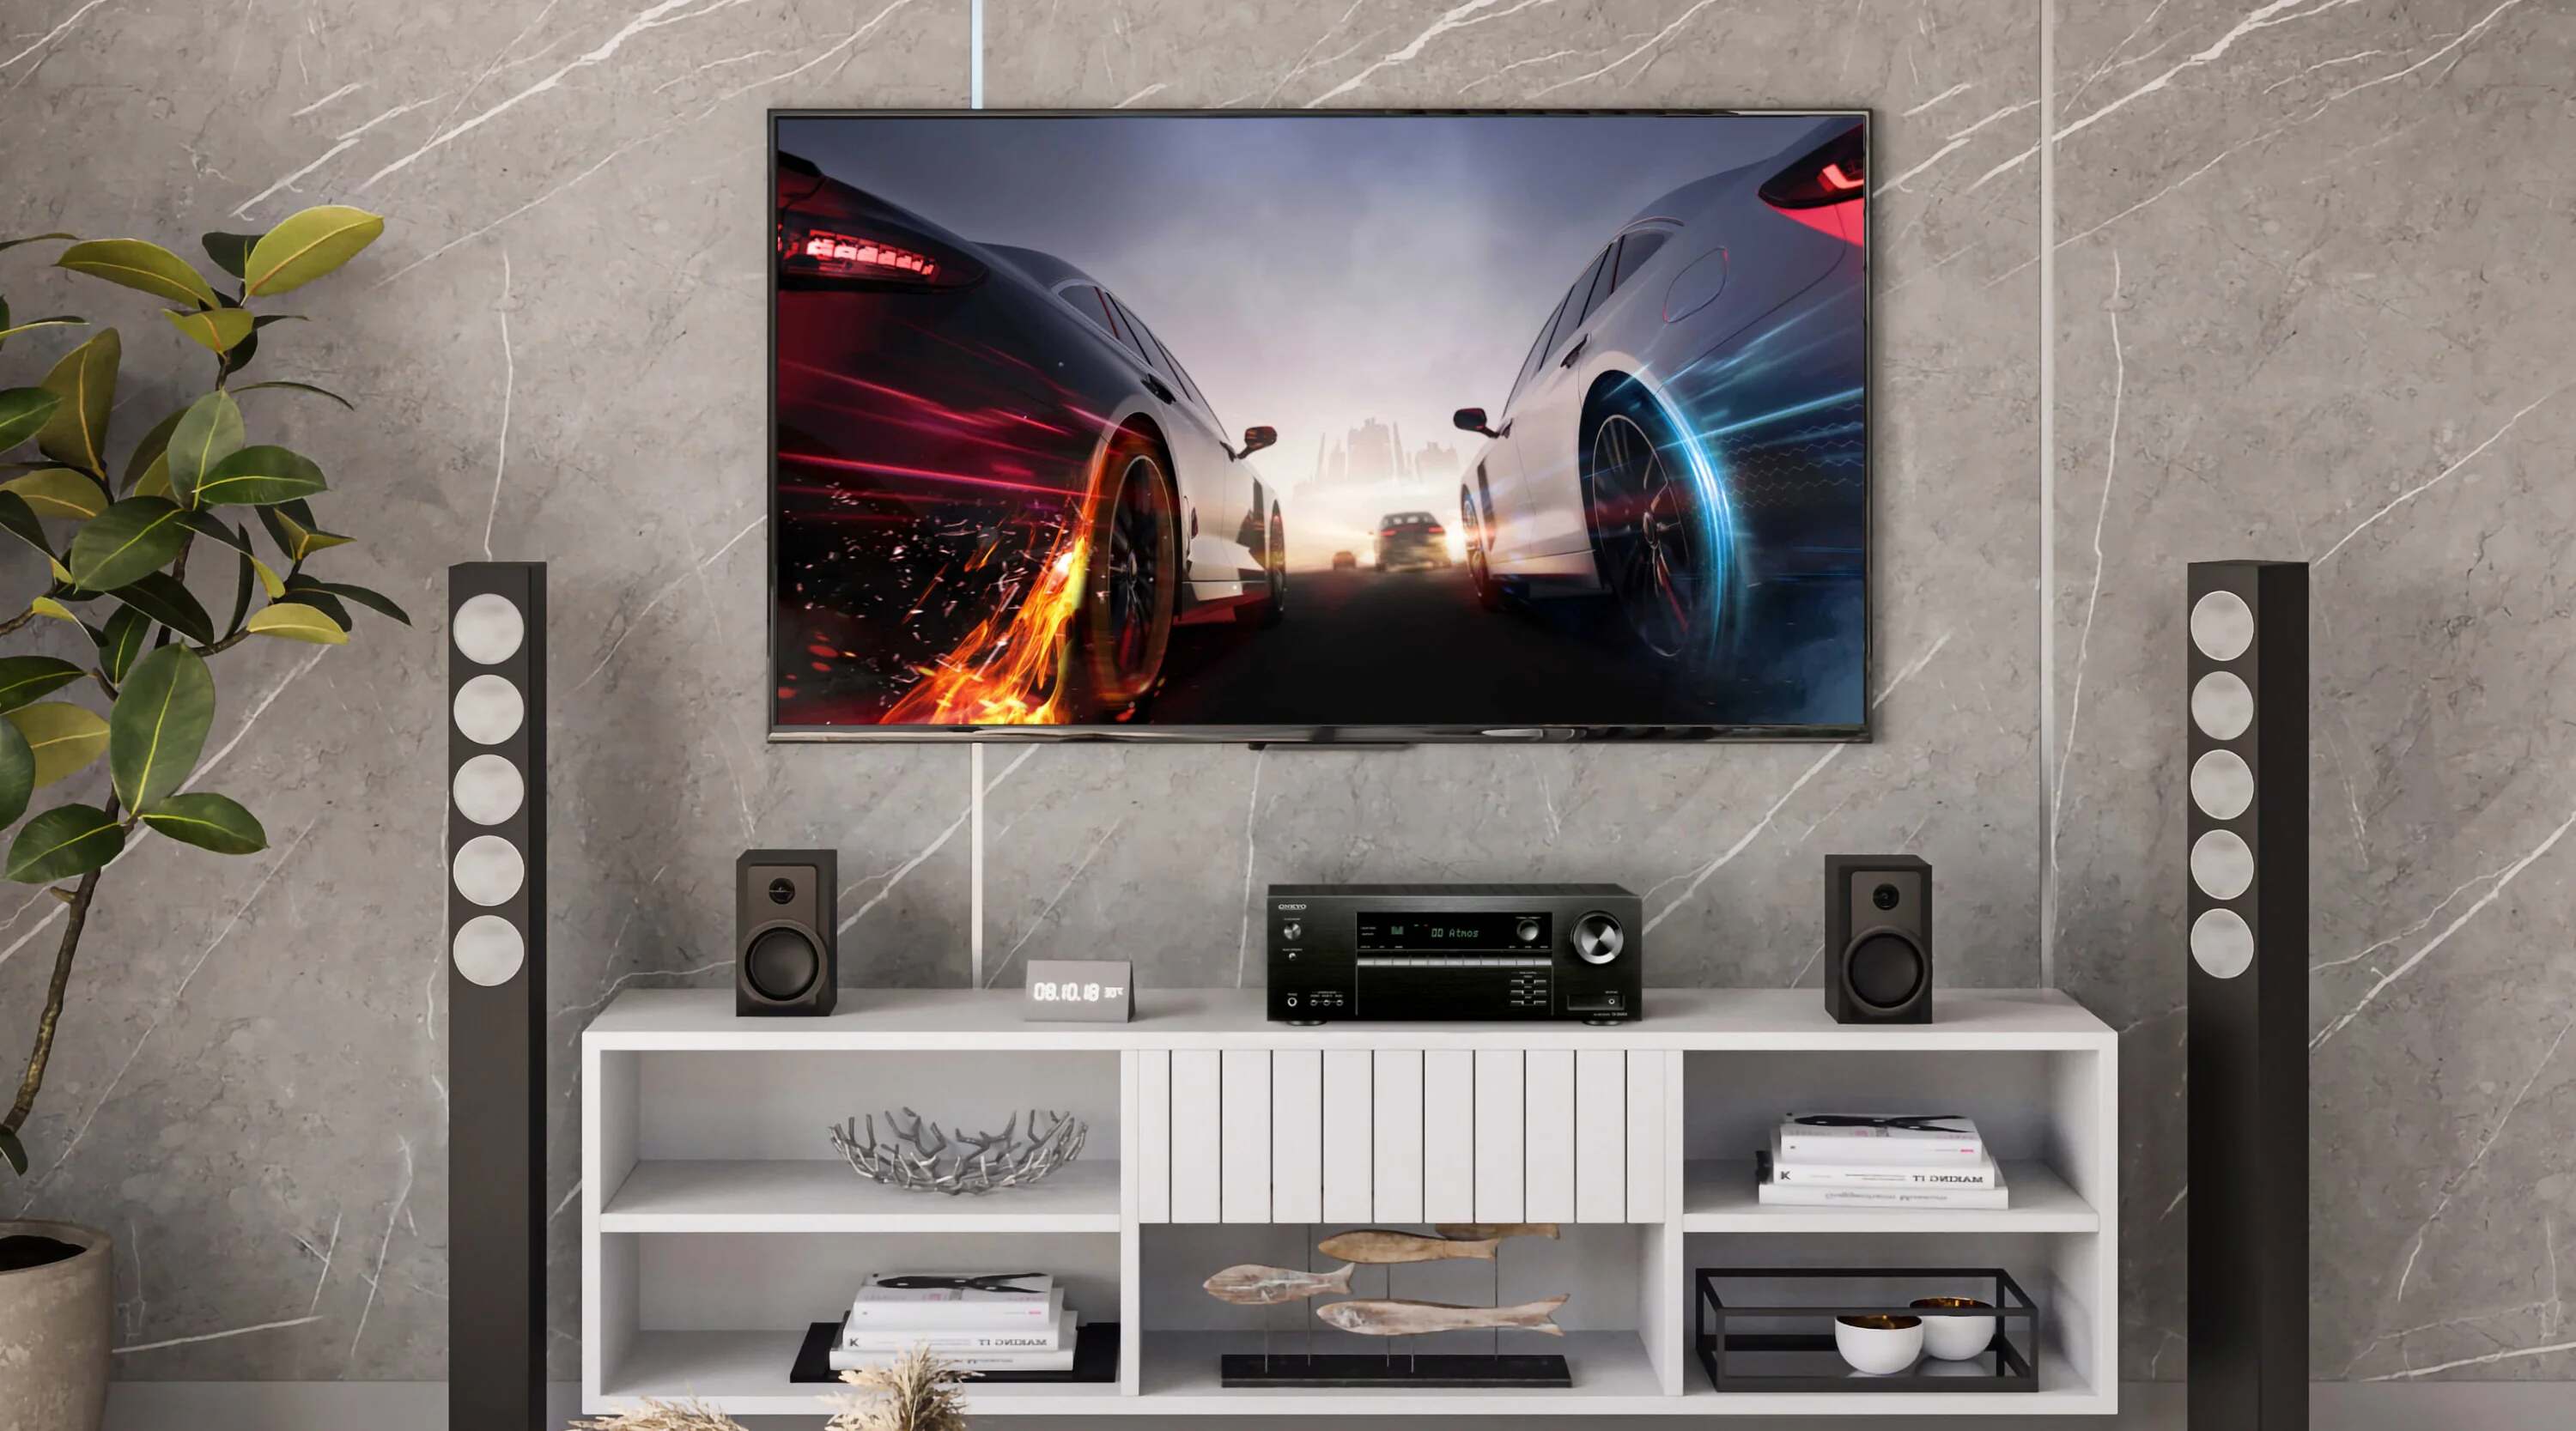
At its core, an AV receiver acts as a hub that consolidates audio and video signals from different sources, such as Blu-ray players, gaming consoles, media players, and cable boxes, and processes these signals to deliver high-quality audio and video output to your speakers and display devices. This multifaceted device not only amplifies and distributes audio signals to your speakers but also decodes and enhances the video signals before transmitting them to your TV or projector.
Modern AV receivers are equipped with an array of connectivity options, including HDMI, optical, and coaxial inputs and outputs, enabling seamless compatibility with a wide range of audio and video devices. Additionally, many AV receivers support advanced audio technologies such as Dolby Atmos and DTS:X, which create a three-dimensional soundstage, enveloping you in a captivating auditory environment.
Furthermore, AV receivers often feature built-in audio processing capabilities, allowing you to fine-tune audio settings, apply equalization, and create custom audio profiles tailored to your preferences and the acoustics of your room. With the ability to switch between different audio and video sources and formats, the AV receiver empowers you to effortlessly transition between watching a movie on your TV and projecting a slideshow from your laptop without the hassle of constantly reconfiguring cables and settings.
By understanding the central role of the AV receiver in your home entertainment ecosystem, you’ll gain a deeper appreciation for its capabilities and the seamless integration it facilitates between your TV, projector, and other audiovisual devices. Now that we’ve laid the groundwork for comprehending the AV receiver, let’s delve into the exciting process of connecting your TV and projector to this versatile hub of audiovisual innovation.
Connecting the TV to the AV Receiver
Now that you have a solid grasp of the AV receiver’s pivotal role in your home entertainment setup, it’s time to embark on the process of connecting your TV to this central hub of audiovisual excellence. The connection between your TV and the AV receiver is crucial for transmitting high-quality audio and video signals, ensuring that your viewing experience is nothing short of spectacular.
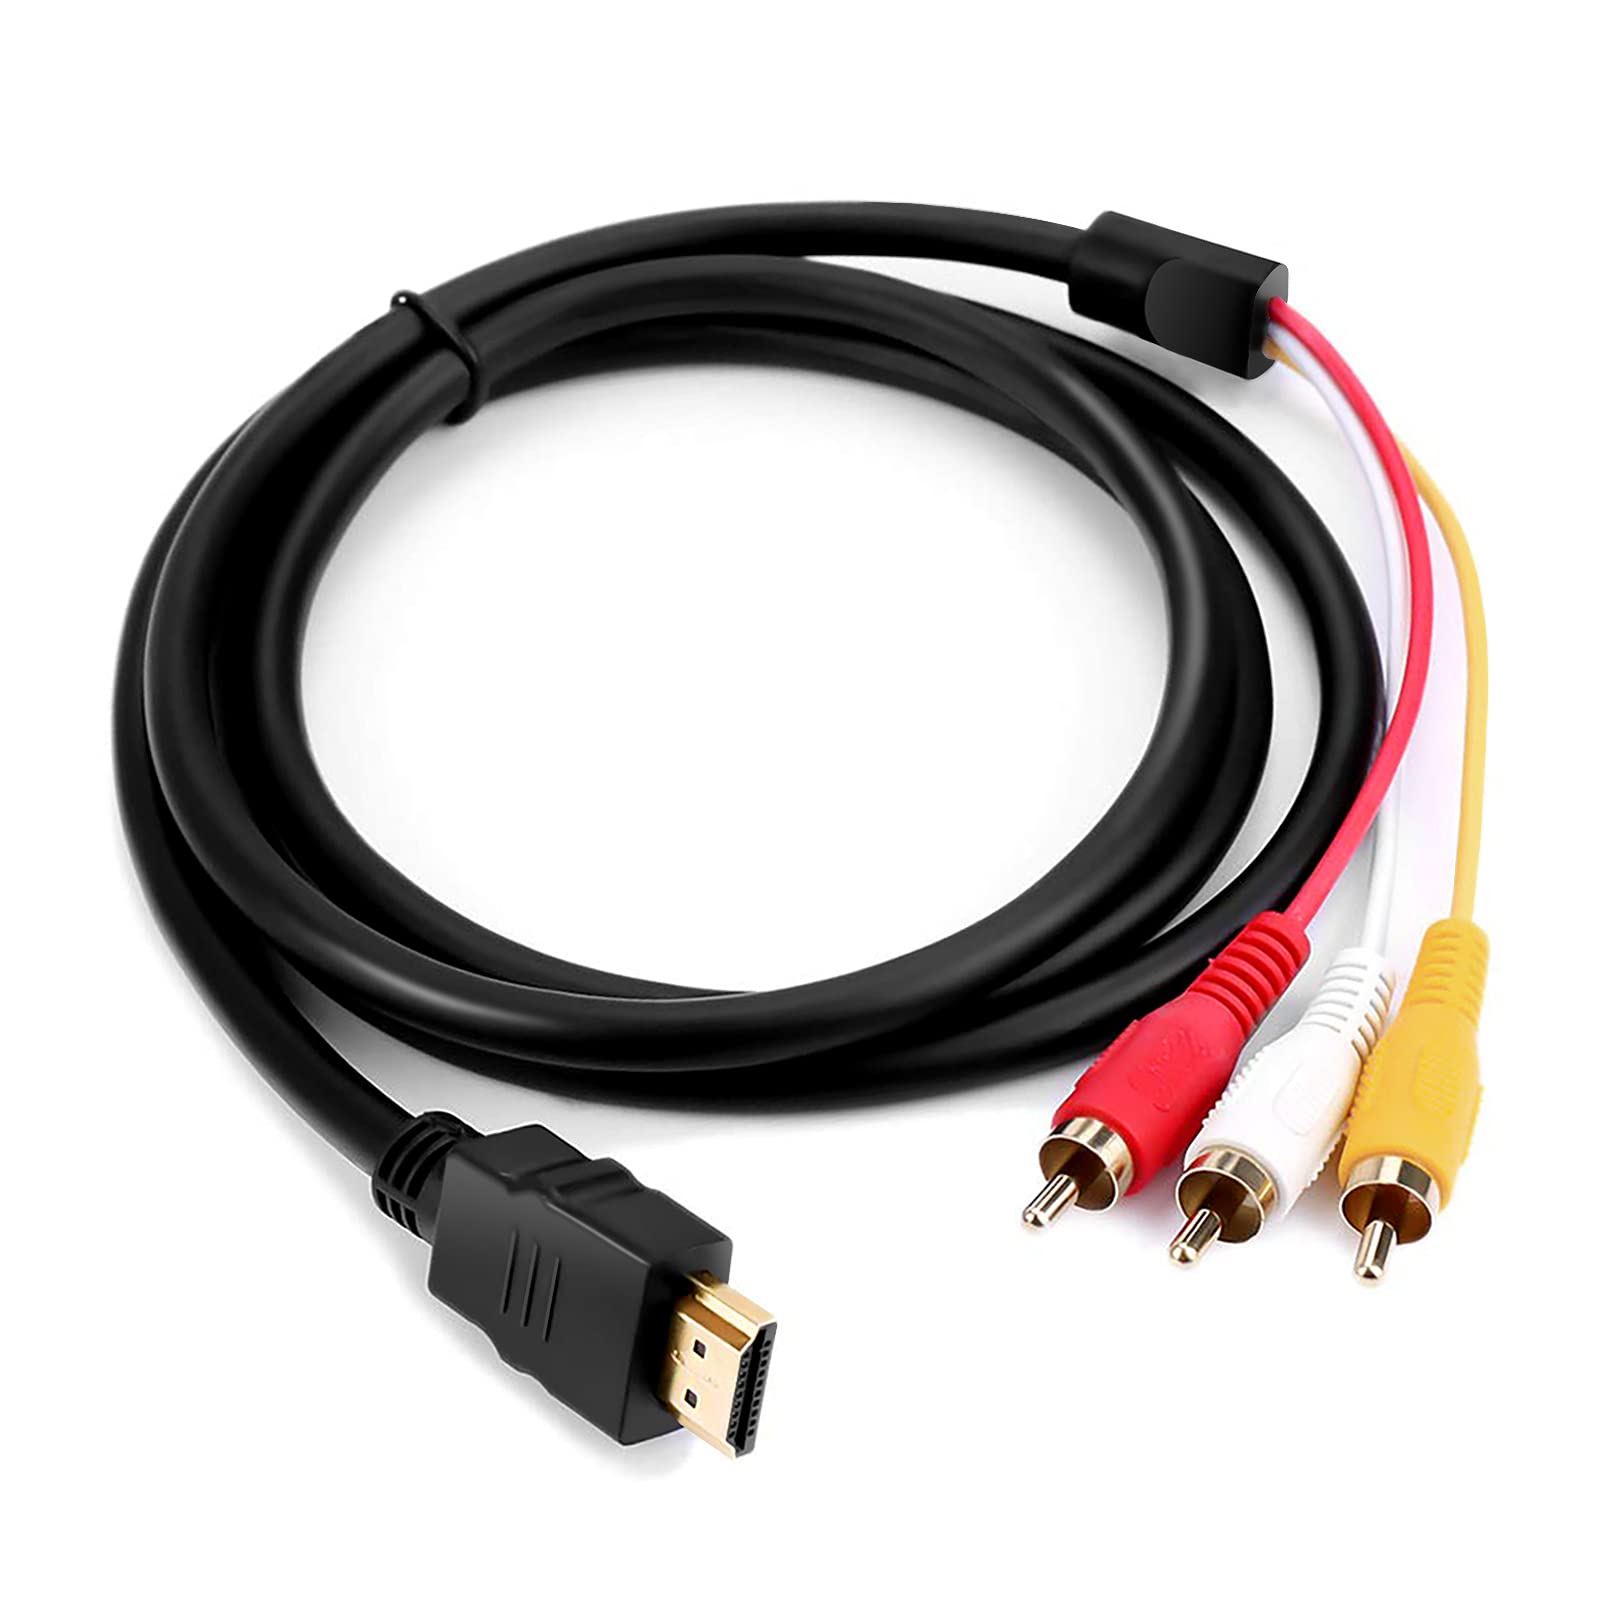
The most common and recommended method for connecting your TV to the AV receiver is through an HDMI cable. HDMI, short for High-Definition Multimedia Interface, not only transmits high-definition video signals but also carries high-fidelity audio, simplifying the setup process and minimizing cable clutter. Most modern TVs and AV receivers feature multiple HDMI ports, allowing for seamless integration with various audio and video sources.
To establish the connection, start by locating the HDMI output port on your AV receiver. Depending on the model, it may be labeled as “HDMI Out” or “Main Out.” Next, identify an available HDMI input port on your TV, which is usually labeled with the corresponding HDMI input number. Once you’ve located the HDMI ports on both devices, simply connect one end of the HDMI cable to the HDMI output port on the AV receiver and the other end to the HDMI input port on your TV.
With the HDMI cable securely in place, power on your TV and AV receiver, and select the corresponding HDMI input on your TV using the remote control or the on-screen menu. Upon making this connection, your TV will now receive audio and video signals from the AV receiver, allowing you to enjoy a seamless and immersive viewing experience. It’s worth noting that some AV receivers may support additional audio connections, such as optical or coaxial, which can be utilized as alternatives to HDMI based on your specific setup and preferences.
Once the TV is successfully connected to the AV receiver, you’ll have unlocked a world of audiovisual possibilities, from experiencing cinematic soundscapes to enjoying crystal-clear visuals on your TV screen. With this foundational connection in place, you’re now ready to explore the next step: connecting your projector to the AV receiver, expanding your multimedia horizons even further.
Connecting the Projector to the AV Receiver
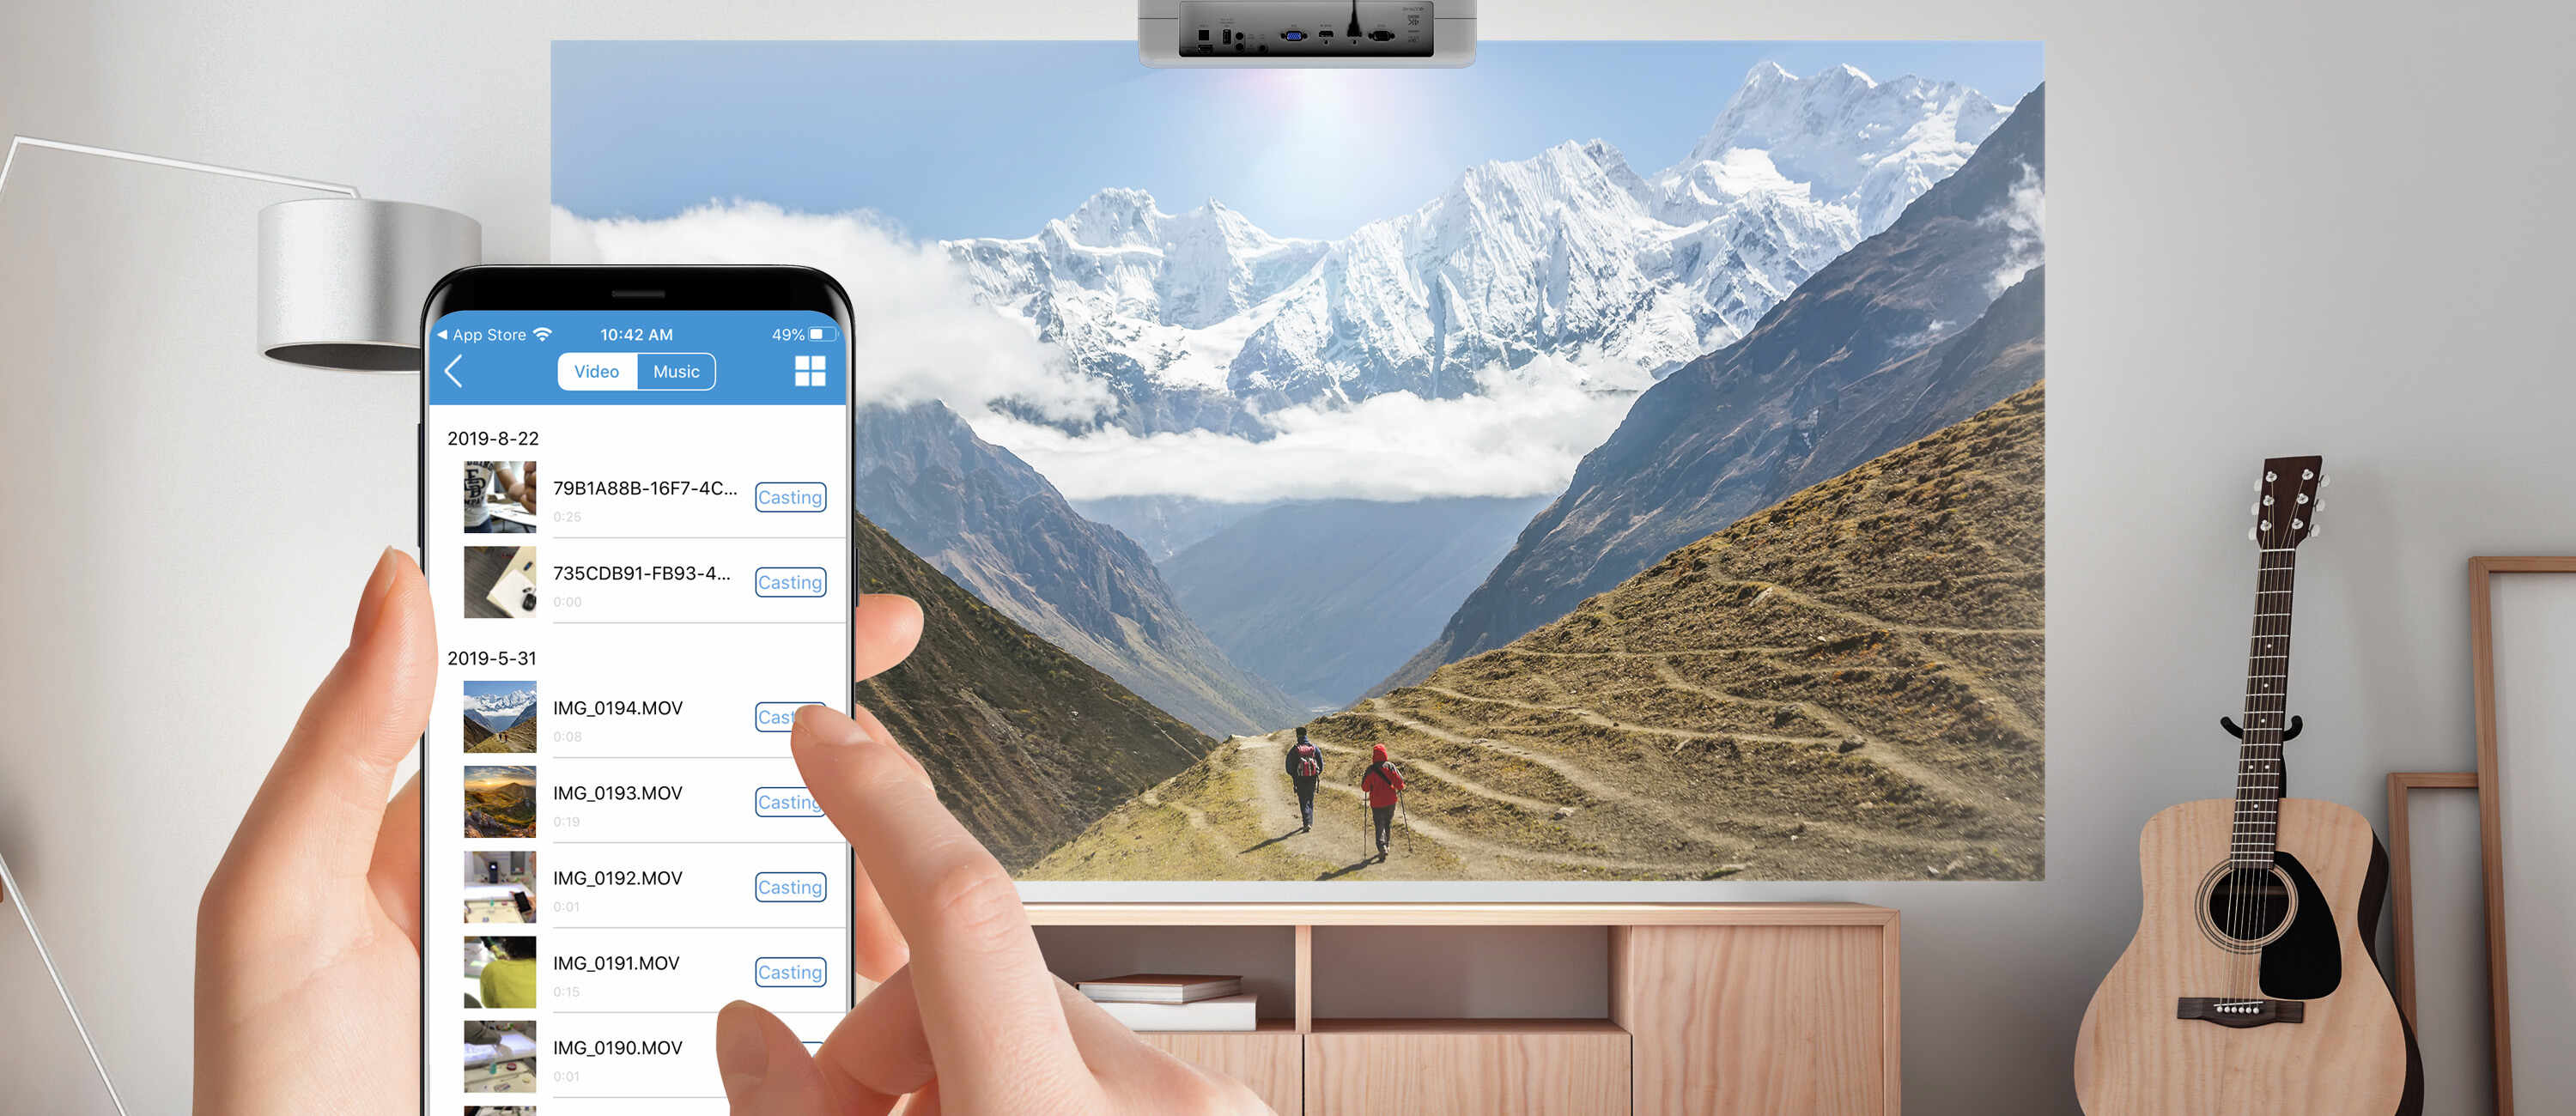
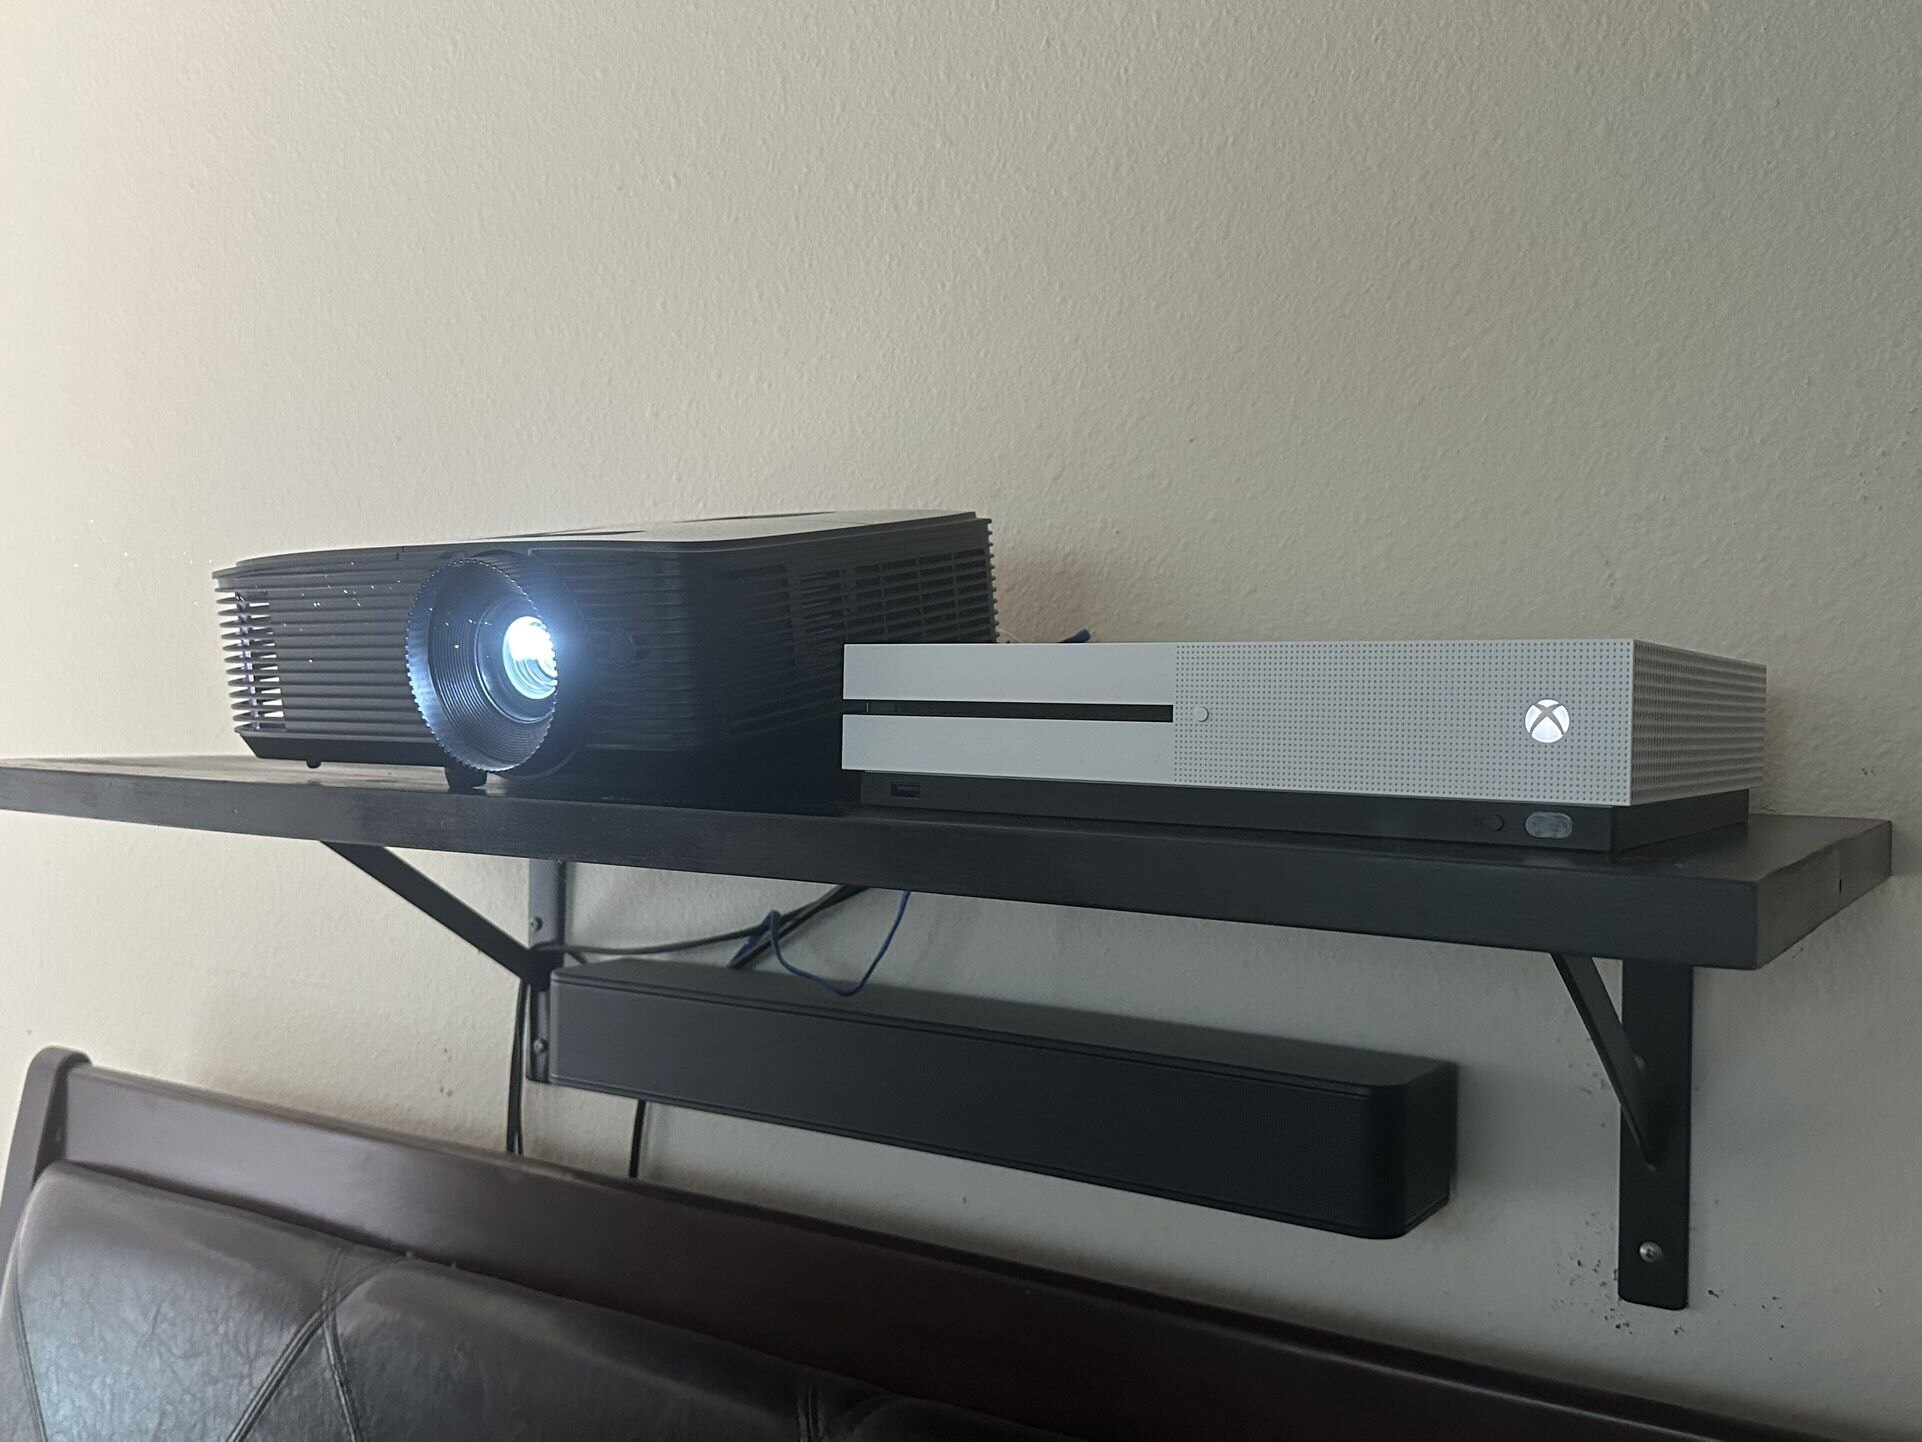
With your TV seamlessly integrated into the audiovisual ecosystem via the AV receiver, it’s time to extend the immersive experience to your projector. Whether you’re aiming to create a cinematic atmosphere for movie nights or seeking a larger-than-life display for gaming and sports events, connecting your projector to the AV receiver opens the door to a world of captivating visual possibilities.
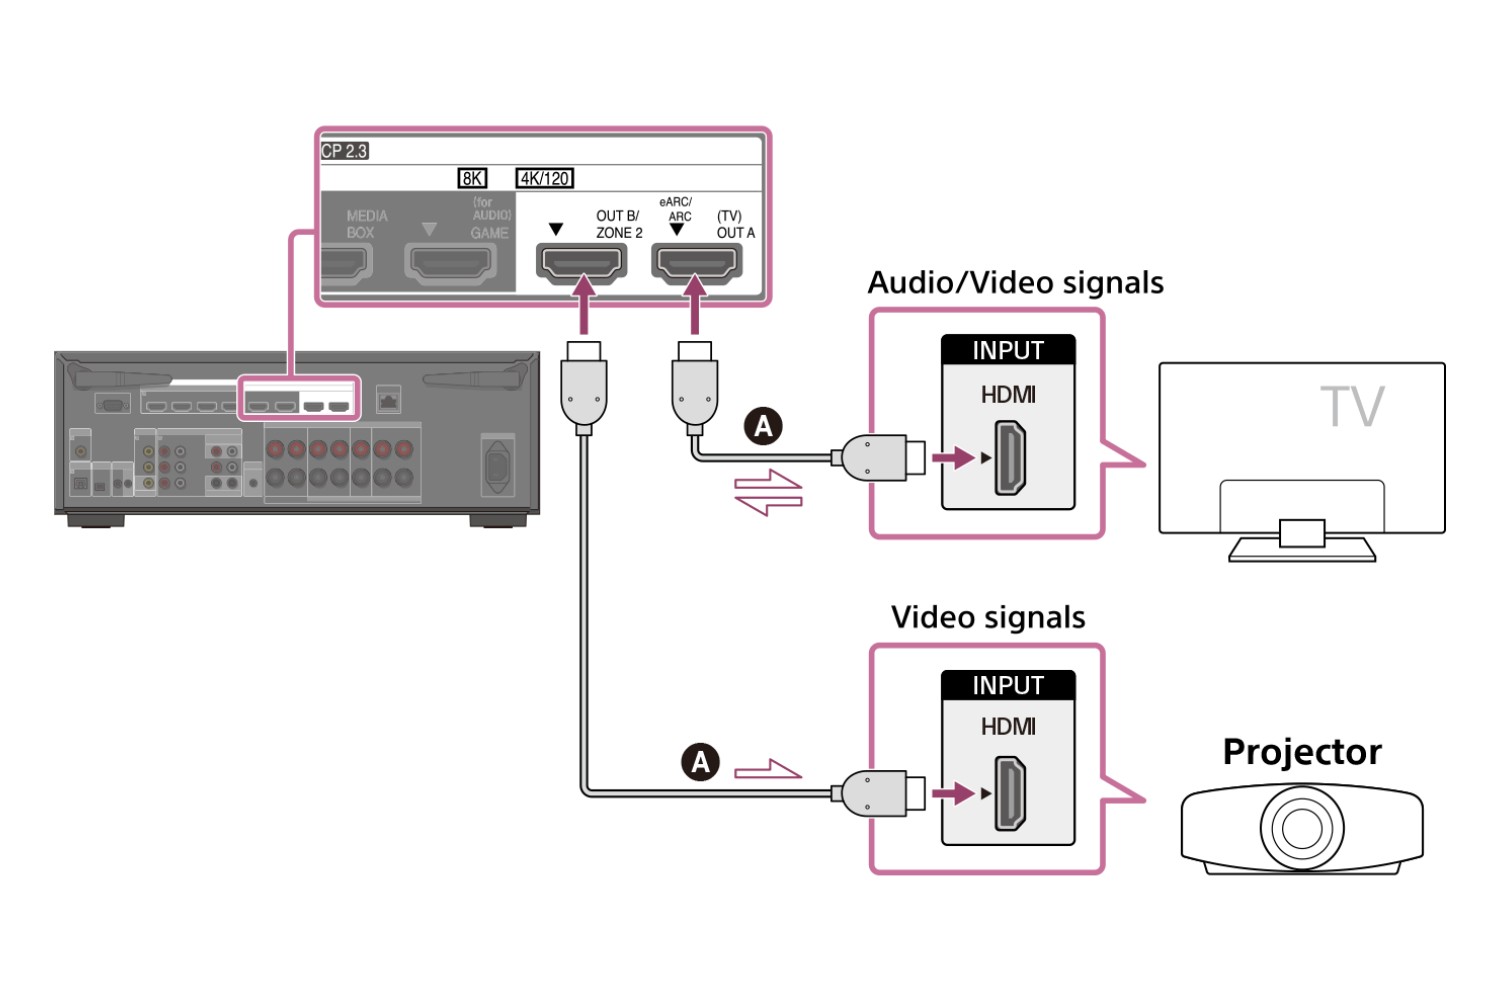
Similar to connecting your TV, the preferred method for integrating your projector with the AV receiver is through an HDMI cable. Begin by identifying the HDMI output port on your AV receiver, typically labeled as “HDMI Out” or “Main Out.” Next, locate an available HDMI input port on your projector, which may be labeled as “HDMI In” or “Input.” Once you’ve identified the HDMI ports on both devices, connect one end of the HDMI cable to the HDMI output port on the AV receiver and the other end to the HDMI input port on your projector.
Upon establishing the HDMI connection, power on your projector and AV receiver. Navigate to the input selection on your projector, typically accessed through the remote control or on-screen menu, and choose the corresponding HDMI input to receive the video signal from the AV receiver. Once configured, your projector will synchronize with the AV receiver, enabling you to enjoy stunning visuals on the big screen with synchronized audio, creating an immersive viewing experience that transcends traditional TV setups.
It’s important to note that some projectors may offer alternative connectivity options, such as VGA or component video inputs, which can also be used to link the projector to the AV receiver based on your specific setup and preferences. However, HDMI remains the preferred choice due to its ability to transmit high-definition video and audio signals through a single cable, simplifying the setup process and maximizing the overall audiovisual quality.
By connecting your projector to the AV receiver, you’re not only expanding the scope of your home entertainment system but also opening the door to a myriad of multimedia possibilities. Whether you’re hosting a movie marathon, gaming extravaganza, or immersive multimedia presentation, the seamless integration of your projector with the AV receiver ensures that every visual detail and accompanying audio nuance is faithfully reproduced, captivating your audience and elevating your viewing experience to new heights.
Configuring the AV Receiver for TV and Projector
With both your TV and projector seamlessly connected to the AV receiver, it’s time to ensure that the AV receiver is configured to deliver optimized audio and video signals to each display device. This crucial step involves adjusting the settings and audiovisual parameters of the AV receiver to accommodate the unique characteristics of your TV and projector, ultimately enhancing the viewing and listening experience across both platforms.
One of the primary considerations when configuring the AV receiver is to define the audio and video output settings for each display device. Most modern AV receivers feature a user-friendly on-screen interface or menu system that allows you to customize the audio and video output parameters for connected devices. Begin by accessing the AV receiver’s settings menu and navigating to the display and audio output settings section.
For the TV, ensure that the video output resolution and audio format settings are optimized for your TV’s capabilities. This may involve selecting the appropriate video resolution, such as 1080p or 4K, and configuring the audio output to match your TV’s audio input capabilities. Additionally, if your TV supports advanced audio technologies such as Dolby Atmos or DTS:X, ensure that the AV receiver is set to transmit audio signals in these formats to unlock the full potential of your home theater audio system.
When configuring the AV receiver for the projector, similar considerations apply. Adjust the video output resolution to match the native resolution of your projector, ensuring that the visual content is displayed at its optimal clarity and fidelity. Additionally, explore the audio output settings to ensure that the projector receives high-quality audio signals that complement the immersive visual experience. If your projector supports specific video processing features or color enhancement options, take advantage of the AV receiver’s video settings to fine-tune the output for an exceptional viewing experience.
Furthermore, consider configuring the input source labels on the AV receiver to reflect the connected devices, such as labeling the HDMI input for the TV as “Living Room TV” and the HDMI input for the projector as “Home Theater Projector.” This simple yet effective customization enhances the user experience by providing clear and intuitive input selection options, streamlining the process of switching between the TV and projector outputs.
By meticulously configuring the AV receiver for both the TV and projector, you’ll ensure that each display device receives optimized audio and video signals, delivering an immersive and tailored experience that brings out the best in your home entertainment system. With the settings fine-tuned to suit the characteristics of your TV and projector, you’re now poised to indulge in a diverse range of multimedia content, from blockbuster movies to gaming extravaganzas, with unparalleled audiovisual fidelity and seamless integration.
Conclusion
Congratulations! You’ve successfully navigated the intricate process of connecting your TV and projector to an AV receiver, unlocking a world of captivating audiovisual possibilities within your home entertainment space. By seamlessly integrating these devices, you’ve laid the foundation for a truly immersive multimedia experience that transcends traditional viewing setups.
Through this journey, you’ve gained a deeper understanding of the pivotal role played by the AV receiver as the central hub that harmonizes audio and video signals, creating a cohesive and captivating home entertainment ecosystem. From amplifying audio signals to decoding and enhancing video content, the AV receiver stands as the linchpin that brings your TV, projector, and other audiovisual devices together in perfect synergy.
By connecting your TV and projector to the AV receiver, you’ve embraced the power of HDMI connectivity, facilitating the seamless transmission of high-definition audio and video signals with minimal cable clutter. This streamlined integration not only enhances the visual fidelity and audio immersion but also simplifies the overall setup process, empowering you to effortlessly transition between different viewing experiences.
Furthermore, the meticulous configuration of the AV receiver for your TV and projector ensures that each display device receives optimized audio and video signals, tailored to their unique capabilities. This personalized approach to audiovisual calibration sets the stage for an unparalleled viewing and listening experience, allowing you to savor every cinematic moment and gaming thrill with uncompromising audiovisual fidelity.
As you bask in the immersive audiovisual splendor facilitated by your AV receiver, you’re now poised to explore a diverse array of multimedia content, from blockbuster movies and binge-worthy TV shows to captivating gaming sessions and multimedia presentations. With every frame and sound meticulously reproduced to perfection, your home entertainment space has been transformed into a captivating realm where every visual narrative and auditory masterpiece comes to life with breathtaking realism.
So, as you settle into your favorite viewing spot, whether it’s in front of the TV or immersed in the grandeur of your projector’s display, take a moment to appreciate the seamless integration and meticulous configuration that have culminated in this captivating audiovisual symphony. Your journey to connect your TV and projector to an AV receiver has not only enhanced your home entertainment experience but has also empowered you to revel in the magic of multimedia with unparalleled audiovisual fidelity and seamless integration.