Introduction
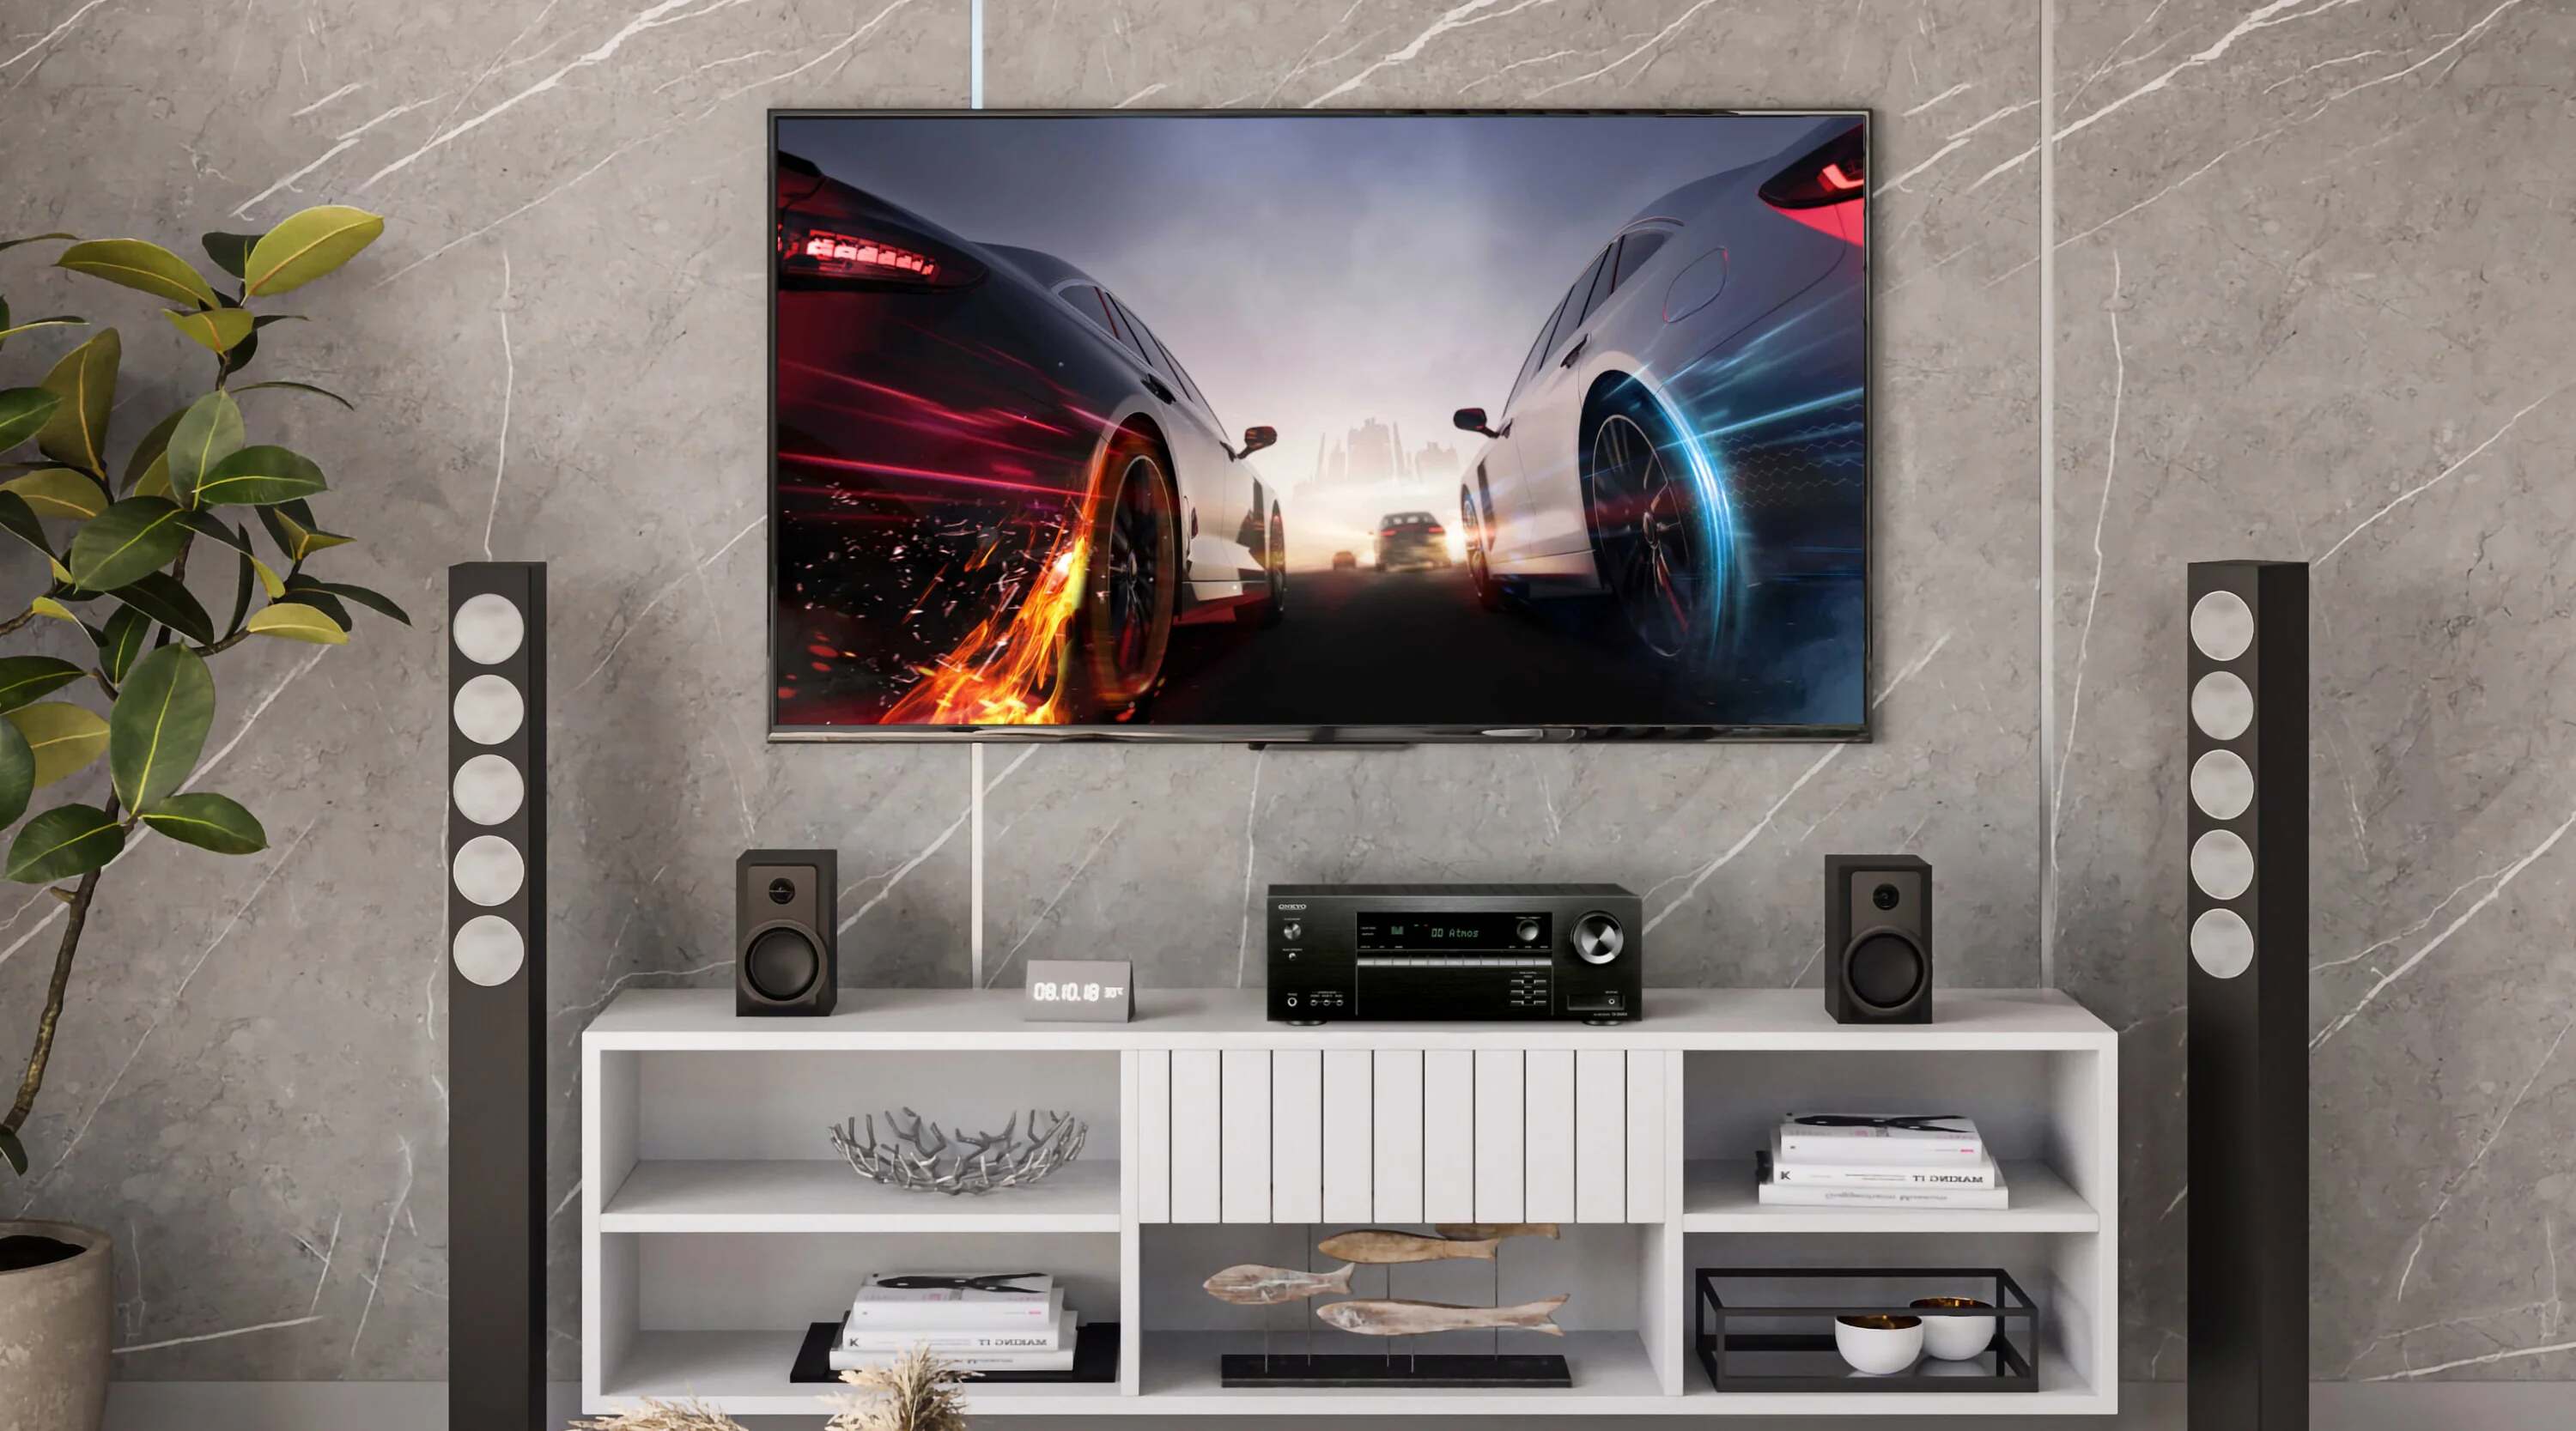
The Onkyo Home Cinema Surround Sound System is a perfect addition to any home entertainment setup, providing an immersive audio experience that brings movies, music, and games to life. Whether you’re a cinephile, a gaming enthusiast, or simply someone who enjoys high-quality sound, installing a surround sound system can completely transform your viewing and listening experience.
In this guide, we will take you through the step-by-step process of installing your Onkyo Home Cinema Surround Sound System. From unboxing the system to configuring the speakers and connecting the AV receiver, we’ll cover everything you need to know to set up your home cinema system like a pro.
Before we dive into the installation process, it’s essential to choose the ideal location for your home cinema setup. Consider factors such as room size, layout, and acoustics to ensure optimal sound performance. Once you’ve identified the perfect spot, you’re ready to begin unboxing and setting up your Onkyo system.
Unboxing the system is an exciting moment, but it’s important to handle the components with care. Take your time to unwrap each item and organize them before starting the installation process. This will make it easier to locate the necessary cables and accessories during setup.
To connect the speakers, you’ll need to identify the appropriate ports on the AV receiver, as well as the corresponding connectors on each speaker. Properly connecting the speakers ensures that you’ll enjoy a seamless sound experience throughout your home cinema. Don’t worry if you’re not familiar with speaker connections – we’ll guide you through the entire process.
Configuring the speaker settings is crucial to optimize the audio output for your particular room. This step involves adjusting various parameters, such as the size and distance of the speakers, as well as setting the appropriate sound levels for each channel. By calibrating the speaker settings, you’ll achieve the best possible sound quality.
Connecting video sources, such as a Blu-ray player or gaming console, to the AV receiver will enable you to enjoy high-definition visuals along with the immersive audio experience. We’ll show you how to properly connect your video sources to ensure a smooth and uninterrupted playback.
The subwoofer plays a vital role in adding depth and impact to the overall sound experience. To fully optimize this aspect, we’ll guide you through the process of setting up and positioning the subwoofer for maximum bass impact. This step is important for achieving a well-balanced and powerful sound output.
Now that everything is connected and set up, it’s time to power on your Onkyo Home Cinema Surround Sound System and test it out. We’ll walk you through the necessary steps to ensure that all speakers are functioning correctly and that the audio is balanced across all channels.
By following this step-by-step guide, you’ll be able to install your Onkyo Home Cinema Surround Sound System with ease. Get ready to elevate your home entertainment experience to new heights!
Step 1: Unboxing the Onkyo Home Cinema Surround Sound System
Unboxing the Onkyo Home Cinema Surround Sound System is an exciting moment as you prepare to set up your new audio powerhouse. To ensure a smooth installation process, it’s crucial to handle the components with care and organize them properly.
Start by locating the package containing the Onkyo Home Cinema Surround Sound System. Carefully open the box using a utility knife or scissors, being mindful not to damage any of the contents inside.
Once the box is open, you will find a variety of components such as the AV receiver, speakers, subwoofer, cables, and accessories. Take a moment to inspect each item, ensuring that nothing is missing or damaged. Keep in mind that the specific contents may vary depending on the model and package you purchased.
Before proceeding, find a clean and flat surface to lay out the components. This will make it easier to locate the necessary cables and accessories during the installation process.
Next, carefully unpack each component one by one. Start with the AV receiver – the central control unit of your home cinema system. Remove any protective plastic covering the receiver and place it in an easily accessible location.
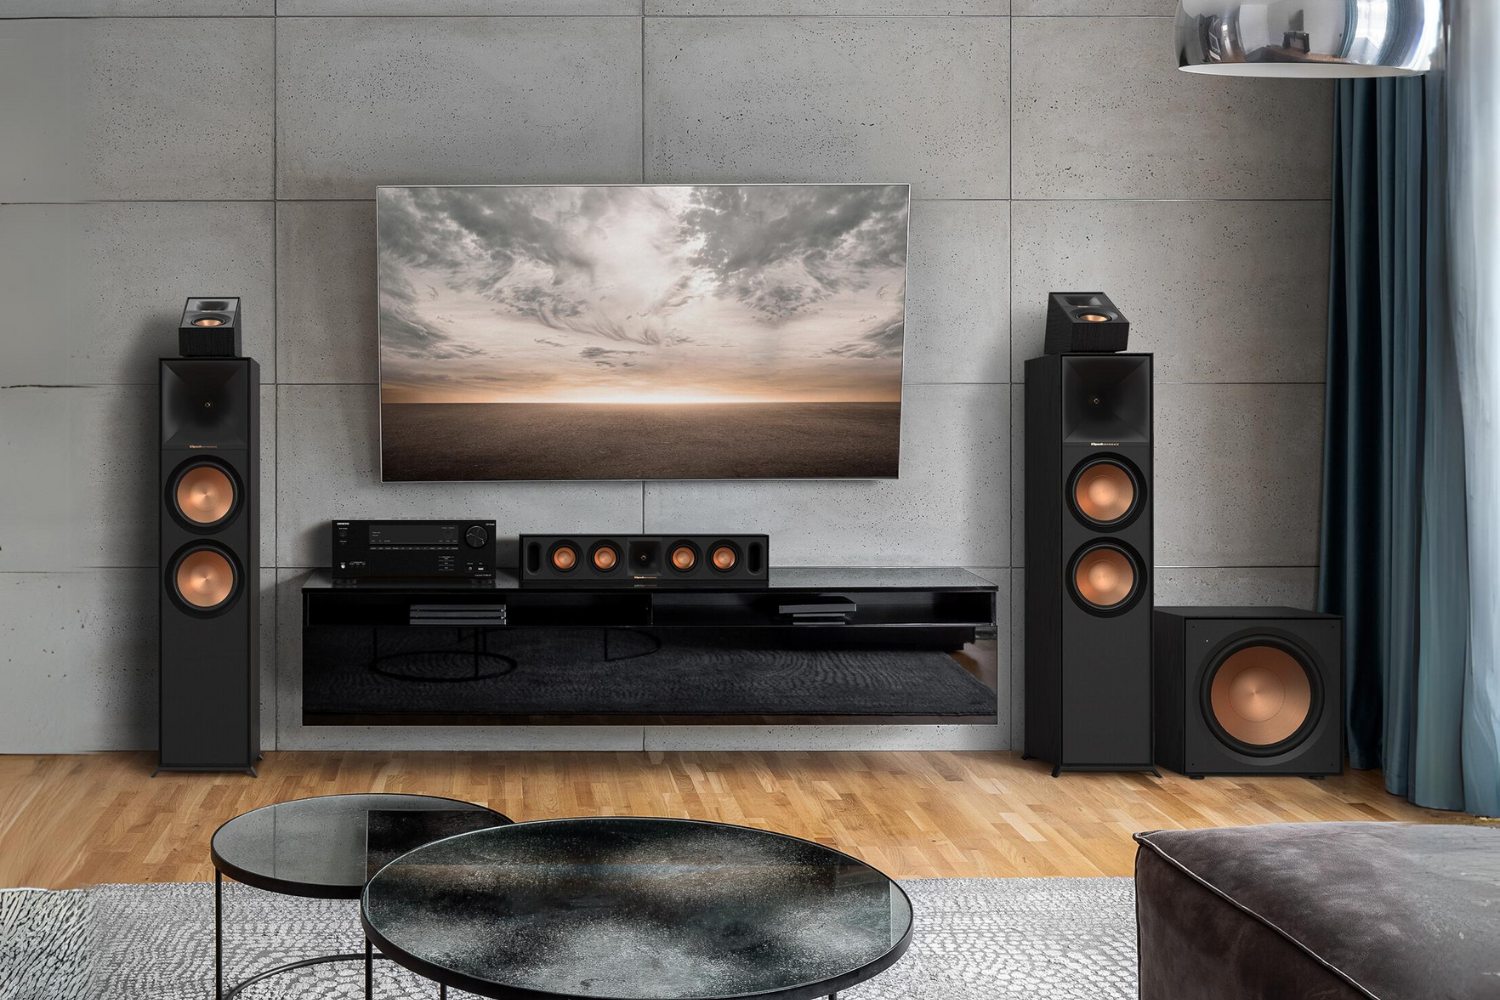
Next, move on to the speakers. You’ll typically have multiple speakers, including the front left, front right, center, surround left, and surround right speakers. These speakers will be responsible for creating an immersive audio experience, enveloping you in a 360-degree soundstage.
Remove the speakers from their packaging and take note of the speaker labels. Each speaker will have a specific label indicating its placement, such as ‘FL’ for the front left speaker, ‘FR’ for the front right speaker, ‘C’ for the center speaker, ‘SL’ for the surround left speaker, and ‘SR’ for the surround right speaker. This labeling ensures proper placement and channel configuration during setup.
Lastly, locate the subwoofer – the powerhouse that adds low-frequency impact to your home cinema system. Remove any packaging or protective materials, and place the subwoofer in a suitable position within your setup.
Now that all the components of the Onkyo Home Cinema Surround Sound System are unpacked and ready, you’re one step closer to enjoying powerful and immersive audio. Take a moment to appreciate the high-quality craftsmanship and design of the system before proceeding to the next step.
Remember to keep all the packaging materials, manuals, and accessories in a safe place. You may need them in the future for reference or in case of warranty-related concerns.
With the components unpacked and organized, you are now ready to move on to the next step – choosing the ideal location for your home cinema setup.
Step 2: Choosing the Ideal Location for Your Home Cinema Setup
Choosing the ideal location for your home cinema setup is essential for optimizing sound performance and creating an immersive viewing experience. Factors such as room size, layout, and acoustics should be taken into consideration when selecting the perfect spot.
Start by assessing the available space in your home. Ideally, you should choose a room that is spacious enough to accommodate the seating arrangement and the desired screen size. Consider the overall layout of the room and identify any potential obstacles that could affect the positioning of the speakers or obstruct the viewing angles.
Once you have identified a suitable room, assess the room’s acoustics. Rooms with ample soft furnishings and textured walls tend to provide better sound quality by reducing echo and reverberation. Avoid rooms with hard, reflective surfaces, such as bare walls or tiled floors, as they can distort the audio quality.
Next, consider the positioning of the screen or projector. If using a TV, ensure that it is placed at eye level and centered in the room. If using a projector and screen, plan for proper mounting or placement for optimal viewing angles and screen visibility.
When positioning the speakers, keep in mind the concept of sound staging. The front speakers, including the center speaker, should be placed near the screen or projector, ensuring that they are at ear level when seated. The surround speakers should be positioned slightly behind and to the sides of the seating area to create an enveloping sound experience.
Take note of any possible wiring considerations. Ensure that the room has accessible power outlets to connect the AV receiver and any other necessary devices. Additionally, consider the routing of speaker wires to avoid tripping hazards and to maintain a clean and organized setup.
Once you have determined the best location for your home cinema setup, take measurements of the room and create a rough layout plan. This will serve as a reference point during the installation process and help you visualize the final setup.
Keep in mind that wireless speaker systems are also available, offering greater flexibility in terms of speaker placement. If you opt for a wireless system, make sure that it is compatible with the Onkyo Home Cinema Surround Sound System and follow the manufacturer’s recommendations for setup and positioning.
By carefully selecting the ideal location for your home cinema setup, you can create an immersive environment that enhances your movie-watching or gaming experience. With the location decided, it’s time to move on to setting up the AV receiver.
Step 3: Setting Up the AV Receiver
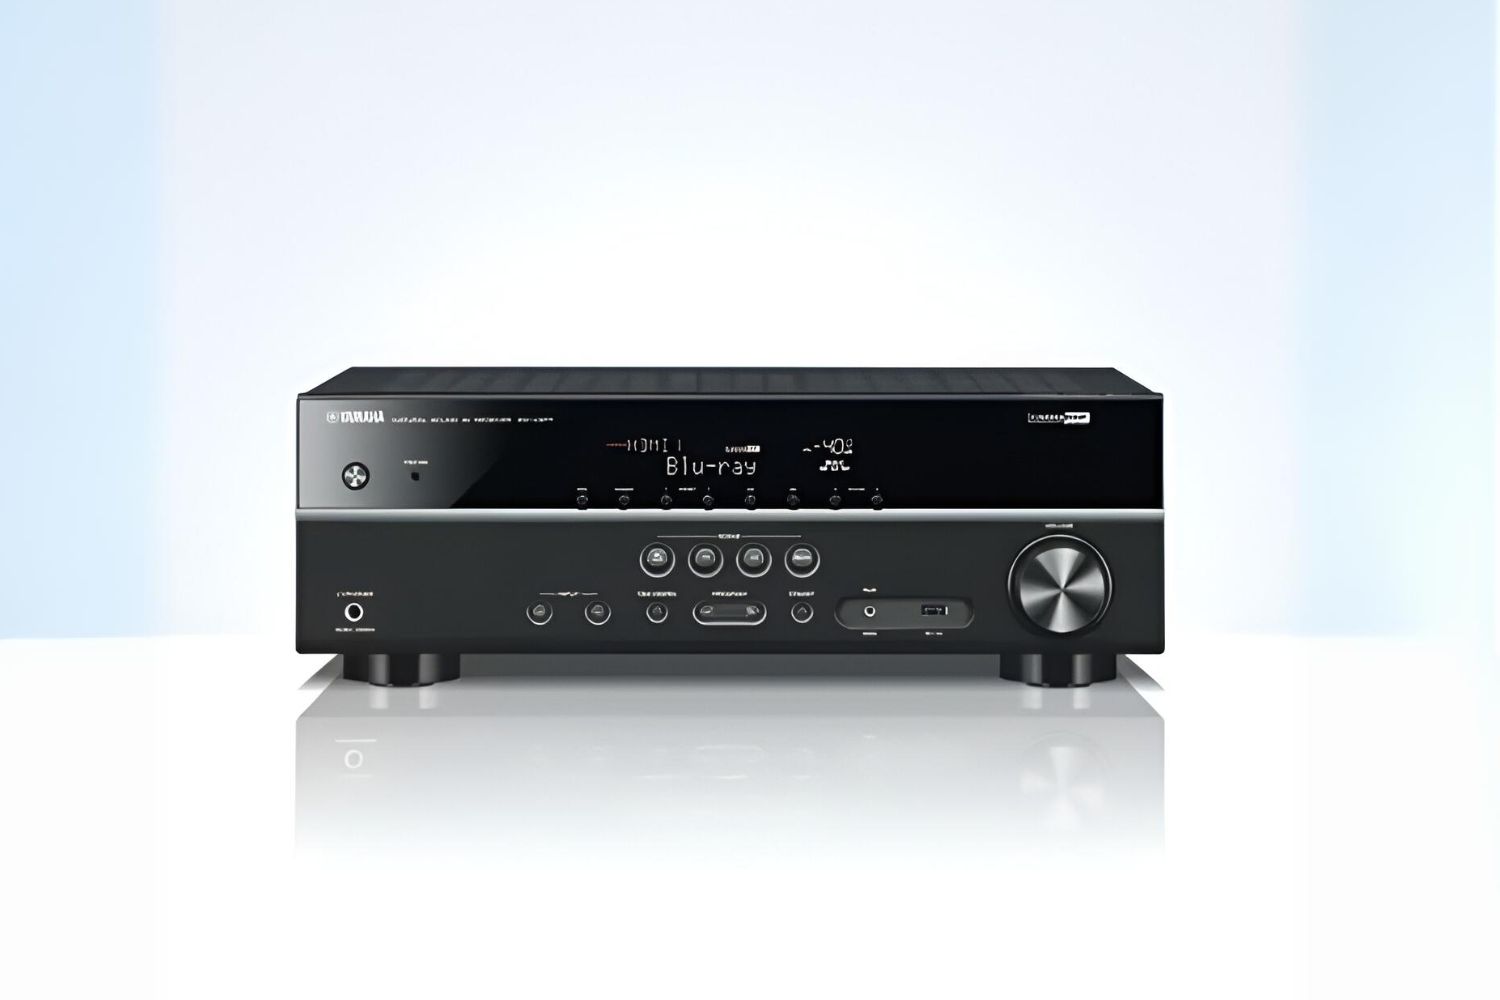
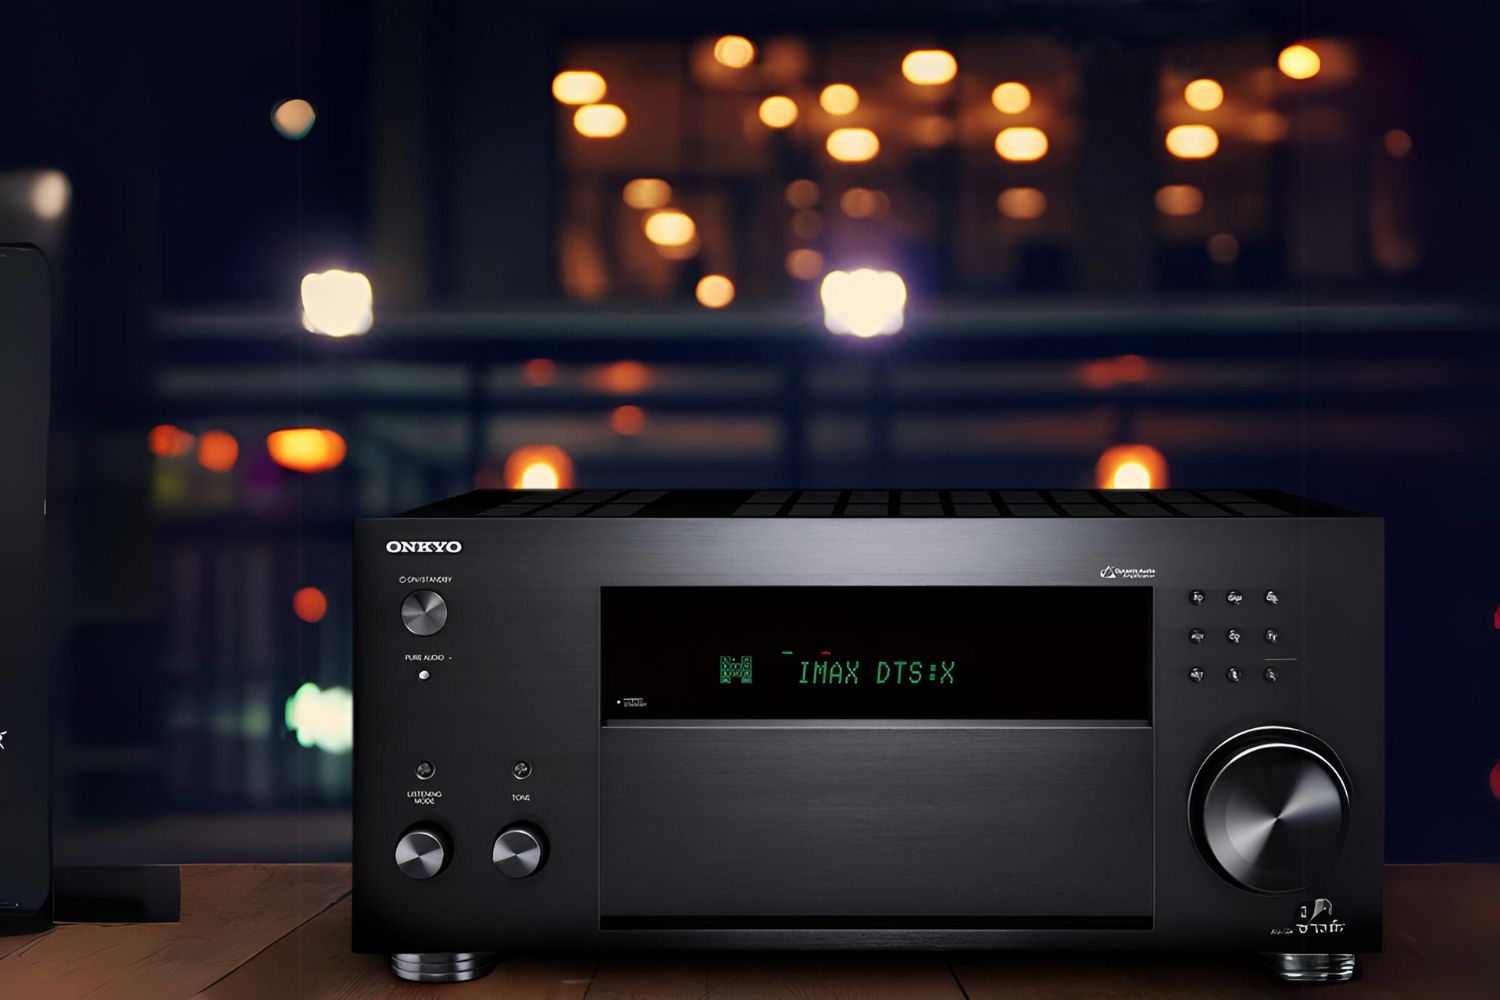
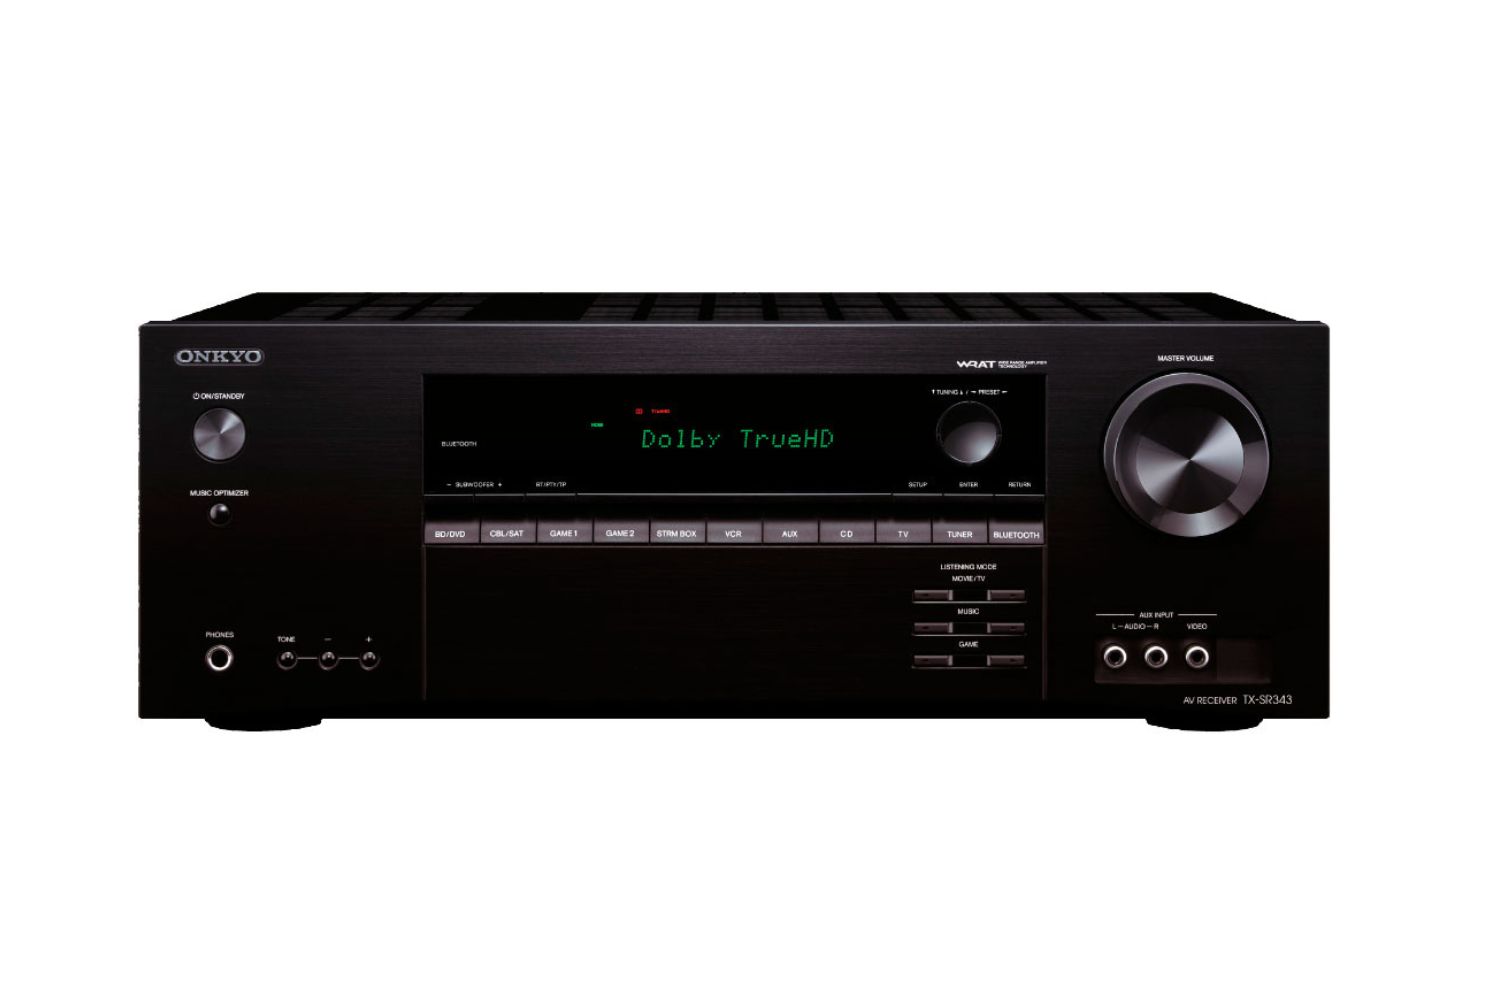
The AV receiver is the heart of your Onkyo Home Cinema Surround Sound System, serving as the central hub for audio and video signals. It is responsible for processing and amplifying the audio signals from your sources and distributing them to the speakers.
Before setting up the AV receiver, ensure that you have identified a suitable location within your home cinema setup. The receiver should be easily accessible and well-ventilated to prevent overheating. Keep in mind that the receiver may require a power outlet and should be placed near any video sources you plan to connect.
Begin by connecting the power cord to the AV receiver and plugging it into a power outlet. Ensure that the receiver is turned off before proceeding with any other connections.
Next, you will need to connect your video sources to the AV receiver. Identify the HDMI ports on the back of the receiver and connect the HDMI cables from your sources, such as a Blu-ray player or gaming console, to the corresponding ports. If you have multiple HDMI sources, ensure that each is connected to the appropriate input on the receiver.
For audio connections, the AV receiver usually provides various options, including HDMI, optical, and analog inputs. Determine which input method you will be using based on your audio sources and the available connections on your devices.
If using HDMI for audio, connect the HDMI cable from your video source to the HDMI input on the receiver. This will allow both video and audio signals to be transmitted through a single cable. If your source device only has optical or analog audio outputs, use the corresponding cables to connect to the appropriate input on the receiver.
Once the connections are made, it’s time to configure the settings on the AV receiver. Turn on the receiver and navigate through the menu options using the on-screen display or the front panel controls. Consult the user manual for specific instructions on accessing and adjusting the settings.
Configure the audio settings according to your preferences and room layout. This includes selecting the number of speakers connected, choosing the appropriate audio playback mode (such as Dolby Digital or DTS), and adjusting the volume levels for each speaker.
Take note of any firmware updates available for your AV receiver. These updates can often improve performance, add new features, and fix any bugs or issues. Check the manufacturer’s website or refer to the user manual for instructions on updating the firmware.
With the AV receiver set up and configured, you’re one step closer to experiencing the full potential of your Onkyo Home Cinema Surround Sound System. Now, it’s time to move on to connecting the speakers and ensuring they are properly configured for optimal audio performance.
Step 4: Connecting the Speakers to the AV Receiver
Now that you have set up the AV receiver, it’s time to connect the speakers and bring your Onkyo Home Cinema Surround Sound System to life. Properly connecting the speakers to the AV receiver is crucial for achieving a balanced and immersive audio experience.
Start by identifying the speaker outputs on the back of the AV receiver. Each speaker output is usually labeled with abbreviations, such as FL (front left), FR (front right), C (center), SL (surround left), SR (surround right), and SW (subwoofer).
Take note of the speaker labels and match them with the corresponding speakers. For example, connect the front left speaker cable to the FL speaker output, the front right speaker cable to the FR speaker output, and so on.
For each speaker, strip a small section of the speaker wire insulation, exposing the bare wire. Twist the exposed wire strands to prevent fraying, and then insert the wire into the corresponding speaker terminal on the AV receiver. Ensure that the wire is securely fastened and that there are no loose strands or excess wire that could cause a short circuit.
If your speakers use banana plugs, simply insert the plugs into the appropriate speaker terminals. Ensure that the plugs are fully inserted and tightened to establish a solid connection.
Repeat this process for each speaker, connecting them to their corresponding speaker outputs on the AV receiver. Double-check the connections to ensure that each speaker is properly aligned with its designated channel.
If you have a subwoofer, connect it using the dedicated subwoofer output on the AV receiver. The connection can be made using a subwoofer cable, which typically has RCA connectors. Ensure that the cable is securely connected to both the AV receiver and the subwoofer.
Once all the speakers and the subwoofer are connected, tidy up the speaker wires to avoid any tripping hazards or unsightly cable clutter. Consider using cable management tools such as clips or conduits to keep the wires organized and hidden from view.
It’s important to mention that each AV receiver model may have slight variations in connection options and labeling. Always refer to the user manual provided with your specific model for detailed instructions.
With the speakers connected, it’s time to move on to the next step – configuring the speaker settings on the AV receiver. This step ensures that your speakers are set up correctly and that the audio output is optimized for your listening environment.
Step 5: Configuring the Speaker Settings
Configuring the speaker settings of your Onkyo Home Cinema Surround Sound System is crucial for achieving optimal audio performance. By accurately setting up the speakers, you can ensure a balanced sound output and an immersive home cinema experience.
Start by accessing the settings menu on your AV receiver. This can typically be done using the on-screen display or the front panel controls. Refer to the user manual for specific instructions on navigating the menus and adjusting the settings.
Within the speaker settings menu, you’ll find various options to customize the performance of your speakers. The specific options and terminology may vary depending on your AV receiver model, but some common settings to look for include:
- Speaker Configurations: Select the number of speakers connected to your system, including the front left, front right, center, surround left, and surround right speakers. Ensure that the correct speaker configuration is selected for your setup.
- Crossover Frequencies: Adjust the frequencies at which the subwoofer and speakers are set to blend together. This will ensure a seamless transition between the lower frequencies handled by the subwoofer and the mid to high frequencies reproduced by the main speakers.
- Channel Levels: Fine-tune the volume levels of each speaker to achieve a balanced audio output. Ensure that each speaker is set to an appropriate level relative to your listening position. Most AV receivers provide a test tone feature that allows you to adjust the levels in real-time while listening.
- Distance Calibration: Measure the distance between each speaker and the primary listening position. This helps the AV receiver adjust the audio delay to ensure that sound arrives at the listener’s ears simultaneously, providing a coherent surround sound experience.
- Room EQ: Some AV receivers offer room equalization features that automatically optimize the audio based on the acoustic properties of your room. This can help compensate for room resonances and improve overall sound performance.
Take your time to explore and adjust each setting according to your preferences and room layout. It may be helpful to refer to the user manual or online resources for specific recommendations or tips related to your AV receiver model.
Once you have configured the speaker settings, it’s a good idea to test the audio by playing a variety of content, such as movies or music. Pay attention to the balance between the speakers, the positioning of sound effects, and the overall clarity of the audio. Make any necessary adjustments based on your listening preferences.
Remember that speaker settings may need to be reconfigured if you make any changes to your setup, such as adding or moving speakers, or rearranging your room layout.
With the speaker settings properly configured, you’re one step closer to enjoying the full potential of your Onkyo Home Cinema Surround Sound System. In the next step, we’ll guide you through the process of connecting your video sources to the AV receiver.
Step 6: Connecting Video Sources to the AV Receiver
In order to fully enjoy the visual aspect of your home cinema setup, it’s important to connect your video sources to the AV receiver. Whether you’re using a Blu-ray player, gaming console, or streaming device, properly connecting these sources will ensure high-quality video output and seamless integration with your Onkyo Home Cinema Surround Sound System.
Start by identifying the HDMI input ports on the back of the AV receiver. Most modern AV receivers feature multiple HDMI inputs, allowing you to connect various video sources. Take note of the labeling or numbering of the HDMI inputs to keep track of which device is connected to each port.
Next, locate the HDMI output port on the AV receiver. This HDMI output will be responsible for transmitting the video and audio signals to your TV or projector. Ensure that you have an HDMI cable available that is long enough to reach your display device.
Connect one end of an HDMI cable to the HDMI output port on the AV receiver and the other end to the HDMI input port on your TV or projector. Ensure that the cable is securely inserted into both devices to establish a reliable connection.
Now it’s time to connect your video sources. Take an HDMI cable and connect one end to the HDMI output port of your Blu-ray player, gaming console, or streaming device. Then, connect the other end of the cable to one of the available HDMI input ports on the AV receiver.
Repeat this process for each of your video sources, connecting their HDMI outputs to separate HDMI input ports on the AV receiver. This will allow you to easily switch between different sources using the AV receiver as a central hub.
If you have legacy video sources that use different connection types, such as component or composite, the AV receiver may provide corresponding input ports. Connect these sources using their respective cables and input ports on the AV receiver.
As you connect each video source, it’s important to assign each input to the corresponding device. This ensures that the AV receiver recognizes the correct audio and video signals when you switch between different sources. Consult the manual or on-screen display of your AV receiver to learn how to assign inputs to devices.
With the video sources successfully connected to the AV receiver, power on your devices and your display device. Select the appropriate input on your TV or projector, and you should now see your video sources’ content on the screen.
Take a moment to test each video source to ensure that the audio and video are synced and that the colors and resolution are accurate. If you encounter any issues, double-check the HDMI connections, ensure that the devices are powered on, and consult the user manual of your AV receiver for troubleshooting tips.
By connecting your video sources to the AV receiver, you can now enjoy high-quality audio and video in sync, creating a truly immersive home cinema experience. In the next step, we’ll guide you through the process of setting up the subwoofer to enhance the low-frequency impact of your audio playback.
Step 7: Setting Up the Subwoofer
The subwoofer is a crucial component of your Onkyo Home Cinema Surround Sound System, providing deep and impactful low-frequency sound reproduction. Properly setting up the subwoofer is essential for achieving a well-balanced and immersive audio experience.
Start by identifying the ideal location for your subwoofer within your home cinema setup. Subwoofers are typically omnidirectional, meaning they can be placed anywhere in the room. However, to obtain the best audio performance, consider placing the subwoofer near the front of the room, either to the side or in the center.
Once you’ve chosen the location for your subwoofer, connect it to the subwoofer output on the AV receiver using a subwoofer cable. The subwoofer output is usually labeled as “SW” or “Sub Out.”
Ensure that the subwoofer cable is securely connected to both the AV receiver and the subwoofer. The cable typically has a single RCA connector that plugs into the subwoofer’s input jack. Some subwoofers may also have speaker-level inputs, which can be connected using speaker wire in addition to the subwoofer cable.
Next, adjust the subwoofer settings on the AV receiver. Access the settings menu and navigate to the subwoofer section. Common subwoofer settings include:
- Subwoofer Level: Adjust the volume level of the subwoofer to balance it with the rest of the speakers. This setting determines how prominent the low-frequency effects are in the overall audio mix.
- Crossover Frequency: Set the crossover frequency to determine the point at which the subwoofer begins to reproduce low-frequency sounds. The recommended crossover frequency is usually around 80Hz, but you can adjust it according to your preference and the capabilities of your speakers.
- Phase Adjustment: Use the phase adjustment setting to fine-tune the timing alignment between the subwoofer and the other speakers. This can help eliminate any potential phase cancellations and ensure a cohesive audio output.
Once you have adjusted the subwoofer settings, it’s time to test the audio and make any necessary fine-tuning adjustments. Play content that contains low-frequency effects, such as movie scenes or music with prominent bass. Listen for a well-integrated, deep, and impactful bass response.
If you find that the bass is overpowering or lacking, you can further adjust the subwoofer settings to achieve the desired balance. It may take some experimentation and fine-tuning to achieve the best results for your specific room and listening preferences.
Remember that room acoustics play a significant role in subwoofer performance. Consider using bass traps or adjusting the subwoofer location if you encounter any issues with excessive boominess or uneven bass response.
With the subwoofer properly set up and calibrated, you can now enjoy a well-rounded and immersive audio experience, complete with deep, impactful bass. In the next step, we’ll guide you through powering on your system and ensuring everything is in working order.
Step 8: Powering On and Testing the System
With all the components of your Onkyo Home Cinema Surround Sound System set up and connected, it’s time to power on the system and test everything is in working order. This step allows you to ensure that all the speakers are functioning correctly, the audio is balanced, and the system is ready to deliver an immersive audiovisual experience.
Start by turning on the AV receiver. Press the power button located on the front panel or use the remote control to power it on. The receiver will initiate its boot-up process and may display a logo or informative graphics on your TV or projector screen.
Next, power on your display device, whether it’s a TV or a projector. Switch the input to the one that is connected to the AV receiver. You should now see the AV receiver’s user interface displayed on the screen.
Test the audio by playing different types of content, such as movies, music, or video games. Pay attention to each speaker and make sure that sound is coming from all the speakers in the correct channels.
If you notice that sound is only coming from some of the speakers or if the audio is imbalanced, revisit the speaker connections and configurations. Ensure that each speaker is properly wired and that the speaker settings on the AV receiver are accurately configured.
Adjust the volume to a comfortable level and listen for any distortion or abnormal sounds. If you encounter any issues, double-check the speaker connections, volume levels, and audio settings on the AV receiver. Refer to the user manual for troubleshooting guidance specific to your receiver model.
It’s also a good idea to test the subwoofer specifically by playing content with deep bass. Listen for a powerful and well-integrated bass response. If the bass sounds too boomy or overpowering, you may need to fine-tune the subwoofer settings.
Take this opportunity to familiarize yourself with the AV receiver’s user interface, remote control, and any additional features it offers. Explore the different audio modes, surround sound options, and equalizer settings to customize the sound to your liking.
Lastly, enjoy your newly installed Onkyo Home Cinema Surround Sound System! Sit back, relax, and immerse yourself in a truly impressive audiovisual experience. Whether you’re watching movies, playing games, or listening to music, the system is designed to enhance your entertainment enjoyment.
Remember to refer to the user manual for detailed instructions on operating the AV receiver and accessing its various features and settings. Regularly check for firmware updates to ensure that your system remains up to date with the latest enhancements and improvements from Onkyo.
By following these steps and thoroughly testing the system, you can be confident that your Onkyo Home Cinema Surround Sound System is in working order and ready to deliver an immersive and breathtaking audio experience.
Conclusion
Congratulations! You have successfully installed and set up your Onkyo Home Cinema Surround Sound System. By following the step-by-step guide outlined in this article, you have taken your home entertainment experience to new heights.
Throughout the installation process, you unboxed the system with care, chose the ideal location for your home cinema setup, connected the speakers and video sources to the AV receiver, configured the speaker settings, set up the subwoofer, and powered on the system to test everything.
With your Onkyo system properly installed, you can now enjoy crystal-clear audio and an immersive surround sound experience right in the comfort of your own home. Whether you’re watching movies, playing games, or listening to music, the system’s advanced audio technologies will bring your media to life, delivering every nuance and detail with precision.
Remember to periodically check for firmware updates for your AV receiver to ensure that you have access to the latest features and improvements released by Onkyo. With regular updates, you can continue to enhance your home cinema experience even further.
If at any time you encounter issues or need further assistance, refer to the user manual provided with your Onkyo system or visit the manufacturer’s website for support and troubleshooting resources.
Now sit back, relax, and enjoy your favorite movies, games, and music like never before, with the immersive audio experience provided by your Onkyo Home Cinema Surround Sound System.
Thank you for choosing Onkyo, and we hope you have many memorable and enjoyable moments with your new home cinema setup!