Introduction
Welcome to the world of immersive audio experience! A home theater surround sound system can transform your living room into a cinema-like space, allowing you to enjoy movies, TV shows, and music with exceptional audio quality. Whether you’re a movie enthusiast or a music lover, setting up a home theater surround sound system can take your entertainment to the next level.
When it comes to creating an immersive audio experience, there are several factors to consider, such as choosing the right room, positioning the TV, selecting the right speakers, placing the speakers correctly, determining the ideal subwoofer placement, connecting the components, configuring the audio settings, and calibrating the system. In this guide, we will walk you through each step, providing you with the knowledge and tips to set up your own home theater surround sound system.
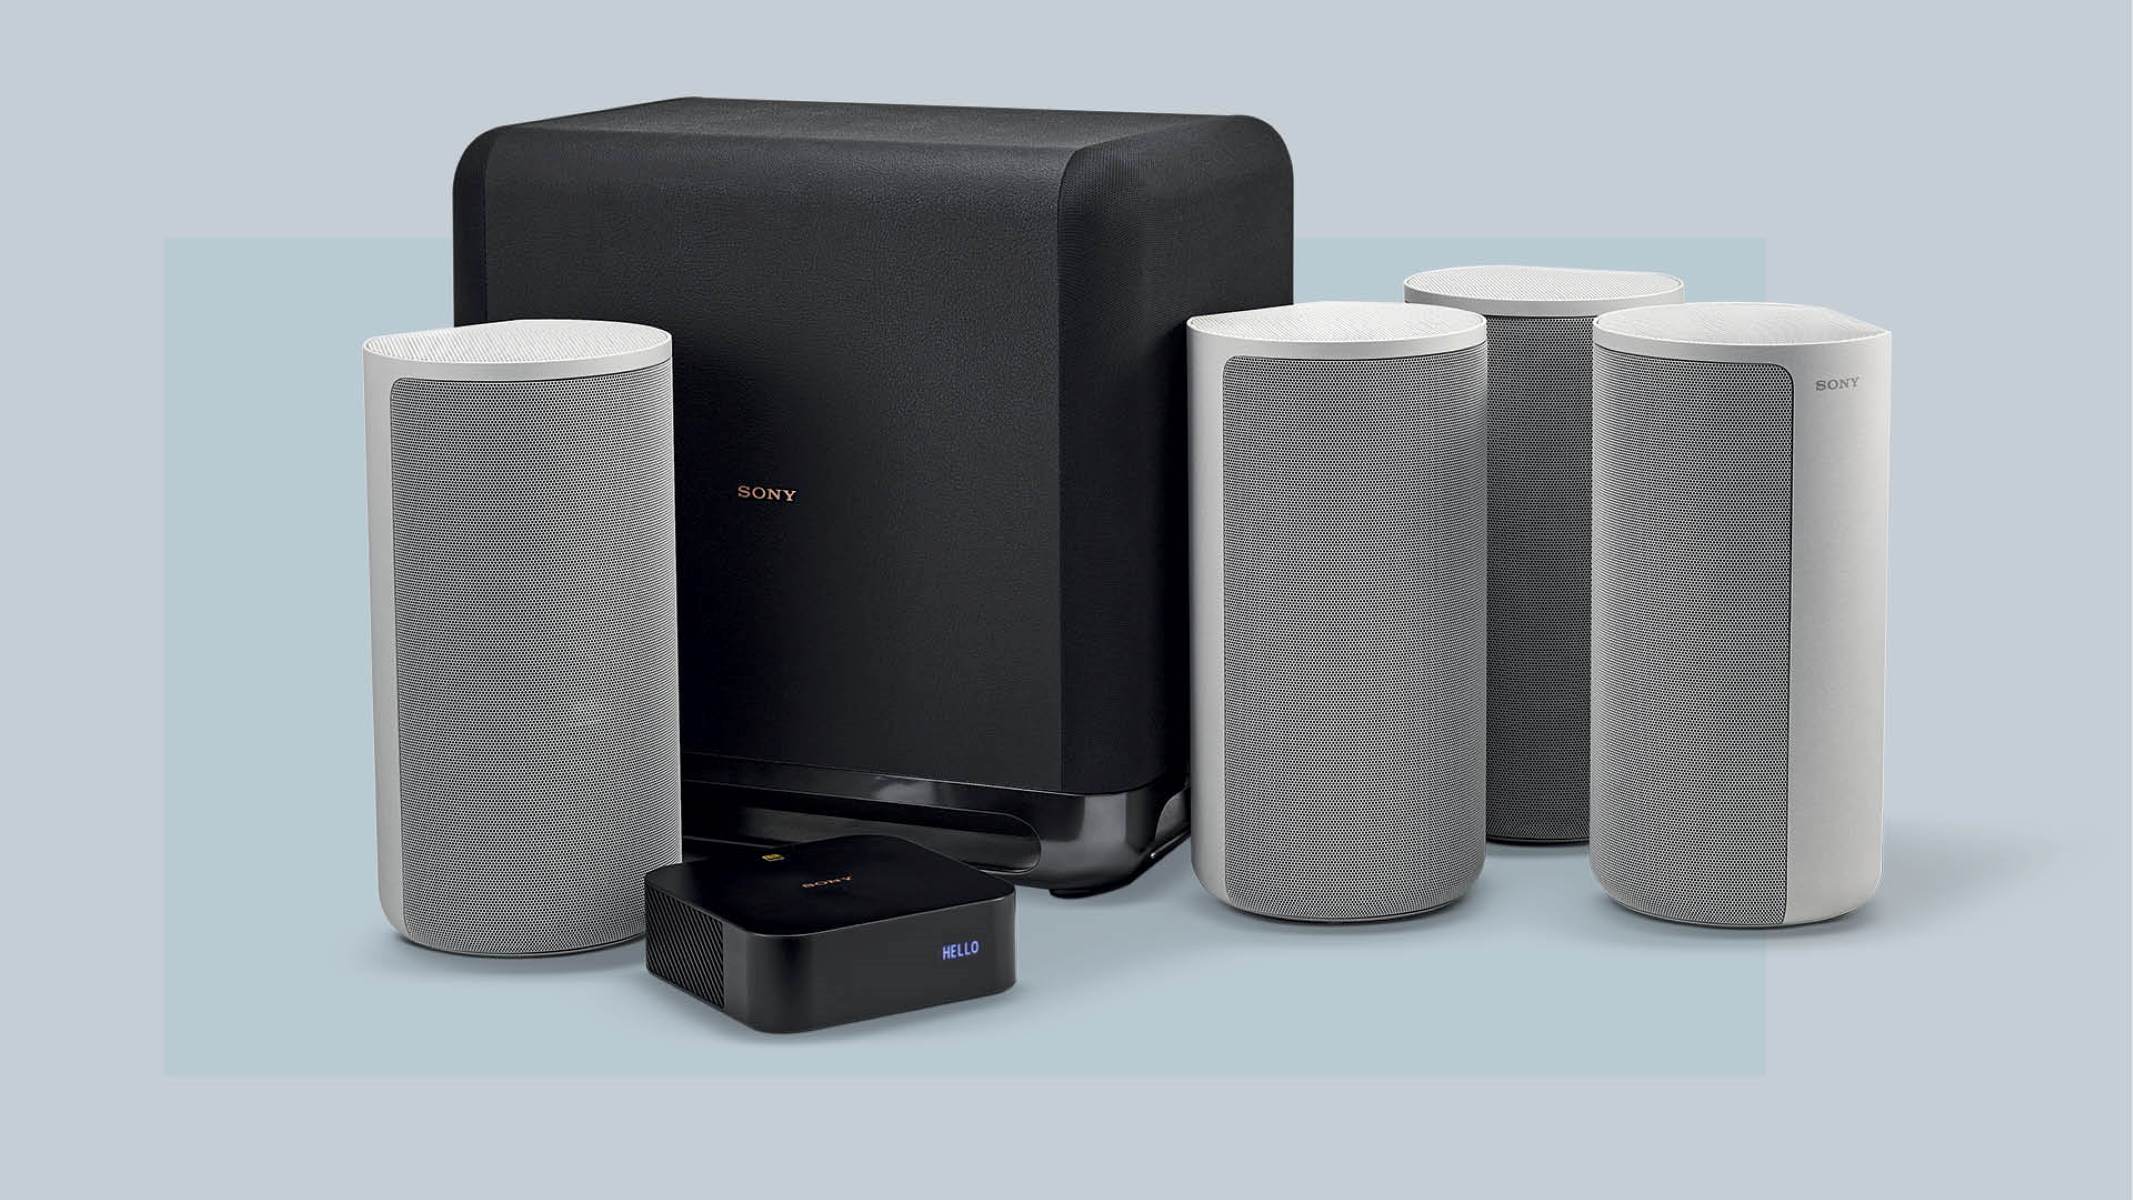
Before we dive into the nitty-gritty of setting up your system, it’s important to note that a home theater surround sound system typically consists of a receiver, speakers, and a subwoofer. The receiver acts as the central hub, receiving and decoding audio signals from various sources such as Blu-ray players, streaming devices, and gaming consoles, and distributing them to the speakers. The speakers are responsible for delivering directional sound, creating an immersive audio experience, while the subwoofer adds deep bass for a more impactful and cinematic feel.
Now, let’s embark on this audio adventure and begin the journey to set up your very own home theater surround sound system. By the end of this guide, you’ll have the knowledge and confidence to enjoy an incredible audio experience in the comfort of your own home.
Choosing the Right Room
When setting up a home theater surround sound system, one of the first considerations is choosing the right room for the setup. The size and layout of the room can greatly impact the audio experience. Here are a few things to keep in mind when selecting the perfect room:
Room Size: The size of the room plays a crucial role in determining the optimal sound performance. A larger room might require more powerful speakers to fill the space with immersive sound, while a smaller room could benefit from smaller speakers that deliver more focused audio. Consider the dimensions of the room and the seating layout to ensure the speakers can effectively cover the listening area.
Absorption and Reflection: The acoustic characteristics of the room can greatly impact the sound quality. Rooms with hard surfaces like concrete or tiles tend to create more reflections, which can result in a less clean and clear sound. On the other hand, rooms with soft surfaces like carpets or drapes can help absorb some of the reflections, leading to a more balanced and enjoyable audio experience. Consider the overall acoustics of the room and make adjustments by adding rugs, curtains, or acoustic panels to improve the sound quality.
Furniture and Layout: The placement of furniture in the room can affect the sound dispersion. Avoid placing large furniture items, such as sofas or bookshelves, directly in front of the speakers, as they can obstruct the sound waves and result in muffled audio. Optimal speaker placement is typically on either side of the TV or screen, slightly elevated above ear level. Additionally, ensure that the seating arrangement provides a good viewing angle and allows for optimal audio immersion.
Noise Isolation: Another important aspect to consider is noise isolation. A home theater surround sound system is designed to provide a captivating audio experience, but outside noise can disrupt this immersion. Choose a room that can be easily isolated from other areas of the house to minimize distractions and ensure an uninterrupted cinematic experience.
Overall Comfort: Lastly, consider the comfort of the room. A home theater setup is meant to be enjoyed for hours on end, so it’s important to create a space that is comfortable and inviting. Ensure there is adequate seating, good ventilation, and proper lighting control to enhance the overall viewing and listening experience.
By carefully choosing the right room for your home theater surround sound system, you can create an immersive audio environment that enhances your entertainment experience. Take the time to evaluate and optimize your chosen room before proceeding to the next steps of setting up your system.
Positioning the TV
Once you have chosen the ideal room for your home theater surround sound system, the next step is to determine the optimal position for your TV or screen. The positioning of the TV is crucial as it directly affects the viewing experience. Here are some key factors to consider when positioning your TV:
Eye Level: The TV should be positioned at eye level when seated in your preferred viewing spot. This ensures that you can comfortably and easily view the screen without straining your neck or eyes. Mounting the TV on a wall or using a TV stand that allows for height adjustment can help achieve the ideal eye level position.
Distance: The distance between the TV and the seating area is an important consideration for optimal viewing. As a general rule, the distance should be about 1.5 to 2.5 times the diagonal measurement of the TV screen. This provides a balanced viewing experience, allowing you to see the details without feeling overwhelmed or too far away.
Angle: The angle of the TV is another aspect to consider, especially in rooms with multiple viewing positions. Ideally, the TV should be positioned in a way that allows everyone in the room to have a good viewing angle without straining their necks. Tilting the TV slightly downwards can help improve the viewing angle for those seated in lower positions.
Avoiding Glare: Glare can significantly impact the viewing experience and make it challenging to see the content on the screen. Take into account the lighting conditions in the room and position the TV in a way that minimizes glare. This may involve adjusting the placement of windows, using window treatments, or repositioning lights to reduce or eliminate any unwanted reflections.
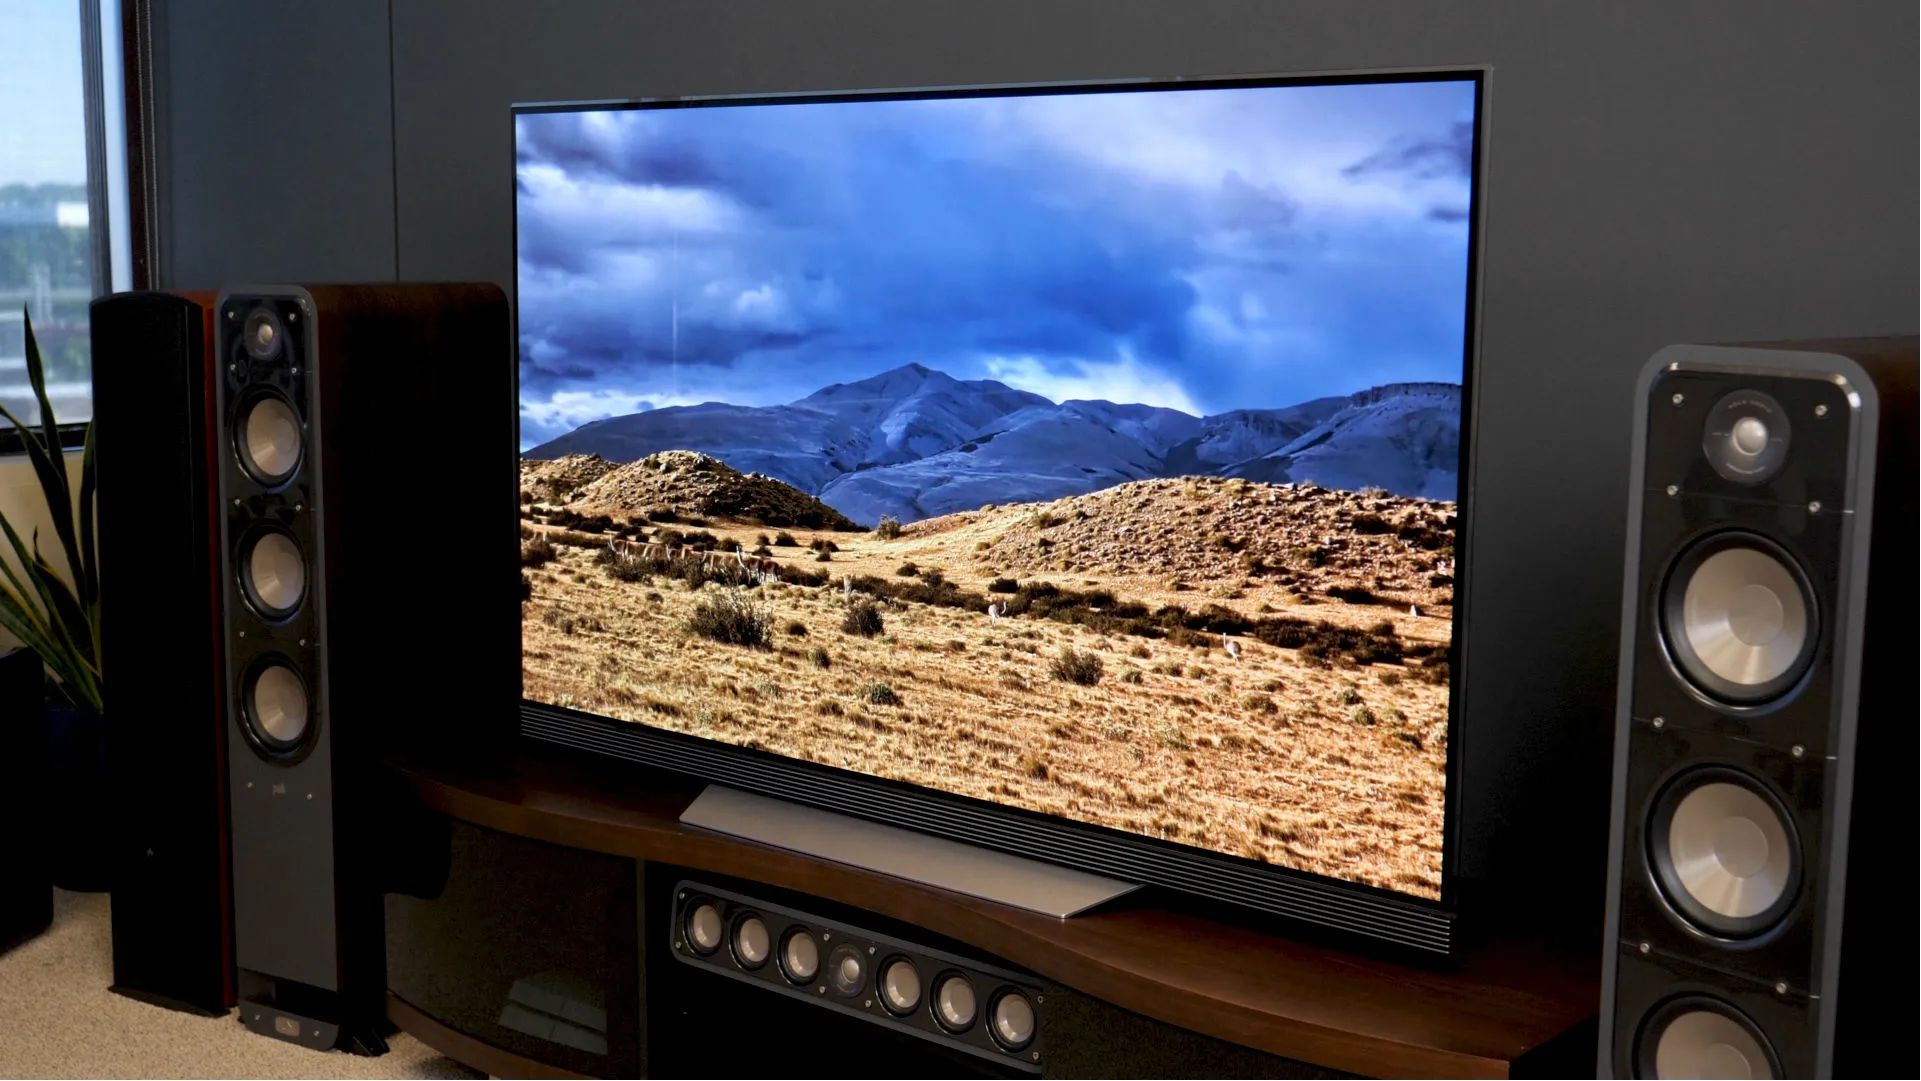
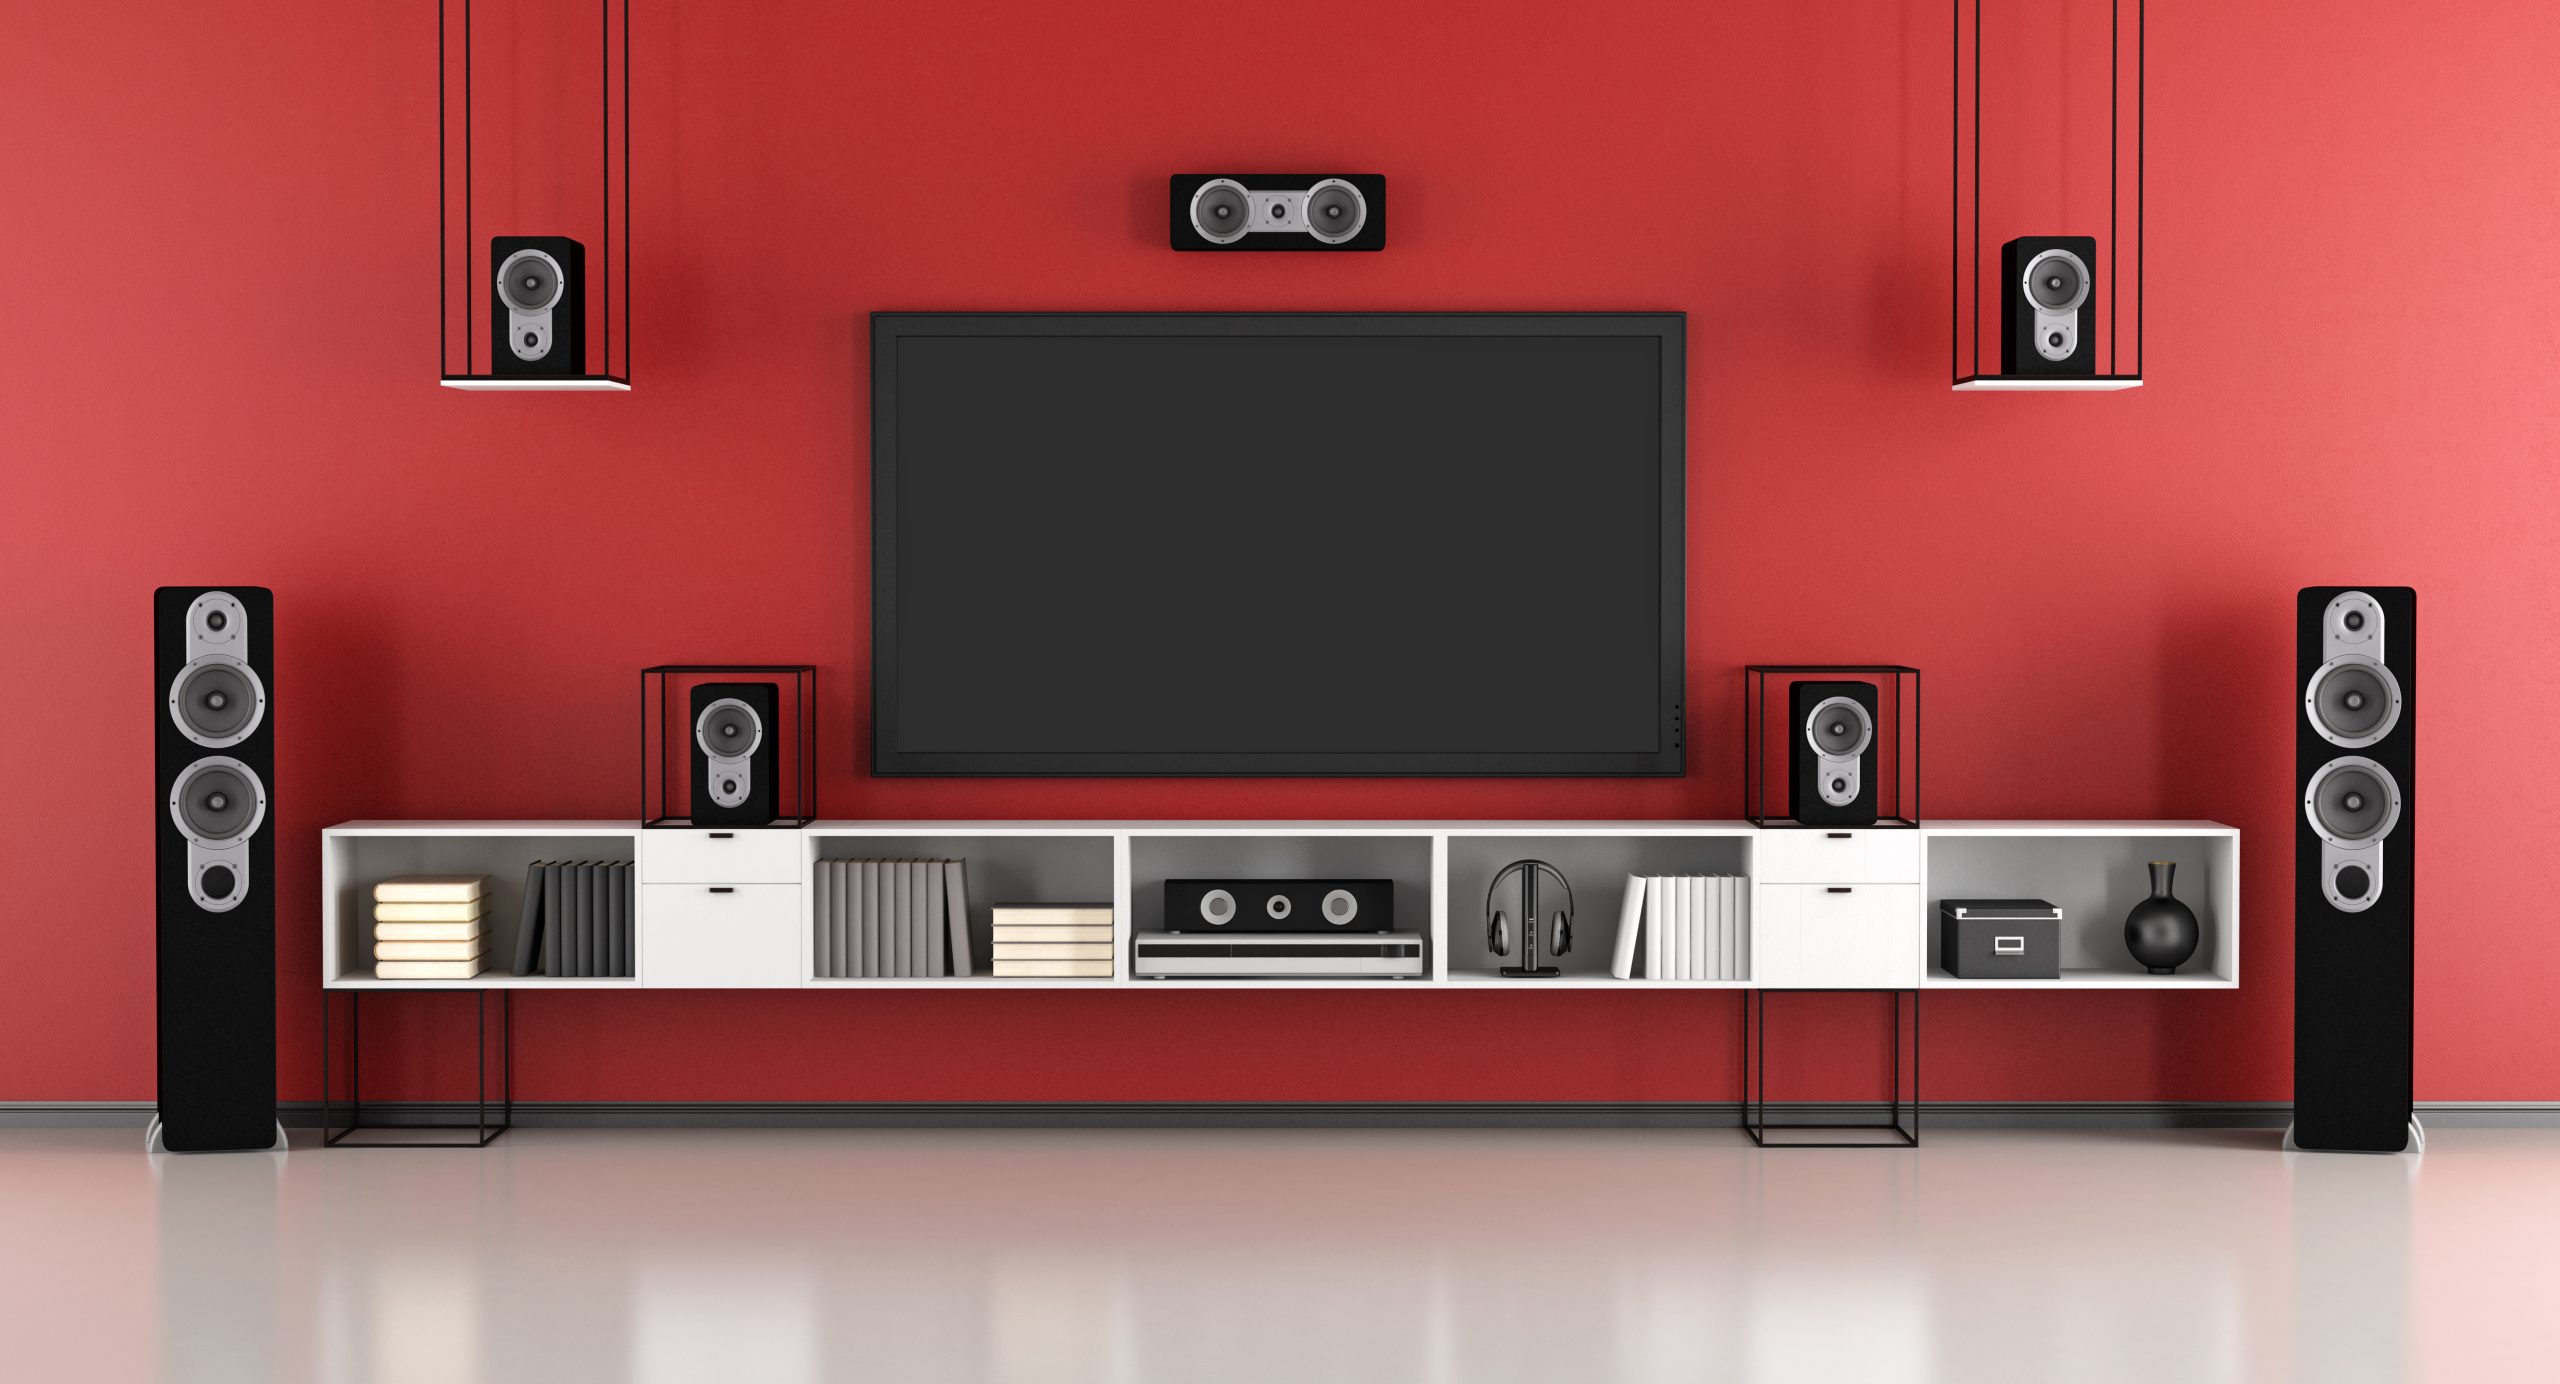
Consider the Surround Sound Setup: If you are also setting up surround sound speakers, it’s important to position the TV in a way that accommodates the speaker placement. The main front speakers should be positioned on either side of the TV, while the surround speakers should be placed to the sides or behind the seating area. Take this into account when deciding on the TV placement to ensure proper integration of the audio and visual elements.
By carefully considering factors such as eye level, distance, angle, glare, and integration with the surround sound setup, you can position your TV optimally for a superior viewing experience. Take the time to experiment with different arrangements to find the perfect position that suits your room and seating layout. This will ensure that every movie, TV show, or game you watch on your home theater surround sound system is visually captivating and immersive.
Selecting the Right Speakers
When it comes to setting up a home theater surround sound system, selecting the right speakers is crucial for delivering an immersive audio experience. The speakers play a vital role in reproducing high-quality sound and creating a sense of realism. Here are some key factors to consider when choosing the right speakers:
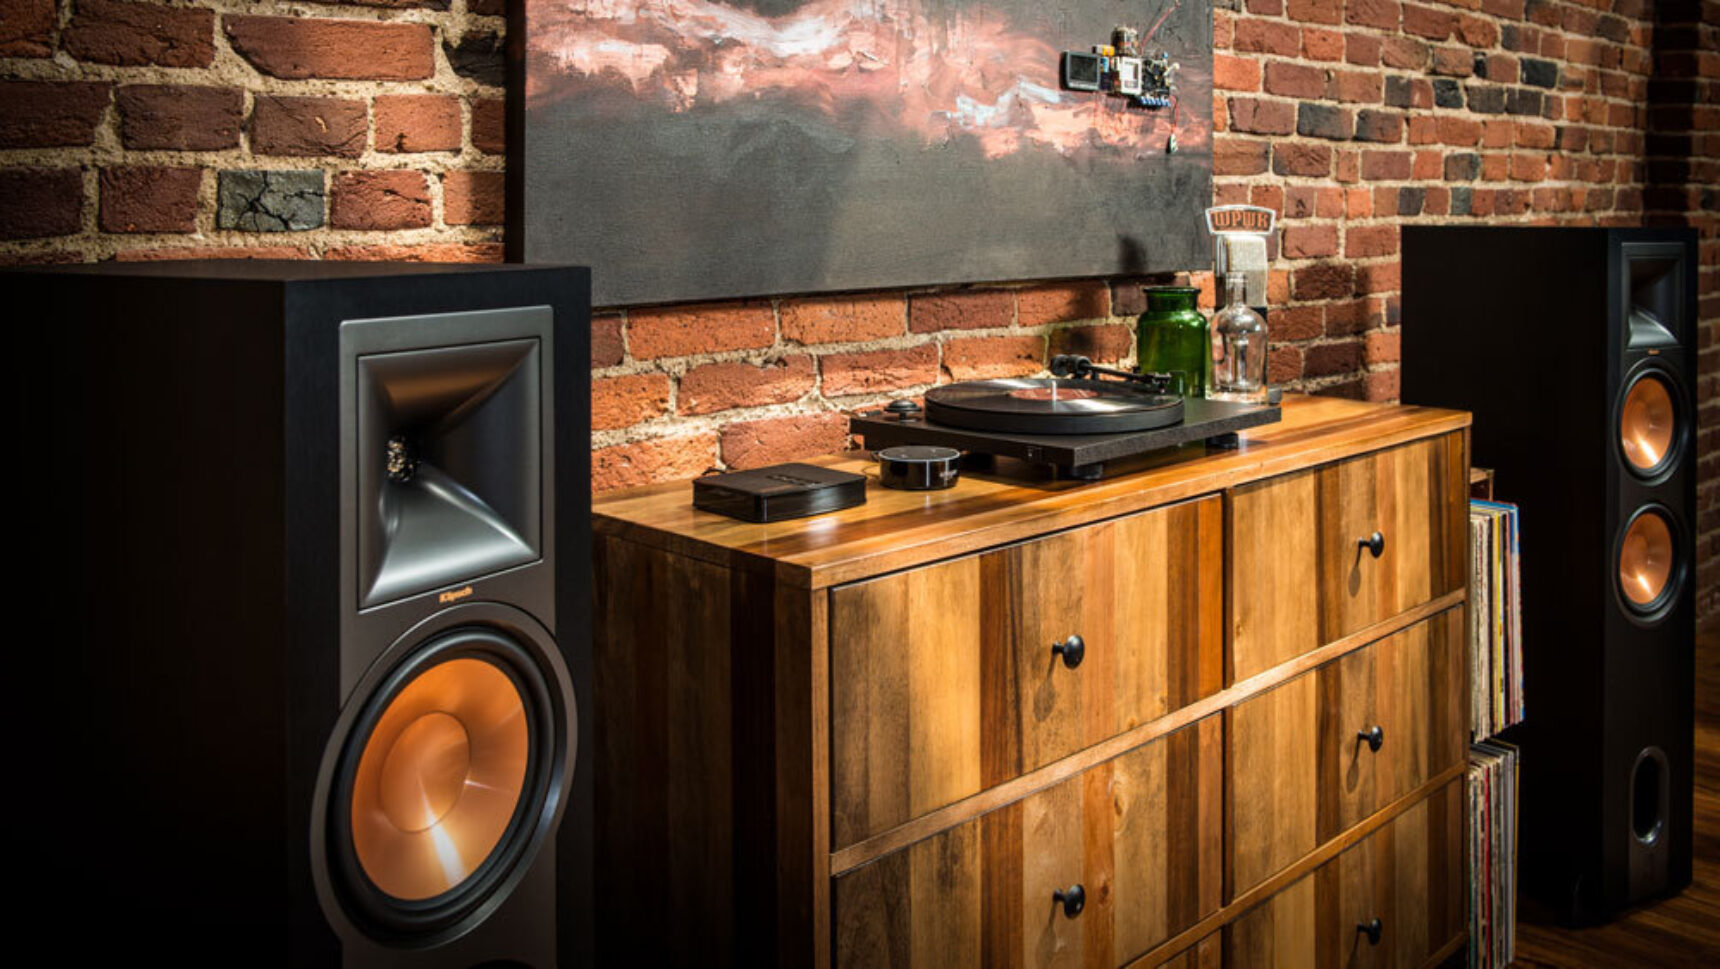
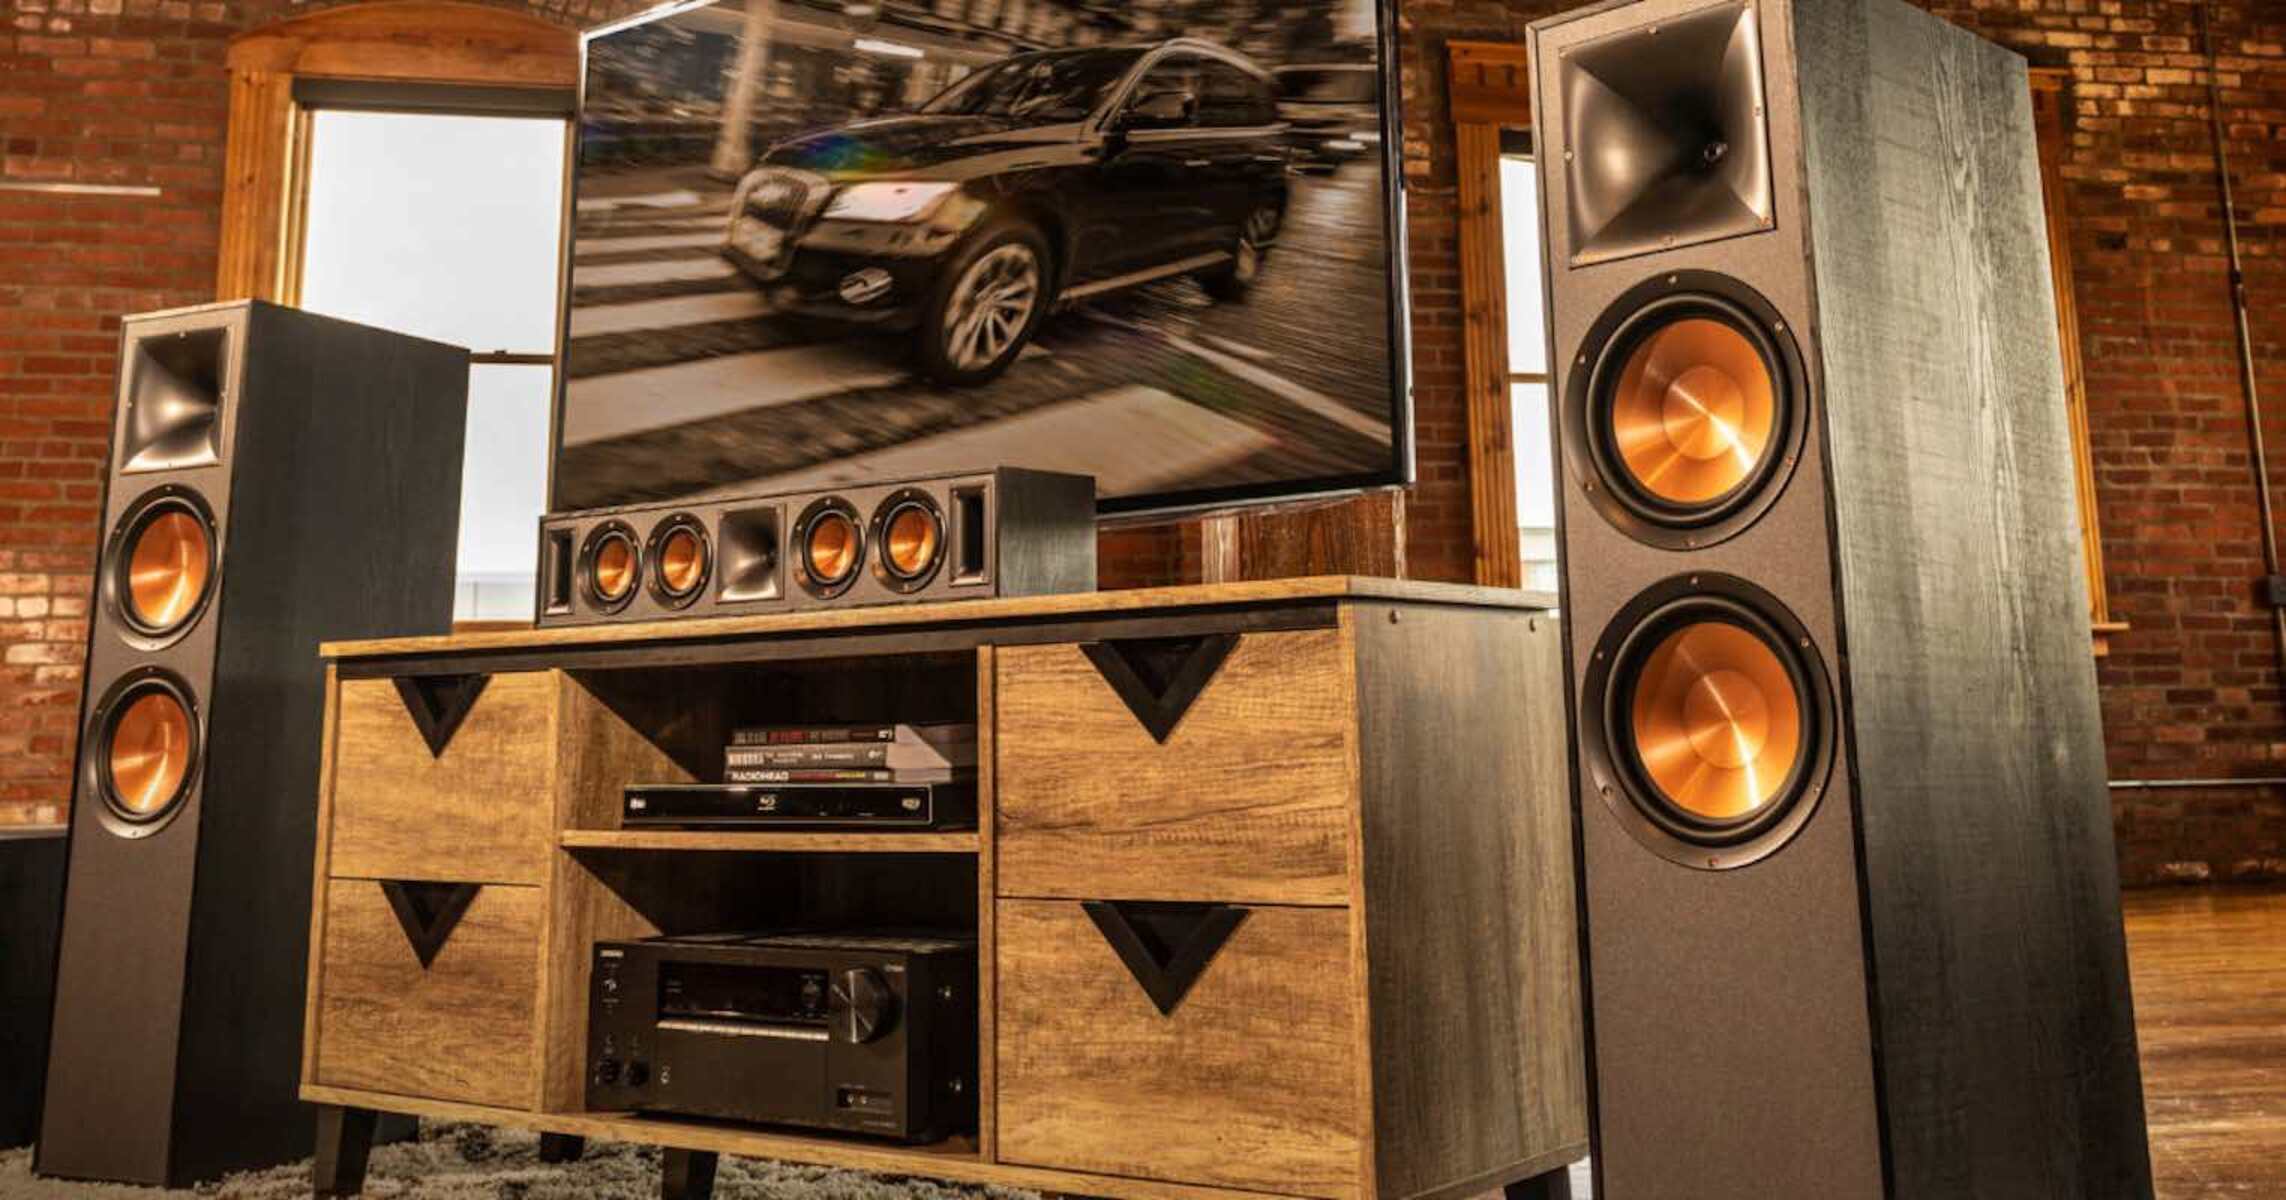
Speaker Types: There are various types of speakers available for a surround sound system, including floor-standing speakers, bookshelf speakers, center channel speakers, and satellite speakers. Each type has its own advantages and is designed for specific purposes. Floor-standing speakers provide full-range sound and are ideal for larger rooms, while bookshelf speakers are more compact and suitable for smaller spaces. Center channel speakers enhance dialogue and are often placed above or below the TV, while satellite speakers are compact and perfect for surround sound effects.
Size and Power: Consider the size of the speakers and the power they can handle. Larger speakers generally produce more robust sound and have a wider frequency range, while smaller speakers can be more discreet and fit into tighter spaces. Make sure the speakers can handle the power output of your amplifier or receiver to avoid distortion or damage. The power should match the size of the room and the desired volume levels for an optimal listening experience.
Matching Speaker Brands: It’s generally recommended to use speakers from the same manufacturer or series to ensure better tonal consistency and seamless integration. This can help create a balanced and cohesive soundstage across all channels. If possible, listen to different speaker combinations to find the one that suits your preferences and offers the best sonic performance.
Listening Preferences: Consider your personal listening preferences when choosing speakers. Some people prefer speakers that emphasize bass, while others prefer a more balanced sound with detailed highs and clear mids. It’s important to find speakers that align with your preferences and deliver the sound signature you enjoy.
Budget: Determine your budget for speakers and assess your options accordingly. It’s possible to find high-quality speakers in a range of price points, so consider your budget limitations without compromising on the overall sound quality. Research and read reviews to find speakers that offer the best value for your investment.
Room Acoustics: Take the room acoustics into consideration when choosing speakers. Different rooms have different acoustic characteristics, and speakers can interact differently with the room’s surfaces and dimensions. If possible, listen to speakers in the actual room where they will be set up or consult with professionals who can help assess the room’s acoustics and recommend suitable speaker options.
By considering factors such as speaker types, size and power, matching brands, listening preferences, budget, and room acoustics, you can select the right speakers for your home theater surround sound system. Remember to take the time to audition speakers and compare different options to find the ones that produce the best sound quality and meet your specific requirements. Choosing the right speakers is an essential step towards achieving the immersive audio experience you desire.
Placing the Speakers
Proper speaker placement is key to creating an immersive and balanced audio experience in your home theater surround sound system. Each speaker has a specific role, and their placement affects the sound dispersion and overall audio quality. Here are some guidelines to help you with placing the speakers:
Front Speakers: The front speakers are responsible for delivering most of the audio, including music, dialogues, and sound effects. Ideally, they should be positioned at ear level when seated, slightly angled towards the main listening area. Place the front left and right speakers on either side of the TV or screen, ensuring they are at an equal distance from the central seating position. This creates a wide and immersive soundstage.
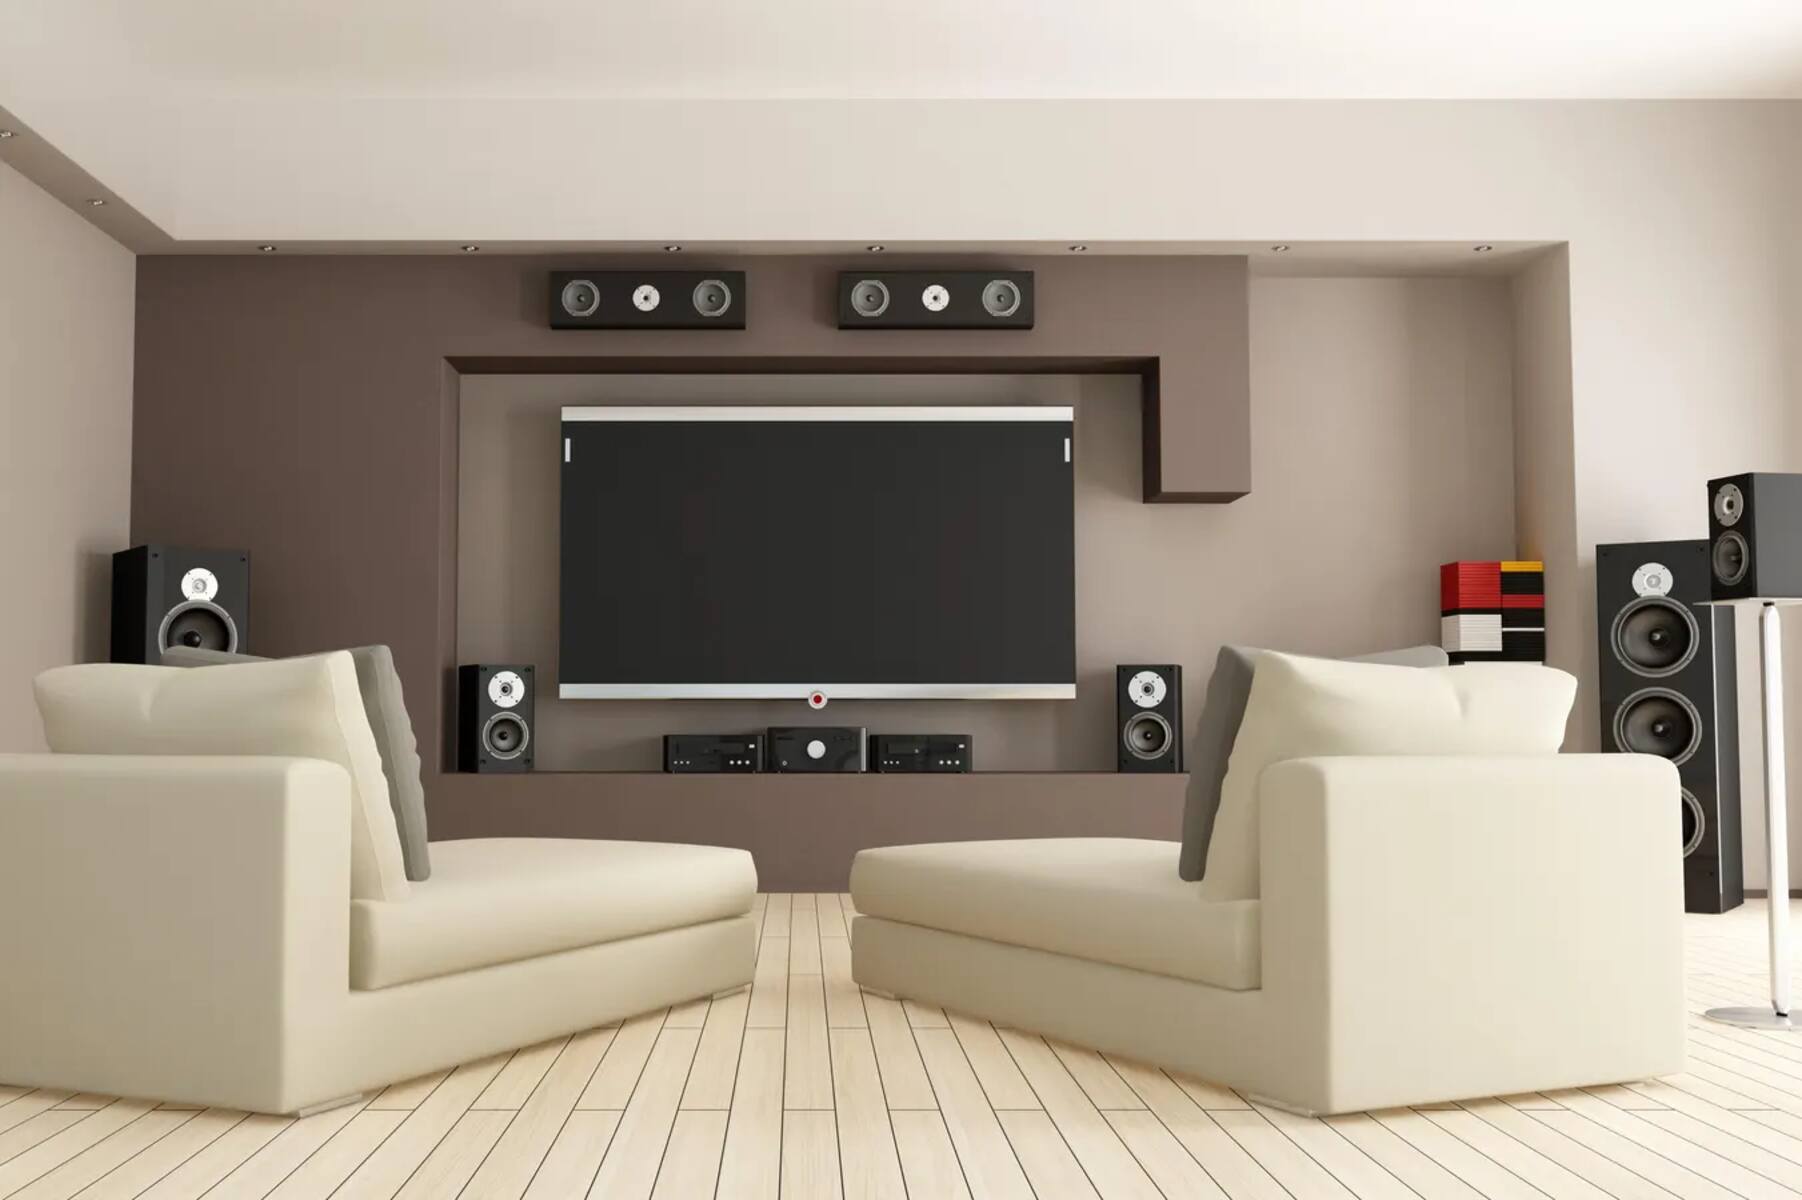
Center Channel Speaker: The center channel speaker enhances dialogue and should be positioned above or below the TV, aimed towards the listening area. It is crucial that the center channel speaker is aligned with the front left and right speakers to achieve proper sound integration and seamless panning of sound effects.
Surround Speakers: The surround speakers are responsible for creating ambient sound and immersing the listener in a 360-degree audio experience. They can be placed to the sides or slightly behind the seating area, at ear level. Aim the surround speakers towards the listening area to enhance the surround sound effect. If you have multiple seating positions, consider placing the surround speakers in a way that provides uniform sound coverage for all listeners.
Height Channels and Atmos Speakers: If you have a home theater system that supports height channels or Atmos speakers for a more immersive audio experience, follow the manufacturer’s guidelines for speaker placement. Height channels are typically placed above the main front speakers, while Atmos speakers can be installed in the ceiling or mounted on dedicated speaker stands. These additional channels add a sense of verticality and create a three-dimensional sound stage.
Subwoofer Placement: The subwoofer, responsible for delivering deep bass frequencies, is less reliant on precise placement compared to other speakers. It can be placed anywhere in the room, as low-frequency sounds are non-directional. However, experimenting with subwoofer placement by positioning it near a wall or corner can often enhance bass response and overall impact. Adjusting the subwoofer’s settings, such as crossover frequency and volume, is also important to achieve a balanced and seamless integration with the other speakers.
While these guidelines provide a good starting point for speaker placement, it’s important to consider the specific layout and characteristics of your room. Experimentation and fine-tuning may be necessary to achieve the best sound quality and optimal audio experience. Take the time to assess the sound balance, adjust speaker angles, and make minor positioning tweaks to find the sweet spot that suits your room and personal preferences. Properly placed speakers will create a multidimensional soundstage, immersing you in your favorite movies and music like never before.
Determining the Right Subwoofer Placement
The subwoofer is a critical component of your home theater surround sound system as it is responsible for reproducing deep and impactful low-frequency sounds. To achieve the best bass performance, it’s essential to determine the right placement for your subwoofer. Here are some factors to consider:
Bass Response: Start by testing the bass response in different areas of the room. Place the subwoofer in your desired listening area and play some bass-heavy music or movie scenes. Walk around the room and listen for areas where the bass sounds more balanced and full. The location that offers a smoother and more even bass response is often the best spot for your subwoofer.
Room Acoustics: Consider the acoustic characteristics of your room. Different rooms can have varying factors that impact bass performance, such as room size, shape, and the materials used for the walls, floors, and ceiling. Hard surfaces tend to reflect sound and can result in stronger bass in certain areas, while soft surfaces absorb sound and may result in weaker bass. Experiment with subwoofer placement to find the optimal position that maximizes bass impact and creates a balanced sound throughout the room.
Corner Placement: Placing the subwoofer in a corner of the room can often enhance bass performance. This is because the corner reinforces low-frequency sounds, resulting in a more powerful and deep bass response. Experiment by moving the subwoofer to different corners and listening for the optimal bass balance. Keep in mind that corner placement can sometimes result in excessive bass, so it may require adjusting the subwoofer’s settings to find the right balance for your room and preferences.
Distance from Walls and Furniture: Take into account the distance between the subwoofer and nearby walls or furniture. Bass waves can interact with room boundaries and objects, resulting in resonances or cancellation zones. Avoid placing the subwoofer too close to walls or large furniture items, as this can potentially create unwanted resonances or muffled bass. Maintain some distance between the subwoofer and obstructions to allow for cleaner bass reproduction.
Phase and Level Adjustment: Once you have determined the general placement of your subwoofer, it’s essential to fine-tune its performance using the phase and level controls. The phase control helps align the subwoofer’s output with the other speakers in your system, ensuring proper integration. The level control allows you to adjust the volume of the subwoofer relative to the other speakers, achieving a balanced sound. Make gradual adjustments to the phase and level controls while listening for the most cohesive and seamless bass output.
Remember that subwoofer placement is not a one-size-fits-all solution. The best placement will depend on the unique characteristics of your room and personal preference. Take the time to experiment with different subwoofer positions, test the bass response, and make necessary adjustments to achieve optimal bass performance. A well-placed subwoofer will deliver deep, impactful bass that enhances your movie watching and music listening experience, adding a new level of immersion to your home theater.
Connecting the Components
Once you have selected and positioned your speakers and subwoofer, it’s time to connect all the components of your home theater surround sound system. Properly connecting the components ensures that you can enjoy the full potential of your audio setup. Here are the steps to follow:
Identify Inputs and Outputs: Begin by identifying the inputs and outputs on each component. Common inputs include HDMI, optical, RCA, and speaker wire connections. Outputs typically include speaker wire terminals and subwoofer outputs. Familiarize yourself with the connection options available on your receiver, speakers, subwoofer, and other devices in your setup.
Use High-Quality Cables: Invest in high-quality cables to ensure the best audio signal transmission. For connecting speakers, use proper gauge speaker wire that is long enough to reach from your receiver to each speaker. Use HDMI cables to connect your video sources, such as Blu-ray players or gaming consoles, to your TV or receiver. Optical cables are commonly used for connecting audio devices, while RCA cables can be used for analog connections.
Connect the Receiver: Begin by connecting your A/V receiver to your TV. Use HDMI cables to carry both audio and video signals, providing the best quality connection. Connect one end of the HDMI cable to the HDMI output on your receiver and the other end to an HDMI input on your TV. Ensure that the HDMI ports on both your receiver and TV support the same standards, such as HDMI 2.0 or higher, to enable features like 4K video and HDR.
Connect the Speakers: Connect each speaker to the corresponding speaker outputs on your receiver or amplifier. Ensure that each speaker wire is securely connected to the appropriate terminals on both the receiver and the speaker. Double-check the polarity of the speaker wires, ensuring that positive and negative terminals are correctly matched to maintain proper phase coherence and sound quality.
Connect the Subwoofer: Connect the subwoofer to the subwoofer output on your receiver. Depending on the specific subwoofer and receiver, this connection may involve an RCA cable or a dedicated subwoofer cable. Ensure that the subwoofer cable is securely connected to both the subwoofer and the subwoofer output on the receiver.
Additional Connections: If you have other audio devices, such as a gaming console, streaming device, or Blu-ray player, connect them to the appropriate inputs on your receiver or TV using the available connection options. This will allow you to enjoy the audio from these devices through your home theater system.
Powering On: Once all the components are connected, ensure that they are plugged into a power source and turn them on, starting with the receiver. Follow the manufacturer’s instructions for powering on the system to ensure that all components are properly initialized and synchronized.
By following these steps and making the necessary connections with high-quality cables, you will have your home theater surround sound system set up and ready to deliver an immersive audio experience. Take the time to check each connection and ensure everything is secure for optimal performance. Now, it’s time to fine-tune the audio settings and calibrate the system to further enhance your audio experience.
Configuring the Audio Settings
Configuring the audio settings of your home theater surround sound system is an essential step to ensure optimal audio performance. By fine-tuning these settings, you can customize the sound to your preferences, enhance the immersion, and maximize the potential of your system. Here are some key settings to consider:
Speaker Configuration: Access the settings menu on your receiver to configure the speaker setup. Select the appropriate speaker size, whether they are small or large, and set the crossover frequency. The crossover frequency determines the point at which low frequencies are redirected from the main speakers to the subwoofer. Adjusting this setting ensures a balanced distribution of audio frequencies between the speakers and subwoofer.
Audio Modes and Sound Processing: Most receivers offer different audio modes and sound processing options. These modes can include Dolby Atmos, DTS:X, or other surround sound formats. Explore these modes and select the one that best suits your listening preferences and the content you are watching. Experiment with different sound processing options to find the one that enhances your audio experience and provides the desired level of immersion.
Dialogue and Dynamic Range: Adjusting the settings for dialogue and dynamic range can significantly improve the clarity and balance of the audio. Increase the center channel level to enhance dialogue clarity, ensuring that speech is clear and easily understandable. Additionally, adjust the dynamic range to control the difference between the softest and loudest sounds. This helps to maintain detail in quieter scenes while preventing excessively loud sounds from overpowering the audio mix.
Room Correction: Many receivers offer room correction features that help to compensate for room acoustics and speaker placement issues. This can be done through automatic calibration systems, such as Audyssey or YPAO, or manual adjustments using an onboard equalizer. Follow the manufacturer’s instructions to measure and analyze your room’s acoustics, and utilize the room correction feature to optimize the sound quality for your specific room environment.
Bass Management: Fine-tune the bass settings to achieve a balanced and impactful low-frequency response. Use the receiver’s bass management settings to adjust the subwoofer level and low-frequency effects. You can increase or decrease the subwoofer output to match your listening preferences or the specific content you are playing. Be mindful of overpowering the sound with excessive bass and ensure it blends seamlessly with the rest of the audio spectrum.
Volume Leveling: If you find that the volume levels vary greatly between different sources or content, consider utilizing volume leveling or dynamic range compression settings. These settings can help maintain a consistent volume level by reducing the dynamic range between the softer and louder parts of the audio. This is particularly useful when switching between movies, TV shows, or music with varying audio levels.
Take the time to explore and experiment with the available audio settings on your receiver. Adjust them to your liking and according to the room acoustics to tailor the sound output to your preferences. Listening to various types of content, such as movies, music, or games, can help you fine-tune the audio settings and create a personalized audio experience that immerses you in the content you love.
Calibrating the System
Calibrating your home theater surround sound system is a crucial step to ensure accurate audio reproduction and optimal performance. Proper calibration helps to achieve consistent sound quality and balance across all speakers, enhances dialogue clarity, and delivers a truly immersive audio experience. Here are the key steps to calibrating your system:
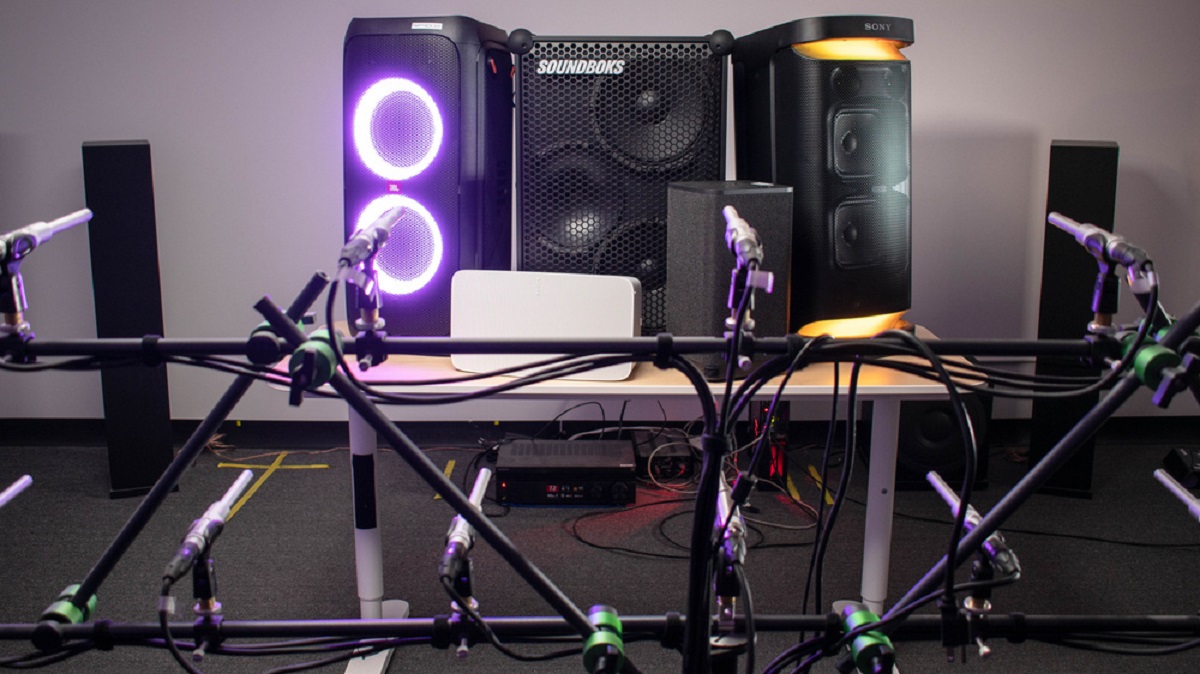
Utilize Automatic Calibration: Most modern receivers come equipped with automatic calibration systems, such as Audyssey, YPAO, or MCACC. These systems utilize a microphone to measure the characteristics of your room and speakers, and then automatically adjust the audio settings to optimize the sound performance. Follow the on-screen instructions provided by your receiver to perform the automatic calibration process. Move the microphone to various listening positions within your room to capture accurate data for fine-tuning the audio settings.
Manually Adjust Speaker Levels: If you prefer a more hands-on approach to calibration, you can manually adjust the speaker levels. Utilize a sound level meter or an audio test tone provided by your receiver to ensure that each speaker is emitting sound at the same volume when measured from your primary listening position. Adjust the individual speaker levels in the receiver’s settings menu until you achieve a balanced soundstage with consistent volume across all channels.
Balance Channel Delays: Channel delays ensure that sound from each speaker reaches your ears at the same time, regardless of the physical distance between them. Use the receiver’s settings to adjust the channel delays and synchronize the audio output. This step helps to create a cohesive soundstage and enhances the overall surround sound experience.
Verify Polarity and Phase: Double-check the polarity and phase of each speaker. The positive and negative terminals on the speakers and receiver should be connected correctly to ensure proper phase coherence. Listen to audio content with both speech and music and ensure that the audio sounds natural and well-balanced. If necessary, reverse the polarity of any speakers causing phasing issues to maintain accurate sound reproduction.
Fine-Tune Equalization: If your receiver offers manual equalization options, consider utilizing them to further refine the audio performance. Use the receiver’s equalizer or advanced settings to adjust the frequency response of your speakers based on the characteristics of your listening environment. Make subtle adjustments to highlight or attenuate specific frequencies, based on personal preference and room acoustics, to achieve a more accurate and pleasing sound reproduction.
Revisit Room Acoustics: After calibrating your system, it’s a good idea to reevaluate and optimize the room acoustics further. Consider adding acoustic treatment to the room, such as absorptive panels or diffusers, to minimize reflections and improve sound quality. Experiment with speaker placement and room layout adjustments to achieve the best possible audio performance within your space.
Calibrating your home theater surround sound system may require some time and patience, but the results will be well worth it. A properly calibrated system ensures accurate sound reproduction, immerses you in your favorite content, and creates a more engaging and enjoyable audio experience. Consider periodically recalibrating your system as your listening environment or components change to maintain optimal performance over time.
Enjoying the Surround Sound Experience
Now that you have set up, configured, and calibrated your home theater surround sound system, it’s time to sit back, relax, and immerse yourself in the ultimate audio experience. Here are some tips for fully enjoying the surround sound experience:
Choose Engaging Content: Select movies, TV shows, or music that are known for their exceptional audio quality and immersive sound design. Look for content that utilizes surround sound technology to create a realistic and captivating audio experience. Action-packed films, nature documentaries, and live concert recordings are often great choices to showcase the capabilities of your surround sound system.
Experiment with Sound Modes: Take advantage of the various sound modes and processing options available on your receiver. Explore different modes like Dolby Atmos, DTS:X, or THX to find the one that best suits the content you are watching or listening to. These modes can provide a more expansive soundstage, enhanced depth, and a heightened level of realism.
Optimize Listening Positions: Find the sweet spot in your room where the audio accuracy and immersion are at their best. Experiment with different seating positions and adjust your speaker levels or room layout as necessary to ensure that everyone in the room can experience the surround sound effects to their fullest.
Create a Comfortable Environment: Set up a comfortable seating arrangement that allows you to fully enjoy the audio experience. Consider investing in cozy and supportive seating, proper lighting control to avoid glare on the screen, and a well-ventilated room to ensure your comfort during long movie marathons or extended listening sessions.
Host Movie Nights and Listening Sessions: Invite friends and family over to share in the surround sound experience. Organize movie nights or music listening sessions where you can all enjoy the immersive audio together. It’s a great way to bond, share your passion for great sound, and create lasting memories.
Continuous Learning and Upgrades: Keep abreast of new technologies, audio formats, and advances in surround sound systems. Stay curious and explore ways to further enhance your audio setup. Upgrading components, adding height channels for a vertical sound stage, or integrating advanced calibration tools can take your surround sound experience to even greater heights.
Remember, the joy of a home theater surround sound system lies in the immersive audio experience it provides. Take the time to appreciate the details in the sound design, the richness of the music, and the realism of the effects. Immerse yourself in the world created by the audio, and let your senses be captivated by the power and beauty of surround sound.