Introduction
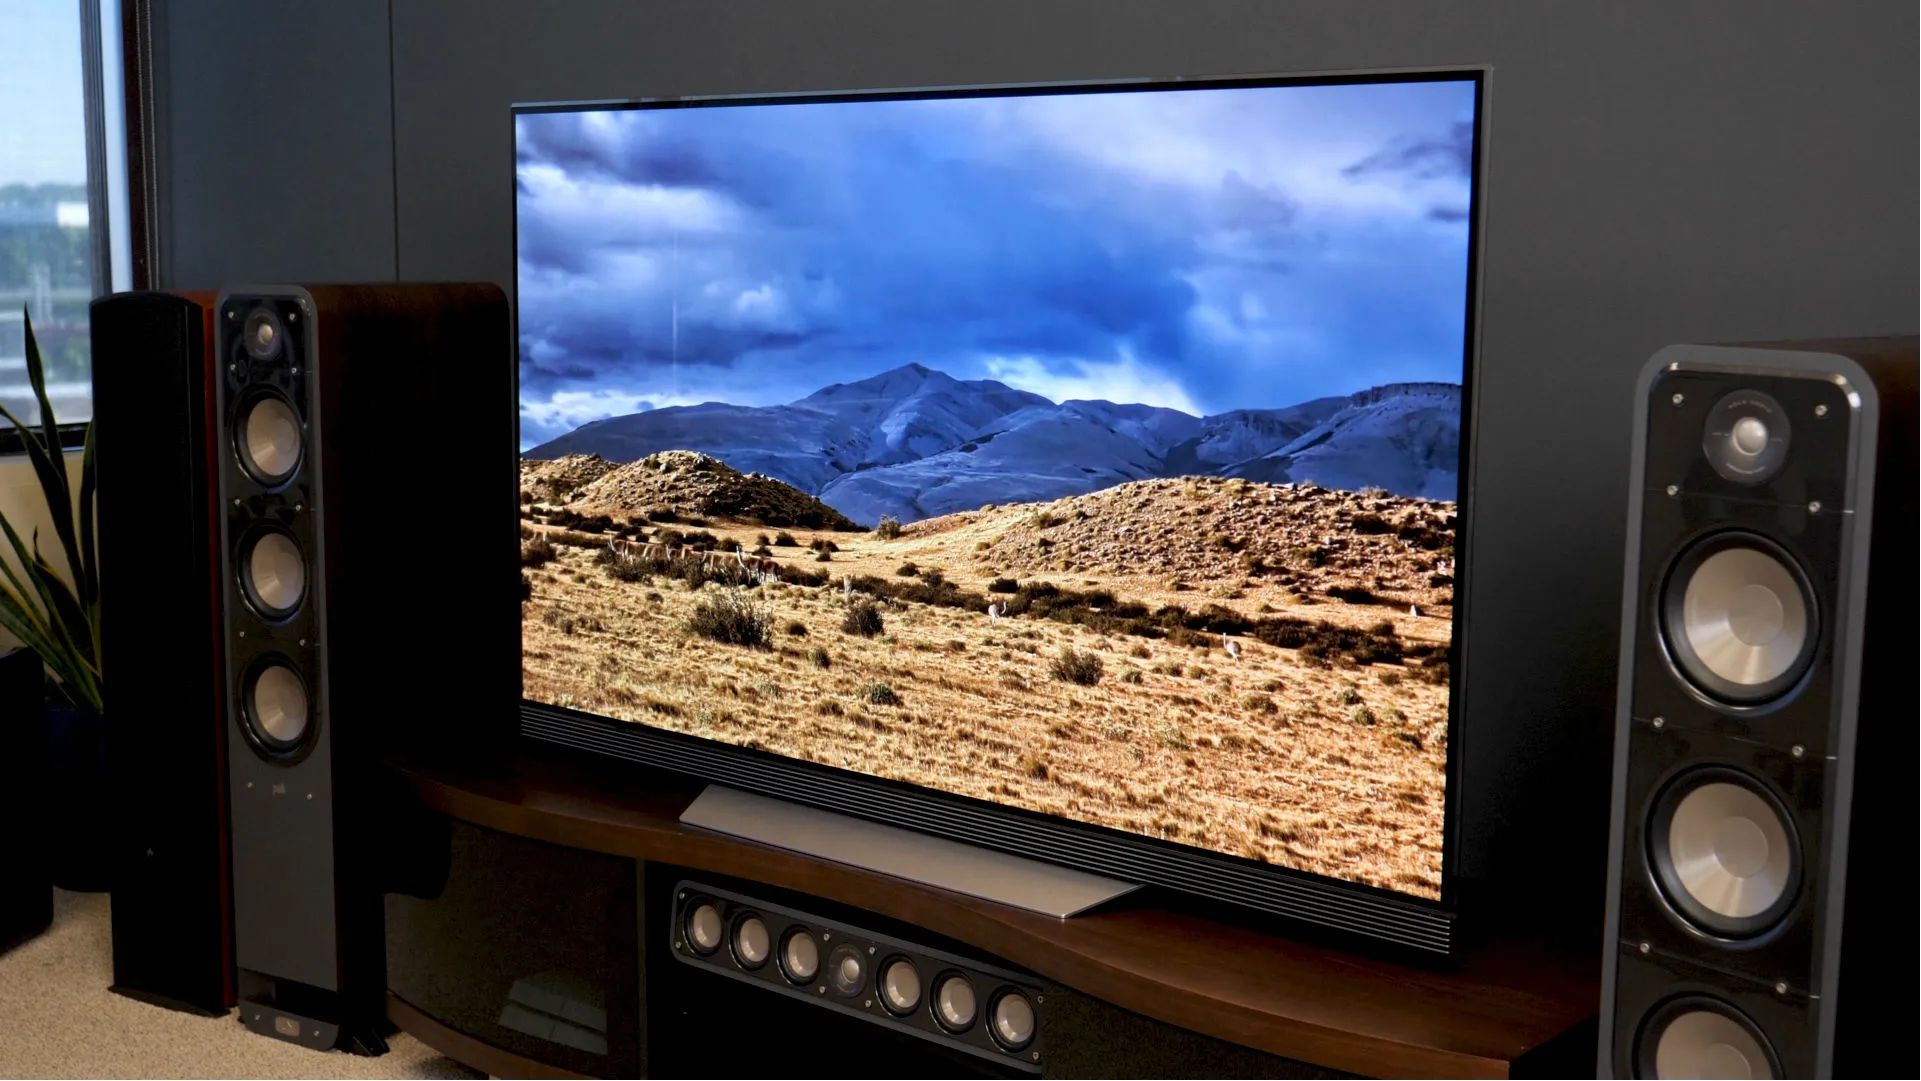
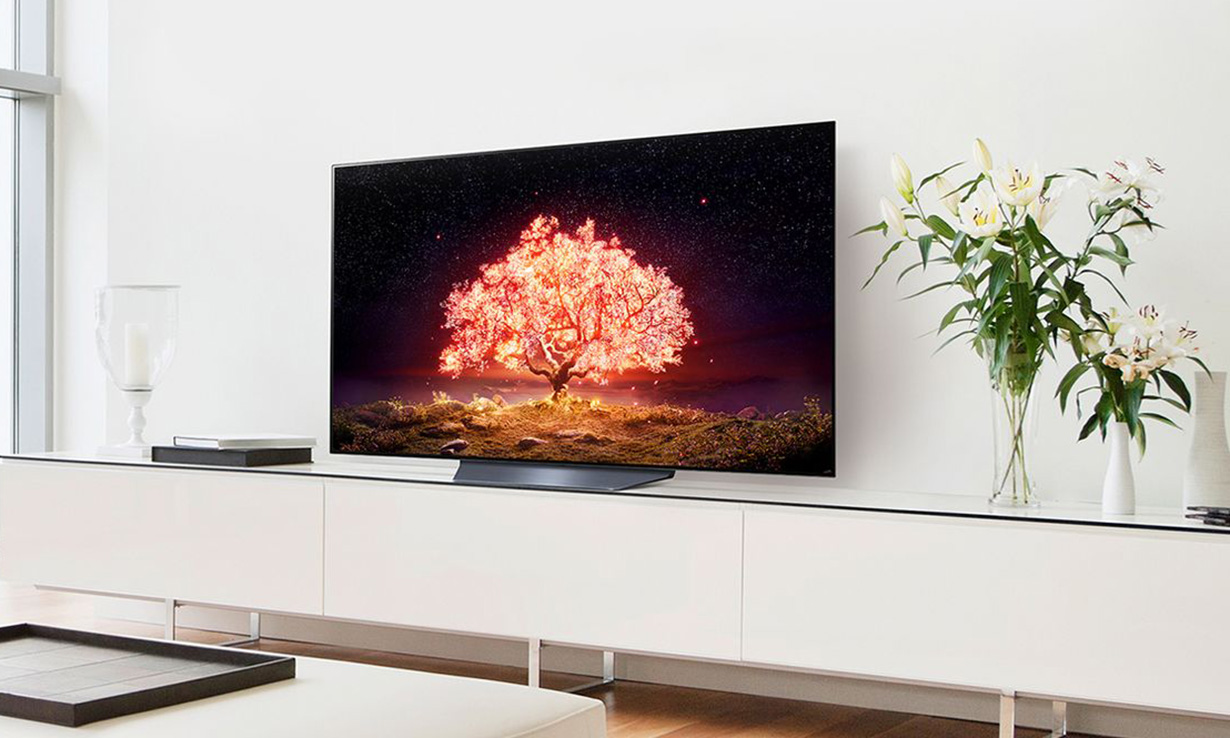
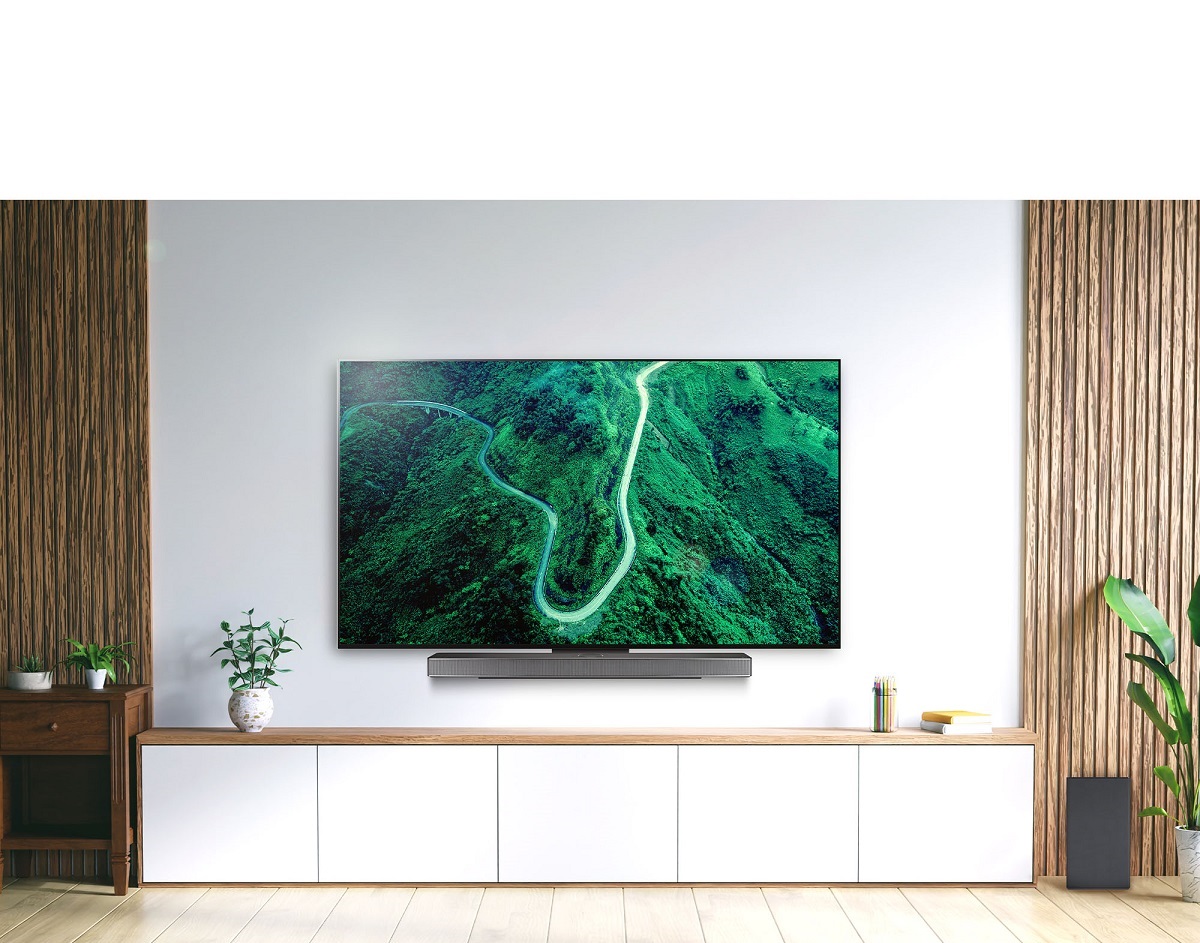
Welcome to the world of home theater entertainment! If you’re a proud owner of an LG OLED TV and want to enhance your viewing experience even further, connecting it to a home theater system is the way to go. By doing so, you’ll be able to enjoy immersive surround sound and truly feel like you’re part of the action.
Connecting your LG OLED TV to a home theater system may seem like a daunting task, but fear not! In this guide, we’ll walk you through the step-by-step process to make it as smooth and effortless as possible. Whether you have an existing home theater setup or are starting from scratch, we’ve got you covered.
Before we begin, it’s important to gather the necessary equipment. You’ll need an LG OLED TV, a home theater receiver, speakers, and appropriate cables. Make sure to check the specifications of your TV and home theater receiver to ensure compatibility and determine the required cable types.
Now that you’re equipped with the right gear, let’s dive into the process of connecting your LG OLED TV to the home theater system. We’ll cover how to properly connect the TV to the receiver, configure the settings, and connect external speakers for an immersive audio experience. So, grab your popcorn and let’s get started!
Note: These instructions are specifically for connecting an LG OLED TV to a home theater system. Make sure to consult the user manuals of your specific devices for any variations or additional instructions.
Step 1: Gather the Necessary Equipment
Before you can connect your LG OLED TV to a home theater system, it’s important to have all the necessary equipment on hand. Here’s a list of items you’ll need:
- LG OLED TV: Make sure you have your LG OLED TV, as this will be the central display for your home theater setup.
- Home Theater Receiver: The home theater receiver serves as the control center for your audio and video inputs. Ensure that your receiver is compatible with your LG OLED TV and supports the desired audio formats.
- Speakers: The speakers are responsible for delivering the surround sound experience. You’ll need a combination of front, center, and surround speakers to create an immersive audio environment.
- Cables: Various cables will be required to connect your devices. These may include HDMI cables, optical audio cables, speaker cables, and power cables. Check the specifications of your TV and receiver to determine the type and quantity of cables needed.
- Subwoofer (optional): For those seeking deep bass and added impact, a subwoofer is a great addition to your home theater setup. This device reproduces low-frequency sounds and can greatly enhance your audio experience.
- Remote Control: Ensure that you have the remote control for both your LG OLED TV and home theater receiver. This will allow you to control both devices independently.
Once you have all the necessary equipment ready, you’re one step closer to transforming your living room into a home theater haven. Take some time to familiarize yourself with the user manuals of each device if you’re not already familiar with them. This will help you understand the specifications, capabilities, and possible limitations of your equipment.
In the next step, we’ll guide you through the process of connecting your LG OLED TV to the home theater receiver. So, let’s move on to Step 2 and get your home theater system up and running!
Step 2: Connect the LG OLED TV to the Home Theater Receiver
Now that you have gathered all the necessary equipment, it’s time to connect your LG OLED TV to the home theater receiver. Follow these step-by-step instructions:
- Locate the HDMI port on your LG OLED TV. This port is usually labeled as “HDMI” and is located on the back or side of the TV.
- Connect one end of the HDMI cable to the HDMI output port on your LG OLED TV.
- Locate the HDMI input port on your home theater receiver. This port is typically labeled as “HDMI IN” and is usually found on the back panel of the receiver.
- Connect the other end of the HDMI cable to the HDMI input port on the home theater receiver.
- Ensure that the HDMI input on the receiver is selected for the corresponding output on your LG OLED TV. This can usually be done using the input selection buttons on your receiver’s remote control or front panel.
- Power on both your LG OLED TV and the home theater receiver.
- Use the remote control for your LG OLED TV to navigate to the settings menu and select the audio output option.
- Choose “HDMI” as the audio output option to send the audio signal from your TV to the home theater receiver.
- Adjust the volume settings on your LG OLED TV and the home theater receiver to ensure proper audio levels.
By following these steps, you have successfully connected your LG OLED TV to the home theater receiver. This allows the audio and video signals to pass through the HDMI cable, providing a seamless integration between your TV and the receiver.
In the next step, we’ll discuss how to configure the settings on your LG OLED TV to ensure optimal performance with the home theater system. So, let’s move on to Step 3 and fine-tune your audio and video settings!
Step 3: Configure the Settings on the LG OLED TV
After connecting your LG OLED TV to the home theater receiver, it’s time to configure the settings on your TV to optimize the performance with the home theater system. Follow these step-by-step instructions:
- Access the settings menu on your LG OLED TV. You can usually do this by pressing the “Menu” button on your TV remote control.
- Navigate to the “Sound” or “Audio” settings in the menu.
- Adjust the sound mode to the desired setting. Most LG OLED TVs offer various sound modes, such as Standard, Cinema, or Game. Experiment with different modes to find the one that suits your preferences.
- Explore the audio equalizer settings to fine-tune the audio output. These settings allow you to adjust the bass, treble, and other frequencies to your liking.
- Enable any advanced audio features that your LG OLED TV may offer, such as virtual surround sound or dialogue enhancement. Refer to the user manual for specific instructions on accessing and activating these features.
- Verify that the audio output on your LG OLED TV is set to “External Speakers” or “Home Theater System.” This ensures that the audio signal is properly routed to the home theater receiver instead of the TV’s internal speakers.
- Save the settings and exit the menu.
By configuring the settings on your LG OLED TV, you can customize the audio output to your preferences and ensure that the audio signal is directed to the home theater receiver.
In the next step, we’ll guide you through connecting the external speakers to the home theater receiver, unlocking the full potential of your home theater system. So, let’s move on to Step 4 and take your audio experience to the next level!
Step 4: Connect the External Speakers to the Home Theater Receiver
Now that you have connected your LG OLED TV to the home theater receiver and configured the settings on your TV, it’s time to connect the external speakers to the receiver for an immersive audio experience. Follow these step-by-step instructions:
- Identify the speaker outputs on your home theater receiver. These are typically labeled as “Front,” “Center,” “Surround,” and “Subwoofer.”
- Connect the front speakers to the corresponding output terminals on the receiver. Ensure that the positive (+) and negative (-) terminals on the speaker cables match the corresponding terminals on the receiver.
- If you have a center speaker, connect it to the center output terminal on the receiver.
- If you have surround speakers, connect them to the surround output terminals on the receiver.
- If you have a subwoofer, connect it to the subwoofer output terminal on the receiver using a dedicated subwoofer cable. This cable is usually labeled as “Subwoofer” or “LFE.”
- Ensure that all speaker connections are secure and properly tightened.
- Refer to the user manual of your home theater receiver for any additional steps or specific instructions for connecting the speakers.
Connecting the external speakers to the home theater receiver is a crucial step in creating a truly immersive audio experience. Make sure to follow the instructions carefully and double-check the speaker connections.
In the next step, we’ll guide you through testing and adjusting the audio settings to ensure optimal sound quality. So, let’s move on to Step 5 and fine-tune your audio setup!
Step 5: Test and Adjust the Audio Settings
After connecting the external speakers to the home theater receiver, it’s time to test and adjust the audio settings to ensure optimal sound quality. Follow these step-by-step instructions:
- Play a test audio or video source that contains a variety of sounds, including dialogue, music, and sound effects.
- Listen carefully to determine if the audio is balanced among the speakers. The dialogue should be clear and centered from the center speaker, while music and sound effects should be well-distributed across the front and surround speakers.
- If necessary, adjust the speaker levels using the built-in test tone generator on your home theater receiver. This feature allows you to balance the volume of each speaker to achieve a seamless surround sound experience.
- If your receiver has an automatic setup feature, consider running it to optimize the speaker configuration and sound quality. This feature analyzes the speakers and adjusts the settings accordingly.
- Experiment with different audio settings, such as surround sound modes or audio enhancements, to find the configuration that suits your preferences.
- Take the time to fine-tune the audio settings according to your room’s acoustics and personal preferences. This may include adjusting the bass, treble, and other equalizer settings.
- Continue testing and adjusting the audio settings until you are satisfied with the sound quality and balance among the speakers.
Testing and adjusting the audio settings is crucial to ensure that all the speakers are working correctly and the sound is properly balanced. By investing time into this step, you’ll be able to enjoy an immersive audio experience that complements your LG OLED TV’s stunning visuals.
Congratulations! You have successfully connected and set up your LG OLED TV with a home theater system. Now, sit back, relax, and immerse yourself in a cinematic experience from the comfort of your own home.
Conclusion
Congratulations on successfully setting up your LG OLED TV with a home theater system! By following the step-by-step instructions in this guide, you have taken your viewing experience to the next level. Connecting the TV to the receiver, configuring the settings, and connecting the external speakers have all come together to create an immersive audio and visual experience.
Remember, it’s important to gather all the necessary equipment before starting the setup process. Having an LG OLED TV, a compatible home theater receiver, speakers, and appropriate cables will ensure a smooth and seamless integration.
Take the time to explore the various audio settings on your LG OLED TV and home theater receiver. Experiment with different sound modes, adjust the equalizer settings, and fine-tune the speaker levels to find the perfect balance for your personal preferences and room acoustics.
Now, sit back, relax, and enjoy your favorite movies, TV shows, or games with breathtaking visuals and immersive surround sound. With your LG OLED TV connected to a home theater system, you’ll feel like you’re right in the heart of the action.
Remember, always consult the user manual for your specific LG OLED TV and home theater receiver for any additional instructions or troubleshooting tips.
Thank you for choosing LG OLED TV and enjoy your enhanced home theater experience!


