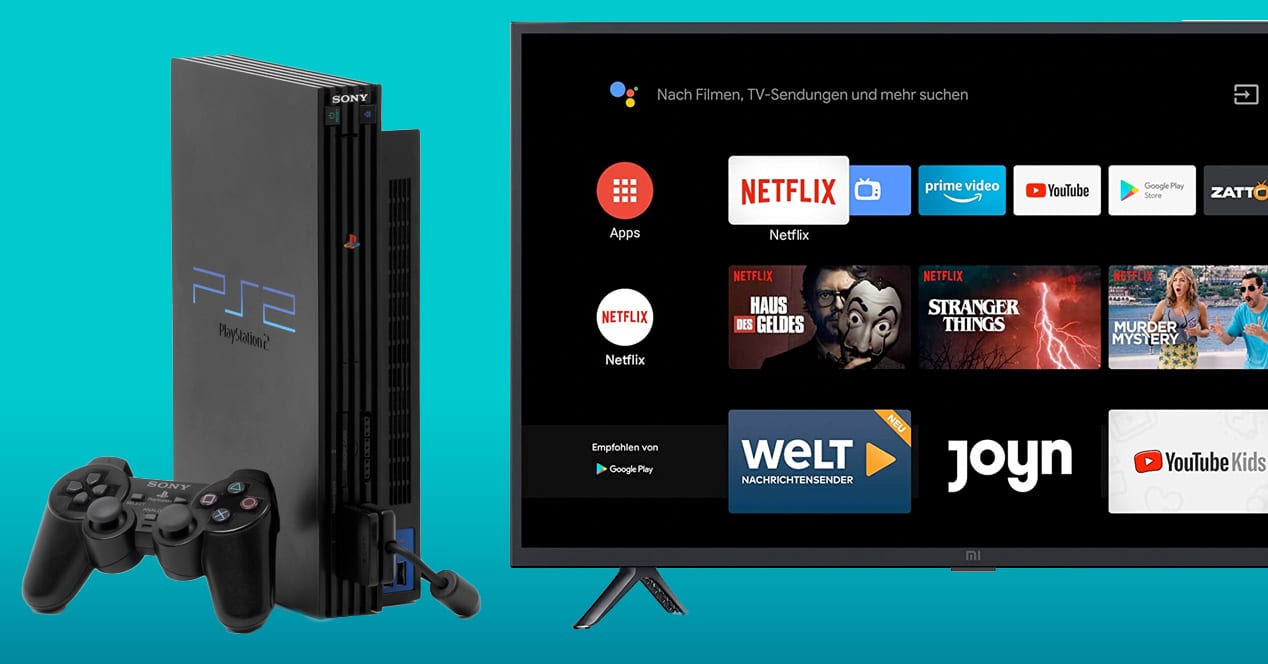
To hook up a VCR to a smart TV, you need an RCA-to-HDMI converter because modern smart TVs almost never include the analog composite inputs that older VCRs use. The converter translates the VCR’s yellow, white, and red RCA signal into a digital HDMI signal your TV can display, much like the process to hook up a PS2 to a smart TV for retro gaming.
What you need to hook up a VCR to a smart TV
Modern smart TVs primarily use digital HDMI inputs and often lack the analog RCA composite ports found on older televisions. That means a direct cable connection between a VCR and a smart TV is almost never possible. The essential piece of equipment is an RCA-to-HDMI converter, a small box that takes the VCR’s composite video and stereo audio and converts it to HDMI. You will also need a set of RCA cables (yellow, white, and red) and an HDMI cable. The RCA cables may come with the converter, but if not, they are inexpensive and widely available. The converter itself usually requires power via a USB cable, which you can plug into the TV’s USB port or a wall adapter. This same converter also lets you hook up my DVD player to my smart TV if it lacks HDMI output.
Connect the VCR to the RCA-to-HDMI converter
Start by locating the RCA output ports on the back of your VCR. They are typically labeled “OUT” and are color-coded: yellow for composite video, white for left audio, and red for right audio. Plug the yellow RCA cable into the yellow video output on the VCR, the white cable into the white audio output, and the red cable into the red audio output. Then take the other ends of those same cables and plug them into the corresponding “INPUT” ports on the RCA-to-HDMI converter. The converter’s input ports are also color-coded, so matching yellow to yellow, white to white, and red to red is straightforward. Make sure each connection is pushed in firmly, as loose RCA plugs are a common cause of signal loss.
Connect the converter to your smart TV
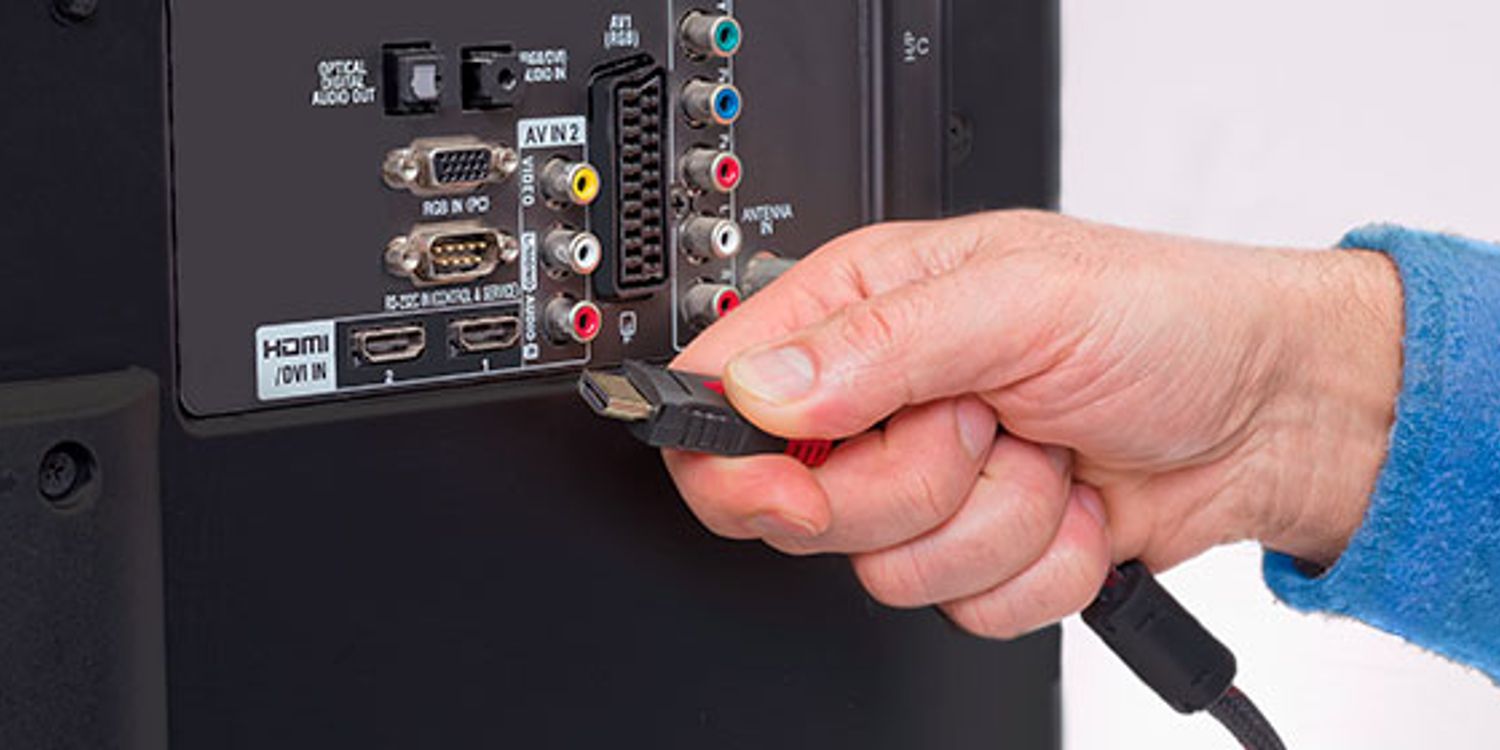
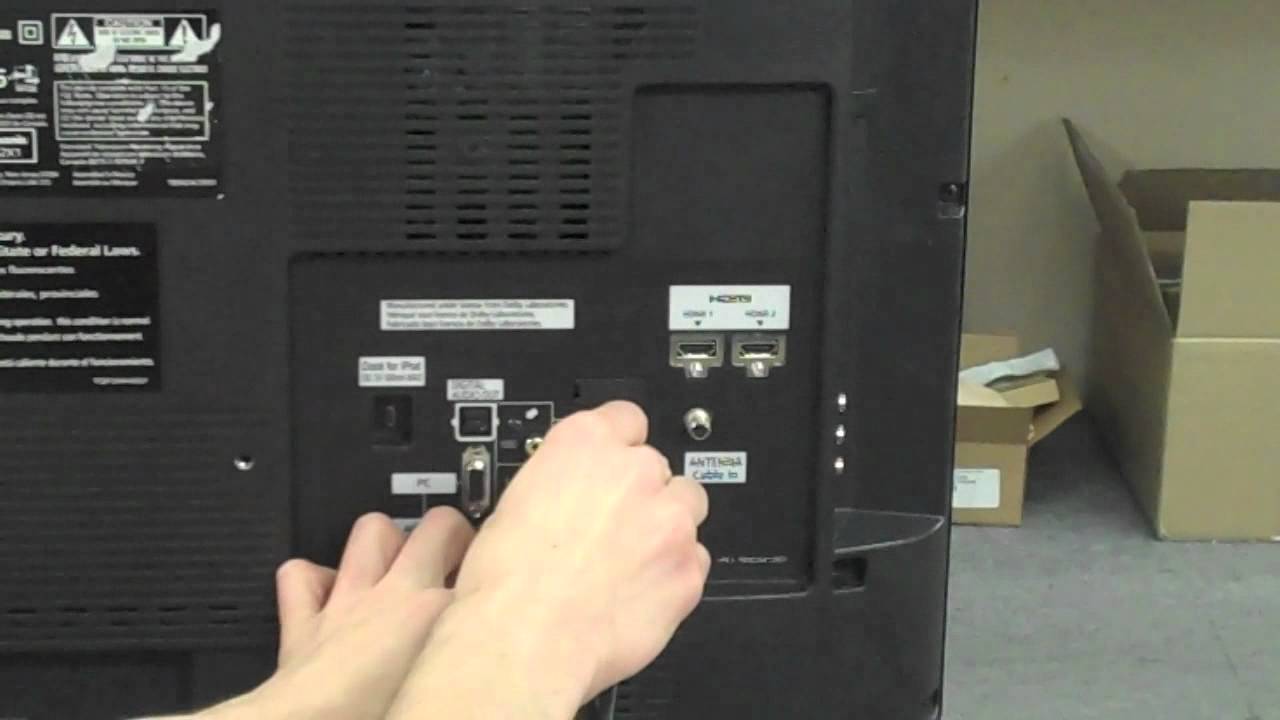
Once the VCR is connected to the converter, take an HDMI cable and plug one end into the converter’s “OUTPUT” port. Plug the other end into an available HDMI input port on your smart TV. Most smart TVs have multiple HDMI ports, usually labeled HDMI 1, HDMI 2, and so on, note which one you use. Next, power the converter. Most RCA-to-HDMI converters include a USB power cable; connect that cable to the converter’s power input and plug the USB end into a USB port on your TV or a USB wall charger. Without power, the converter will not work, even if all the cables are connected correctly.
Select the right input on your smart TV
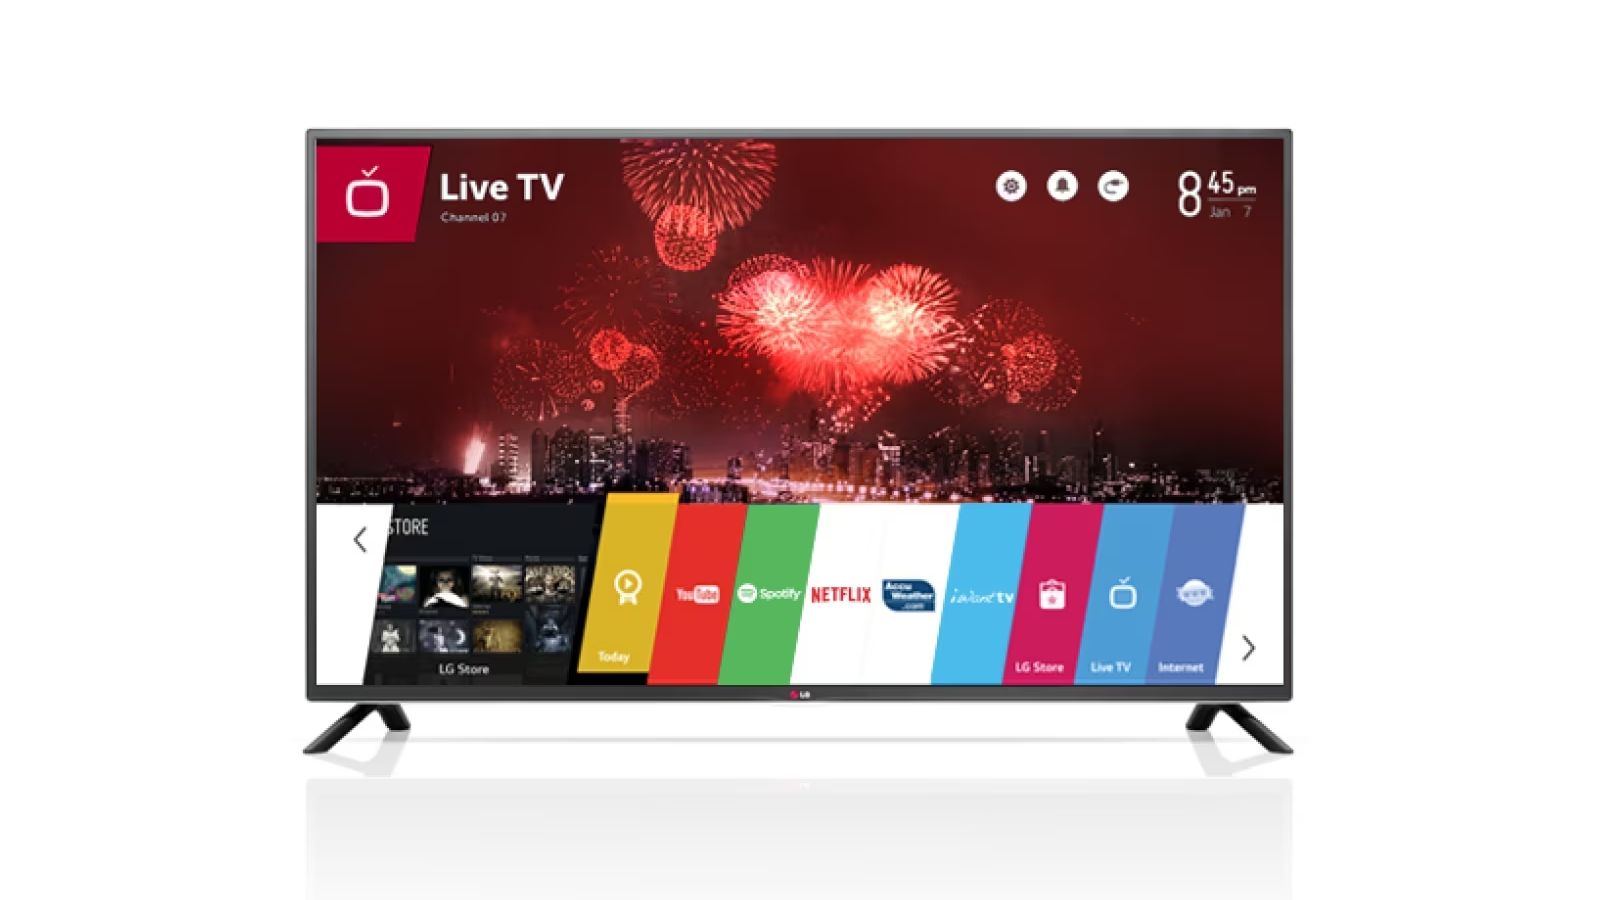
Turn on your VCR, the converter, and your smart TV. Using the TV remote, press the button labeled “INPUT,” “SOURCE,” or “TV/AV,” or look for an icon of a rectangle with an arrow pointing in, this opens the input selection menu. Choose the HDMI port that you plugged the converter into. If you see a blank screen, double-check that the converter is powered and that the HDMI cable is fully seated in both the converter and the TV. Also confirm that the VCR is turned on and not in standby mode. If the screen is still blank, try a different HDMI port on the TV and reselect that input.
Play a tape and adjust your expectations
Insert a VHS tape into the VCR and press play. The video and audio from the tape should now appear on your smart TV. Keep in mind that converters typically upscale the video to 720p or 1080p resolution, but the original VHS content remains standard definition, so picture quality will not be high-definition. The inherent low resolution of VHS tapes means that even with conversion, the picture quality on a high-definition smart TV will appear significantly less sharp than modern digital content. You will see the image stretched or softened, with visible color bleeding and grain, this is normal and simply reflects the limitations of the tape format itself.
Troubleshooting common VCR connection problems
If you get no picture, first verify that the yellow RCA cable is plugged into the VCR’s video output and the converter’s video input. A common mistake is plugging the yellow cable into a different port or leaving it loose. If you have audio but no video, check that the yellow cable is not swapped with a red or white cable. If you have video but no audio, confirm that the white and red cables are matched to the correct left and right audio ports on both the VCR and the converter. If the picture appears in black and white, the issue is usually a loose or incorrect video connection, reseat the yellow cable and try again. Also make sure the VCR is set to the correct output mode if it has a switch for RF or line output. Finally, try a different VHS tape, because a damaged or worn tape can cause playback problems that are unrelated to the connection. If the problem persists, power everything off, unplug the converter, and reconnect all cables from scratch, ensuring each plug is fully inserted.
For the wider topic, see watching live TV on a smart TV.