Introduction
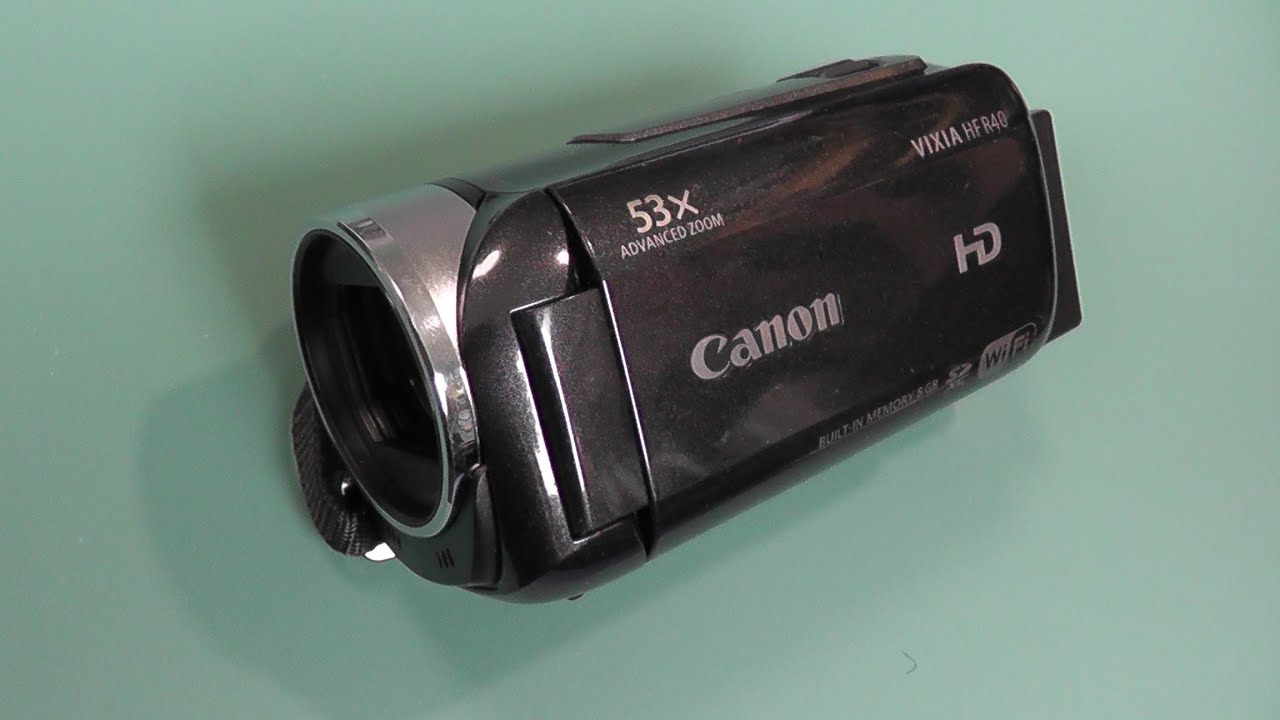
Resetting your Canon Vixia HF R40 camcorder to its factory defaults can be a useful troubleshooting step if you're experiencing technical issues or if you simply want to start afresh. This process restores all settings to their original state, effectively wiping out any customizations or configurations you may have made. Whether you're preparing to sell or pass on your camcorder, or you're encountering persistent performance issues, a factory reset can often resolve such issues and return the device to its default, out-of-the-box state.
Performing a factory reset on your Canon Vixia HF R40 camcorder can help to address a range of issues, including freezing, unresponsive controls, or persistent error messages. It's important to note that this process will erase all personalized settings, so it's essential to back up any important data or settings before proceeding. In the following steps, we'll guide you through the process of resetting your Canon Vixia HF R40 camcorder to its factory defaults, ensuring that you can do so confidently and effectively.
Step 1: Accessing the Menu
To begin the process of resetting your Canon Vixia HF R40 camcorder to its factory defaults, you will first need to access the menu system. Ensure that the camcorder is powered on and ready for operation before proceeding with the following steps:
- Power On the Camcorder: Locate the power button on your Canon Vixia HF R40 camcorder and press it to turn the device on. Wait for the device to complete the startup process before proceeding to the next step.
- Access the Main Menu: Once the camcorder is powered on, you will need to access the main menu. To do this, locate the menu button on the camcorder. It is typically represented by an icon with three horizontal lines or the word “Menu” next to it. Press this button to access the main menu interface.
- Navigate the Menu: Using the navigation controls, typically located near the menu button, navigate through the menu options to locate the settings menu. The navigation controls may include directional buttons or a joystick that allows you to move up, down, left, and right within the menu interface.
By following these steps, you will successfully access the menu system on your Canon Vixia HF R40 camcorder, setting the stage for the subsequent steps involved in resetting the device to its factory defaults.
Step 2: Navigating to the Reset Option
Once you have accessed the main menu on your Canon Vixia HF R40 camcorder, the next step is to navigate to the reset option. This will allow you to initiate the process of restoring the camcorder to its factory defaults. Follow the steps below to locate the reset option within the menu:
- Locate the Settings Submenu: Within the main menu, look for the settings submenu. This is where you will find the option to reset the camcorder to its factory defaults. Use the navigation controls to move through the menu options until you find the settings submenu.
- Find the Reset Option: Once you have accessed the settings submenu, continue navigating through the options until you locate the reset or initialize option. This may be labeled as “Reset,” “Initialize,” or something similar. The specific wording may vary based on the camcorder’s firmware version, but the function remains the same.
- Select the Reset Option: Once you have located the reset option, use the navigation controls to highlight it. Depending on the camcorder’s interface, you may need to press a specific button to enter the submenu and access the reset option. Refer to the on-screen prompts or the camcorder’s user manual for guidance on selecting the reset option.
By following these steps, you will successfully navigate to the reset option within the menu of your Canon Vixia HF R40 camcorder, preparing to initiate the process of resetting the device to its factory defaults.
Step 3: Selecting Factory Defaults
After successfully navigating to the reset option within the menu of your Canon Vixia HF R40 camcorder, the next step is to select the factory defaults. This critical step initiates the process of restoring the camcorder to its original settings. Follow the instructions below to proceed with selecting the factory defaults:
- Enter the Reset Submenu: Once you have located the reset option within the settings submenu, you may need to enter a dedicated reset submenu to access the factory defaults selection. Use the navigation controls to enter this submenu, following any on-screen prompts or instructions provided in the user manual.
- Select Factory Defaults: Within the reset submenu, look for the option to restore the camcorder to its factory defaults. This option may be labeled as “Factory Defaults,” “Default Settings,” or something similar. Once you have located this option, use the navigation controls to highlight it.
- Initiate the Reset: With the factory defaults option highlighted, proceed to initiate the reset process. Depending on the camcorder’s interface, you may need to press a specific button to confirm your selection and begin the restoration process. Follow any on-screen prompts or instructions provided in the user manual to complete this step.
By following these steps, you will successfully select the factory defaults within the reset submenu of your Canon Vixia HF R40 camcorder, setting the stage for the final step of confirming the reset and restoring the device to its original state.
Step 4: Confirming the Reset
As you approach the final step of resetting your Canon Vixia HF R40 camcorder to its factory defaults, it’s crucial to confirm the reset to ensure that the restoration process is initiated accurately. Follow the instructions below to confirm the reset and complete the process:
- Review the Confirmation Prompt: After selecting the factory defaults option, your camcorder may display a confirmation prompt to ensure that you intend to proceed with the reset. Take a moment to review this prompt, as it may provide important information about the consequences of resetting the device to its factory defaults.
- Confirm the Reset: If you are certain that you want to restore the camcorder to its original settings, proceed to confirm the reset. Depending on the interface, you may need to press a specific button or follow on-screen prompts to confirm your selection. This action will initiate the reset process, reverting all settings to their factory defaults.
- Wait for the Process to Complete: Once you have confirmed the reset, allow the camcorder to complete the restoration process. This may involve the device powering off and then restarting with the factory default settings in place. Be patient as the camcorder undergoes this process, ensuring that it is not interrupted.
By following these steps, you will successfully confirm the reset of your Canon Vixia HF R40 camcorder to its factory defaults, completing the restoration process and returning the device to its original state.
Conclusion
Resetting your Canon Vixia HF R40 camcorder to its factory defaults can serve as an effective solution for addressing technical issues or preparing the device for a new user. By following the step-by-step guide provided, you can confidently navigate the menu, access the reset option, select the factory defaults, and confirm the reset, ensuring that the process is carried out accurately and seamlessly.
It’s important to remember that performing a factory reset will erase all personalized settings and configurations, so it’s advisable to back up any important data or settings before initiating the reset. Additionally, familiarizing yourself with the camcorder’s interface and menu system will help streamline the process and ensure that you can easily navigate to the reset option and initiate the restoration process.
Whether you’re troubleshooting technical issues or preparing to pass on your Canon Vixia HF R40 camcorder, the ability to reset the device to its factory defaults provides a valuable tool for maintaining its optimal performance and usability. By following the outlined steps, you can confidently reset your camcorder, addressing any persistent issues and returning the device to its original, out-of-the-box state.