Introduction
Are you looking to elevate the quality of your video calls and live streams? Using a camcorder as a webcam can significantly enhance the visual appeal of your content, providing crisper images and better overall video quality. This guide will walk you through the process of utilizing your camcorder as a webcam using an HDMI connection. By following these steps, you can harness the superior optics and advanced features of your camcorder to elevate your online presence.
Whether you're a content creator, a remote worker, or simply someone who values high-quality video communication, leveraging your camcorder as a webcam can be a game changer. With the ability to capture stunning visuals and take advantage of advanced settings such as zoom, focus, and exposure control, your camcorder can offer a significant upgrade over traditional webcams.
By harnessing the power of your camcorder, you can take your video calls, live streams, and online presentations to the next level, projecting a professional and polished image to your audience. This guide will provide you with the necessary steps to seamlessly integrate your camcorder into your computer setup, unlocking its full potential as a high-definition webcam.
Now, let's dive into the step-by-step process of transforming your camcorder into a powerful webcam, allowing you to harness its advanced optics and features for your online endeavors. Whether you're a seasoned videographer or a beginner looking to enhance your video quality, this guide will equip you with the knowledge to make the most of your camcorder's capabilities in the digital realm.
Step 1: Check your camcorder’s HDMI output
Before embarking on the journey of using your camcorder as a webcam, it’s essential to verify that your camcorder is equipped with an HDMI output. Most modern camcorders come with an HDMI port, which allows for seamless connectivity to external displays and devices, including computers.
To begin, locate the HDMI port on your camcorder. It is typically a small, trapezoid-shaped interface that facilitates the transmission of high-definition video and audio signals. The HDMI port may be labeled as “HDMI Out” or “HDMI.” If you are unable to locate the HDMI port, refer to your camcorder’s user manual for detailed instructions on identifying this crucial component.
Once you have identified the HDMI port, inspect the specifications of your camcorder to ensure that it supports the necessary video output resolutions for webcam usage. Ideally, your camcorder should be capable of outputting at least 720p or 1080p resolution through its HDMI connection, as these are the standard resolutions for high-definition webcam streaming.
Additionally, check if your camcorder offers clean HDMI output, meaning that the video feed transmitted through the HDMI port does not include any on-screen display (OSD) information, such as recording status indicators or menu overlays. Clean HDMI output is crucial for ensuring a professional and uncluttered video feed when using your camcorder as a webcam.
By confirming the presence of an HDMI port and assessing its output capabilities, you can lay the foundation for seamlessly integrating your camcorder into your computer setup as a high-quality webcam. This initial step is vital in determining the compatibility and suitability of your camcorder for webcam usage, setting the stage for the subsequent steps in this transformative process.
Step 2: Purchase necessary equipment
Once you have confirmed that your camcorder is equipped with an HDMI output and is capable of meeting the resolution requirements for webcam usage, the next step involves acquiring the essential equipment to facilitate the connection between your camcorder and computer.
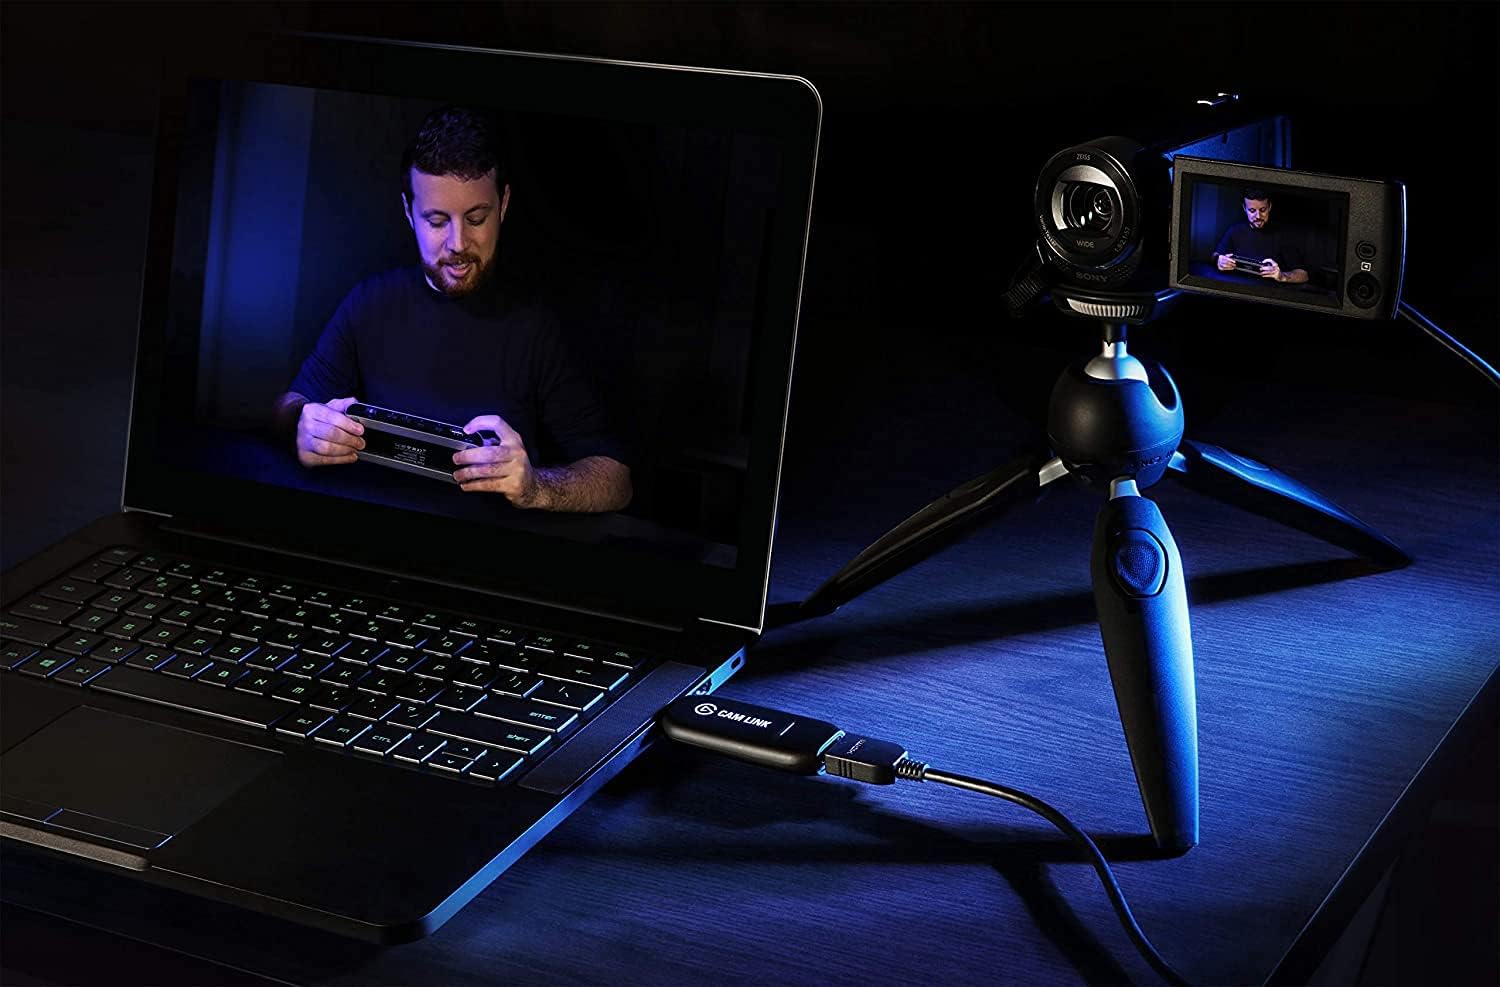
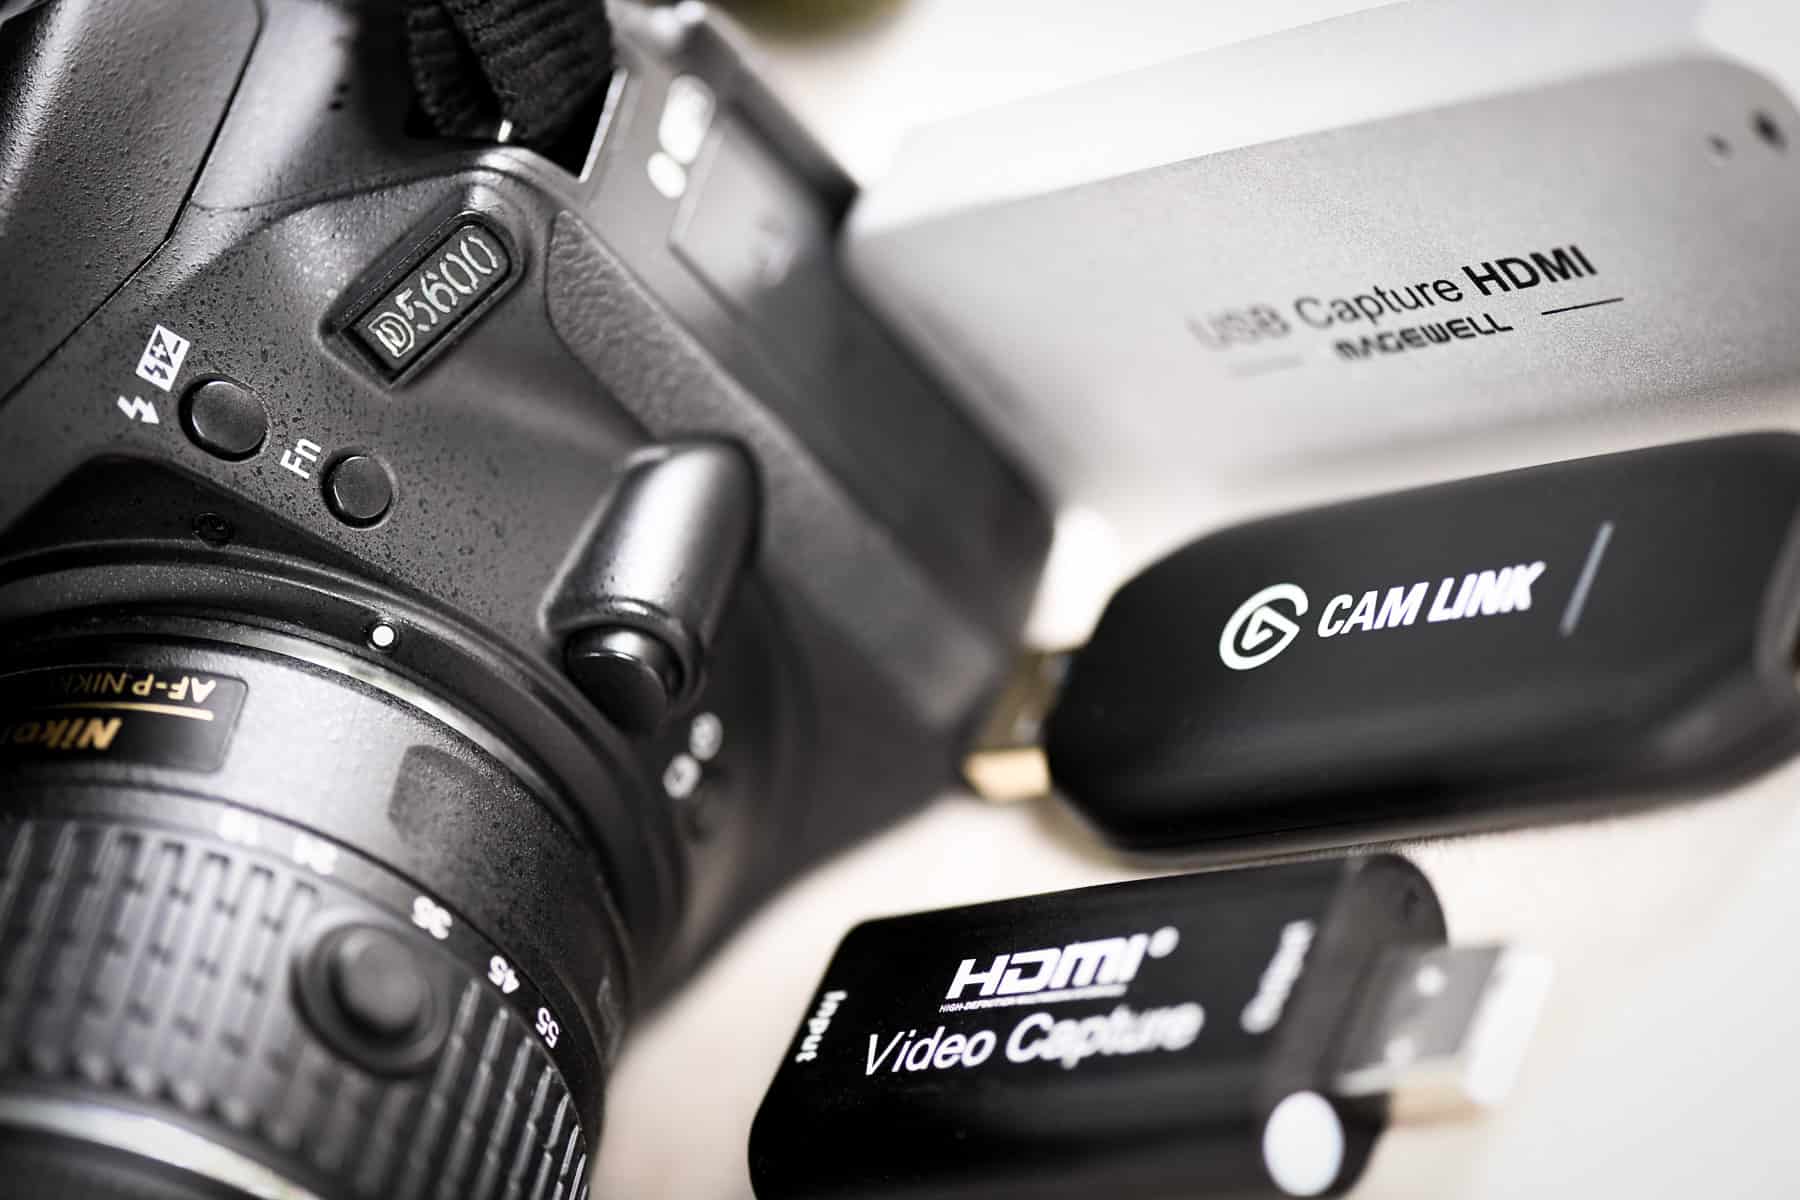
The primary piece of equipment you will need is an HDMI capture device or video capture card. This device serves as the intermediary between your camcorder and computer, allowing the video and audio signals from the camcorder to be transmitted to your computer via USB. There are various HDMI capture devices available on the market, ranging from compact USB-powered options to more advanced internal capture cards designed for desktop computers.
When selecting an HDMI capture device, consider factors such as compatibility with your computer’s operating system, the input and output resolutions supported, and any additional features that may enhance the streaming and recording capabilities of your camcorder. It is advisable to choose a capture device that is known for its reliability and seamless integration with a wide range of camcorders and computers.
Additionally, you may need to procure an HDMI cable of sufficient length to connect your camcorder to the HDMI capture device. Ensure that the HDMI cable is of high quality and capable of transmitting high-definition video and audio signals without degradation. The length of the HDMI cable should accommodate the distance between your camcorder and the computer, allowing for a flexible and convenient setup.
Depending on the specific requirements of your computer and camcorder, you may also need to consider any additional adapters or connectors that may be necessary to establish a secure and stable connection. It is essential to research the compatibility of the equipment you intend to purchase, ensuring that it aligns with the specifications of your camcorder and computer.
By acquiring the necessary equipment, including an HDMI capture device, HDMI cable, and any relevant adapters, you can prepare to bridge the gap between your camcorder and computer, laying the groundwork for transforming your camcorder into a high-quality webcam. This investment in the right tools will enable you to unleash the full potential of your camcorder for video communication and content creation.
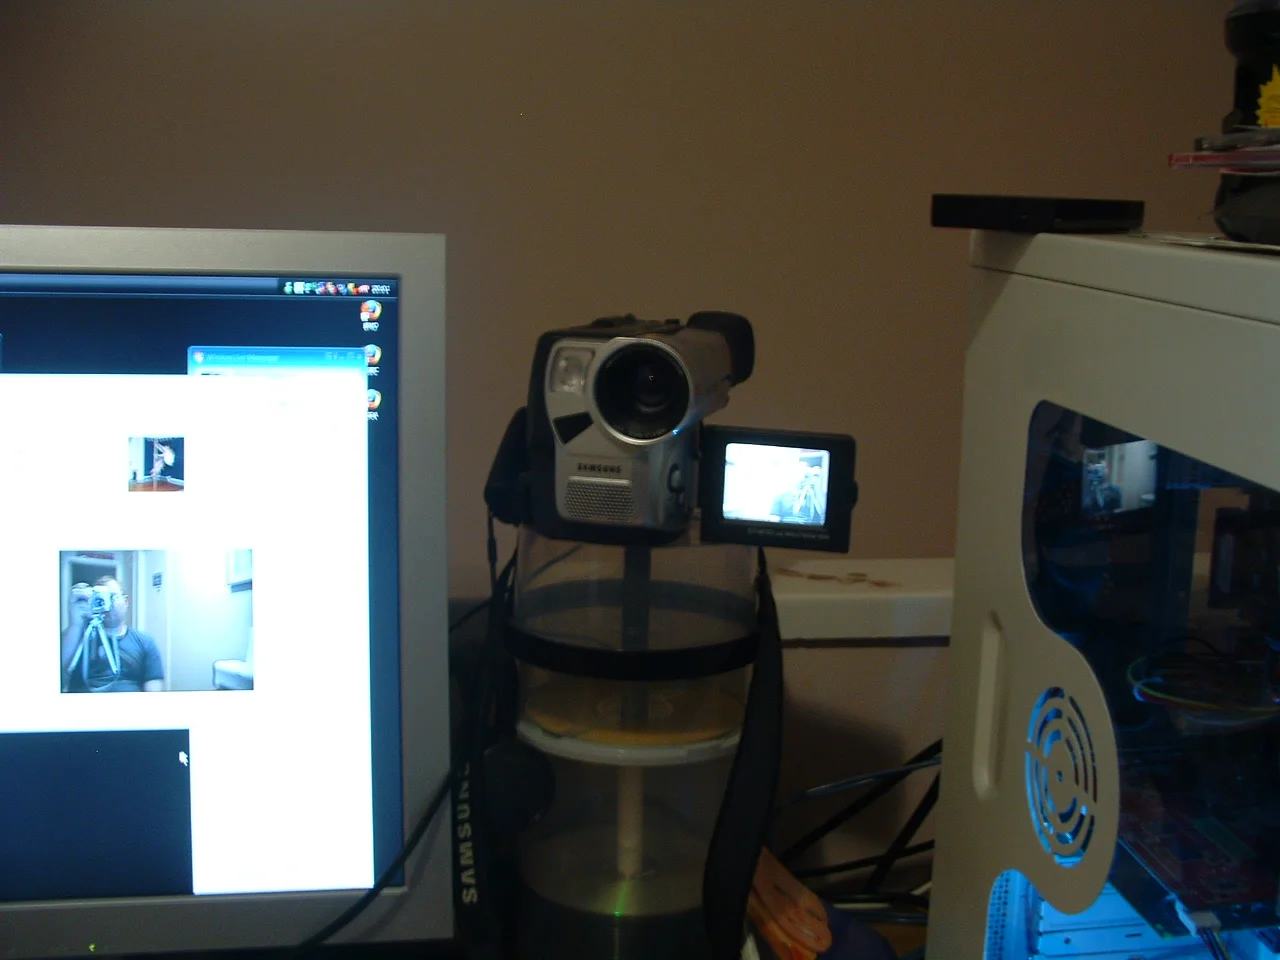
Step 3: Connect the camcorder to the computer
With the necessary equipment in hand, it’s time to initiate the connection between your camcorder and computer, establishing the pathway for transmitting high-quality video and audio from the camcorder to your computer for use as a webcam.
Begin by connecting one end of the HDMI cable to the HDMI output port on your camcorder. Ensure that the connection is secure and that the cable is free from any damage that may impede the transmission of video and audio signals. The HDMI cable serves as the conduit through which the visual and auditory data captured by your camcorder will be transferred to the HDMI capture device.
Next, connect the other end of the HDMI cable to the input port of the HDMI capture device. This establishes the link between your camcorder and the capture device, allowing for the seamless transmission of high-definition video and audio signals to your computer. Verify that the connection is secure and that the HDMI capture device is ready to receive the incoming signals from the camcorder.
Once the physical connections are in place, connect the HDMI capture device to your computer using the appropriate interface, such as a USB port. Depending on the type of HDMI capture device you have chosen, it may require a direct USB connection to your computer or be designed to interface with an internal expansion slot, such as a PCIe slot in a desktop computer. Follow the manufacturer’s instructions for connecting the capture device to your computer, ensuring that it is recognized and ready for use.
At this stage, it is essential to install any drivers or software provided with the HDMI capture device to enable seamless communication between the camcorder, capture device, and computer. These drivers and software are instrumental in facilitating the transfer of video and audio data from the camcorder to your computer, ensuring that the webcam functionality is fully operational and optimized for high-quality streaming and recording.
By meticulously establishing the connections between your camcorder, HDMI capture device, and computer, you are laying the groundwork for harnessing the advanced capabilities of your camcorder as a high-definition webcam. This pivotal step sets the stage for configuring the camcorder as a webcam on your computer, unlocking its potential for delivering stunning visuals and superior video quality in your online interactions and content creation endeavors.
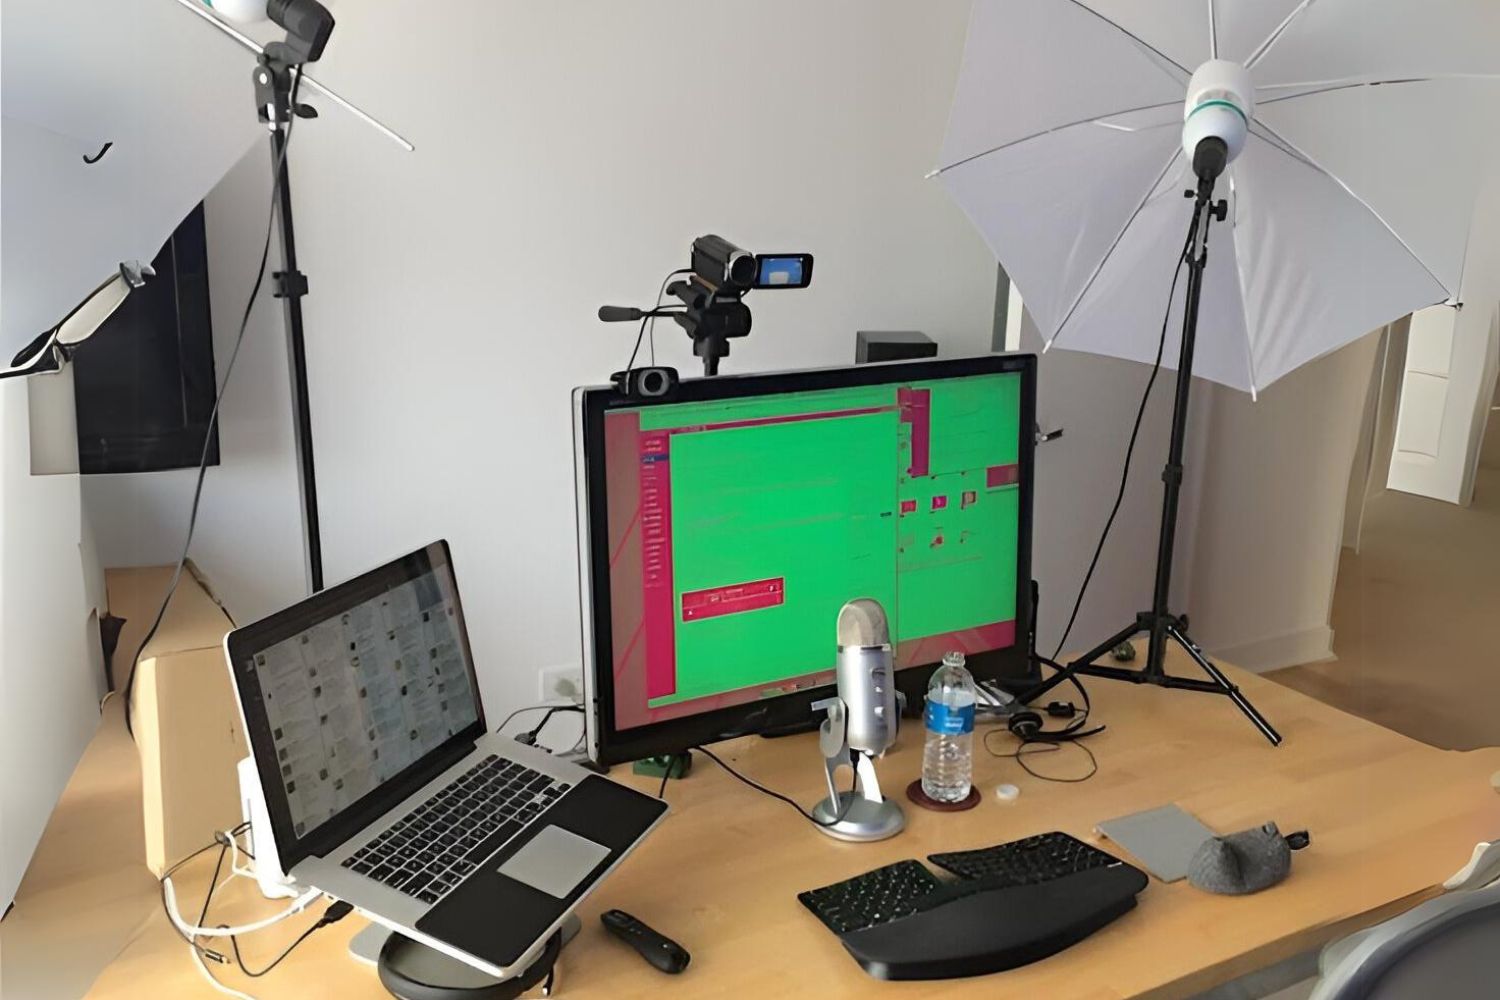
Step 4: Set up the camcorder as a webcam on your computer
With the physical connections established between your camcorder, HDMI capture device, and computer, it’s time to configure the camcorder as a webcam, ensuring that your computer recognizes and utilizes the high-quality video and audio feed from the camcorder for online communication and content creation.
Begin by accessing the settings or preferences of your computer’s operating system to identify the connected HDMI capture device. Depending on the operating system you are using, this process may involve accessing the device manager or system preferences to locate the HDMI capture device and verify that it is recognized and functioning correctly. Ensure that the capture device is listed as an available video input source for your computer.
Once the HDMI capture device is identified by your computer, navigate to the settings of your preferred video communication or streaming software, such as Zoom, Skype, OBS Studio, or other similar applications. Within the software settings, locate the option to select a video input device and choose the HDMI capture device that is connected to your camcorder. This step establishes the direct link between your camcorder and the software, enabling it to receive the high-definition video and audio signals for use in your online interactions.
Depending on the capabilities of your camcorder and the features offered by the video communication or streaming software, you may have the opportunity to further customize the settings to optimize the video feed from your camcorder. This may include adjusting parameters such as exposure, focus, white balance, and other advanced settings to enhance the visual quality of the webcam feed and ensure that it aligns with your specific requirements.
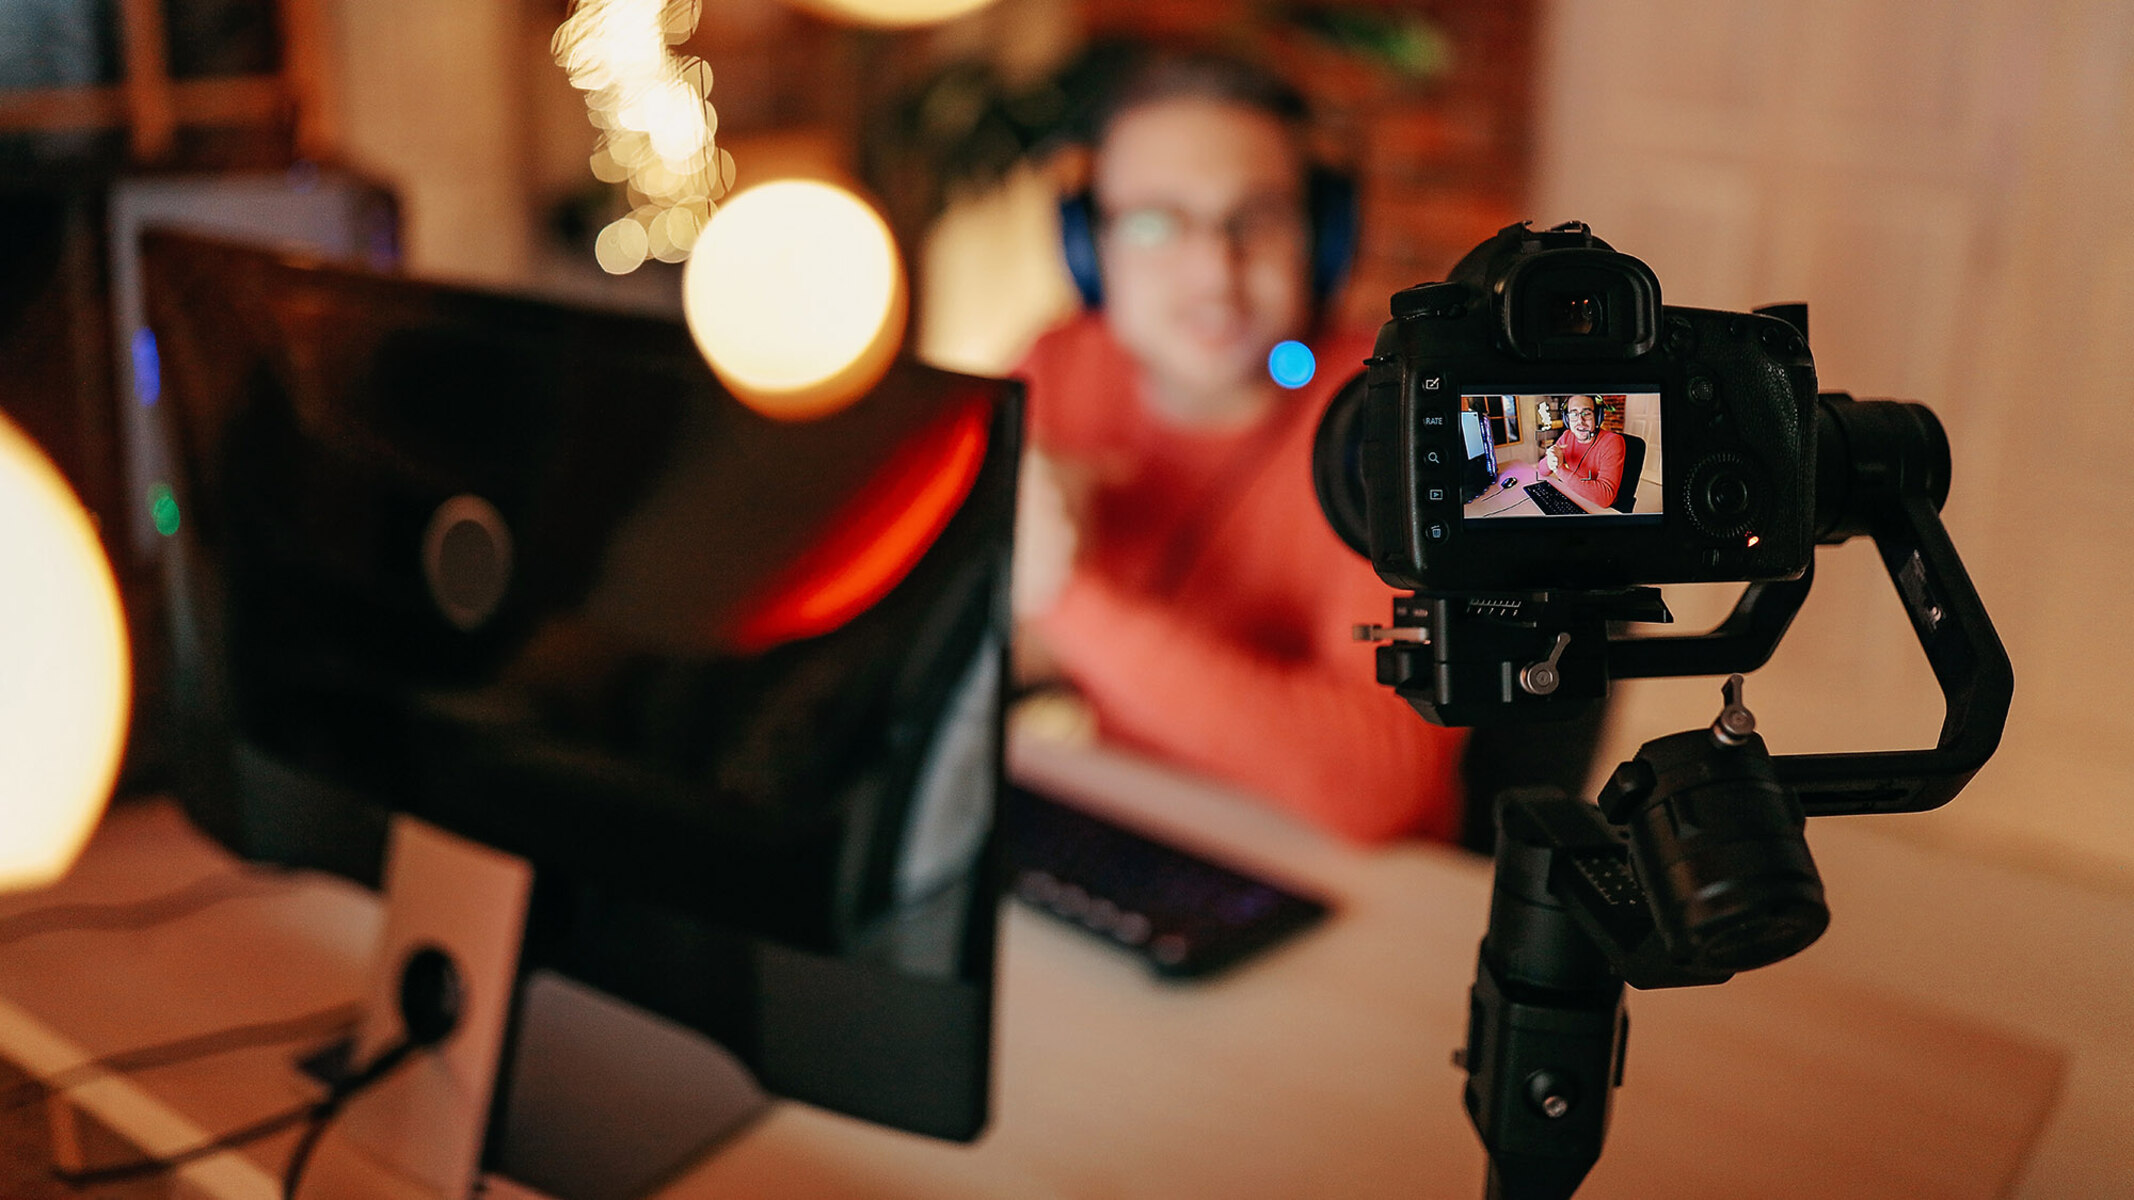
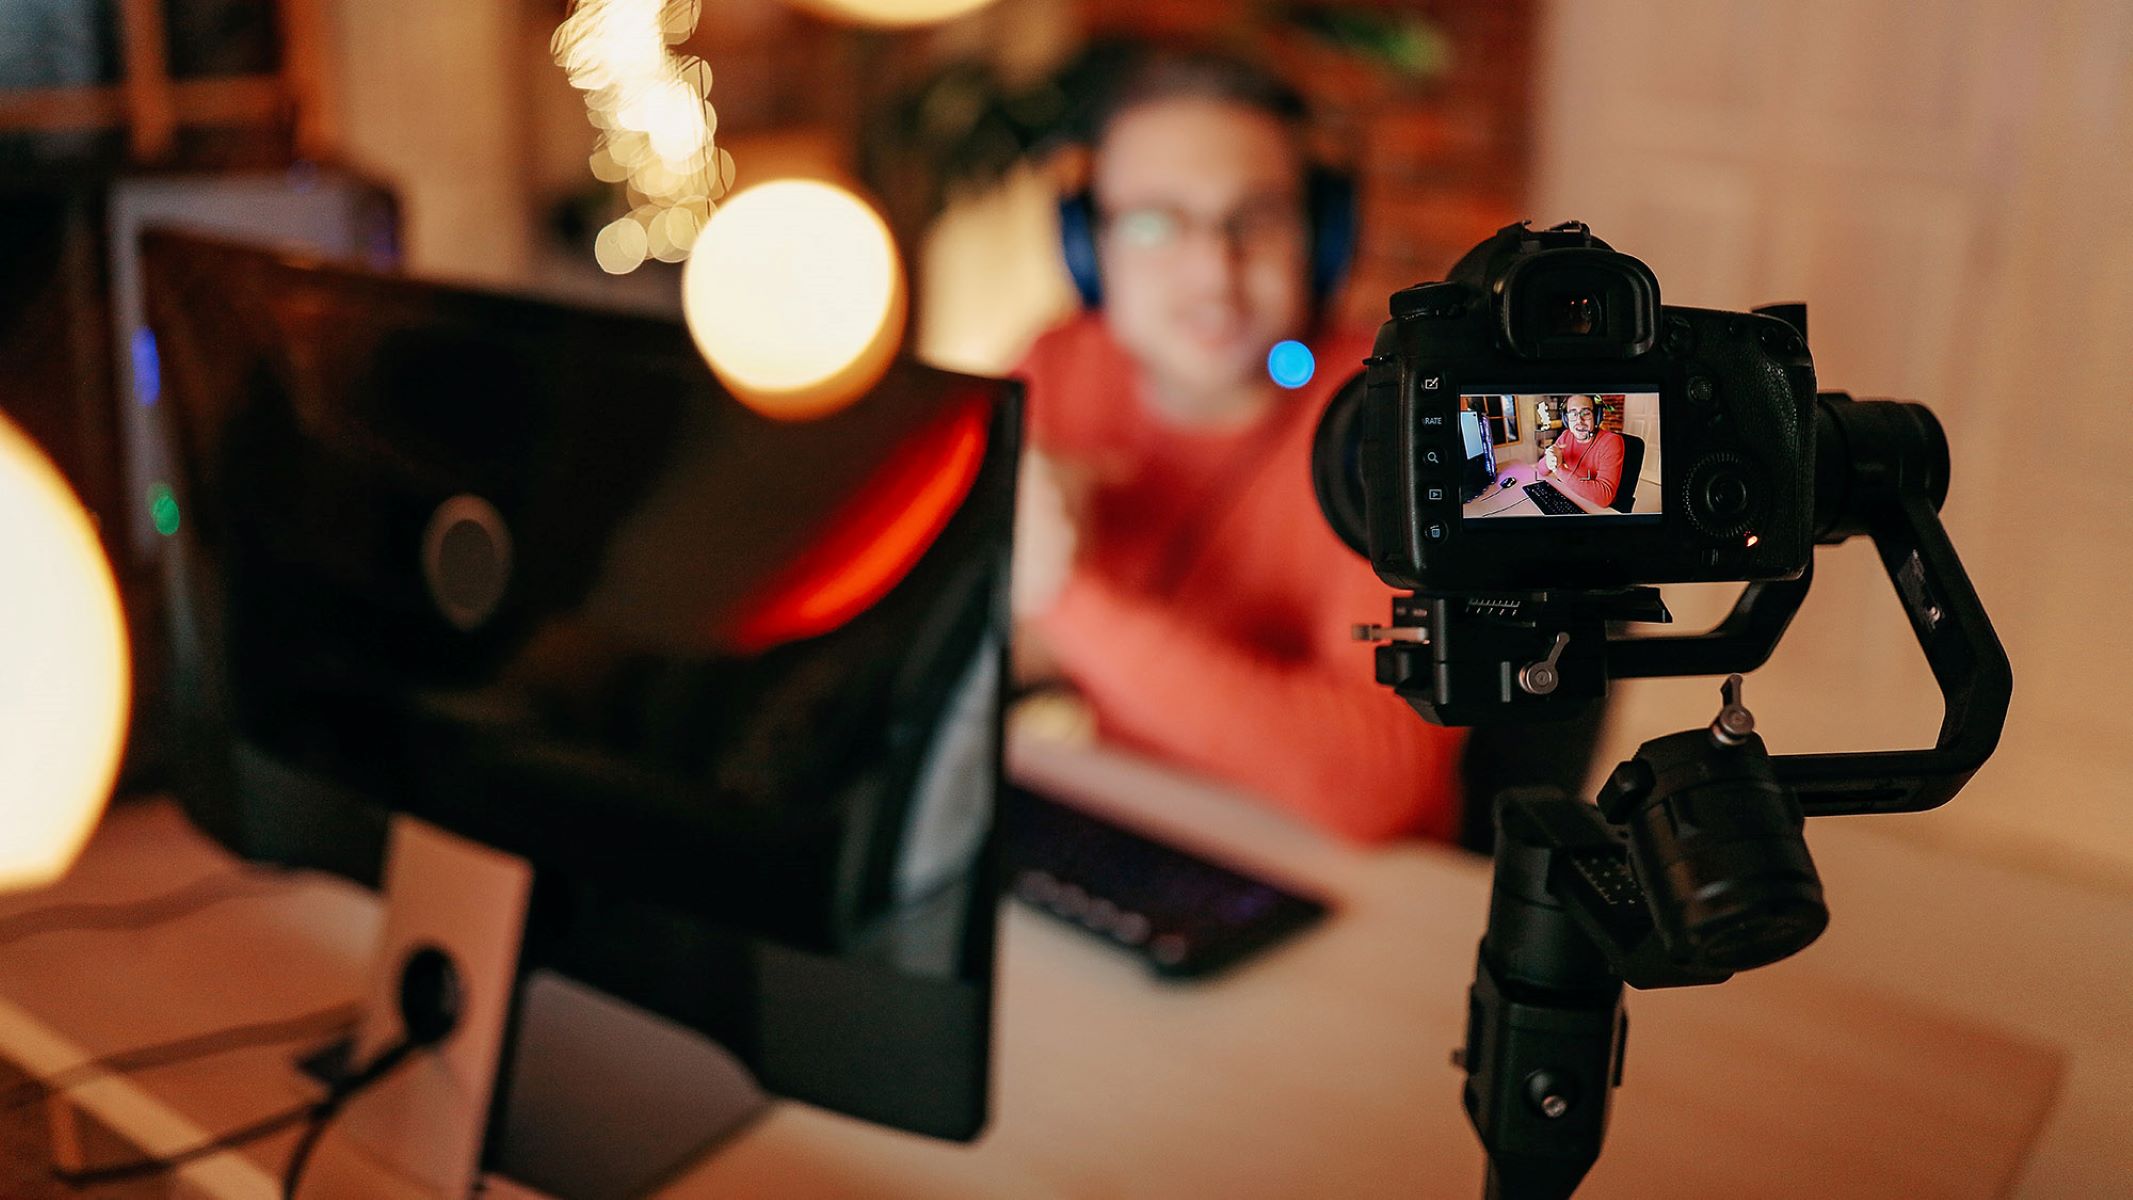
It is advisable to test the webcam functionality of your camcorder within the selected software to verify that the video and audio signals are being transmitted effectively and that the quality meets your expectations. Conduct a trial run of the webcam setup, making adjustments as necessary to achieve the desired visual and auditory output from your camcorder. This testing phase allows you to fine-tune the settings and ensure that your camcorder is delivering the level of performance you seek in your online interactions and content creation.
By configuring the camcorder as a webcam on your computer and optimizing the settings within your preferred video communication or streaming software, you are poised to leverage the advanced optics and features of your camcorder for high-quality video calls, live streams, and online presentations. This transformative step unlocks the full potential of your camcorder, elevating the visual impact of your digital presence and setting the stage for captivating and professional content creation.
Step 5: Test the camcorder as a webcam
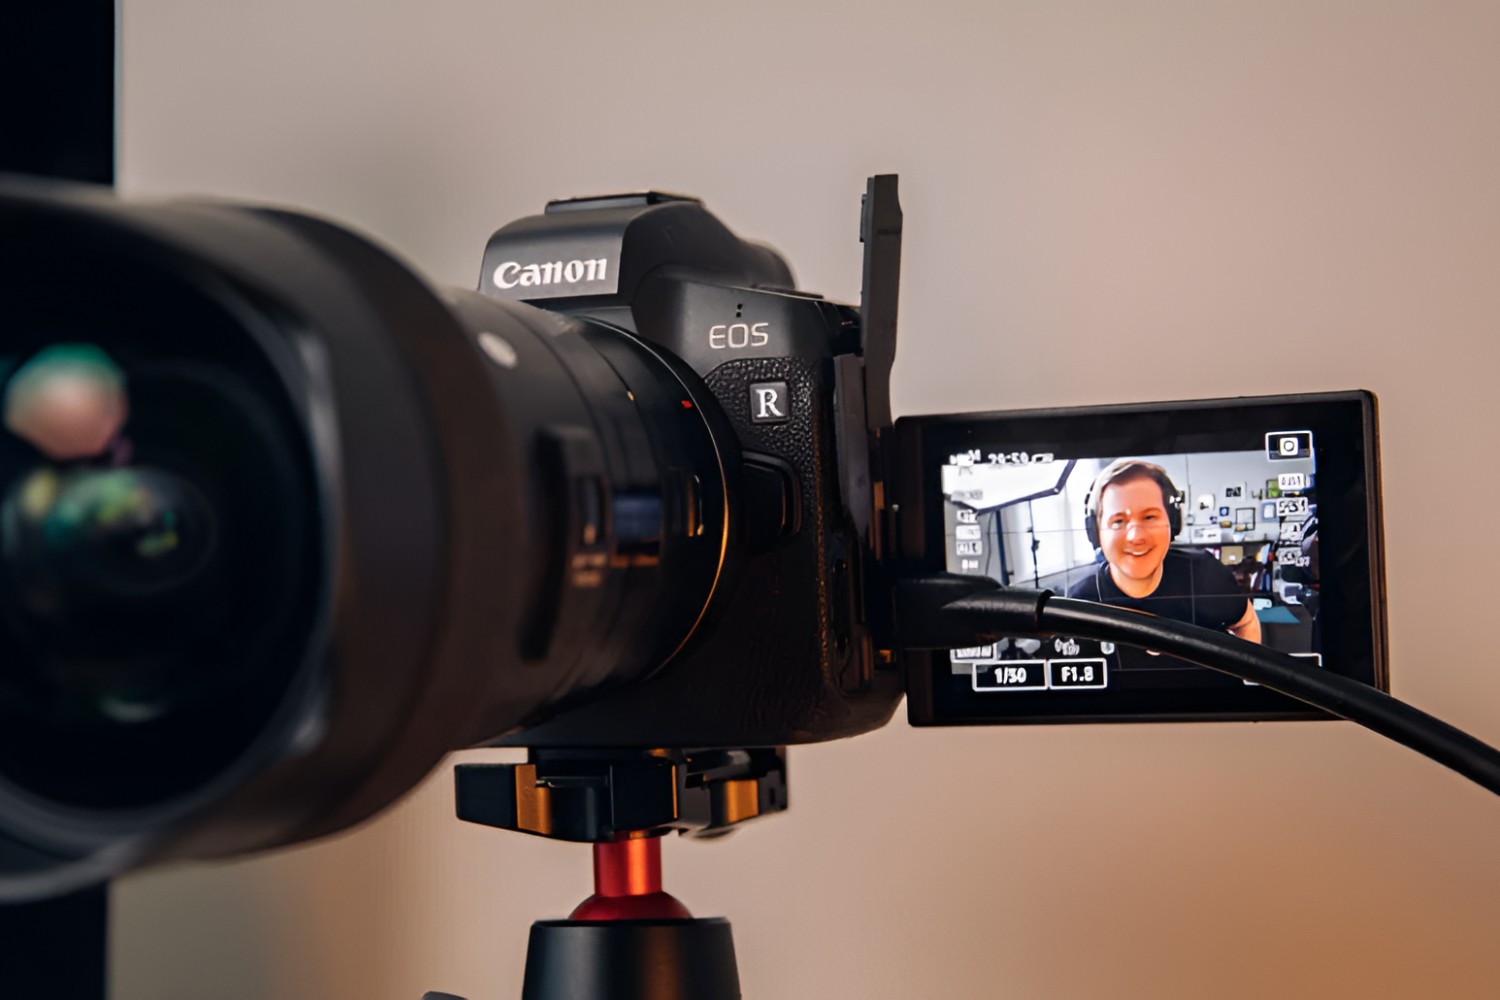
After configuring your camcorder as a webcam on your computer, it is essential to conduct thorough testing to ensure that the video and audio signals are being transmitted effectively and that the overall performance meets your expectations. Testing the camcorder as a webcam allows you to verify the quality of the video feed, assess the audio output, and make any necessary adjustments to optimize the setup for your specific needs.
Begin by launching your preferred video communication or streaming software and initiating a test call or stream. This provides an opportunity to observe the video and audio output from your camcorder in a real-world scenario, allowing you to assess the clarity, color accuracy, and overall visual quality of the webcam feed. Pay close attention to details such as sharpness, exposure, and color balance to ensure that the video output aligns with your desired standards.
During the testing phase, engage in various movements and gestures to gauge how the camcorder responds to changes in lighting, focus, and motion. Assess the stability of the video feed and the consistency of the audio output, ensuring that the camcorder performs reliably and delivers a professional-quality experience for your audience or collaborators.
If your camcorder offers advanced features such as zoom, image stabilization, or manual focus control, take the opportunity to explore and test these capabilities within the context of your video calls or live streams. Determine how these features enhance the visual presentation and whether they contribute to a more engaging and polished overall experience for your viewers.
As you conduct the testing, solicit feedback from trusted individuals or colleagues who can provide objective observations regarding the quality of the webcam feed and the overall impact of the camcorder’s performance. Their insights can offer valuable perspectives and help identify any areas that may require further refinement or adjustment to optimize the camcorder’s role as a webcam.
Throughout the testing process, take note of any technical issues, audiovisual anomalies, or areas for improvement that may arise. These observations can inform your ongoing efforts to fine-tune the settings, address any challenges, and maximize the potential of your camcorder as a high-quality webcam for your specific use cases.
By thoroughly testing the camcorder as a webcam, you can gain confidence in its ability to deliver exceptional video and audio quality, setting the stage for engaging and professional online interactions, content creation, and live streaming. This critical step ensures that your camcorder is fully optimized to meet the demands of your digital endeavors, providing a superior visual experience for your audience and enhancing your overall online presence.
Conclusion
Transforming your camcorder into a high-quality webcam using an HDMI connection offers a myriad of benefits, ranging from superior video and audio quality to advanced features that elevate your online presence. By following the step-by-step process outlined in this guide, you can seamlessly integrate your camcorder into your computer setup, harnessing its advanced optics and capabilities for a professional and polished webcam experience.
From verifying the presence of an HDMI output on your camcorder to conducting comprehensive testing of the webcam setup, each step in this process is instrumental in ensuring that your camcorder performs optimally as a webcam for video calls, live streams, and online presentations. The investment in the necessary equipment, including an HDMI capture device and high-quality HDMI cable, lays the foundation for unlocking the full potential of your camcorder’s video and audio capabilities.
As you configure your camcorder as a webcam on your computer and fine-tune the settings within your preferred video communication or streaming software, you are poised to deliver captivating visuals and professional-grade audio to your audience. The testing phase allows you to refine the setup, address any technical considerations, and ensure that your camcorder meets the highest standards for online content creation and communication.
By leveraging your camcorder as a webcam, you can elevate the quality of your video calls, enhance the visual appeal of your live streams, and project a professional image in your online interactions. The seamless integration of your camcorder into your digital setup empowers you to capture stunning visuals, leverage advanced features, and deliver an immersive and engaging experience to your audience.
Whether you are a content creator, remote worker, or digital communicator, the utilization of your camcorder as a webcam opens up new possibilities for visually compelling and impactful online interactions. Embrace the potential of your camcorder as a high-definition webcam, and unlock a world of enhanced video communication and content creation that captivates and resonates with your audience.