Introduction
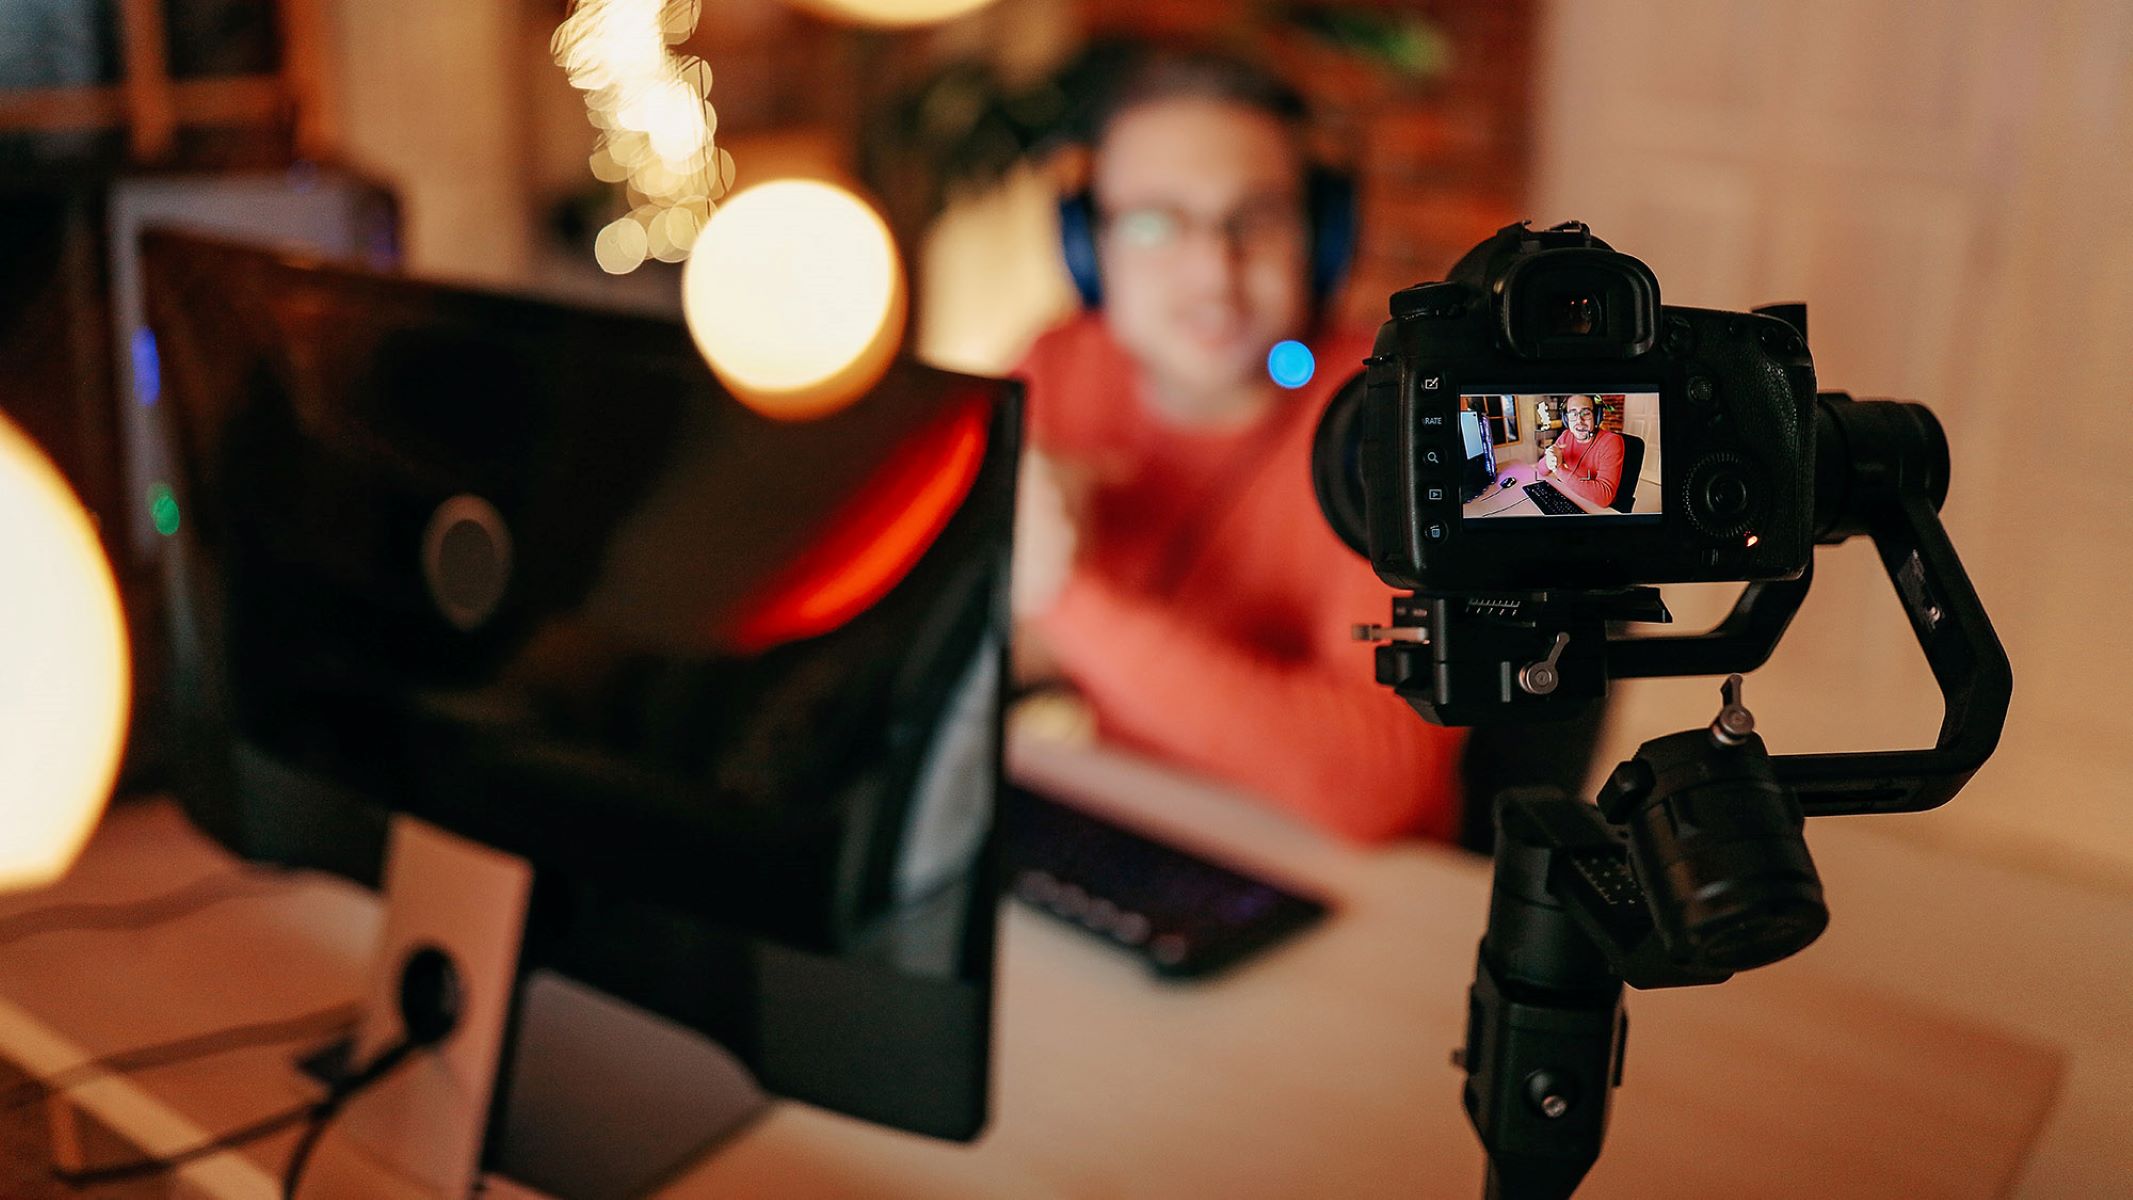
Welcome to our guide on how to use a camcorder as a webcam without a capture card. In this digital age, video communication has become increasingly popular, and having a high-quality webcam is essential. While most laptops and computers come with built-in webcams, they often lack the high image and video quality that a camcorder can provide.
Using a camcorder as a webcam allows you to take advantage of its superior image sensor, lens, and video capabilities to enhance the video quality for your online meetings, video conferences, streaming, or content creation. In addition, it can be a more cost-effective solution compared to investing in a dedicated webcam with similar performance.
By using your camcorder as a webcam, you can enjoy features such as optical zoom, manual focus control, and superior low-light performance. Additionally, some camcorders have built-in image stabilization, which can result in smoother video output compared to traditional webcams.
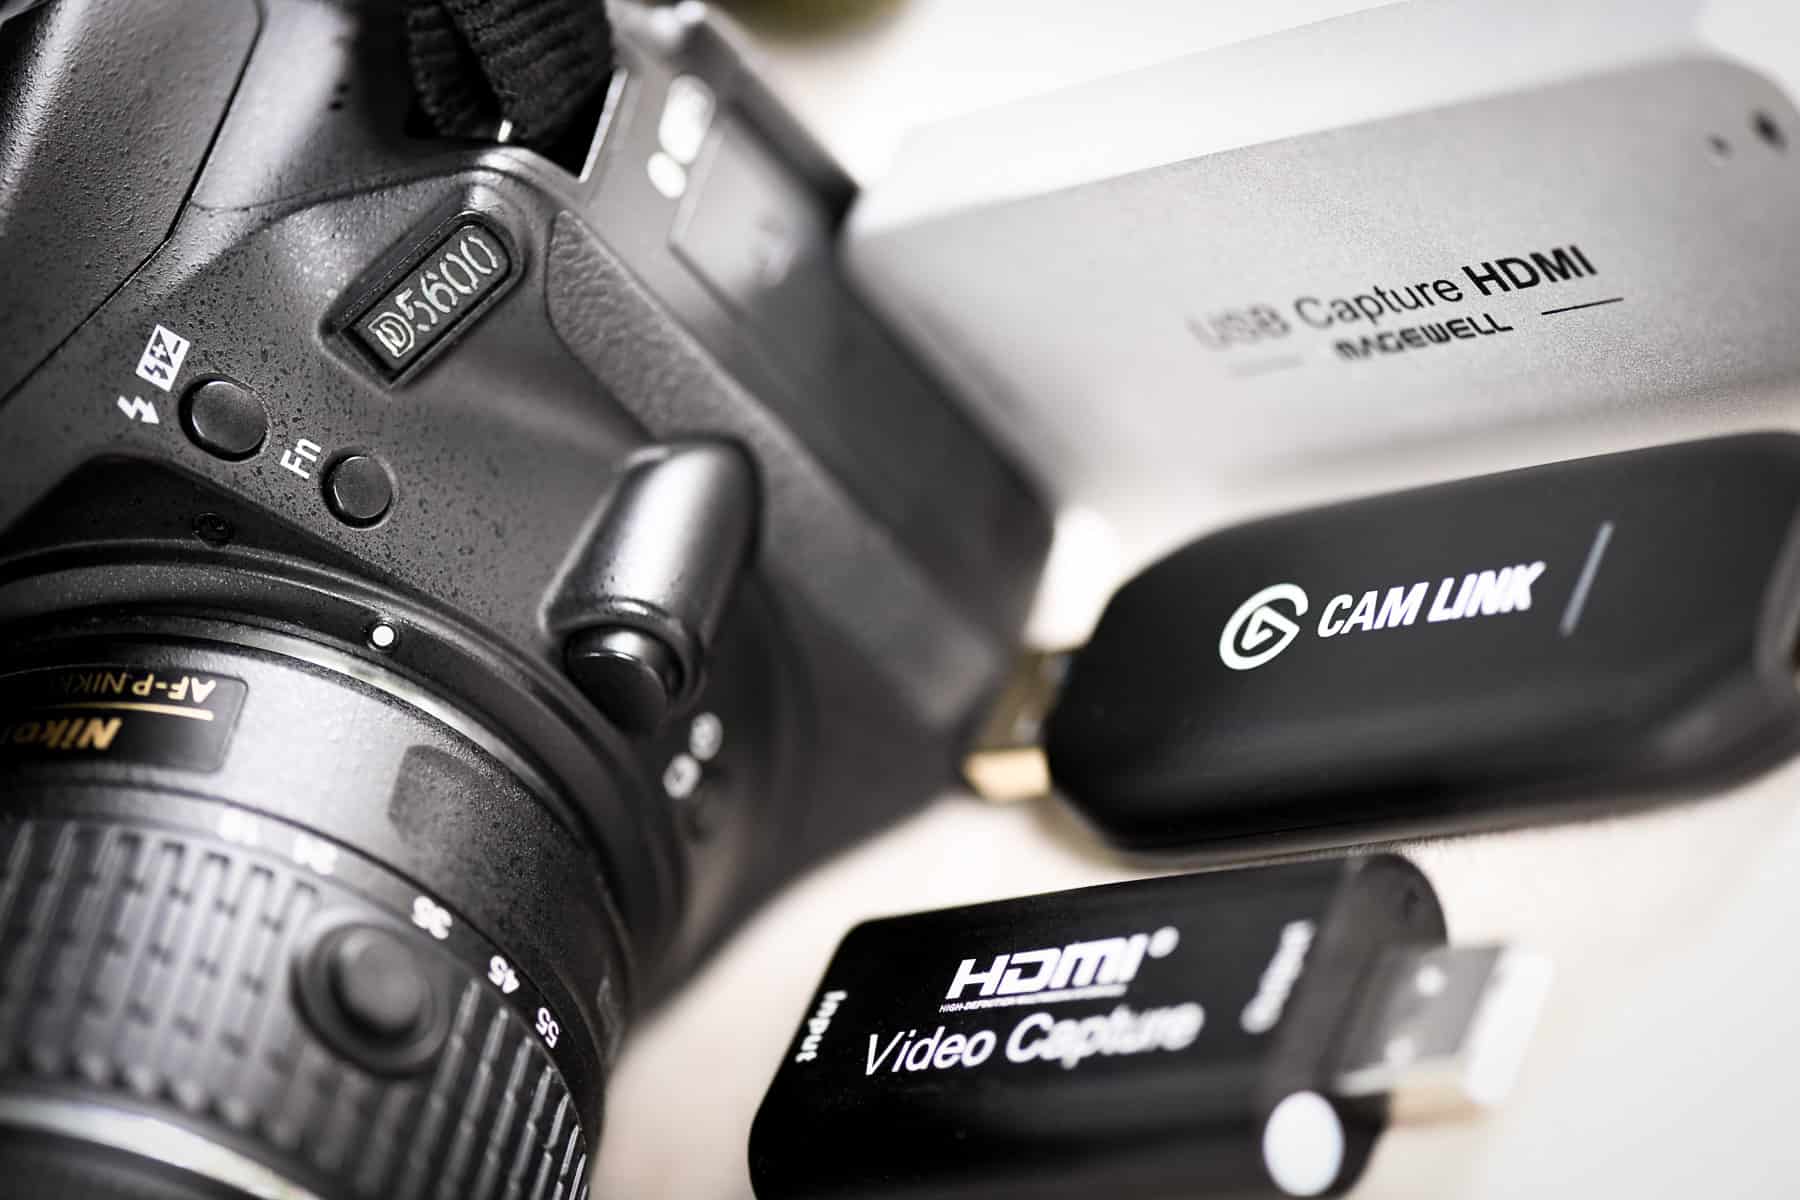
In this guide, we will explore two methods for using a camcorder as a webcam without a capture card: using the HDMI output or using a USB connection. These methods are suitable for most camcorders that offer HDMI output or support USB video streaming functionality.
We will provide you with detailed step-by-step instructions for each method, as well as troubleshooting tips to help you overcome any potential issues you may encounter along the way. Whether you are a content creator, professional, or simply someone looking to upgrade their video quality, this guide will help you harness the power of your camcorder as a webcam.
Now, let’s dive in and explore how to connect and use your camcorder as a webcam without the need for a capture card.
Why Use a Camcorder as a Webcam?
Using a camcorder as a webcam offers several advantages over traditional webcams. Here are some of the reasons why you might consider using a camcorder for your video communication needs:
- Enhanced Video Quality: Camcorders are designed to capture high-quality video footage with advanced image sensors and lenses. Compared to most built-in webcams, camcorders can provide sharper image quality, better color reproduction, and improved low-light performance. This can greatly enhance your video conferences, live streams, and content creation.
- Optical Zoom and Manual Focus Control: Unlike webcams, many camcorders offer optical zoom capabilities, allowing you to zoom in and out without loss of image quality. This can be particularly useful in situations where you may need to focus on specific details or adjust the framing of your video. Additionally, camcorders often come with manual focus control, giving you greater precision and control over the focus of your video feed.
- Superior Low-Light Performance: Camcorders are typically equipped with larger image sensors, allowing them to capture more light in low-light conditions. This results in clearer and more detailed video, even in dimly lit environments. Whether you’re conducting video conferences in a dimly lit room or streaming gameplay in a darkened setup, using a camcorder can ensure your video quality remains high.
- Image Stabilization: Many camcorders come with built-in image stabilization technology, which helps reduce shakiness and vibrations when capturing video. This feature is especially useful if you do not have a stable surface or if you tend to move around during your video calls. The result is smoother and more professional-looking video output.
- Flexibility and Versatility: Camcorders offer a wide range of options and settings to customize your video output. You can adjust exposure, white balance, contrast, and other parameters to best suit your preferences and the environment you’re in. Additionally, some camcorders offer different shooting modes, such as cinematic or documentary style, allowing you to add a professional touch to your video content.
Overall, using a camcorder as a webcam gives you access to superior video quality, advanced controls, and enhanced features that can elevate your online communication and content creation. Whether you’re a professional needing top-notch video conferencing capabilities or a content creator looking to level up your livestreams, using a camcorder as a webcam is a fantastic option.
What You Will Need
Before you can start using a camcorder as a webcam without a capture card, there are a few essential items you’ll need to gather. Here’s a checklist of what you’ll need:
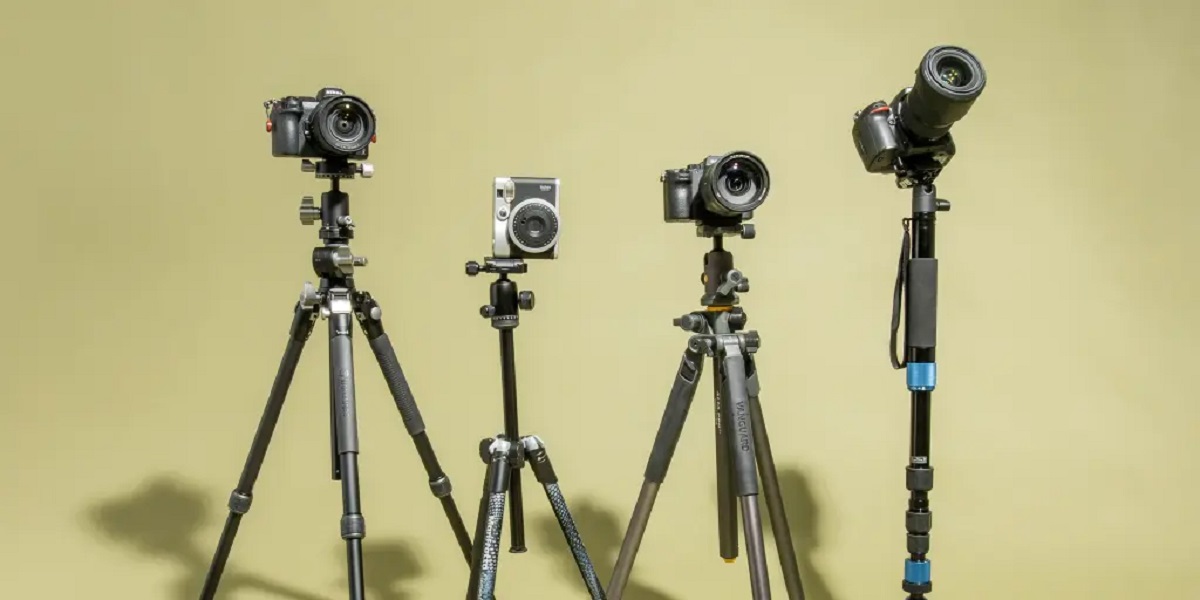
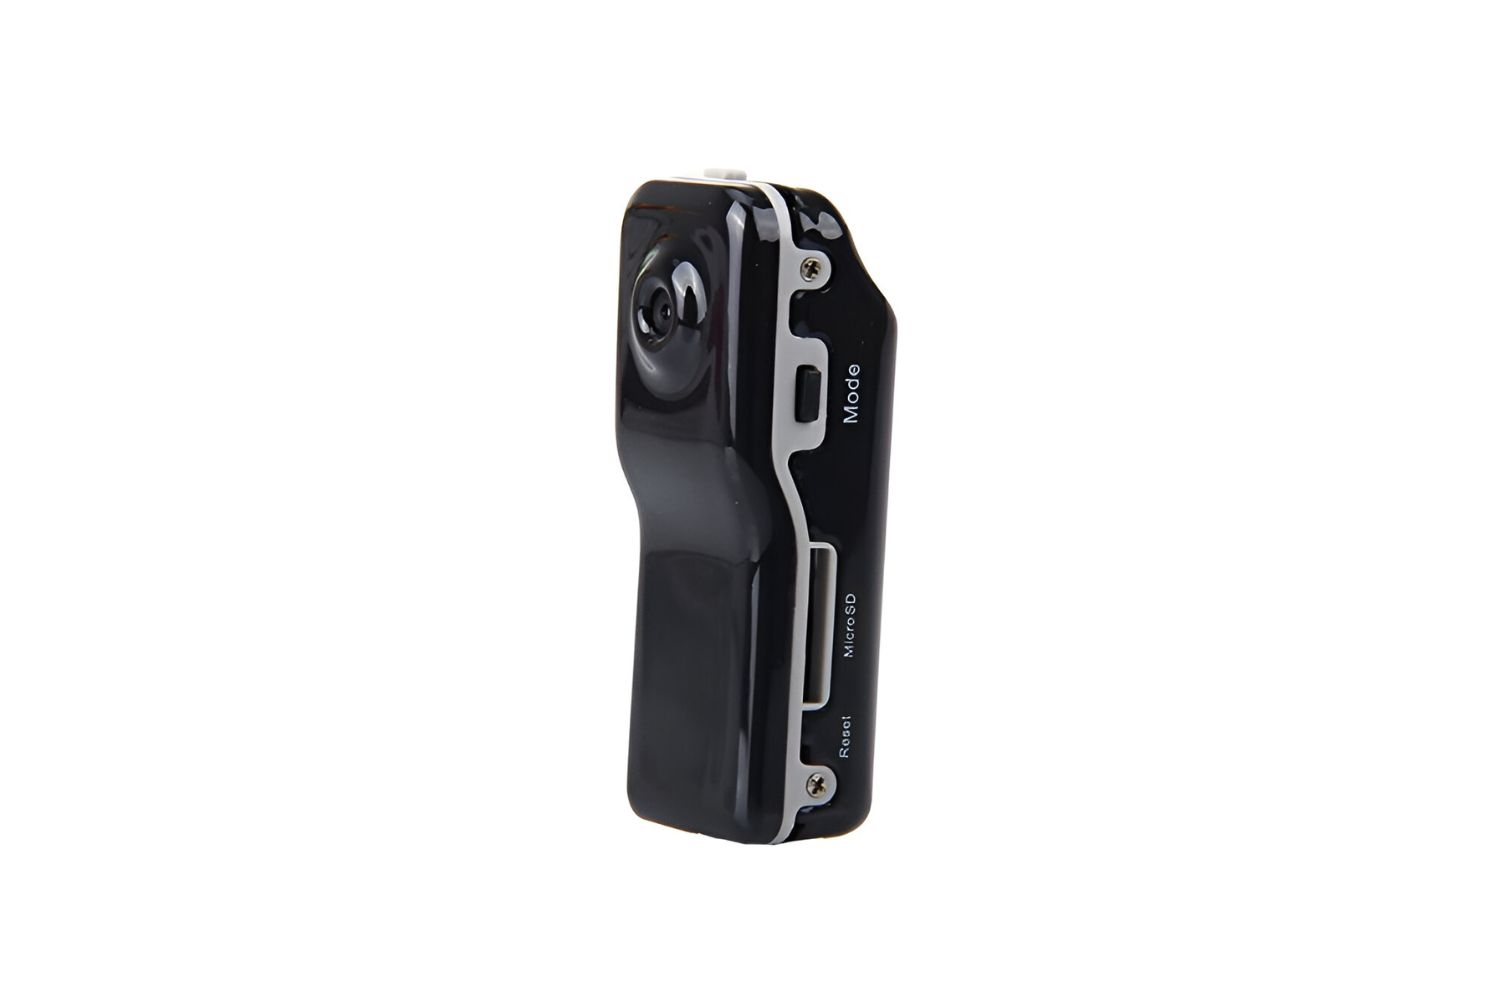
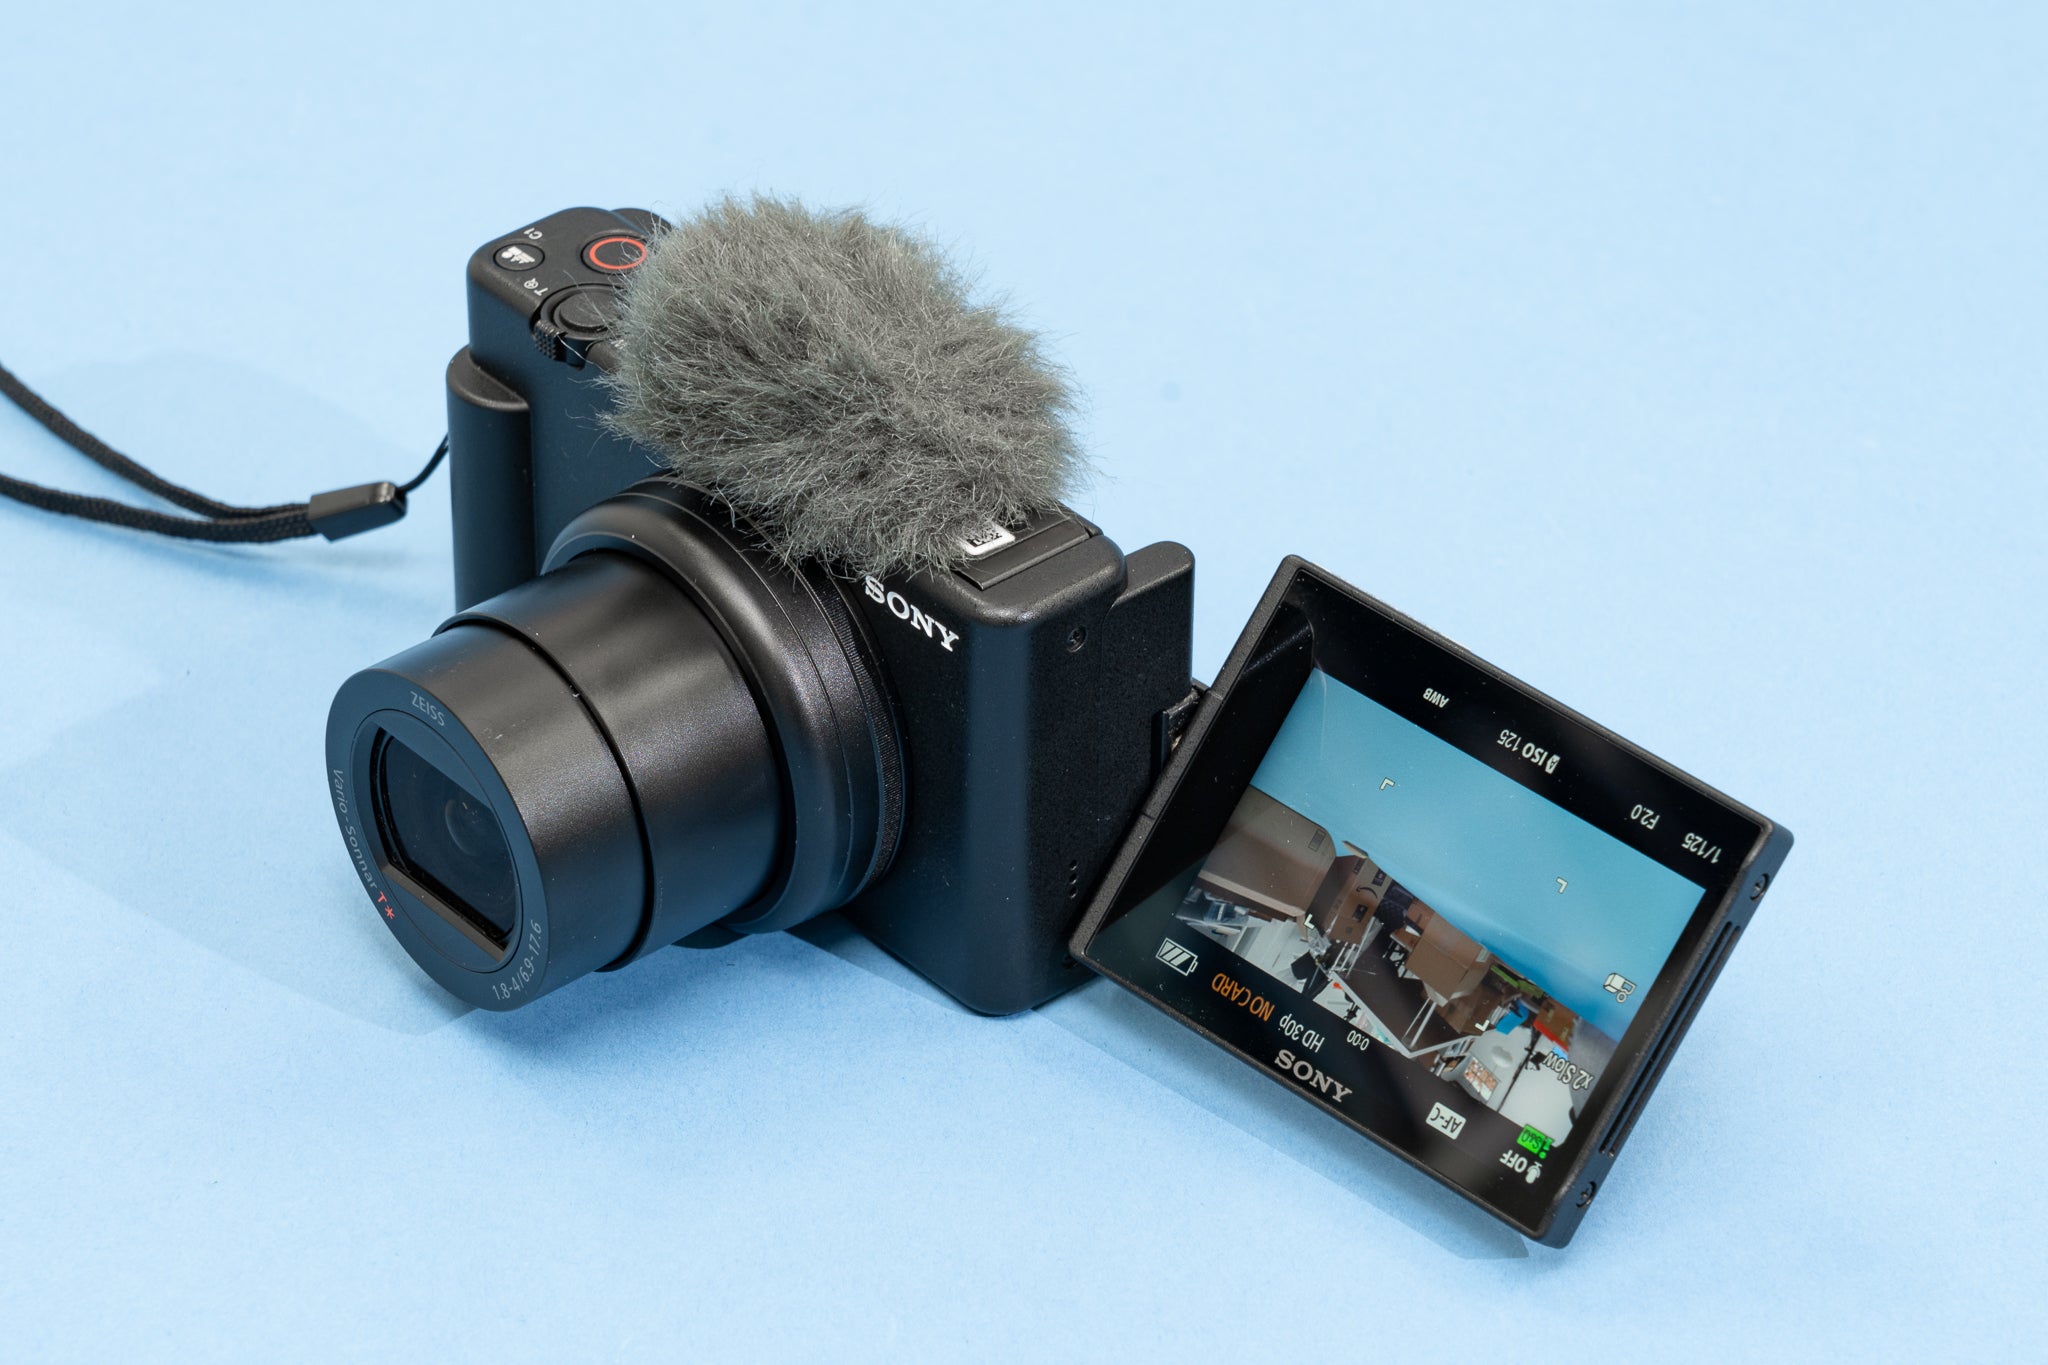
- A Camcorder: Of course, you’ll need a camcorder to serve as your webcam. Ensure that your camcorder has either an HDMI output or USB video streaming capability. Most modern camcorders and digital cameras offer these features, so check your device specifications or user manual to confirm.
- HDMI Cable: If you plan to use the HDMI output method, you’ll need an HDMI cable to connect your camcorder to your computer or laptop. Make sure the length of the cable is sufficient for your setup and consider getting a high-quality cable to ensure a stable and reliable connection.
- USB Cable: If you’re opting for the USB connection method, you’ll need a USB cable that is compatible with your camcorder. Check the type of USB port on your camcorder (usually mini or micro USB) and ensure you have a cable that fits both your camcorder and your computer.
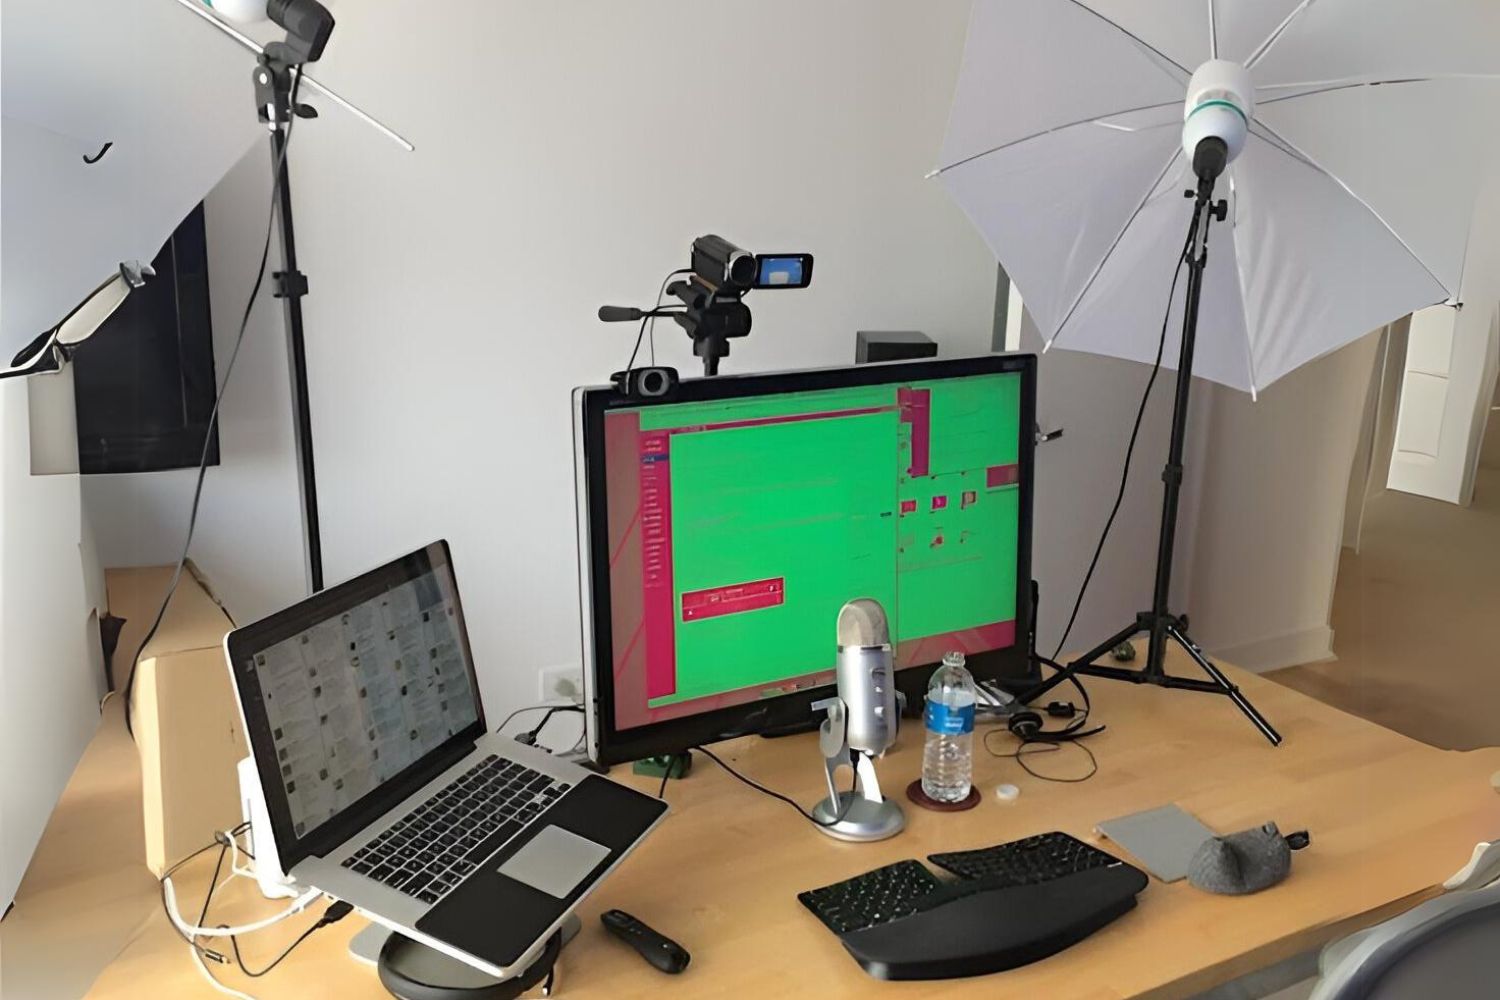
- Computer or Laptop: You’ll need a computer or laptop with available HDMI ports or USB ports (depending on the method you choose) to connect your camcorder. Make sure your computer meets the system requirements for video conferencing or streaming software if you plan to use them.
- Video Conferencing or Streaming Software: Depending on your needs, you’ll need to have video conferencing software (e.g., Zoom, Microsoft Teams, Google Meet) or streaming software (e.g., OBS Studio, XSplit) installed on your computer. Make sure you have the necessary accounts and configurations set up beforehand.
- Power Supply or Batteries: Ensure that your camcorder is powered either through an available power outlet or with fully charged batteries. This is important to avoid any interruptions or power loss during your video sessions.
Having these essential items ready will ensure a smooth and hassle-free setup process when using your camcorder as a webcam. Make sure to double-check compatibility, cable lengths, and software requirements before proceeding.
Step-by-Step Guide: Using a Camcorder as a Webcam without a Capture Card
Now that you have all the necessary equipment, let’s dive into the step-by-step process of using your camcorder as a webcam without a capture card. We will explore two methods: using the HDMI output and using a USB connection. Follow these instructions carefully:
Method 1: Using HDMI Output
- Connect one end of the HDMI cable to the HDMI output port on your camcorder and the other end to an available HDMI input port on your computer or laptop.
- Turn on your camcorder and switch it to the appropriate input mode that corresponds to the HDMI output, usually labeled as “Camera,” “PC,” or “HDMI.”
- On your computer, open the video conferencing or streaming software you plan to use.
- In the software settings, select your camcorder as the video input device. It should be detected as a camera source since it’s connected via HDMI.
- Adjust any additional settings within the software, such as resolution, frame rate, and audio input, as per your preferences.
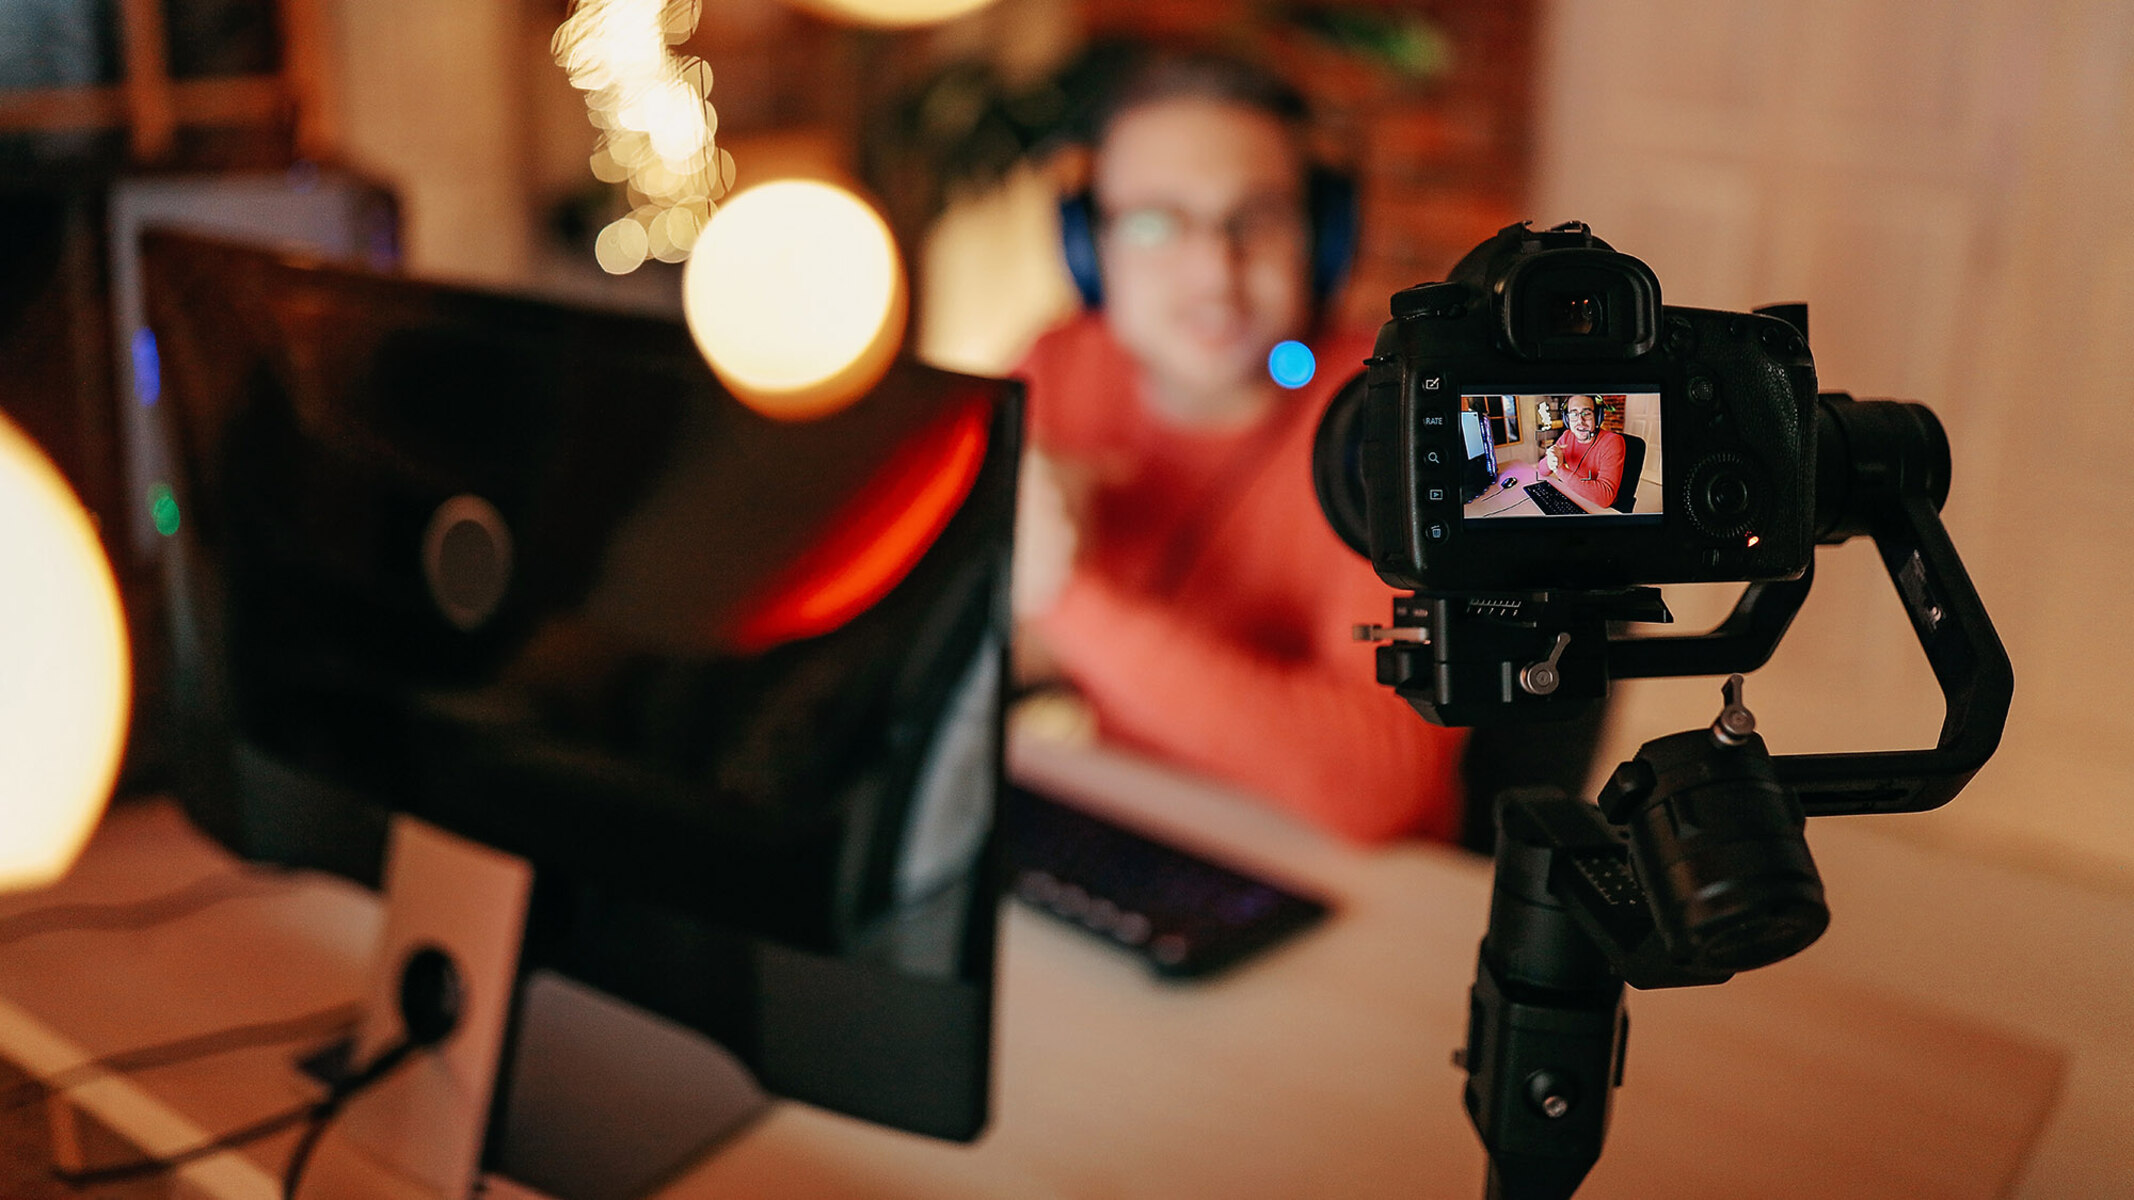
- Position your camcorder to achieve the desired framing and angle for your video.
- Begin your video conference or streaming session and test the video quality to ensure it’s working properly.
Method 2: Using a USB Connection
- Connect one end of the USB cable to the USB output port on your camcorder and the other end to an available USB port on your computer or laptop.
- Turn on your camcorder and switch it to the appropriate input mode that enables USB video streaming. Consult your camcorder’s manual if you’re unsure of which mode to select.
- On your computer, open the video conferencing or streaming software you plan to use.
- In the software settings, select your camcorder as the video input device. It should be detected as a camera source since it’s connected via USB.
- Adjust any additional settings within the software, such as resolution, frame rate, and audio input, according to your preferences.
- Position your camcorder to achieve the desired framing and angle for your video.
- Begin your video conference or streaming session and test the video quality to ensure it’s working properly.
Remember to ensure that both your camcorder and computer are powered on and that the necessary software and drivers are up to date. Additionally, make sure to configure the software’s audio settings to use the appropriate microphone source if necessary.
By following these step-by-step instructions, you’ll be able to use your camcorder as a webcam without the need for a capture card. Enjoy the enhanced video quality and features that your camcorder brings to your online communication and content creation.
Method 1: Using HDMI Output
If your camcorder has an HDMI output, you can use it to connect your camcorder to your computer or laptop and use it as a webcam. This method allows you to take advantage of the superior video quality and features that a camcorder offers. Here’s how to do it:
- Connect one end of the HDMI cable to the HDMI output port on your camcorder.
- Connect the other end of the HDMI cable to an available HDMI input port on your computer or laptop.
- Switch on your camcorder and set it to the appropriate input mode that corresponds to the HDMI output. This mode is usually labeled as “Camera,” “PC,” or “HDMI.”
- Open the video conferencing or streaming software of your choice on your computer.
- In the software settings, select your camcorder as the video input device. Since you’re using the HDMI connection, the software should detect your camcorder as a camera source.
- Adjust any additional settings within the software, such as resolution, frame rate, and audio input based on your preferences and requirements.
- Position your camcorder in a suitable location, framing yourself or the subject you want to capture.
- Start your video conference or streaming session to test the video quality. Make sure to check the video feed and confirm that it’s working properly.
By following these steps, you can utilize your camcorder’s HDMI output to connect it to your computer and use it as a high-quality webcam. This method allows you to take full advantage of your camcorder’s superior image sensor, lens, and video capabilities for an enhanced video communication experience.
Remember to keep your camcorder and computer powered on throughout the session, and ensure that you have the necessary software and drivers installed and up to date. Additionally, make sure to configure the software’s audio settings to use the appropriate microphone source if needed.
Using the HDMI output method provides a convenient and effective way to transform your camcorder into a professional-grade webcam without the need for a capture card.
Method 2: Using a USB Connection
If your camcorder supports USB video streaming, you can easily connect it to your computer or laptop and use it as a webcam. This method provides a simple and convenient way to harness the power of your camcorder for video conferencing, streaming, or content creation. Here’s how to use your camcorder as a webcam using a USB connection:
- Begin by connecting one end of the USB cable to the USB output port on your camcorder.
- Connect the other end of the USB cable to an available USB port on your computer or laptop.
- Switch on your camcorder and set it to the appropriate input mode that enables USB video streaming. Consult your camcorder’s manual if you’re unsure of which mode to select.
- Open the video conferencing or streaming software of your choice on your computer.
- In the software settings, select your camcorder as the video input device. The software should detect your camcorder as a camera source since it’s connected via USB.
- Adjust any additional settings within the software, such as resolution, frame rate, and audio input based on your preferences and requirements.
- Position your camcorder in a suitable location, framing yourself or the subject you want to capture.
- Start your video conference or streaming session to test the video quality. Ensure that the video feed is working properly and meets your expectations.
By following these steps, you can utilize your camcorder’s USB connection to transform it into a high-quality webcam. This method allows you to take advantage of your camcorder’s advanced image sensor, lens, and video capabilities for a professional video communication experience.
Remember to keep your camcorder and computer powered on throughout the session, and ensure that you have the necessary software and drivers installed and up to date. Additionally, configure the software’s audio settings to use the appropriate microphone source if needed.
Using the USB connection method provides a convenient and effective solution for using your camcorder as a webcam without the need for a capture card, making it an ideal choice for various video communication and content creation purposes.
Troubleshooting Tips
While using a camcorder as a webcam without a capture card is a relatively straightforward process, you may encounter some common issues along the way. Here are some troubleshooting tips to help you resolve any potential problems:
- No video signal: If you’re not getting a video signal on your computer or the video feed appears black, ensure that the HDMI or USB connection is secure. Check both ends of the cable and make sure they are properly connected. Also, confirm that you have selected the correct input mode on your camcorder and the correct video input device in your software settings.
- No audio: If you’re not getting any audio from your camcorder, check the audio settings in your software. Ensure that the correct audio input device is selected, and that the volume levels are properly adjusted. Additionally, check the microphone settings on your camcorder to ensure it’s enabled and functioning correctly. If necessary, consult your camcorder’s manual for specific instructions on configuring audio settings.
- Driver issues: If your computer is not recognizing your camcorder as a video input device, it may be due to missing or outdated drivers. Visit the manufacturer’s website and download the latest drivers for your camcorder model. Install the drivers on your computer and restart it if necessary. This should help establish the connection between your camcorder and the software.
- Incompatible software: Some video conferencing or streaming software may not be compatible with using a camcorder as a webcam. Ensure that you are using the latest version of the software and check the manufacturer’s website for any compatibility updates. If the issue persists, try using a different software that explicitly supports using external cameras or camcorders as webcams.
- Power and battery life: Make sure that your camcorder is adequately powered during your video session. If your camcorder is running on batteries, ensure that they are fully charged or replace them with fresh batteries. Alternatively, consider connecting your camcorder to a power outlet using an AC adapter to avoid any power-related interruptions.
- USB cable limitations: If you’re using a USB connection, ensure that the USB cable is compatible with your camcorder and computer. Use a high-quality USB cable that supports both data transfer and video streaming. Sometimes, using a longer USB cable can result in signal loss or reduced video quality. Consider using a shorter cable or using a USB extender to maintain a stable connection.
By following these troubleshooting tips, you can address common issues that may arise when using a camcorder as a webcam without a capture card. Remember to consult your camcorder’s manual for specific troubleshooting instructions and reach out to the manufacturer’s support if needed.
With these tips in mind, you can overcome any obstacles and enjoy the benefits of using your camcorder as a webcam for your online communication and content creation needs.
Conclusion
Utilizing a camcorder as a webcam without a capture card can significantly enhance the quality of your video communication and content creation. By following the step-by-step instructions for either the HDMI output method or the USB connection method, you can take advantage of your camcorder’s superior image sensor, lens, and video capabilities. This allows for clearer, sharper, and more professional-looking video output.
Using the HDMI output method, you can connect your camcorder to your computer or laptop using an HDMI cable. This method provides a reliable and high-quality connection, making it an excellent choice for various video communication needs. On the other hand, the USB connection method offers convenience and flexibility, allowing you to easily connect your camcorder via a USB cable.
Remember to troubleshoot any issues you may encounter, such as video or audio signal problems, driver issues, or compatibility concerns. By following the troubleshooting tips provided, you can quickly resolve common problems and ensure a seamless experience.
In conclusion, using a camcorder as a webcam without a capture card opens up a world of possibilities for improving your video quality and achieving professional-level results. Whether you’re engaged in video conferencing, live streaming, or content creation, the use of a camcorder enhances the overall visual experience. So, gather your equipment and start transforming your camcorder into a powerful webcam today!