Introduction
Are you looking to elevate the quality of your video calls or live streams? Have you considered using your mini DV camcorder as a webcam to capture crisp, high-definition footage? This guide will walk you through the process, enabling you to harness the superior optics and advanced features of your camcorder for your online endeavors.
By repurposing your mini DV camcorder as a webcam, you can take advantage of its superior lens and image sensor, resulting in clearer and more professional-looking video. Whether you're engaging in virtual meetings, live streaming, or creating content for online platforms, this conversion can significantly enhance the visual appeal of your videos and leave a lasting impression on your audience.
With the increasing demand for high-quality video content, leveraging your mini DV camcorder as a webcam presents an opportunity to stand out in a crowded digital landscape. This step-by-step guide will empower you to seamlessly integrate your camcorder into your computer setup, unlocking its full potential as a webcam for capturing stunning visuals.
Stay tuned as we delve into the intricacies of checking compatibility, connecting your camcorder to your computer, installing necessary drivers, setting up the camcorder as a webcam, and adjusting settings to ensure optimal performance. Let's embark on this journey to transform your mini DV camcorder into a powerful tool for enhancing your online presence and captivating your audience with exceptional video quality.
Step 1: Check Compatibility
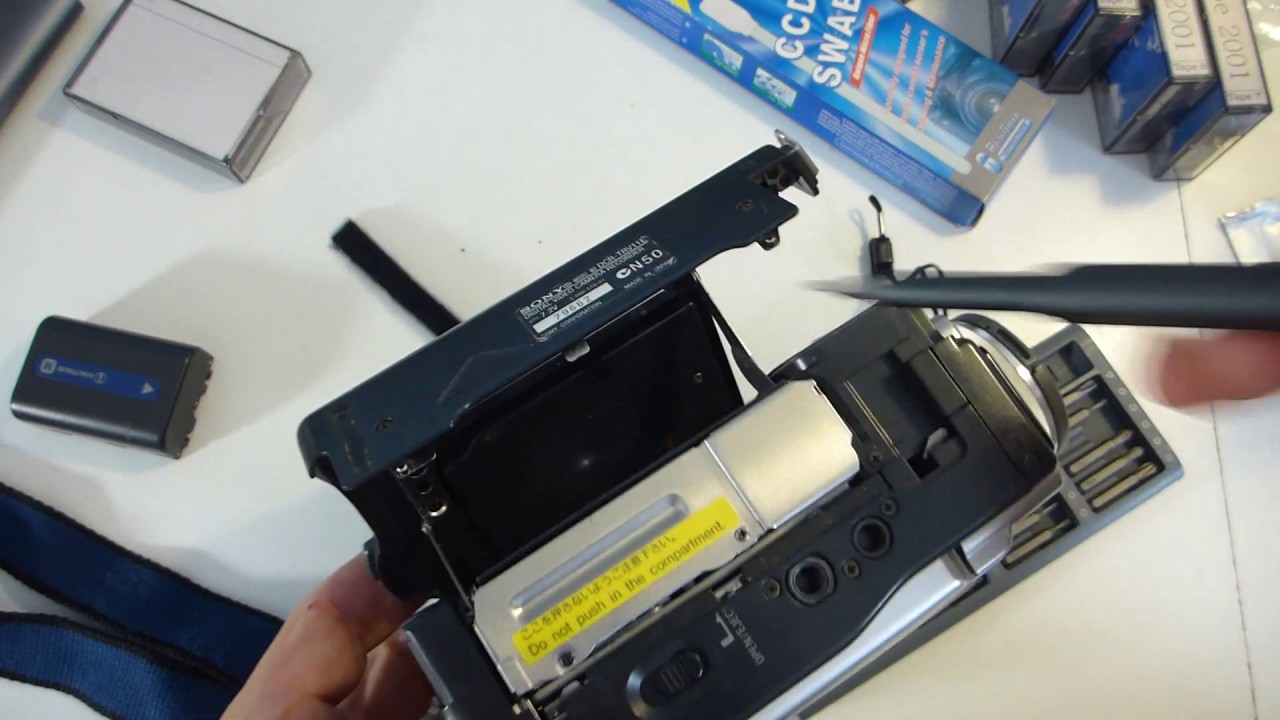
Before embarking on the process of using your mini DV camcorder as a webcam, it’s essential to ensure that your specific camcorder model is compatible with this functionality. While many modern camcorders offer this feature, older models may require additional hardware or software to enable webcam capabilities.
Begin by consulting the user manual or visiting the manufacturer’s official website to verify if your mini DV camcorder supports webcam functionality. Look for information regarding USB or Firewire connectivity options, as these are common methods for linking the camcorder to a computer for use as a webcam.
If your camcorder is equipped with a USB output, it’s likely that it can be utilized as a webcam with the appropriate software and drivers. Conversely, if it utilizes Firewire (IEEE 1394) connectivity, you may need a Firewire-to-USB adapter to facilitate the connection to your computer. Some camcorders may also require specific proprietary software to enable webcam functionality, so be sure to check for any available downloads or updates from the manufacturer.
Additionally, consider the compatibility of your computer’s operating system with the camcorder. Ensure that the necessary drivers and software are compatible with your computer’s OS to facilitate a seamless connection and optimal performance.
By confirming the compatibility of your mini DV camcorder with webcam functionality, you can proceed with confidence, knowing that your device is capable of delivering exceptional video quality for your online activities. Once you’ve established compatibility, you’re ready to move on to the next step: connecting the camcorder to your computer.
Step 2: Connect the Camcorder to Your Computer
Now that you’ve confirmed the compatibility of your mini DV camcorder for use as a webcam, the next step is to establish a physical connection between the camcorder and your computer. Depending on the connectivity options available on your camcorder and computer, there are several methods to achieve this connection.
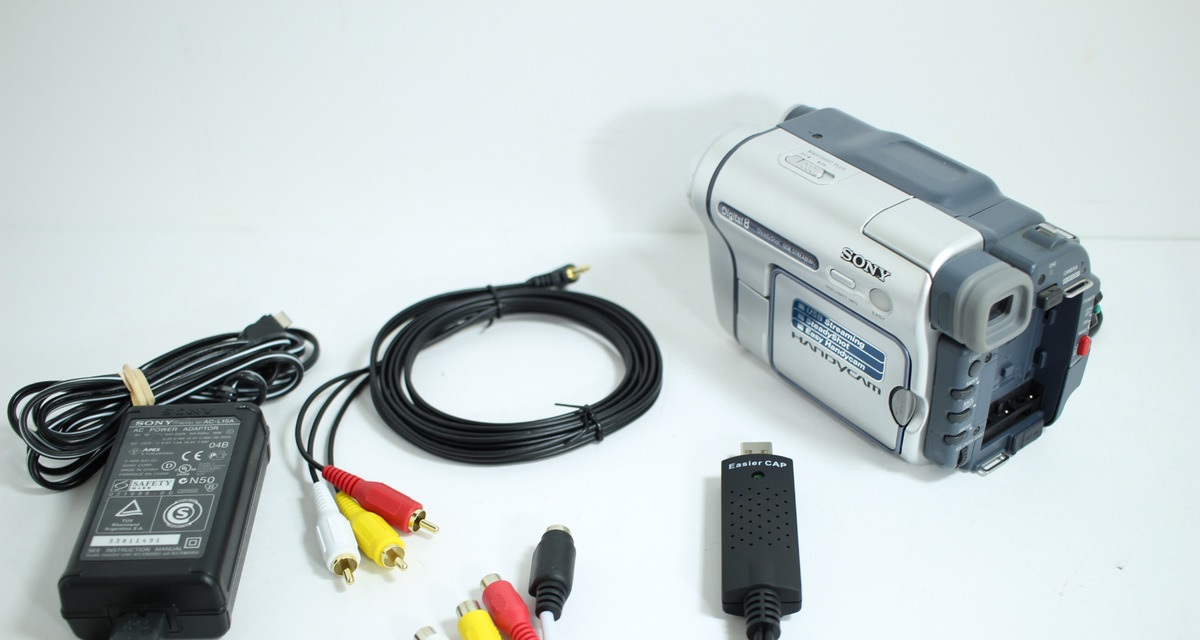
If your camcorder features a USB output, simply connect one end of the USB cable to the camcorder and the other end to an available USB port on your computer. Many modern computers have multiple USB ports, so choose a port that is easily accessible and provides a stable connection. Once the camcorder is connected, it should be recognized as a new device by your computer.
For camcorders equipped with Firewire (IEEE 1394) connectivity, you’ll need a Firewire cable to establish the connection. If your computer does not have a built-in Firewire port, you can use a Firewire-to-USB adapter to bridge the connection between the camcorder and your computer. Ensure that the adapter is compatible with your computer’s operating system and follow any accompanying instructions for proper installation.
Some mini DV camcorders may also offer HDMI or AV output options. In such cases, you can use an HDMI capture card or an analog-to-digital video converter to connect the camcorder to your computer via USB. These devices effectively convert the video output from the camcorder into a format that can be recognized by your computer, allowing you to use the camcorder as a webcam.
Once the physical connection is established, power on the camcorder and set it to the appropriate mode for webcam use, if applicable. With the camcorder connected to your computer, you’re ready to proceed to the next step: installing the necessary drivers to enable webcam functionality.
Step 3: Install Necessary Drivers
After connecting your mini DV camcorder to your computer, the next crucial step is to install the necessary drivers to enable the camcorder to function as a webcam. Depending on the make and model of your camcorder, the required drivers may be available from the manufacturer’s website or included with the camcorder as part of the accompanying software package.
Start by visiting the official website of the camcorder’s manufacturer and navigate to the support or downloads section. Search for the specific drivers or software related to webcam functionality for your camcorder model. Download the appropriate drivers compatible with your computer’s operating system, ensuring that you select the correct version to avoid compatibility issues.
If the drivers are included with the camcorder, they may be provided on a CD or DVD included in the original packaging. Insert the disc into your computer’s optical drive and follow the on-screen instructions to install the drivers and any accompanying software. Alternatively, some camcorders may prompt an automatic installation process when connected to the computer for the first time.
Once the drivers are installed, restart your computer to ensure that the changes take effect. After the restart, verify that the camcorder is recognized as a webcam device in your computer’s device manager or system settings. If any additional configuration is required, consult the user manual or online resources provided by the manufacturer to ensure that the camcorder is set up correctly for webcam use.
It’s important to keep the installed drivers up to date to ensure optimal performance and compatibility with your computer’s operating system. Periodically check for driver updates on the manufacturer’s website to take advantage of any improvements or bug fixes that may enhance the functionality of your mini DV camcorder as a webcam.
With the necessary drivers installed and the camcorder recognized as a webcam device, you’re ready to proceed to the next step: setting up the camcorder as a webcam and configuring its settings for optimal performance.
Step 4: Set Up the Camcorder as a Webcam
With the necessary drivers installed and the camcorder connected to your computer, it’s time to configure the camcorder to function as a webcam. Depending on the specific model of your mini DV camcorder and the accompanying software, there are several methods to set up the camcorder for webcam use.
If the camcorder includes dedicated webcam software, launch the application and follow the on-screen instructions to configure the camcorder’s settings for use as a webcam. This may involve selecting the camcorder as the preferred video input device, adjusting resolution and frame rate settings, and configuring audio input options if applicable. Refer to the user manual or online resources provided by the manufacturer for guidance on setting up the camcorder as a webcam using the included software.
For camcorders that do not come with dedicated webcam software, you can utilize third-party applications that recognize external video devices and enable them to function as webcams. Popular software options include OBS Studio, ManyCam, and XSplit, among others. Download and install the preferred software, then configure the video input settings to recognize the camcorder as the primary video source. These applications often offer advanced features for live streaming, recording, and customizing video settings to suit your specific needs.
Once the camcorder is set up as a webcam, position it according to your desired framing and ensure that the lighting and background are suitable for the intended use. Take advantage of the camcorder’s zoom, focus, and exposure controls to achieve the desired visual quality, and consider using a tripod or stable surface to maintain a steady image during use.
It’s important to test the webcam setup in various scenarios to ensure that the video and audio quality meet your expectations. Conduct test calls, record sample footage, and make adjustments to the settings as needed to achieve the best results. Additionally, familiarize yourself with the features and controls of the webcam software to leverage its full potential for your online activities.
By setting up your mini DV camcorder as a webcam and configuring its settings for optimal performance, you can harness the superior video quality and advanced features of the camcorder to elevate your online presence and engage your audience with compelling visual content.
Step 5: Adjust Settings and Test the Connection
After setting up your mini DV camcorder as a webcam, the final step involves adjusting the settings and thoroughly testing the connection to ensure that the camcorder delivers the desired video and audio quality for your online activities. Fine-tuning the settings and conducting comprehensive tests will allow you to optimize the performance of your camcorder as a webcam.
Begin by accessing the settings of the webcam software or dedicated camcorder application to make adjustments based on your specific requirements. This may include configuring video resolution, frame rate, white balance, exposure, and audio input settings to achieve the best possible quality for your video calls, live streams, or content creation. Experiment with different settings to find the optimal configuration that enhances the visual appeal of your footage.
Consider the lighting conditions in your environment and make adjustments to the camcorder’s settings to ensure that the video output is well-lit and free from visual artifacts. Utilize the camcorder’s manual controls, if available, to refine the image quality and maintain consistent brightness and color accuracy during use. Additionally, test the audio input to confirm that the camcorder captures clear and balanced sound for your online communications.
Once the settings are adjusted, conduct thorough testing of the webcam setup in various scenarios. Initiate video calls with friends or colleagues, record sample footage in different lighting conditions, and simulate live streaming to evaluate the performance of the camcorder as a webcam. Pay close attention to the clarity, color accuracy, and stability of the video output, as well as the quality of the audio captured by the camcorder.
During testing, consider factors such as internet bandwidth, streaming platform compatibility, and the overall user experience from the viewer’s perspective. Address any issues that arise during testing by making further adjustments to the settings or seeking troubleshooting guidance from the manufacturer or online communities dedicated to webcam usage with camcorders.
By thoroughly adjusting the settings and conducting comprehensive tests, you can ensure that your mini DV camcorder functions seamlessly as a webcam, delivering exceptional video and audio quality for your online interactions and content creation endeavors. With the connection tested and the settings optimized, you’re now ready to confidently utilize your camcorder as a powerful tool for engaging with your audience and making a lasting impression through captivating visual content.
Conclusion
Congratulations! You have successfully transformed your mini DV camcorder into a versatile webcam, unlocking its superior optics and advanced features to elevate the quality of your video calls, live streams, and content creation. By following the step-by-step process outlined in this guide, you have harnessed the full potential of your camcorder, enhancing your online presence and captivating your audience with exceptional visual content.
Throughout this journey, you have navigated the intricacies of checking compatibility, establishing a physical connection between the camcorder and your computer, installing necessary drivers, setting up the camcorder as a webcam, and adjusting settings to optimize its performance. This comprehensive approach has empowered you to seamlessly integrate your camcorder into your digital workspace, leveraging its superior video and audio capabilities for a truly immersive and professional online experience.
By repurposing your mini DV camcorder as a webcam, you have distinguished yourself in a crowded digital landscape, standing out with clear, high-definition video and balanced audio that leave a lasting impression on your audience. Whether you’re engaging in virtual meetings, live streaming, or creating content for online platforms, the visual appeal and technical capabilities of your camcorder-as-webcam setup are sure to enhance your online interactions and elevate the overall quality of your video content.
As you continue to utilize your camcorder in its new role as a webcam, remember to stay informed about software updates, driver enhancements, and best practices for optimizing its performance. Periodically revisit the settings and conduct tests to ensure that your webcam setup consistently delivers the desired video and audio quality, adapting to evolving requirements and technological advancements in the digital space.
With your mini DV camcorder now seamlessly integrated as a webcam, you are well-equipped to engage your audience with compelling visual content, leaving a lasting impact and setting new standards for online video quality. Embrace the creative possibilities and opportunities that this transformation brings, and continue to explore innovative ways to leverage your camcorder-as-webcam setup for a truly immersive and professional online presence.