Introduction
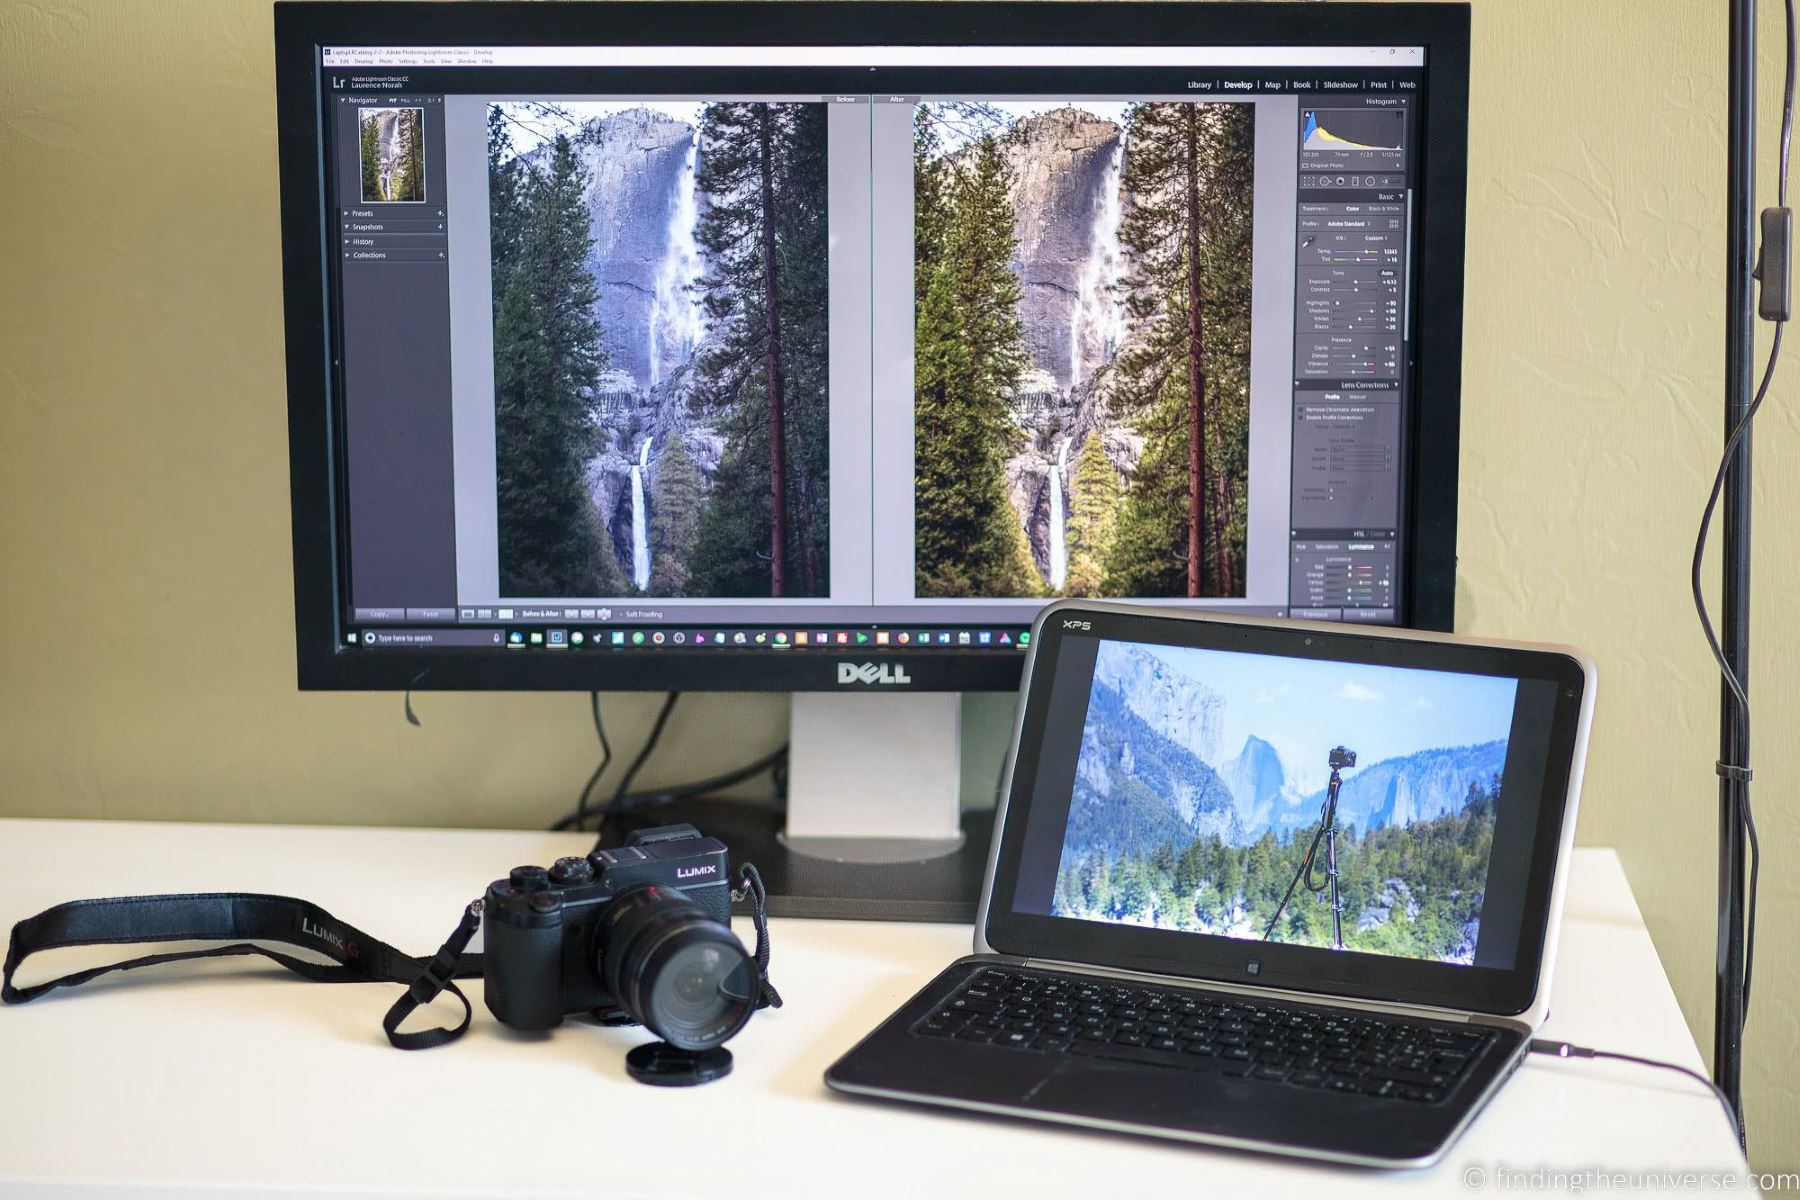
Using a MacBook Pro as a monitor for a DSLR camera can significantly enhance your photography and videography experience. This setup allows you to have a larger and more detailed view of your shots, enabling you to fine-tune composition, focus, and exposure with greater precision. Whether you're a professional photographer, a videographer, or an amateur enthusiast, leveraging your MacBook Pro as a monitor for your DSLR camera can elevate the quality of your work.
By connecting your camera to your MacBook Pro, you can transform the laptop into a high-resolution display, giving you a clear and expansive view of your subject. This setup offers the advantage of a larger screen size, superior color accuracy, and enhanced detail visibility, which are especially beneficial when capturing intricate details or shooting in challenging lighting conditions.
Furthermore, utilizing your MacBook Pro as a monitor provides the flexibility to review and assess your shots in real-time, ensuring that you capture the perfect moment. This real-time feedback can be invaluable for adjusting settings, refining composition, and ensuring that your creative vision is accurately translated into your photographs or videos.
In this comprehensive guide, we will walk you through the requirements, setup process, and essential tips for using your MacBook Pro as a monitor for your DSLR camera. By following these steps and recommendations, you can harness the full potential of this innovative setup, empowering you to capture stunning visuals with precision and creativity. Let's dive into the details and unlock the possibilities of integrating your MacBook Pro into your photography and videography workflow.
Requirements
Before embarking on the process of using your MacBook Pro as a monitor for your DSLR camera, it’s essential to ensure that you have the necessary equipment and components. Here’s what you’ll need to set up this configuration:
- MacBook Pro: You’ll need a MacBook Pro with a Thunderbolt or USB-C port to establish a connection with your DSLR camera. Ensure that your MacBook Pro is equipped with the appropriate ports for seamless compatibility.
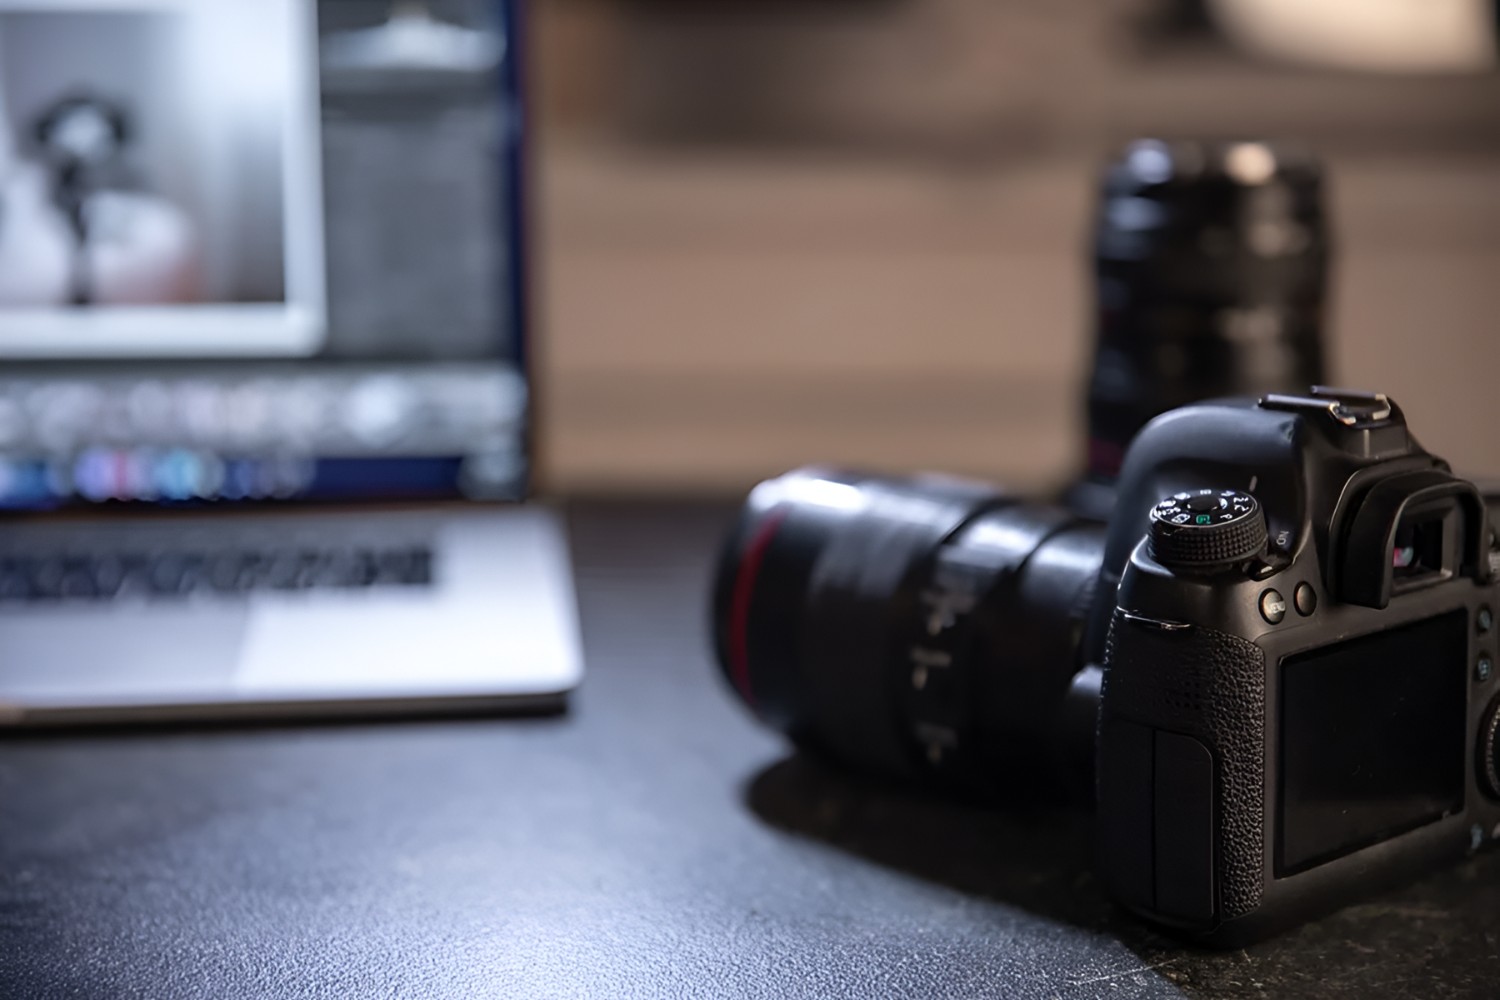
- DSLR Camera: Any DSLR camera with an HDMI output can be used for this setup. Whether you’re using a Canon, Nikon, Sony, or another brand of DSLR, as long as it has an HDMI output, you can connect it to your MacBook Pro for monitoring purposes.
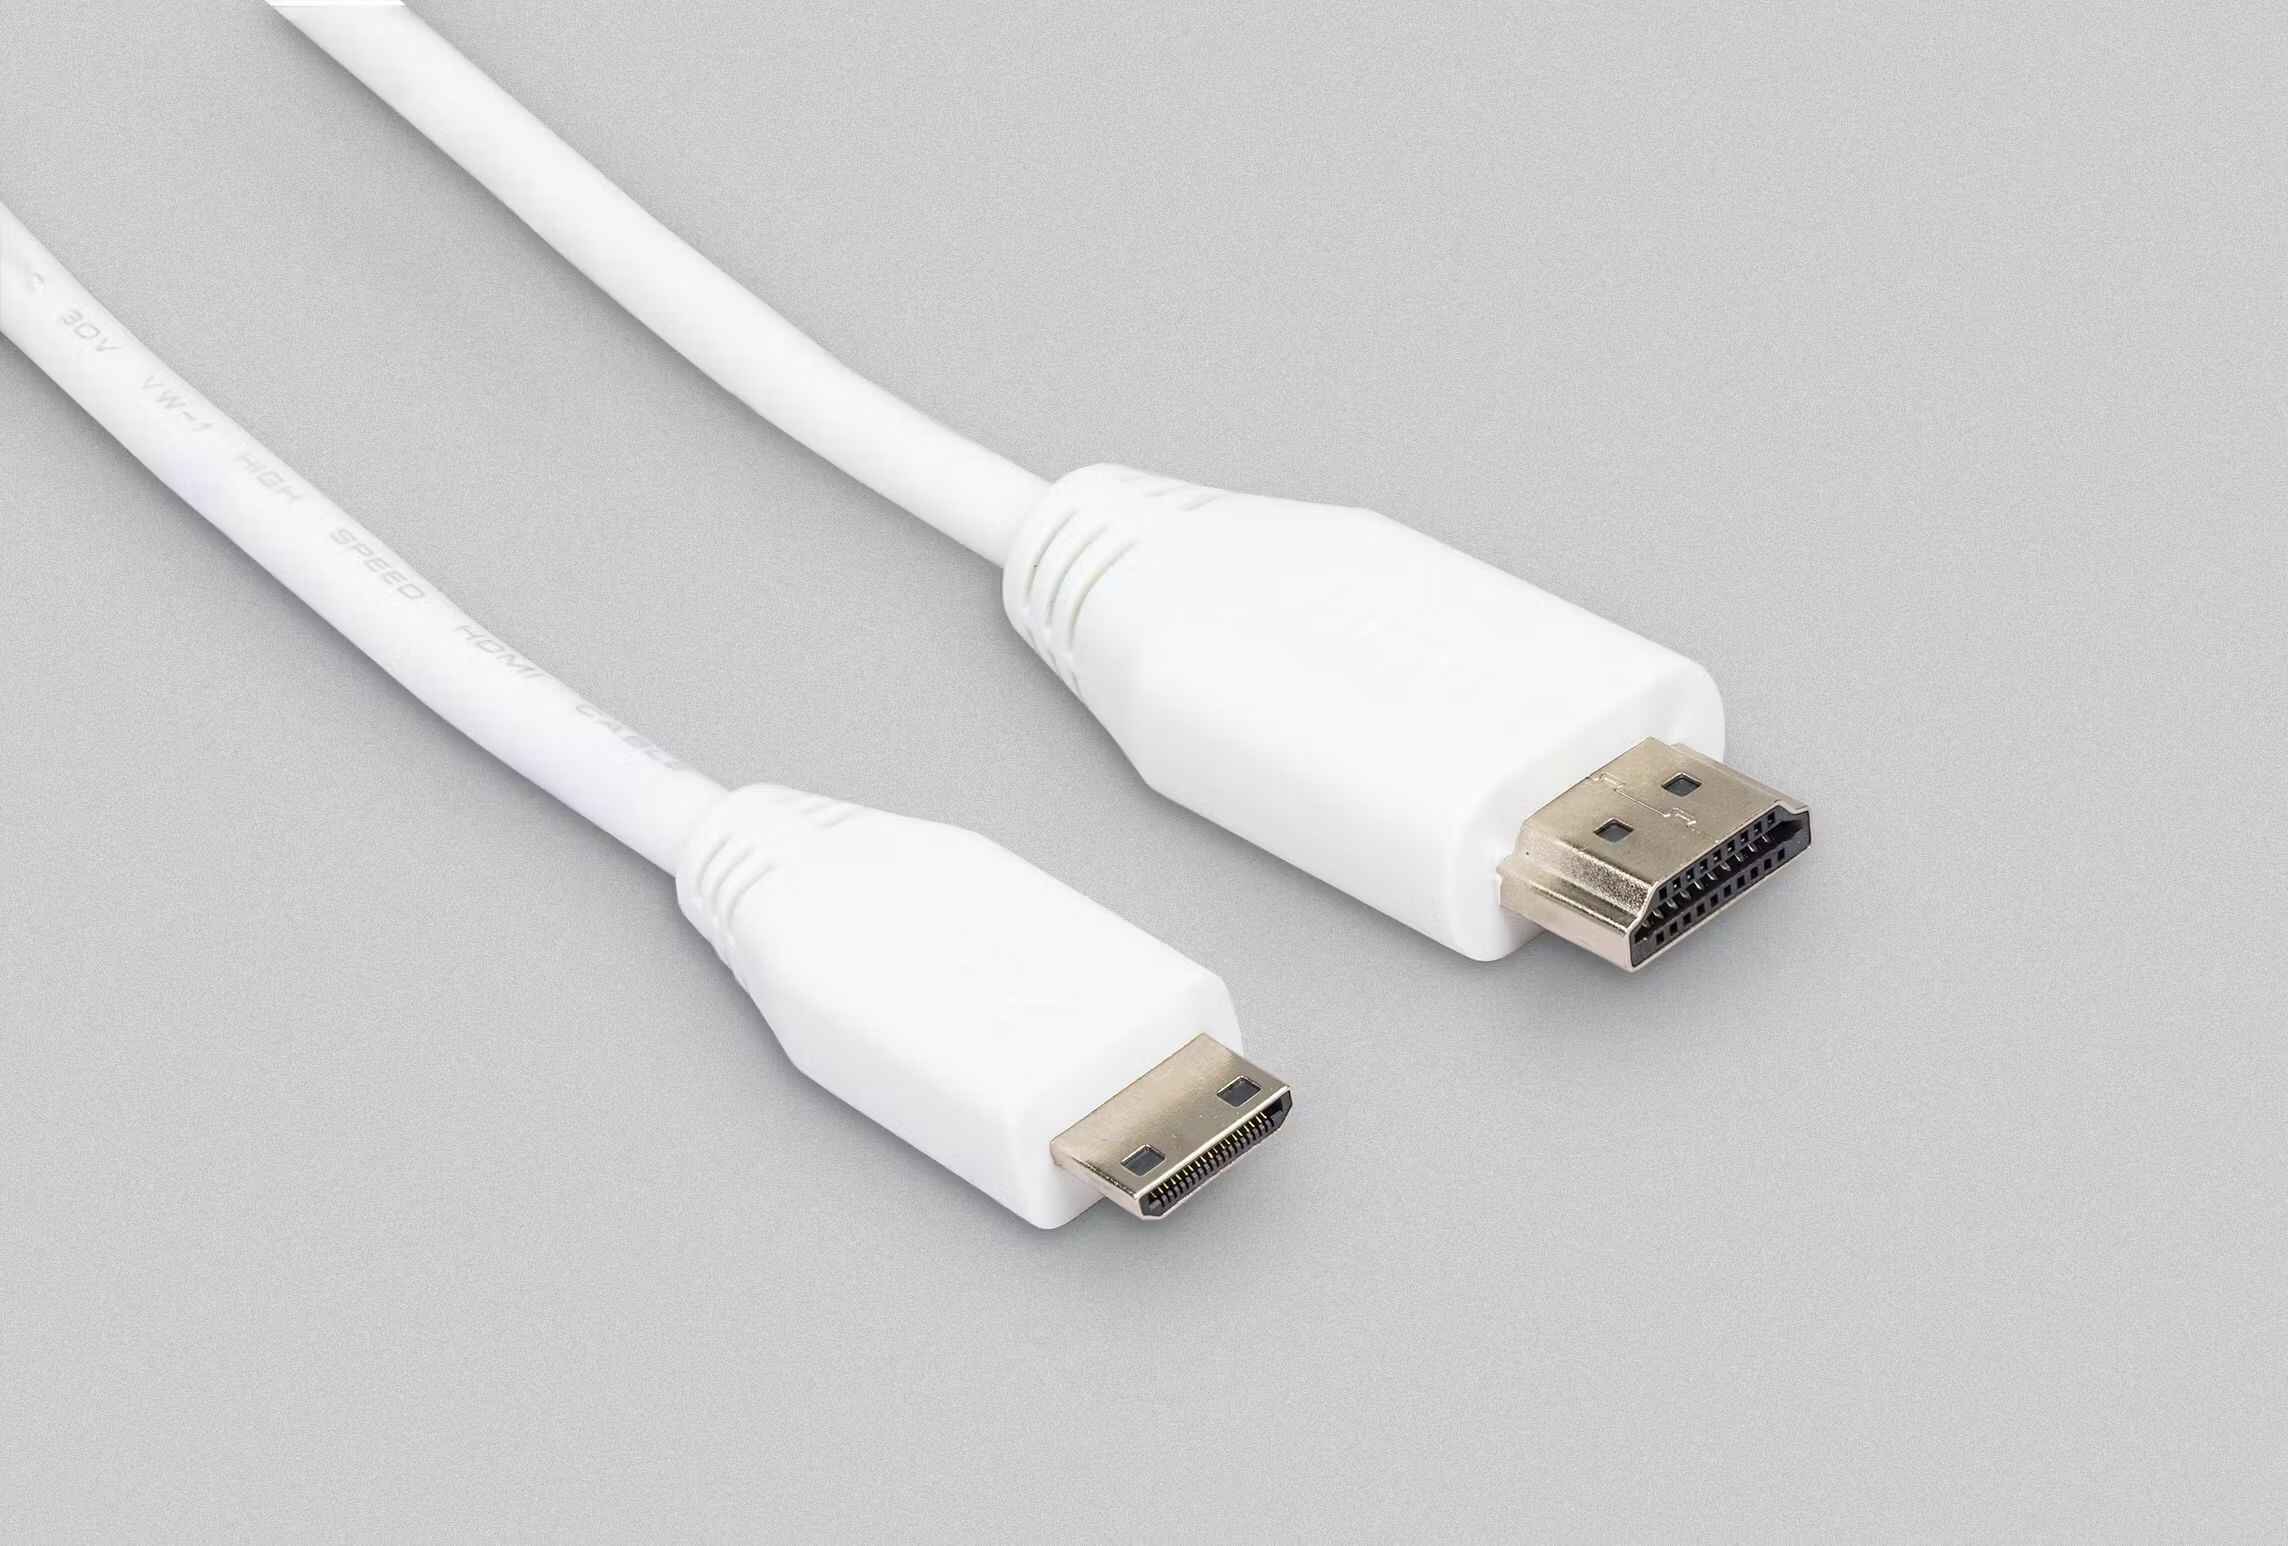
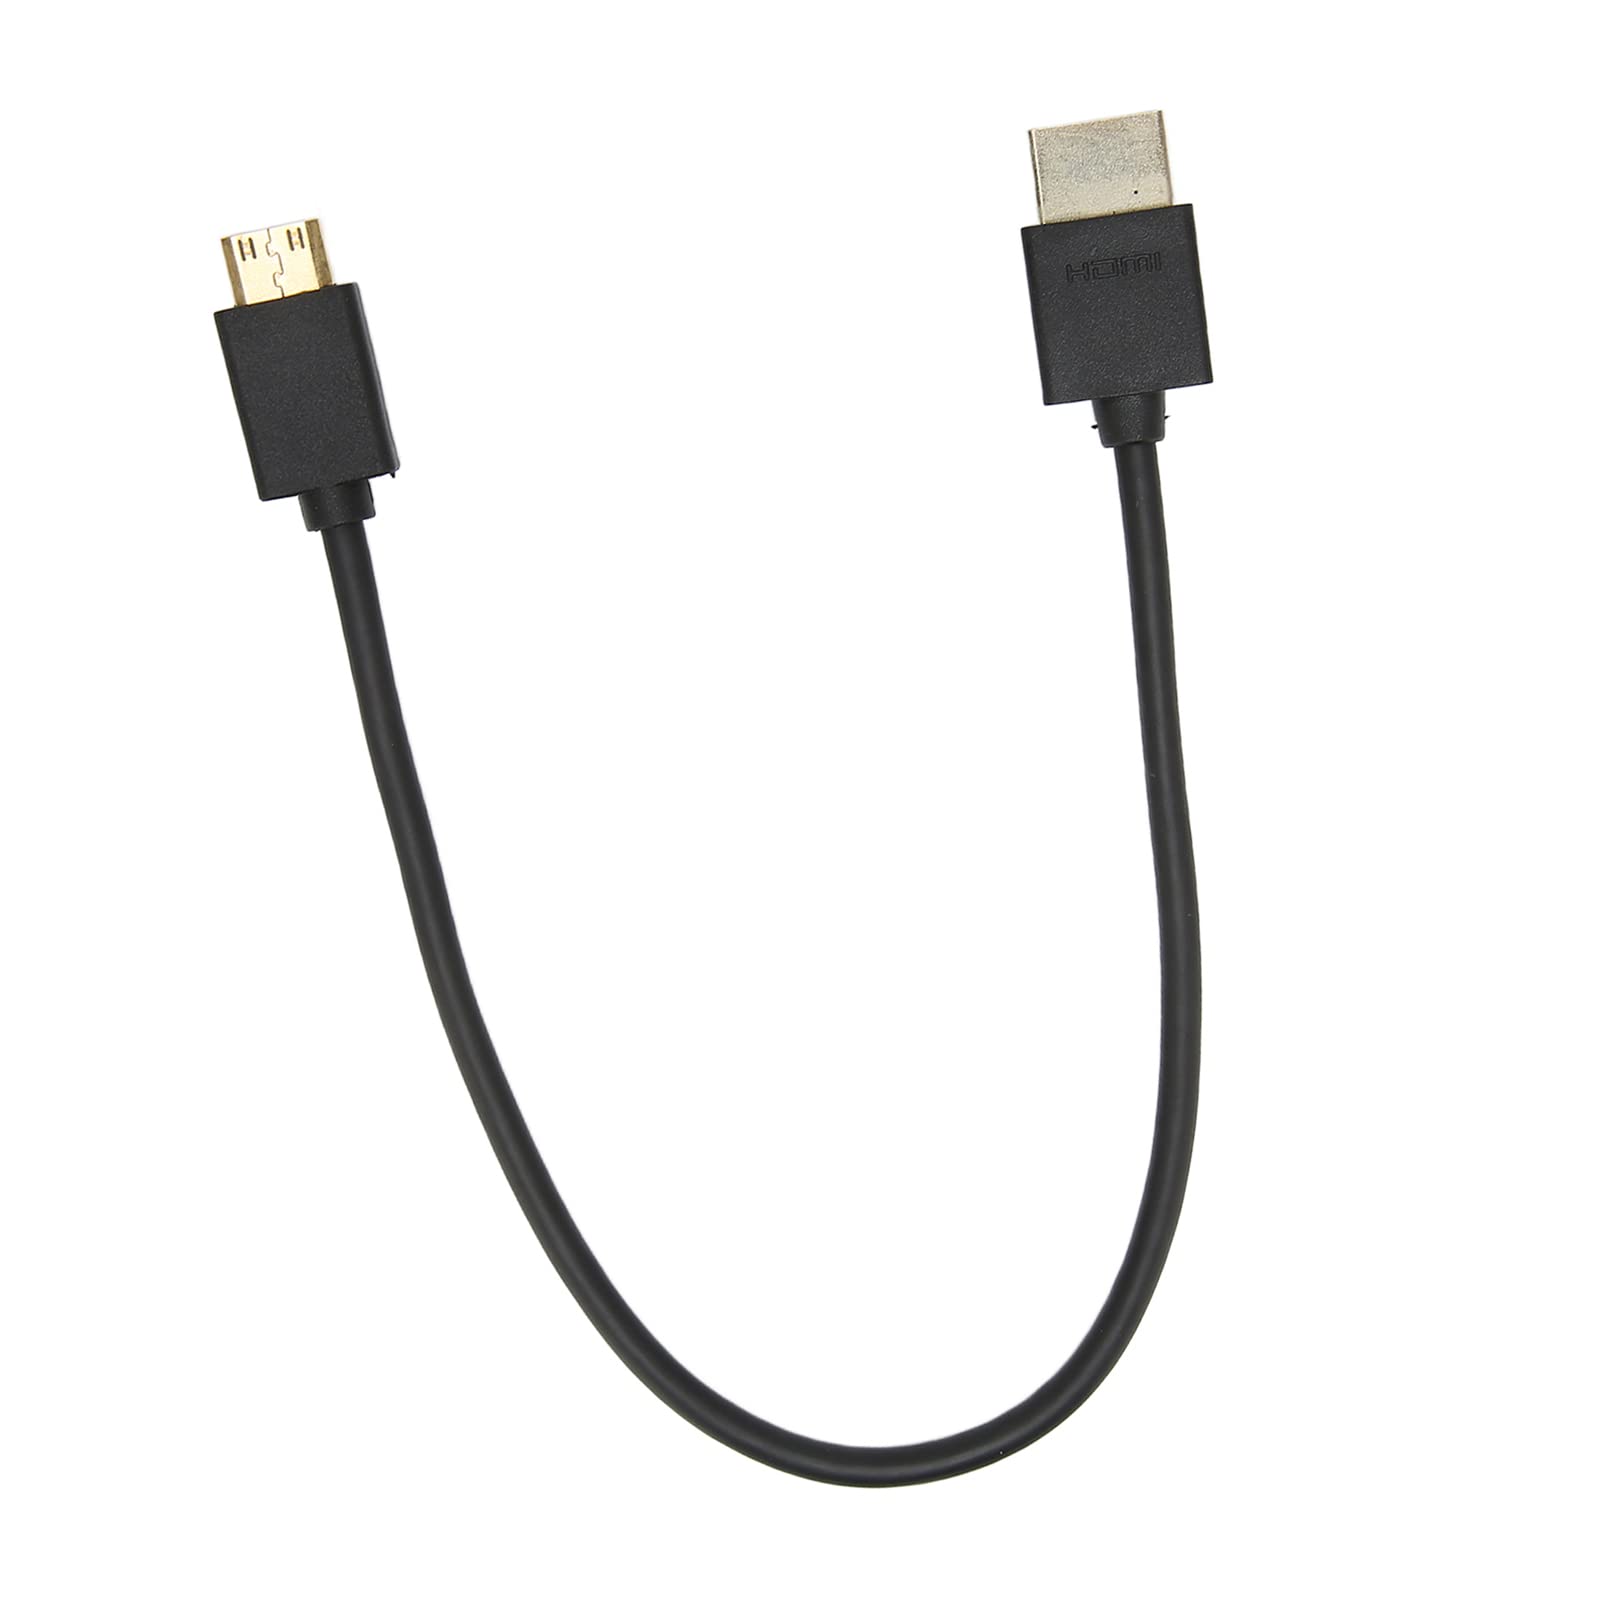
- HDMI Cable: A high-quality HDMI cable is essential for linking your DSLR camera to your MacBook Pro. Opt for a reliable and durable HDMI cable to facilitate a stable and clear connection between the camera and the laptop.
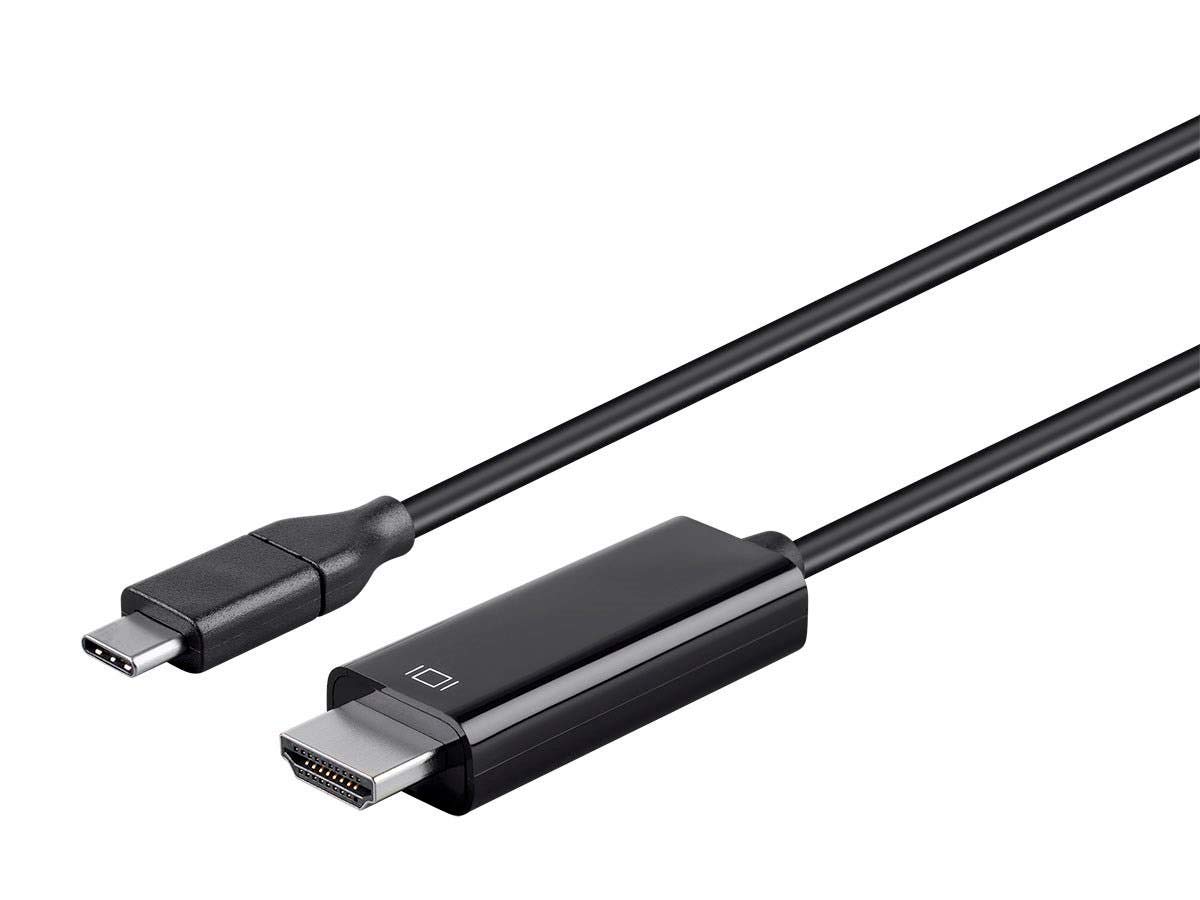
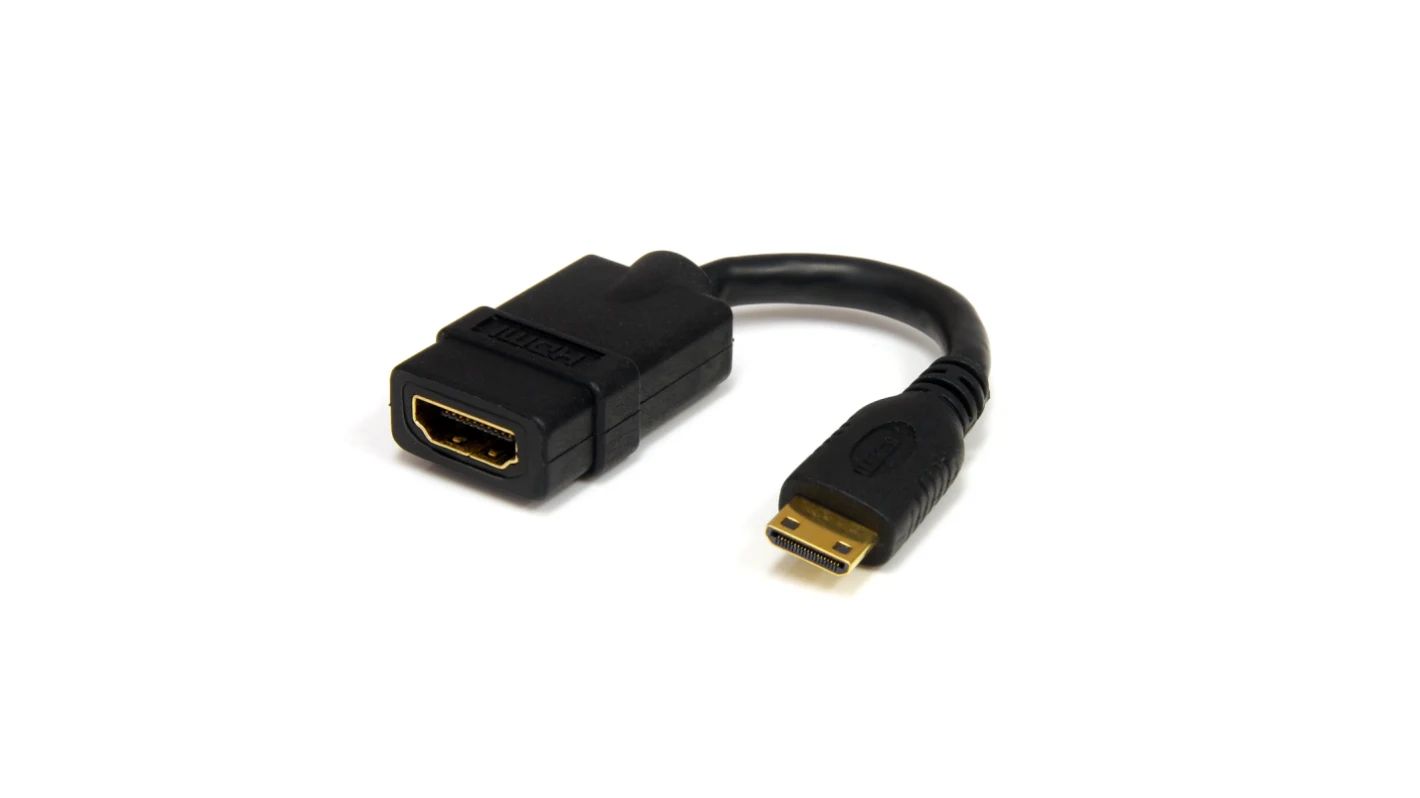
- Adapter (if necessary): Depending on the specific ports available on your MacBook Pro and your DSLR camera, you may require an adapter to establish the connection. For instance, if your MacBook Pro has a Thunderbolt 3 (USB-C) port and your camera features a standard HDMI output, you’ll need a Thunderbolt 3 to HDMI adapter to bridge the connection.
- Camera Power Source: To ensure uninterrupted monitoring and shooting sessions, it’s advisable to have a reliable power source for your DSLR camera. This can be in the form of a fully charged battery or an AC power adapter, depending on the model of your camera.
By gathering these essential components, you’ll be well-prepared to set up your MacBook Pro as a monitor for your DSLR camera. With the right equipment in place, you can seamlessly integrate your laptop into your photography or videography workflow, unlocking new possibilities for precision and creativity.
Setting up your MacBook Pro as a Monitor
Setting up your MacBook Pro as a monitor for your DSLR camera involves a straightforward process that can significantly enhance your photography and videography workflow. Follow these steps to establish a seamless connection between your camera and your laptop:
- Connect the HDMI Cable: Begin by connecting one end of the HDMI cable to the HDMI output port on your DSLR camera. Ensure that the connection is secure to prevent any signal interruptions during your monitoring sessions.
- Connect to MacBook Pro: Next, connect the other end of the HDMI cable to the appropriate port on your MacBook Pro. If your MacBook Pro features a Thunderbolt 3 (USB-C) port, use the corresponding adapter to connect the HDMI cable to the laptop. Once connected, your MacBook Pro should recognize the camera as an external display.
- Enable External Display Mode: On your MacBook Pro, navigate to the System Preferences and select the Displays option. Here, you can configure the display settings to recognize the connected DSLR camera as an external monitor. Adjust the resolution and arrangement settings to optimize the display for your monitoring needs.
- Camera Playback Mode: Set your DSLR camera to playback mode or live view mode, depending on the model and capabilities of your camera. This mode allows the camera to transmit a live feed to your MacBook Pro, enabling you to monitor and capture shots with precision.
- Adjust Camera Positioning: Position your MacBook Pro in a convenient location for monitoring your shots. Whether you’re shooting in a studio or on location, ensure that the laptop’s display is easily accessible and provides a clear view of the captured images or footage.
Once these steps are completed, your MacBook Pro will function as a high-quality monitor for your DSLR camera, offering a larger and more detailed view of your subject. This setup empowers you to fine-tune composition, focus, and exposure with enhanced precision, ultimately elevating the quality of your photography and videography endeavors.
By seamlessly integrating your MacBook Pro into your monitoring setup, you can benefit from the versatility and visual clarity that a larger display offers, allowing you to capture stunning visuals with confidence and creativity.
Adjusting Camera and MacBook Pro Settings
Once you have successfully connected your DSLR camera to your MacBook Pro and established it as a monitor, it’s essential to optimize the settings on both devices to ensure a seamless and productive monitoring experience. Here are the key adjustments to consider:
- Camera Settings: Begin by configuring the settings on your DSLR camera to maximize the monitoring potential offered by your MacBook Pro. Adjust the camera’s display settings to enable the live view or playback mode, allowing the camera to transmit a real-time feed to your laptop. Additionally, fine-tune the focus and exposure settings to ensure that the displayed images or footage accurately reflect your creative vision.
- MacBook Pro Display Preferences: Navigate to the Display preferences on your MacBook Pro to customize the settings for the connected DSLR camera. Adjust the resolution, brightness, and color calibration to optimize the display for monitoring purposes. By fine-tuning these settings, you can ensure that the visuals transmitted from the camera are accurately represented on the MacBook Pro’s screen.
- Color Calibration: If color accuracy is crucial for your photography or videography projects, consider calibrating the colors on both the camera and the MacBook Pro. This step is particularly important for maintaining consistent color representation across devices, ensuring that your visuals are accurately depicted throughout the monitoring process.
- Composition and Framing: Utilize the larger display of your MacBook Pro to refine the composition and framing of your shots. Take advantage of the enhanced visibility to adjust the positioning of your subject, fine-tune the framing, and ensure that every detail is captured with precision. The larger screen size facilitates a more comprehensive view, allowing you to make informed creative decisions in real time.
By making these adjustments, you can harness the full potential of your MacBook Pro as a monitor for your DSLR camera, enabling you to monitor and capture visuals with enhanced clarity and precision. This integrated setup empowers you to fine-tune your creative vision, ensuring that every shot is meticulously composed and accurately represented on the high-resolution display of your MacBook Pro.
With the camera and laptop settings optimized for monitoring, you can immerse yourself in the creative process, confidently capturing stunning visuals while leveraging the advanced capabilities of your MacBook Pro as a versatile and powerful monitor.
Tips for Using Your MacBook Pro as a Monitor
As you explore the capabilities of using your MacBook Pro as a monitor for your DSLR camera, consider the following tips to optimize your monitoring experience and elevate the quality of your photography and videography endeavors:
- Utilize Focus Peaking and Zebra Patterns: Leverage the advanced monitoring capabilities of your MacBook Pro to enable focus peaking and zebra patterns on your camera. These features provide visual indicators that assist in achieving precise focus and exposure, ensuring that your shots are impeccably captured.
- Implement Grid and Aspect Ratio Overlays: Take advantage of grid and aspect ratio overlays on your camera’s display to guide your composition and framing. By utilizing these visual guides, you can align your shots with precision, creating well-balanced and visually engaging imagery.
- Monitor Exposure and Histogram Data: Use the MacBook Pro’s expansive display to monitor exposure levels and histogram data in real time. This allows you to make informed decisions regarding exposure settings, ensuring that your images or footage maintain optimal brightness and tonal range.
- Employ Remote Shutter Control: If your camera supports remote shutter control via the MacBook Pro, take advantage of this functionality to capture shots without physically interacting with the camera. This can be particularly useful for minimizing vibrations and achieving steady, shake-free images.
- Customize Display Preferences: Explore the display preferences on your MacBook Pro to customize the visual settings according to your monitoring preferences. Adjust the color temperature, contrast, and sharpness to create a monitoring environment that aligns with your visual aesthetic and creative requirements.
- Optimize Screen Calibration: Consider calibrating the MacBook Pro’s screen to ensure accurate color representation and consistent visual output. Calibration tools and software can help fine-tune the display, resulting in precise color accuracy and enhanced visual fidelity during monitoring sessions.
- Maximize Screen Real Estate: Take advantage of the larger screen real estate offered by the MacBook Pro to review intricate details and assess the overall composition of your shots. The expansive display facilitates a comprehensive view, allowing you to make informed creative decisions with confidence.
By incorporating these tips into your monitoring workflow, you can harness the full potential of your MacBook Pro as a powerful and versatile monitor for your DSLR camera. These strategies enable you to fine-tune your creative process, capture visually compelling content, and elevate the quality of your photography and videography projects.
Embrace the innovative features and capabilities of your MacBook Pro as a monitor, empowering yourself to capture stunning visuals with precision, creativity, and technical finesse.
Conclusion
Harnessing the capabilities of your MacBook Pro as a monitor for your DSLR camera opens up a world of creative possibilities, empowering you to capture visually compelling content with precision and finesse. By seamlessly integrating your laptop into your monitoring setup, you gain access to a larger, high-resolution display that enhances your ability to fine-tune composition, focus, and exposure in real time.
Throughout this guide, we’ve explored the essential requirements, setup process, and valuable tips for using your MacBook Pro as a monitor. From connecting the HDMI cable to adjusting camera and laptop settings, each step contributes to a streamlined and immersive monitoring experience, allowing you to capture stunning visuals with confidence and clarity.
By optimizing the settings on both your camera and MacBook Pro, you can ensure that every shot is meticulously composed and accurately represented on the high-resolution display. The advanced monitoring capabilities, including focus peaking, exposure monitoring, and remote shutter control, empower you to elevate the quality of your photography and videography projects.
As you embrace the innovative features and functionalities of your MacBook Pro as a monitor, remember to explore the diverse tools and visual guides available to fine-tune your creative process. Whether it’s utilizing grid overlays, monitoring histogram data, or customizing display preferences, each aspect contributes to a comprehensive and immersive monitoring workflow.
Ultimately, the integration of your MacBook Pro as a monitor for your DSLR camera signifies a harmonious fusion of technology and creativity, allowing you to capture visually stunning content with precision, creativity, and technical finesse. Embrace this innovative setup as a powerful tool in your photography and videography arsenal, and let it inspire your creative vision as you embark on captivating visual storytelling.
With the knowledge and insights gained from this guide, you are well-equipped to leverage your MacBook Pro as a versatile and dynamic monitor, unlocking new dimensions of creativity and precision in your photography and videography endeavors.


