Introduction
Connecting a DSLR camera to a MacBook can open up a world of possibilities for photographers and videographers. By linking these two powerful devices, you can seamlessly transfer and edit your high-quality images and videos, streamlining your workflow and unleashing your creativity.
Whether you're a professional photographer, a budding content creator, or simply an enthusiast looking to enhance your photography game, the ability to connect your DSLR camera to your MacBook offers numerous advantages. From importing and organizing your media to utilizing advanced editing software, this connection provides a bridge between your camera's capabilities and the editing prowess of your MacBook.
In this guide, we will walk you through the step-by-step process of connecting your DSLR camera to your MacBook. We'll cover everything from checking compatibility and installing necessary software to the actual connection process and transferring your photos and videos. By the end of this tutorial, you'll be well-equipped to seamlessly integrate your DSLR camera with your MacBook, unlocking a host of creative possibilities.
So, grab your camera, fire up your MacBook, and let's dive into the exciting world of connecting these two powerful tools. Whether you're looking to edit stunning landscape shots, capture breathtaking portraits, or produce captivating videos, the seamless connection between your DSLR camera and MacBook is the key to unlocking your creative potential. Let's get started!
Step 1: Check for Compatibility
Before embarking on the process of connecting your DSLR camera to your MacBook, it’s crucial to ensure that the two devices are compatible. While many modern DSLR cameras are designed to be compatible with MacBooks, it’s essential to verify this compatibility to avoid any potential issues during the connection process.
To begin, consult the user manual or visit the official website of your DSLR camera’s manufacturer. Look for information regarding compatibility with Mac operating systems, including specific versions of macOS. Manufacturers often provide detailed compatibility charts or documentation outlining the required software or drivers for seamless integration with MacBooks.
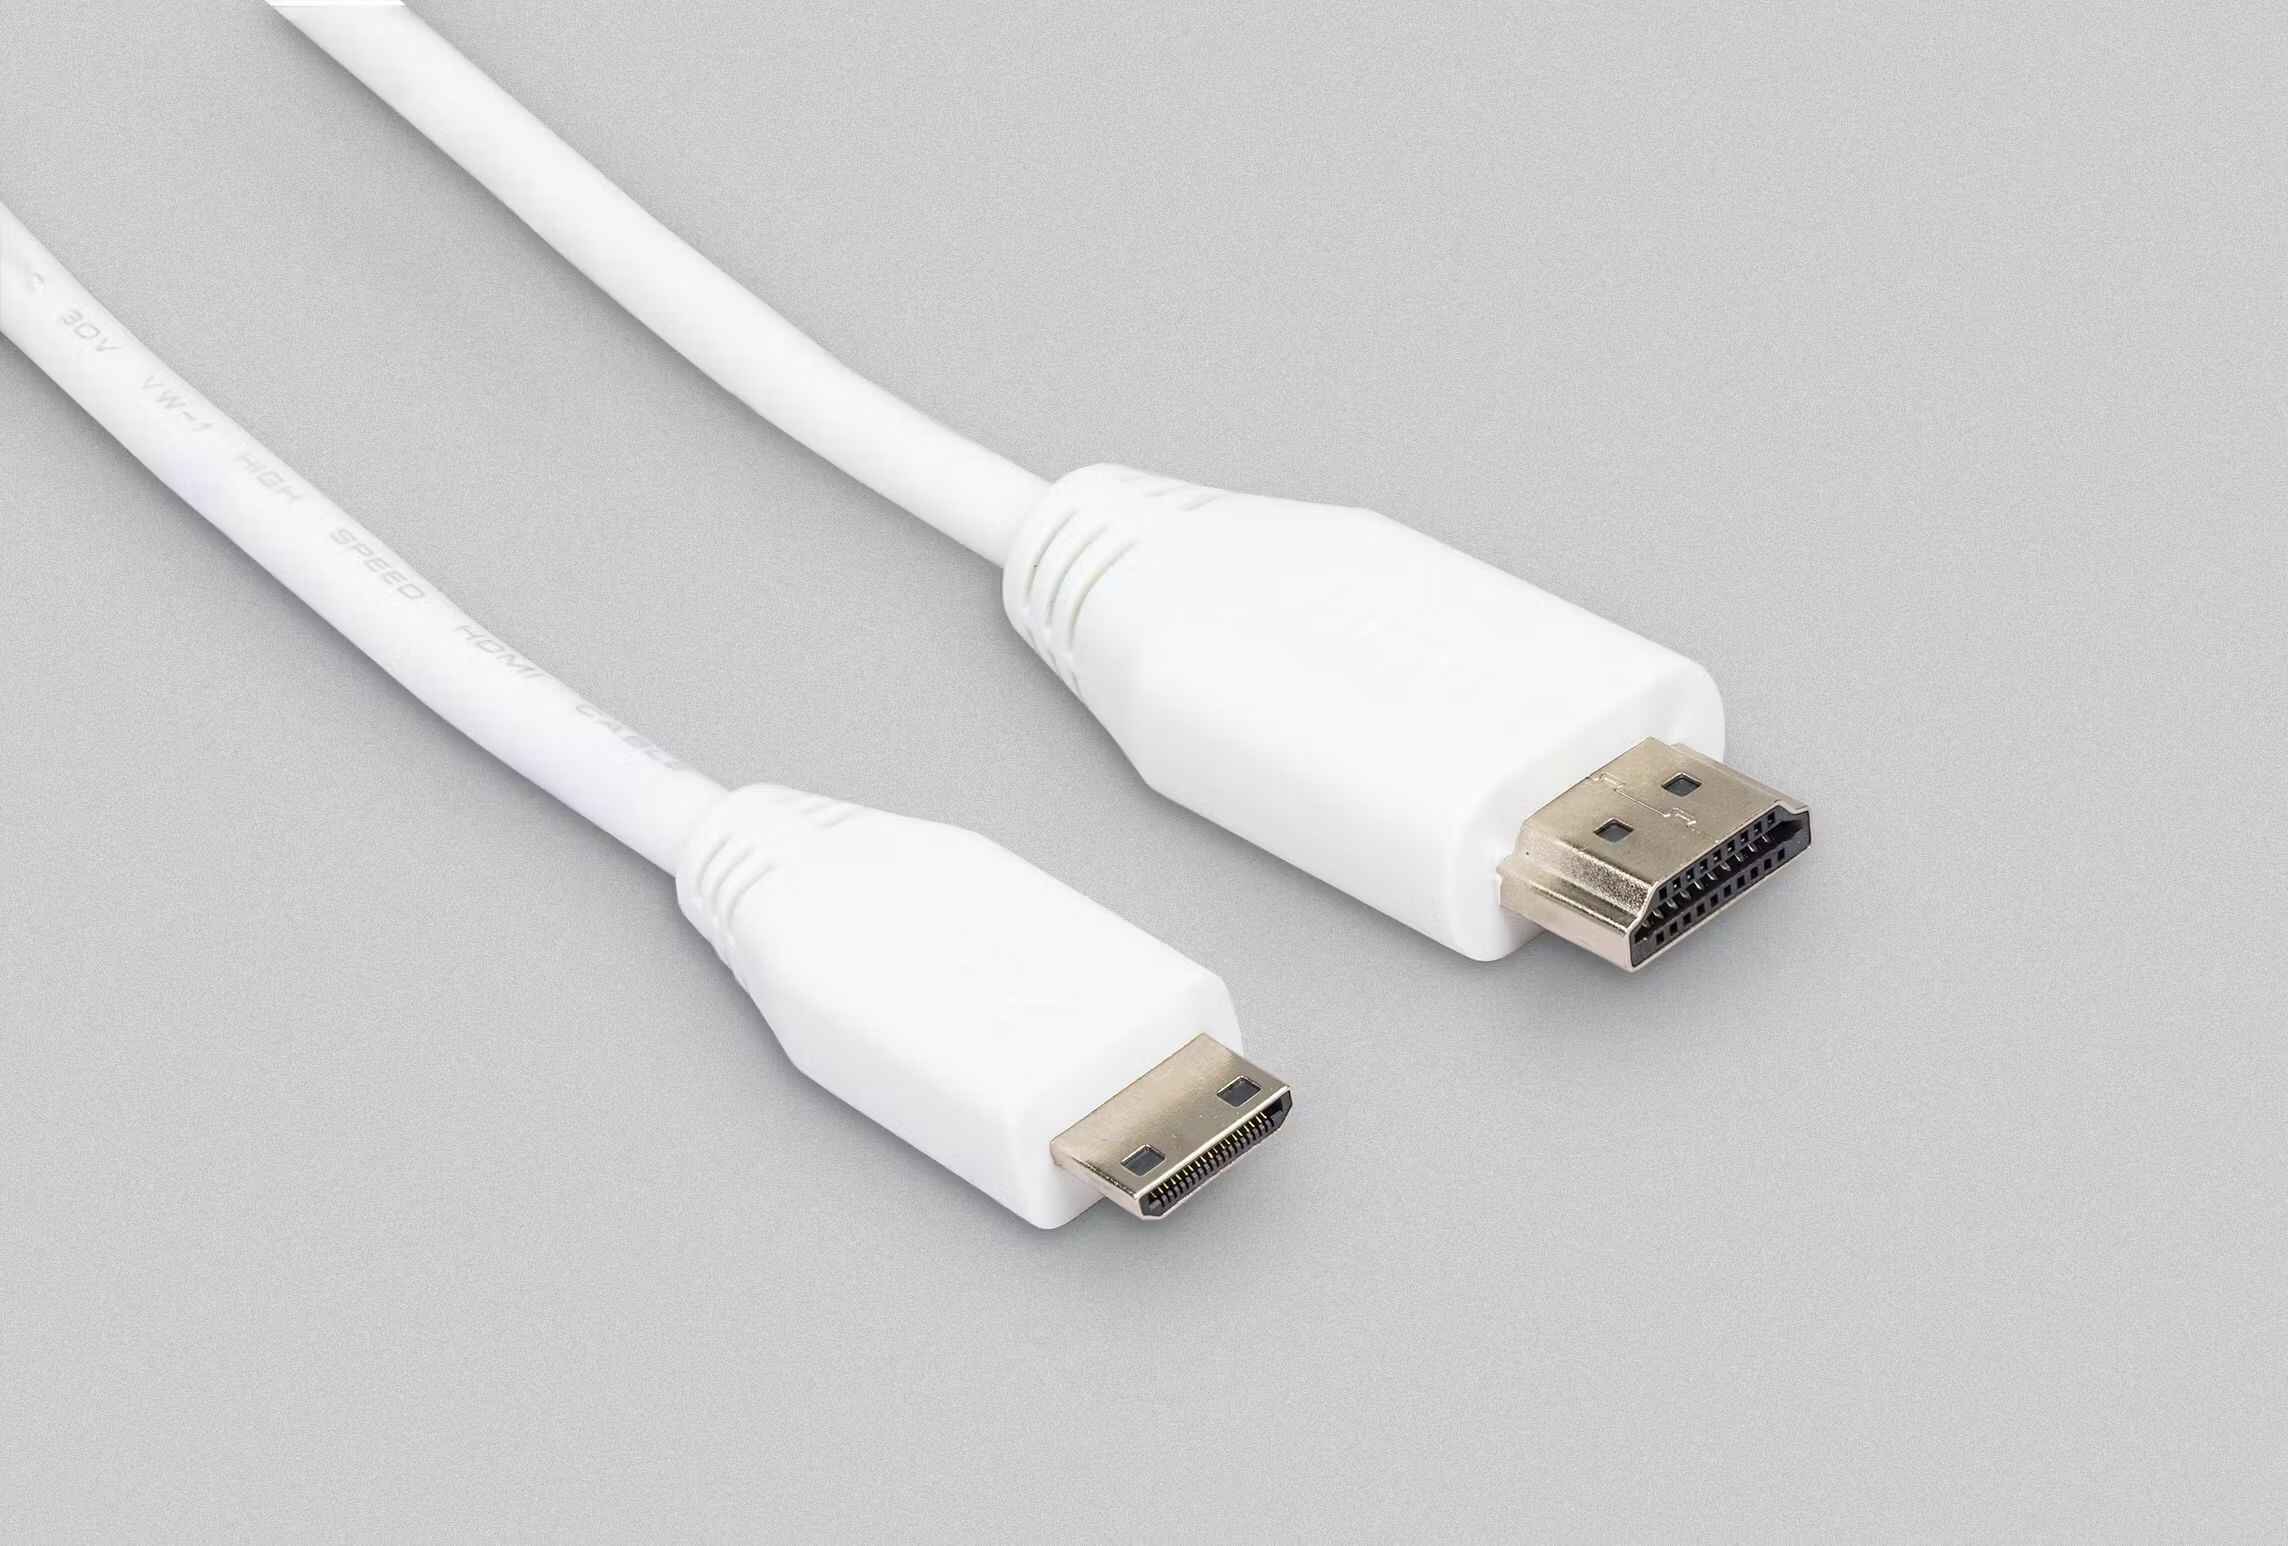
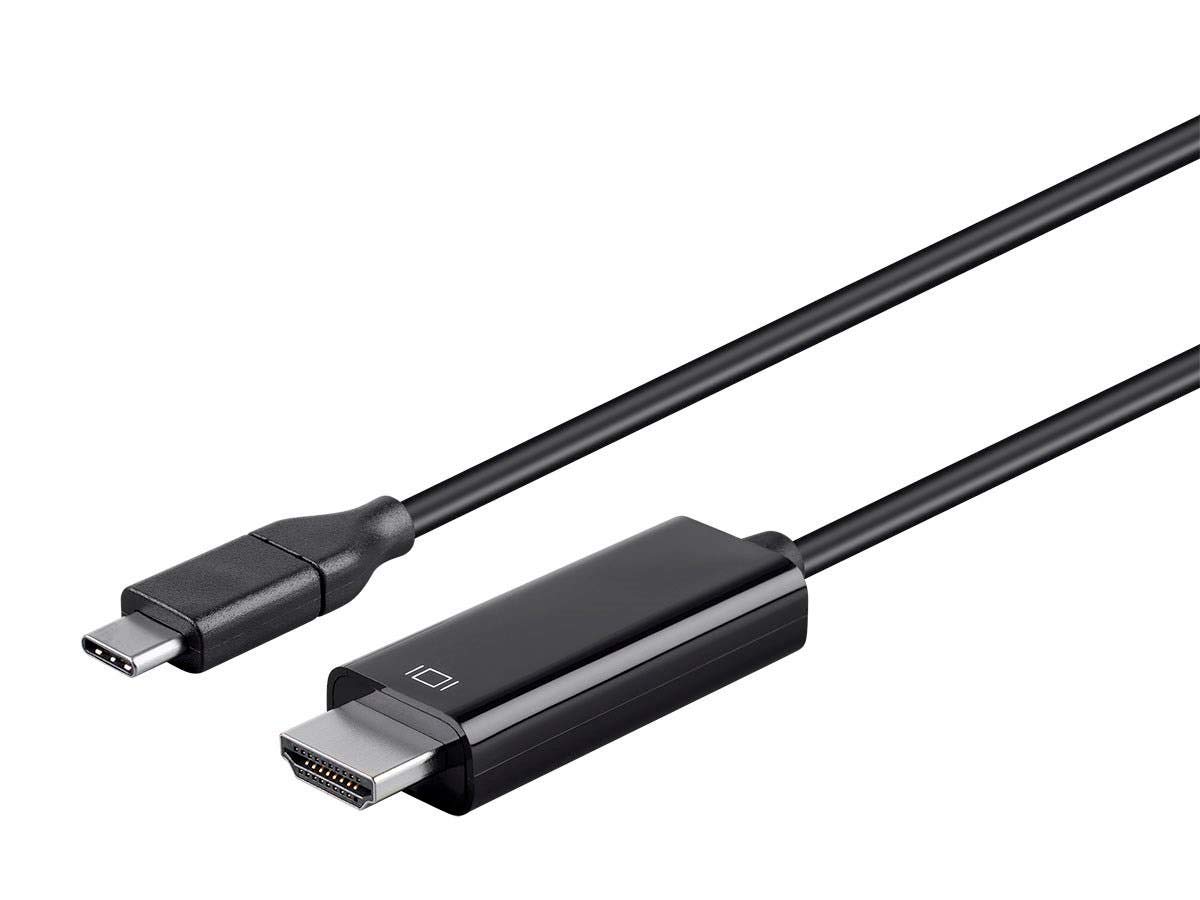
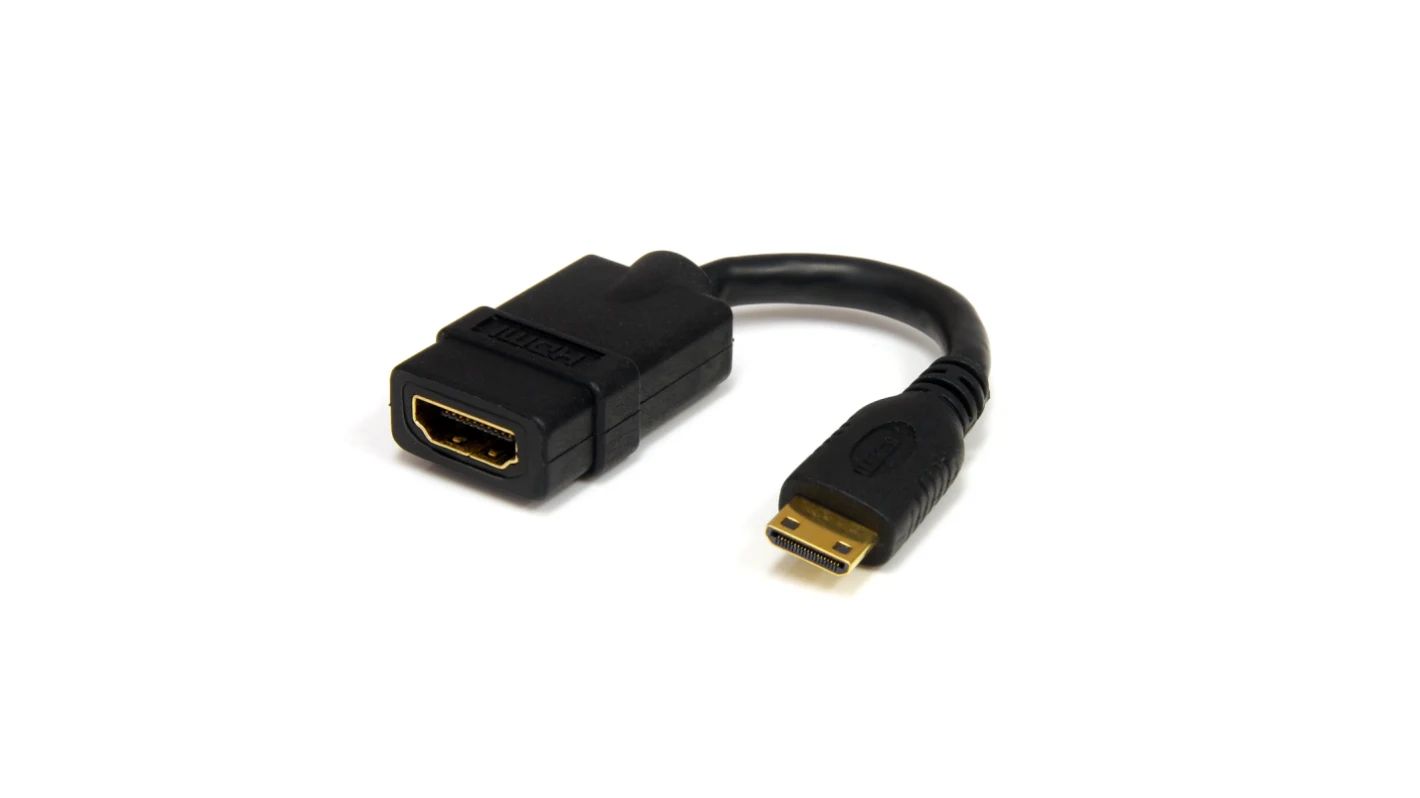
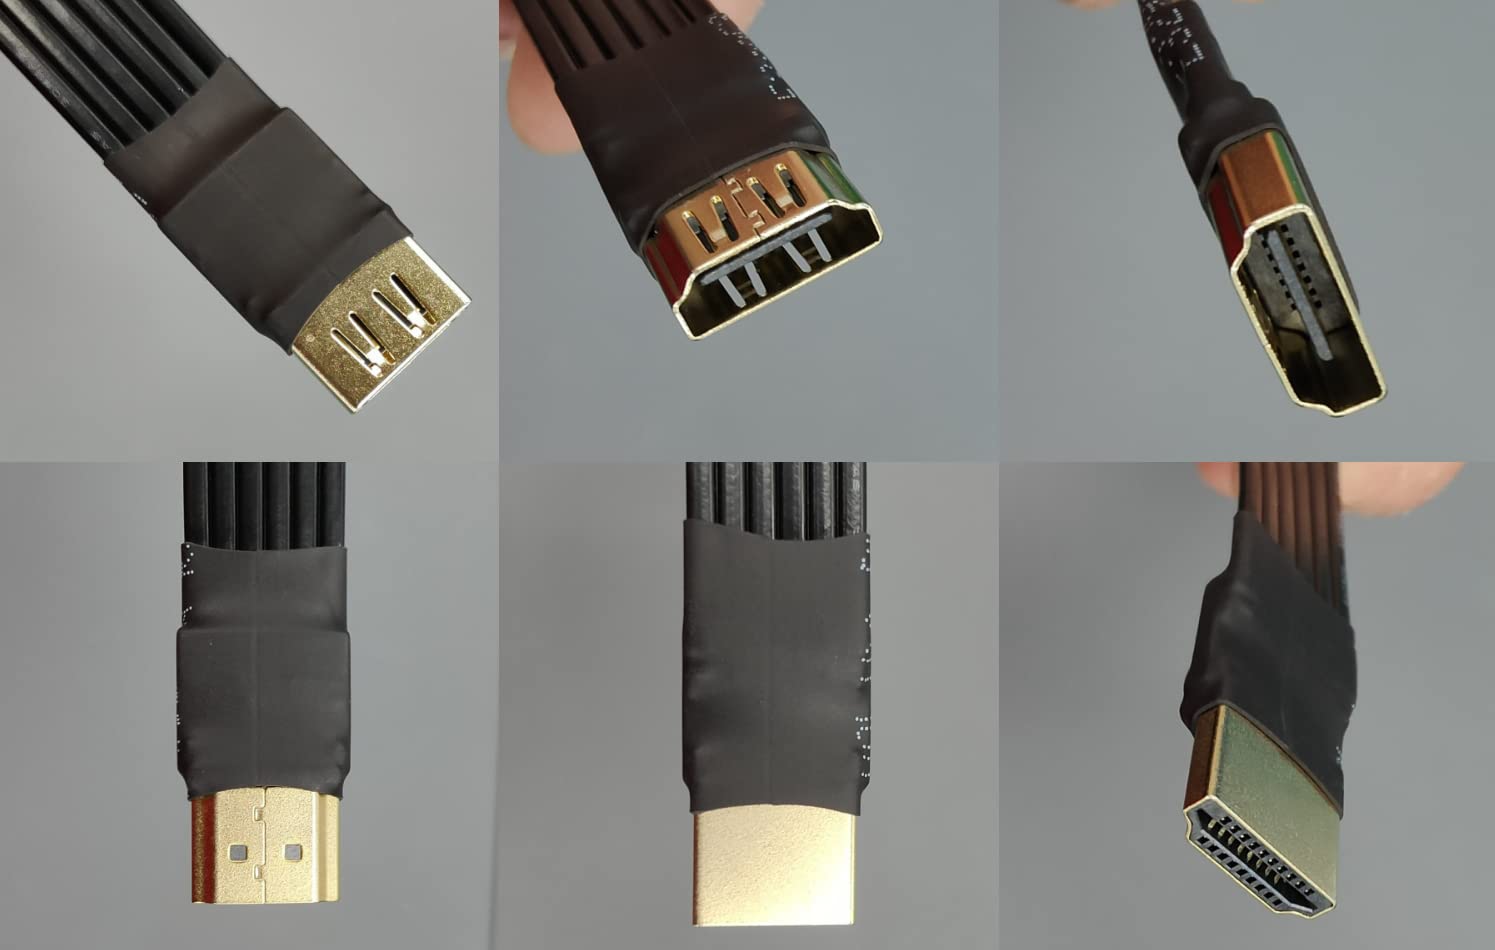
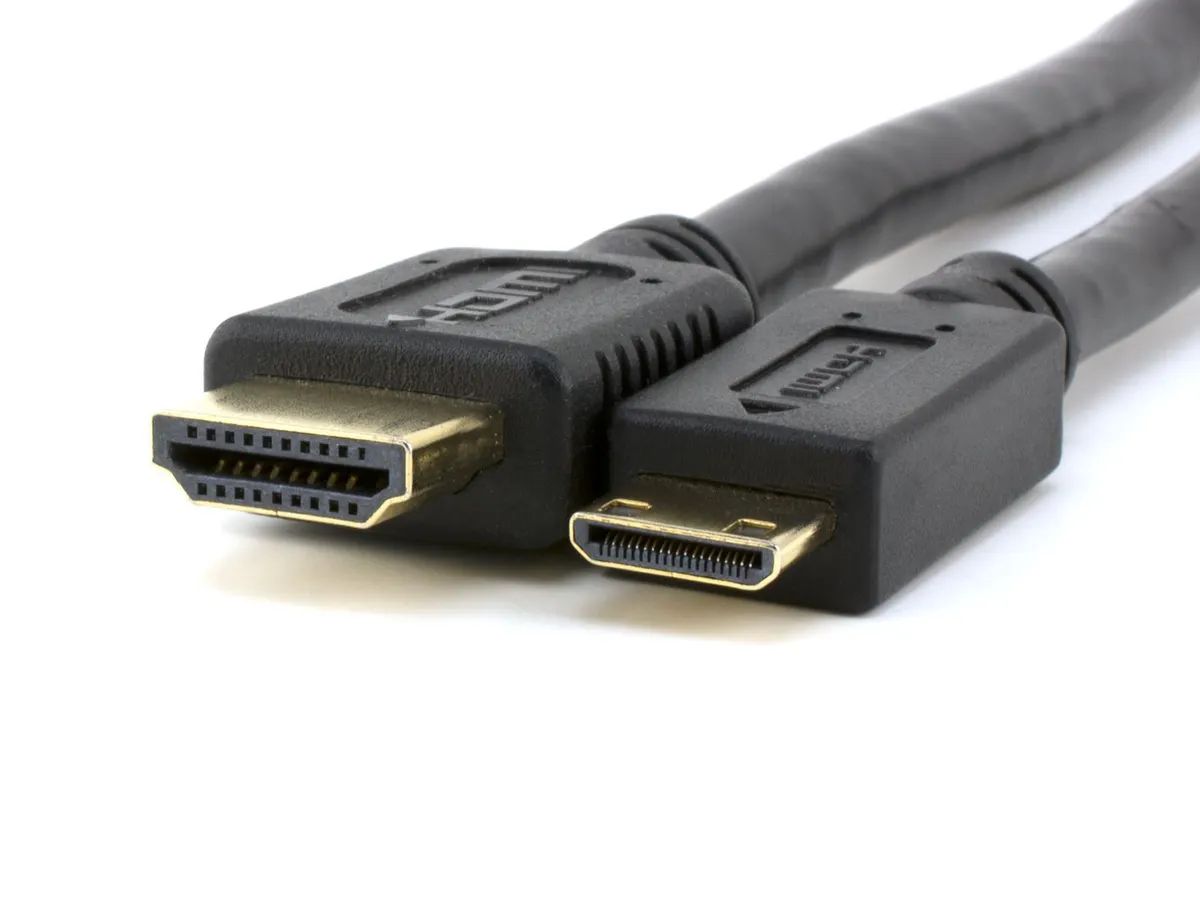
Additionally, consider the type of connection ports available on your DSLR camera and MacBook. Most modern MacBooks feature USB-C or Thunderbolt ports, while DSLR cameras may utilize USB-A, mini USB, or micro USB connections. In this case, you may need to procure the appropriate cables or adapters to establish a physical connection between the two devices.
Furthermore, research any potential software requirements for your MacBook. Some DSLR cameras may require proprietary software or third-party applications to facilitate the transfer of media files and remote camera control. Ensure that this software is compatible with your MacBook’s operating system version to guarantee a smooth connection experience.
By thoroughly assessing the compatibility between your DSLR camera and MacBook, you can preemptively address any compatibility issues and streamline the subsequent steps of the connection process. Once you’ve confirmed compatibility, you’re ready to proceed to the next step and prepare your MacBook for the seamless integration of your DSLR camera.
Step 2: Install Necessary Software
After confirming the compatibility of your DSLR camera with your MacBook, the next crucial step is to install the necessary software to facilitate the seamless connection and communication between the two devices. Depending on the make and model of your camera, as well as your MacBook’s operating system, specific software or drivers may be required to enable the transfer of media files and remote camera control.
Begin by visiting the official website of your DSLR camera’s manufacturer. Look for the dedicated support or downloads section, where you can find the latest software, drivers, or firmware updates tailored for Mac operating systems. Ensure that you download the appropriate software version compatible with your MacBook’s specific macOS version to guarantee optimal functionality.
Some DSLR cameras may require the installation of a tethering or remote control application on your MacBook. These applications allow you to control your camera settings, capture images remotely, and transfer files directly to your MacBook. Familiarize yourself with the features and capabilities of these applications to harness the full potential of your DSLR camera in conjunction with your MacBook.
Additionally, consider exploring third-party software solutions that offer advanced photo editing and organization capabilities. While your MacBook likely comes equipped with native photo management software, such as Photos or Preview, third-party applications like Adobe Lightroom or Capture One provide powerful tools for editing and organizing your DSLR camera’s high-quality images with precision and creativity.
Once you’ve installed the necessary software and applications, take the time to familiarize yourself with their functionalities. Understanding how these tools interact with your DSLR camera and MacBook will empower you to maximize the potential of your photography workflow, from capturing images to post-processing and organization.
By proactively installing the essential software and applications, you’re laying the foundation for a seamless and efficient connection between your DSLR camera and MacBook, setting the stage for a streamlined media transfer and editing experience.
Step 3: Connect the Camera to the MacBook
With the necessary software installed and compatibility verified, it’s time to establish the physical connection between your DSLR camera and MacBook. This step is pivotal in enabling the seamless transfer of photos and videos, as well as potential remote camera control, empowering you to leverage the full capabilities of your DSLR camera in conjunction with your MacBook.
Begin by locating the appropriate cable for connecting your DSLR camera to your MacBook. Depending on the camera model and MacBook variant, you may require a USB-C to USB-A, USB-C to mini USB, or USB-C to micro USB cable to establish the connection. Ensure that the cable is in good condition and free from any damage that may impede the connection process.
Next, power on your DSLR camera and MacBook. Once both devices are powered up, use the selected cable to connect the DSLR camera to an available USB-C or Thunderbolt port on your MacBook. As you insert the cable, listen for the familiar sound of a successful connection and observe any visual indicators on your camera or MacBook confirming the establishment of the physical link.
Upon successful connection, your MacBook should recognize the DSLR camera as an external device, prompting the appropriate software or application to launch, if necessary. Depending on the installed software, you may receive a notification indicating that the camera has been detected and is ready for media transfer or remote control, further validating the successful connection.
If your DSLR camera supports remote control or tethered shooting, take this opportunity to explore these capabilities through the installed applications on your MacBook. Experiment with adjusting camera settings, capturing images remotely, and transferring files directly to your MacBook, harnessing the convenience and creative potential afforded by this seamless integration.
By successfully connecting your DSLR camera to your MacBook, you’ve established a vital link that paves the way for efficient media transfer and potential remote camera control. This physical connection sets the stage for leveraging the full capabilities of your DSLR camera in conjunction with the editing prowess and organizational tools of your MacBook, empowering you to elevate your photography and videography endeavors.
Step 4: Transfer Photos and Videos
Now that your DSLR camera is successfully connected to your MacBook, it’s time to transfer your captivating photos and stunning videos from the camera to your MacBook’s storage. This pivotal step enables you to seamlessly import your media files for editing, organization, and sharing, leveraging the powerful capabilities of your MacBook to enhance and showcase your creative work.
Depending on the software or application installed for your DSLR camera, you may encounter specific prompts or notifications upon establishing the connection, signaling that the camera is ready for media transfer. Launch the designated software or open the application designed for media import and management, ensuring that it recognizes the connected DSLR camera as the source for transferring files.
Once the media transfer interface is accessible, you’ll typically have the option to select and transfer individual photos, entire photo albums, or video clips from your DSLR camera to your MacBook. Take advantage of the intuitive file selection features to choose the media files you wish to transfer, and initiate the transfer process to begin importing the selected content to your MacBook’s storage.
As the transfer progresses, monitor the status indicators to ensure a smooth and error-free transfer of your photos and videos. Depending on the file sizes and quantities, the transfer process may take varying amounts of time, so exercise patience as your media files are securely copied from your DSLR camera to your MacBook.
Upon completion of the transfer, verify that the imported photos and videos are accessible through your MacBook’s photo management software or file explorer. Organize your newly imported media files into specific albums or directories, allowing for easy access and efficient editing as you embark on the creative journey of refining and showcasing your captured moments.
With your photos and videos now seamlessly transferred to your MacBook, you’re poised to unleash your creativity and storytelling prowess. Whether you’re editing breathtaking landscapes, refining portrait shots, or crafting compelling video narratives, the seamless transfer process has laid the foundation for harnessing the full potential of your DSLR camera’s media on your MacBook.
Conclusion
Connecting your DSLR camera to your MacBook opens a gateway to seamless media transfer, remote camera control, and powerful editing capabilities, bridging the gap between your photography and videography endeavors and the advanced tools of your MacBook. By following the step-by-step process outlined in this guide, you’ve embarked on a journey to integrate these two powerful devices, unlocking a myriad of creative possibilities and streamlining your workflow.
From the initial step of verifying compatibility to the installation of essential software tailored for your DSLR camera and MacBook, you’ve laid the groundwork for a smooth and efficient connection experience. By ensuring compatibility and installing the necessary software, you’ve empowered your devices to communicate seamlessly, setting the stage for a harmonious integration.
With the physical connection established between your DSLR camera and MacBook, you’ve initiated a pivotal link that enables the transfer of your captivating photos and stunning videos to your MacBook’s storage. This transfer process not only facilitates media organization and editing but also serves as a catalyst for unleashing your creative vision and storytelling prowess.
As your photos and videos seamlessly populate your MacBook’s storage, you’re now poised to harness the advanced editing tools and organizational capabilities of your MacBook, elevating your photography and videography endeavors to new heights. Whether you’re refining images with precision in advanced editing software or crafting compelling video narratives, the seamless integration of your DSLR camera and MacBook has laid the foundation for a seamless and efficient creative workflow.
In conclusion, the connection between your DSLR camera and MacBook transcends mere technical integration; it represents the fusion of your creative vision with the advanced capabilities of your MacBook, empowering you to bring your artistic endeavors to life with unparalleled precision and impact. Embrace this seamless integration as a gateway to boundless creative expression, and let your photography and videography aspirations flourish in the collaborative ecosystem of your DSLR camera and MacBook.