Introduction
So, you've been capturing stunning moments with your Nikon DSLR camera, but now it's time to give it some TLC. Cleaning your camera is essential for maintaining the quality of your photos and the longevity of your equipment. Whether you're a professional photographer or an avid hobbyist, knowing how to properly clean your Nikon DSLR camera is crucial.
In this comprehensive guide, I'll walk you through the step-by-step process of cleaning your Nikon DSLR camera, including the lens and sensor. By following these instructions, you'll not only ensure that your camera remains in optimal condition but also continue to produce breathtaking images.
Proper camera maintenance is key to preserving the functionality and performance of your equipment. Dust, dirt, and smudges can compromise the quality of your photographs, so regular cleaning is a must. With the right tools and techniques, you can keep your Nikon DSLR camera in top shape and ready for your next photographic adventure.
Now, let's dive into the detailed steps for cleaning your beloved Nikon DSLR camera, ensuring that it remains a reliable companion on your photographic journey.
Step 1: Gather Your Cleaning Supplies
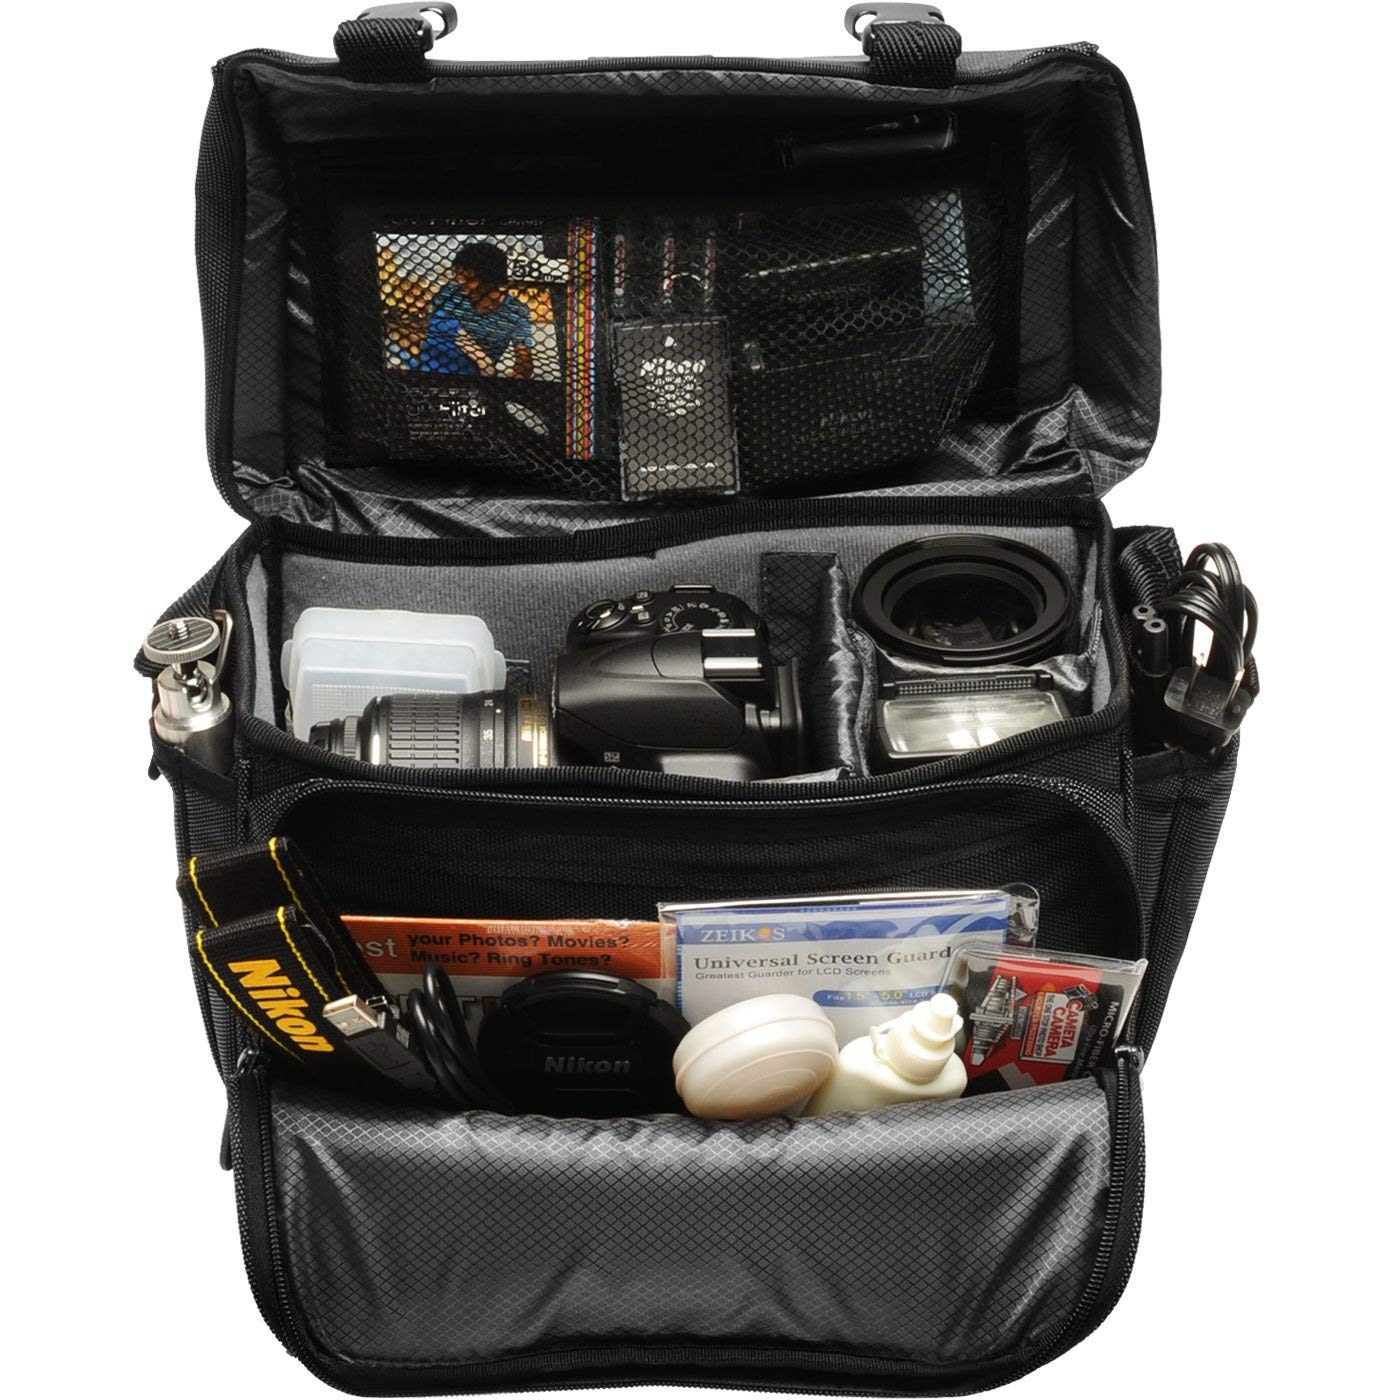
Before embarking on the cleaning process, it’s essential to assemble the necessary cleaning supplies. Having the right tools at your disposal will ensure that you can effectively remove dust, smudges, and other impurities from your Nikon DSLR camera without causing any damage.
Here’s a list of the essential cleaning supplies you’ll need:
- Lens Cleaning Cloth: A high-quality microfiber cloth designed specifically for cleaning camera lenses is crucial for removing fingerprints, smudges, and dust particles without leaving any scratches.
- Lens Cleaning Solution: Use a specialized lens cleaning solution to gently remove stubborn marks and dirt from the lens surface. Avoid using harsh chemicals or household cleaners, as they can damage the lens coating.
- Camera Blower: A camera blower, also known as a air blower, is an effective tool for removing loose dust and debris from the camera body, lens, and sensor without making direct contact.
- Sensor Cleaning Kit: If you’re planning to clean the sensor, invest in a sensor cleaning kit that includes sensor swabs and cleaning solution specifically designed for DSLR sensors.
- Cotton Swabs: These can be used for delicate cleaning tasks, such as reaching tight spots on the camera body or removing stubborn dirt around buttons and dials.
- Camera Cleaning Brush: A soft-bristled brush is ideal for gently sweeping away loose particles from the camera body and lens without causing scratches.
By ensuring that you have these essential cleaning supplies on hand, you’ll be well-prepared to tackle the task of cleaning your Nikon DSLR camera with precision and care. With the right tools at your disposal, you can maintain the pristine condition of your camera and continue capturing stunning images with confidence.
Step 2: Remove the Lens
Before you begin cleaning the camera body and sensor, it’s crucial to remove the lens from your Nikon DSLR. This allows for better access to the sensor and prevents any accidental damage to the lens or camera components during the cleaning process.
Follow these steps to safely remove the lens:
- Power Off the Camera: Before removing the lens, ensure that the camera is powered off to prevent any internal components from moving and causing potential damage.
- Press the Lens Release Button: Locate the lens release button on the camera body, typically found near the base of the lens mount. Press and hold the release button while gently rotating the lens counterclockwise to detach it from the camera body.
- Store the Lens Properly: Once the lens is removed, place the rear lens cap on to protect the lens mount and rear element from dust and debris. Store the lens in a safe and clean environment to prevent any contamination before reattaching it.
By carefully following these steps, you can safely remove the lens from your Nikon DSLR camera, preparing it for the next stages of the cleaning process. Removing the lens provides access to the sensor and interior components, allowing for thorough cleaning without the risk of damaging the lens or camera body.
Step 3: Use a Blower to Remove Dust
Once the lens is removed, it’s time to address any dust and debris that may have accumulated on the camera body and sensor. A camera blower is an essential tool for gently removing loose particles without causing damage to delicate components. Here’s how to effectively use a blower to remove dust from your Nikon DSLR camera:
- Select a Clean Environment: Find a well-lit and clean workspace to minimize the risk of introducing additional dust or dirt during the cleaning process.
- Hold the Camera Upside Down: To prevent dislodged dust from resettling inside the camera, hold the camera upside down while using the blower. This helps direct the loosened particles out of the camera body.
- Gently Use the Blower: With the camera inverted, use the blower to carefully direct bursts of air to dislodge dust from the camera’s exterior, lens mount, and other accessible areas. Avoid making direct contact with the sensor or mirror inside the camera.
- Repeat as Needed: If necessary, repeat the process of using the blower until you’re satisfied that loose particles have been effectively removed from the camera’s interior and exterior surfaces.
Using a blower is a safe and effective method for removing dust and debris from your Nikon DSLR camera without the need for direct contact or invasive cleaning techniques. By incorporating this step into your camera maintenance routine, you can ensure that your camera remains free from contaminants that could affect image quality and performance.
Step 4: Clean the Lens
Keeping your camera lens clean is essential for capturing sharp and clear images. Dust, fingerprints, and smudges can degrade the quality of your photos, so it’s important to regularly clean the lens to maintain optimal performance. Here’s how to effectively clean the lens of your Nikon DSLR camera:
- Use a Lens Cleaning Cloth: Start by using a high-quality microfiber lens cleaning cloth to gently remove any loose particles and smudges from the lens surface. Avoid applying excessive pressure, as this could potentially scratch the lens.
- Apply Lens Cleaning Solution: If stubborn marks or smudges persist, apply a small amount of specialized lens cleaning solution to the cleaning cloth. Carefully wipe the lens in a circular motion, working from the center towards the outer edges to remove any remaining contaminants.
- Inspect for Residue: After cleaning, visually inspect the lens to ensure that it is free from streaks, smudges, or residue. If necessary, repeat the cleaning process using a dry portion of the lens cleaning cloth to achieve a pristine, streak-free finish.
- Protect the Lens: Once the lens is clean, attach the front lens cap to shield the lens from dust and damage when not in use. Store the lens in a protective case or pouch to prevent any potential contamination before its next use.
By following these steps, you can effectively clean the lens of your Nikon DSLR camera, ensuring that it remains free from dust and smudges that could impact the quality of your photographs. Regular maintenance of the lens will contribute to consistently capturing stunning, high-quality images with your camera.
Step 5: Clean the Camera Body
While focusing on the lens and sensor is crucial, it’s equally important to keep the exterior of your Nikon DSLR camera clean and free from dust and debris. The camera body, including buttons, dials, and the LCD screen, requires regular maintenance to ensure smooth operation and longevity. Here’s how to effectively clean the camera body:
- Use a Camera Cleaning Brush: Begin by using a soft-bristled camera cleaning brush to gently sweep away any loose particles from the camera body, focusing on areas around buttons, dials, and crevices where dust may accumulate.
- Remove Stubborn Dirt: For stubborn dirt or grime, lightly dampen a microfiber cloth with water or a mild cleaning solution specifically formulated for electronic devices. Carefully wipe the affected areas, taking care to avoid excess moisture near sensitive components.
- Clean the LCD Screen: Use a microfiber cloth to gently clean the LCD screen, removing fingerprints and smudges. If necessary, use a small amount of screen cleaning solution applied to the cloth for stubborn marks, ensuring that no liquid enters the camera body.
- Inspect and Dry Thoroughly: After cleaning, visually inspect the camera body to ensure that it is free from dirt, streaks, or residue. Allow any damp areas to air dry completely before reassembling the camera.
By incorporating these steps into your camera maintenance routine, you can effectively keep the exterior of your Nikon DSLR camera clean and well-maintained. A clean camera body not only enhances the overall appearance of your equipment but also contributes to a seamless shooting experience and prolonged durability.
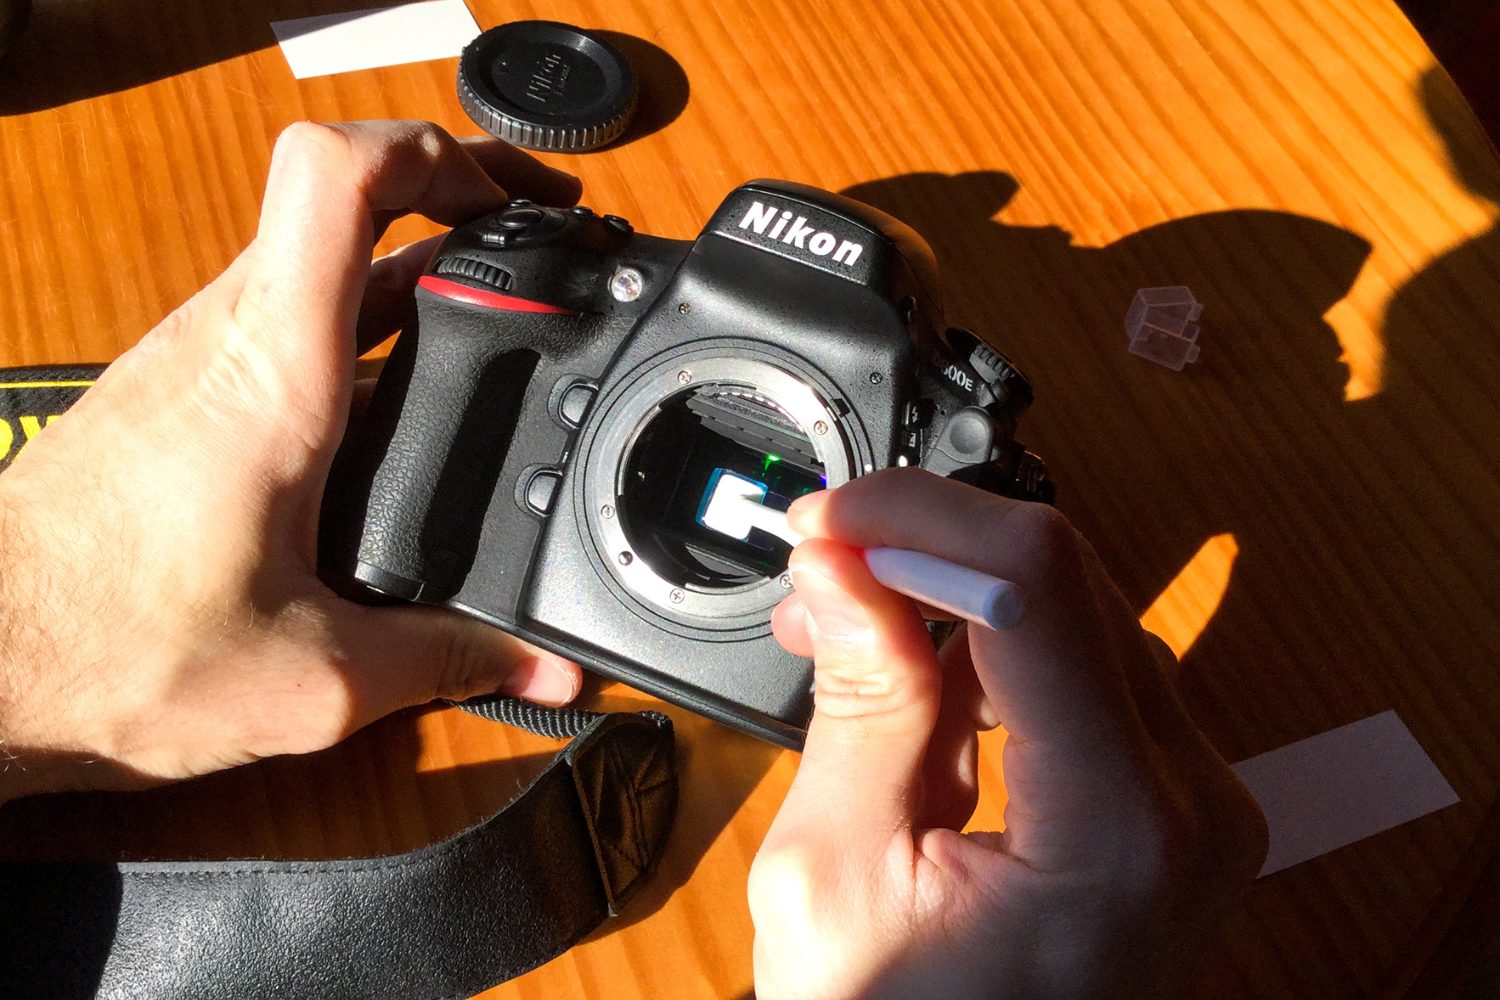
Step 6: Clean the Sensor
Cleaning the sensor of your Nikon DSLR camera is a delicate yet essential task, as a dusty or dirty sensor can lead to visible spots and imperfections in your photographs. While sensor cleaning may seem daunting, with the right tools and techniques, you can effectively maintain a spotless sensor for pristine image quality. Here’s how to clean the sensor of your camera:
- Enable Sensor Cleaning Mode: Access the camera’s menu to enable the sensor cleaning mode, which raises the mirror and opens the shutter to expose the sensor. This allows for easier access to the sensor for cleaning.
- Use a Camera Blower: With the sensor exposed, use a specialized camera blower to gently remove any loose dust and particles from the sensor surface. Direct the airflow across the sensor in a smooth and controlled manner to dislodge contaminants.
- Inspect the Sensor: After using the blower, use a sensor loupe or inspect the sensor through the camera’s menu to check for any remaining spots or debris. If necessary, proceed with a more in-depth cleaning using sensor swabs and cleaning solution.
- Apply Sensor Cleaning Solution: If persistent spots or marks are present, use a sensor cleaning kit that includes sensor swabs and a suitable cleaning solution. Follow the manufacturer’s instructions carefully to apply the cleaning solution and gently swipe the sensor with the swab to remove stubborn contaminants.
- Perform a Test Shot: After cleaning the sensor, capture a test shot of a clear, evenly lit surface at a small aperture to check for any remaining spots or artifacts. Inspect the test image at 100% magnification to ensure that the sensor is free from visible imperfections.
By following these steps and exercising caution, you can effectively clean the sensor of your Nikon DSLR camera, ensuring that it remains free from dust and debris that could impact the quality of your photographs. Regular sensor maintenance contributes to consistently producing flawless images with your camera.
Step 7: Reattach the Lens
After completing the cleaning process for your Nikon DSLR camera, it’s time to carefully reattach the lens to prepare for your next photographic endeavors. Properly reattaching the lens ensures that it is securely mounted and ready for use without compromising the integrity of the camera’s internal components. Follow these steps to safely reattach the lens:
- Inspect the Lens Mount: Before reattaching the lens, visually inspect the lens mount on the camera body to ensure that it is free from dust or debris. Use a camera blower or a soft brush to gently remove any loose particles if necessary.
- Align the Lens and Mount: Align the white dot or line on the lens barrel with the corresponding mark on the camera’s lens mount. This ensures that the lens is correctly oriented for attachment.
- Rotate and Lock the Lens: With the lens properly aligned, gently insert it into the lens mount and rotate it clockwise until you hear a distinct click, indicating that the lens is securely locked in place.
- Perform a Visual Check: After attaching the lens, visually inspect the connection to ensure that it is flush and secure. Avoid applying excessive force when attaching the lens to prevent any potential damage to the mount or lens contacts.
By carefully following these steps, you can confidently reattach the lens to your Nikon DSLR camera, knowing that it is securely mounted and ready for your next photographic endeavors. Ensuring a proper connection between the lens and camera body is essential for seamless operation and optimal image quality.
Conclusion
Congratulations! You’ve successfully completed the comprehensive process of cleaning your Nikon DSLR camera, ensuring that it remains in optimal condition for capturing stunning images. By following the step-by-step guide outlined in this article, you’ve taken proactive measures to maintain the cleanliness and functionality of your camera’s essential components, including the lens, sensor, and camera body.
Regular maintenance and cleaning of your Nikon DSLR camera are vital for preserving its performance and longevity. By gathering the necessary cleaning supplies and diligently following each step, you’ve demonstrated a commitment to upholding the quality of your photographic equipment. With a clean lens, spotless sensor, and well-maintained camera body, you can continue to produce exceptional images with confidence and precision.
Remember, incorporating regular camera cleaning into your routine not only enhances the quality of your photographs but also safeguards the investment you’ve made in your equipment. By maintaining a clean and well-functioning camera, you’re poised to capture breathtaking moments with clarity and artistry, free from the distractions of dust, smudges, or sensor spots.
As you embark on your photographic journey, make it a habit to periodically assess the cleanliness of your camera and perform the necessary cleaning procedures outlined in this guide. By doing so, you’ll ensure that your Nikon DSLR camera remains a reliable and indispensable tool for expressing your creativity and capturing the beauty of the world around you.
With your camera now refreshed and ready for action, you’re equipped to embark on new photographic adventures, confident in the knowledge that your Nikon DSLR is primed to deliver exceptional results, shot after shot.