Introduction
A CPU cooler is an essential component of any computer system, responsible for dissipating the heat generated by the central processing unit (CPU). Without proper cooling, the CPU can overheat, leading to reduced performance, instability, and potential damage to the hardware.
As a computer enthusiast or a system builder, it is crucial to understand the performance and effectiveness of your CPU cooler. Testing your CPU cooler allows you to evaluate its cooling capabilities, noise levels, and overall efficiency. By conducting tests, you can make informed decisions about the cooling solution that best suits your needs and ensure the optimal performance and longevity of your system.
In this article, we will guide you through the process of testing a CPU cooler, from preparation to comparing results. We will cover methods to monitor temperatures, stress testing techniques, and checking for noise levels. By following these steps, you’ll gain valuable insights into your CPU cooler’s performance and be better equipped to make any necessary adjustments or upgrades.
It is important to note that different CPU coolers can have varying performance levels and compatibility with different CPUs and motherboards. By testing your CPU cooler, you will be able to determine how well it performs under different conditions and ensure that it is suitable for the specific configuration of your system.
Now, without further ado, let’s dive into the process of testing a CPU cooler and discover how it can help you optimize your computer’s cooling system.
What is a CPU Cooler?
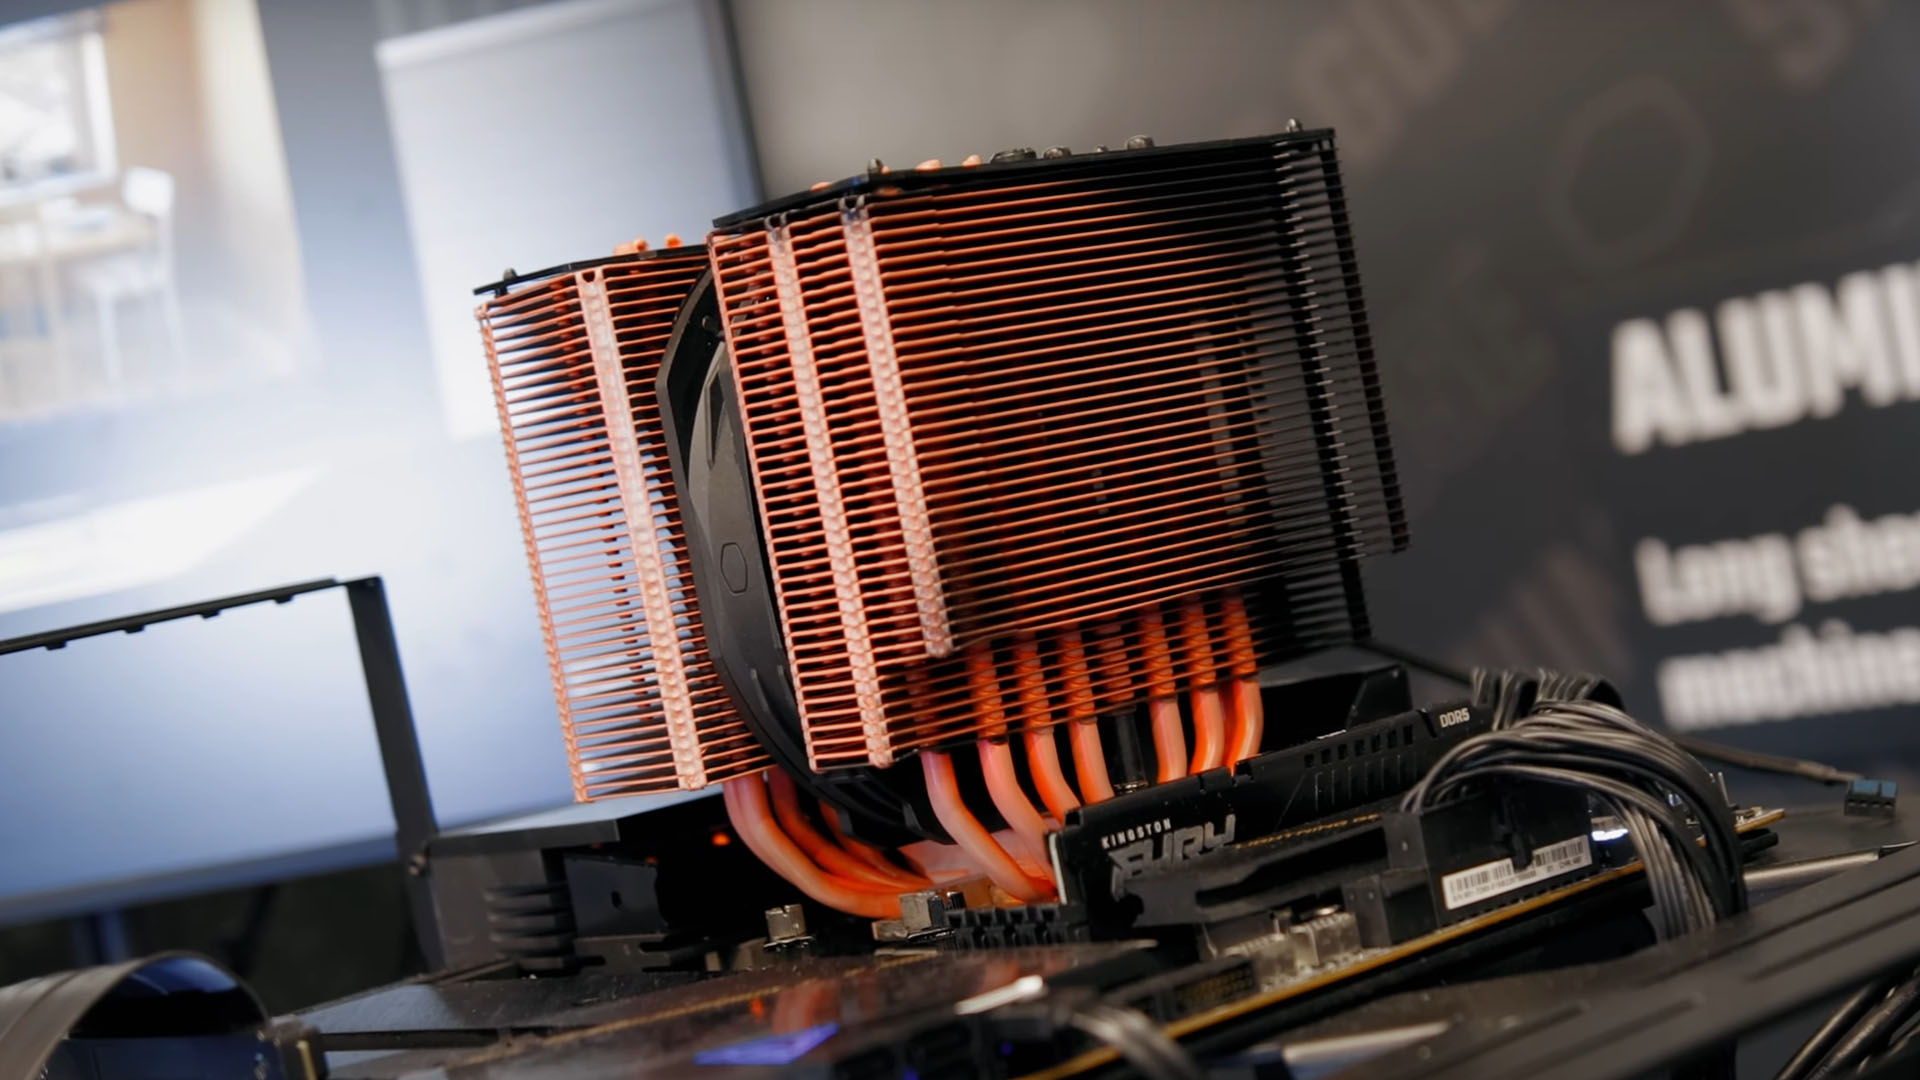
A CPU cooler, also known as a heatsink and fan (HSF), is a critical component in a computer system that helps dissipate the heat generated by the central processing unit (CPU). The CPU generates a significant amount of heat when it operates, and without proper cooling, it can quickly overheat, leading to performance issues and potential damage to the hardware.
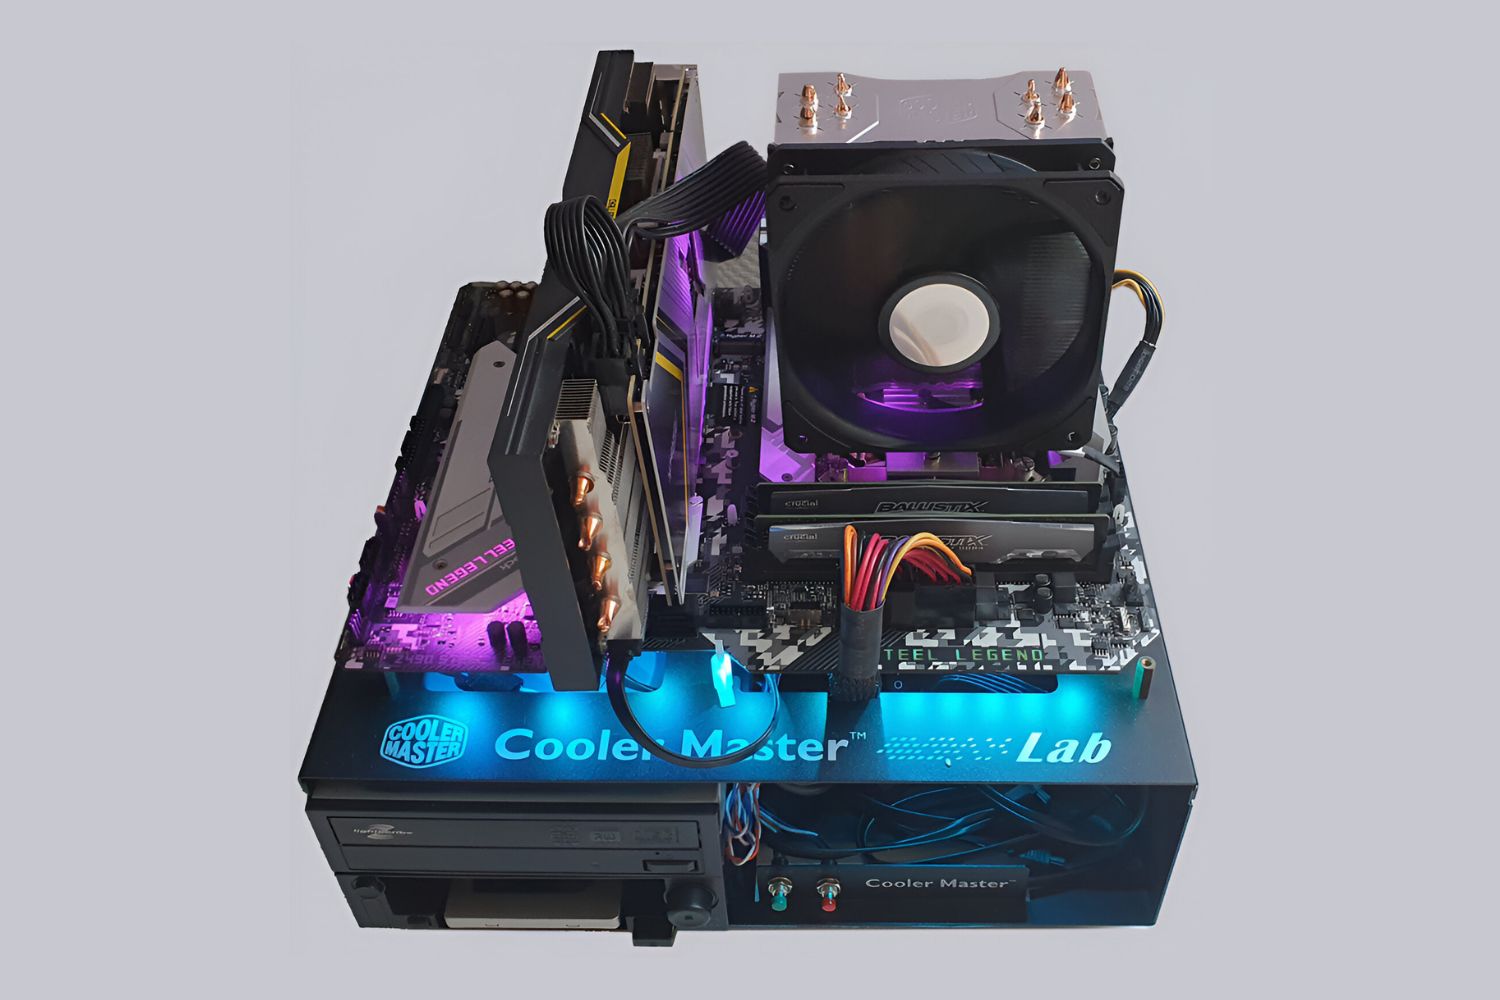
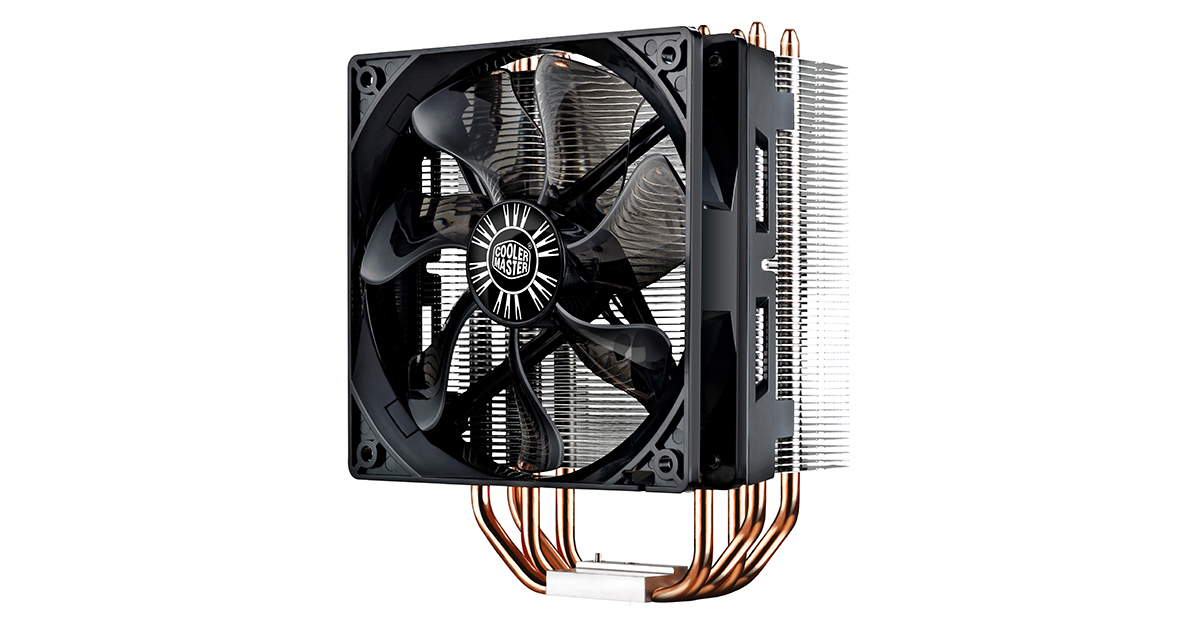
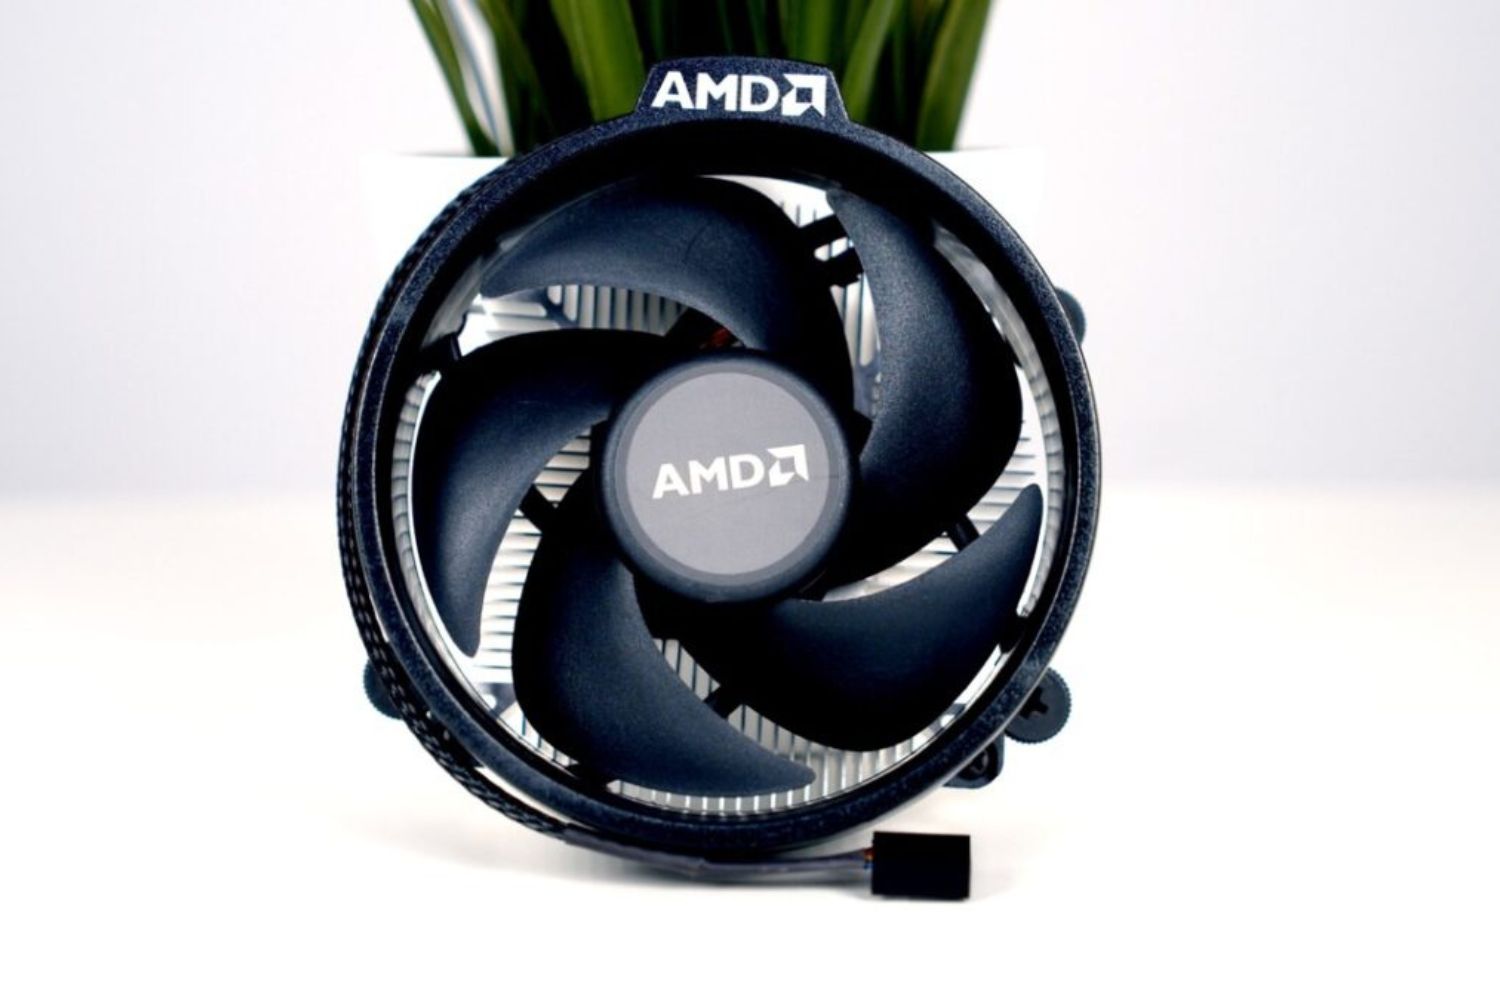
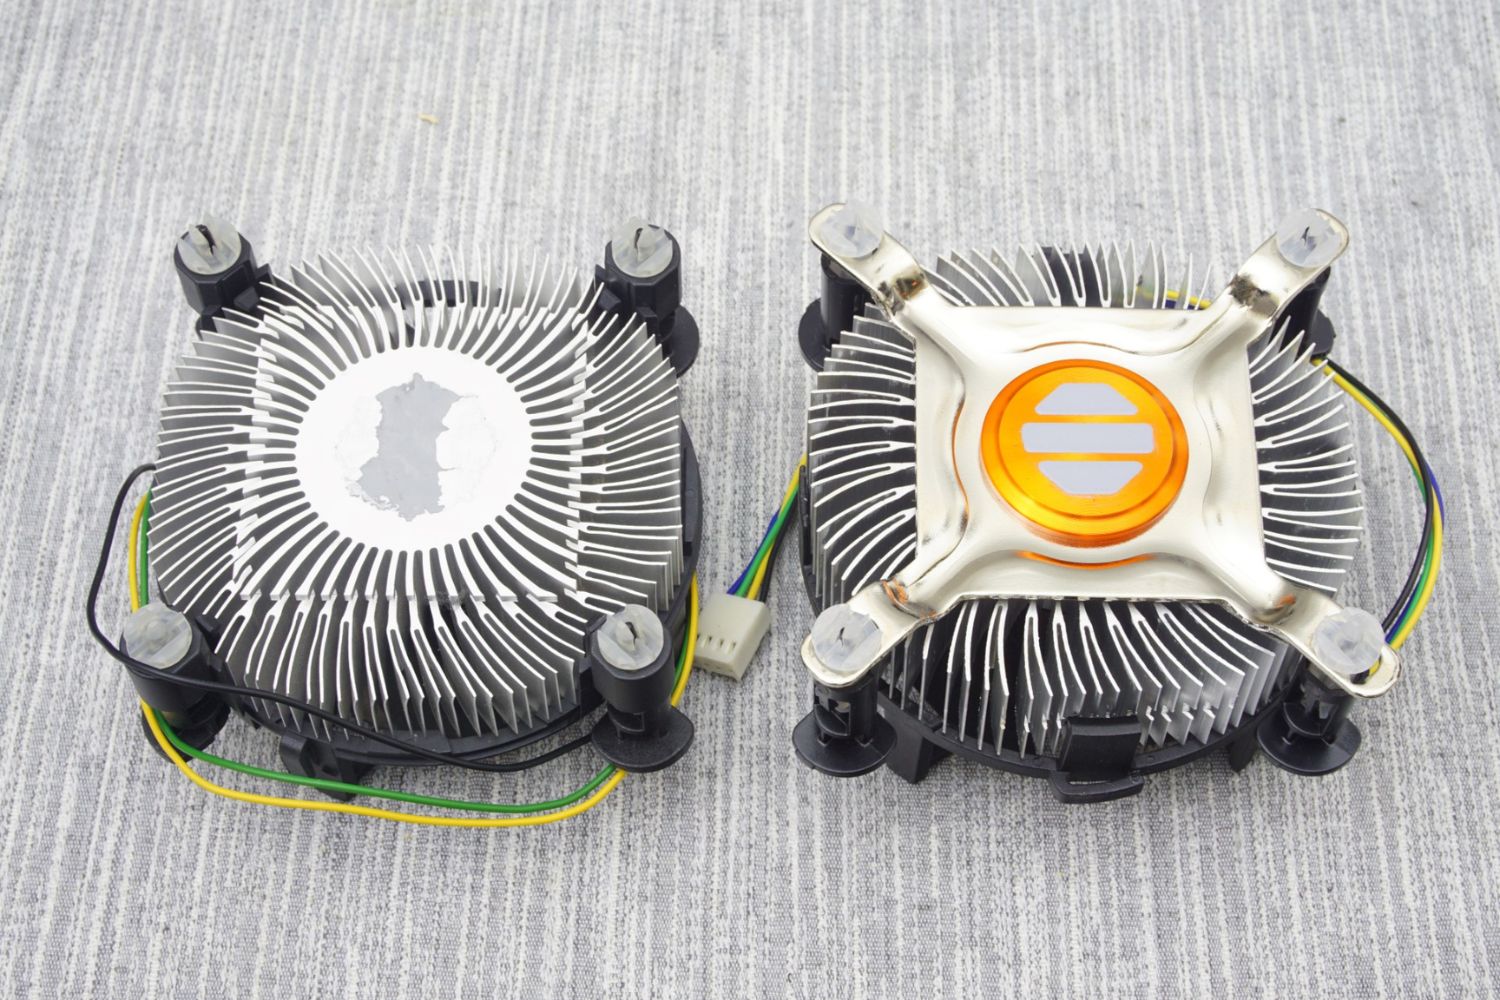
The CPU cooler consists of two main parts: the heatsink and the fan. The heatsink is a metal object with numerous fins that efficiently absorb and transfer heat away from the CPU. The fan, usually mounted on top of the heatsink, helps in dissipating the heat by blowing air over the heatsink and ensuring proper airflow within the computer chassis.
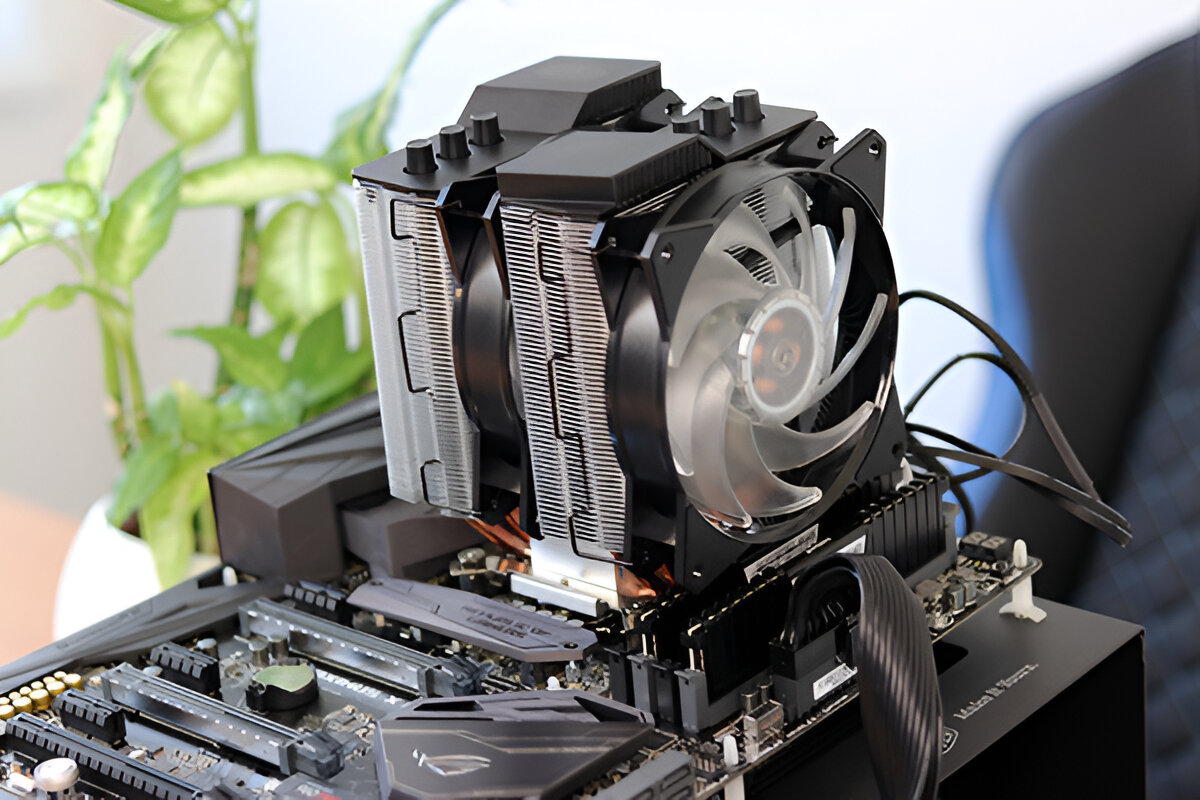
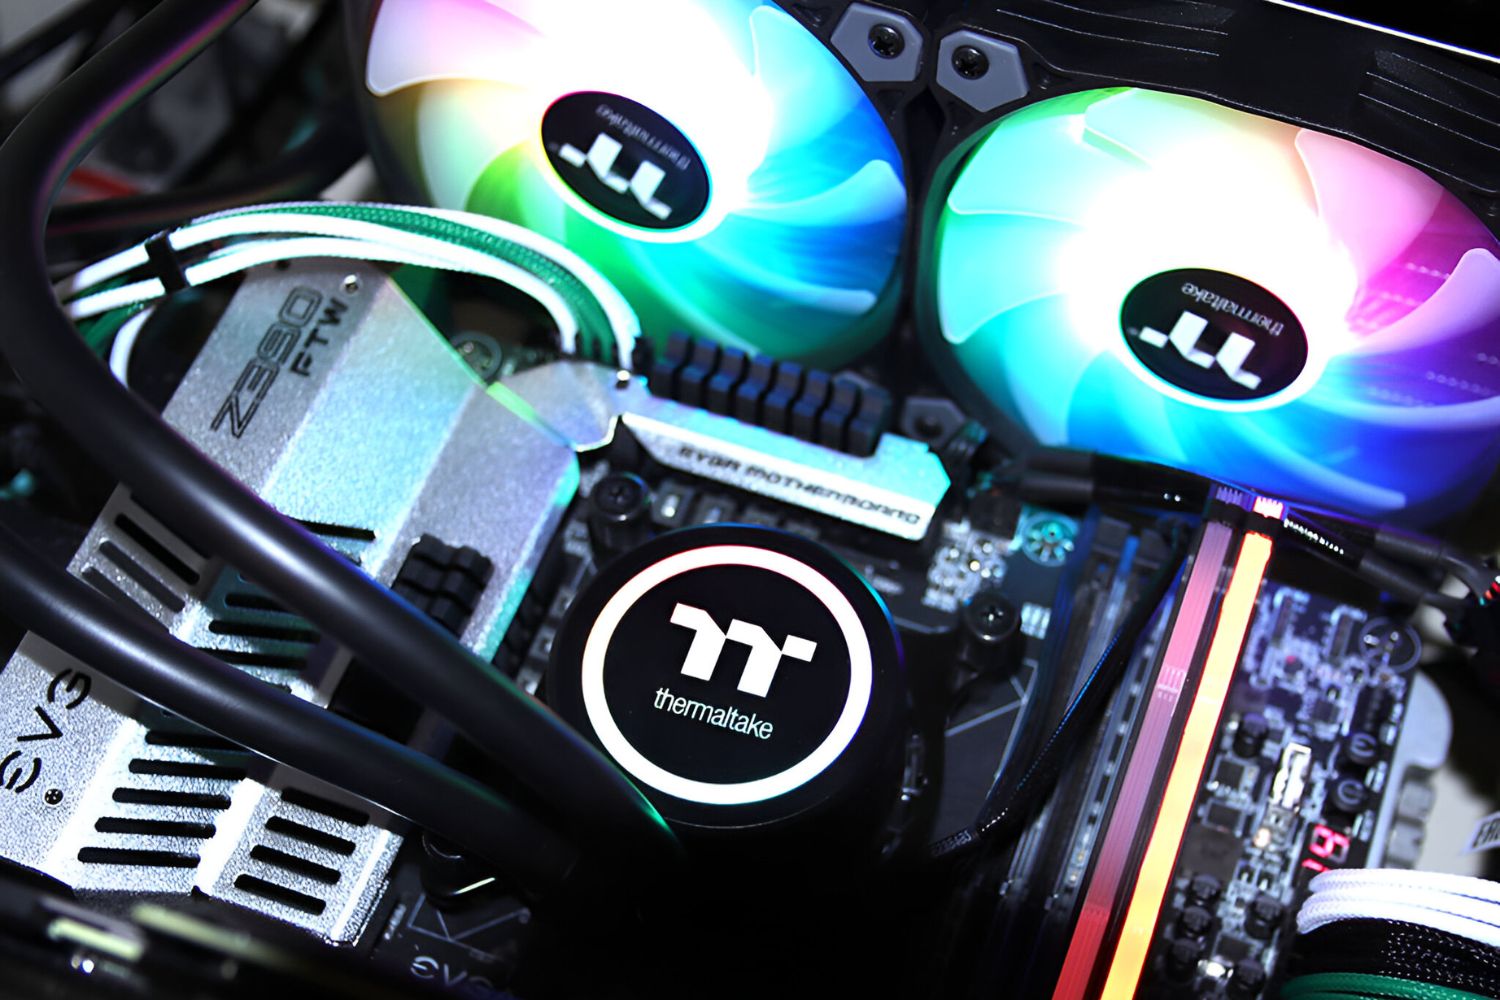
There are several types of CPU coolers available in the market, including air coolers and liquid coolers. Air coolers use a combination of heatsink and fan to cool the CPU, while liquid coolers use a closed-loop system with tubes, a radiator, and a pump to circulate liquid coolant to dissipate heat.
CPU coolers are designed to fit specific CPU socket types and come in various sizes and shapes. It’s crucial to ensure compatibility between the cooler and your CPU socket, as well as considering factors such as clearance within your computer case and any restrictions imposed by your motherboard’s layout.
The primary function of a CPU cooler is to maintain the CPU temperature within a safe operating range. Excessive heat can result in reduced performance, system instability, and even permanent damage to the CPU. A high-quality CPU cooler ensures that the CPU remains cool, improving overall system performance, stability, and lifespan.
Overall, a CPU cooler plays a vital role in maintaining the optimal temperature of the CPU. It protects the hardware from damage, keeps the system running smoothly, and allows for effective and efficient computing.
Why should you test a CPU Cooler?
Testing a CPU cooler is an essential step for any computer enthusiast or system builder. It allows you to evaluate the performance and effectiveness of the cooling solution for your central processing unit (CPU). Here are some key reasons why testing a CPU cooler is important:
1. Performance Evaluation: Testing a CPU cooler helps you gauge its cooling efficiency. By monitoring the temperatures under different loads and stress tests, you can determine if the cooler is effectively dissipating heat and keeping the CPU within safe temperature limits. This evaluation ensures optimal performance and prevents thermal throttling or overheating issues.
2. System Stability: Heat is the enemy of system stability. Overheating can lead to system crashes, freeze-ups, and unexpected shutdowns. By testing your CPU cooler, you can ensure that it is capable of keeping the CPU temperature at acceptable levels, thereby promoting system stability and avoiding potential hardware damage.
3. Noise Levels: CPU coolers can vary significantly in terms of noise output. Testing them allows you to evaluate the noise levels generated by the cooler’s fan(s) while maintaining efficient cooling. By selecting a cooler with lower noise levels, you can enjoy a quieter and more pleasant computing experience.
4. Compatibility Verification: Testing a CPU cooler provides an opportunity to verify compatibility with your specific CPU and motherboard. It ensures that the cooler is properly mounted, adequately fits within your computer case, and does not interfere with other components. Testing also helps identify any installation-related issues or incompatibilities that may cause poor cooling performance.
5. Potential Upgrades: By testing your current CPU cooler, you can assess whether it meets your performance requirements or if an upgrade is necessary. Testing different coolers allows you to compare results and make an informed decision when choosing a new cooling solution, such as upgrading from an air cooler to a liquid cooler for improved performance or lower noise levels.
Overall, testing a CPU cooler is crucial for evaluating its performance, ensuring system stability, minimizing noise levels, verifying compatibility, and making informed decisions about potential upgrades. By conducting these tests, you can optimize your computer’s cooling system, enhance overall performance, and prolong the lifespan of your hardware.
Preparing for the Test
Before diving into testing your CPU cooler, it is important to properly prepare to ensure accurate and reliable results. Following these steps will help you set up the test environment and gather the necessary tools for a successful CPU cooler evaluation:
1. Gather the Required Tools: To conduct the test, you will need a few tools, including a CPU temperature monitoring software, stress testing software, and a decibel meter (optional) to measure noise levels. Make sure to download and install these tools before proceeding with the test.
2. Clean the Cooler and CPU Surface: Before testing, make sure to clean the CPU cooler and the surface of the CPU itself. Use a lint-free cloth and a small amount of isopropyl alcohol to remove any dust, debris, or thermal paste residue. This ensures proper contact between the CPU and the cooler, improving cooling efficiency.
3. Apply Thermal Paste: If you are using a new CPU cooler or have removed the cooler for cleaning, apply a fresh layer of thermal paste to the CPU surface. Thermal paste is essential for effective heat transfer between the CPU and the cooler. Apply a small, pea-sized amount in the center of the CPU surface and spread it evenly using a plastic card or the thermal paste applicator provided with the cooler.
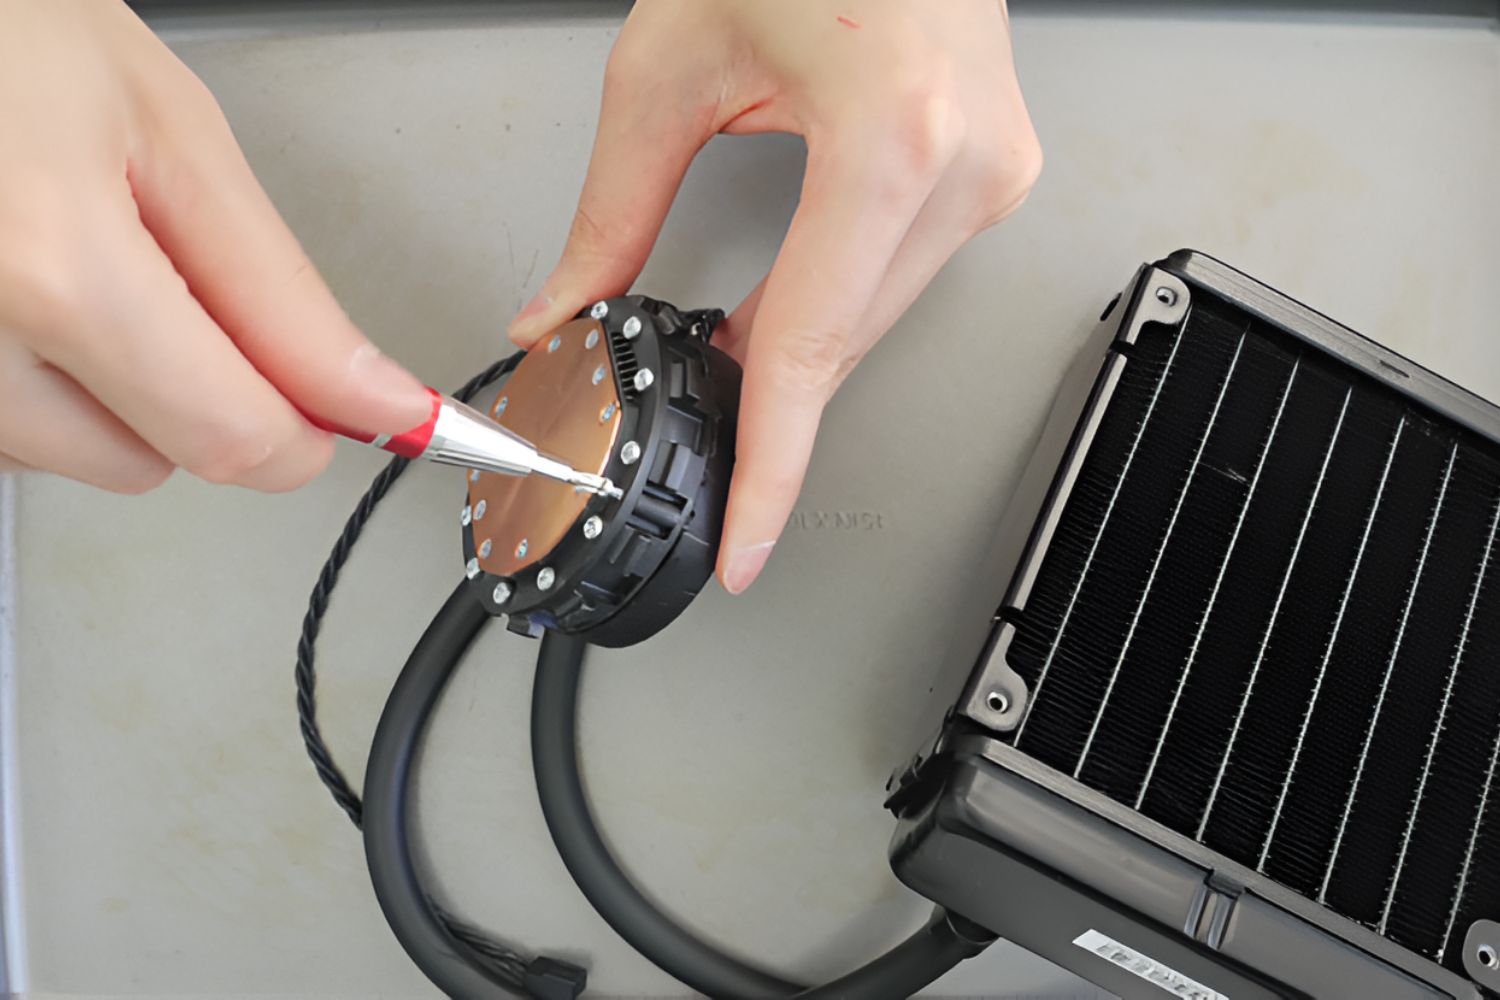
4. Ensure Proper Cooler Mounting: Check whether the CPU cooler is securely mounted on the motherboard. Ensure that all mounting screws or clips are tightly fastened and that the cooler is evenly and firmly seated on the CPU. Improper mounting can lead to inadequate cooling performance and inaccurate test results.
5. Check Thermal Sensors: Verify that the CPU temperature sensors are functioning correctly. This can be done through the BIOS or by using CPU temperature monitoring software. Ensure that the temperature readings are accurate and showing the expected values. If you notice any discrepancies, consult the motherboard’s manual or manufacturer’s website for troubleshooting guidance.
6. Establish a Baseline: If possible, record the idle temperature of the CPU before conducting the stress test. This will serve as a baseline for comparison once the test is completed. It allows you to assess the cooler’s effectiveness in reducing the CPU temperature under load.
7. Maintain a Controlled Environment: To ensure accurate results, conduct the test in a controlled environment with consistent room temperature. Avoid placing the computer near heat sources or in direct sunlight. Additionally, ensure adequate airflow within the computer case by properly arranging cables and ensuring unobstructed ventilation.
By following these preparation steps, you can ensure that your CPU cooler test is conducted under optimal conditions, yielding reliable and meaningful results. Properly preparing for the test allows for an accurate evaluation of your cooler’s performance and assists in making informed decisions for cooling system optimization.
Testing the CPU Cooler
Now that you have prepared your system for testing, it’s time to evaluate the performance of your CPU cooler. Follow these steps to conduct the test and gather accurate measurements:
1. Idle Temperature: Start by measuring the idle temperature of your CPU. Let your computer run without any intensive tasks for at least 15 minutes, allowing the CPU temperature to stabilize. Record the idle temperature using your CPU temperature monitoring software. This will serve as a baseline for comparison.
2. Stress Test: Use stress testing software to subject your CPU to a high workload, generating maximum heat. Programs like Prime95, Intel Burn Test, or AIDA64 stress test can be used for this purpose. Run the stress test for a significant amount of time, such as 30 minutes or an hour, to ensure that the CPU reaches its maximum operating temperature.
3. Monitor Temperature: Keep a close eye on the CPU temperature using your monitoring software during the stress test. Observe how the temperature fluctuates and whether it stays within safe limits. This will help you assess the cooling efficiency of your CPU cooler under heavy loads.
4. Record Results: Record the maximum CPU temperature reached during the stress test. This information is crucial to evaluate the effectiveness of your CPU cooler in handling extreme loads. Compare this temperature with the idle temperature recorded earlier to determine how well the cooler is able to dissipate heat.
5. Repeat the Test: For a more accurate assessment, consider repeating the stress test a few times to ensure consistent results. This will help mitigate any potential variations due to environmental factors or minor fluctuations in CPU temperature.
6. Analyze Cooling Performance: Compare the recorded maximum temperature during the stress test with the idle temperature and any manufacturer specifications or recommended temperature limits for your CPU model. Ideally, the CPU temperature should remain within a safe range and not exceed the manufacturer’s specified limits.
7. Consider Other Factors: While the CPU temperature is a significant factor, also consider the noise levels generated by your CPU cooler during the stress test. If the noise is excessively loud or disruptive, it may be worth exploring alternative cooling options that provide efficient cooling with reduced noise.
By following these steps and carefully monitoring the performance and temperature of your CPU cooler during the stress test, you can gather valuable data on its cooling capabilities. This information will help you assess the effectiveness of your CPU cooler and make informed decisions regarding any necessary adjustments or upgrades to optimize your system’s cooling performance.
Monitoring Temperatures
Monitoring temperatures during CPU cooler testing is crucial for assessing its performance and ensuring the stability of your system. By keeping a close eye on the temperatures, you can identify any potential issues and make informed decisions regarding cooling optimizations. Here are some key aspects to consider when monitoring temperatures:
1. CPU Temperature Monitoring Software: Install a reliable CPU temperature monitoring software to accurately measure and track the CPU’s temperature in real-time. There are several software options available, such as Core Temp, HWMonitor, or CPU-Z. These tools provide valuable insights into the temperature fluctuations and allow you to monitor the effectiveness of your CPU cooler.
2. Idle Temperature: Before conducting any tests or stress loads, measure the idle temperature of your CPU. The idle temperature represents the temperature when the CPU is not under heavy load. It serves as a reference point for comparison when evaluating the cooling performance of your CPU cooler.
3. Load Temperature: During the stress test or high workload scenarios, monitor the CPU temperature closely. Observe how the temperature rises under load and whether it stabilizes within acceptable limits. Higher temperatures during stress test sessions indicate inefficient cooling and may require adjustments or upgrades to the CPU cooler.
4. Temperature Fluctuations: Take note of any significant temperature fluctuations during the stress test. Excessive temperature variations can indicate poor contact between the CPU and the cooler, inadequate heat dissipation, or improper airflow within the system. Addressing these issues can improve the stability and overall performance of the CPU cooler.
5. Safe Temperature Ranges: Refer to the manufacturer’s specifications or documentation for your CPU to determine the safe operating temperature range. Most CPUs have a maximum temperature threshold beyond which they can become unstable or suffer damage. Ensure that the CPU temperature during testing remains within these safe limits to maintain optimal performance and longevity.
6. Real-World Scenario Testing: Consider monitoring temperatures during real-world scenarios in addition to stress tests. This can include running resource-intensive applications, playing graphic-intensive games, or performing tasks that simulate your typical usage patterns. This provides a more comprehensive understanding of your CPU cooler’s performance in different usage scenarios.
7. Long-Term Monitoring: Keep track of temperatures over an extended period to analyze any long-term changes or trends. Over time, dust accumulation or wear and tear on the CPU cooler can impact its cooling efficiency. Regularly monitoring temperatures allows you to identify any degradation in cooling performance and take appropriate measures, such as cleaning or replacing the CPU cooler if necessary.
By diligently monitoring temperatures during CPU cooler testing, you can gain valuable insights into the effectiveness of your cooling solution. This information empowers you to optimize your system’s cooling performance, maintain stable operating temperatures, and ensure the longevity of your CPU and other hardware components.
Stress Testing
Stress testing is a crucial step in evaluating the performance and stability of your CPU cooler. By subjecting your CPU to high workloads, you can simulate demanding conditions and assess how well your cooler is able to handle the generated heat. Here are some important considerations when it comes to stress testing:
1. Purpose of Stress Testing: The primary purpose of stress testing is to push your CPU to its maximum capabilities and generate maximum heat. This allows you to evaluate the cooling efficiency of your CPU cooler under demanding conditions and determine if it can adequately dissipate the heat generated by your CPU.
2. Stress Testing Software: There are various stress testing software available, such as Prime95, Intel Burn Test, or AIDA64. These programs put a significant load on your CPU, maximizing its power consumption and heat generation. Choose a stress testing tool that is reputable, widely used, and suits your specific CPU model.
3. Duration of Stress Tests: To ensure accurate results and a comprehensive evaluation of your CPU cooler, run the stress test for an extended period. Typically, running the test for at least 30 minutes to an hour adequately tests the cooling capabilities of your CPU cooler. Longer stress tests can provide additional insights into how well the cooler handles sustained workloads.
4. CPU Utilization: During stress testing, monitor the CPU utilization to ensure that the workload is distributed across all CPU cores. This helps generate maximum heat and provides a comprehensive evaluation of the cooling performance. Make sure that the stress testing software is using all available CPU cores to achieve accurate results.
5. Monitoring Temperatures: Continuously monitor the CPU temperature using a reliable temperature monitoring software while the stress test is running. Watch for any sudden temperature spikes, fluctuations, or excessively high temperatures that could indicate inadequate cooling performance or potential thermal throttling issues. The goal is to keep the CPU temperature within safe operating limits.
6. Heat Dissipation: Evaluate how effectively your CPU cooler dissipates heat during the stress test. Measure the temperature drop once the CPU workload returns to idle levels. A significant drop in temperature within a reasonable timeframe suggests that your CPU cooler efficiently dissipates heat, while a slower temperature reduction may indicate room for improvement.
7. Stability and Error Checking: Pay attention to the stability of your system during stress testing. Observe for any system crashes, blue screens, or abnormal system behavior, as these events can point to issues with cooling performance or system stability. Additionally, stress testing software often includes error checking features to identify any computational errors or instabilities in your CPU under high loads.
By conducting thorough stress tests, you can obtain valuable insights into the cooling performance and stability of your CPU cooler. This knowledge allows you to make informed decisions about optimizing your system’s cooling solution, ensuring reliable and efficient performance for demanding computing tasks.
Checking for Noise Levels
Aside from cooling performance, it’s important to consider the noise levels generated by your CPU cooler. Excessive noise can be disruptive, affecting the overall user experience. Here are some key points to keep in mind when checking for noise levels:
1. Importance of Noise Levels: Noise levels play a significant role, especially for users who prioritize a quiet computing environment. Too much noise can be distracting or even bothersome, especially when using your computer for long periods. Checking and managing noise levels ensures a more comfortable and enjoyable computing experience.
2. Decibel Meter: To measure noise levels accurately, consider using a decibel (dB) meter. These devices provide objective measurements of sound intensity, allowing you to quantify and compare noise levels produced by different CPU coolers. Alternatively, you can use smartphone apps designed for measuring noise levels.
3. Noise Specifications: Check the manufacturer’s noise specifications for your CPU cooler. These specifications usually indicate the noise level in decibels, measured at a specific distance from the source. The lower the decibel rating, the quieter the cooler is likely to be.
4. Fan Design and Control: Consider the fan design and control options of your CPU cooler. Some coolers are equipped with larger fans, which can move more air at lower speeds, resulting in quieter operation. Additionally, coolers with fan speed control features allow you to adjust the fan’s RPM (revolutions per minute) to balance cooling performance and noise levels.
5. Cooling Performance vs. Noise Levels: Strike a balance between cooling performance and noise levels. While it’s important to maintain optimal cooling for your CPU, it’s equally important to ensure a quiet computing environment. Opt for coolers that can offer both efficient cooling and low noise levels, based on your specific requirements.
6. User Reviews and Feedback: Seek out user reviews and feedback online to gather information about noise levels for specific CPU coolers. Other users’ experiences can provide insights into the real-world noise performance of various coolers. Keep in mind that noise perception can vary between individuals, so consider multiple opinions to make an informed decision.
7. Noise Reduction Strategies: If you find that your CPU cooler produces excessive noise, there are several strategies to reduce noise levels. These may include using rubber grommets or mounting accessories to dampen vibrations, opting for more efficient and quieter fans, or adjusting fan curves in the BIOS or through software to optimize noise levels while maintaining adequate cooling performance.
By checking for noise levels and considering the noise performance of your CPU cooler, you can create a more comfortable and enjoyable computing environment. Striking a balance between cooling performance and noise levels ensures efficient cooling without compromising on the peace and quiet of your workspace.
Comparing Results
After conducting tests and gathering data on the performance of different CPU coolers, it’s crucial to compare the results to make informed decisions for optimal cooling solutions. Here are some key considerations when comparing the results:
1. Temperature Differences: Compare the temperature differences between different CPU coolers under the same testing conditions. Lower temperatures indicate better cooling performance, as the cooler is more effective at dissipating heat from the CPU. Consider the average temperature, peak temperature, and temperature stability over the duration of the test.
2. Noise Levels: Take into account the noise levels recorded during testing. Compare the noise levels of different CPU coolers at idle and under load. Opt for a cooler that provides efficient cooling while maintaining lower noise levels, offering a balance between performance and quiet operation.
3. Stability and System Behavior: Consider the stability of your system during the tests. Evaluate whether any coolers have resulted in system crashes, slowdowns, or instability. A stable system with consistent performance is a crucial factor when comparing results among different coolers.
4. Price-Performance Ratio: Assess the price-performance ratio of different coolers. While it’s tempting to focus solely on cooling performance, consider the cost of each cooler relative to its performance. Look for coolers that offer a good balance between cooling efficiency, noise levels, and affordability.
5. Compatibility: Verify the compatibility of each CPU cooler with your specific CPU socket and motherboard. Ensure that the coolers under consideration will fit within your computer case without obstructing other components. Compatibility is essential to ensure a successful installation and optimal performance.
6. User Reviews and Recommendations: Consider user reviews, recommendations, and experiences shared by others who have used the same CPU coolers. User feedback can provide valuable insights into real-world performance and reliability, helping you make a more informed decision.
7. Future Upgrade Considerations: Think about any future upgrade plans or changes to your computer setup. Consider whether a particular cooler offers room for expansion, such as compatibility with more powerful CPUs or the ability to add additional fans or liquid cooling components if needed.
By comparing the test results based on temperature differences, noise levels, stability, price-performance ratio, compatibility, user reviews, and future upgrade considerations, you can make an informed decision on the most suitable CPU cooler for your specific needs. Remember to prioritize the factors most important to you, whether it’s efficient cooling, quiet operation, budget-friendliness, or future-proofing your system.
Conclusion
Testing a CPU cooler is a crucial step for any computer enthusiast or system builder. By evaluating the performance, temperature management, and noise levels of your CPU cooler, you can make informed decisions to optimize your computer’s cooling system. Here is a recap of the key points discussed in this article:
A CPU cooler plays a vital role in maintaining the optimal temperature of the CPU, preventing overheating, and ensuring system stability. It consists of a heatsink and a fan, and various types of coolers are available, including air coolers and liquid coolers.
By testing your CPU cooler, you can evaluate its cooling efficiency, noise levels, compatibility, and suitability for your specific system configuration. This information helps ensure optimal performance, stability, and the longevity of your hardware.
Preparing for the test involves gathering the necessary tools, cleaning the cooler and CPU surface, applying thermal paste, and verifying compatibility. Creating a controlled environment and establishing a baseline temperature are also important.
Testing the CPU cooler involves measuring idle and load temperatures, stress testing the CPU, and monitoring temperature fluctuations. Recording and comparing the results allow you to assess cooling performance and make informed decisions about adjustments or upgrades.
Monitoring temperatures helps identify potential issues, ensure stability, and make informed decisions regarding cooling optimizations. It is important to keep an eye on CPU temperature, especially during stress tests or real-world scenarios.
Checking noise levels is crucial for a comfortable computing environment. By measuring noise levels, considering fan design and control, and exploring noise reduction strategies, you can strike a balance between cooling performance and noise levels.
Comparing results involves assessing temperature differences, noise levels, stability, price-performance ratio, compatibility, and user reviews. This comparison allows you to select the most suitable CPU cooler for your needs, weighing various factors and future upgrade considerations.
In conclusion, testing a CPU cooler empowers you to make informed decisions regarding cooling optimizations for your computer system. By evaluating cooling performance, noise levels, and compatibility, you can ensure optimal performance, stability, and a pleasant computing experience. Take the time to test and compare different CPU coolers to find the one that best meets your requirements and enhances your overall computing experience.