Introduction
Welcome to this guide on how to set up a USB microphone with a USB headset. Whether you’re a professional looking to improve your audio quality for video calls or a beginner exploring the world of podcasting, setting up a USB microphone with a USB headset can greatly enhance your audio experience. In this article, we will walk you through the step-by-step process of connecting and configuring your USB microphone and headset to ensure optimal performance.
With the increasing demand for remote communication and online content creation, having a reliable and high-quality audio setup is essential. USB microphones and headsets offer convenience and simplicity, as they can be easily connected to your computer without the need for additional audio interfaces or complicated setup processes.
Before diving into the steps, it is important to note that different USB microphones and headsets may have slightly distinct setup procedures. However, the general process outlined in this guide should apply to most models. Now, let’s get started and equip you with the knowledge and skills to set up your USB microphone with a USB headset.
Step 1: Gather the necessary equipment
Before starting the setup process, make sure you have all the necessary equipment readily available. Here’s what you’ll need:
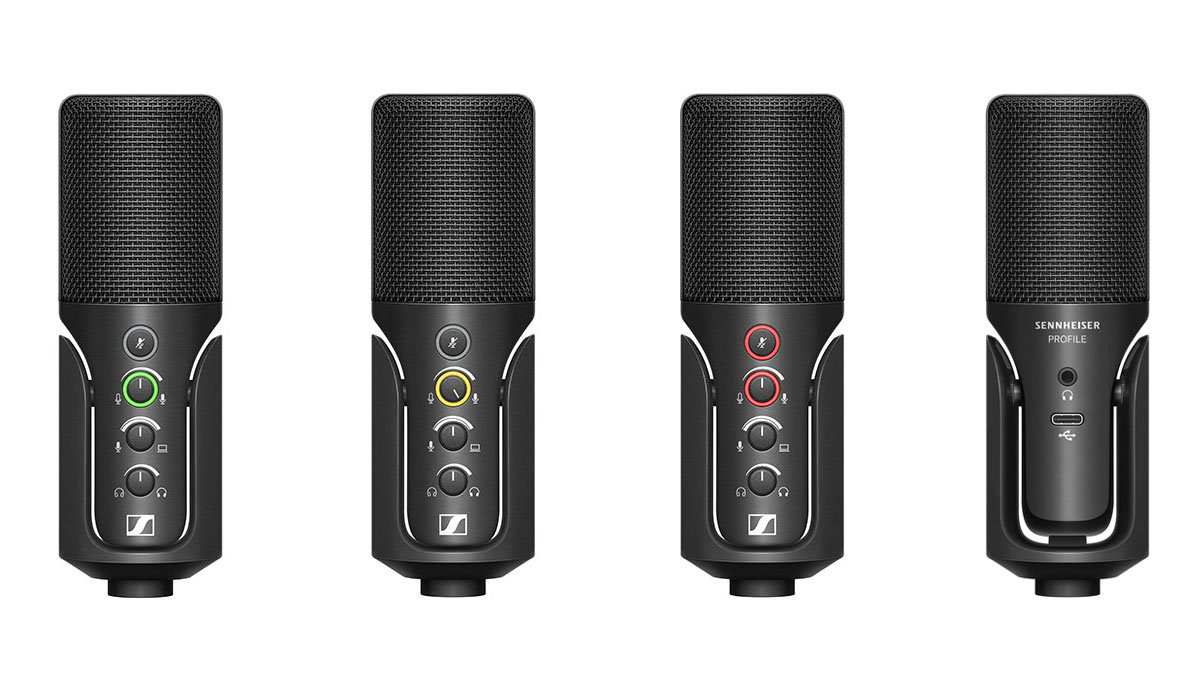
- A USB microphone: Choose a microphone that suits your needs and budget. USB microphones come in various types, such as condenser microphones for studio recording or dynamic microphones for live performances.
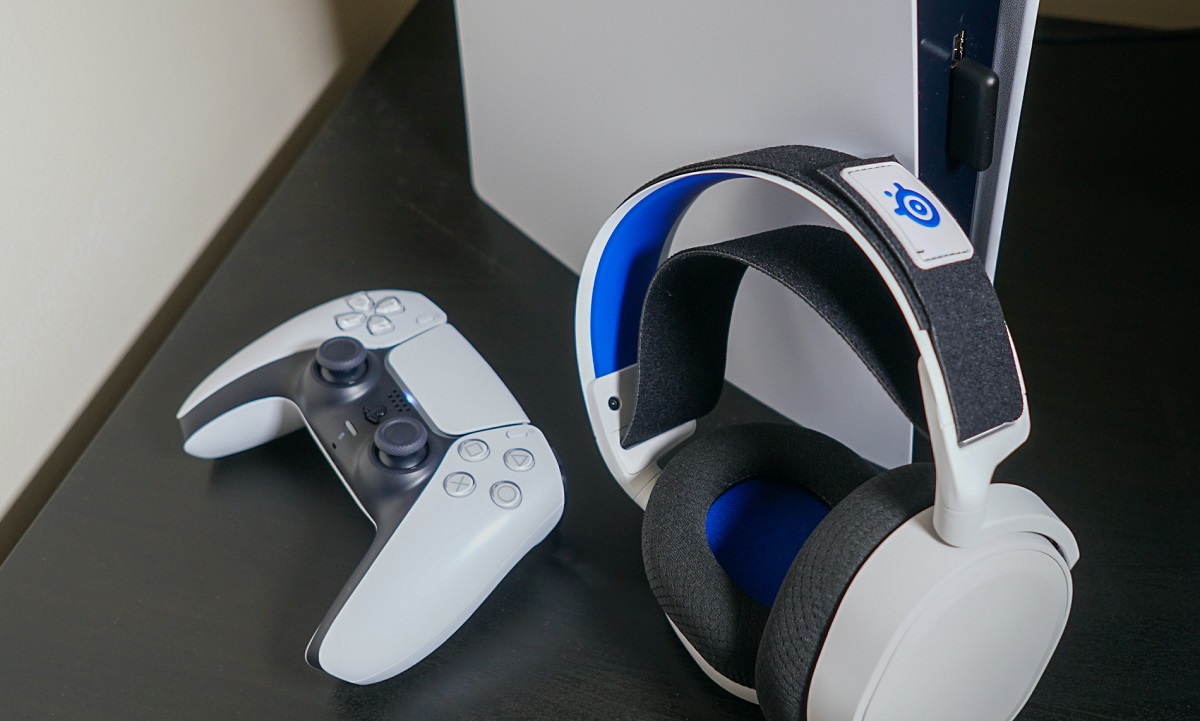
- A USB headset: Look for a USB headset that provides clear audio and comfortable wear for extended use. This will be used for monitoring your audio while recording or communicating.
- A computer: Ensure that you have a computer with available USB ports. Most modern computers have multiple USB ports, but it’s a good idea to confirm this before proceeding.
- USB cables: USB microphones and headsets usually come with the necessary USB cables for connecting them to your computer. Double-check that the cables are included in the packaging.
It’s essential to gather all the equipment in advance to avoid any unnecessary delays when setting up your USB microphone with a USB headset. Once you have everything ready, you can proceed to the next steps.
Step 2: Connect the USB microphone to your computer
Now that you have gathered all the necessary equipment, let’s proceed with connecting the USB microphone to your computer. Follow these steps:
- Locate an available USB port on your computer. USB ports are typically found on the front, back, or side panels of desktop computers, and on the sides or back of laptops.
- Take the USB cable provided with your microphone and plug one end into the USB port on your computer.
- Next, take the other end of the USB cable and connect it to the USB port on your microphone. Make sure the connection is secure.
- Once the USB microphone is connected, your computer should automatically recognize it. In some cases, you may need to install drivers specific to your microphone. If this is required, follow the manufacturer’s instructions to install the necessary software.
- Check your computer’s sound settings to ensure that the USB microphone is selected as the default input device. You can do this by clicking on the audio icon in the system tray (usually located in the bottom-right corner of the screen) and selecting the USB microphone from the available options. Adjust the microphone’s volume as needed.
It’s worth noting that some USB microphones may have additional features or controls, such as gain adjustment knobs or mute buttons. Consult the user manual that comes with your microphone to familiarize yourself with these features and how to optimize your audio recordings.
Now that you have successfully connected the USB microphone to your computer, you are ready to move on to the next step: connecting the USB headset.
Step 3: Adjust the microphone settings on your computer
Once you have connected the USB microphone to your computer, it’s important to adjust the microphone settings to ensure optimal audio quality. Here’s how:
- Go to your computer’s audio settings by clicking on the audio icon in the system tray.
- Select the “Recording” or “Input” tab, depending on your operating system.
- Locate the USB microphone from the list of available input devices. It should be displayed with its corresponding name.
- Click on the microphone and then select “Properties” or “Settings” to access additional settings.
- Adjust the microphone’s sample rate and bit depth according to your needs. Higher sample rates and bit depths can provide better audio quality but require more processing power.
- Enable any additional features or enhancements that come with your microphone, such as noise cancellation or echo reduction. Experiment with these settings to find the optimal balance for your recordings.
- Test the microphone by speaking into it and monitoring the audio levels. Check if the levels are within an acceptable range and adjust the microphone’s gain or volume accordingly.
- Save the settings once you are satisfied with the adjustments.
Remember that different operating systems and audio settings interfaces may have slight variations. If you encounter any difficulties or need further assistance, you can refer to your computer’s user manual or search for online tutorials specific to your operating system.
With the microphone settings properly adjusted, you are now ready to move on to the next step: connecting the USB headset.
Step 4: Connect the USB headset to your computer
Now that you have set up your USB microphone and adjusted its settings, it’s time to connect your USB headset to your computer. Follow these steps:
- Locate an available USB port on your computer. Ensure that it’s separate from the USB port you used for the microphone connection.
- Take the USB cable provided with your headset and plug one end into the USB port on your computer.
- Next, take the other end of the USB cable and connect it to the USB port on your headset. Ensure that the connection is secure.
- Your computer should detect the USB headset automatically. If prompted, install any necessary drivers for the headset as per the manufacturer’s instructions.
- Once connected, your computer should recognize the USB headset as the default audio output device. You can verify this by checking the audio settings on your computer and ensuring that the USB headset is selected as the default playback device.
By connecting the USB headset to your computer, you will be able to listen to audio through the headset while using the USB microphone for recording or communication purposes.
It’s important to note that some USB headsets may have additional features or controls, such as inline volume control or microphone mute buttons. Familiarize yourself with these features by referring to the headset’s user manual.
With the USB headset successfully connected to your computer, we can now move on to the next step: testing the microphone and headset.
Step 5: Test the microphone and headset
After connecting the USB microphone and headset to your computer, it’s crucial to test both devices to ensure they are functioning correctly. Follow these steps:
- Open a voice recording or communication application on your computer, such as Audacity or Skype.
- Select the USB microphone as the input device within the application’s settings. This ensures that the microphone will capture your voice during recordings or calls.
- Start a test recording or audio call and speak into the microphone. Monitor the audio output through the USB headset to ensure that you can hear your voice clearly.
- While recording or speaking, pay attention to the audio levels on your computer. You can use the audio settings of the application or the sound settings on your computer to adjust the microphone gain if necessary.
- Play back the recorded audio or ask the person on the other end of the call to confirm that they can hear you clearly. Make any additional adjustments to the microphone or headset settings as needed.
If you are experiencing any issues during the test, double-check the connections of both the USB microphone and headset. Ensure they are securely plugged into the correct USB ports. If necessary, try using different USB ports or cables to troubleshoot any potential connection problems.
Additionally, consult the user manuals or online resources provided by the microphone and headset manufacturers for troubleshooting steps specific to your models.
By thoroughly testing the USB microphone and headset, you can ensure that they are properly functioning and delivering the desired audio quality.
Now that you have successfully tested your USB microphone and headset, you are ready to move on to the final step: troubleshooting common issues.
Step 6: Troubleshooting common issues
While setting up a USB microphone with a USB headset is a relatively straightforward process, you may encounter some common issues along the way. Here are some troubleshooting tips to help you resolve these problems:
- Ensure that both the USB microphone and headset are properly connected to separate USB ports on your computer. Check for loose connections and try different USB ports if necessary.
- If the USB microphone or headset is not being recognized by your computer, try restarting your computer. This can help refresh the system and establish the USB connections.
- Check if your USB microphone and headset require any specific drivers or software. Visit the manufacturer’s website to download and install the latest drivers or software updates.
- Verify that the USB microphone and headset are selected as the default input and output devices in your computer’s audio settings. Make the necessary adjustments if they are not selected or if other devices are conflicting.
- If you experience low or distorted audio quality, try adjusting the microphone gain or volume settings. You can also check for any background noise reduction or sound enhancement features in the microphone and headset settings.
- If you are still experiencing issues, try using the USB microphone and headset with a different computer. This can help determine if the problem lies with the equipment or your computer’s configuration.
If the above troubleshooting steps do not resolve the issues or if you encounter any other difficulties, it is recommended to reach out to the respective manufacturers’ customer support for further assistance. They can provide specific troubleshooting guidance based on the model and specifications of your USB microphone and headset.
By troubleshooting common issues, you can optimize the performance of your USB microphone and headset, ensuring a seamless audio experience for your recordings or communication needs.
Conclusion
Congratulations! You have successfully set up your USB microphone with a USB headset. By following the steps outlined in this guide, you now have a functional audio setup that can greatly enhance your recordings, online meetings, or communication experiences.
Remember, the key to a successful setup is ensuring that the USB microphone and headset are properly connected to your computer and adjusting the necessary settings for optimal performance. Taking the time to test your microphone and headset ensures that you can capture and monitor high-quality audio.
In the event that you encounter any issues during the setup or face difficulties with audio quality, refer back to the troubleshooting section for helpful tips and solutions. The customer support teams of the microphone and headset manufacturers can also provide additional assistance tailored to your specific models.
Now you can start enjoying the benefits of your USB microphone and headset setup in various scenarios, whether it’s podcasting, content creation, video conferencing, or simply enjoying high-quality audio during your multimedia experiences.
Thank you for following this guide, and we hope that it has been helpful in setting up your USB microphone with a USB headset. Happy recording and communicating!