Introduction
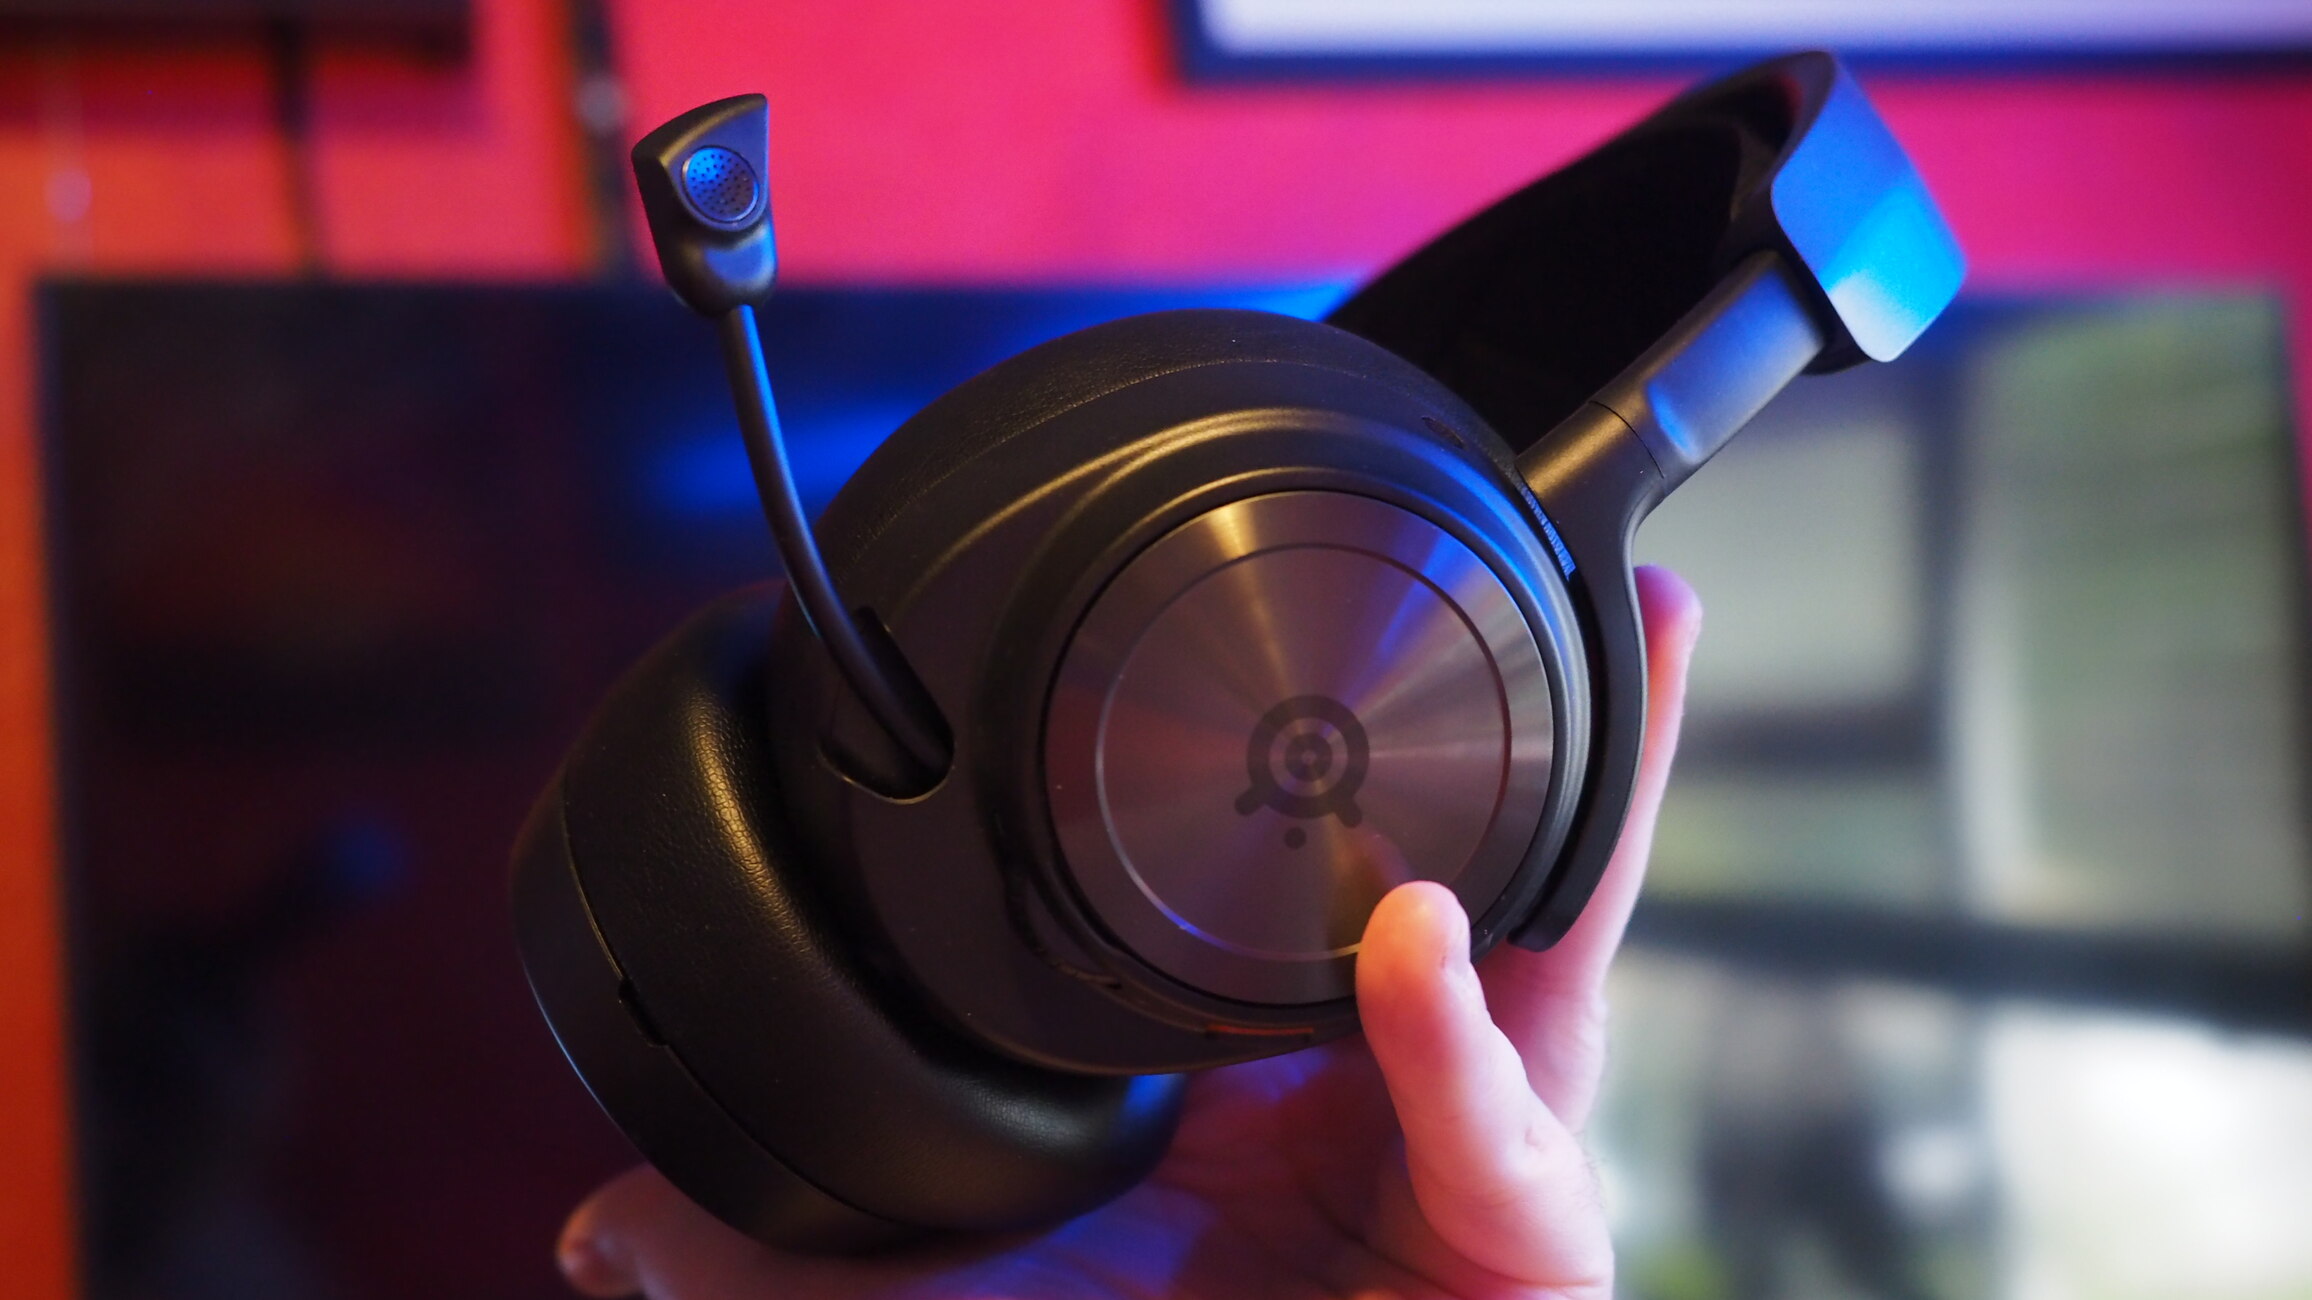
So, you've got your hands on a USB gaming headset and you're eager to immerse yourself in the world of high-quality audio while gaming on your Windows 10 computer. Connecting a USB gaming headset to your computer is a straightforward process, but it's essential to ensure compatibility and configure the settings properly for an optimal experience. This guide will walk you through the steps to connect your USB gaming headset to your Windows 10 computer and set it up for an immersive gaming experience.
Whether you're a seasoned gamer or just starting out, having a reliable gaming headset can significantly enhance your gaming experience. From hearing the subtle footsteps of an approaching enemy to immersing yourself in the rich soundscapes of your favorite games, a high-quality gaming headset can make all the difference. With the convenience of a USB connection, setting up your gaming headset on your Windows 10 computer is easier than ever.
In the following sections, we'll cover the essential steps to connect and configure your USB gaming headset, ensuring that you're ready to dive into your favorite games with crystal-clear audio. We'll start by checking the compatibility of your USB gaming headset with your Windows 10 computer, followed by the step-by-step process of connecting and configuring the headset. Additionally, we'll discuss how to test the headset to ensure everything is working as expected and provide troubleshooting tips for common issues that may arise.
By the end of this guide, you'll be equipped with the knowledge and confidence to seamlessly connect your USB gaming headset to your Windows 10 computer, allowing you to fully immerse yourself in the captivating audio experiences that modern gaming has to offer. So, let's dive in and get your USB gaming headset up and running on your Windows 10 computer.
Checking Compatibility
Before diving into the process of connecting your USB gaming headset to your Windows 10 computer, it's crucial to ensure that the headset is compatible with your system. Compatibility issues can lead to frustrating experiences, so taking a few moments to verify compatibility can save you time and effort in the long run.
First and foremost, check the specifications of your USB gaming headset to confirm that it is designed to work with Windows operating systems, specifically Windows 10. Most modern USB gaming headsets are designed to be compatible with a wide range of systems, including Windows 10, but it's always best to double-check to avoid any potential issues.
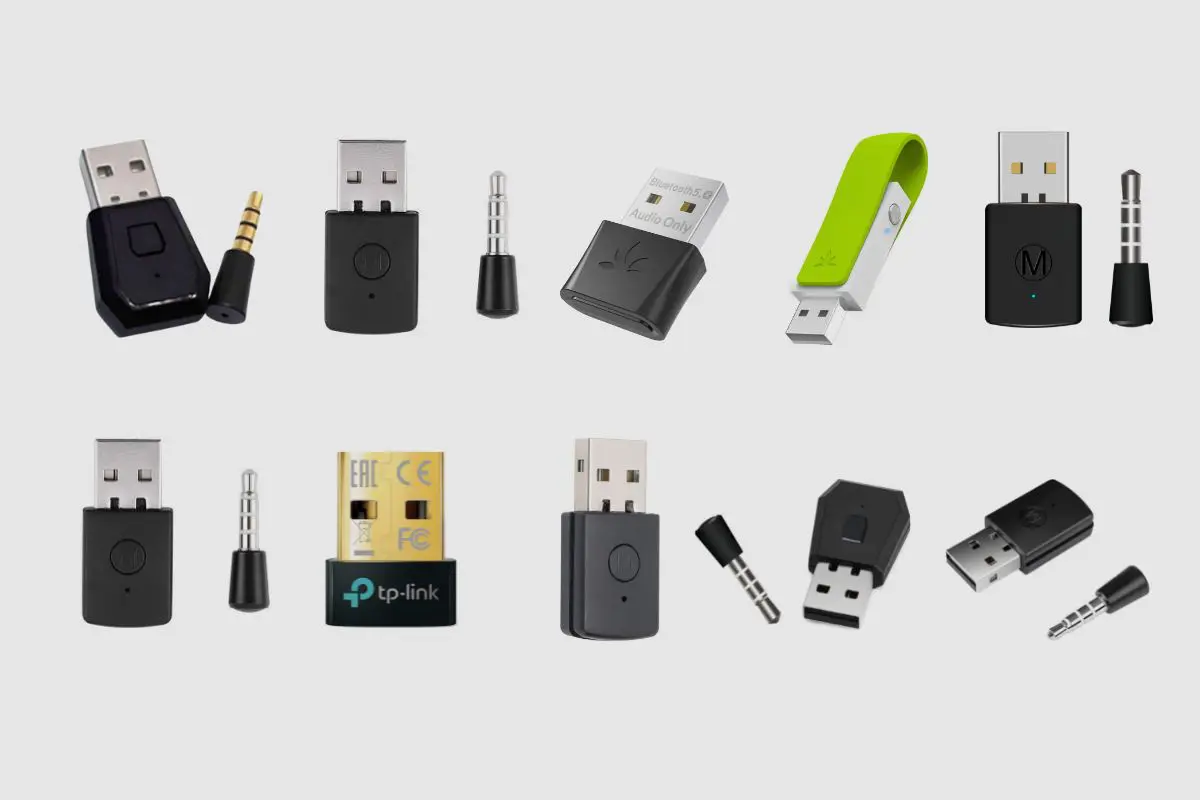
Next, ensure that your Windows 10 computer has the necessary USB ports to accommodate the headset. While most computers have standard USB Type-A ports, some gaming headsets may require USB Type-C or other specialized connectors. Verify that your computer has the appropriate USB port to connect your gaming headset.
It's also important to check for any specific driver requirements for the USB gaming headset. Some headsets may require proprietary drivers to be installed on your Windows 10 computer to ensure full functionality. Check the manufacturer's website or the product documentation to see if any additional drivers need to be downloaded and installed.
Lastly, consider any additional software or firmware requirements for the USB gaming headset. Certain gaming headsets may come with specialized software that enhances the audio experience or provides customizable settings. Ensure that your Windows 10 computer meets the software and firmware requirements for the headset, and be prepared to install any necessary software to unlock the full potential of your gaming headset.
By confirming the compatibility of your USB gaming headset with your Windows 10 computer and addressing any specific requirements, you can proceed with confidence, knowing that your gaming headset is ready to be connected and configured for an immersive gaming experience.
Connecting the USB Gaming Headset
Once you have verified the compatibility of your USB gaming headset with your Windows 10 computer, it’s time to proceed with the physical connection. Connecting a USB gaming headset is a simple process that involves plugging the headset into an available USB port on your computer. Follow these steps to ensure a seamless connection:
- Locate an Available USB Port: Identify an available USB port on your Windows 10 computer. Most computers have multiple USB ports located on the front, back, or sides of the device. Choose a port that is easily accessible and allows for comfortable cable management.
- Unpack the USB Gaming Headset: If your gaming headset is brand new, carefully unpack it from the packaging, ensuring that all cables and components are free from any tangles or obstructions. If you are using an existing headset, ensure that the USB cable is in good condition and free from any damage.
- Plug in the USB Connector: Take the USB connector attached to the gaming headset and insert it into the chosen USB port on your computer. Ensure that the connector is inserted in the correct orientation to avoid forcing it into the port. The computer should detect the new hardware and may automatically install any necessary drivers.
- Secure the Cable: Once the USB connector is plugged in, secure the cable to prevent any accidental disconnection during use. Avoid placing strain on the cable or connector, and consider using cable management solutions to keep the headset cable tidy and organized.
With the USB gaming headset successfully connected to your Windows 10 computer, you’re one step closer to enjoying high-quality audio during your gaming sessions. The physical connection establishes the link between the headset and your computer, setting the stage for the next crucial step: configuring the headset in Windows 10 to ensure optimal performance and functionality.
Configuring the Headset in Windows 10
After connecting your USB gaming headset to your Windows 10 computer, it’s essential to configure the headset’s settings to ensure that it functions seamlessly with your system. Windows 10 provides a range of options for managing audio devices, allowing you to customize the settings to suit your preferences and optimize the headset’s performance. Follow these steps to configure your USB gaming headset in Windows 10:
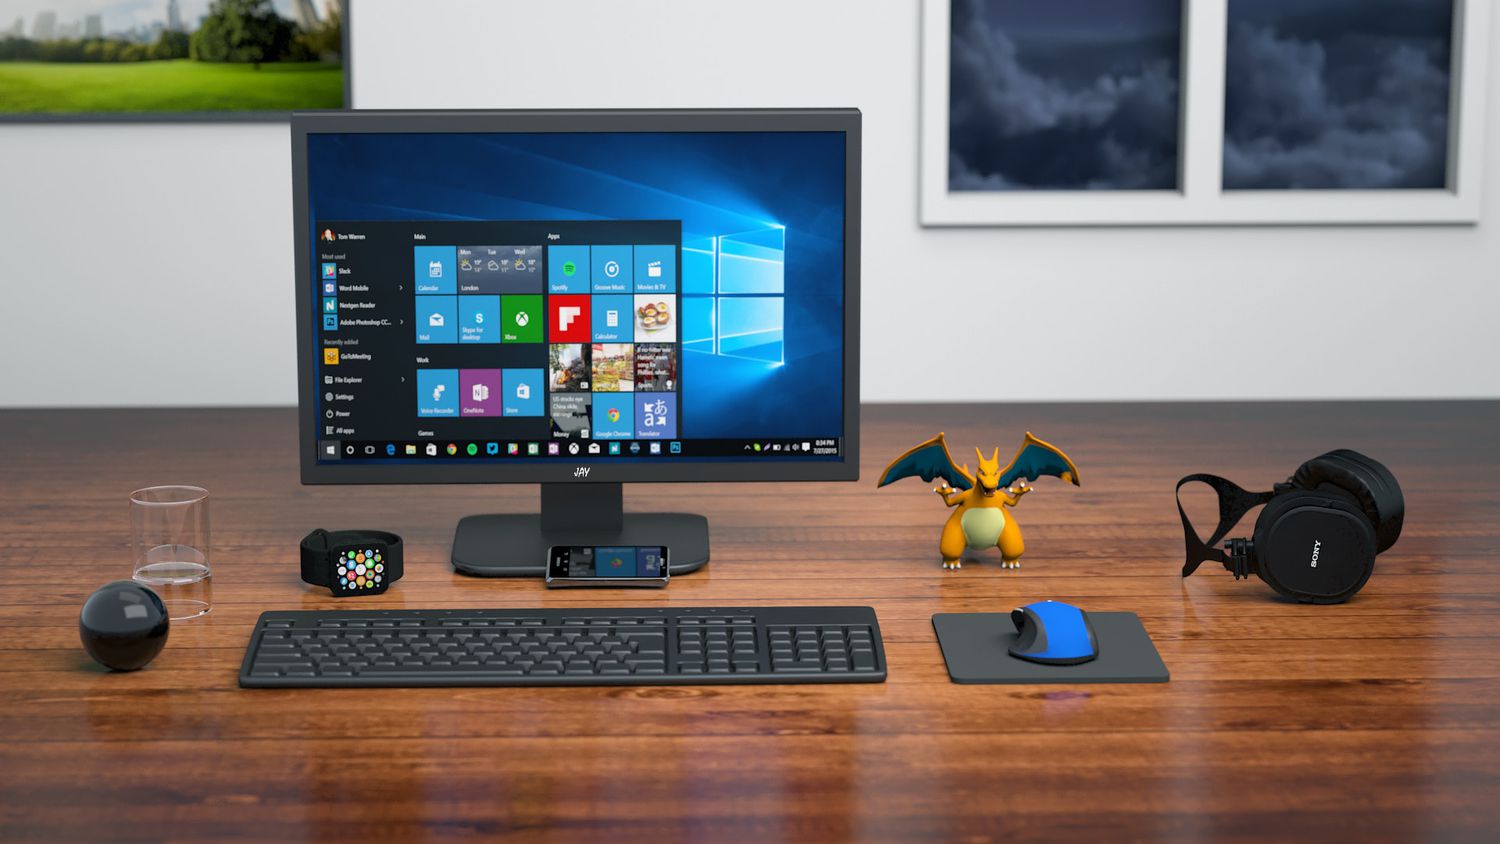
- Access Sound Settings: Right-click on the speaker icon in the system tray or navigate to the “Sound” settings in the Control Panel to access the audio settings in Windows 10. This is where you can manage and configure the playback and recording devices, including your USB gaming headset.
- Select the USB Gaming Headset: In the Sound settings, navigate to the “Playback” tab to see a list of available audio playback devices. Look for your USB gaming headset in the list and select it as the default playback device. This ensures that audio output from your computer is directed to the headset.
- Adjust Audio Levels and Enhancements: Once the USB gaming headset is selected as the default playback device, you can further customize the audio settings by adjusting the volume levels and applying enhancements. Windows 10 offers options to adjust the volume, apply equalizer settings, and enable audio enhancements to enhance the sound quality according to your preferences.
- Configure Microphone Settings (If Applicable): If your USB gaming headset includes a microphone, navigate to the “Recording” tab in the Sound settings to configure the microphone settings. Select the headset’s microphone as the default recording device and adjust the recording levels and enhancements as needed.
By configuring the USB gaming headset in Windows 10, you can tailor the audio settings to deliver an immersive and personalized gaming experience. Whether you prefer crisp, high-fidelity audio or specific enhancements to complement your gaming style, Windows 10 provides the flexibility to fine-tune the headset’s settings to your liking.
With the headset configured to your preferences, you’re ready to test the audio output and microphone functionality to ensure that everything is working as expected. The next section will guide you through the process of testing your USB gaming headset on your Windows 10 computer.
Testing the Headset
After connecting and configuring your USB gaming headset on your Windows 10 computer, it’s crucial to conduct thorough testing to ensure that the audio output and microphone, if applicable, are functioning as intended. Testing the headset allows you to verify that the settings are optimized and that you’re ready to immerse yourself in your favorite games with crystal-clear audio. Follow these steps to test your USB gaming headset:
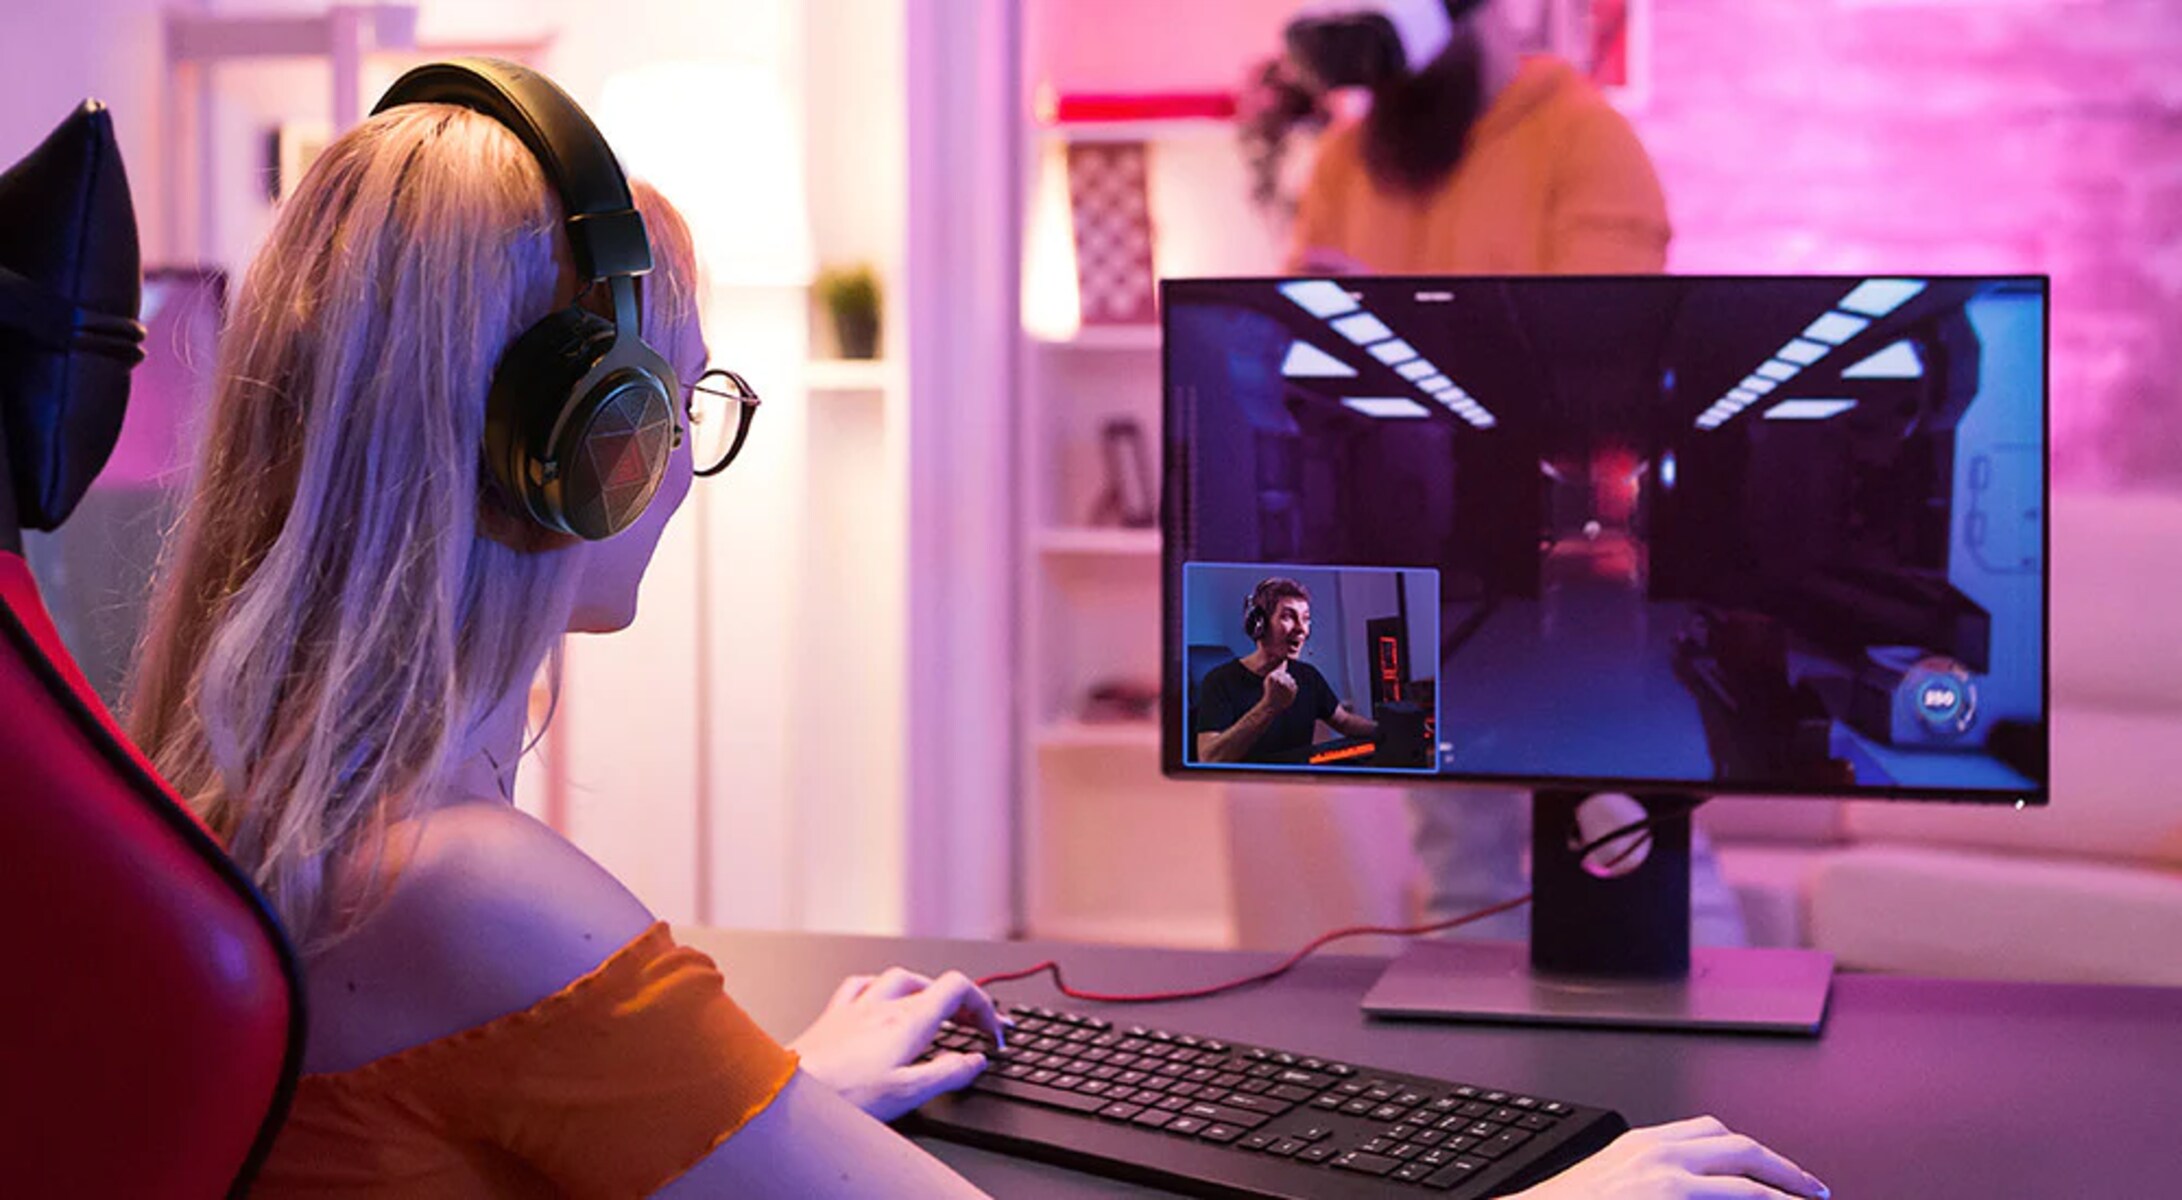
- Audio Playback Test: Play a variety of audio content, including music, game sound effects, and dialogue, to assess the quality and clarity of the audio output through the USB gaming headset. Listen for any distortion, imbalances in the audio channels, or other irregularities that may indicate a need for further adjustments.
- Microphone Test (If Applicable): If your USB gaming headset features a built-in microphone, test its functionality by recording your voice and playing it back. Verify that the microphone captures clear and intelligible audio without excessive background noise or distortion. Adjust the microphone settings as necessary to achieve optimal recording quality.
- Test in Gaming Environment: Launch your favorite games and experience the audio immersion firsthand. Pay attention to in-game sound effects, spatial audio cues, and dialogue to ensure that the USB gaming headset delivers an immersive and accurate representation of the game’s audio. Verify that the headset enhances your gaming experience with its audio performance.
By conducting comprehensive testing, you can confirm that your USB gaming headset is fully functional and optimized for an exceptional gaming experience on your Windows 10 computer. Any adjustments made during the testing phase can further refine the audio output and microphone performance, ensuring that you’re ready to fully immerse yourself in the captivating audio landscapes of your games.
If any issues are identified during testing, refer to the troubleshooting section for guidance on addressing common issues that may arise when using a USB gaming headset with a Windows 10 computer. With successful testing, you can proceed with confidence, knowing that your gaming headset is ready to elevate your gaming experience to new heights.
Troubleshooting Common Issues
While connecting and configuring a USB gaming headset on a Windows 10 computer is typically a smooth process, occasional issues may arise that require troubleshooting to ensure optimal functionality. By addressing common issues proactively, you can resolve any challenges that may impact the performance of your gaming headset. Here are some common issues and troubleshooting steps:
- No Audio Output: If you’re experiencing a lack of audio output from your USB gaming headset, first ensure that the headset is selected as the default playback device in the Windows 10 sound settings. Additionally, check the volume levels on the headset and in the system settings to confirm that audio is not muted or set to an extremely low level.
- Microphone Not Working: If the microphone on your USB gaming headset is not functioning properly, verify that it is selected as the default recording device in the Windows 10 sound settings. Check the microphone’s physical connection and ensure that any mute switches or volume controls on the headset are properly adjusted. Additionally, review the microphone settings to confirm that the levels and enhancements are configured correctly.
- Driver Issues: If your gaming headset requires specific drivers for full functionality, ensure that the drivers are properly installed on your Windows 10 computer. Visit the manufacturer’s website to download the latest drivers and follow the installation instructions. Updating the headset’s drivers can resolve compatibility and performance issues.
- Software Compatibility: If your USB gaming headset includes specialized software for audio customization or virtual surround sound, ensure that the software is compatible with Windows 10. Check for updates to the software and install any available patches to address compatibility issues and optimize the headset’s performance.
By addressing common issues through troubleshooting, you can overcome potential obstacles and ensure that your USB gaming headset delivers the immersive audio experience you expect. In the event that troubleshooting steps do not resolve the issues, consider reaching out to the headset’s manufacturer for additional support or exploring online communities for user-generated solutions to specific problems.
With thorough troubleshooting, you can confidently resolve common issues and enjoy a seamless gaming experience with your USB gaming headset on your Windows 10 computer.