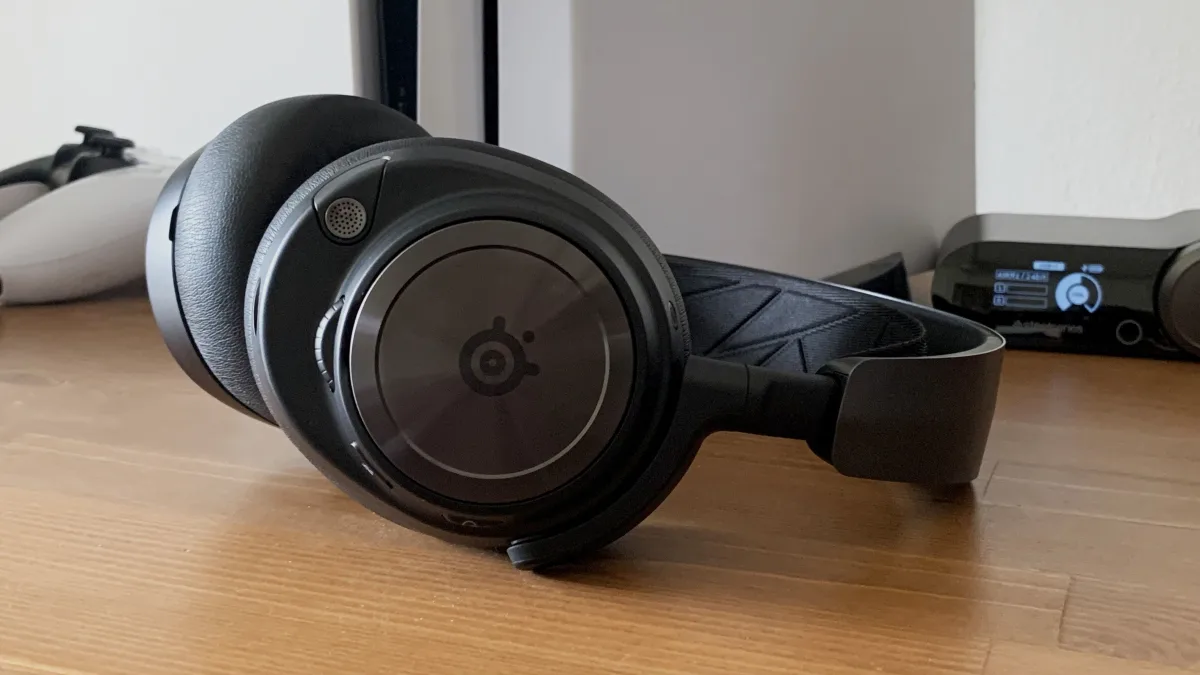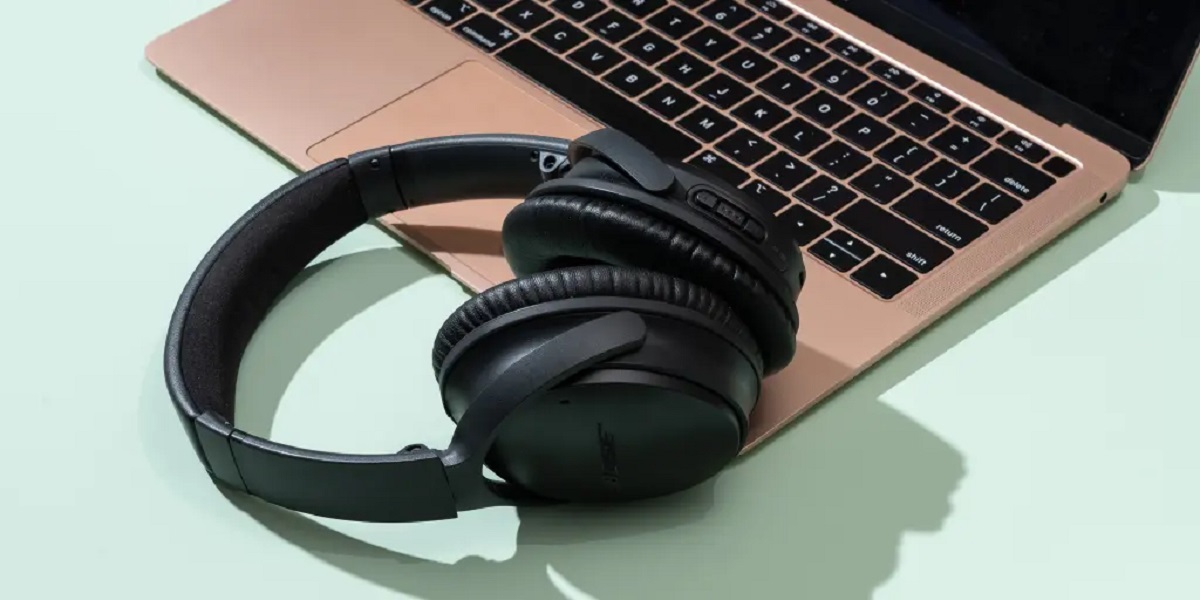
Introduction
Setting up a headset on Windows 10 is an essential skill for anyone who enjoys immersive audio experiences, whether it's for gaming, video conferencing, or simply listening to music. With the right guidance, you can seamlessly integrate your headset with your Windows 10 system and optimize the audio settings for an enhanced listening experience. This comprehensive guide will walk you through the entire process, from checking compatibility to troubleshooting common issues.
In the following sections, you'll learn how to determine if your headset is compatible with Windows 10, how to connect it to your computer, and how to configure the audio settings to ensure optimal performance. Additionally, we'll address common issues that may arise during the setup process and provide troubleshooting tips to help you overcome these challenges.
By following this guide, you'll gain the knowledge and confidence to set up your headset with ease, allowing you to fully immerse yourself in the audio-rich world of your favorite games, movies, and music. Let's embark on this journey to unlock the full potential of your headset and elevate your audio experience on Windows 10.
Part 1: Checking Compatibility
Before diving into the setup process, it's crucial to ensure that your headset is compatible with Windows 10. This step is essential for a seamless integration and optimal performance. Here's a detailed look at how to check the compatibility of your headset with Windows 10:
1. Compatibility with Windows 10
First and foremost, verify that your headset is designed to work with Windows 10. Most modern headsets are compatible with Windows-based systems, but it's always wise to double-check. You can typically find this information on the product packaging, the manufacturer's website, or in the user manual. Look for specific mentions of compatibility with Windows 10 or Windows-compatible devices.
2. Driver Support
Next, consider the driver support for your headset. Windows 10 relies on drivers to communicate with external hardware, including headsets. Check if the headset manufacturer provides Windows 10-compatible drivers for their product. These drivers are essential for enabling advanced features and ensuring seamless functionality. Visit the manufacturer's website to download the latest drivers if needed.
3. Connection Interface
Check the connection interface of your headset. Most modern headsets use standard audio jacks, USB, or wireless connectivity. Ensure that your Windows 10 device has the corresponding ports or compatibility for wireless connections. If your headset utilizes USB or wireless connectivity, verify that your Windows 10 system supports these connection types.
4. Compatibility Testing
If you're uncertain about the compatibility of your headset with Windows 10, consider researching user reviews and forums to see if other Windows 10 users have successfully used the same headset model. Real-world experiences from other users can provide valuable insights into compatibility issues and potential workarounds.
5. System Requirements
Finally, review the system requirements specified by the headset manufacturer. Ensure that your Windows 10 device meets or exceeds the recommended specifications. Pay attention to any specific hardware or software requirements, such as minimum system specifications, audio drivers, or additional software for advanced features.
By thoroughly checking the compatibility of your headset with Windows 10, you can preemptively address any potential issues and ensure a smooth setup process. Once you've confirmed compatibility, you're ready to move on to the next step of connecting your headset to your Windows 10 system.
This comprehensive compatibility check sets the foundation for a successful headset setup on Windows 10, laying the groundwork for a seamless and enjoyable audio experience.
Part 2: Connecting Your Headset
Once you've confirmed the compatibility of your headset with Windows 10, the next crucial step is to connect it to your computer. Properly establishing the connection ensures that your headset functions seamlessly with your Windows 10 system. Here's a detailed guide on how to connect your headset:
1. Wired Headsets
If your headset uses a wired connection, locate the appropriate audio ports on your Windows 10 device. Most computers have separate ports for audio input (microphone) and audio output (headphones). Ensure that you correctly identify these ports to establish the proper connections.
-
Audio Jacks: For headsets with separate audio and microphone jacks, insert the headphone jack into the audio output port (usually marked with a headphone icon) and the microphone jack into the audio input port (often marked with a microphone icon).
-
Single Jack with Splitter: Some headsets come with a single combined audio/microphone jack and a splitter for separate connections. In this case, plug the splitter into the audio port, then connect the headphone and microphone jacks to their respective slots on the splitter.
2. USB Headsets
For headsets that utilize USB connectivity, simply insert the USB connector into an available USB port on your Windows 10 device. Windows will automatically detect and configure the headset, making it ready for use without the need for additional setup steps.
3. Wireless Headsets
If you have a wireless headset, follow the manufacturer's instructions to pair it with your Windows 10 computer. This typically involves activating the pairing mode on the headset and using the Windows 10 Bluetooth settings to discover and connect to the device.
4. Configuration and Recognition
Once the physical connection is established, Windows 10 should recognize the headset and configure it as the default audio input and output device. To verify this, right-click on the speaker icon in the system tray, select "Open Sound settings," and ensure that your headset is selected as the default device for both input and output.
5. Additional Software (if applicable)
Some advanced headsets may require proprietary software for full functionality. If your headset falls into this category, follow the manufacturer's instructions to install any necessary software or drivers. This step is crucial for accessing custom audio settings, virtual surround sound, or other specialized features.
By following these steps, you can successfully connect your headset to your Windows 10 system, ensuring that it is recognized and configured correctly for an optimal audio experience. With the physical connection established, the next phase involves configuring the audio settings to fine-tune the performance of your headset on Windows 10.
Part 3: Configuring Audio Settings
Configuring the audio settings is a crucial aspect of optimizing your headset's performance on Windows 10. By fine-tuning the audio parameters, you can enhance the sound quality, adjust microphone settings, and customize the overall audio experience to suit your preferences. Here's a comprehensive guide on how to configure the audio settings for your headset:
1. Sound Control Panel
Access the Sound Control Panel on Windows 10 by right-clicking on the speaker icon in the system tray and selecting "Sounds." In the Sound Control Panel, you can manage playback and recording devices, adjust sound levels, and configure advanced audio properties.
2. Playback Settings
Under the Playback tab in the Sound Control Panel, you can view a list of available audio output devices, including your headset. Set your headset as the default playback device to ensure that all audio is directed to the headset when it's connected. Right-click on your headset and select "Set as Default Device" to make it the primary audio output.
3. Recording Settings
Navigate to the Recording tab in the Sound Control Panel to manage audio input devices, such as microphones. If your headset includes a built-in microphone or if you're using an external microphone, ensure that it's set as the default recording device. Right-click on the microphone associated with your headset and select "Set as Default Device" to prioritize it for audio input.
4. Audio Enhancements
Depending on your headset and audio drivers, you may have access to audio enhancement features in the Sound Control Panel. These enhancements can include virtual surround sound, equalizer settings, and noise cancellation. Explore the available options to tailor the audio output to your preferences and optimize the sound quality based on the content you're experiencing.
5. App-Specific Settings
Certain applications, such as games and media players, may have their own audio settings that can impact the performance of your headset. Check the audio settings within individual applications to ensure that they are configured to utilize your headset for both audio output and input. This step is particularly important for optimizing the audio experience within specific programs.
6. Driver Software
If your headset requires proprietary driver software for advanced features, access the manufacturer's software to explore additional audio settings. This software may provide access to custom EQ presets, microphone monitoring, and other specialized features that can further enhance your audio experience.
By meticulously configuring the audio settings for your headset on Windows 10, you can unlock its full potential and enjoy a personalized and immersive audio experience across various activities, from gaming and multimedia consumption to virtual meetings and content creation. With the audio settings finely tuned, your headset is poised to deliver exceptional sound quality and reliable microphone performance, elevating your overall audio experience on Windows 10.
Part 4: Troubleshooting Common Issues
Even with careful setup, you may encounter common issues when using a headset with Windows 10. Understanding how to troubleshoot these issues can help you swiftly resolve them and continue enjoying a seamless audio experience. Here's a detailed exploration of the troubleshooting steps for common headset-related problems on Windows 10:
1. Audio Playback or Recording Issues
If you encounter problems with audio playback or recording through your headset, start by checking the physical connections. Ensure that the headset is securely plugged in, and if it's a wireless model, verify that it's properly paired with your Windows 10 device. Additionally, confirm that the headset is selected as the default playback and recording device in the Sound Control Panel. If issues persist, consider testing the headset on another device to determine if the problem is specific to your Windows 10 system.
2. Driver and Software Updates
Outdated drivers or software can lead to compatibility issues and performance problems with your headset. To address this, visit the manufacturer's website and download the latest drivers and software updates specifically designed for Windows 10. Install these updates and restart your computer to ensure that your headset operates with the most current and compatible software.
3. Microphone Not Working
If the microphone on your headset is not functioning correctly, inspect the physical microphone boom for any damage or debris that may be obstructing its operation. Additionally, check the microphone settings in the Sound Control Panel to ensure that the correct microphone is selected as the default recording device. If the issue persists, try using a different recording application to determine if the problem is software-specific.
4. Audio Quality and Balance
Inconsistent audio quality or imbalanced sound can detract from the overall experience. To address this, verify that the audio settings, including volume levels and equalizer settings, are correctly configured for your headset in the Sound Control Panel. Experiment with different audio enhancements, if available, to optimize the sound output to your preferences. Additionally, test the headset with different audio sources to rule out content-specific issues.
5. Bluetooth Connectivity Problems
For wireless headsets utilizing Bluetooth connectivity, intermittent connection issues may arise. Ensure that the headset is fully charged and within the optimal range of the Bluetooth signal. If connectivity problems persist, try unpairing and re-pairing the headset with your Windows 10 device. It's also advisable to minimize interference from other wireless devices and ensure that your Windows 10 system has the latest Bluetooth drivers installed.
By addressing these common issues with practical troubleshooting steps, you can effectively resolve headset-related problems on Windows 10, allowing you to fully enjoy the immersive audio experience your headset provides. If persistent issues remain unresolved, consider reaching out to the headset manufacturer's support for further assistance.
This comprehensive troubleshooting guide equips you with the knowledge and strategies to overcome common headset-related challenges, ensuring that your audio setup on Windows 10 remains reliable and optimized for an exceptional audio experience.
Conclusion
In conclusion, mastering the setup and optimization of a headset on Windows 10 is a gateway to a world of immersive audio experiences. By meticulously checking compatibility, establishing connections, configuring audio settings, and troubleshooting common issues, you can ensure that your headset seamlessly integrates with your Windows 10 system, delivering exceptional sound quality and reliable microphone performance.
The journey begins with a thorough compatibility check, where you verify that your headset is designed to work seamlessly with Windows 10. This step sets the foundation for a smooth setup process and minimizes potential compatibility issues down the line. Once compatibility is confirmed, the process of connecting your headset to your Windows 10 device becomes straightforward, whether it's a wired, USB, or wireless model. Properly configuring the physical connection and recognizing the headset as the default audio device are pivotal in ensuring a seamless and enjoyable audio experience.
Fine-tuning the audio settings further enhances the overall performance of your headset. From setting the default playback and recording devices to exploring advanced audio enhancements and app-specific settings, configuring the audio parameters allows you to personalize your audio experience and optimize sound quality based on your preferences.
While setting up a headset on Windows 10 can be a smooth process, it's essential to be prepared for common issues that may arise. Understanding how to troubleshoot audio playback, microphone, and connectivity problems equips you with the skills to swiftly address any challenges, ensuring that your headset continues to deliver outstanding performance.
By following this comprehensive guide, you are empowered to unlock the full potential of your headset, whether it's for gaming, multimedia consumption, virtual meetings, or content creation. The seamless integration of your headset with Windows 10 opens the door to a world of captivating audio experiences, enriching your digital interactions and entertainment.
Ultimately, this journey culminates in the seamless integration of your headset with Windows 10, allowing you to fully immerse yourself in the rich world of audio content, with every sound and voice coming through crystal clear, and every detail of your communication and entertainment experiences amplified to perfection.