Introduction
In the modern digital age, the seamless integration of gadgets and devices has become a cornerstone of productivity, communication, and entertainment. As we navigate the intricate web of technology, the ability to connect and utilize our gadgets efficiently has never been more crucial. One such scenario that many individuals encounter is the need to connect a Plantronics headset to a Windows 10 laptop. Whether it's for virtual meetings, immersive gaming experiences, or simply to enjoy your favorite music without disturbing others, the process of connecting your Plantronics headset to your Windows 10 laptop can significantly enhance your overall user experience.
This article aims to guide you through the process of seamlessly pairing your Plantronics headset with your Windows 10 laptop. By following the steps outlined in this comprehensive guide, you will be able to establish a harmonious connection between your headset and laptop, unlocking a world of possibilities and convenience.
As we delve into the intricacies of this endeavor, it's important to note that the successful pairing of your Plantronics headset with your Windows 10 laptop can open up a realm of opportunities, from crystal-clear communication in professional settings to immersive audio experiences in your leisure time. Furthermore, the ability to seamlessly integrate these devices underscores the versatility and adaptability of modern technology, empowering users to tailor their digital environments to suit their individual needs and preferences.
Now, let's embark on this journey to streamline your digital experience by creating a harmonious connection between your Plantronics headset and Windows 10 laptop. Through the following steps, you will gain the knowledge and confidence to effortlessly pair these devices, enhancing your daily interactions with technology and maximizing the utility of your gadgets.
Step 1: Check Compatibility
Before embarking on the process of connecting your Plantronics headset to your Windows 10 laptop, it is crucial to ensure that both devices are compatible. Compatibility forms the foundation of a seamless and efficient connection, laying the groundwork for a harmonious interaction between your headset and laptop.
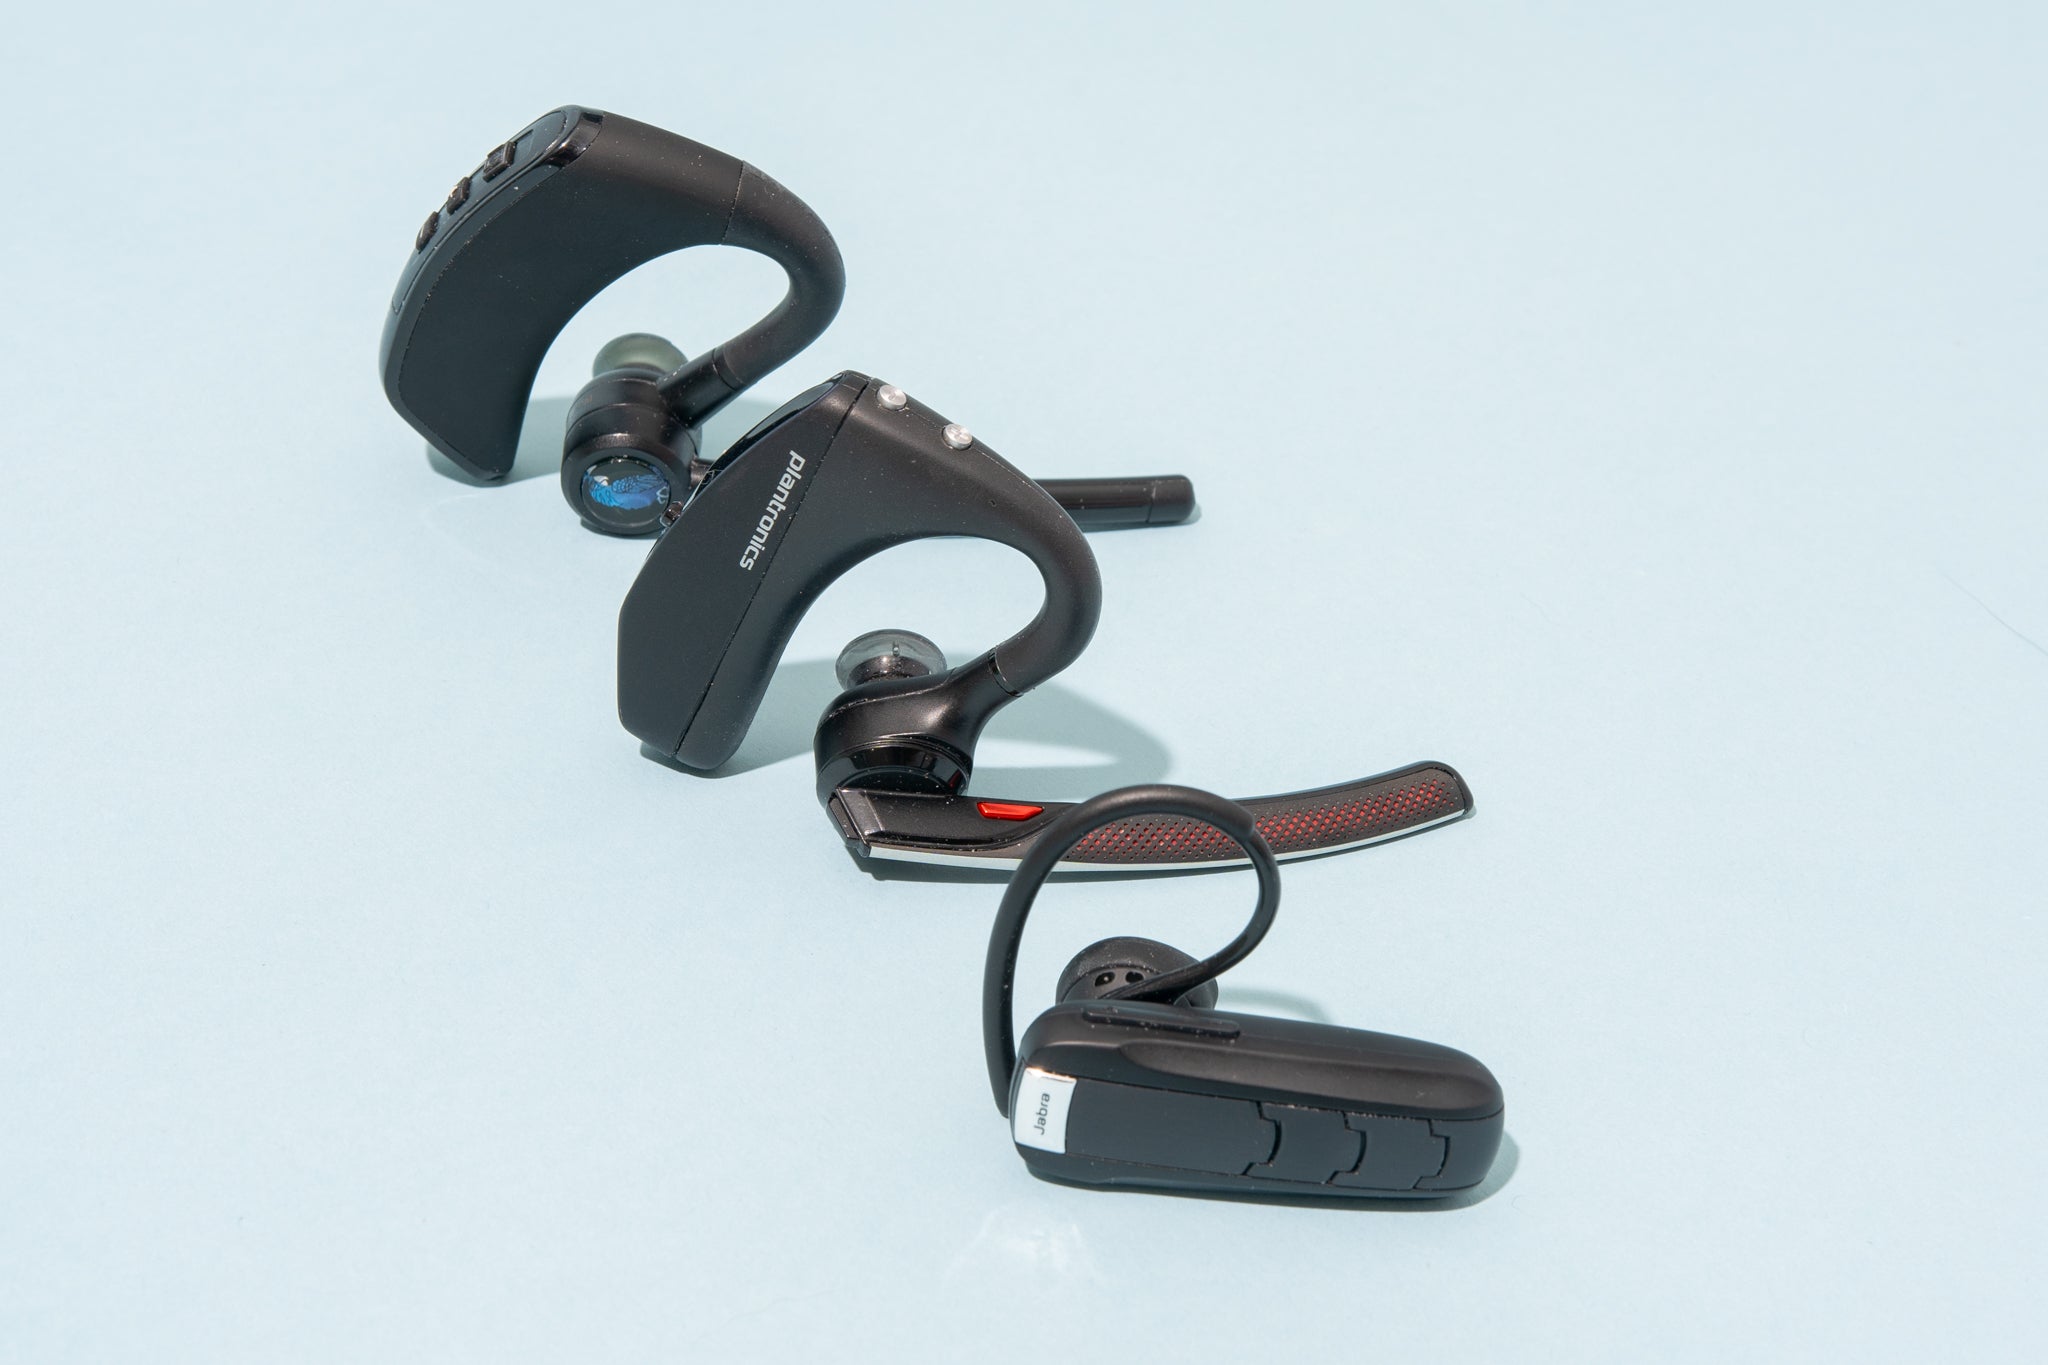
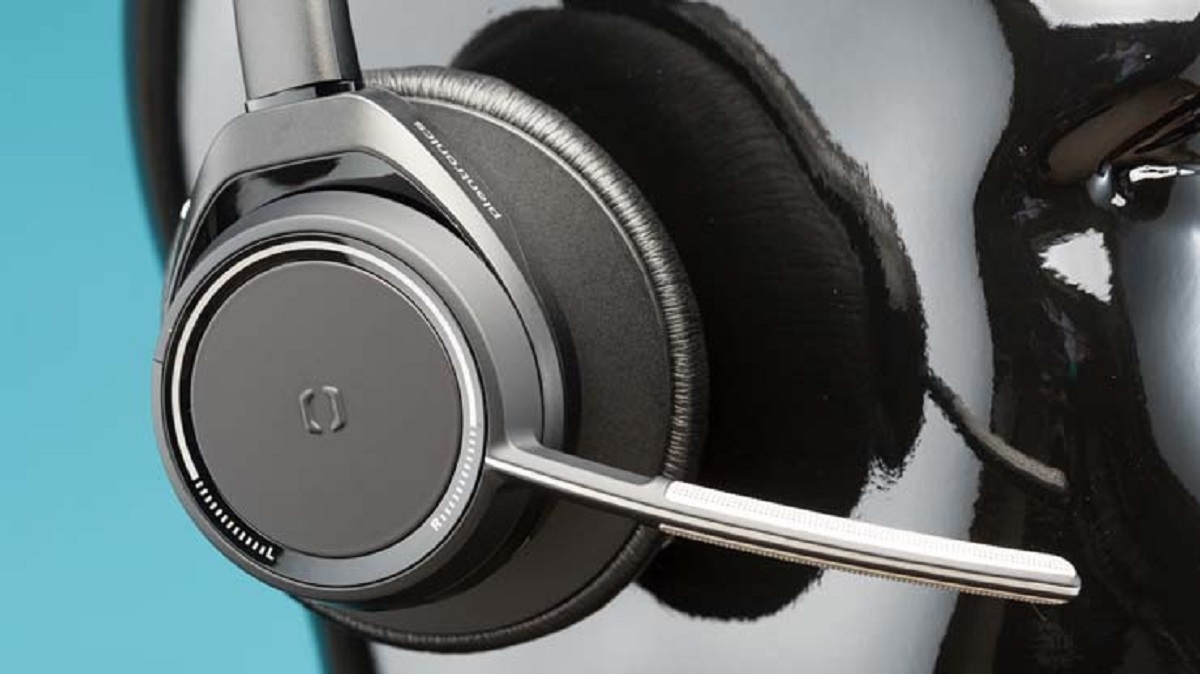
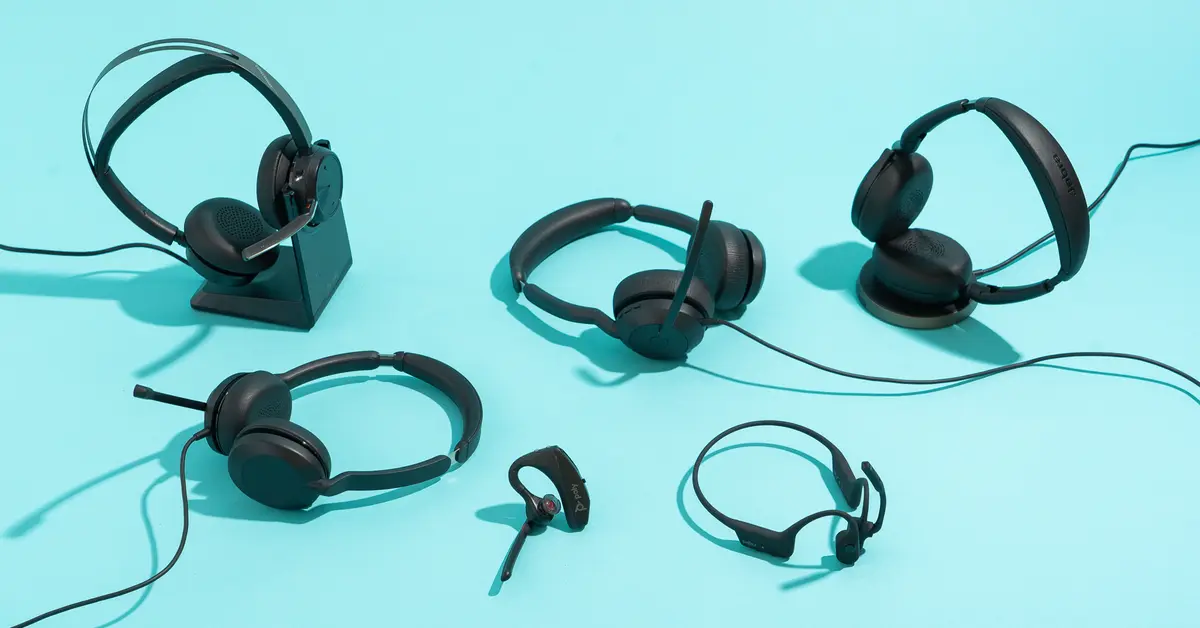
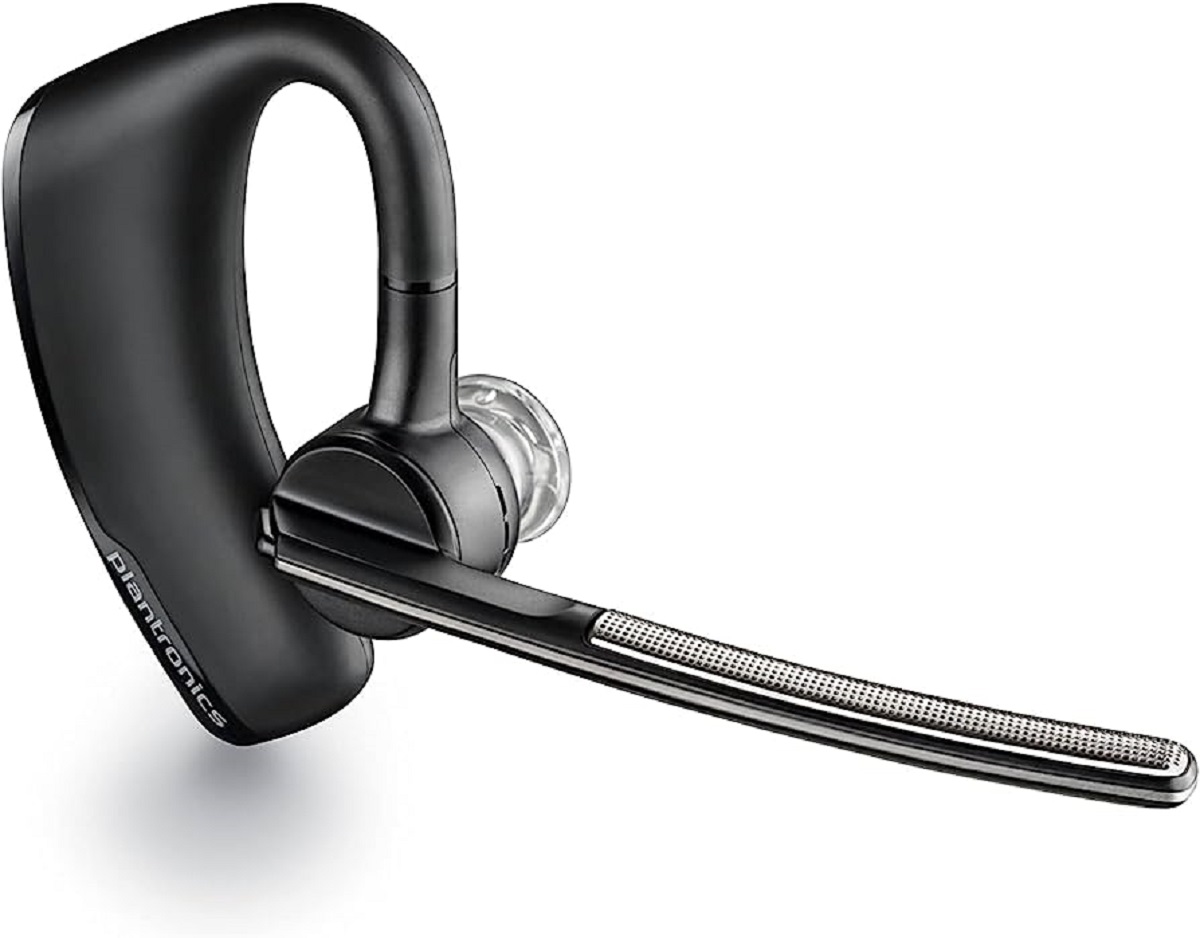
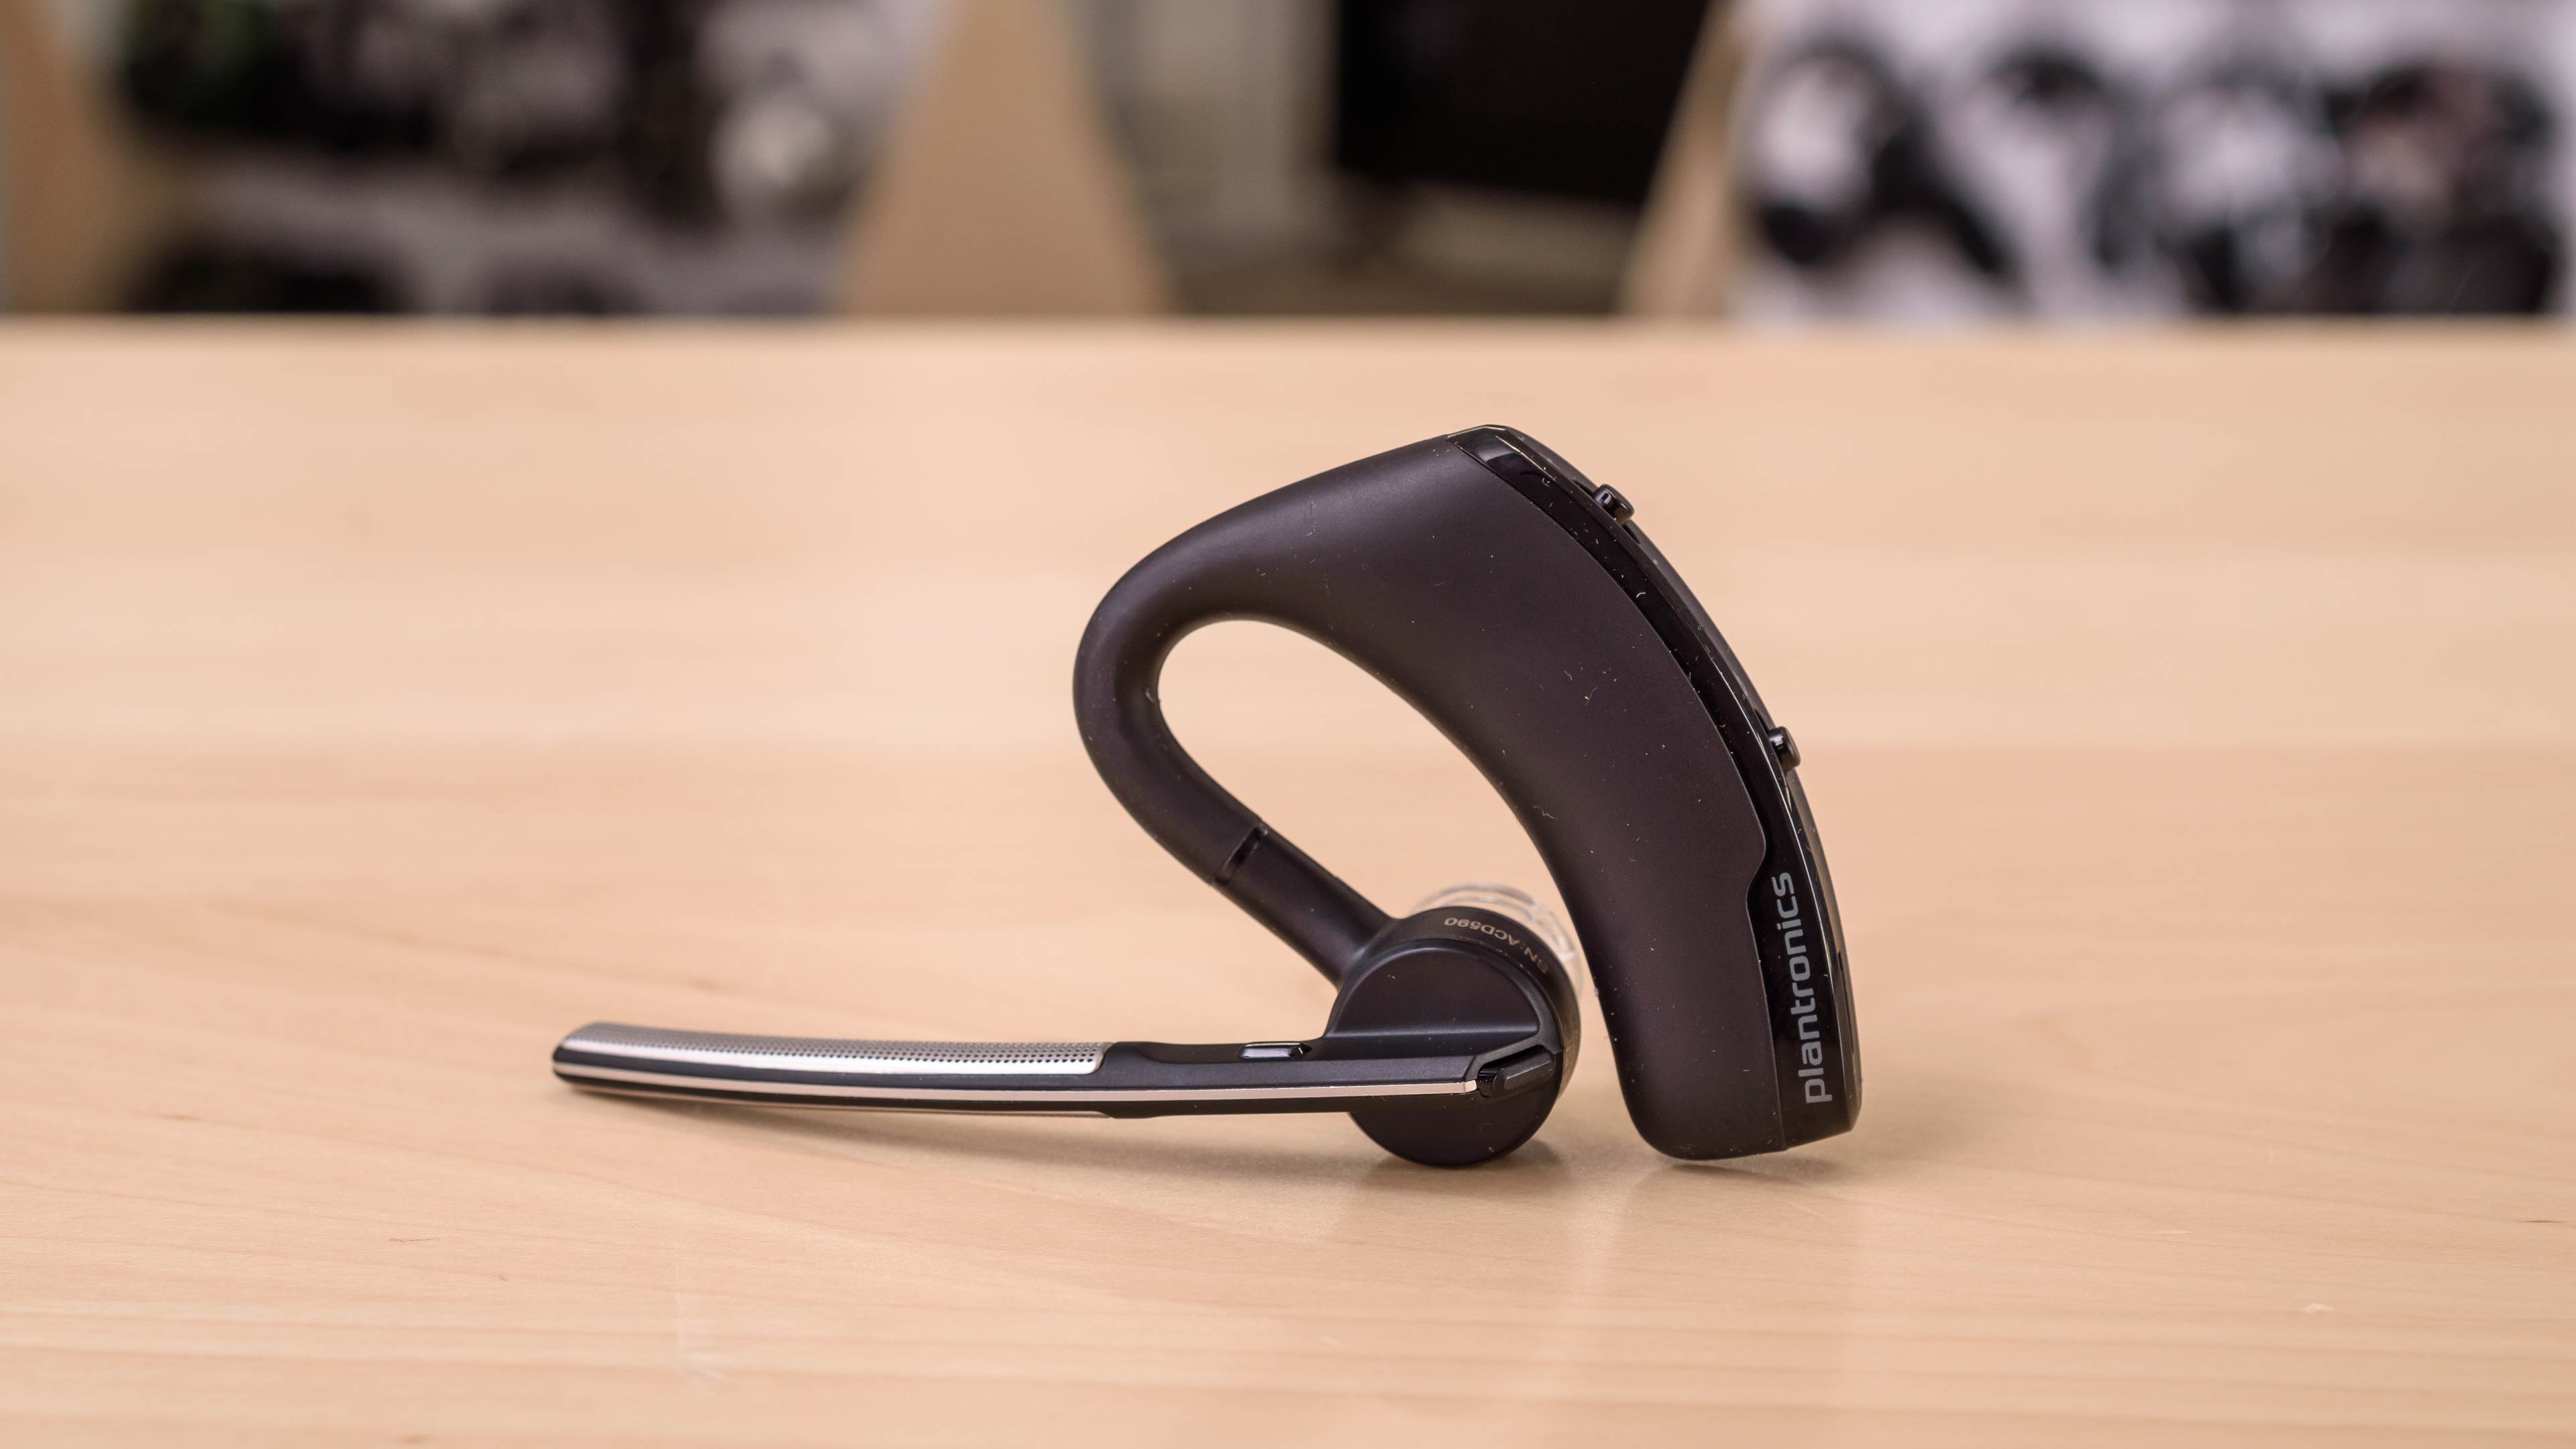
Plantronics headsets are renowned for their versatility and advanced features, catering to a wide range of users with varying needs and preferences. To begin the compatibility check, it is essential to identify the specific model of your Plantronics headset. Whether it's the Voyager series, BackBeat FIT, or any other model, verifying its compatibility with Windows 10 is the first step towards a successful pairing process.
Windows 10, as a robust operating system, boasts extensive compatibility with a myriad of devices, including Plantronics headsets. However, it's imperative to confirm that your specific model of Plantronics headset is explicitly designed to interface seamlessly with Windows 10. This can typically be confirmed by referring to the product specifications provided by Plantronics or consulting the user manual that accompanied your headset.
Furthermore, checking for any firmware or software updates for both your Plantronics headset and Windows 10 laptop is integral to ensuring compatibility. Manufacturers often release updates to optimize device performance, address compatibility issues, and introduce new features. By updating the firmware of your Plantronics headset and ensuring that your Windows 10 laptop is running the latest updates, you can mitigate potential compatibility hurdles and pave the way for a smooth connection process.
In addition to firmware updates, it's beneficial to ascertain the compatibility of your Windows 10 laptop's Bluetooth capabilities with your Plantronics headset. Bluetooth technology serves as the conduit through which your headset communicates with your laptop, making it essential to verify that your laptop's Bluetooth version aligns with the requirements of your Plantronics headset.
By diligently checking the compatibility of your Plantronics headset with Windows 10 and ensuring that both devices are equipped with the latest updates, you lay a solid foundation for the subsequent steps in the pairing process. This proactive approach not only streamlines the connection process but also minimizes the likelihood of encountering compatibility-related obstacles, allowing you to seamlessly integrate your Plantronics headset with your Windows 10 laptop and unlock its full potential.
Step 2: Install Plantronics Hub Software
To facilitate a seamless and optimized connection between your Plantronics headset and Windows 10 laptop, it is essential to install the Plantronics Hub software. This intuitive software serves as a gateway to unlocking the full potential of your Plantronics headset, enabling you to customize settings, receive firmware updates, and gain deeper insights into your headset's performance.
-
Download Plantronics Hub: Begin by navigating to the official Plantronics website or the Microsoft Store to download the Plantronics Hub software. This user-friendly application is designed to enhance the functionality of your Plantronics headset, offering a centralized platform to manage various aspects of its operation.
-
Installation Process: Once the Plantronics Hub software is downloaded, initiate the installation process by following the on-screen instructions. The installation wizard will guide you through the necessary steps, ensuring a smooth and hassle-free setup. Upon successful installation, the Plantronics Hub software becomes an indispensable tool in optimizing the performance and functionality of your headset.
-
Customization and Optimization: Upon launching the Plantronics Hub software, you gain access to a myriad of customization options tailored to your specific headset model. From adjusting audio settings and configuring call features to monitoring battery status and personalizing voice prompts, the software empowers you to tailor your headset experience according to your preferences.
-
Firmware Updates: The Plantronics Hub software serves as a conduit for receiving firmware updates for your headset. These updates are instrumental in enhancing performance, addressing potential issues, and introducing new features, ensuring that your Plantronics headset remains at the forefront of innovation and functionality.
-
Insights and Diagnostics: By leveraging the Plantronics Hub software, you can delve into detailed insights and diagnostics related to your headset's usage and performance. This includes tracking usage patterns, monitoring connection status, and troubleshooting potential issues, providing you with a comprehensive overview of your headset's operation.
By installing the Plantronics Hub software on your Windows 10 laptop, you empower yourself to harness the full capabilities of your Plantronics headset, elevating your user experience to new heights. This proactive step not only streamlines the pairing process but also equips you with the tools to optimize and personalize your headset's functionality, ensuring that it seamlessly integrates with your digital ecosystem.
Step 3: Pairing Your Plantronics Headset with Windows 10
Pairing your Plantronics headset with your Windows 10 laptop is a pivotal step in establishing a seamless and efficient connection, enabling you to leverage the full potential of your headset. The pairing process, facilitated through Bluetooth technology, forms the bridge that allows your headset to communicate wirelessly with your laptop, unlocking a myriad of possibilities, from immersive audio experiences to crystal-clear communication.
-
Activate Bluetooth on Your Windows 10 Laptop: Commence the pairing process by ensuring that the Bluetooth functionality on your Windows 10 laptop is activated. This can typically be done by accessing the system settings or the taskbar, where you can toggle the Bluetooth feature to the "on" position.
-
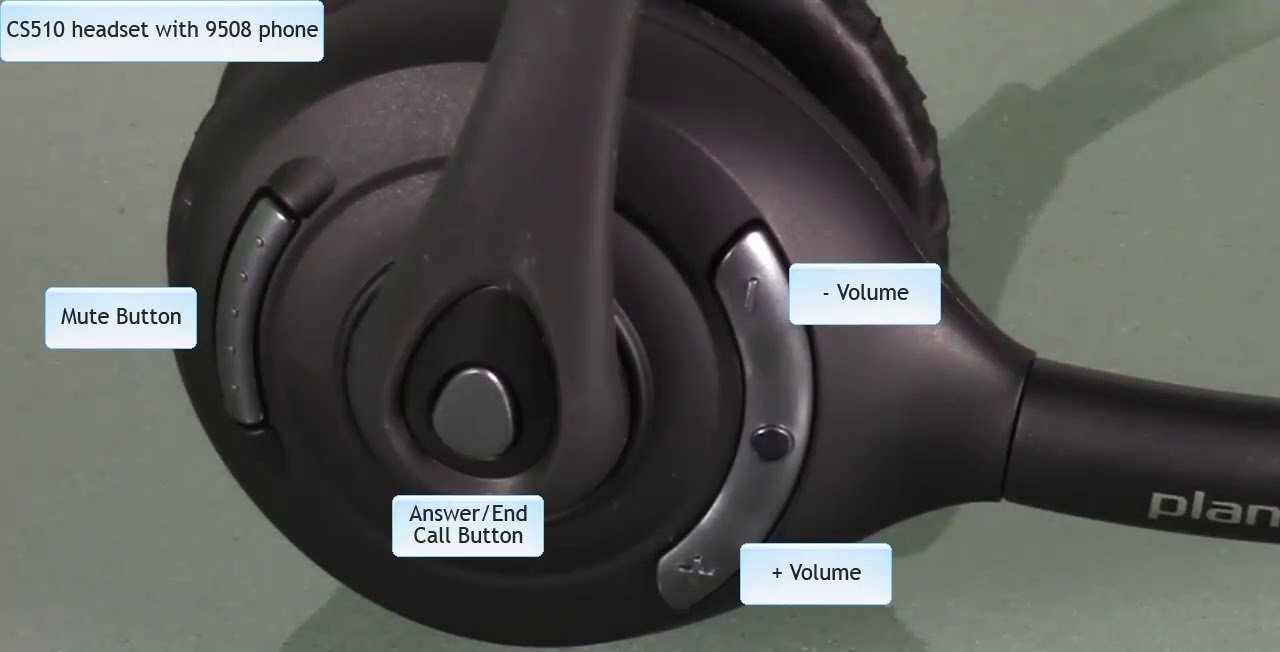
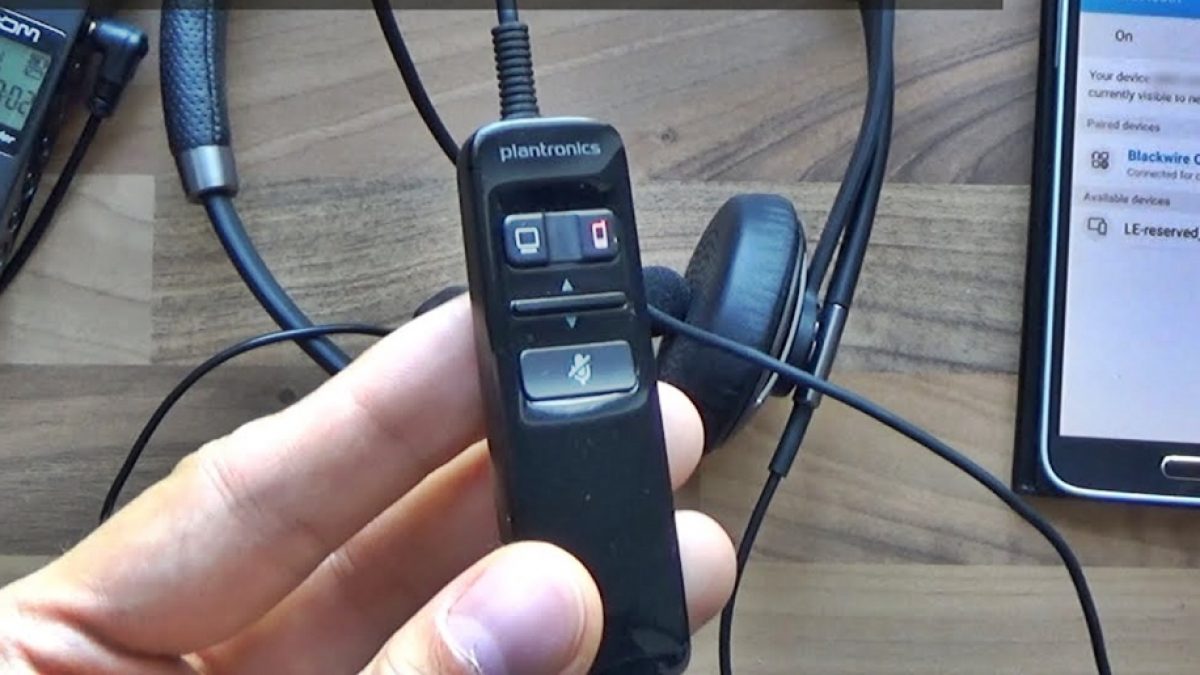
Put Your Plantronics Headset in Pairing Mode: Depending on the specific model of your Plantronics headset, activate the pairing mode as per the instructions provided in the user manual. This often involves pressing and holding a designated button or following a sequence of actions to initiate the pairing process.
-
Initiate Pairing on Your Windows 10 Laptop: Navigate to the Bluetooth settings on your Windows 10 laptop and select the option to "Add a Bluetooth or other device." Choose the "Bluetooth" option and allow your laptop to scan for available devices.
-
Select Your Plantronics Headset: Once your Plantronics headset appears in the list of available devices, select it to initiate the pairing process. Your laptop will establish a connection with the headset, and you may be prompted to confirm the pairing on both devices.
-
Confirmation and Finalization: Upon successful pairing, your Windows 10 laptop will indicate that the Plantronics headset is connected. At this stage, you may customize the device name for easy identification and prioritize its functionality, such as enabling it as the default audio output device.
By meticulously following these steps, you can seamlessly pair your Plantronics headset with your Windows 10 laptop, laying the groundwork for a harmonious and efficient interaction between these devices. This pivotal process not only facilitates wireless communication but also sets the stage for immersive audio experiences and seamless integration of your headset into your digital environment.
The successful pairing of your Plantronics headset with your Windows 10 laptop underscores the adaptability and versatility of modern technology, empowering you to tailor your digital ecosystem to suit your individual preferences and requirements. With this seamless connection in place, you are poised to embark on a journey of enhanced productivity, immersive entertainment, and seamless communication, seamlessly integrating your Plantronics headset into your daily digital endeavors.
Step 4: Testing Your Headset Connection
After successfully pairing your Plantronics headset with your Windows 10 laptop, it's crucial to validate the connection through comprehensive testing. This step ensures that your headset functions seamlessly with your laptop, allowing you to engage in crystal-clear communication, immersive audio experiences, and seamless interactions within your digital environment.
Audio Playback Test
Initiate an audio playback test to gauge the functionality of your Plantronics headset. Play a piece of music or a multimedia file on your Windows 10 laptop and ensure that the audio is transmitted clearly and accurately through your headset. This test allows you to experience the immersive audio capabilities of your headset, ensuring that it delivers high-quality sound without any distortions or interruptions.
Microphone Test
Verify the microphone functionality of your Plantronics headset by conducting a microphone test. This can be achieved by utilizing the built-in voice recorder on your Windows 10 laptop or engaging in a voice call. Speak into the microphone of your headset and assess the clarity and fidelity of the transmitted audio. Confirm that your voice is captured accurately and without any disruptions, ensuring that your headset serves as a reliable communication tool.
Call Test
Engage in a voice or video call using communication platforms such as Skype, Microsoft Teams, or Zoom to evaluate the performance of your Plantronics headset during real-time conversations. Assess the clarity of the audio transmission, the effectiveness of noise cancellation features, and the overall comfort of using your headset for extended communication sessions. This test validates the suitability of your headset for professional meetings, virtual collaborations, and seamless communication experiences.
Mobility Test
Evaluate the wireless connectivity and mobility of your Plantronics headset by moving within the range of your laptop while maintaining a stable connection. This test ensures that your headset remains connected without experiencing signal drops or interruptions, allowing you to move freely within your workspace while staying seamlessly connected to your Windows 10 laptop.
By conducting these comprehensive tests, you can affirm the successful integration of your Plantronics headset with your Windows 10 laptop, validating its functionality across various usage scenarios. This meticulous approach ensures that your headset delivers consistent performance, reliability, and a seamless user experience, empowering you to leverage its capabilities for diverse tasks and activities within your digital realm.
Conclusion
In conclusion, the process of connecting your Plantronics headset to your Windows 10 laptop represents a gateway to a world of seamless communication, immersive audio experiences, and enhanced productivity. By meticulously following the steps outlined in this guide, you have embarked on a journey to streamline your digital experience, creating a harmonious connection between your headset and laptop.
The successful pairing of your Plantronics headset with your Windows 10 laptop underscores the adaptability and versatility of modern technology, empowering you to tailor your digital ecosystem to suit your individual preferences and requirements. This seamless integration allows you to harness the full potential of your headset, from engaging in professional meetings with crystal-clear communication to immersing yourself in captivating audio experiences without constraints.
Furthermore, the proactive approach of verifying compatibility, installing the Plantronics Hub software, and conducting comprehensive testing ensures that your headset functions seamlessly within your digital environment. The ability to customize settings, receive firmware updates, and gain deeper insights into your headset's performance through the Plantronics Hub software empowers you to optimize and personalize your headset's functionality, enhancing your overall user experience.
As you navigate the intricacies of the digital landscape, the successful connection between your Plantronics headset and Windows 10 laptop serves as a testament to the seamless integration of gadgets and devices. This integration not only enhances your daily interactions with technology but also fosters a sense of adaptability and efficiency, allowing you to leverage your gadgets to their fullest potential.
With your Plantronics headset seamlessly integrated into your digital ecosystem, you are poised to embark on a journey of enhanced productivity, immersive entertainment, and seamless communication. This harmonious connection represents a testament to the adaptability and versatility of modern technology, empowering you to tailor your digital environment to suit your individual needs and preferences.
In essence, the successful pairing of your Plantronics headset with your Windows 10 laptop signifies a harmonious convergence of technology, enabling you to navigate the digital realm with enhanced convenience, efficiency, and enjoyment.