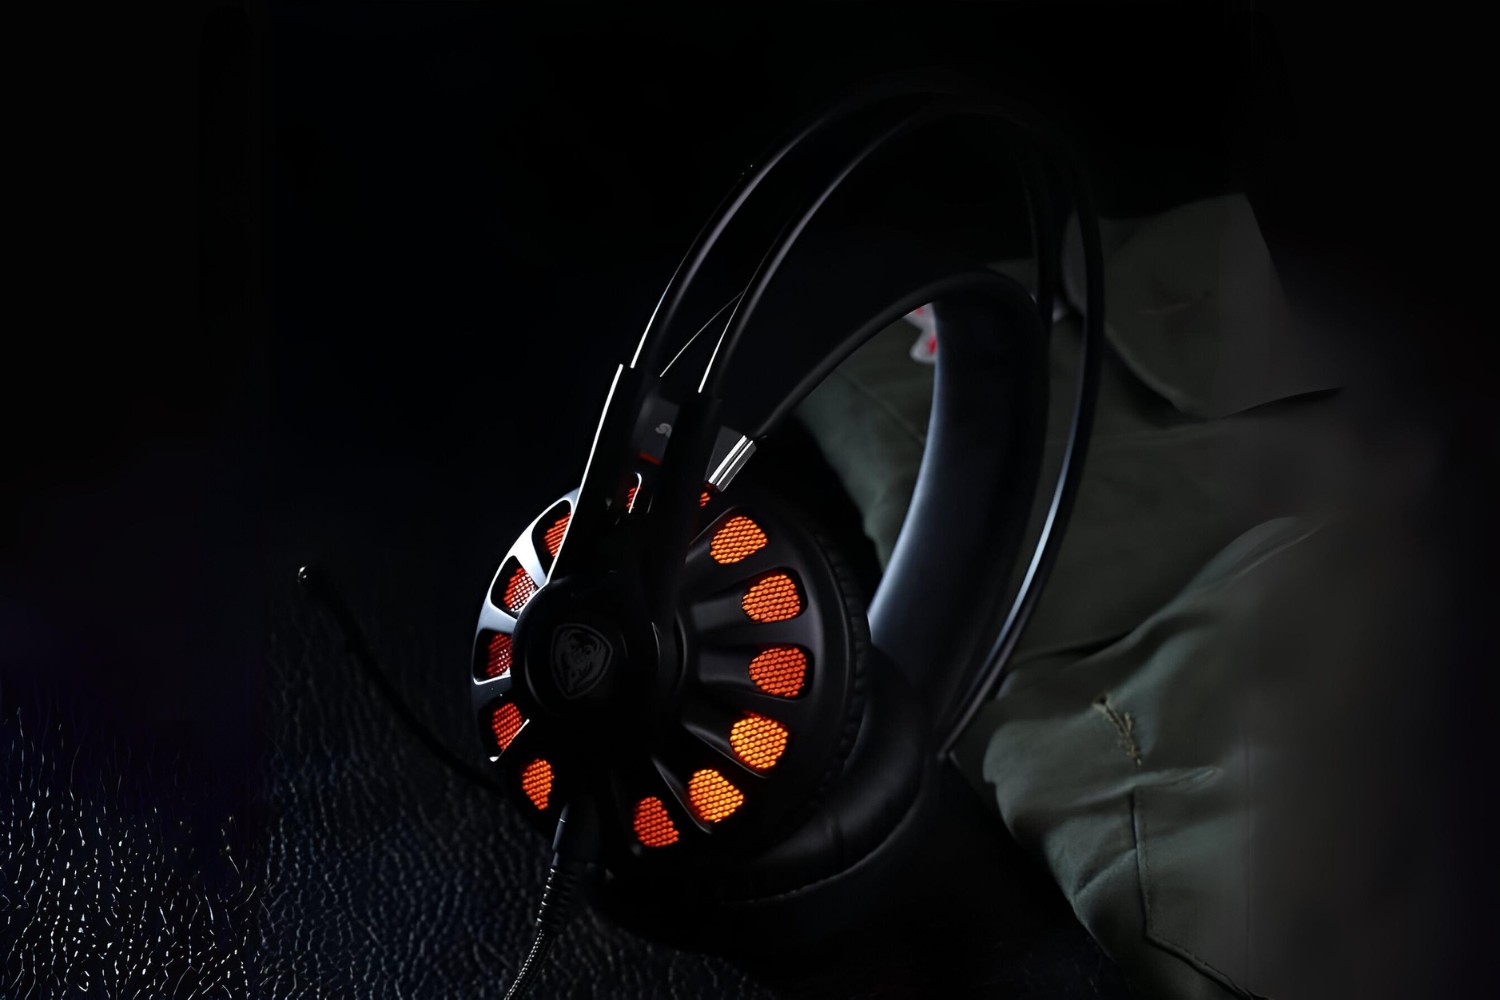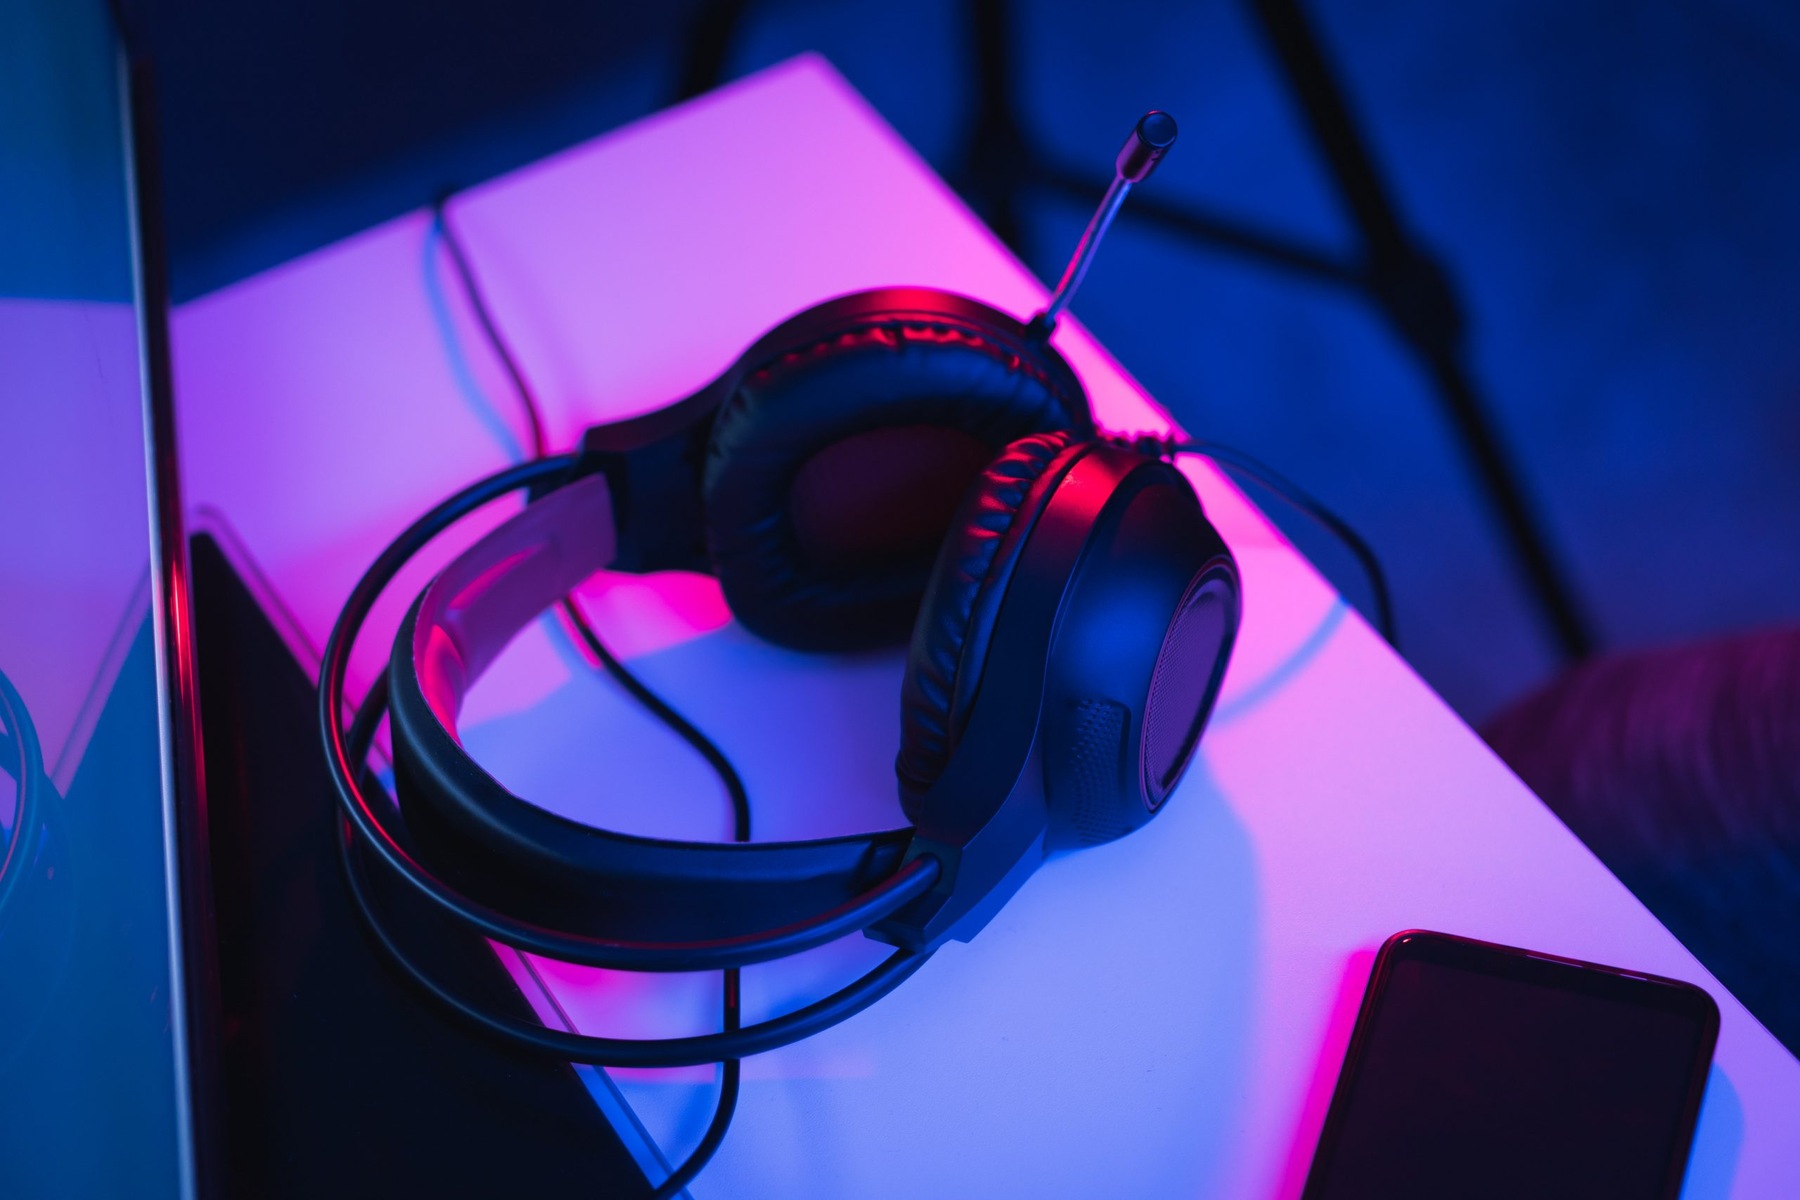
Introduction
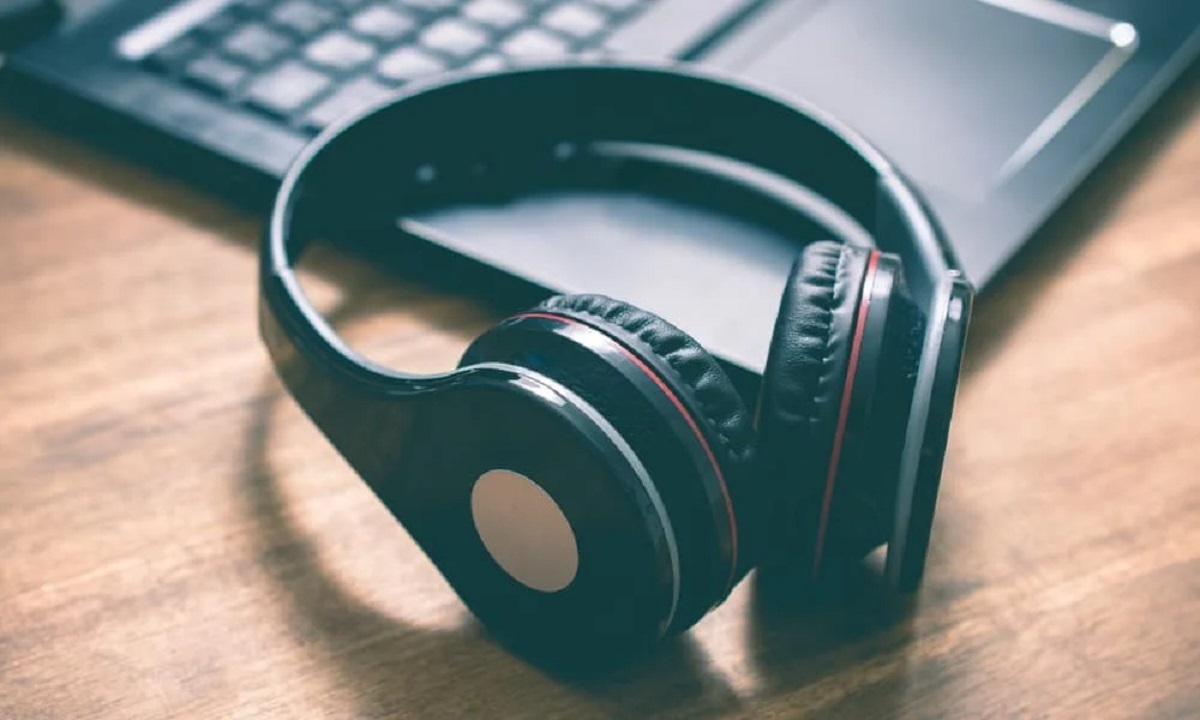
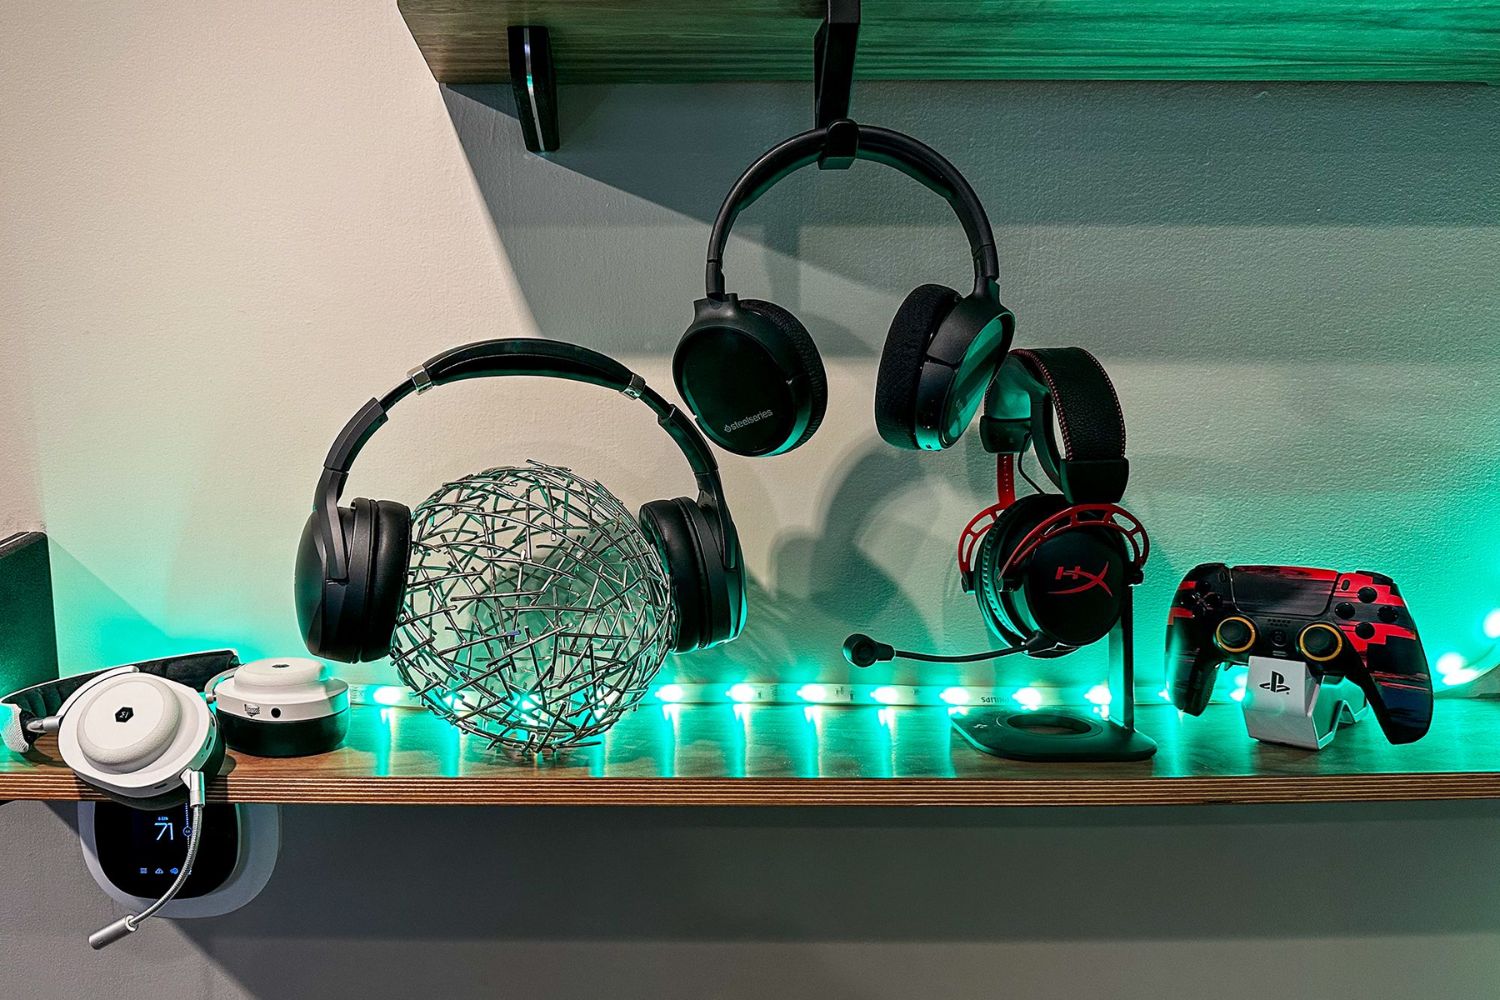
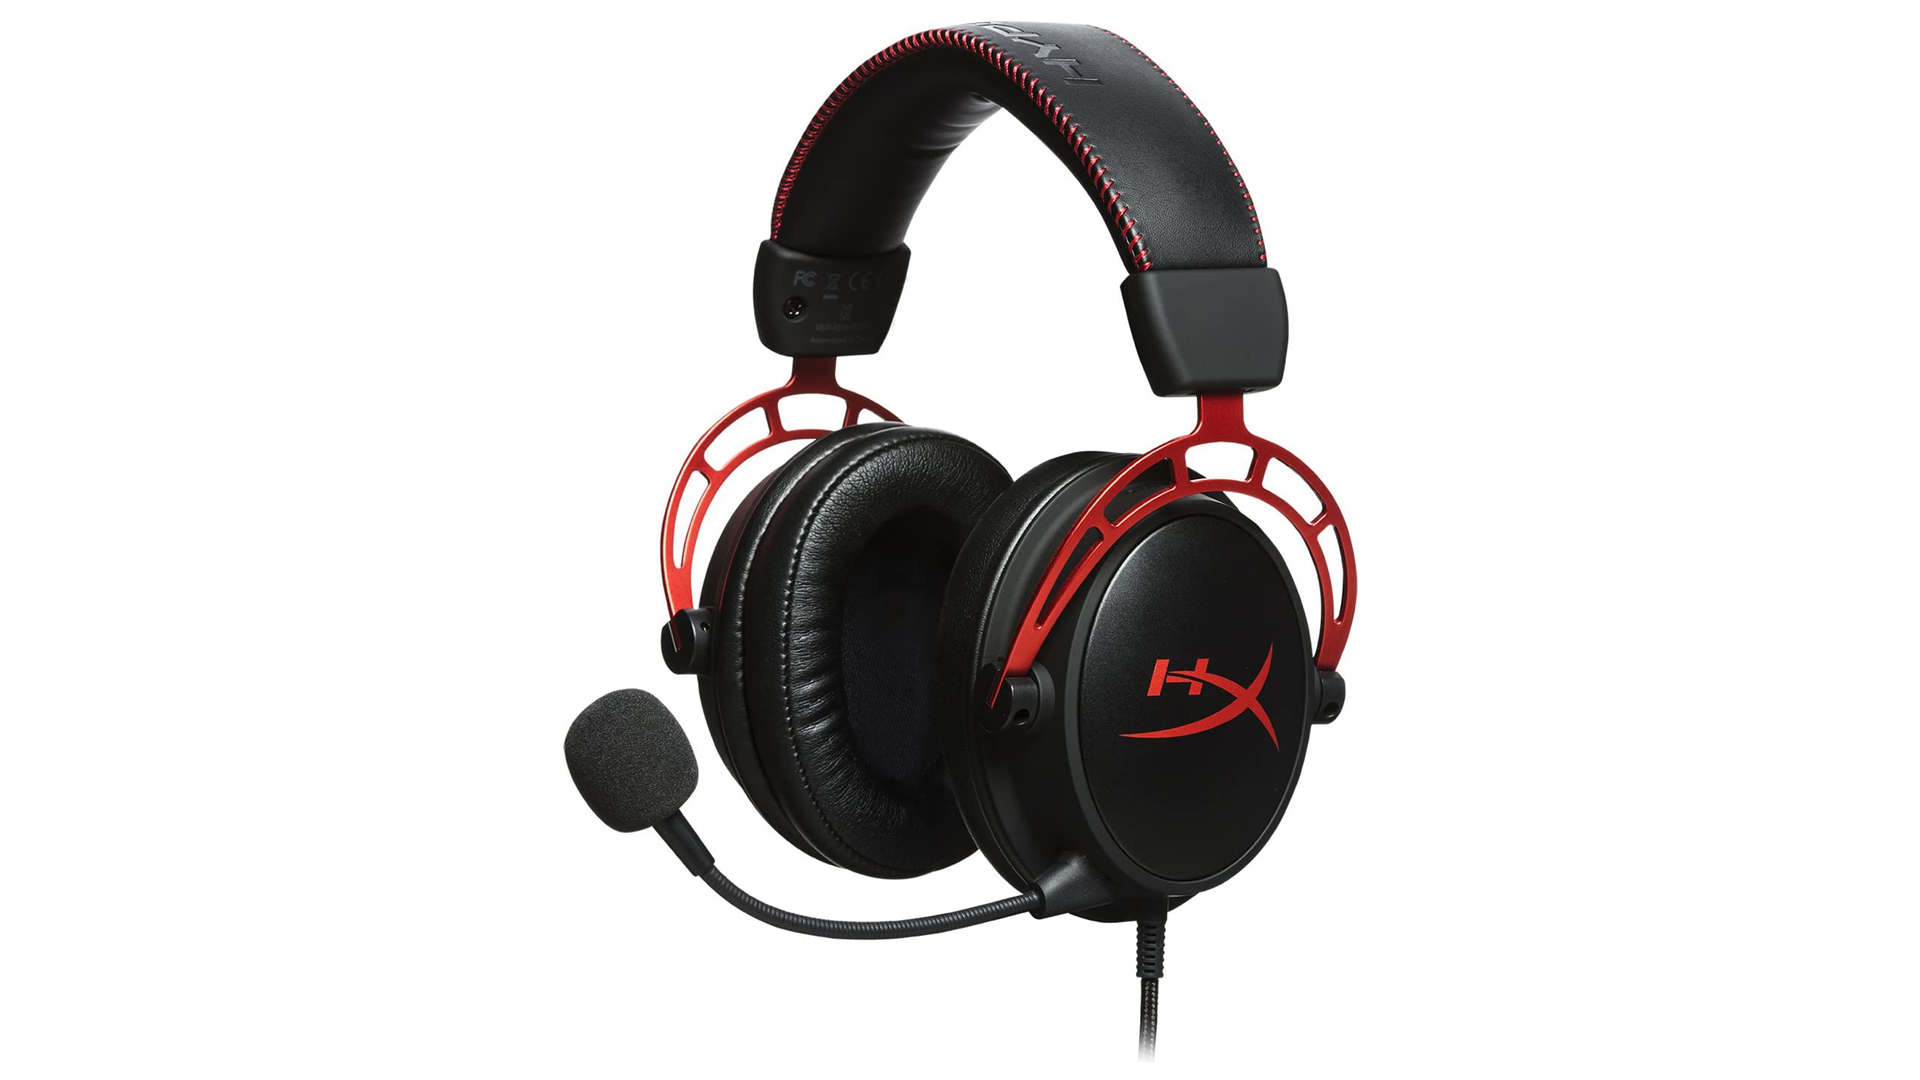
Setting up a USB microphone headset on your PC can greatly enhance your audio experience, whether you’re using it for work, gaming, or communication purposes. With a USB microphone headset, you can enjoy crystal-clear audio and have more control over your sound settings.
In this guide, we will walk you through the step-by-step process of setting up a USB microphone headset on your PC. Whether you’re a beginner or an experienced user, this article will provide you with the knowledge and guidance you need to get started.
Before we dive into the setup process, it’s important to note that not all PCs are compatible with USB microphones. It’s essential to check if your PC supports USB microphones before proceeding with the setup. This will ensure that you can make full use of your USB microphone headset and avoid any compatibility issues.
Now that you’re aware of the importance of compatibility, let’s move on to the first step of the setup process: checking if your PC supports USB microphones.
Step 1: Check if your PC supports USB microphones
Before you start setting up your USB microphone headset, it’s crucial to ensure that your PC supports USB microphones. Here are a few simple steps to help you determine compatibility:
- Check your PC’s specifications: Look for the USB ports on your PC. Most modern PCs come with USB ports, but it’s important to check if they support USB audio devices. Refer to your PC’s user manual or visit the manufacturer’s website for detailed information about your system’s specifications.
- Review the operating system requirements: USB microphones are generally compatible with popular operating systems such as Windows, macOS, and Linux. However, it’s always a good idea to double-check the system requirements of your USB microphone headset and ensure that your PC’s operating system is supported.
- Update your drivers: Outdated or incompatible drivers can cause issues with USB devices, including microphones. Make sure your PC has the latest audio drivers installed. You can usually find driver updates on the manufacturer’s website or by using dedicated driver update software.
If your PC meets the requirements and supports USB microphones, you’re ready to move on to the next step: plugging in the USB microphone headset.
However, if your PC doesn’t support USB microphones, don’t worry. There are alternative options available such as analog (3.5mm) microphone headsets or USB-to-analog adapters that can help you connect your headset to your PC.
Now that you’ve determined the compatibility of your PC, let’s proceed to the next step and set up your USB microphone headset.
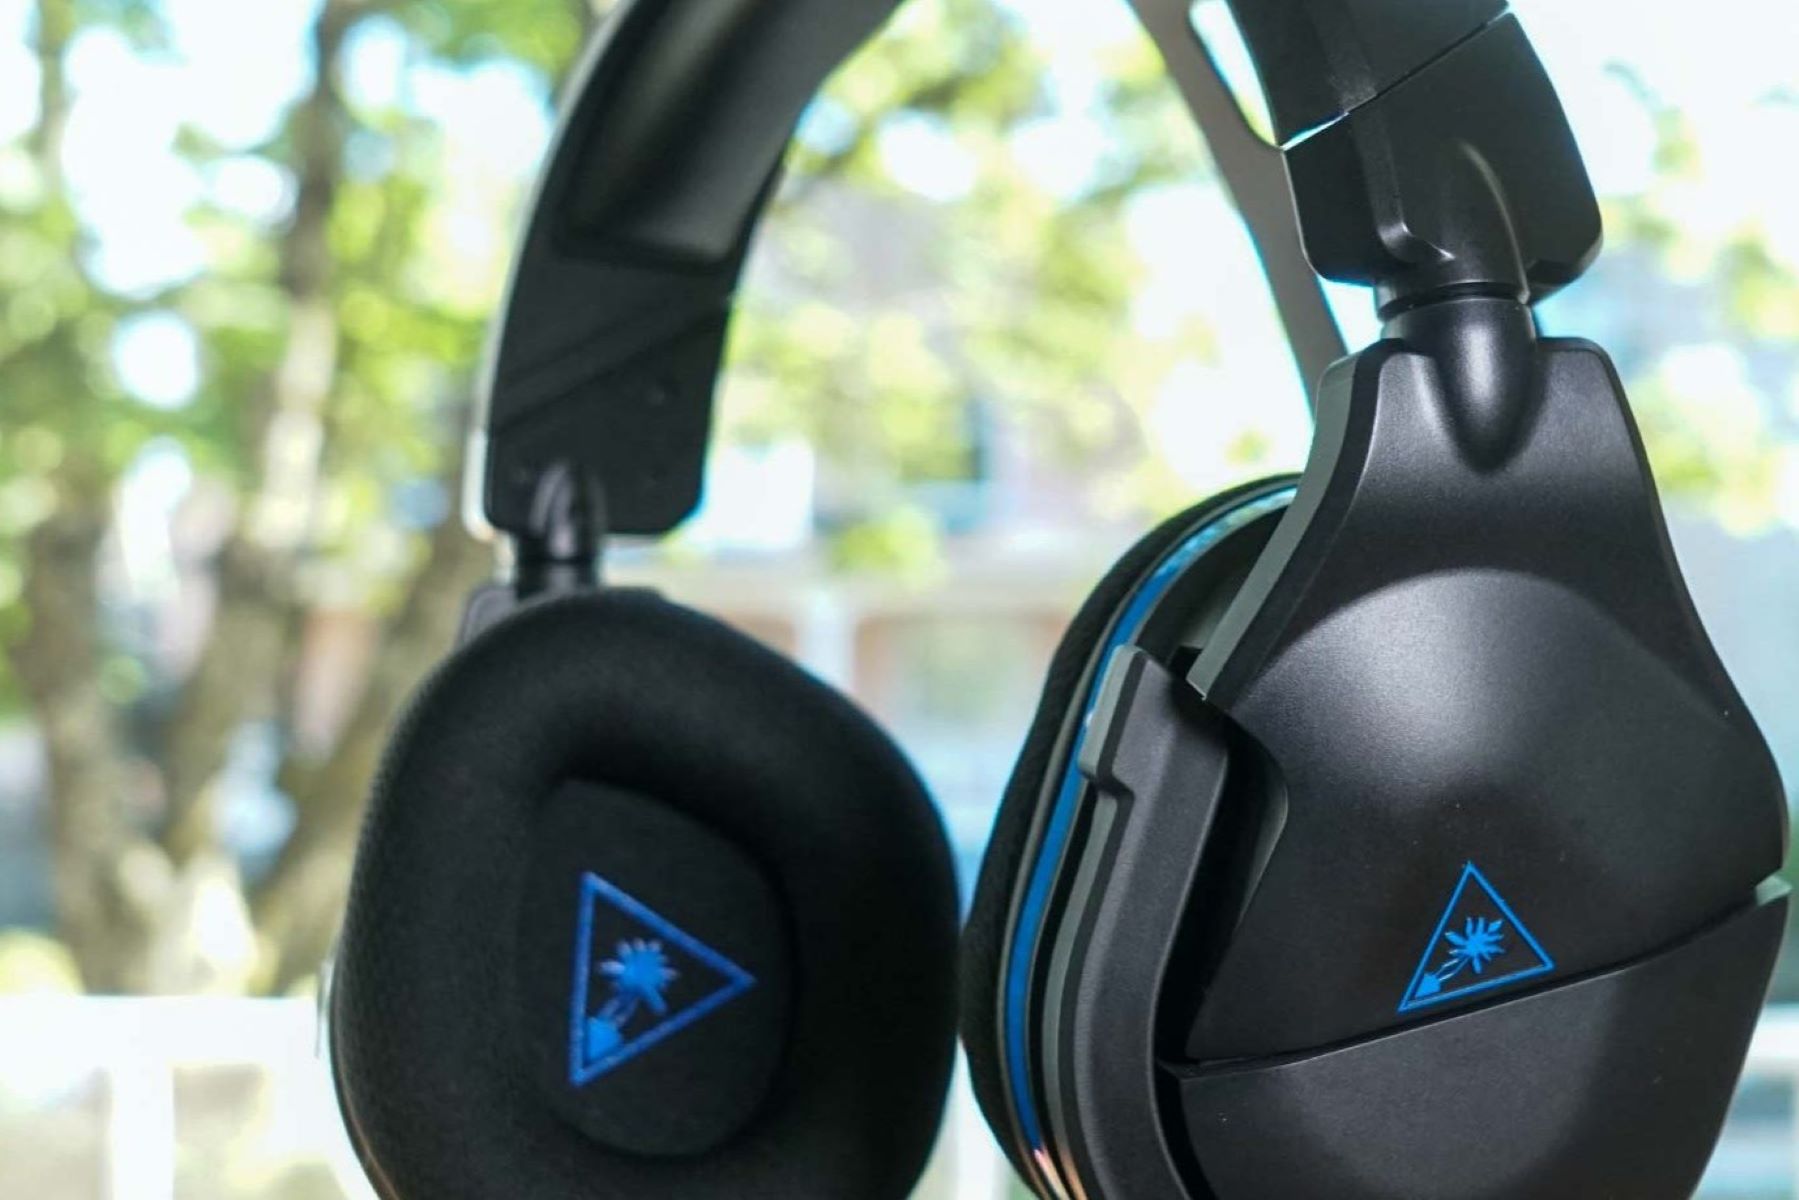
Step 2: Plug in the USB microphone headset
Now that you have confirmed the compatibility of your PC with USB microphones, it’s time to plug in your USB microphone headset. Follow these steps:
- Locate an available USB port: Identify an unused USB port on your PC. USB ports are usually located on the front or back of the CPU, or on the sides of a laptop.
- Uncover the USB connector: Remove any covers or caps from the USB connector of your microphone headset.
- Insert the USB connector: Carefully insert the USB connector into the USB port on your PC. Ensure a secure and snug fit.
- Wait for automatic installation: Once connected, your PC will automatically detect the USB microphone headset and begin the installation process. This may take a few moments.
- Follow on-screen instructions: If prompted, follow any on-screen instructions to complete the installation. This may involve allowing the installation of drivers or confirming the device connection.
Once the installation process is complete, your USB microphone headset should be ready to use. However, it’s important to note that some USB microphones require additional software or drivers to be installed for full functionality. Check the manufacturer’s instructions or website for any specific software requirements.
If your USB microphone headset has any additional features or controls, such as volume adjustments or microphone muting, familiarize yourself with them by referring to the user manual or online documentation.
Now that your USB microphone headset is successfully plugged in, let’s move on to the next step: configuring the audio settings on your PC.
Step 3: Configure audio settings on your PC
After plugging in your USB microphone headset, you’ll need to configure the audio settings on your PC to ensure optimal performance. Here’s how you can do it:
- Open the sound settings: On your PC, right-click on the speaker icon in the system tray or navigate to the sound settings through the control panel or settings menu.
- Select the input device: In the sound settings, locate the input tab or microphone settings. Choose your USB microphone headset as the default input device. You may need to select it from a dropdown menu or click on a designated button to set it as the active microphone.
- Adjust the microphone levels: Test your microphone by speaking into it, and adjust the input volume levels accordingly. You can increase or decrease the volume to achieve the desired sound level. Most operating systems have a visualizer or level meter that helps you monitor the input sensitivity.
- Configure additional settings: Depending on your requirements, you may need to configure other audio settings such as sample rate, bit depth, or microphone boost. These settings can usually be accessed through advanced options or microphone properties.
- Test the microphone: To ensure that your USB microphone headset is working correctly, perform a test recording or use an application that utilizes the microphone. Check if the audio quality is clear and if the microphone is capturing your voice accurately.
During the configuration process, it’s recommended to experiment with the settings and make adjustments based on your own preferences and the requirements of your specific USB microphone headset. Keep in mind that different microphones may have different optimal settings.
If you’re experiencing any issues with the audio settings or if the microphone is not functioning as expected, double-check the connection, ensure you have the latest drivers installed, and consult the documentation provided by the manufacturer.
With the audio settings properly configured, you’re now ready to move on to the next step: testing your USB microphone headset.
Step 4: Test the USB microphone headset
After setting up and configuring your USB microphone headset, it’s crucial to test its functionality to ensure that it’s working as expected. Follow these steps to test your USB microphone headset:
- Open a recording or communication application: Launch an application that allows you to record audio or make voice calls, such as a voice recorder app, video conferencing software, or a communication app like Skype or Discord.
- Select the USB microphone headset as the input device: Within the application’s settings or preferences, choose your USB microphone headset as the input or recording device. This ensures that the application uses your USB microphone headset to capture audio.
- Perform a test recording or make a voice call: Start recording your voice or make a voice call using the application. Speak into your USB microphone headset and verify if the audio is being captured clearly and accurately. Listen to the playback or ask the other person on the call if they can hear you properly.
- Adjust settings, if necessary: If the audio quality is not satisfactory, adjust the microphone levels or other audio settings in the application or the operating system. Experiment with different settings to find the optimal configuration for your USB microphone headset.
- Check for background noise or interference: Pay attention to any background noise, static, or interference that may affect the audio quality. If you notice any issues, try to eliminate or minimize background noise by adjusting the microphone position or using noise-canceling features if available.
Testing your USB microphone headset allows you to ensure that it’s functioning properly and delivering the desired audio performance. If you encounter any issues during the test, double-check the connection, review the audio settings, and consult the manufacturer’s documentation or support resources for troubleshooting steps.
Once you are satisfied with the test results and your USB microphone headset is producing clear and accurate audio, you can confidently use it for various purposes such as recording podcasts, participating in online meetings, or enjoying immersive gaming experiences.
Congratulations! You have successfully set up and tested your USB microphone headset on your PC. Now you can enjoy improved audio quality and enhanced communication capabilities.
Conclusion
Setting up a USB microphone headset on your PC can significantly enhance your audio experience, whether you’re using it for work, gaming, or communication purposes. Following the steps outlined in this guide, you can ensure a seamless setup process and enjoy high-quality audio in no time.
Begin by checking if your PC supports USB microphones. Review the specifications, operating system requirements, and update your drivers if needed. Once compatibility is confirmed, proceed to plug in your USB microphone headset into an available USB port. Take care to securely connect the device and allow the automatic installation process to complete.
Next, configure the audio settings on your PC to optimize the performance of your USB microphone headset. Set it as the default input device, adjust the microphone levels, and explore additional settings to suit your preferences. Testing the functionality of the USB microphone headset is the final step. Use recording or communication applications to ensure clear and accurate audio capture, and make any necessary adjustments to improve the audio quality.
By successfully setting up and testing your USB microphone headset, you can fully enjoy its benefits in various scenarios. Whether you’re recording podcasts, participating in online meetings, or immersing yourself in gaming adventures, your USB microphone headset will provide an enhanced audio experience.
Keep in mind that troubleshooting steps and additional features may vary depending on the specific brand or model of your USB microphone headset, so referring to the user manual or manufacturer’s support resources is always a good idea.
Now that you have the knowledge and steps to set up a USB microphone headset on your PC, go ahead and get started. Immerse yourself in the world of better audio quality and seamless communication. Happy recording, gaming, and communicating with your USB microphone headset!