Introduction
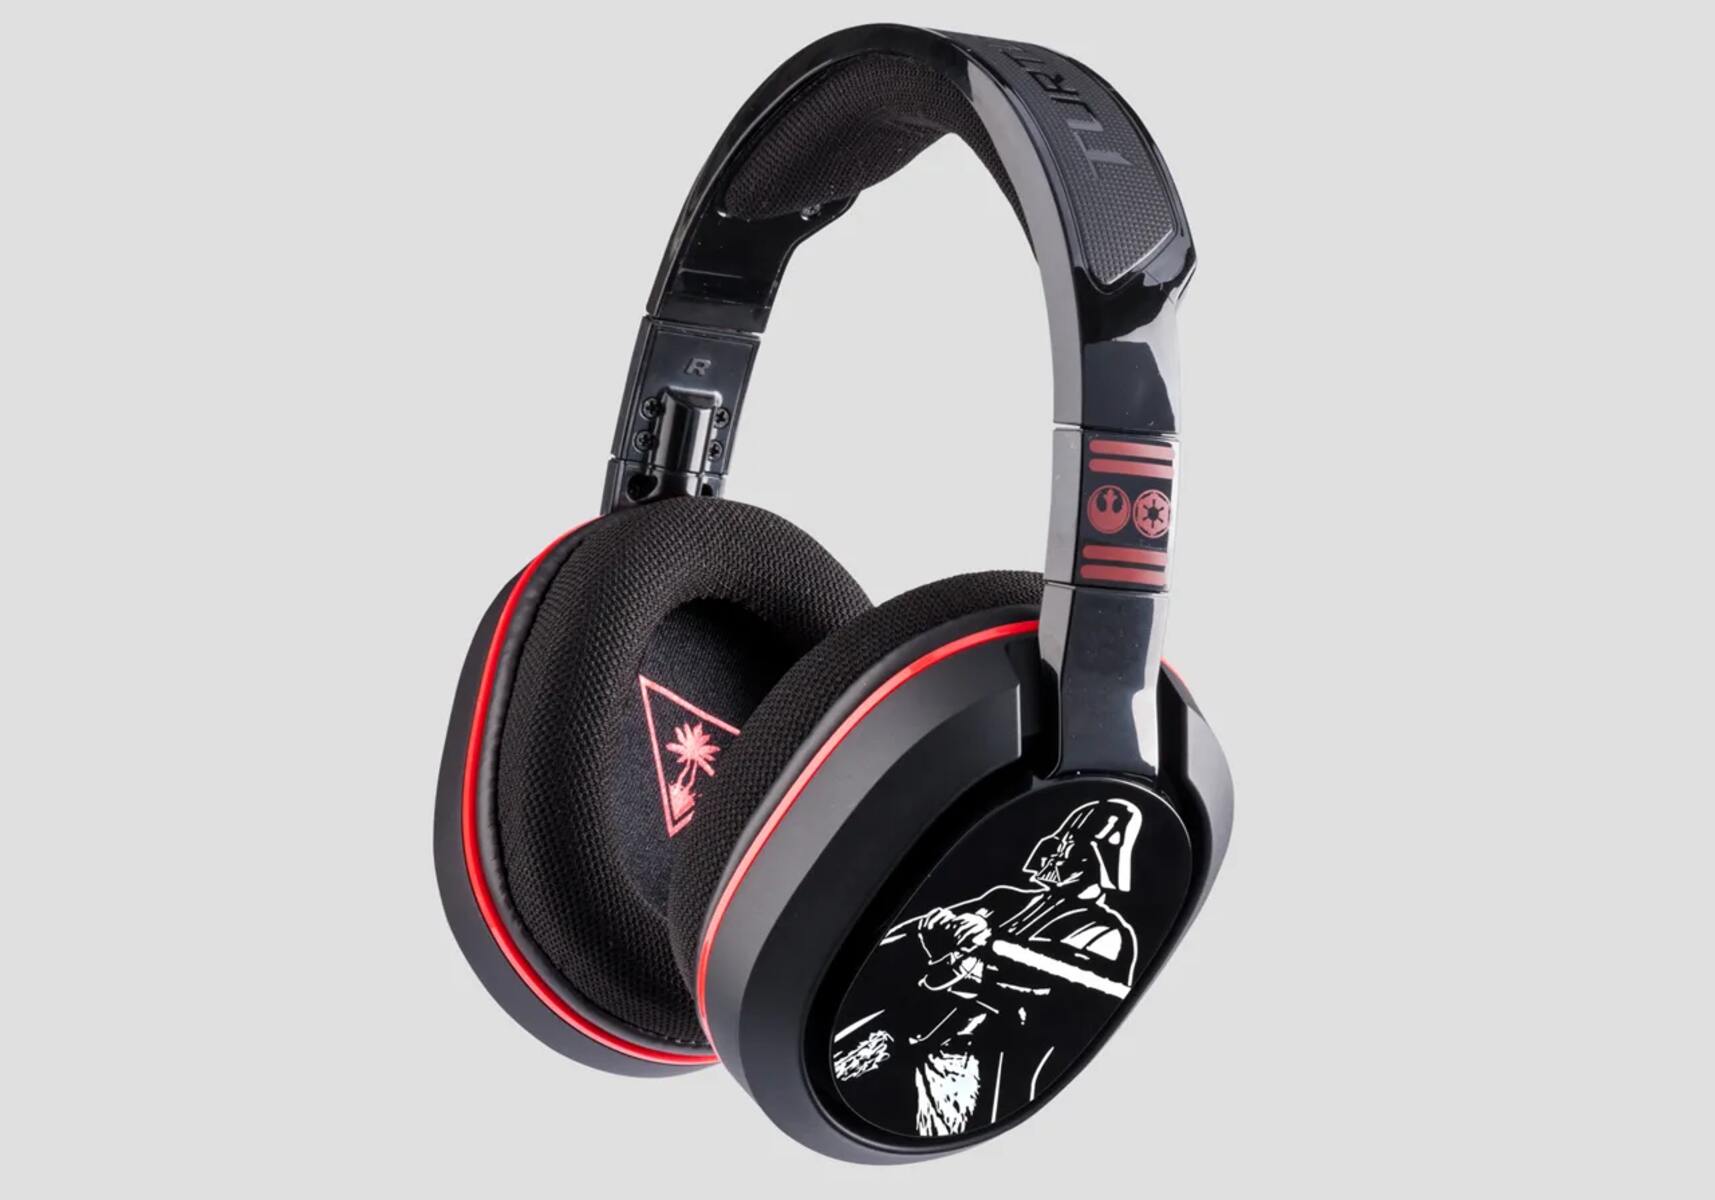
Connecting your Turtle Beach headset to your PC opens up a world of immersive audio experiences, whether you're gaming, streaming, or simply enjoying your favorite music or movies. Turtle Beach is renowned for producing high-quality gaming headsets that deliver exceptional sound performance and comfort, making them a popular choice for gamers and audio enthusiasts alike.
In this easy guide, we will walk you through the simple steps to connect your Turtle Beach headset to your PC, allowing you to unlock the full potential of your audio device. Whether you're a seasoned tech enthusiast or a newcomer to the world of gaming peripherals, this guide will provide you with clear and concise instructions to ensure a seamless setup process.
By following the steps outlined in this guide, you'll be able to harness the power of your Turtle Beach headset, leveraging its advanced features to elevate your gaming and multimedia experiences. From crystal-clear communication with teammates to immersive surround sound effects, your Turtle Beach headset is designed to deliver an unparalleled audio journey that will enhance every moment spent in front of your PC.
So, without further ado, let's delve into the step-by-step process of connecting your Turtle Beach headset to your PC, empowering you to unleash the full potential of your audio device and immerse yourself in a world of captivating soundscapes.
Step 1: Check your PC's compatibility
Before embarking on the process of connecting your Turtle Beach headset to your PC, it's crucial to ensure that your PC is compatible with the headset. This involves checking the necessary hardware and software requirements to guarantee a seamless and optimal connection.
Hardware Compatibility
First and foremost, verify that your PC is equipped with the appropriate hardware interfaces to support your Turtle Beach headset. Most Turtle Beach headsets utilize a standard 3.5mm audio jack or USB connection for compatibility with PCs. If your headset utilizes a 3.5mm audio jack, ensure that your PC features a corresponding audio input/output port. Additionally, if your Turtle Beach headset utilizes a USB connection, confirm that your PC has available USB ports to accommodate the connection.
Software Compatibility
In addition to hardware compatibility, it's essential to consider the software requirements for your Turtle Beach headset. Some Turtle Beach headsets may require specific software or drivers to be installed on your PC to enable full functionality. Visit the official Turtle Beach website or refer to the product documentation to identify any software prerequisites for your headset model. Ensure that your PC meets the minimum software requirements and that you have the necessary permissions to install any required software or drivers.
Operating System Compatibility
Another critical aspect of compatibility is the operating system running on your PC. Verify that your operating system is compatible with your Turtle Beach headset. Whether you're using Windows, macOS, or Linux, it's imperative to confirm that your operating system is supported by the headset to ensure a smooth connection and optimal performance.
By conducting a thorough check of your PC's hardware, software, and operating system compatibility with your Turtle Beach headset, you can proceed with confidence, knowing that your setup is poised for success. Once you've confirmed compatibility, you're ready to move on to the next step of connecting your Turtle Beach headset to your PC.
Step 2: Connect the headset to your PC
Now that you've ensured your PC's compatibility with your Turtle Beach headset, it's time to proceed with the physical connection. The process may vary slightly depending on the specific model of your Turtle Beach headset and the type of connection it utilizes. Whether your headset connects via a 3.5mm audio jack or a USB interface, the following steps will guide you through the seamless connection process.
3.5mm Audio Jack Connection
If your Turtle Beach headset features a 3.5mm audio jack, follow these steps to connect it to your PC:
-
Locate the Audio Input/Output Ports: Identify the 3.5mm audio input and output ports on your PC. These are typically color-coded, with pink representing the microphone input and green indicating the audio output.
-
Plug in the Headset: Insert the 3.5mm audio jack of your Turtle Beach headset into the corresponding audio output port on your PC. Ensure a secure connection to prevent audio distortion or disconnection during use.
-
Adjust Audio Settings (if necessary): Once the headset is connected, access your PC's audio settings to designate the Turtle Beach headset as the default audio output and, if applicable, the default microphone input device. This ensures that audio is routed through the headset and that the microphone is recognized for communication purposes.
USB Connection
For Turtle Beach headsets that utilize a USB connection, the process is equally straightforward:
-
Locate Available USB Ports: Identify an available USB port on your PC to accommodate the connection of your Turtle Beach headset.
-
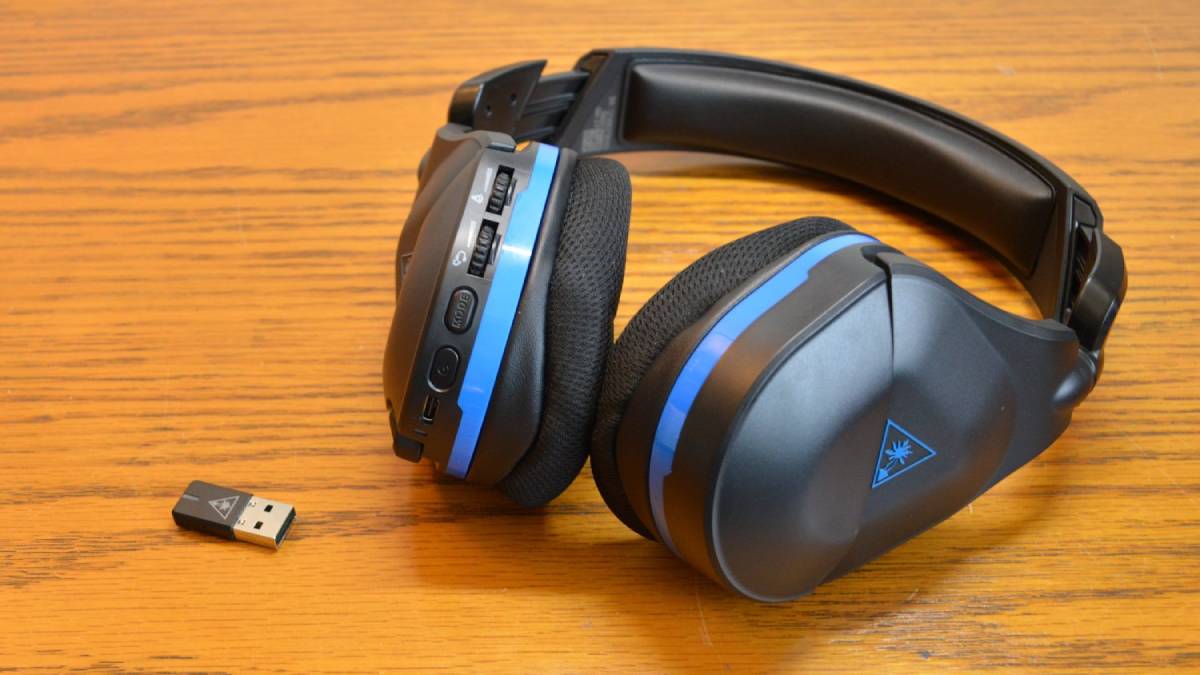
Insert the USB Connector: Gently insert the USB connector of your Turtle Beach headset into the USB port on your PC. The connection should be secure but handled with care to avoid damage to the USB port or connector.
-
Driver Installation (if required): In some cases, the USB-connected Turtle Beach headsets may require the installation of specific drivers or software to enable full functionality. If prompted, follow the on-screen instructions to install the necessary drivers for your headset.
By following these steps, you can establish a reliable physical connection between your Turtle Beach headset and your PC, setting the stage for an immersive audio experience that enhances your gaming, communication, and multimedia activities. With the headset successfully connected, you're ready to proceed to the next step of adjusting the settings on your PC to optimize the audio experience.
Step 3: Adjust the settings on your PC
Once your Turtle Beach headset is physically connected to your PC, it's essential to fine-tune the audio settings to ensure optimal performance and a personalized audio experience. By adjusting the settings on your PC, you can harness the full potential of your Turtle Beach headset, customizing audio output, microphone input, and other relevant parameters to suit your preferences and usage scenarios.
Audio Output Settings
Navigate to your PC's audio settings, typically accessible through the system tray or the control panel. Designate your Turtle Beach headset as the default audio output device to ensure that all sound is channeled through the headset. This step is crucial for experiencing the full range of audio fidelity and spatial effects offered by your Turtle Beach headset, whether you're gaming, watching movies, or listening to music.
Microphone Input Settings
If your Turtle Beach headset features a built-in microphone or an external microphone attachment, access the PC's audio settings to configure the microphone input. Set your Turtle Beach headset as the default microphone input device, enabling clear and precise communication during online gaming, video calls, or voice recording. Adjust the microphone sensitivity and volume levels to optimize voice capture while minimizing background noise for crystal-clear communication.
Spatial Audio and Equalizer Settings
Explore your PC's audio settings or dedicated audio software to leverage spatial audio enhancements and equalizer controls. Many Turtle Beach headsets offer support for immersive spatial audio technologies, allowing you to experience lifelike soundscapes and pinpoint audio cues in games and multimedia content. Fine-tune the equalizer settings to tailor the audio output to your preferences, whether you prefer enhanced bass for music or optimized treble for dialogue clarity in movies and games.
Software Integration (if applicable)
Certain Turtle Beach headsets come with proprietary software that offers advanced audio customization features, including preset audio profiles, voice morphing options, and customizable soundscapes. Install the accompanying software on your PC and explore the available audio customization options to unlock the full potential of your Turtle Beach headset. Experiment with different audio presets and fine-tune the settings to create a personalized audio profile that aligns with your audio preferences and usage scenarios.
By adjusting the settings on your PC in accordance with the aforementioned guidelines, you can optimize the audio output and microphone input of your Turtle Beach headset, ensuring a tailored and immersive audio experience that complements your gaming, communication, and multimedia activities. With the settings finely tuned, you're poised to embark on a captivating audio journey, leveraging the advanced features of your Turtle Beach headset to elevate every moment spent in front of your PC.
Step 4: Test the connection
With your Turtle Beach headset successfully connected to your PC and the audio settings adjusted to optimize performance, it's time to ensure that the connection is functioning as intended. Testing the connection allows you to validate the audio output, microphone input, and overall functionality of your headset, providing peace of mind and confirming that you're ready to immerse yourself in an unparalleled audio experience.
Audio Output Test
To begin, play a piece of audio content, such as music, a movie, or a game, on your PC. Listen attentively through your Turtle Beach headset, paying close attention to the audio fidelity, spatial effects, and overall sound quality. Evaluate the richness of the sound, the clarity of individual audio elements, and the immersive nature of the audio experience. Confirm that the audio output is routed exclusively through your headset, ensuring that you're fully immersed in the audio environment without any sound leakage or interference from external sources.
Microphone Input Test
Next, initiate a test of the microphone input on your Turtle Beach headset. Open a voice recording application or engage in a voice communication session with a friend or teammate. Speak into the microphone while monitoring the input levels and the clarity of your voice transmission. Verify that the microphone effectively captures your voice without distortion or background noise, facilitating clear and articulate communication. If applicable, experiment with the microphone settings to fine-tune the sensitivity and noise cancellation features, ensuring optimal performance in various communication scenarios.
Spatial Audio and Equalizer Test
If your Turtle Beach headset offers spatial audio enhancements and customizable equalizer settings, engage in activities that showcase the spatial and tonal capabilities of the headset. Play a game with immersive sound design, paying attention to directional audio cues and environmental effects. Explore multimedia content with diverse audio characteristics, such as dialogue-heavy scenes and action-packed sequences, to assess the headset's ability to deliver nuanced and dynamic audio experiences. Adjust the equalizer settings as needed to tailor the audio output to your preferences, ensuring that the headset adapts seamlessly to different types of content and usage scenarios.
Software Integration Validation
If you've installed proprietary software for your Turtle Beach headset, thoroughly test the integration between the headset and the accompanying software. Explore the available audio customization features, experiment with different audio presets, and assess the impact of software-enabled enhancements on the overall audio experience. Validate that the software integration enhances the versatility and performance of your Turtle Beach headset, allowing you to create personalized audio profiles and access advanced audio customization options that align with your preferences and usage patterns.
By meticulously testing the connection between your Turtle Beach headset and your PC, you can confirm that the setup is optimized for a captivating audio journey. Through rigorous testing of the audio output, microphone input, spatial audio capabilities, and software integration, you can ensure that your Turtle Beach headset delivers the intended audio performance across various activities, from gaming and multimedia consumption to communication and content creation. With the connection successfully tested and validated, you're primed to fully embrace the immersive potential of your Turtle Beach headset, ready to embark on a seamless and exhilarating audio adventure.
Conclusion
In conclusion, the process of connecting your Turtle Beach headset to your PC opens the gateway to a realm of unparalleled audio experiences. By following the comprehensive steps outlined in this guide, you've embarked on a journey to seamlessly integrate your Turtle Beach headset into your PC setup, unlocking its full potential and harnessing its advanced audio capabilities.
Through meticulous attention to compatibility checks, physical connections, settings adjustments, and connection testing, you've ensured that your Turtle Beach headset is poised to deliver immersive soundscapes, crystal-clear communication, and personalized audio profiles tailored to your preferences and usage scenarios.
As you venture into the realm of gaming, streaming, communication, and multimedia consumption, your Turtle Beach headset stands ready to elevate every moment spent in front of your PC. Whether you're engaging in intense gaming sessions, immersing yourself in cinematic soundtracks, collaborating with teammates in online battles, or simply enjoying your favorite music and movies, your Turtle Beach headset is primed to enrich your audio experiences with its exceptional sound performance and comfort.
The successful connection of your Turtle Beach headset to your PC signifies the seamless integration of cutting-edge audio technology into your digital ecosystem. It represents a harmonious fusion of hardware and software, culminating in a symphony of captivating audio that envelops you in its immersive embrace.
As you embark on this audio journey, remember that your Turtle Beach headset is not just a peripheral device; it's a conduit to a world of captivating soundscapes, a tool for seamless communication, and a gateway to personalized audio experiences. Embrace the potential of your Turtle Beach headset, experiment with its spatial audio enhancements, fine-tune its equalizer settings, and leverage its advanced features to craft a sonic environment that resonates with your unique audio preferences.
With the connection successfully established and validated, you're now equipped to savor the rich tapestry of audio experiences that await you. Let the symphony of sound unfold, guided by the seamless integration of your Turtle Beach headset with your PC, and embark on a captivating audio adventure that transcends the ordinary, enriching every moment with its immersive allure.


