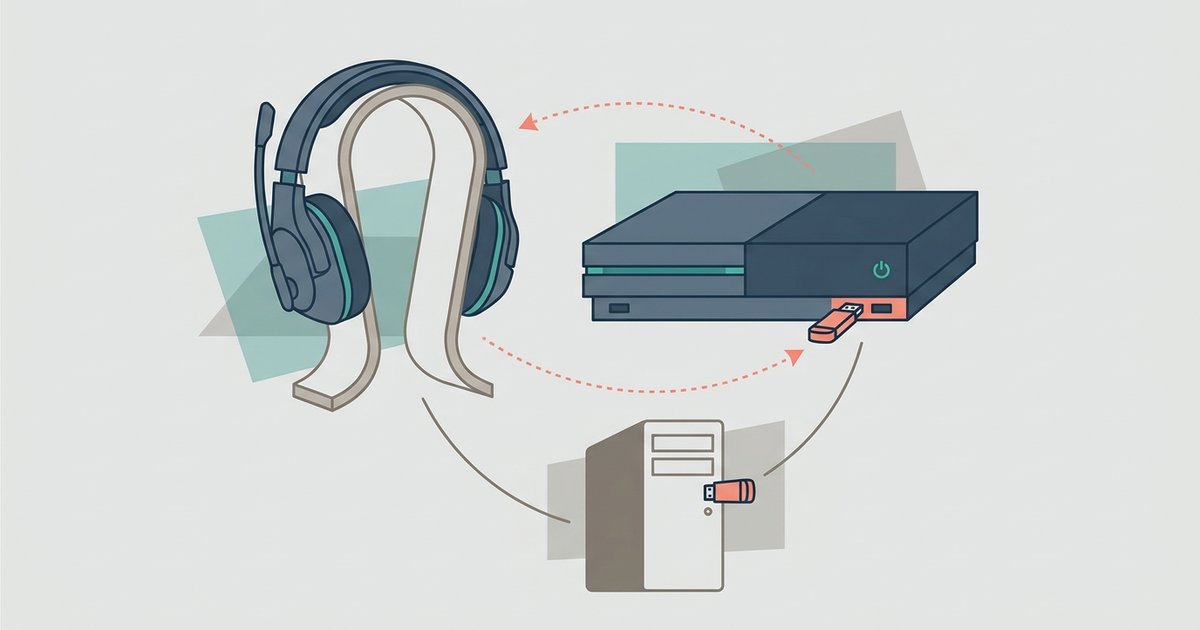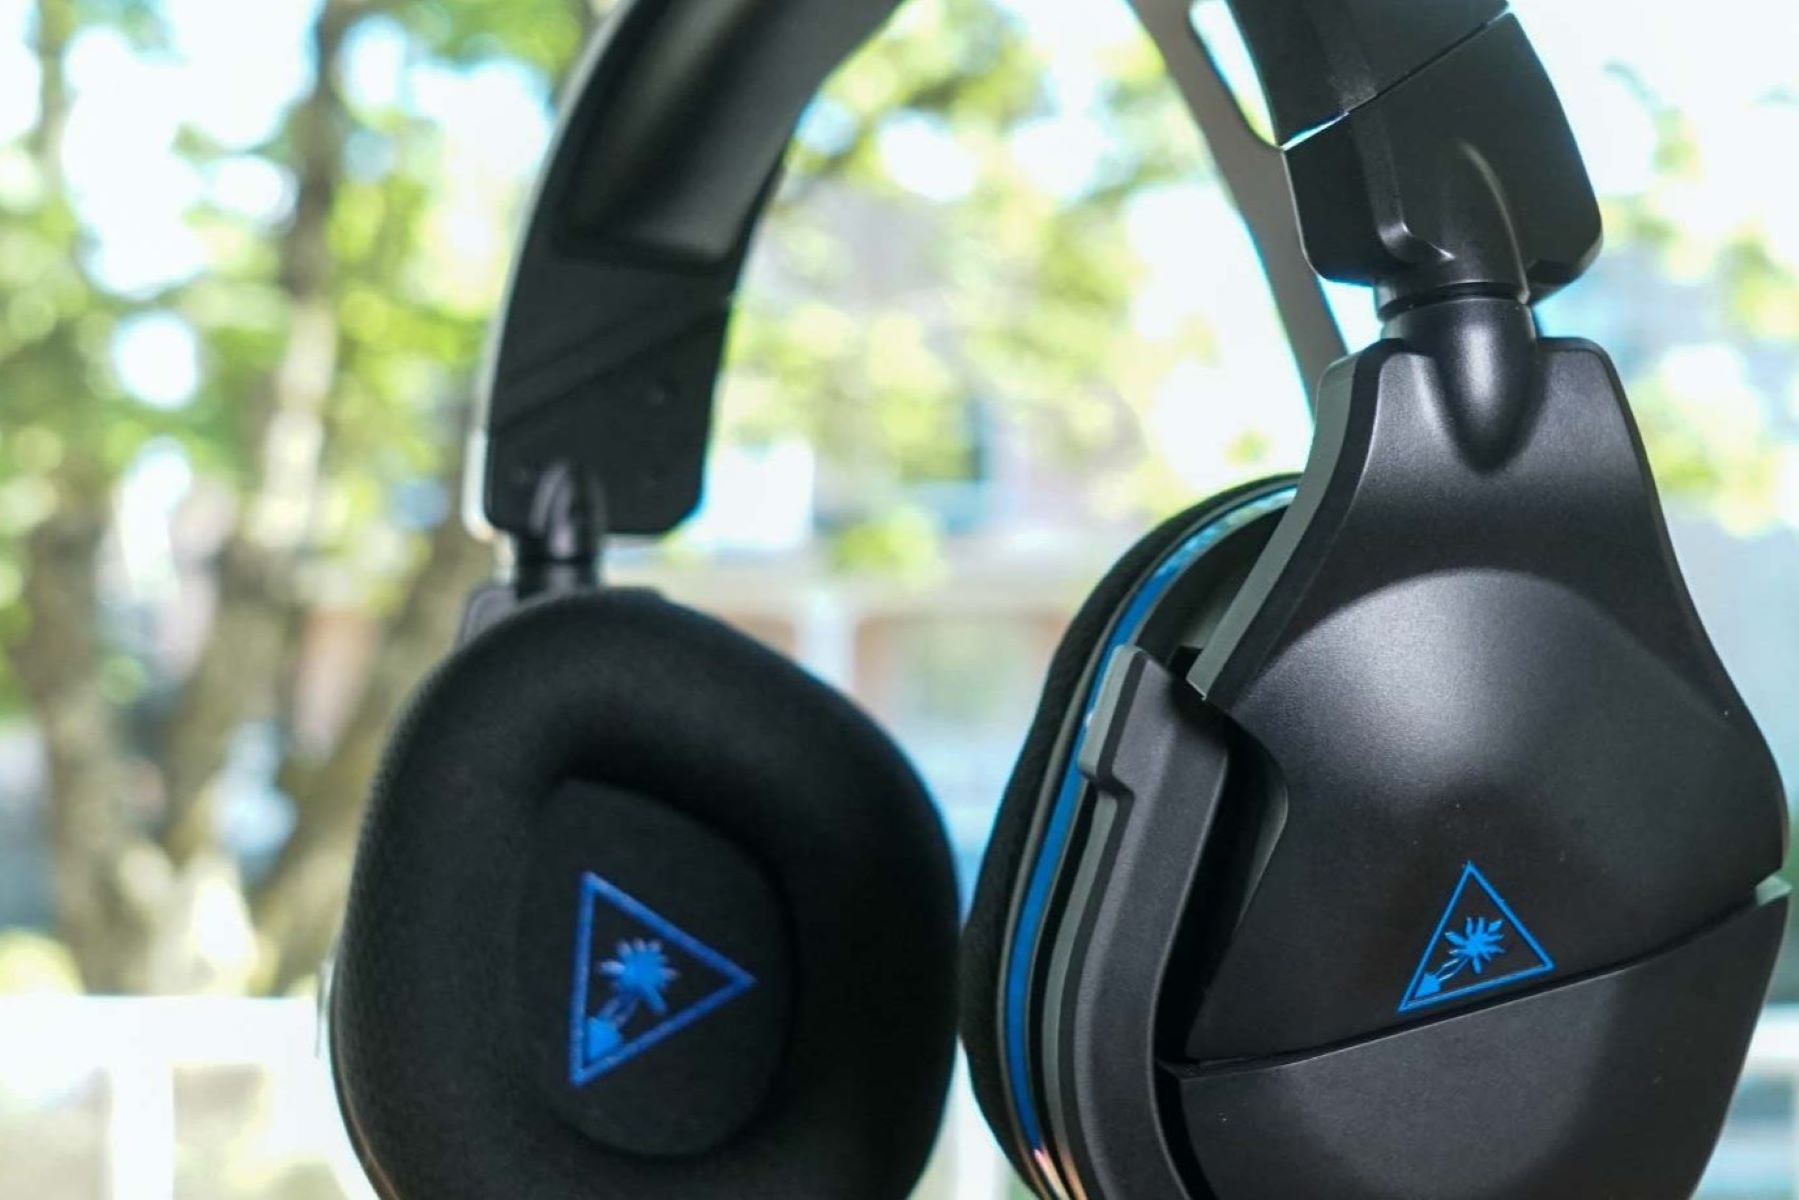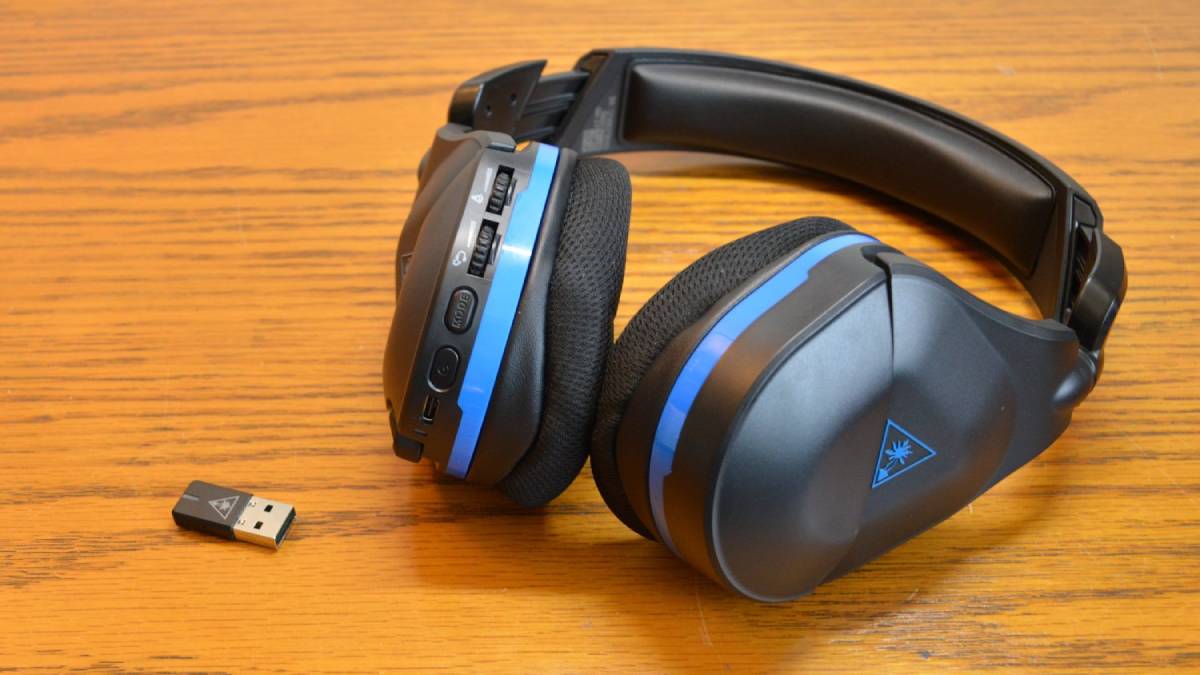
Turtle Beach headset pairing is straightforward once you know which connection method your specific model uses. Whether you are connecting a headset to a console, a transmitter, or a phone, the correct button sequence and LED behavior will guide you through the process.
Before you start: turtle beach headset pairing essentials
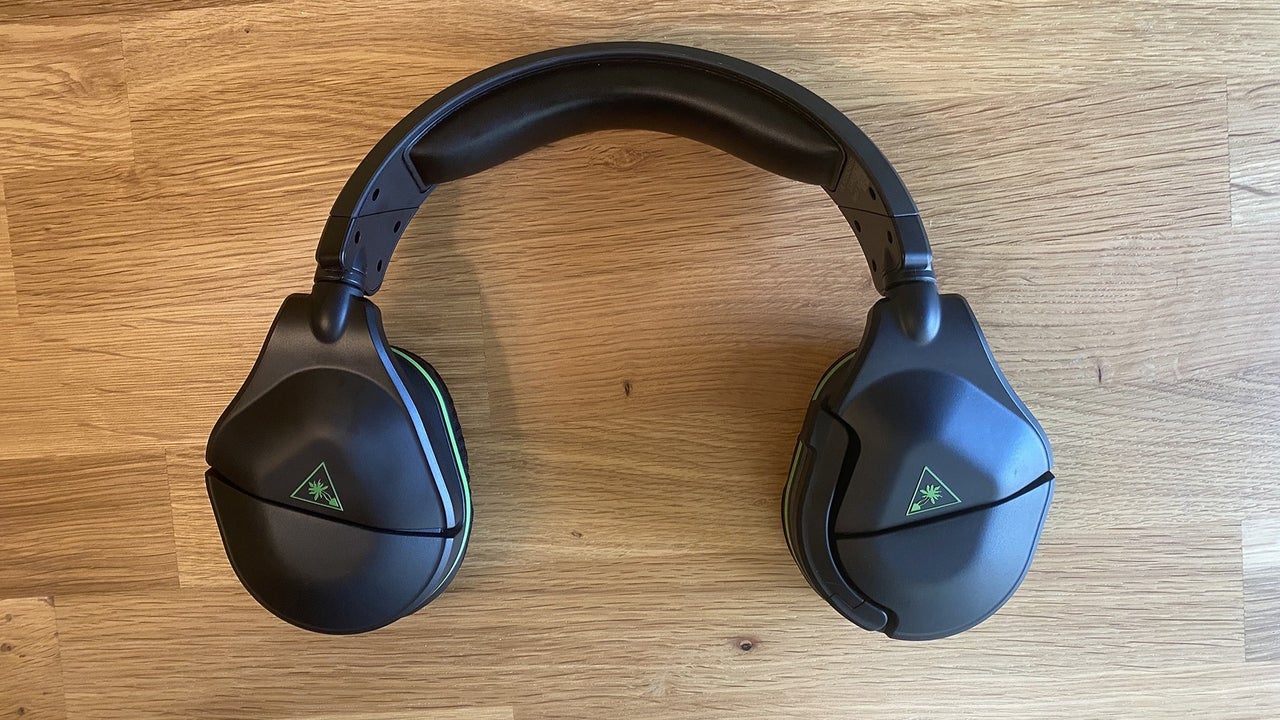
Before you begin pairing, confirm your headset is fully charged; a low battery can prevent a successful connection. Identify your headset model type: Xbox-specific models (like the Stealth 600 or Stealth 700 for Xbox One) pair directly with the console, while PlayStation and PC models use a USB transmitter. Understand the difference between transmitter pairing (for game audio) and Bluetooth pairing (for mobile devices or chat on certain consoles). The headset and transmitter are paired out of the box, so you only need to follow these steps if the connection has been lost.
How to pair your headset directly with an Xbox console
For Xbox-specific Turtle Beach headsets, the pairing process uses the console's built-in pairing button. This is the method for setting up your Turtle Beach headset with an Xbox One, Xbox One S, or Xbox One X.
- Ensure the headset is powered off.
- Locate the Enrollment/Pairing button on your Xbox console. On older Xbox One models (before Xbox One S and Xbox One X), this button is on the left side of the console, next to the disk drive. On Xbox One S and Xbox One X models, the enrollment button is on the lower right of the front panel.
- Press and release the Enrollment/Pairing button on the console.
- If the headset LED is blinking slowly or the console does not recognize the headset when powered on, repeat the pairing process.
How to pair your headset with a PlayStation or PC using the transmitter
For models that use a USB transmitter, the headset must be paired to that transmitter to receive game audio. This is the process for connecting Turtle Beach headset to PC or PlayStation.
- Make sure the headset is turned off before starting.
- Plug the USB transmitter into your PlayStation or PC.
- Place the headset and transmitter 2 to 3 feet apart (about an arm's length). Do not place them directly on top of one another, as they will not pair properly.
- On the right earcup of the headset, press and hold the power button for 5 seconds to enter pairing mode.
- Do not have the charge cable connected while pairing.
- When paired successfully, the LED on the transmitter will be solid. If the transmitter's LED is double-blinking, pairing has been lost and you need to repeat this process.
How to pair your headset to a phone or tablet via Bluetooth
Many Turtle Beach headsets support Bluetooth for mobile devices. The headset must be in Bluetooth mode to pair.
- Power on the headset. It will automatically enter Bluetooth pairing mode, indicated by LEDs that double-blink blue.
- If the LEDs are green instead of blue, press the QuickSwitch button (located next to the Bluetooth button) to switch to Bluetooth mode.
- Only the Bluetooth Multi-Function Button (MFB) can put the headset into Bluetooth Pairing Mode. Pressing and holding this button is required; a single press will not activate pairing.
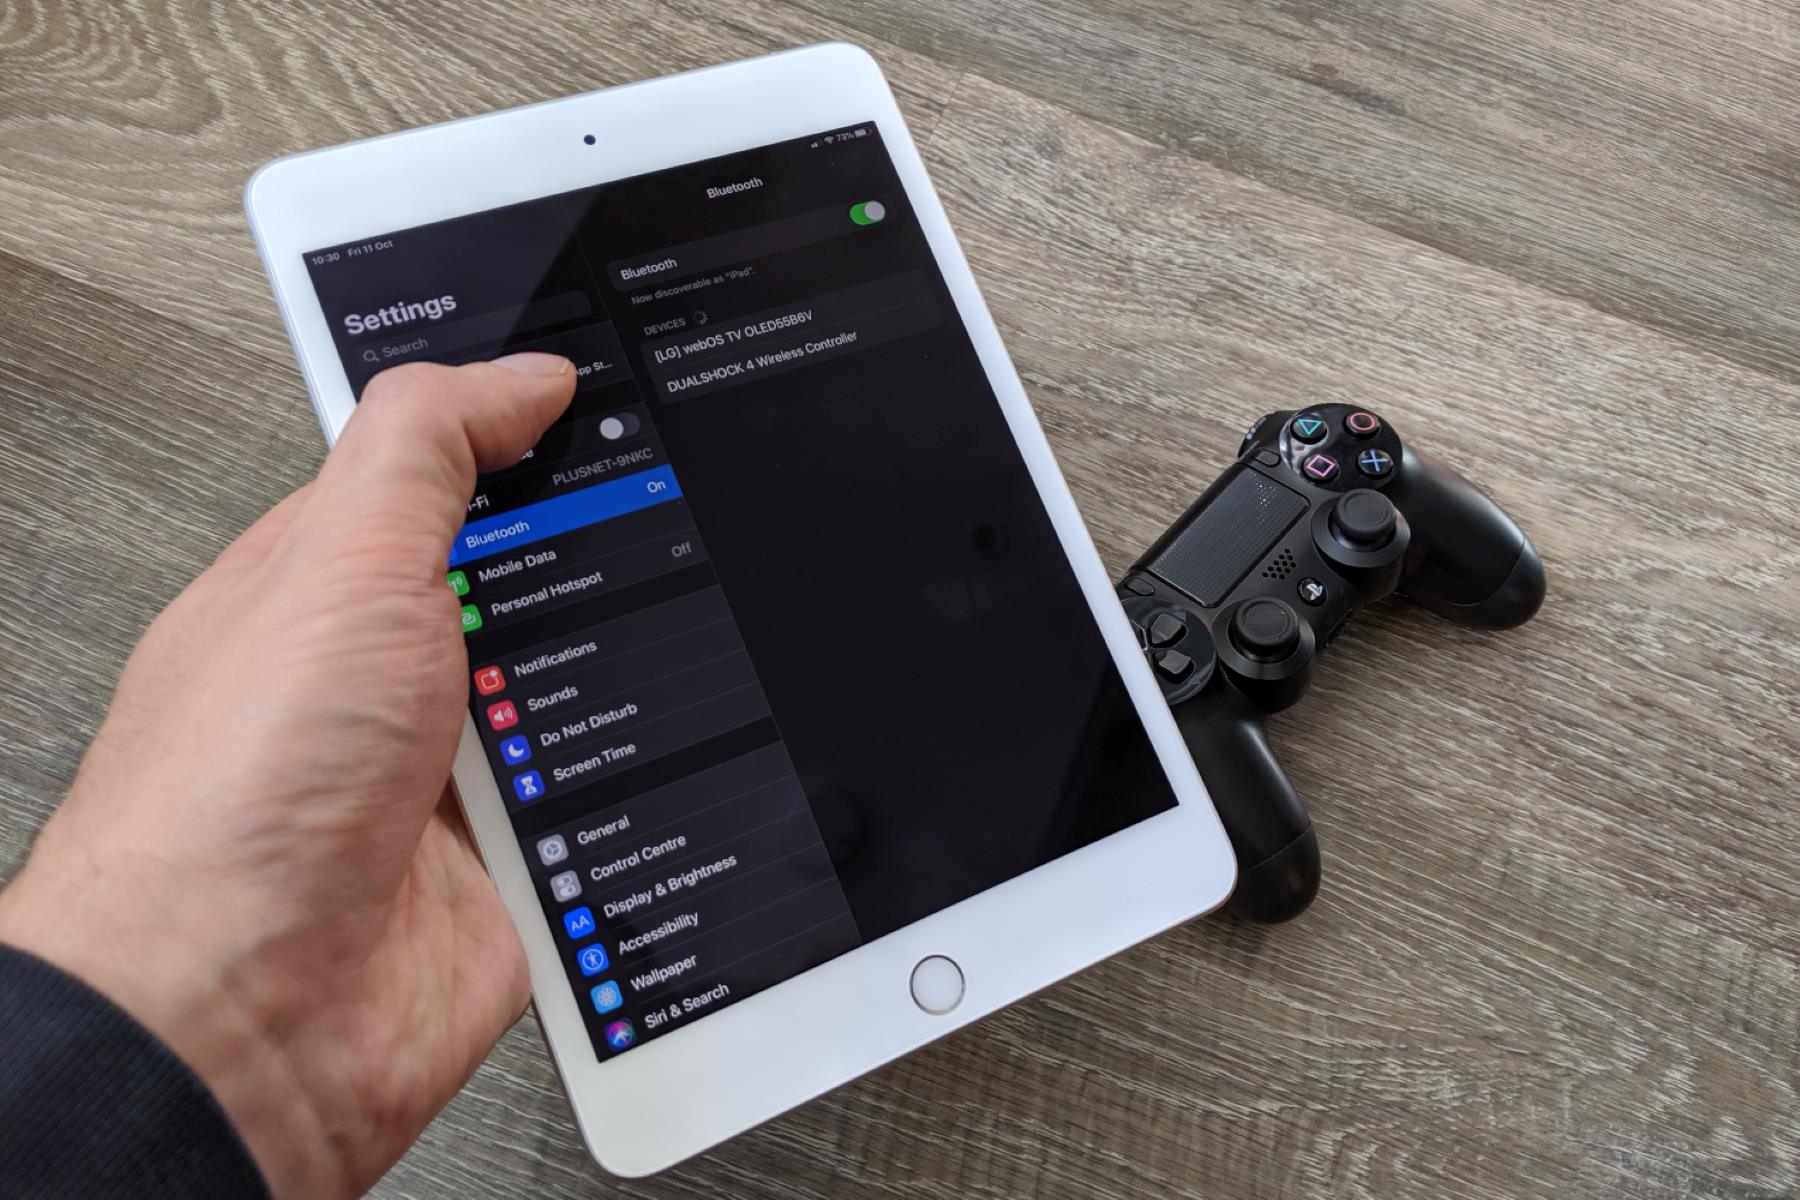
- On your phone or tablet, go to Bluetooth settings and select your headset from the list of available devices.
Troubleshooting: what the blinking LEDs mean and how to fix them
LED behavior is the primary indicator of your headset's pairing status.
- Headset LED blinking slowly: The headset has lost its connection to the console or transmitter. Re-pairing is needed.
- Headset LED double-blinking: The headset has lost pairing with its transmitter. Follow the transmitter pairing steps above.
- Transmitter LED blinking: Pairing is lost. The transmitter and headset need to be re-paired.
- Transmitter LED solid: The headset is successfully paired.
If the headset is unresponsive or pairing fails repeatedly:
- Disconnect and replug the transmitter.
- Reset the headset by holding the Mic Mute button for 10 seconds.
- Attempt the pairing process again, ensuring the headset is off before starting and that the headset and transmitter are 2 to 3 feet apart.
Testing the connection and final checks
After pairing, verify that game audio is working. If you hear no sound:
- Check that the optical cable is firmly plugged from the IN slot on the transmitter to the S/PDIF output on the Xbox One. Ensure any plastic caps have been removed from both ends of the optical cable.
- On Xbox One, configure sound settings: go to Settings > Display and Sound > Optical Audio and select 'Bitstream Out'. Then select Bitstream Format > 'Dolby Digital'.
- Remember that chat audio is not an indicator that the headset is paired to the transmitter. If you hear chat but no game audio, the transmitter pairing is likely fine, and the issue is with the audio cable or console settings.