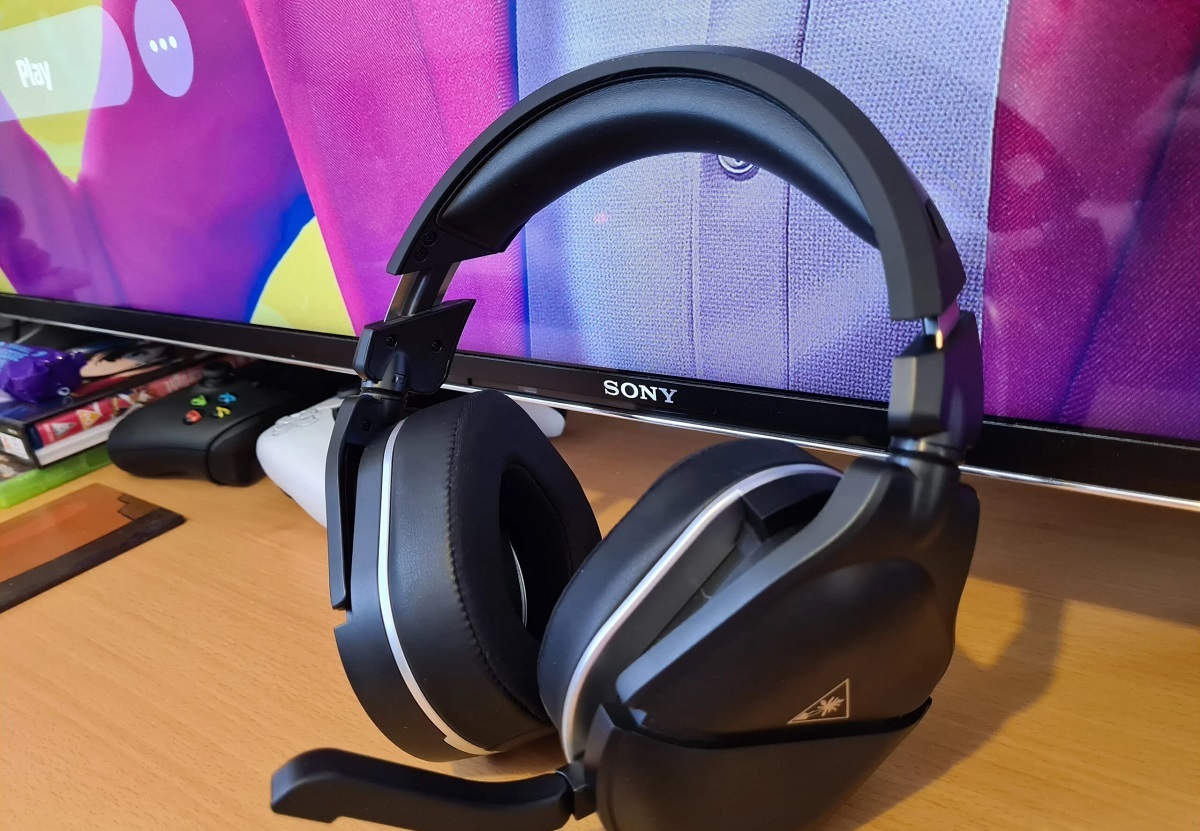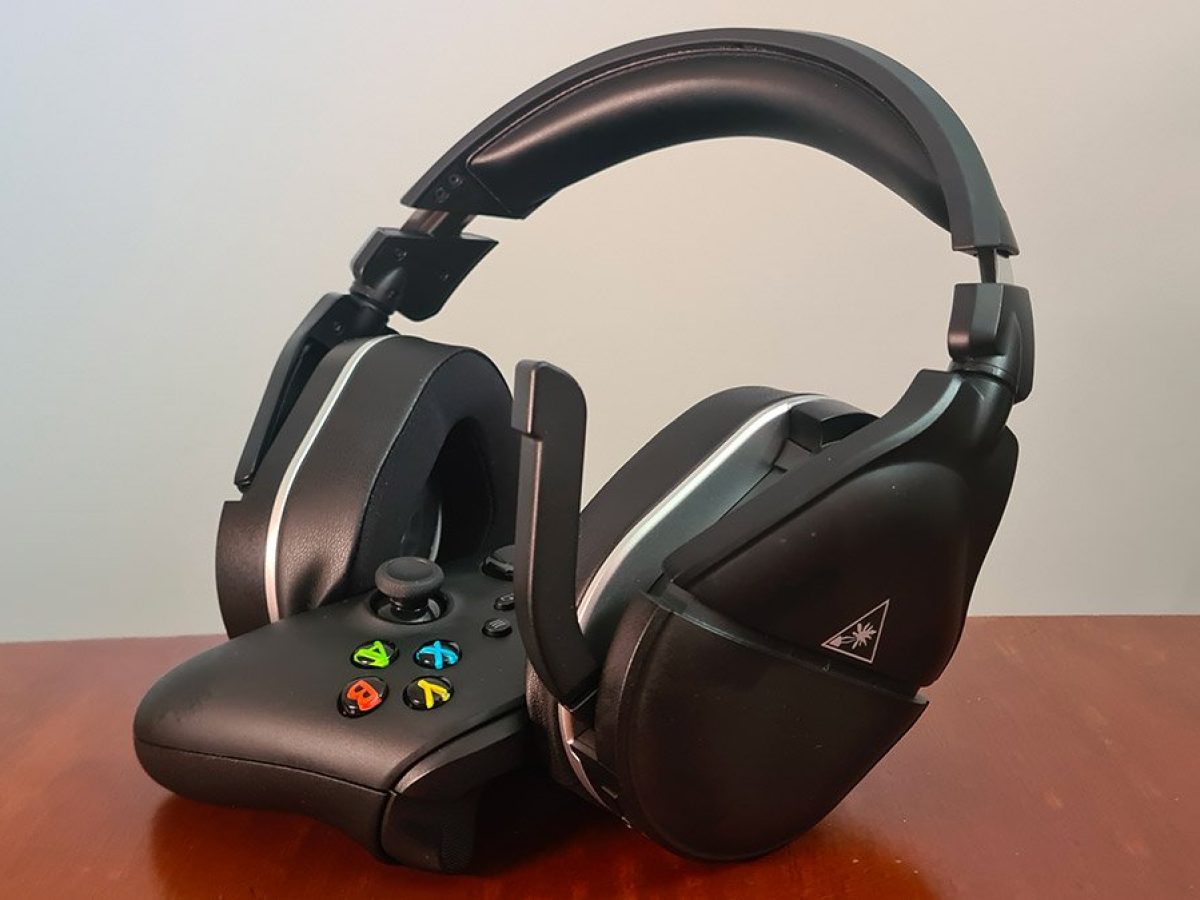
Common Turtle Beach Headset Issues
Turtle Beach headsets are renowned for their exceptional audio quality and comfort, but like any electronic device, they can encounter issues from time to time. Understanding the common problems that users face with Turtle Beach headsets can help you troubleshoot and resolve issues effectively. Let's delve into some of the most prevalent issues encountered by Turtle Beach headset owners:
-
No Sound or Audio Distortion: One of the most common issues experienced by Turtle Beach headset users is the absence of sound or distorted audio. This can be incredibly frustrating, especially during intense gaming sessions or while enjoying your favorite music.
-
Microphone Not Working: Another prevalent issue is the microphone failing to capture your voice or producing poor audio quality. This problem can hinder communication during online gaming or virtual meetings, impacting the overall user experience.
-
Comfort and Fit: While not directly related to technical malfunctions, comfort and fit issues are frequently reported by users. Discomfort during prolonged use or an ill-fitting headset can significantly detract from the enjoyment of using a Turtle Beach headset.
-
Connectivity Problems: Users often encounter connectivity issues, such as the headset not pairing with the console or PC, or intermittent disconnections during use. These issues can disrupt the seamless audio experience that Turtle Beach headsets are known for.
-
Software and Firmware Glitches: Problems with the headset's software or firmware can manifest as erratic behavior, malfunctions, or compatibility issues with gaming consoles or PCs.
By recognizing these common issues, you can take proactive steps to troubleshoot and resolve them, ensuring an optimal experience with your Turtle Beach headset.
Troubleshooting Steps
When encountering issues with your Turtle Beach headset, it's essential to approach troubleshooting systematically to identify and resolve the underlying problems. By following these troubleshooting steps, you can effectively address common headset issues and restore optimal functionality.
-
Power Cycle the Headset and Device: Begin by power cycling both the headset and the device it's connected to. Turn off the headset, disconnect it from the device, and power down the device as well. After a few moments, power on the device and then the headset, allowing them to establish a fresh connection.
-
Check Cable Connections: Ensure that all cables and connections are secure and free from damage. If using a wired headset, inspect the cable for any fraying or visible damage, and try using a different cable if available. For wireless headsets, ensure that the charging cable is properly connected and that the headset is adequately charged.
-
Clean the Headset: Dust and debris can accumulate on the headset's connectors, ports, and speakers, potentially causing connectivity or audio issues. Gently clean the headset using a soft, dry cloth to remove any buildup that may be affecting its performance.
-
Test on Another Device: To isolate the issue, test the headset on a different compatible device. If the problem persists across multiple devices, it indicates a potential hardware issue with the headset itself. Conversely, if the issue is resolved when connected to another device, the original device may require further troubleshooting.
-
Update Firmware and Drivers: Ensure that the headset's firmware and device drivers are up to date. Visit the Turtle Beach website or use the Turtle Beach Audio Hub app to check for firmware updates, and verify that the device's audio drivers are also current.
-
Adjust Audio Settings: Review the audio settings on your console or PC to ensure that the headset is selected as the primary audio output and input device. Additionally, check for any specific audio settings within games or applications that may impact the headset's performance.
-
Perform a Hard Reset: If the headset continues to exhibit issues, performing a hard reset may help. Refer to the headset's user manual or the manufacturer's website for instructions on performing a hard reset specific to your model.
By methodically following these troubleshooting steps, you can effectively diagnose and address common issues that may arise with your Turtle Beach headset, allowing you to enjoy uninterrupted audio and communication experiences.
Updating Firmware and Drivers
Ensuring that the firmware of your Turtle Beach headset is up to date is crucial for maintaining optimal performance and compatibility with various devices. Similarly, keeping the device drivers current is essential for seamless integration with your gaming console or PC. Here's a detailed look at the process of updating firmware and drivers for your Turtle Beach headset:
Firmware Updates
-
Turtle Beach Website: Visit the official Turtle Beach website and navigate to the support or downloads section. Here, you can search for firmware updates specific to your headset model. Download the latest firmware onto your computer.
-
Turtle Beach Audio Hub App: For headsets that are compatible with the Turtle Beach Audio Hub app, you can utilize the app to check for and install firmware updates directly. Simply connect your headset to the app and follow the on-screen instructions to initiate the update process.
-
Installation Process: Once you have the firmware update file, carefully follow the provided instructions to install it on your headset. This typically involves connecting the headset to your computer and running the firmware update file, allowing it to overwrite the existing firmware with the latest version.
Driver Updates
-
Device Manager (Windows): On a Windows PC, access the Device Manager and locate the audio devices section. Right-click on your Turtle Beach headset and select "Update driver." Choose the option to search for updated driver software automatically. If a newer driver is available, it will be downloaded and installed.
-
System Preferences (Mac): If you're using a Mac, navigate to the System Preferences and select "Sound." From there, choose the output tab and select your Turtle Beach headset. Check for any available updates, and if prompted, follow the on-screen instructions to install the latest drivers.
-
Console-Specific Updates: For gaming consoles such as PlayStation or Xbox, firmware and driver updates for compatible headsets are often delivered through system updates. Ensure that your console is connected to the internet and set to receive automatic updates to ensure that your headset's drivers are kept current.
By regularly updating the firmware and drivers for your Turtle Beach headset, you can benefit from improved performance, enhanced features, and compatibility with the latest gaming platforms and applications. This proactive approach to maintenance helps to mitigate potential issues and ensures a seamless audio experience during gaming, communication, and multimedia consumption.
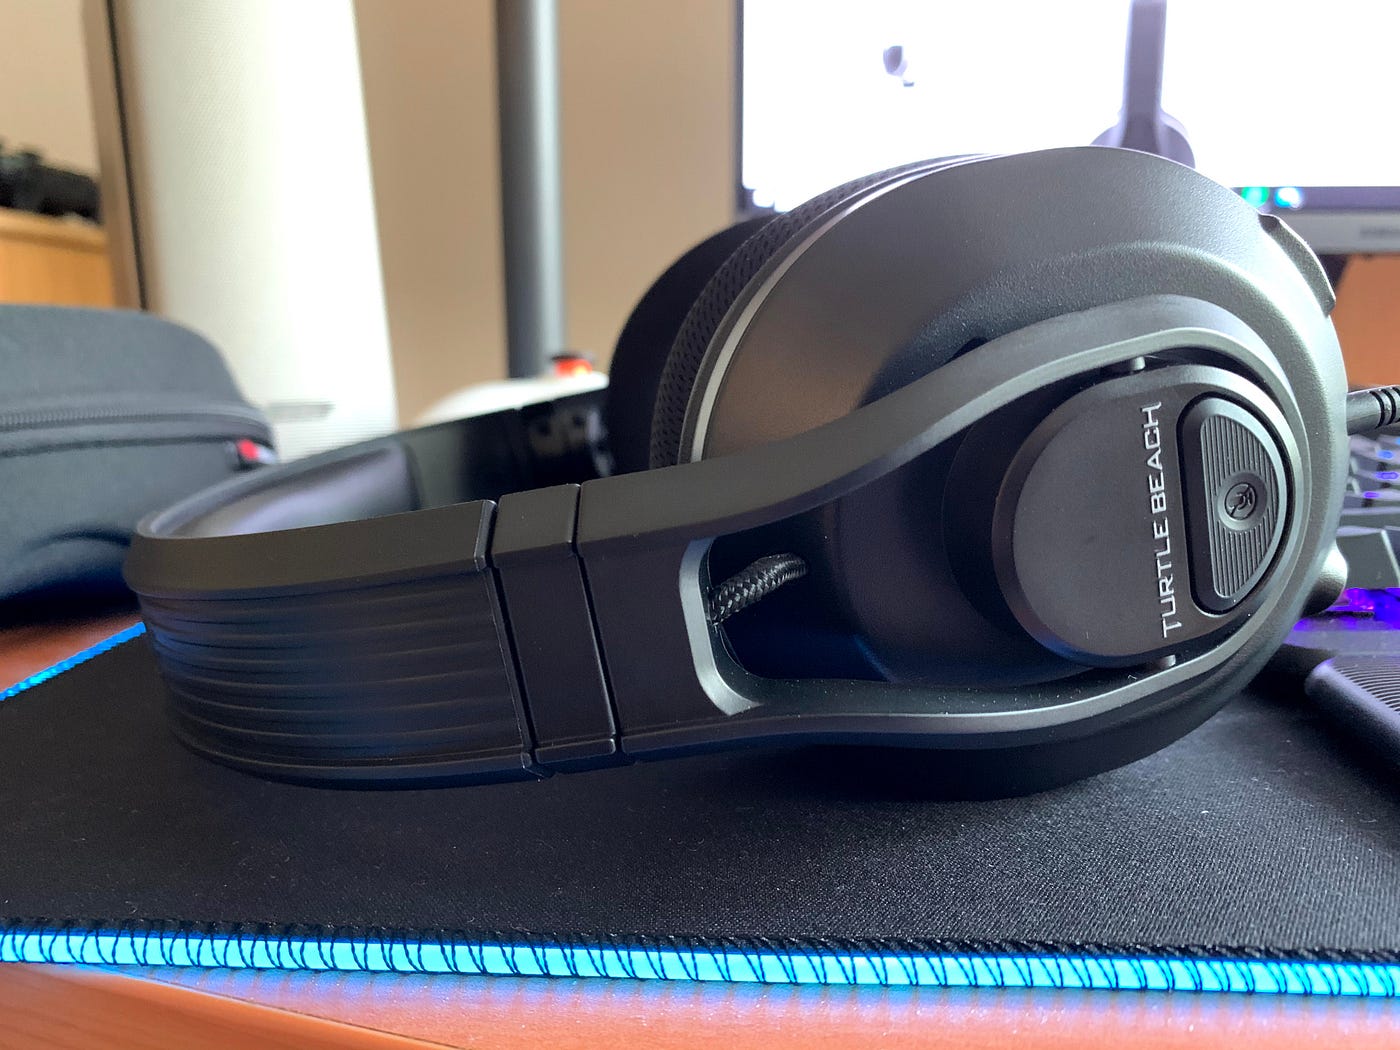
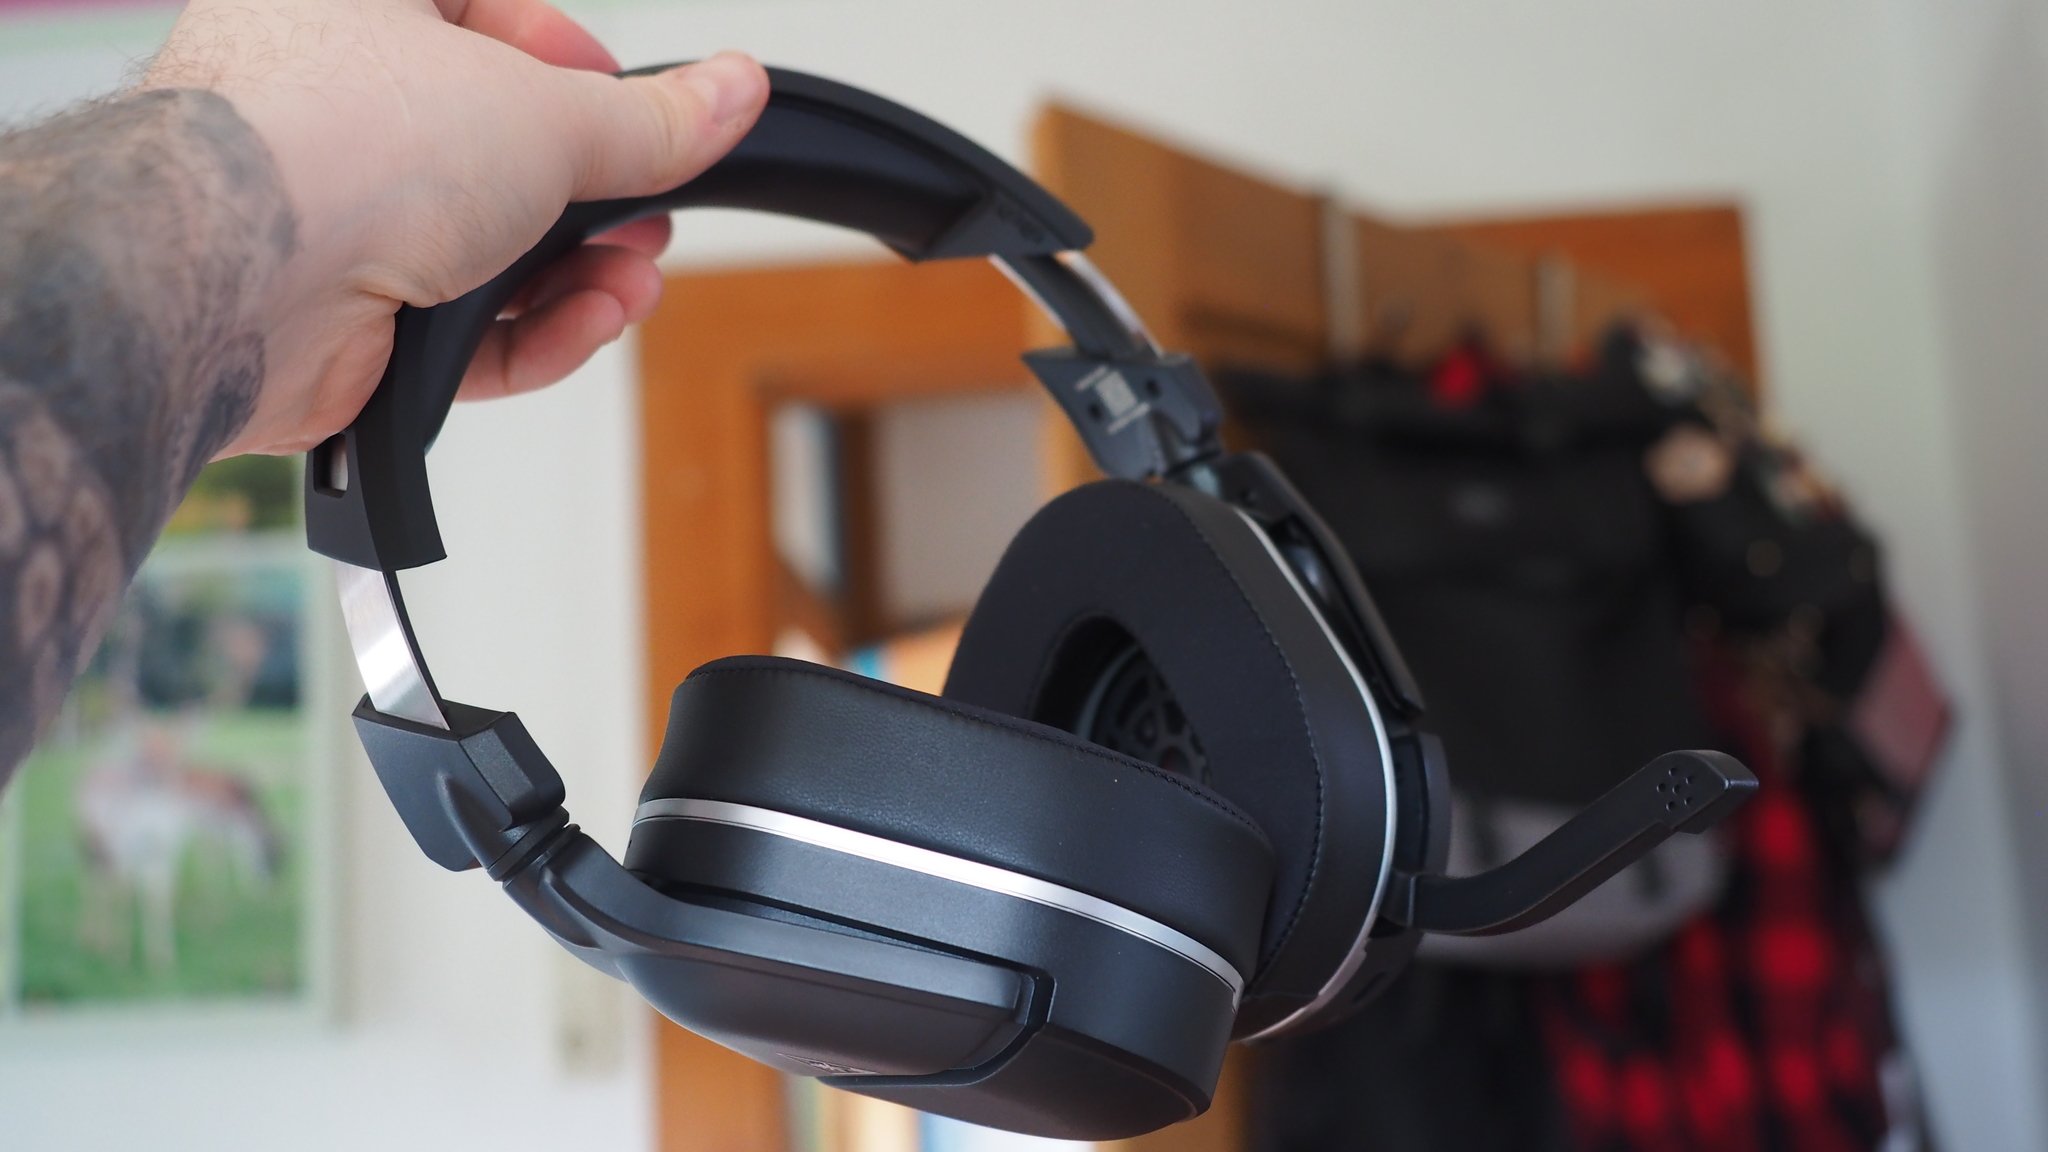
Checking Hardware Connections
Ensuring that the hardware connections of your Turtle Beach headset are secure and properly configured is essential for maintaining reliable functionality and audio performance. By meticulously examining and addressing potential issues related to hardware connections, you can effectively troubleshoot common headset problems and optimize the overall user experience.
Wired Headsets
For wired Turtle Beach headsets, start by inspecting the cable connections. Ensure that the headset's audio cable is firmly plugged into the appropriate audio jack on your gaming console, PC, or controller. Additionally, check for any visible damage or fraying along the length of the cable, as these issues can lead to audio distortion or intermittent connectivity. If any damage is detected, consider replacing the cable with a compatible and high-quality alternative to restore seamless audio transmission.
Wireless Headsets
If you own a wireless Turtle Beach headset, begin by verifying the integrity of the wireless transmitter or USB receiver connected to your gaming console or PC. Ensure that the transmitter is securely plugged into a USB port and positioned within a reasonable range of the headset for optimal signal reception. If the headset utilizes a docking station for charging and wireless connectivity, confirm that the docking contacts are clean and free from debris, as any obstruction can hinder the charging process and signal transmission.
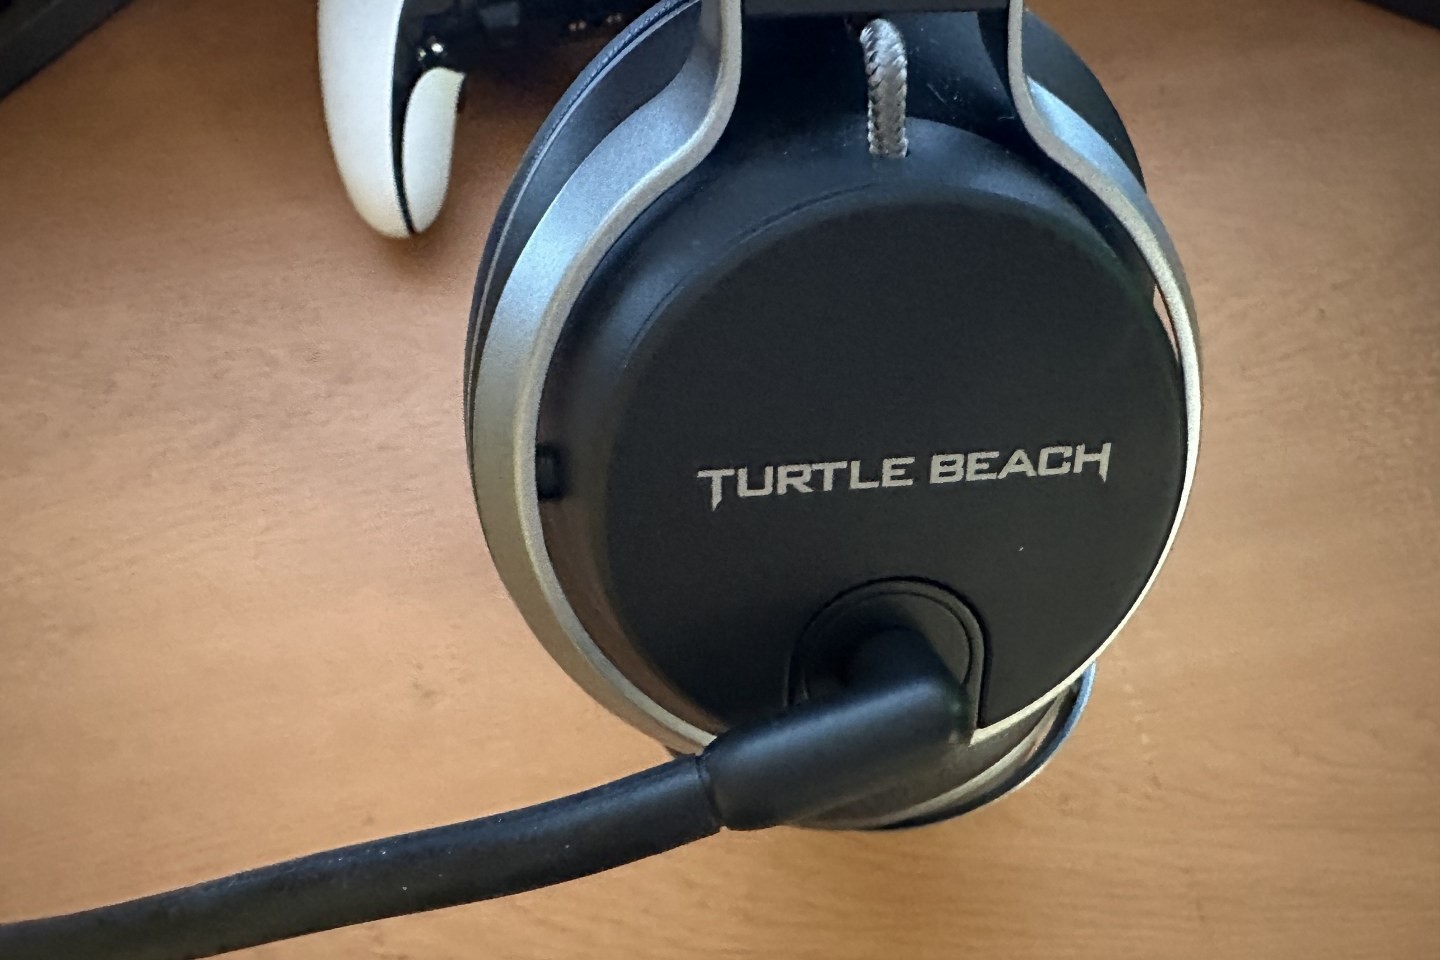
Headset Controls and Adapters
Inspect the headset's in-line controls or audio adapters for any signs of damage or wear. These components are crucial for adjusting audio settings, muting the microphone, and controlling volume levels. Ensure that the controls are responsive and that the connections between the headset and the in-line controls or adapters are secure. If applicable, test the headset with and without the in-line controls to determine if the issue is isolated to this component.
Microphone and Audio Jacks
Carefully examine the microphone jack on the headset and the corresponding input on the gaming device to ensure a snug and stable connection. If the microphone is detachable, reattach it firmly to the headset, as loose connections can lead to intermittent microphone functionality. Additionally, inspect the audio jack on the gaming device for any obstructions or debris that may impede a secure connection with the headset.
By meticulously assessing and addressing potential hardware connection issues, you can effectively troubleshoot common problems encountered with Turtle Beach headsets. This proactive approach to maintenance and troubleshooting helps to uphold the superior audio quality and user satisfaction associated with Turtle Beach products.
Adjusting Settings on Console or PC
Optimizing the audio settings on your gaming console or PC is a pivotal step in addressing potential issues and maximizing the performance of your Turtle Beach headset. By adjusting the settings to align with the specific capabilities of your headset, you can enhance audio quality, communication clarity, and overall user experience. Here's a comprehensive guide to adjusting settings on your console or PC for seamless integration with your Turtle Beach headset.
Console Settings
PlayStation
On a PlayStation console, navigate to the "Settings" menu and select "Devices" followed by "Audio Devices." Here, you can specify the input and output devices, ensuring that your Turtle Beach headset is selected for both audio input and output. Additionally, explore the audio settings within individual games to fine-tune audio preferences and enable features such as virtual surround sound for an immersive gaming experience.
Xbox
For Xbox consoles, access the "Settings" menu and select "Display & Sound." Choose "Audio Output" to designate your Turtle Beach headset as the primary audio output device. Furthermore, explore additional audio settings within games and apps to customize audio profiles and optimize the headset's performance for specific gaming scenarios.
PC Settings
Windows
On a Windows PC, right-click on the volume icon in the taskbar and select "Open Sound settings." Under the "Output" section, ensure that your Turtle Beach headset is selected as the default audio output device. Navigate to the "Sound Control Panel" to access advanced audio settings, including spatial sound enhancements and equalizer adjustments to tailor the audio output to your preferences.
Mac
If you're using a Mac, navigate to the "System Preferences" and select "Sound." From the "Output" tab, choose your Turtle Beach headset as the primary audio output device. Explore additional audio settings to configure microphone input levels and enable sound enhancements to optimize the headset's performance for communication and multimedia applications.
Equalizer and Audio Enhancements
Many gaming consoles and PCs offer built-in equalizer settings and audio enhancements that can be leveraged to fine-tune the audio output of your Turtle Beach headset. Experiment with different equalizer presets or manually adjust frequency bands to tailor the audio profile to your preferences, whether you prioritize booming bass for immersive gameplay or crystal-clear vocals for communication.
By adjusting the settings on your console or PC to accommodate the capabilities of your Turtle Beach headset, you can harness the full potential of the headset's audio prowess, ensuring a rich and immersive audio experience across gaming, communication, and multimedia consumption.
Contacting Turtle Beach Support
In the event that troubleshooting steps and DIY solutions do not resolve the issues with your Turtle Beach headset, reaching out to Turtle Beach support can provide invaluable assistance and guidance. With a dedicated support team well-versed in addressing technical concerns and product-related inquiries, contacting Turtle Beach support can be instrumental in swiftly resolving persistent headset issues.
Direct Support Channels
Turtle Beach offers multiple avenues for users to engage with their support team, ensuring accessibility and convenience. The primary support channels include:
-
Online Support Portal: The official Turtle Beach website features a comprehensive support portal where users can access troubleshooting guides, FAQs, and submit support tickets. This self-service platform empowers users to explore potential solutions and escalate issues as needed.
-
Live Chat: A live chat feature enables real-time interaction with support representatives, allowing for immediate assistance with troubleshooting, product inquiries, and warranty-related concerns.
-
Phone Support: Users can directly contact Turtle Beach support via phone, providing a direct line of communication for in-depth troubleshooting, warranty claims, and technical assistance.
Information Preparation
Before initiating contact with Turtle Beach support, it is beneficial to gather essential information to expedite the support process. This includes:
-
Headset Model: Identify the specific model of your Turtle Beach headset, as support representatives may require this information to tailor their assistance effectively.
-
Purchase Details: Have pertinent purchase details readily available, such as the date of purchase, retailer information, and proof of purchase, especially when seeking warranty-related support.
-
Description of Issues: Clearly articulate the issues encountered with the headset, including any relevant error messages, specific scenarios where the problem occurs, and any troubleshooting steps already undertaken.
Engaging with Support Representatives
When engaging with Turtle Beach support, approach the interaction with a clear and concise description of the issues faced. Be receptive to the guidance provided by the support representatives, as they may recommend advanced troubleshooting steps, firmware updates, or even facilitate the initiation of a warranty claim if necessary.
Warranty and Service Options
For users encountering hardware-related issues within the warranty period, Turtle Beach support can facilitate warranty claims and provide instructions for repair or replacement processes. Additionally, support representatives can offer insights into out-of-warranty service options, ensuring that users are aware of potential avenues for resolving persistent issues.
Feedback and Follow-Up
Following the interaction with Turtle Beach support, consider providing feedback on the support experience. This can help Turtle Beach continually improve their support services and ensure that users receive comprehensive assistance.
By leveraging the available support channels and engaging proactively with Turtle Beach support, users can effectively address complex headset issues and benefit from the expertise and guidance offered by the dedicated support team.