Introduction
Turtle Beach headsets are renowned for their exceptional audio quality and immersive gaming experiences. However, like any electronic device, these headsets can encounter technical issues that disrupt their optimal performance. One prevalent concern reported by users is the headset failing to power off as expected. This not only leads to a drained battery but also hampers the overall usability of the device. If you've found yourself grappling with this frustrating predicament, fear not. This article will delve into the common issues associated with Turtle Beach headsets, providing troubleshooting steps to resolve the problem and get you back to enjoying seamless gaming sessions.
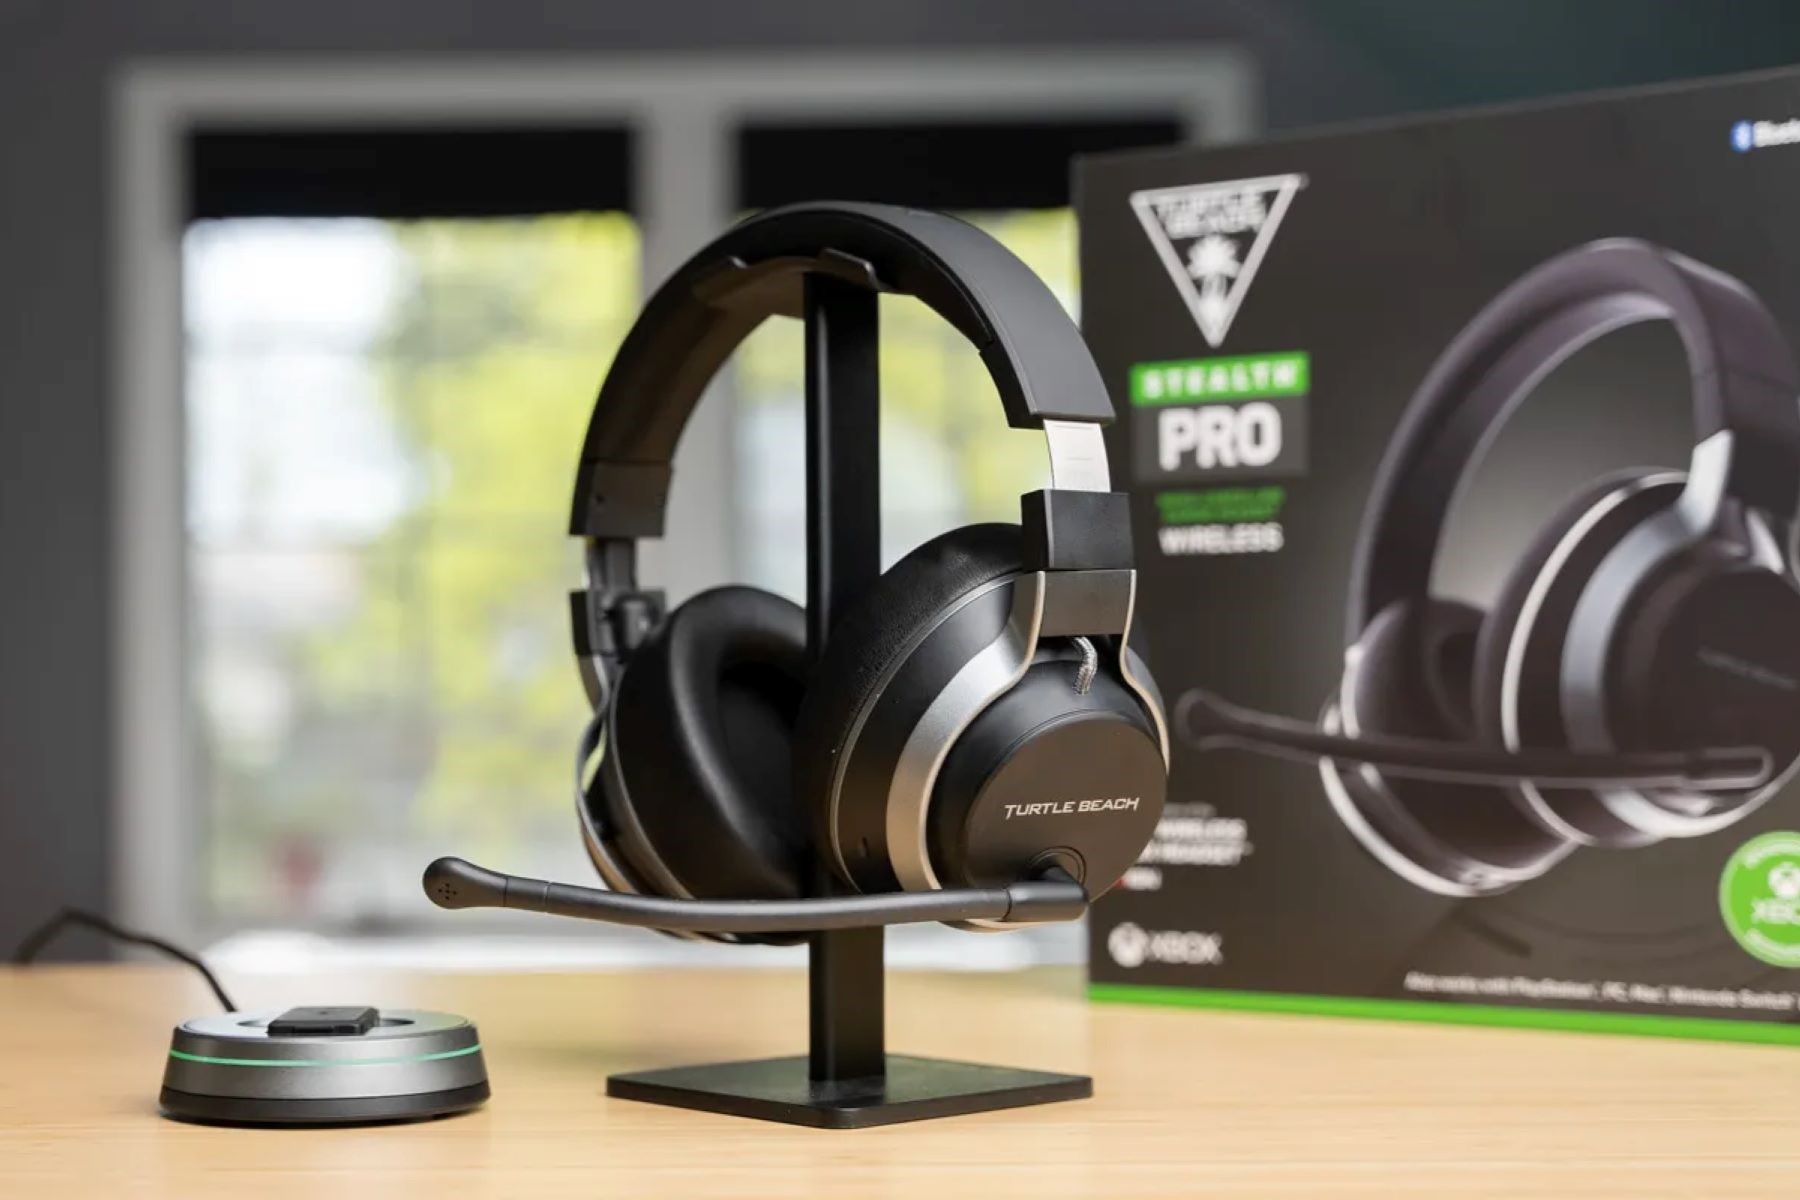
From the high-end Elite series to the versatile Stealth line, Turtle Beach has garnered a dedicated following among gaming enthusiasts. However, regardless of the model, users may encounter instances where the headset refuses to power down, leading to undue battery consumption and potential inconvenience. Whether you're a seasoned gamer or a casual user, dealing with a headset that won't turn off can be exasperating. Fortunately, there are several steps you can take to rectify this issue and restore your headset to its optimal functionality.
In the following sections, we will explore the common reasons behind this power struggle, offering detailed troubleshooting steps to help you address the problem effectively. By following these guidelines, you can regain control over your Turtle Beach headset and bid farewell to the vexing issue of it not powering off when required. Let's embark on this journey to troubleshoot and resolve the persistent power struggle encountered by Turtle Beach headset users.
Common Issues with Turtle Beach Headsets
Turtle Beach headsets, renowned for their superior audio quality and ergonomic designs, are favored by gamers and audio enthusiasts alike. However, despite their advanced technology, users may encounter various issues that impede the seamless operation of these devices. One prevalent concern reported by users is the inability of the headset to power off as expected. This issue can manifest across different models, including the popular Elite and Stealth series.
Apart from the power struggle, users have also reported instances of audio distortion, connectivity issues, and microphone malfunctions. Audio distortion may manifest as crackling sounds or inconsistent audio output, disrupting the immersive gaming or media experience. Connectivity issues, such as intermittent disconnection from the gaming console or PC, can be a source of frustration for users who rely on uninterrupted audio during their gaming sessions. Additionally, microphone malfunctions, including muffled or distorted voice transmission, can hinder effective communication during multiplayer gaming or online calls.
Moreover, some users have encountered challenges related to firmware updates, wherein the headset fails to update or experiences errors during the process. This can lead to performance inconsistencies and compatibility issues with gaming platforms or devices.
Understanding these common issues is crucial for users to effectively troubleshoot their Turtle Beach headsets and restore them to optimal functionality. By addressing these concerns, users can enhance their overall experience and derive maximum enjoyment from their Turtle Beach headsets.
Troubleshooting Steps
When encountering the persistent issue of a Turtle Beach headset failing to power off, it's essential to embark on a systematic troubleshooting process to identify and address the underlying cause. By following these comprehensive steps, users can effectively troubleshoot the power struggle and restore their headset to optimal functionality.
-
Check Battery Level: Begin by ensuring that the headset has an adequate battery charge. Connect the headset to a power source using the provided charging cable and allow it to charge for a sufficient duration. A depleted battery can sometimes lead to power-related issues, and ensuring a full charge may resolve the power-off problem.
-
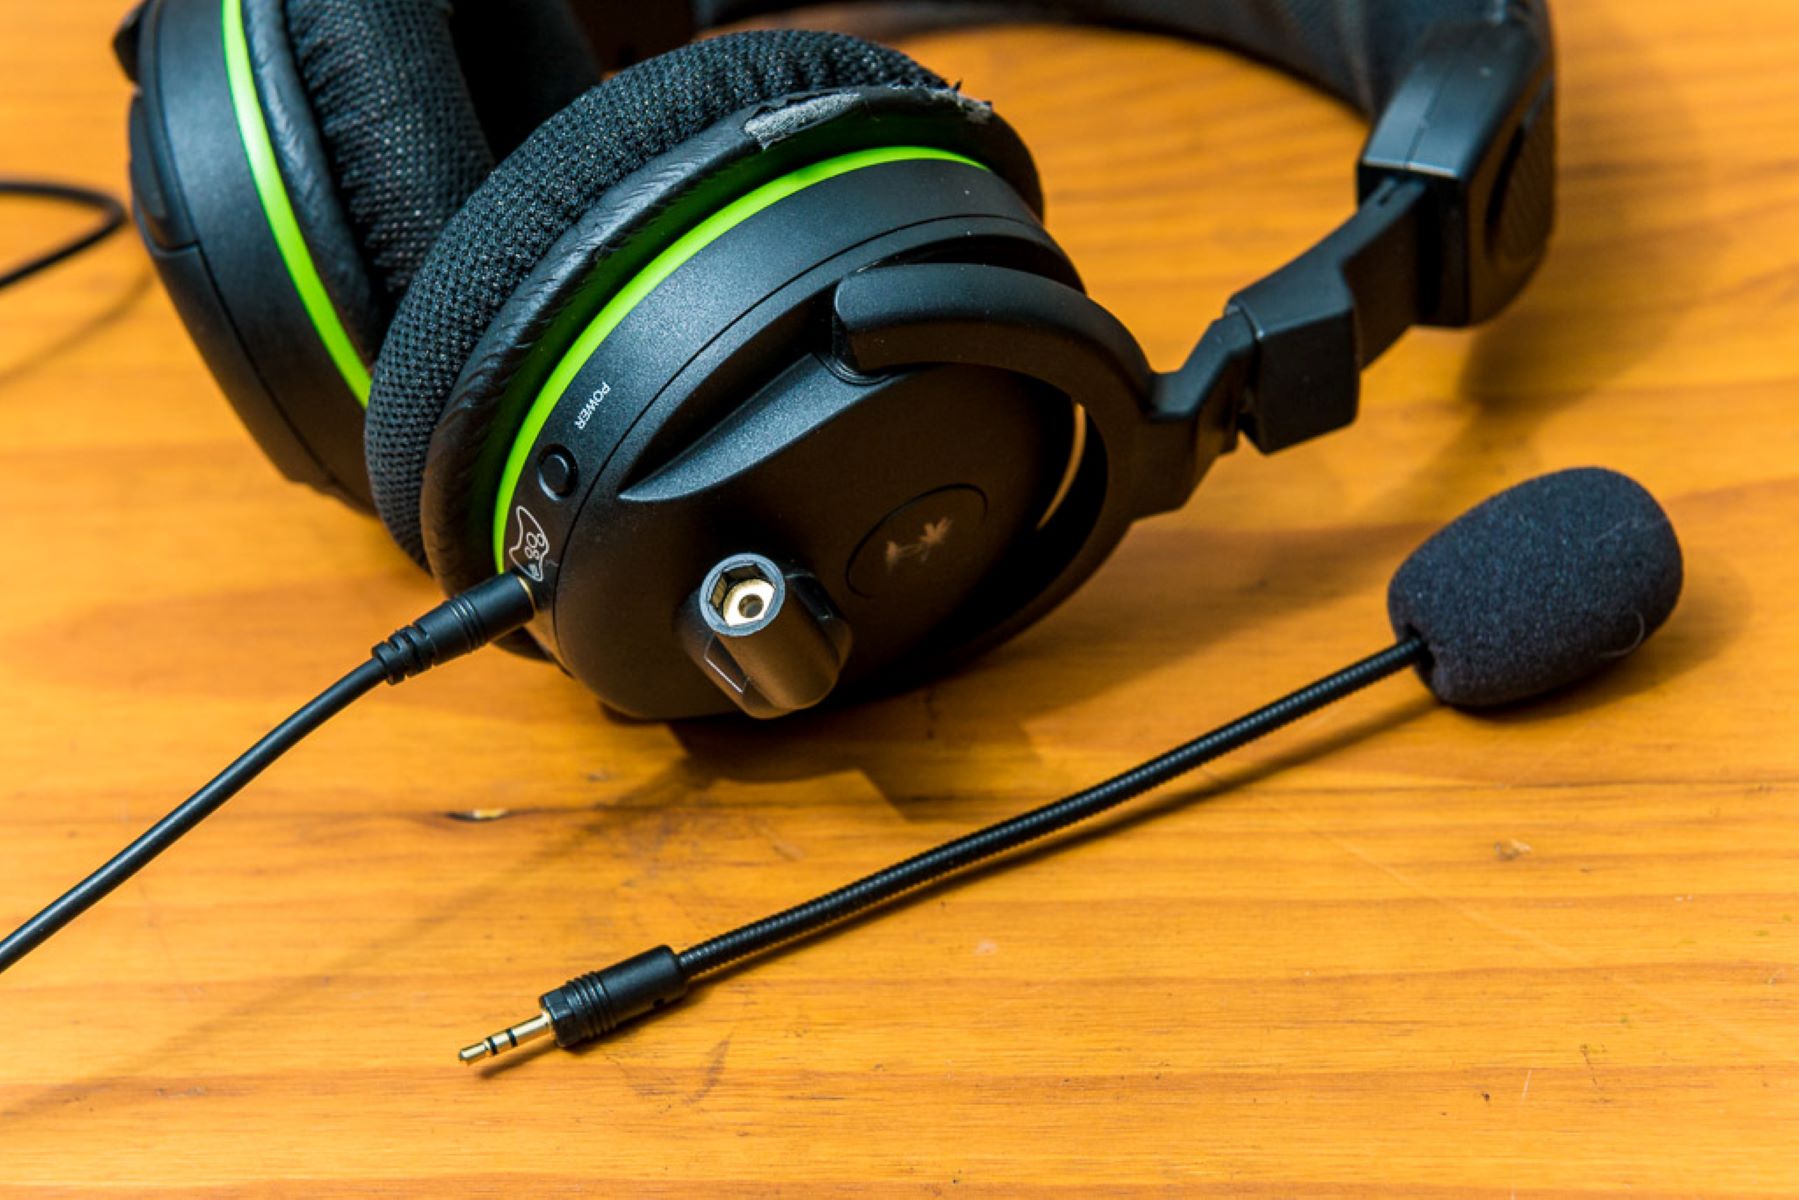
Inspect Power Button: Carefully examine the power button for any physical damage or obstruction. Clean the area around the power button using a soft, dry cloth to remove any debris or residue that may impede its functionality. Ensure that the button depresses smoothly and registers the command to power off the headset.
-
Reset the Headset: Perform a reset of the headset to clear any temporary glitches or software inconsistencies. This can be achieved by holding down the power button for an extended duration, typically 15-20 seconds, until the headset powers off. Once powered off, release the button and power the headset back on to assess if the issue has been resolved.
-
Check for Firmware Updates: Navigate to the Turtle Beach official website or utilize the proprietary software to check for available firmware updates for the headset. If an update is available, follow the provided instructions to initiate the firmware update process. Updating the firmware can rectify underlying software issues that may be causing the power-off problem.
-
Verify Power Settings: Access the device settings or companion app associated with the headset to verify the power management settings. Ensure that the power-off function is configured correctly and that any power-saving features are not inadvertently causing the headset to remain powered on.
-
Test on Different Devices: Connect the headset to alternative devices, such as a different gaming console, PC, or mobile device, to determine if the power-off issue persists across multiple platforms. This can help isolate whether the problem is specific to a particular device or if it is inherent to the headset itself.
By diligently following these troubleshooting steps, users can methodically address the issue of their Turtle Beach headset not powering off. These measures are designed to identify and resolve the underlying cause, ultimately restoring the headset to its optimal operational state.
Resetting the Headset
Resetting the Turtle Beach headset is a fundamental troubleshooting step that can effectively address a myriad of technical issues, including the persistent problem of the headset not powering off as expected. This process aims to clear any temporary glitches or software inconsistencies that may be hindering the headset's functionality, providing a fresh start for seamless operation.
To initiate the reset, users are required to follow a straightforward yet crucial procedure. Begin by locating the power button on the headset, typically positioned along the ear cup or the control module. Once identified, press and hold the power button for an extended duration, typically ranging from 15 to 20 seconds. It's essential to maintain the pressure on the power button throughout this duration to ensure that the reset command is effectively executed.
As the reset process unfolds, users may observe various indicators, such as the headset powering off or entering a reset mode. This is often accompanied by visual or auditory cues, signaling that the reset command has been acknowledged. Once the designated duration has elapsed, release the power button and allow the headset to power off completely.
Subsequently, users can proceed to power the headset back on, typically by pressing the power button for a brief moment. As the headset initializes, it undergoes a reset sequence, effectively clearing any transient issues that may have been impeding its optimal performance. Users are advised to observe the headset's behavior following the reset, specifically noting if the power-off issue has been successfully resolved.
It's important to emphasize that the reset process may vary slightly across different Turtle Beach headset models. Therefore, users are encouraged to refer to the product manual or the official Turtle Beach support resources for model-specific instructions on performing a reset.
By diligently executing the reset procedure, users can leverage this foundational troubleshooting step to address the persistent power struggle encountered with their Turtle Beach headset. The reset process serves as a pivotal mechanism for clearing software inconsistencies and restoring the headset to its intended operational state, fostering an uninterrupted and immersive audio experience for users.
Updating Firmware
Updating the firmware of a Turtle Beach headset is a pivotal step in troubleshooting technical issues and ensuring the optimal performance of the device. Firmware serves as the underlying software that governs the headset's functionality, encompassing crucial components such as audio processing, connectivity protocols, and power management. By updating the firmware, users can address potential software inconsistencies and benefit from enhanced compatibility with gaming platforms and devices.
The process of updating the firmware typically begins with accessing the official Turtle Beach website or utilizing the proprietary software provided by the manufacturer. Users are advised to navigate to the designated support section, where they can identify the specific firmware update applicable to their headset model. This may involve selecting the exact headset model and verifying the current firmware version to ascertain if an update is available.
Upon identifying an available firmware update, users are presented with detailed instructions and accompanying software tools to facilitate the update process. It's imperative to adhere to the provided guidelines and ensure that the update is compatible with the specific headset model to prevent potential issues arising from incompatible firmware versions.
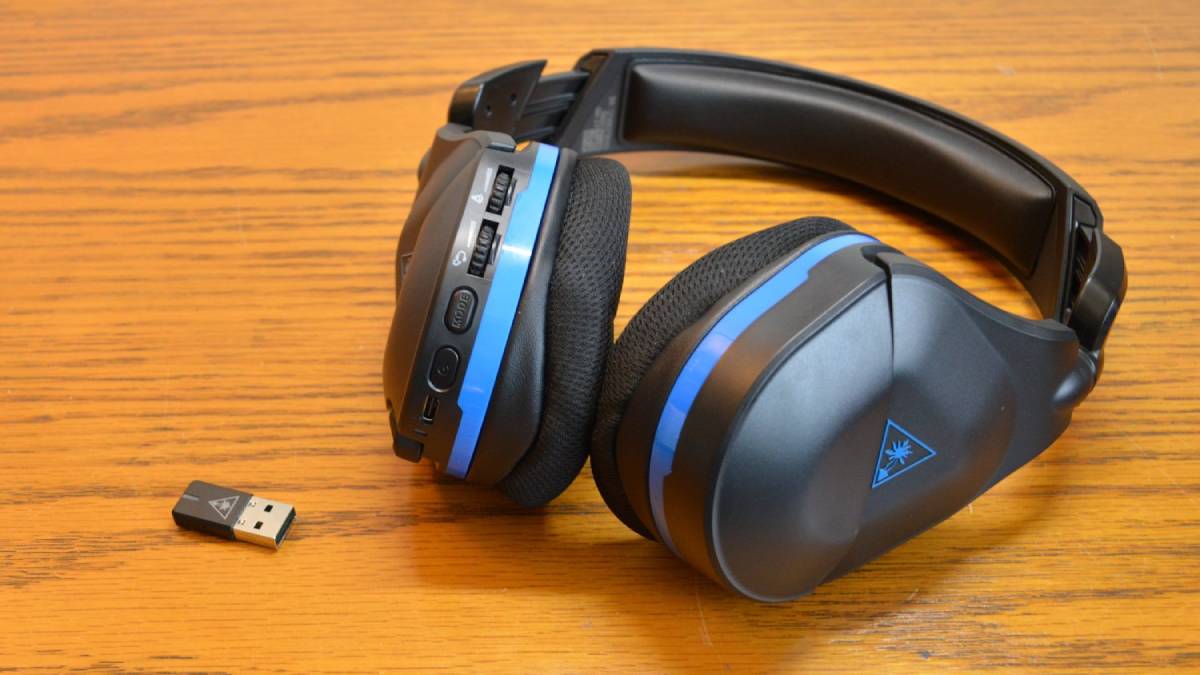
The firmware update process often involves connecting the headset to a computer or gaming console using the provided USB cable and launching the proprietary software or firmware update tool. Users are guided through the steps to initiate the update, which may include confirming the headset's current firmware version, selecting the update file, and commencing the installation process.
During the firmware update, it is crucial to refrain from interrupting the process or disconnecting the headset, as this can result in incomplete firmware installation and potential software corruption. Users are advised to allow the update to progress uninterrupted, ensuring that the headset remains connected to the designated device until the update is successfully completed.
Once the firmware update concludes, users can power cycle the headset and verify the successful installation of the updated firmware. This may involve assessing the headset's performance across various scenarios, such as audio playback, microphone functionality, and power management, to ensure that the firmware update has effectively addressed any underlying software issues.
By diligently updating the firmware of their Turtle Beach headset, users can harness the benefits of optimized software performance, improved compatibility, and enhanced feature functionality. This proactive approach to firmware maintenance empowers users to mitigate potential technical issues and derive maximum enjoyment from their Turtle Beach headset across diverse gaming and multimedia experiences.
Contacting Turtle Beach Customer Support
In the event that troubleshooting steps fail to resolve the persistent issue of a Turtle Beach headset not powering off, users can turn to the reliable support offered by Turtle Beach's dedicated customer service team. Contacting Turtle Beach customer support provides users with direct access to expert assistance, ensuring that any underlying technical concerns are effectively addressed, and the headset is restored to optimal functionality.
To initiate contact with Turtle Beach customer support, users can explore various communication channels offered by the company. These channels typically include a dedicated support hotline, email support, and live chat options accessible through the official Turtle Beach website. By leveraging these communication avenues, users can engage with knowledgeable support representatives who possess the expertise to diagnose and resolve complex technical issues.
When reaching out to Turtle Beach customer support, users are encouraged to provide comprehensive details regarding the encountered power-off problem. This may include specifying the headset model, detailing the troubleshooting steps undertaken, and outlining any specific error messages or unusual behavior observed. By furnishing this pertinent information, users enable the support team to expedite the troubleshooting process and offer tailored solutions to address the specific issue effectively.
Upon establishing contact, users can expect to engage with courteous and knowledgeable support representatives who are adept at guiding users through advanced troubleshooting procedures. These procedures may encompass additional diagnostic steps, firmware verification, or potential warranty-related assessments to facilitate the resolution of the power-off issue.
Furthermore, Turtle Beach's customer support team is equipped to provide guidance on warranty coverage, repair or replacement options, and proactive measures to optimize the headset's performance. Users can benefit from valuable insights and recommendations offered by the support team, empowering them to make informed decisions regarding the next steps in resolving the power-off problem.
In instances where the issue necessitates advanced technical intervention, Turtle Beach customer support may facilitate the initiation of a repair or replacement process, ensuring that users receive a fully functional headset that meets the brand's stringent quality standards.
By availing themselves of Turtle Beach's responsive and knowledgeable customer support, users can navigate the intricacies of technical issues with confidence, knowing that they have a dedicated team committed to delivering effective solutions and ensuring a seamless audio experience with their Turtle Beach headset.