Introduction
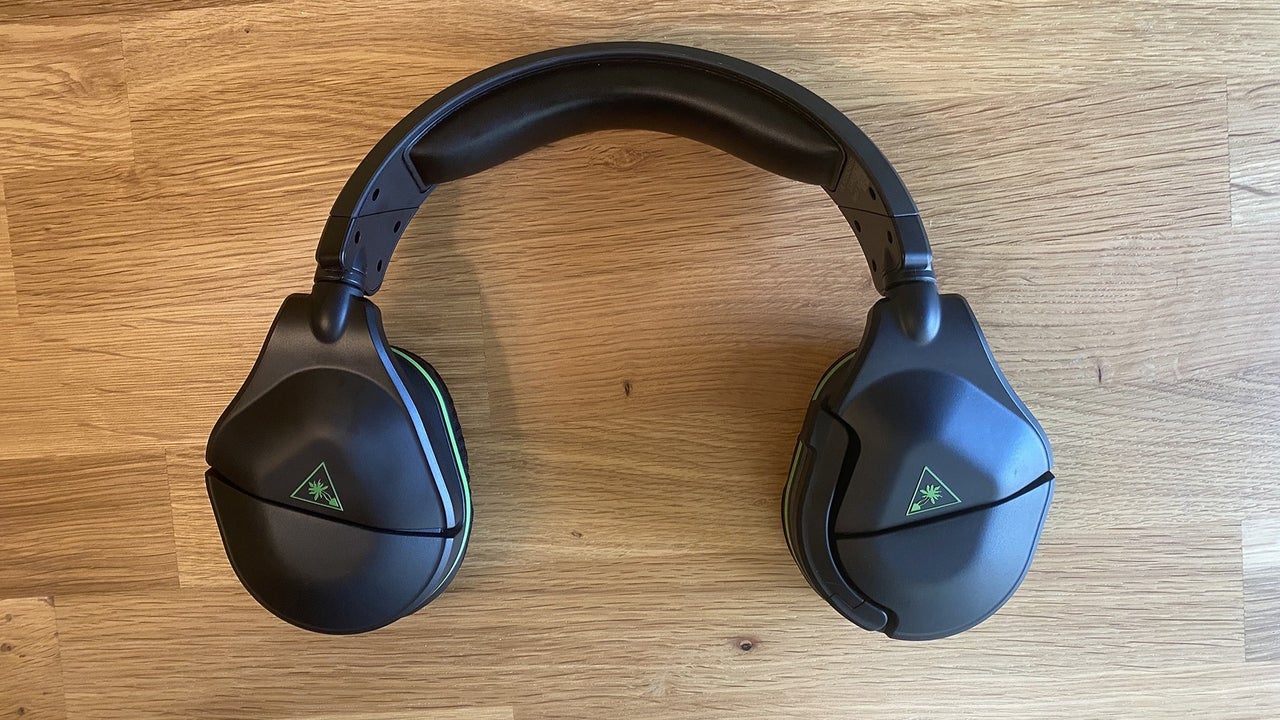
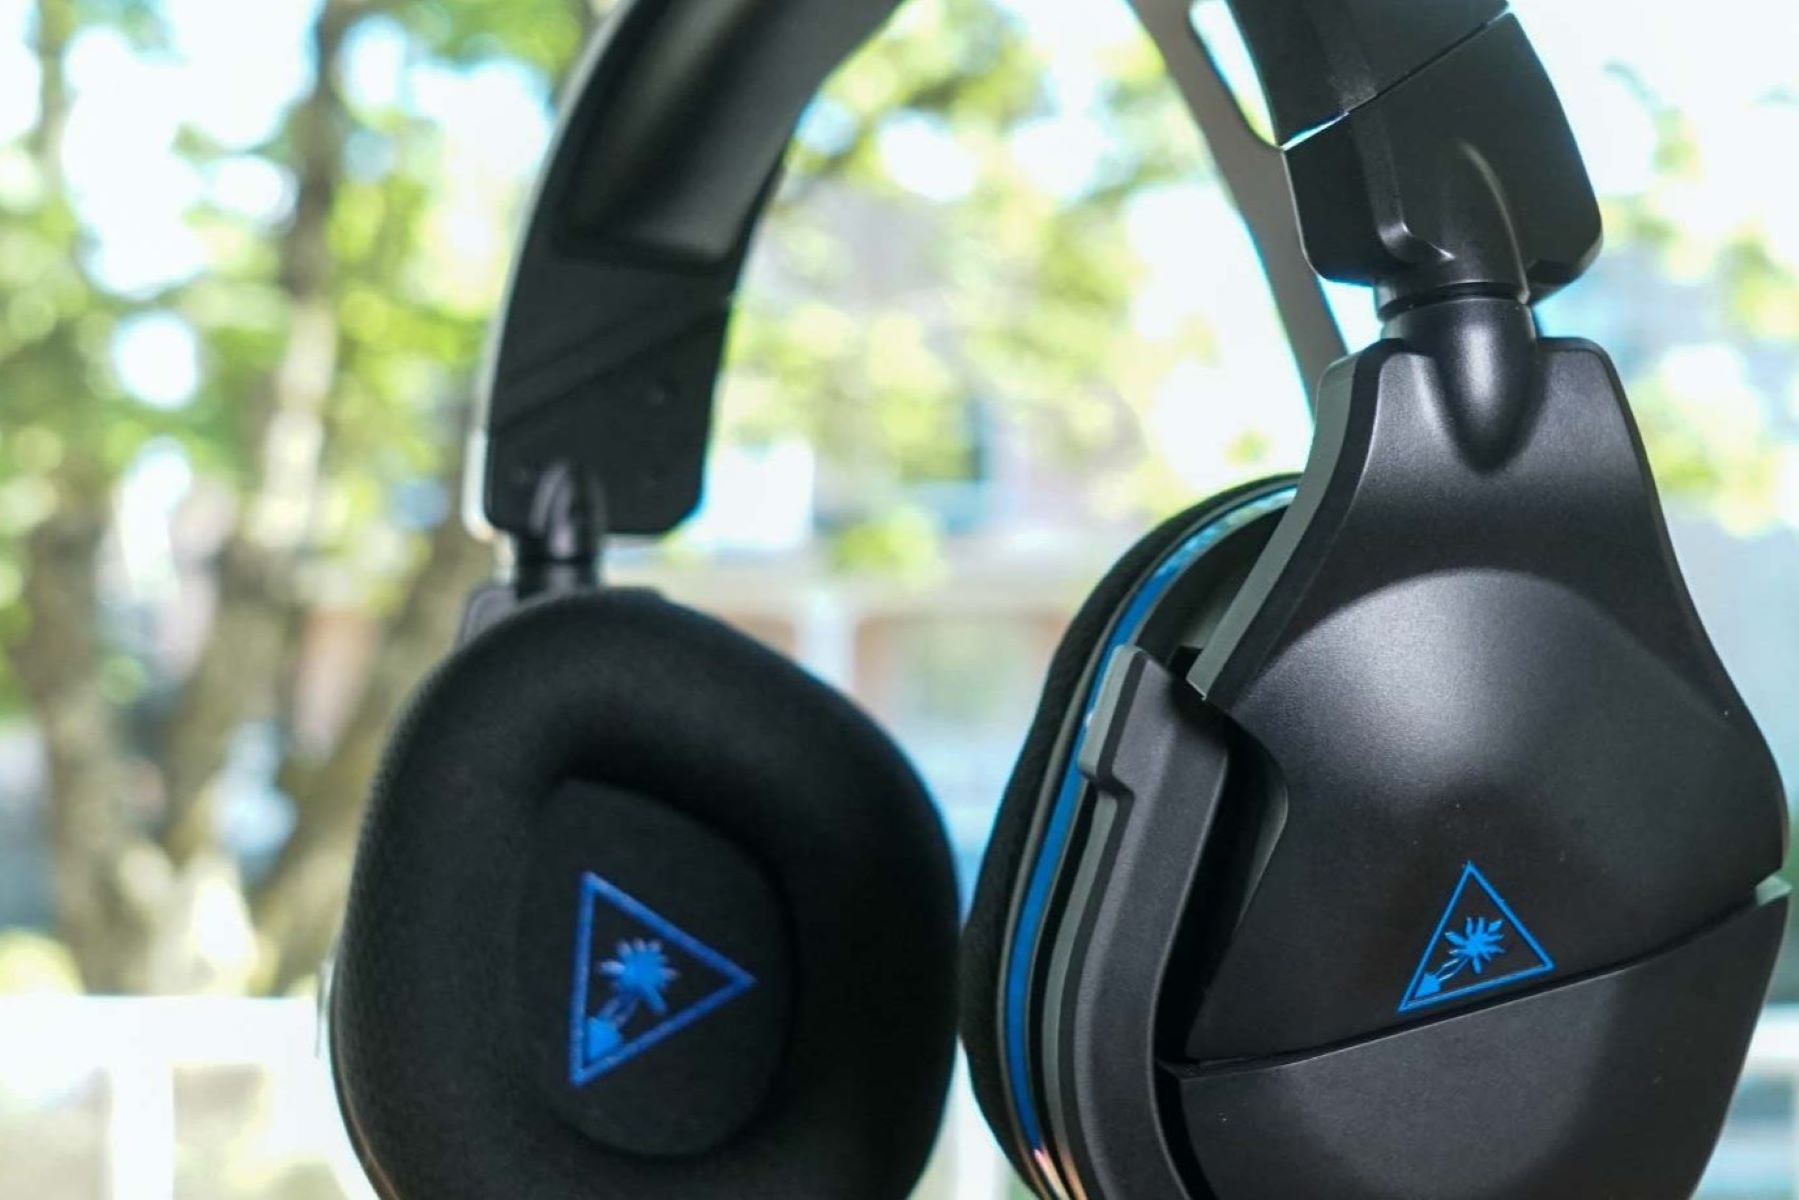
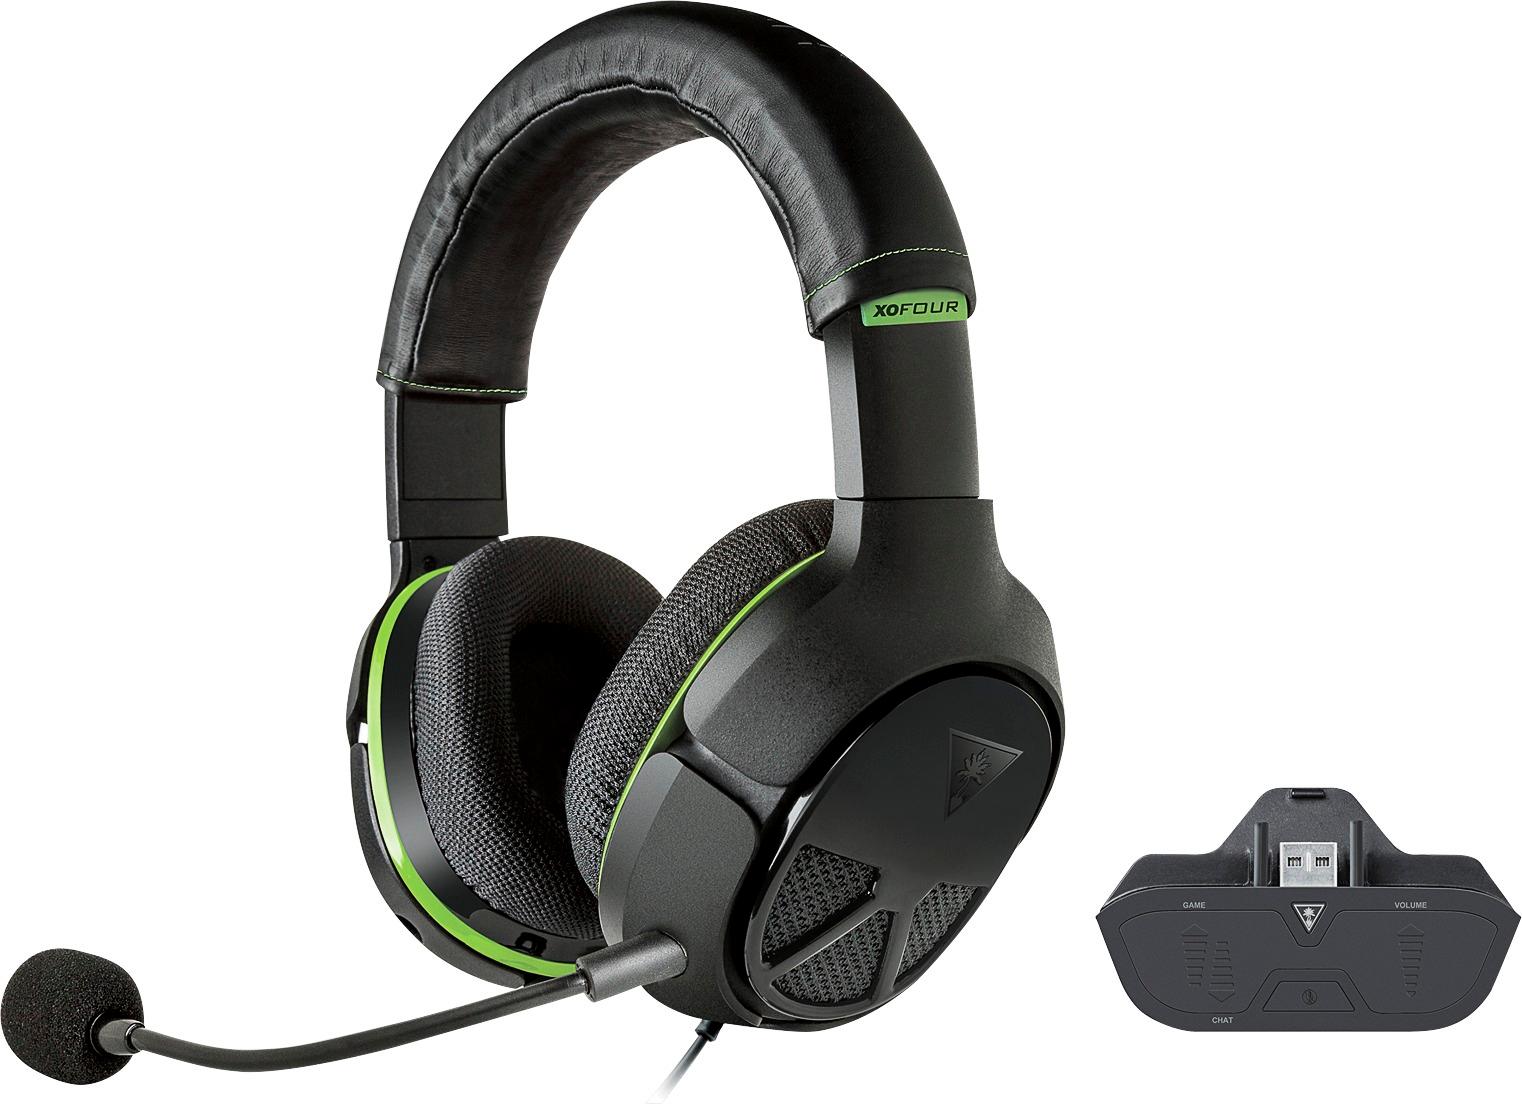
Turtle Beach headsets are renowned for their immersive sound quality and comfort, making them a popular choice among gamers. However, like any electronic device, these headsets can encounter issues that may require troubleshooting. One common solution to resolve technical glitches or connectivity problems is to reset the headset. Resetting a Turtle Beach headset on an Xbox One can help address issues such as audio distortion, microphone malfunctions, or connectivity issues with the console.
In this comprehensive guide, we will walk you through the step-by-step process of resetting your Turtle Beach headset on an Xbox One. Whether you're experiencing audio dropouts, firmware issues, or connectivity problems, following these troubleshooting steps can help restore your headset to optimal functionality. From power cycling the headset to updating the firmware and performing a factory reset, we've got you covered with detailed instructions to get your Turtle Beach headset back in top form.
So, if you've been experiencing audio hiccups during intense gaming sessions, or if your headset isn't syncing properly with your Xbox One, don't fret. By the end of this tutorial, you'll have the knowledge and confidence to troubleshoot and reset your Turtle Beach headset, ensuring a seamless and immersive gaming experience. Let's dive into the troubleshooting process and get your headset back on track!
Step 1: Power Cycling the Headset
Power cycling, also known as a hard reset, is often the first troubleshooting step recommended for resolving technical issues with electronic devices. When it comes to addressing connectivity or audio problems with your Turtle Beach headset on an Xbox One, power cycling can effectively clear temporary glitches and restore the headset to a stable state. Here's a detailed walkthrough of the power cycling process for your Turtle Beach headset:
-
Turn Off the Xbox One Console: Begin by powering down your Xbox One console. Ensure that it is completely shut down, as this will allow the system to reset any temporary configurations that may be affecting the headset's performance.
-
Disconnect the Headset: Unplug the Turtle Beach headset's USB transmitter or wireless adapter from the Xbox One console. This disconnection is crucial in interrupting the current power supply to the headset, allowing it to reset.
-
Remove the Headset's Battery: If your Turtle Beach headset is powered by a rechargeable battery, remove it from the headset. For headsets with non-removable batteries, ensure that they are fully disconnected from any power source.
-
Wait for a Few Minutes: Allow the headset and the console to remain disconnected for at least 1-2 minutes. This waiting period enables the residual power to dissipate, ensuring a complete reset of the headset's internal components.
-
Reconnect the Headset: After the waiting period, reconnect the Turtle Beach headset by plugging in the USB transmitter or wireless adapter to the Xbox One console. If your headset uses a rechargeable battery, reinsert it at this stage.
-
Power On the Xbox One: Turn on your Xbox One console and allow it to fully boot up. Once the console is operational, power on the Turtle Beach headset and check for any improvements in audio quality or connectivity.
By power cycling your Turtle Beach headset and Xbox One console, you effectively reset the devices, potentially resolving any transient issues that were impacting the headset's performance. If the power cycling process doesn't fully address the issues, don't worry. We'll explore additional troubleshooting steps to ensure that your Turtle Beach headset is functioning optimally for your gaming adventures.
Step 2: Checking the Xbox One Settings
Ensuring that the Xbox One settings are correctly configured is essential for seamless compatibility with your Turtle Beach headset. By verifying and adjusting specific settings on the console, you can address potential issues related to audio output, microphone input, and overall headset functionality. Let's delve into the detailed process of checking and optimizing the Xbox One settings for your Turtle Beach headset.
Audio Output Settings
- Accessing Audio Settings: Navigate to the Xbox One dashboard and select the "Settings" option. From there, choose "Display & Sound" and then "Audio Output."
- Selecting Audio Format: Verify that the audio format is compatible with your Turtle Beach headset. For optimal performance, select the appropriate audio format supported by your headset, such as stereo uncompressed or Windows Sonic for Headphones.
Microphone Input Settings
- Adjusting Microphone Levels: In the Xbox One settings, navigate to "Display & Sound" and select "Volume." Ensure that the microphone volume is appropriately adjusted to capture clear and balanced audio input.
- Microphone Monitoring: If your Turtle Beach headset offers microphone monitoring features, access the audio settings to enable or adjust the microphone monitoring level based on your preferences.
Controller Configuration
- Controller Firmware Update: Ensure that your Xbox One controller is updated with the latest firmware. This can be done by connecting the controller to the console via a USB cable and following the on-screen prompts to check for updates.
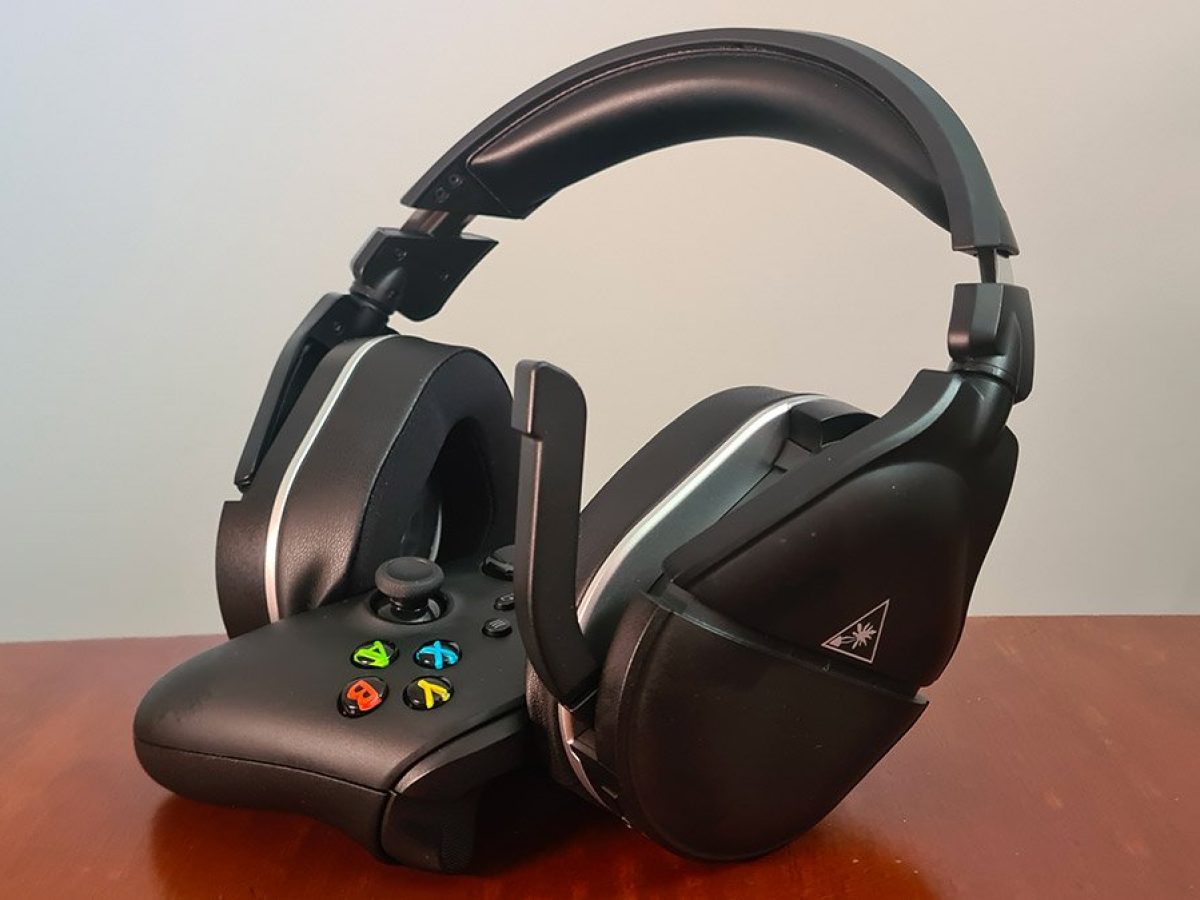
- Wireless Controller Connectivity: If you are using a wireless Turtle Beach headset that connects to the Xbox One controller, verify that the controller's wireless connectivity is stable and not experiencing interference from other devices.
Network Settings
- Network Connection Stability: A stable network connection is crucial for online gaming and voice chat. Verify that your Xbox One is connected to a reliable and strong network signal to prevent audio dropouts or connectivity issues with your Turtle Beach headset.
Additional Considerations
- Console Updates: Ensure that your Xbox One console is running the latest system software. Regularly check for system updates to maintain compatibility and optimize performance with your Turtle Beach headset.
- Headset Specific Settings: If your Turtle Beach headset comes with specialized audio presets or settings, explore the headset's companion app or configuration options to tailor the audio experience to your preferences.
By meticulously reviewing and adjusting the Xbox One settings as outlined above, you can optimize the compatibility and performance of your Turtle Beach headset. These adjustments can significantly enhance audio quality, microphone functionality, and overall gaming experience when using the headset with your Xbox One. If you encounter persistent issues, proceed to the next step to explore firmware updates for your Turtle Beach headset.
Step 3: Updating the Headset Firmware
Keeping the firmware of your Turtle Beach headset up to date is crucial for ensuring optimal performance and compatibility with your Xbox One. Firmware updates often include enhancements, bug fixes, and new features that can address known issues and improve the overall functionality of the headset. By following the steps outlined below, you can seamlessly update the firmware of your Turtle Beach headset, potentially resolving any persistent audio or connectivity issues.
-
Check for Firmware Updates: Begin by visiting the official Turtle Beach website or accessing the Turtle Beach Audio Hub app on a compatible device. Look for the firmware update section specific to your headset model. If an update is available, follow the provided instructions to download the latest firmware package.
-
Connect the Headset: Depending on the specific instructions provided for your Turtle Beach headset, connect it to a computer or compatible device using the recommended method, such as a USB cable or wireless connection. Ensure that the headset is powered on and in a ready state for the firmware update process.
-
Initiate the Firmware Update: Follow the on-screen prompts or instructions provided by the Turtle Beach Audio Hub app to initiate the firmware update process. This may involve selecting the connected headset, verifying the current firmware version, and applying the available update to the device.
-
Allow the Update to Complete: Once the firmware update is initiated, allow the process to complete without interrupting the connection or powering off the headset. Depending on the size of the update and the speed of the connection, the update process may take several minutes to finish.
-
Verify the Update: After the firmware update is successfully applied, verify the updated firmware version on your Turtle Beach headset. This can typically be done through the settings or information section of the Turtle Beach Audio Hub app or by following the specific verification steps provided in the update instructions.
By ensuring that your Turtle Beach headset is running the latest firmware, you can take advantage of performance improvements and bug fixes that may directly address the issues you've been experiencing with the headset on your Xbox One. If updating the firmware doesn't fully resolve the issues, the next step involves performing a factory reset on the headset to restore it to its default settings.
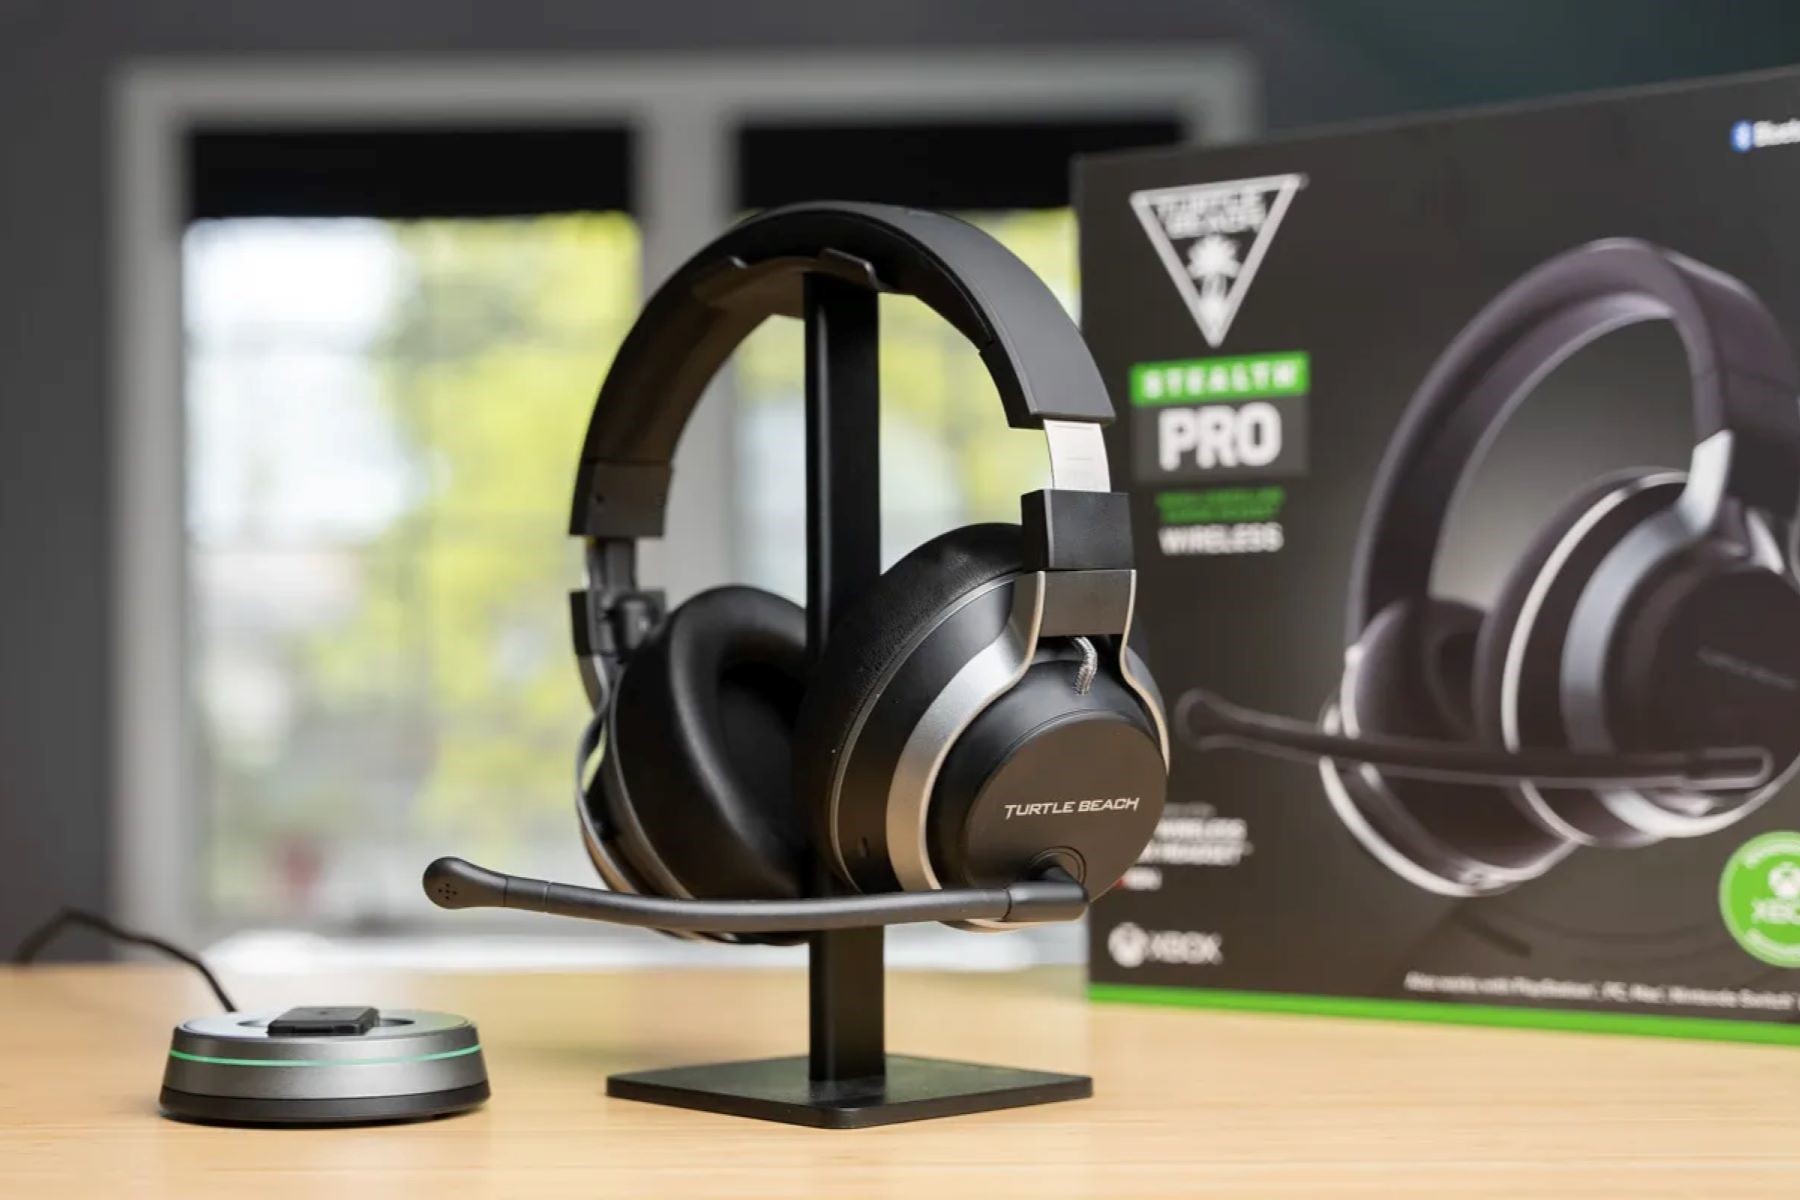
Step 4: Resetting the Headset to Factory Settings
Resetting your Turtle Beach headset to factory settings can serve as a comprehensive solution to persistent technical issues that may not have been resolved through previous troubleshooting steps. By restoring the headset to its original factory configuration, you can effectively clear any lingering software issues, corrupted settings, or compatibility conflicts that may be impacting its performance on the Xbox One. Here's a detailed guide on how to reset your Turtle Beach headset to factory settings:
-
Accessing the Reset Option: Depending on the model of your Turtle Beach headset, the reset option may be accessible through the device's companion app or directly on the headset itself. Refer to the user manual or online resources specific to your headset model to locate the reset functionality.
-
Wired or Wireless Reset: If your Turtle Beach headset features a physical reset button, carefully follow the instructions to initiate the reset process. For wireless headsets, the reset procedure may involve holding specific buttons or combinations while powering on the device. Ensure that you follow the precise steps outlined for your headset model.
-
Confirmation Prompt: Upon initiating the reset process, your Turtle Beach headset may prompt for confirmation to proceed with the factory reset. This serves as a safeguard against accidental resets and ensures that the user intentionally initiates the restoration of default settings.
-
Waiting for Completion: Once the factory reset is confirmed, allow the headset to complete the reset process. This may involve the device powering off and on again, indicating that the reset has been successfully executed.
-
Post-Reset Verification: After the reset is completed, verify that the headset has been restored to its factory settings. Check for any noticeable improvements in audio quality, microphone functionality, or connectivity with the Xbox One console.
By performing a factory reset on your Turtle Beach headset, you effectively eliminate any software-related impediments that may have been affecting its performance. This comprehensive reset process can serve as a final troubleshooting step to ensure that the headset operates optimally with your Xbox One, providing you with an immersive and seamless gaming experience.
Following these steps can help you reset your Turtle Beach headset to its factory settings, potentially resolving persistent issues and restoring its functionality on the Xbox One. If you encounter any challenges during the reset process, referring to the headset's user manual or seeking support from Turtle Beach's customer service can provide additional guidance to ensure a successful reset.
Conclusion
In conclusion, troubleshooting and resetting your Turtle Beach headset on an Xbox One can significantly improve its performance and address a range of technical issues that may have been hindering your gaming experience. By following the step-by-step tutorial outlined in this guide, you've gained valuable insights into power cycling the headset, checking and optimizing Xbox One settings, updating the headset firmware, and performing a factory reset. These comprehensive troubleshooting steps empower you to effectively address audio distortions, microphone malfunctions, and connectivity issues, ensuring that your Turtle Beach headset operates at its best.
The power cycling process serves as an initial reset method to clear temporary glitches and restore stability to the headset. By disconnecting and reconnecting the headset and Xbox One console, you can effectively reset the devices and potentially resolve transient issues impacting the headset's performance.
Verifying and adjusting the Xbox One settings tailored to your Turtle Beach headset is essential for optimizing audio output, microphone input, and overall compatibility. By ensuring that the audio format, microphone levels, controller configurations, and network settings are correctly configured, you can enhance the headset's performance and ensure a seamless gaming experience on the Xbox One.
Updating the firmware of your Turtle Beach headset is crucial for leveraging performance improvements and addressing known issues. By keeping the headset's firmware up to date, you can take advantage of bug fixes and enhancements that directly contribute to a smoother and more immersive gaming experience.
Finally, performing a factory reset on your Turtle Beach headset can serve as a comprehensive solution to persistent technical issues. By restoring the headset to its factory settings, you effectively clear any lingering software issues, corrupted settings, or compatibility conflicts that may have been impacting its performance on the Xbox One.
By incorporating these troubleshooting steps into your gaming routine, you can ensure that your Turtle Beach headset delivers exceptional audio quality, reliable microphone functionality, and seamless connectivity with your Xbox One. Embracing these troubleshooting techniques empowers you to take control of your gaming experience and enjoy uninterrupted, immersive gameplay with your Turtle Beach headset.
Remember, if you encounter persistent issues or challenges during the troubleshooting process, seeking support from Turtle Beach's customer service can provide additional guidance and assistance in resolving technical concerns. With the knowledge and skills gained from this tutorial, you're well-equipped to troubleshoot and reset your Turtle Beach headset, ensuring that it remains a reliable companion for your gaming adventures on the Xbox One.