Introduction
Resetting a Turtle Beach headset can resolve various issues, such as audio glitches, connectivity problems, or performance hiccups. Whether you're experiencing sound distortion during gameplay or your headset isn't connecting to your device as it should, performing a reset can often provide a quick solution. In this guide, we'll walk you through the simple yet effective steps to reset your Turtle Beach headset. By following these steps, you can troubleshoot common problems and get back to enjoying an immersive and uninterrupted gaming or audio experience.
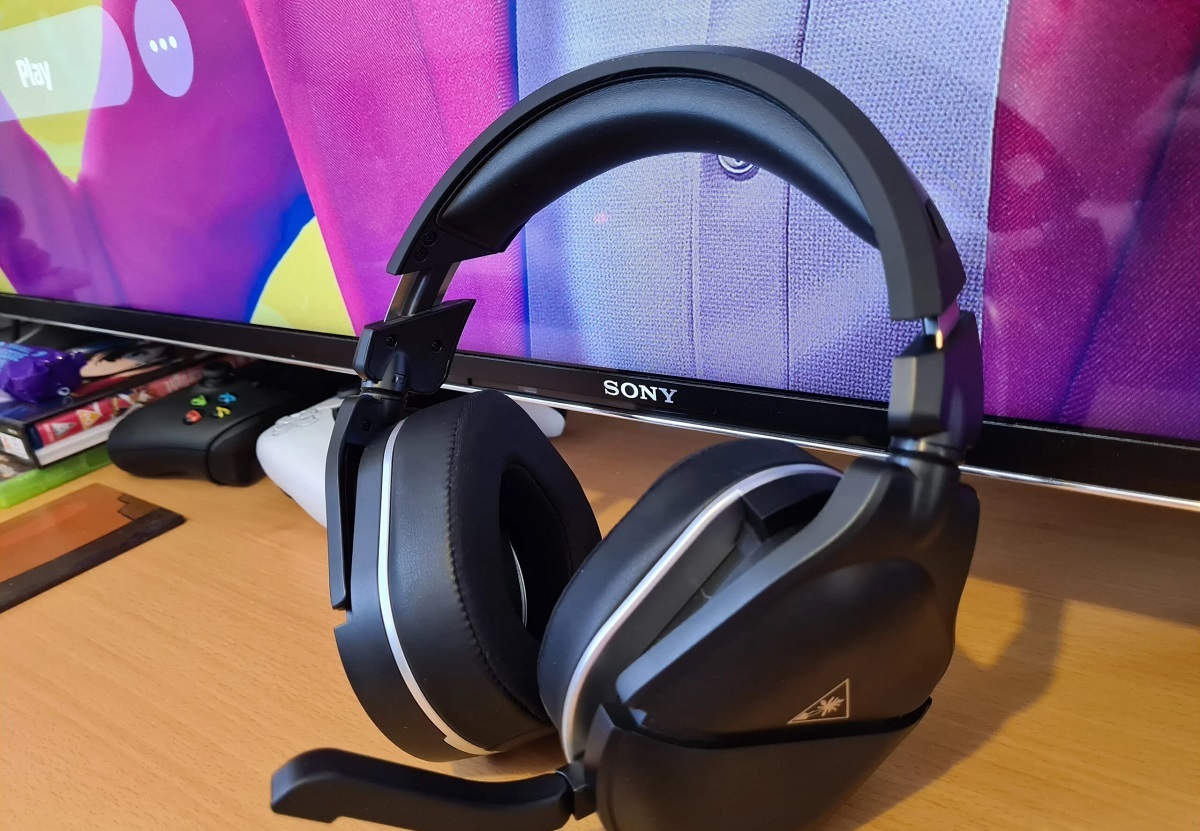
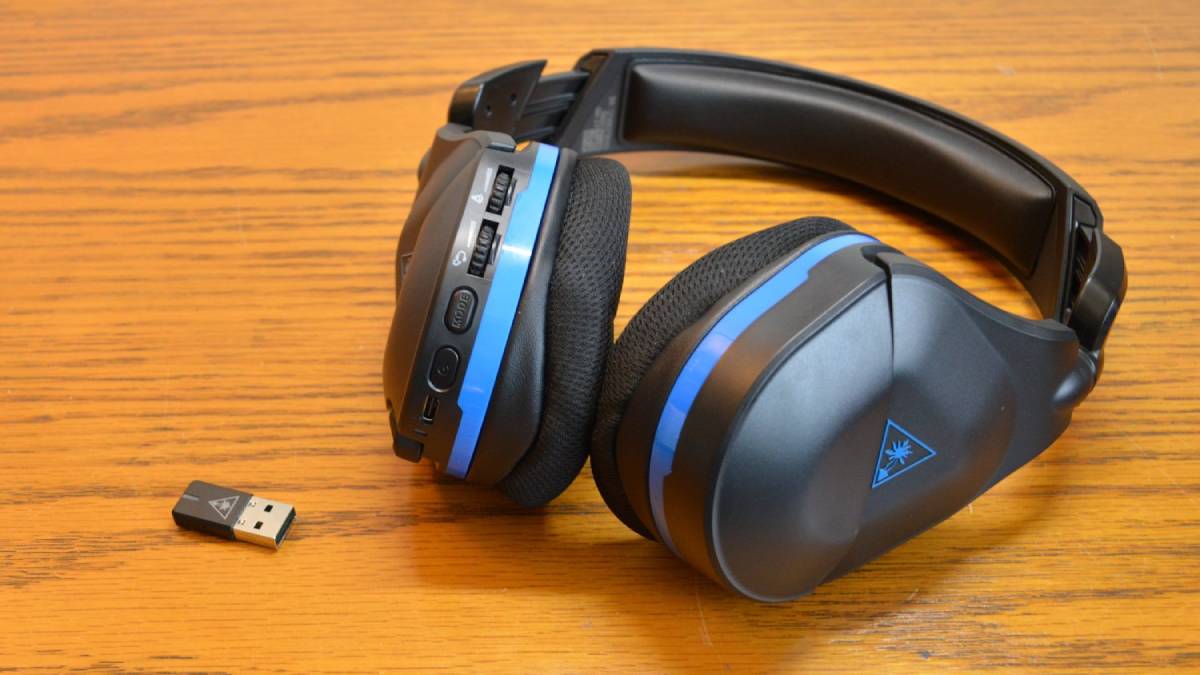
Resetting your Turtle Beach headset is a straightforward process that can be completed in just a few minutes. It's a valuable skill to have in your arsenal, especially if you're an avid gamer or rely on your headset for clear communication during online meetings or virtual social gatherings. Whether you own a Turtle Beach Stealth series headset or a Recon model, the reset process is generally similar across different models, making these steps universally applicable.
By learning how to reset your Turtle Beach headset, you can take proactive measures to address technical issues without having to seek professional assistance. This empowers you to troubleshoot and resolve minor problems independently, saving time and potentially avoiding the inconvenience of being without your headset while it's being serviced.
In the following sections, we'll guide you through each step of the reset process, providing clear instructions and tips to ensure a seamless experience. Whether you're a seasoned tech enthusiast or a newcomer to the world of gaming peripherals, you'll find these steps easy to follow and execute. Let's dive into the process of resetting your Turtle Beach headset and get your audio equipment back in top form.
Step 1: Power off the headset
To initiate the reset process for your Turtle Beach headset, the first step is to power off the device. This is a crucial initial action that sets the stage for the subsequent steps. By turning off the headset, you ensure that it's in a state ready for the reset procedure. Here's how to power off your Turtle Beach headset:
-
Locate the Power Button: Depending on the model of your Turtle Beach headset, the power button may be positioned on the ear cup or the control module. Take a moment to familiarize yourself with the location of the power button to ensure a smooth power-off process.
-
Press and Hold the Power Button: Once you've located the power button, press and hold it for a few seconds. This action prompts the headset to power down. Keep the button depressed until you see or hear clear indications that the device is shutting off. This may include visual cues such as LED lights turning off or audio cues such as a powering down sound effect.
-
Verify Power Down: After holding the power button, verify that the headset has indeed powered off. Check for any remaining indications of power, such as illuminated LED lights or active status indicators. If the headset is wireless, you may also notice the absence of any wireless connectivity signals.
By following these steps, you can ensure that your Turtle Beach headset is completely powered off, setting the stage for the subsequent steps in the reset process. Powering off the headset is a fundamental step that paves the way for a successful reset, allowing you to address any technical issues and restore the device to optimal functionality.
Completing this step sets the foundation for the subsequent actions, enabling you to proceed with confidence as you work through the process of resetting your Turtle Beach headset. With the headset powered off, you're now ready to move on to the next step and continue the reset procedure.
Step 2: Disconnect the headset from the device
After successfully powering off your Turtle Beach headset, the next critical step in the reset process is to disconnect the headset from the device it's paired with. This step is essential as it ensures that the headset is completely disengaged from any external connections, allowing for a clean reset. Whether your headset is connected wirelessly via Bluetooth or through a wired connection, the process of disconnecting it from the device remains consistent. Here's how to proceed:
Wired Connection:
If your Turtle Beach headset is connected to the device via a wired connection, such as a 3.5mm audio cable or a USB cable, follow these steps to disconnect it:
-
Identify the Cable Connection: Locate the cable that connects your headset to the device. This may be a 3.5mm audio cable, a USB cable, or a similar wired connection, depending on the model of your headset.
-
Gently Remove the Cable: With a firm yet gentle grip, disconnect the cable from both the headset and the device. Ensure that you handle the disconnection process with care to avoid any damage to the cable or the headset's ports.
-
Verify Disconnection: After removing the cable, visually inspect the headset and the device to confirm that there are no remaining physical connections between them. This visual check ensures that the headset is fully disconnected from the device, setting the stage for the subsequent steps in the reset process.
Wireless Connection:
For wireless connections, which are common in modern Turtle Beach headsets, follow these steps to disconnect the headset from the paired device:
-
Access Device Settings: Navigate to the settings menu on the device to which your Turtle Beach headset is wirelessly connected. This may be a smartphone, gaming console, computer, or any other compatible device.
-
Access Bluetooth or Wireless Settings: Within the device settings, locate the Bluetooth or wireless connectivity menu. This is where you'll manage the connections between the device and external peripherals, including your Turtle Beach headset.
-
Select and Disconnect: Locate your Turtle Beach headset within the list of paired devices and select the option to disconnect or forget the device. This action severs the wireless connection between the headset and the device, ensuring a complete disconnection.
By following these steps, you can effectively disconnect your Turtle Beach headset from the device it's paired with, whether through a wired or wireless connection. This prepares the headset for the subsequent steps in the reset process, setting the stage for a successful resolution of any technical issues you may be experiencing. With the headset now disconnected from the device, you're ready to proceed to the next step and continue the reset procedure.
Step 3: Remove the headset's battery
If your Turtle Beach headset is equipped with a removable battery, the next crucial step in the reset process is to remove the battery from the headset. This step is particularly relevant for headsets that feature a detachable battery compartment, as it allows for a complete power disconnection, effectively resetting the device's internal components. Here's how to proceed with removing the headset's battery:
-
Locate the Battery Compartment: Depending on the model of your Turtle Beach headset, the battery compartment may be positioned on one of the ear cups or within a designated compartment on the headset. Take a moment to identify the location of the battery compartment to ensure a smooth removal process.
-
Open the Battery Compartment: If your headset features a removable battery, carefully open the battery compartment using the designated latch or opening mechanism. Exercise caution to avoid applying excessive force or causing any damage to the compartment or the battery itself.
-
Remove the Battery: Once the battery compartment is accessible, gently remove the battery from its slot. Pay close attention to any locking mechanisms or retention features that may be present to secure the battery in place. Ensure a steady and controlled removal to prevent any accidental damage to the battery or the headset.
-
Inspect the Battery: As you remove the battery, take a moment to inspect its condition. Look for any signs of physical damage, corrosion, or unusual wear that may indicate potential issues with the battery. If any such concerns are observed, it may be advisable to replace the battery with a new one to ensure optimal performance.
By following these steps, you can effectively remove the battery from your Turtle Beach headset, preparing it for the subsequent actions in the reset process. This step is pivotal in ensuring a comprehensive power disconnection, allowing for a thorough reset of the headset's internal components. With the battery removed, you're now ready to proceed to the next step and continue the reset procedure.
Removing the headset's battery is a fundamental step that sets the stage for the subsequent actions in the reset process. By following these instructions with care and attention to detail, you can ensure that your Turtle Beach headset is prepared for the next phase of the reset procedure, ultimately aiming to address any technical issues and restore the device to optimal functionality.
Step 4: Reconnect the battery
After successfully removing the battery from your Turtle Beach headset, the next critical step in the reset process is to reconnect the battery to the device. This step is pivotal in restoring power to the headset and initiating the process of resetting its internal components. Here's how to proceed with reconnecting the battery:
-
Inspect the Battery: Before reconnecting the battery, take a moment to inspect it for any signs of damage, corrosion, or wear. Ensure that the battery terminals are clean and free of debris, as any buildup may impede the reconnection process and affect the headset's functionality.
-
Align the Battery: Position the battery correctly in its designated slot within the headset's battery compartment. Pay attention to the alignment of the battery terminals, ensuring that they correspond to the contacts within the compartment. Proper alignment is crucial in establishing a secure and effective connection.
-
Secure the Battery: If your Turtle Beach headset's battery compartment features a locking mechanism or retention feature, ensure that the battery is securely fastened in place. Follow any specific instructions provided by the headset's user manual to guarantee a proper and stable connection.
-
Close the Battery Compartment: Once the battery is securely in place, carefully close the battery compartment using the designated latch or closing mechanism. Ensure that the compartment is fully sealed to prevent any accidental dislodging of the battery during use.
-
Verify Connection: After reconnecting the battery, verify that it is firmly seated within the compartment and that all electrical contacts are properly engaged. This visual check ensures that the battery is successfully reconnected and ready to power the headset.
By following these steps, you can effectively reconnect the battery to your Turtle Beach headset, preparing it for the subsequent actions in the reset process. This step is crucial in restoring power to the headset and initiating the process of resetting its internal components. With the battery reconnected, you're now ready to proceed to the next step and continue the reset procedure.
Reconnecting the battery is a fundamental step that sets the stage for the subsequent actions in the reset process. By following these instructions with care and attention to detail, you can ensure that your Turtle Beach headset is prepared for the next phase of the reset procedure, ultimately aiming to address any technical issues and restore the device to optimal functionality.
Step 5: Reconnect the headset to the device
With the battery reconnected, the next pivotal step in the reset process is to reconnect your Turtle Beach headset to the device it was previously paired with. Whether your headset utilizes a wired connection, such as a 3.5mm audio cable or a USB connection, or operates wirelessly through Bluetooth technology, reestablishing the connection is essential to restoring functionality. Here's a detailed guide on how to proceed with reconnecting your Turtle Beach headset to the device:
Wired Connection:
If your Turtle Beach headset utilizes a wired connection, follow these steps to reconnect it to the device:
-
Identify the Cable Connection: Locate the appropriate cable for connecting your headset to the device. This may be a 3.5mm audio cable or a USB cable, depending on the model of your headset.
-
Connect the Cable: With the headset and the device in close proximity, carefully insert the cable into the respective ports on both the headset and the device. Ensure a secure and snug connection to facilitate uninterrupted audio transmission.
-
Verify Connection: After connecting the cable, verify that it is firmly seated in the ports of both the headset and the device. A visual check ensures that the connection is established, setting the stage for the subsequent steps in the reset process.
Wireless Connection:
For wireless connections, which are prevalent in modern Turtle Beach headsets, follow these steps to reconnect the headset to the paired device:
-
Access Device Settings: Navigate to the settings menu on the device to which your Turtle Beach headset is wirelessly connected. This may be a smartphone, gaming console, computer, or any other compatible device.
-
Access Bluetooth or Wireless Settings: Within the device settings, locate the Bluetooth or wireless connectivity menu. This is where you'll manage the connections between the device and external peripherals, including your Turtle Beach headset.
-
Pair the Devices: Initiate the pairing process by selecting the option to pair a new device within the Bluetooth or wireless settings menu. Follow any on-screen prompts or instructions to establish a secure and stable connection between your Turtle Beach headset and the device.
By following these steps, you can effectively reconnect your Turtle Beach headset to the device, whether through a wired or wireless connection. This critical step is pivotal in restoring the seamless audio transmission and functionality of the headset, ultimately aiming to address any technical issues and restore the device to optimal performance.
Reconnecting the headset to the device marks a significant milestone in the reset process, bringing the headset back into full operational capability and ensuring that it's ready to deliver an immersive audio experience. With the headset successfully reconnected, you're now poised to proceed to the final step and complete the reset procedure.
Step 6: Power on the headset
After completing the preceding steps to reset your Turtle Beach headset, the final and crucial action is to power on the device. This step is pivotal in initiating the reset process and ensuring that the headset is ready to deliver optimal audio performance. Here's a detailed guide on how to power on your Turtle Beach headset:
-
Locate the Power Button: Depending on the model of your Turtle Beach headset, the power button may be positioned on one of the ear cups or within the control module. Take a moment to identify the location of the power button to ensure a smooth power-on process.
-
Press and Hold the Power Button: Once you've located the power button, press and hold it for a few seconds to initiate the powering on of the headset. Keep the button depressed until you observe clear indications that the device is being powered up. This may include visual cues such as LED lights turning on or audio cues such as a powering up sound effect.
-
Verify Power On: After holding the power button, verify that the headset has powered on successfully. Look for indications such as illuminated LED lights, active status indicators, or, if the headset is wireless, signals of wireless connectivity.
By following these steps, you can effectively power on your Turtle Beach headset, marking the completion of the reset process. This final step is instrumental in bringing the headset back to full operational status, ready to deliver immersive audio experiences, whether in gaming, communication, or multimedia enjoyment.
Powering on the headset serves as the culmination of the reset procedure, signifying the successful restoration of the device to optimal functionality. With the headset now powered on, you can enjoy uninterrupted audio performance and confidently engage in your favorite activities, knowing that your Turtle Beach headset is operating at its best.
Completing this final step concludes the reset process, empowering you to address and resolve technical issues independently, ensuring that your Turtle Beach headset remains a reliable and high-performing audio companion for your gaming and multimedia needs.
Conclusion
In conclusion, mastering the art of resetting your Turtle Beach headset equips you with a valuable skill to troubleshoot and resolve technical issues independently. By following the simple yet effective steps outlined in this guide, you can address common problems such as audio glitches, connectivity issues, or performance hiccups, ensuring that your headset remains in optimal working condition.
The process begins with powering off the headset, a fundamental step that sets the stage for the subsequent actions. Disconnecting the headset from the device, whether through wired or wireless connections, ensures a clean disengagement, preparing the headset for the reset procedure. For headsets with removable batteries, the careful removal and reconnection of the battery play a pivotal role in initiating a comprehensive reset of the internal components.
Reconnecting the headset to the device, whether through wired or wireless means, marks a critical milestone in restoring seamless audio transmission and functionality. Finally, powering on the headset signifies the successful completion of the reset process, bringing the device back to full operational status.
By mastering these steps, you can take proactive measures to address technical issues without the need for professional assistance, saving time and potential inconvenience. Whether you're an avid gamer, a remote worker relying on clear communication, or a multimedia enthusiast, having the ability to reset your Turtle Beach headset empowers you to maintain a reliable and high-performing audio companion.
Furthermore, understanding the reset process enhances your overall experience with Turtle Beach headsets, allowing you to maximize their potential and enjoy uninterrupted audio performance. With the knowledge and confidence gained from this guide, you can navigate technical challenges with ease, ensuring that your Turtle Beach headset remains a dependable and immersive audio solution for your diverse needs.
In essence, the ability to reset your Turtle Beach headset is not only a practical skill but also a gateway to uninterrupted audio experiences, empowering you to stay immersed in your favorite activities while maintaining the optimal functionality of your audio equipment.