Introduction
When it comes to immersive gaming experiences, audio quality plays a pivotal role in transporting players into the heart of the action. For Xbox One gamers seeking to elevate their gameplay with superior sound, the Turtle Beach headset stands out as a top-tier choice. With its advanced features and crisp audio output, the Turtle Beach headset has garnered a loyal following among gaming enthusiasts.
In this comprehensive guide, we will walk you through the setup process for your Turtle Beach headset on the Xbox One. Whether you're a seasoned gamer or just starting your gaming journey, this step-by-step tutorial will ensure that you can seamlessly integrate your headset with your Xbox One console, allowing you to dive into your favorite games with unparalleled audio clarity.
From unboxing the headset to adjusting audio settings on your Xbox One, we've got you covered every step of the way. By the end of this guide, you'll be equipped with the knowledge to optimize your gaming setup and unleash the full potential of your Turtle Beach headset.
So, without further ado, let's embark on this journey to unlock the auditory wonders of the Turtle Beach headset on your Xbox One. Get ready to immerse yourself in a world where every sound, from the faintest whisper to the thunderous roar, comes to life with breathtaking realism. It's time to elevate your gaming experience to new heights – all starting with the seamless integration of your Turtle Beach headset with your Xbox One console.
Step 1: Unboxing the Turtle Beach Headset
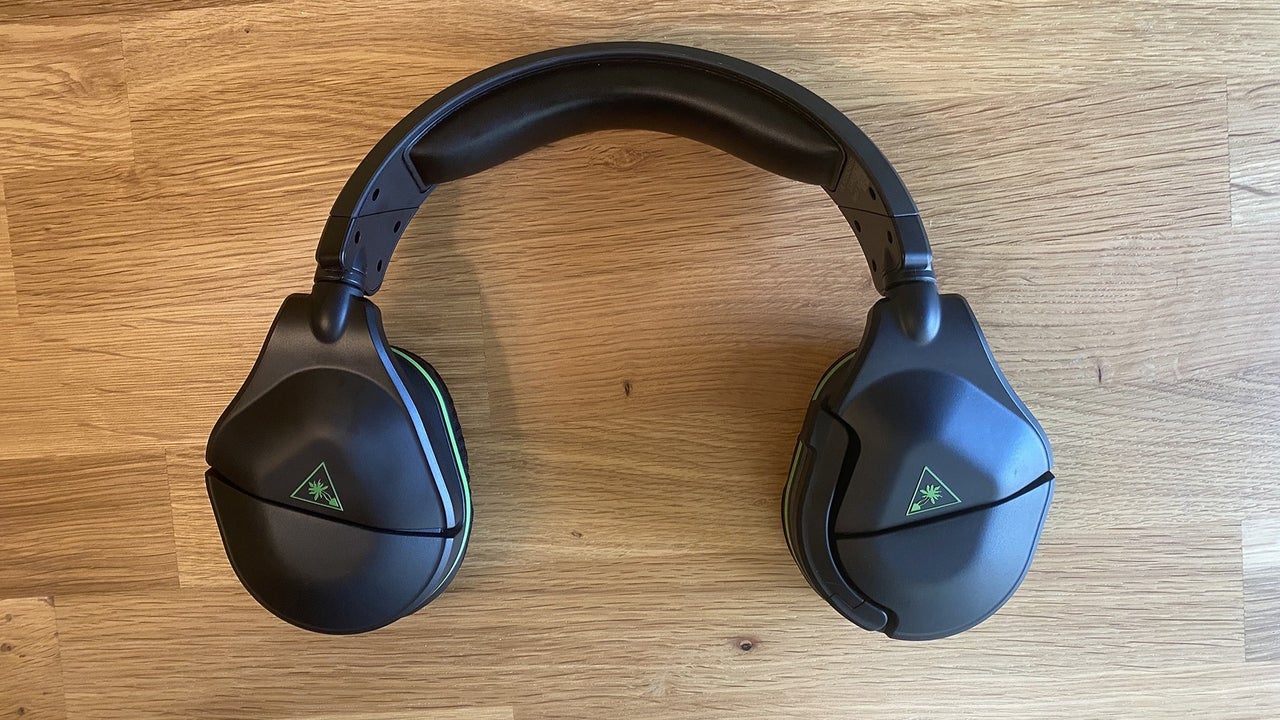
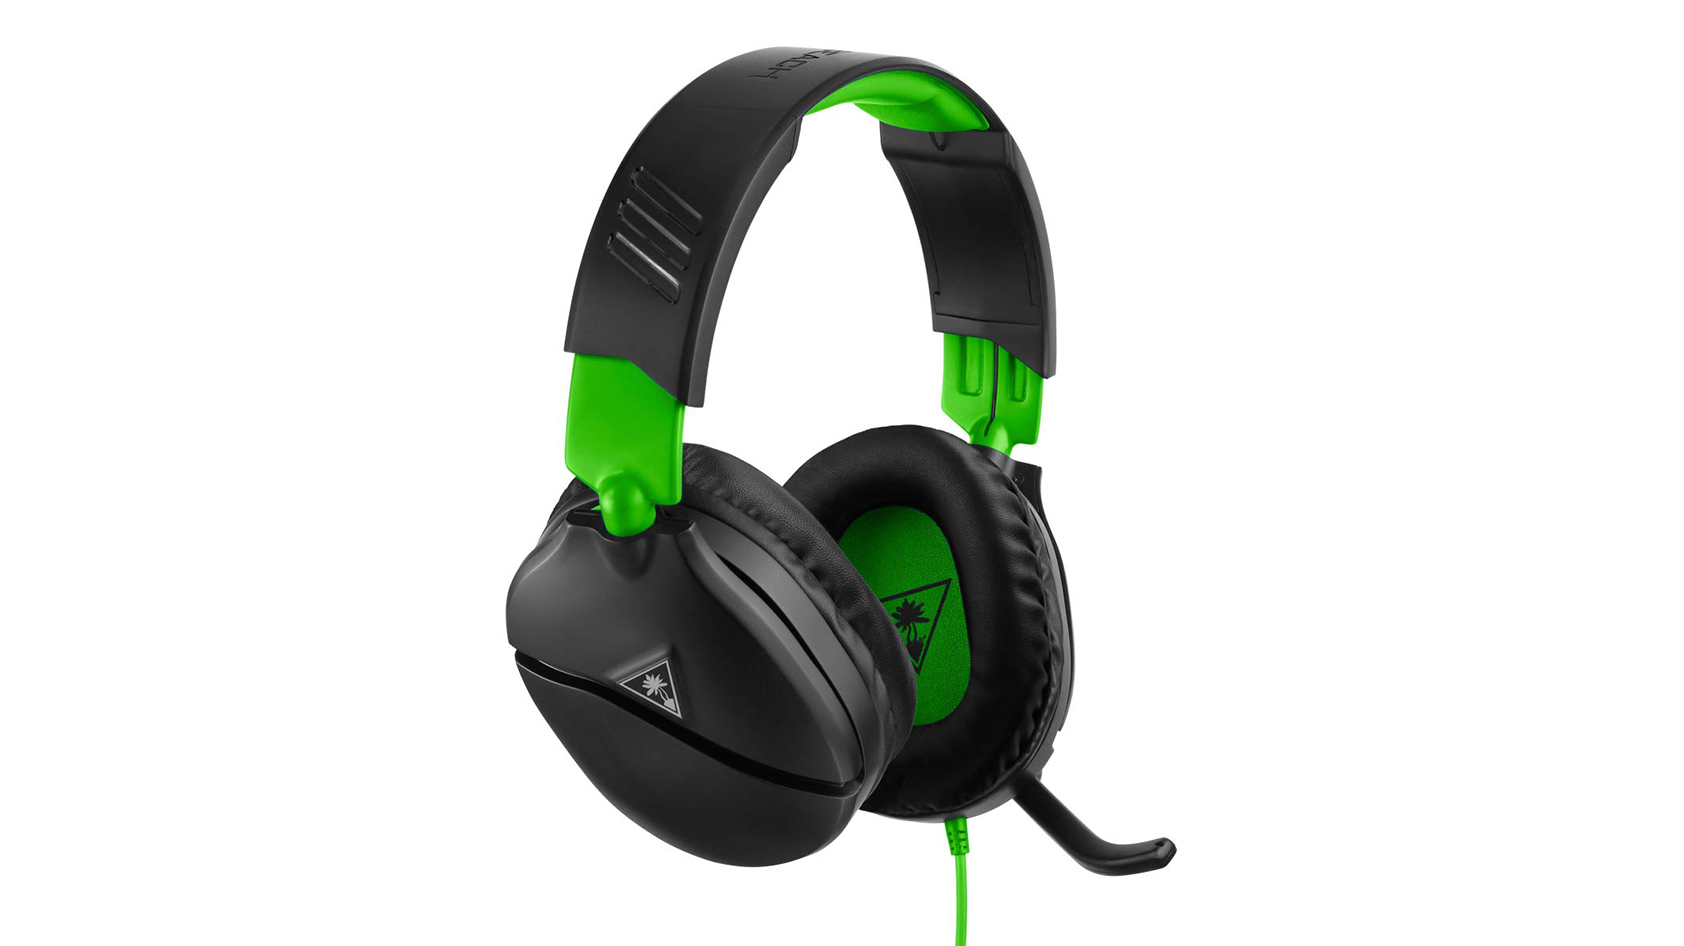
Unboxing a new gadget is always an exciting experience, and the Turtle Beach headset is no exception. As you eagerly unwrap the packaging, you'll be greeted by a meticulously crafted headset designed to deliver unparalleled audio performance. Let's delve into the step-by-step process of unboxing your Turtle Beach headset.
-
Inspect the Packaging: The first step is to carefully examine the packaging for any signs of damage during transit. Ensure that the box is intact and free from any dents or tears.
-
Open the Box: Gently open the box, revealing the contents nestled within. Take a moment to appreciate the sleek design of the headset and the accompanying accessories.
-
Retrieve the Headset: Lift the headset from its secure position within the box. As you hold it in your hands, you'll notice the premium build quality and attention to detail that sets Turtle Beach headsets apart.
-
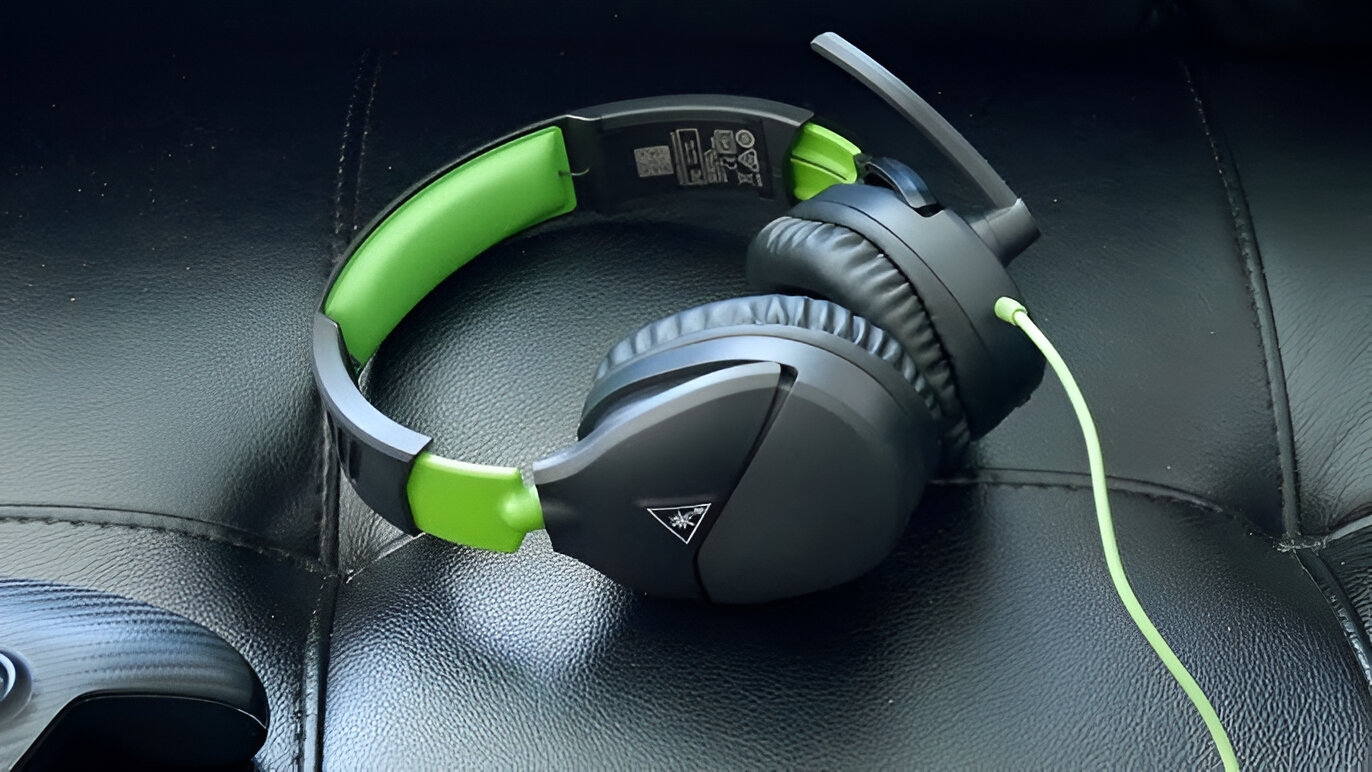
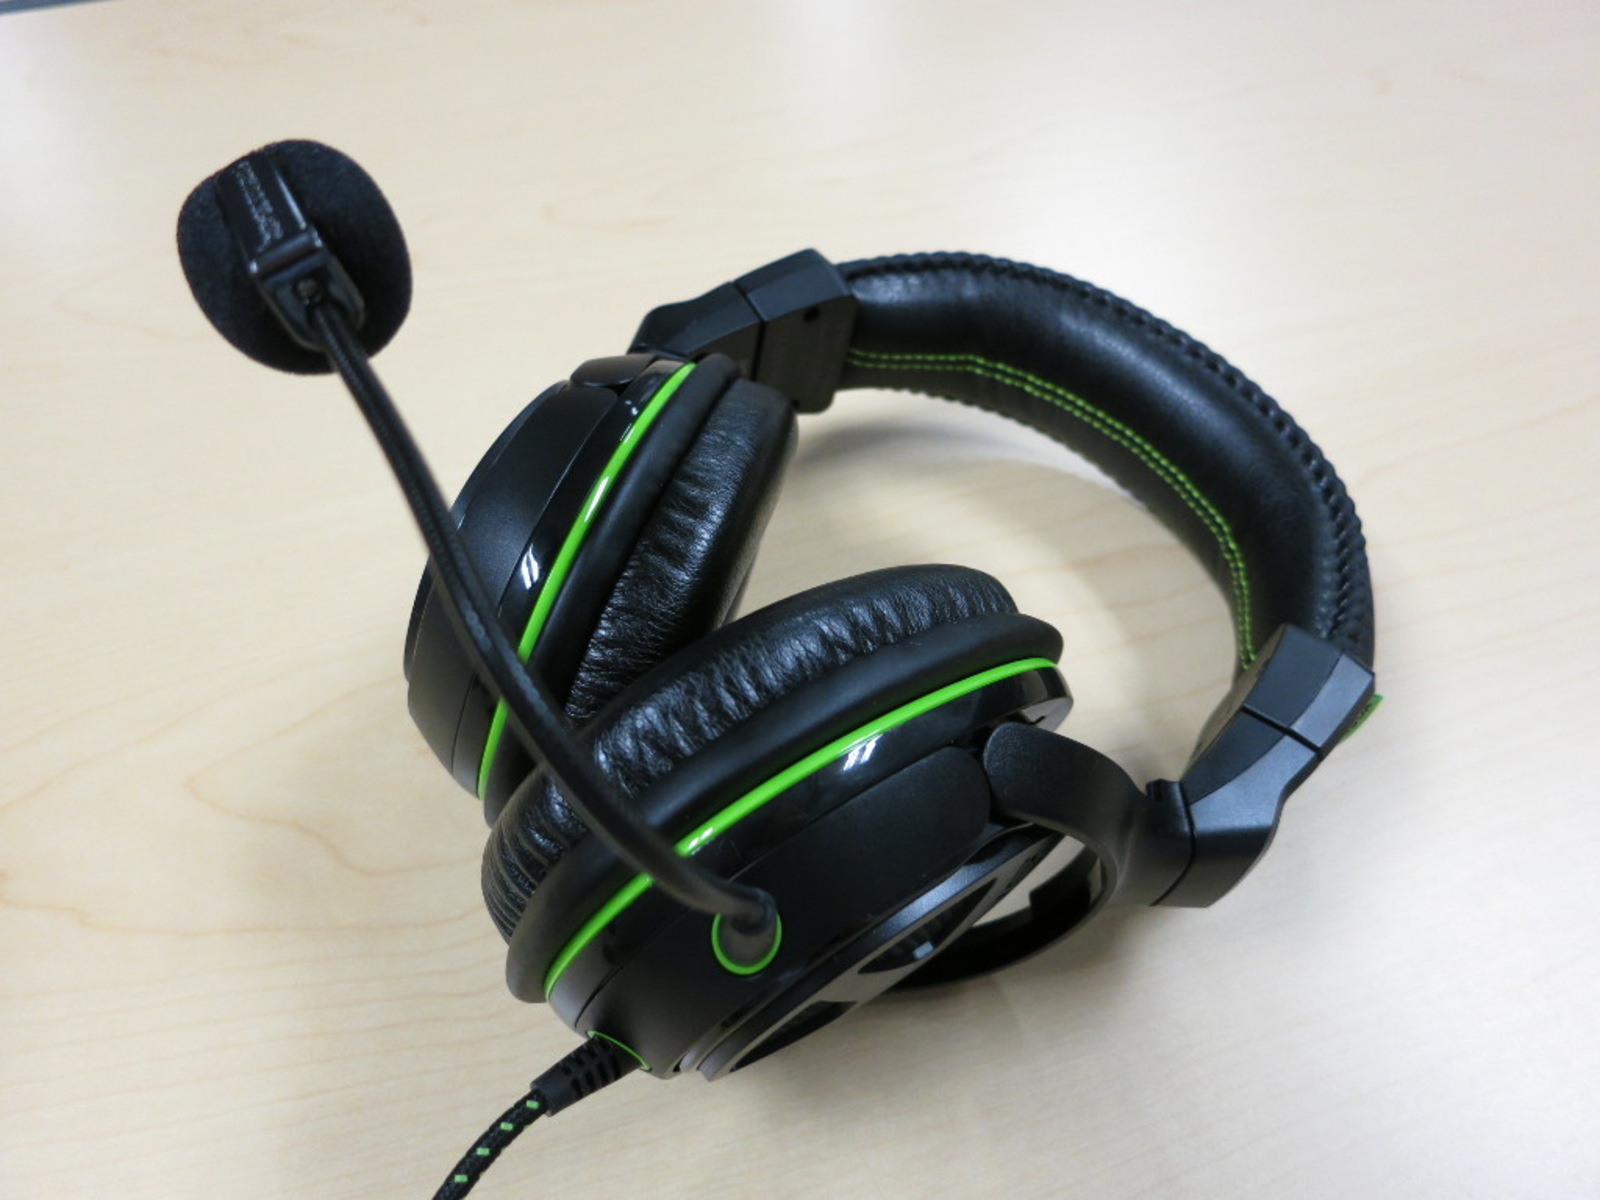
Explore the Accessories: Alongside the headset, you'll find a range of accessories such as the detachable microphone, audio cables, and possibly a user manual. Take stock of all the included items to ensure nothing is overlooked.
-
Protective Coverings: Remove any protective coverings or packaging materials from the headset and accessories. This will unveil the pristine finish of the headset, ready to be integrated into your gaming setup.
-
Inspect for Defects: Thoroughly inspect the headset for any manufacturing defects or imperfections. Check the cables for any signs of damage and ensure that all components are in pristine condition.
-
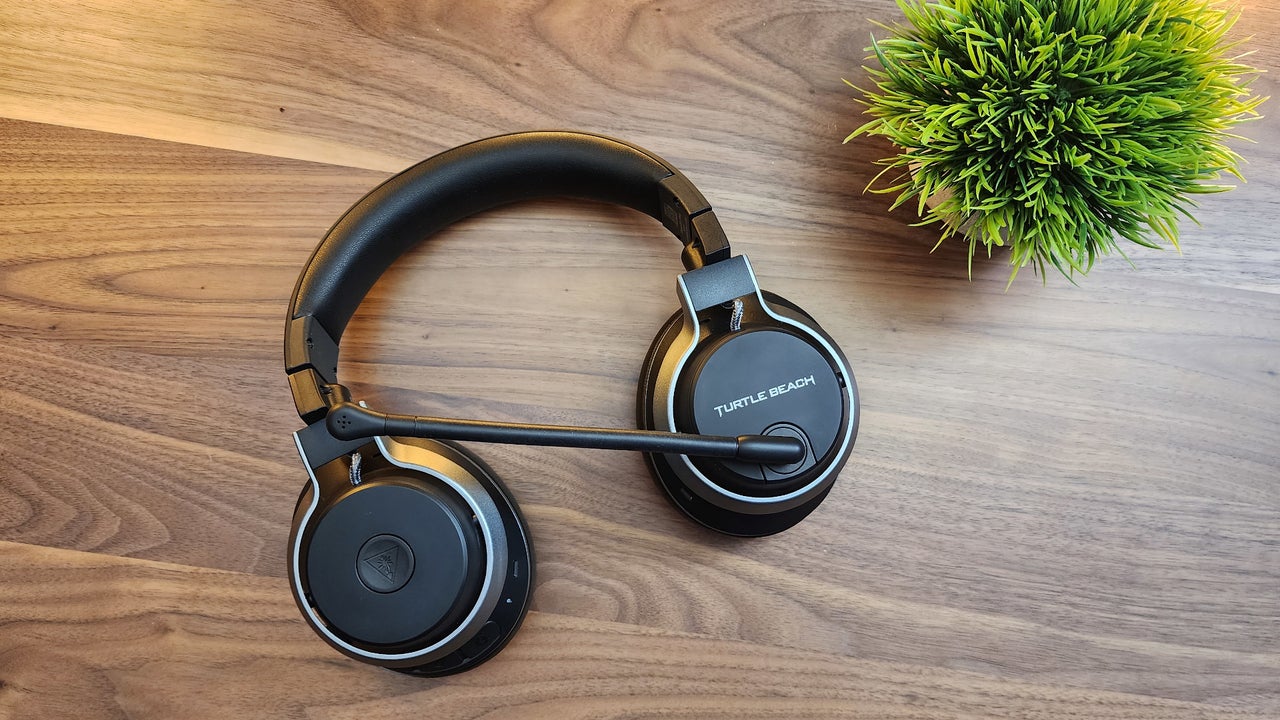
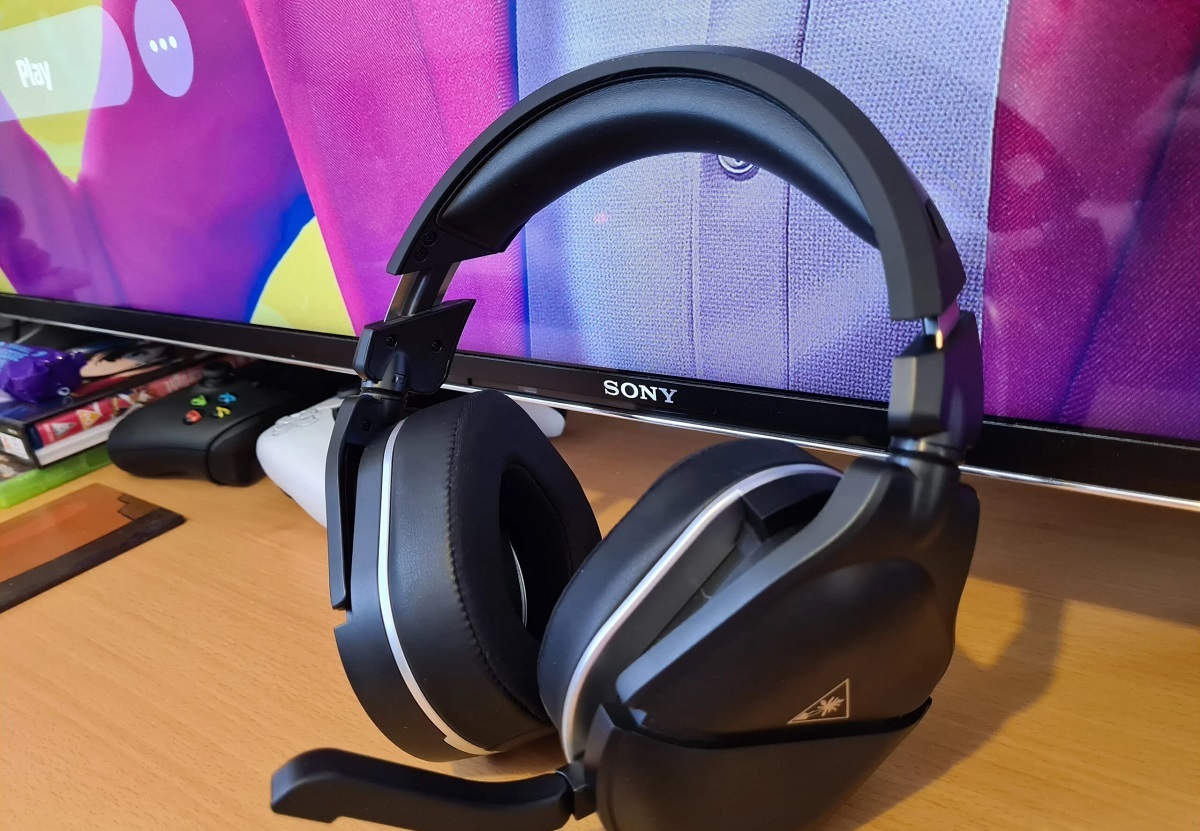
Appreciate the Design: Take a moment to appreciate the ergonomic design and thoughtful engineering that has gone into creating the Turtle Beach headset. From the cushioned ear cups to the adjustable headband, every aspect is tailored for comfort and performance.
Unboxing the Turtle Beach headset sets the stage for an immersive gaming experience, where every sound comes to life with remarkable clarity. With the headset in hand and the accessories at the ready, you're now prepared to embark on the next step of integrating it with your Xbox One console.
The unboxing process not only introduces you to the physical attributes of the headset but also builds anticipation for the audio journey that lies ahead. It's a testament to the meticulous craftsmanship and attention to detail that defines the Turtle Beach experience.
Step 2: Connecting the Headset to the Xbox One Controller
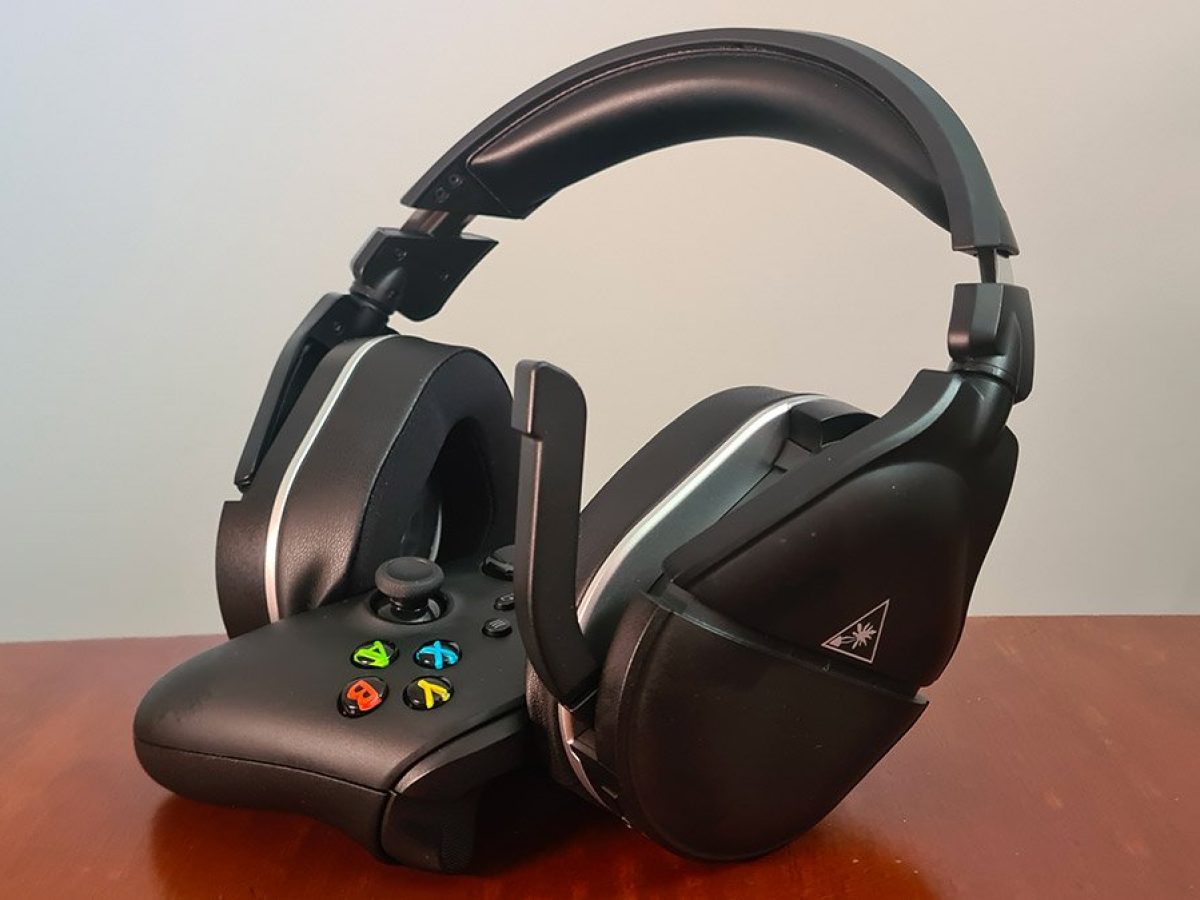
Connecting your Turtle Beach headset to the Xbox One controller is a straightforward process that paves the way for an immersive gaming experience. With the headset unboxed and the Xbox One controller at the ready, let's delve into the seamless integration of these two essential components.
-
Identify the 3.5mm Jack: The first step is to locate the 3.5mm audio jack on your Xbox One controller. This is where the headset will be connected to establish a direct audio link between the controller and the headset.
-
Detachable Microphone: If your Turtle Beach headset comes with a detachable microphone, carefully attach it to the headset. The microphone typically plugs into a designated port on the headset, ensuring clear voice communication during gaming sessions.
-
Audio Cable Connection: Take the audio cable included with your Turtle Beach headset and connect one end to the 3.5mm jack on the Xbox One controller. This establishes the audio connection, allowing the headset to receive game audio and enable voice chat functionality.
-
Adjusting Volume and Chat Controls: Depending on your Turtle Beach headset model, there may be inline volume and chat controls integrated into the audio cable. Familiarize yourself with these controls, which enable you to adjust the game audio and chat volume directly from the headset.
-
Powering On: With the headset connected to the Xbox One controller, power on your controller and the console. The audio output will now be directed to the Turtle Beach headset, ensuring that you can fully immerse yourself in the gaming audio landscape.
-
Testing the Connection: To ensure that the headset is functioning correctly, launch a game or navigate the Xbox One dashboard to experience the audio output. Pay attention to the clarity of the sound and the seamless integration of the headset with the Xbox One controller.
-
Comfort and Fit: As you begin your gaming session with the Turtle Beach headset, take a moment to adjust the headband and ear cups for optimal comfort. The ergonomic design of the headset is tailored to provide long-lasting comfort during extended gaming sessions.
By seamlessly connecting your Turtle Beach headset to the Xbox One controller, you have unlocked the gateway to a world of captivating audio experiences. Every sound, from the subtle nuances of the game environment to the intricate details of in-game dialogue, is now poised to envelop you in a rich auditory tapestry.
With the audio connection established, you are now poised to venture into the next phase of the setup process, fine-tuning the audio settings on your Xbox One to optimize the performance of your Turtle Beach headset.
Step 3: Adjusting Audio Settings on the Xbox One
Once your Turtle Beach headset is seamlessly connected to the Xbox One controller, it's time to delve into the realm of audio settings on your console. By fine-tuning the audio parameters, you can optimize the performance of your headset and tailor the sound output to suit your gaming preferences. Let's embark on this crucial step to unlock the full potential of your audio experience.
-
Accessing Audio Settings: Navigate to the Xbox One dashboard and select the "Settings" tab. From there, locate the "Display & Sound" option to access a range of audio settings that can be customized to enhance your gaming audio.
-
Headset Volume and Audio Mix: Within the audio settings, you'll find options to adjust the headset volume and audio mix. Fine-tune these settings to achieve the perfect balance between game audio and voice chat, ensuring that both elements are optimized for crystal-clear sound.
-
Mic Monitoring: If your Turtle Beach headset offers mic monitoring functionality, take advantage of this feature to control the level of your own voice heard in the headset. Adjust the mic monitoring level to suit your preferences, striking the ideal balance between in-game audio and voice feedback.
-
Equalizer Settings: Some Xbox One consoles offer equalizer settings that allow you to customize the audio output based on preset profiles or manual adjustments. Explore these options to tailor the sound profile of your Turtle Beach headset, enhancing the bass, treble, and overall audio characteristics to align with your gaming preferences.
-
Dolby Atmos for Headphones: For an unparalleled audio experience, consider enabling Dolby Atmos for Headphones if your Turtle Beach headset supports this technology. Dolby Atmos delivers immersive, three-dimensional audio, heightening the sense of realism and spatial awareness within games.
-
Audio Output: Verify that the audio output is set to the headset to ensure that the game audio is directed to your Turtle Beach headset. This step confirms that the audio signals are routed correctly, allowing you to experience the full spectrum of sound through your headset.
By meticulously adjusting the audio settings on your Xbox One, you are sculpting the auditory landscape of your gaming experience. The ability to fine-tune the audio parameters empowers you to create a personalized audio environment that amplifies the immersion and excitement of every gaming session.
With the audio settings optimized, you are now ready to immerse yourself in the world of gaming, where every sound resonates with unparalleled clarity and depth. The harmonious integration of your Turtle Beach headset with the Xbox One, coupled with finely tuned audio settings, sets the stage for an audio journey that transcends mere gameplay, elevating it to a symphony of immersive sound.
Step 4: Testing the Headset
With your Turtle Beach headset seamlessly integrated with the Xbox One controller and the audio settings meticulously adjusted, it's time to embark on the pivotal step of testing the headset. This phase not only validates the successful setup but also serves as the gateway to experiencing the full spectrum of audio capabilities that the headset has to offer.
As you prepare to test the headset, consider launching a game that encompasses a diverse range of audio elements, from ambient environmental sounds to dynamic in-game dialogue. This will allow you to immerse yourself in a comprehensive audio landscape, enabling you to discern the nuanced details and immersive qualities of the headset's audio output.
Pay close attention to the following aspects as you test the Turtle Beach headset:
-
Sound Clarity: Listen for the crispness and clarity of in-game audio elements, such as footsteps, environmental effects, and atmospheric sounds. The headset's ability to faithfully reproduce these details is a testament to its audio fidelity and precision.
-
Spatial Awareness: Engage in gameplay scenarios that demand spatial awareness, such as identifying the direction of approaching footsteps or pinpointing the source of distant gunfire. The headset's spatial audio capabilities should provide a heightened sense of location and directionality, enriching your overall gaming experience.
-
Voice Chat: If engaging in multiplayer gaming, initiate voice chat to gauge the clarity and intelligibility of communication. The headset's microphone should capture your voice with clarity while effectively filtering out background noise, ensuring seamless communication with fellow gamers.
-
Dynamic Range: Experience the dynamic range of the headset by encountering moments of intense action juxtaposed with subtle ambient sounds. The ability of the headset to convey both the thunderous explosions and the delicate whispers of the game world demonstrates its capacity to handle a wide spectrum of audio dynamics.
-
Comfort and Longevity: As you immerse yourself in gaming sessions, assess the comfort and longevity of the headset. The ergonomic design, cushioned ear cups, and adjustable headband should contribute to prolonged comfort, allowing you to indulge in extended gaming sessions without discomfort.
By meticulously testing the Turtle Beach headset across these crucial dimensions, you gain a comprehensive understanding of its audio prowess and its seamless integration with the Xbox One console. The testing phase serves as the ultimate validation of the setup process, affirming that every element, from audio fidelity to comfort, aligns with your gaming aspirations.
With the successful testing of the Turtle Beach headset, you are now poised to embark on an audio journey that transcends mere gameplay, elevating every moment to a symphony of immersive sound. It's time to unleash the full potential of your gaming experience, where every sound resonates with unparalleled clarity and depth, enveloping you in a world of captivating audio wonders.
Conclusion
In conclusion, the seamless integration of your Turtle Beach headset with the Xbox One console marks the beginning of a transformative audio journey within the realm of gaming. From the moment you unboxed the headset, marveled at its meticulous design, and connected it to the Xbox One controller, you embarked on a path that leads to a heightened level of audio immersion and gaming excellence.
As you meticulously adjusted the audio settings on your Xbox One, fine-tuning every parameter to align with your gaming preferences, you sculpted an auditory landscape that resonates with personalized clarity and depth. The ability to tailor the audio mix, mic monitoring, and equalizer settings empowers you to create a bespoke audio environment that amplifies the excitement and immersion of every gaming session.
Through the pivotal phase of testing the Turtle Beach headset, you delved into a world where every sound, from the subtle nuances of the game environment to the dynamic range of in-game action, came to life with breathtaking realism. The headset's ability to faithfully reproduce spatial awareness, convey voice chat with clarity, and handle a wide spectrum of audio dynamics affirmed its position as a cornerstone of your gaming setup.
With the successful completion of the setup process and the validation of the headset's audio capabilities, you now stand at the threshold of an audio journey that transcends mere gameplay. Every gaming session becomes a symphony of immersive sound, where every footstep, environmental detail, and in-game dialogue resonates with unparalleled clarity and depth.
As you don the Turtle Beach headset and immerse yourself in the captivating worlds of your favorite games, you are poised to experience gaming in a whole new light. The headset becomes your gateway to a realm where audio excellence intertwines seamlessly with gameplay, elevating every moment to a symphony of immersive sound.
In essence, the integration of the Turtle Beach headset with your Xbox One console transcends the mere act of setting up a gaming accessory. It heralds the dawn of a new era in your gaming journey, where every sound, every whisper, and every thunderous roar becomes an integral part of an audio tapestry that enriches and elevates your gaming experience. Embrace this auditory odyssey, for it is a journey that will redefine the way you perceive and engage with the captivating worlds of gaming.