Introduction
Embarking on the journey of enhancing your gaming experience by integrating a Turtle Beach headset with your Xbox console is an exciting venture. As you delve into the realm of immersive audio and seamless communication, you are poised to unlock a new level of gaming mastery. The fusion of cutting-edge technology and user-friendly design sets the stage for a seamless connection process, allowing you to seamlessly transition from standard audio to a world of high-fidelity sound.
In this comprehensive guide, we will walk you through each step of unboxing, connecting, adjusting audio settings, and testing your Turtle Beach headset with your Xbox console. By following this step-by-step approach, you will gain a thorough understanding of the integration process, ensuring that you can fully harness the capabilities of your headset. Whether you are a seasoned gamer seeking to elevate your gameplay or a newcomer eager to immerse yourself in the world of gaming audio, this guide will serve as your compass on this exhilarating journey.
With a focus on clarity and simplicity, this guide is designed to cater to all levels of expertise, from tech-savvy individuals to those who are new to the intricacies of audio equipment. By the end of this walkthrough, you will be equipped with the knowledge and confidence to seamlessly connect your Turtle Beach headset to your Xbox console, paving the way for an unparalleled gaming experience.
As we embark on this adventure together, it's important to approach the process with a sense of curiosity and excitement. Embrace the opportunity to explore the seamless integration of advanced audio technology with your gaming setup, and prepare to be immersed in a world where every sound comes to life. Let's dive into the unboxing process and begin our journey toward Xbox mastery with your Turtle Beach headset.
Step 1: Unboxing the Turtle Beach Headset
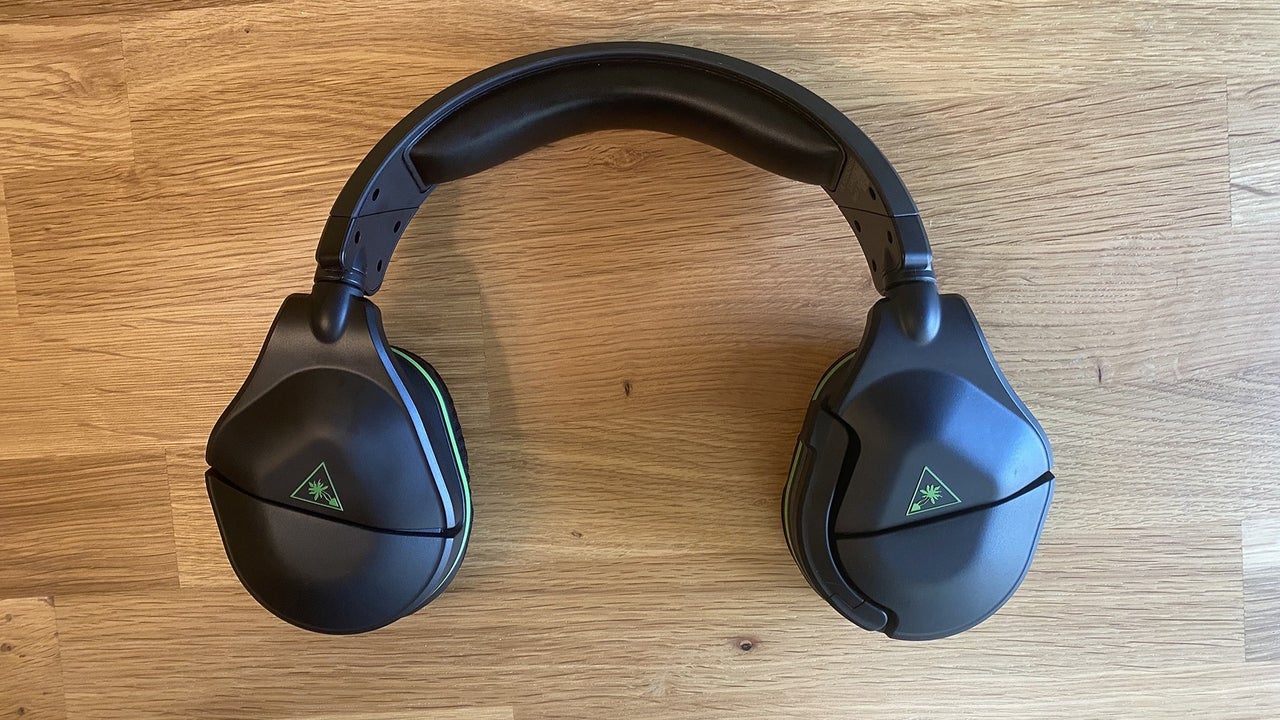
As you embark on the exhilarating journey of unboxing your Turtle Beach headset, you are greeted by a meticulously crafted package that exudes a sense of anticipation and excitement. The process begins with carefully removing the outer packaging, unveiling the sleek and stylish box that houses your new gaming companion.
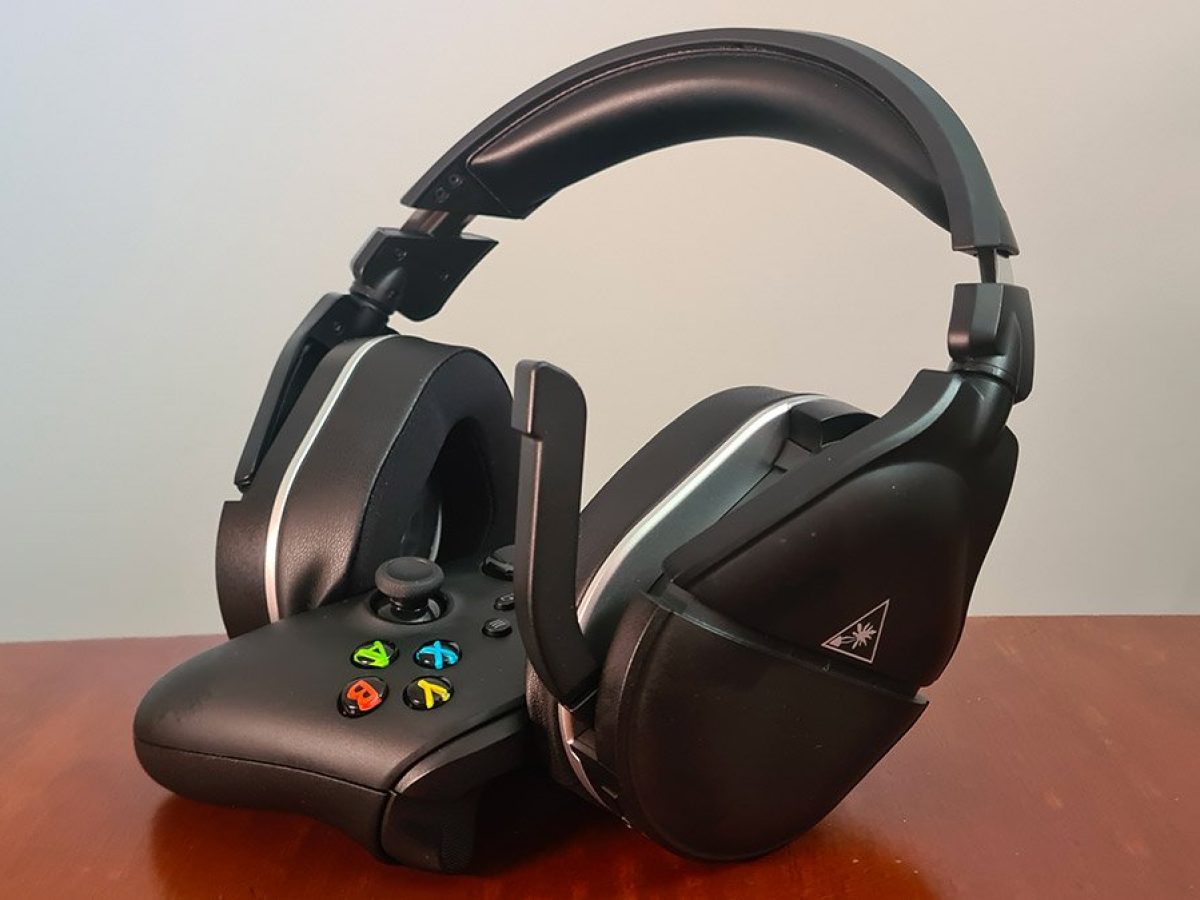
Upon lifting the lid, you are immediately presented with the centerpiece of the package – the Turtle Beach headset. Nestled within a protective casing, the headset exudes a sense of sophistication, boasting a design that seamlessly balances form and function. The smooth curves and premium finish of the headset hint at the advanced technology that lies within, setting the stage for a truly immersive audio experience.
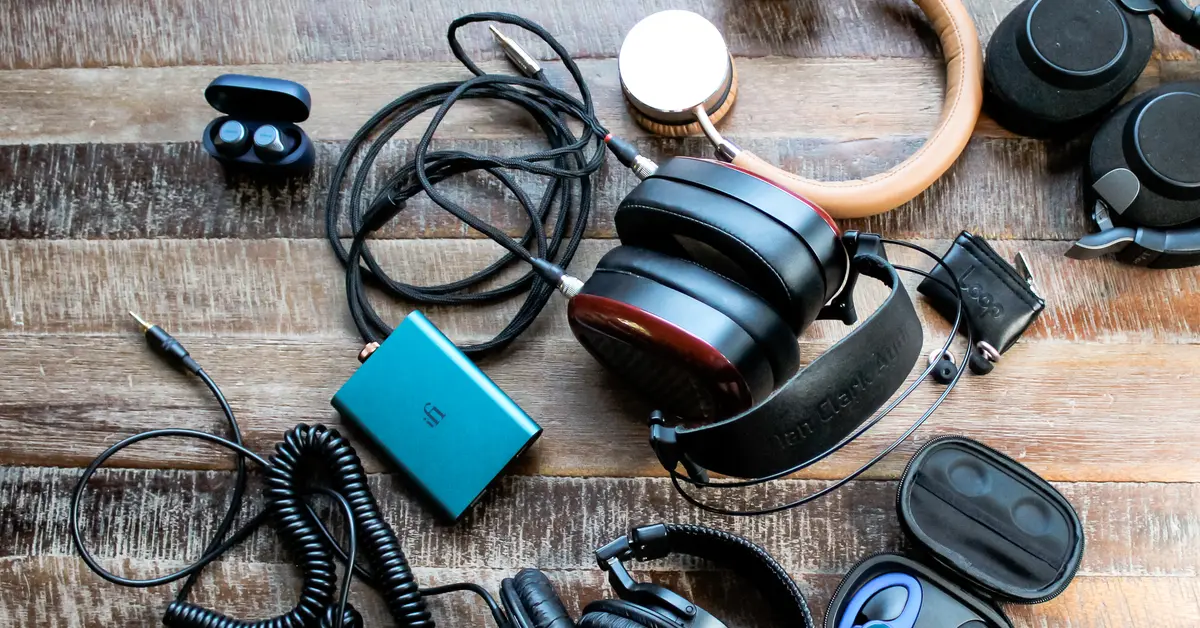
As you continue to explore the contents of the package, you discover a wealth of accessories that complement the headset. The inclusion of a detachable microphone, an audio cable, and possibly a USB transmitter, depending on the specific model, showcases the attention to detail and the versatility of the headset. Each component is thoughtfully designed to seamlessly integrate with the headset, ensuring a hassle-free setup process.
Furthermore, the package may also contain essential documentation, such as user manuals and warranty information. These resources serve as valuable companions, providing guidance on the setup process and offering insights into the features and capabilities of your Turtle Beach headset. Taking a moment to review the documentation can offer valuable insights and enhance your overall understanding of the headset's functionality.
As you carefully remove each component from the packaging, you are met with a sense of anticipation, knowing that you are on the cusp of unlocking a new dimension of audio excellence. The meticulous attention to detail in the packaging and the inclusion of essential accessories underscore Turtle Beach's commitment to delivering a comprehensive and user-centric experience.
With the unboxing process complete, you are now ready to embark on the next phase of the journey – connecting your Turtle Beach headset to your Xbox console. As you transition from unboxing to setup, the anticipation builds, setting the stage for a seamless integration that will elevate your gaming experience to new heights.
The unboxing experience serves as a prelude to the immersive audio journey that awaits, offering a glimpse into the meticulous craftsmanship and advanced technology that define the Turtle Beach headset. With the headset and its accompanying accessories at your disposal, you are now poised to embark on the next step of the process, eager to harness the full potential of your gaming audio setup.
Step 2: Connecting the Headset to the Xbox Console
Connecting your Turtle Beach headset to your Xbox console marks a pivotal moment in your gaming journey, as it sets the stage for a seamless fusion of advanced audio technology and immersive gameplay. The process of establishing this connection is designed to be intuitive and straightforward, ensuring that you can swiftly transition from setup to enjoyment.
-
Identifying the Connection Ports: Begin by familiarizing yourself with the various connection ports on your Xbox console. Depending on the model of your Turtle Beach headset, you may need to identify the optical audio port, USB port, or the 3.5mm audio jack on your console. This step is essential for ensuring that you can seamlessly integrate your headset with the appropriate ports, laying the foundation for a stable and reliable connection.
-
Optical Audio Connection (If Applicable): If your Turtle Beach headset utilizes an optical audio connection, locate the optical audio port on your Xbox console. This port is typically found on the rear panel of the console and is identified by its distinctive square shape. Once identified, carefully insert the optical audio cable from your headset into the corresponding port on the console, ensuring a secure and snug connection.
-
USB Connection (If Applicable): For headsets that rely on a USB connection for power and audio transmission, locate an available USB port on your Xbox console. Gently insert the USB connector from your headset into the USB port, taking care to align the connector properly to avoid any potential damage.
-
3.5mm Audio Jack Connection (If Applicable): If your Turtle Beach headset features a 3.5mm audio jack for connectivity, identify the corresponding audio jack on your Xbox controller. With the headset's audio cable in hand, carefully plug the 3.5mm connector into the audio jack on the controller, ensuring a secure and stable connection.
-
Powering Up the Headset: Once the physical connections are established, power on your Turtle Beach headset according to the manufacturer's instructions. This may involve pressing a power button or activating the headset through a designated control panel. As the headset powers up, you are poised to experience the seamless integration of advanced audio technology with your gaming environment.
By meticulously following these steps, you have successfully connected your Turtle Beach headset to your Xbox console, laying the groundwork for a transformative audio experience. With the physical connections in place, you are now ready to embark on the next phase of the setup process – adjusting the audio settings to optimize the performance of your headset.
The successful connection between your headset and Xbox console marks a significant milestone, underscoring your commitment to unlocking the full potential of your gaming audio setup. With the foundation firmly established, you are now poised to delve into the intricacies of audio customization, fine-tuning the settings to suit your preferences and immerse yourself in a world of unparalleled audio excellence.
Step 3: Adjusting Audio Settings
With your Turtle Beach headset seamlessly connected to your Xbox console, the next crucial step in harnessing its full potential involves adjusting the audio settings. This pivotal phase empowers you to fine-tune the audio output, customize the microphone settings, and optimize the overall audio experience to align with your preferences and gaming environment.
Customizing Audio Output:
Navigate to the audio settings menu on your Xbox console, where you can access a range of options to tailor the audio output to your liking. Adjust the equalizer settings to enhance specific frequencies, such as bass or treble, and create a personalized audio profile that complements your gaming experience. Experiment with different presets or delve into manual customization to achieve the ideal balance of audio clarity and immersion.
Microphone Configuration:
Delve into the microphone settings to ensure that your voice is captured with precision and clarity during gaming sessions. Adjust the microphone sensitivity to eliminate background noise and enhance voice clarity, allowing for seamless communication with fellow gamers. Fine-tuning these settings ensures that your Turtle Beach headset serves as a reliable communication tool, enabling clear and effective interaction within the gaming community.
Spatial Audio Enhancements:
Explore the spatial audio settings available on your Xbox console to unlock a heightened sense of immersion. Activate spatial sound technologies, such as Windows Sonic or Dolby Atmos for Headphones, to experience multidimensional audio that elevates the spatial awareness within games. These enhancements provide a distinct audio advantage, allowing you to pinpoint the source of in-game sounds with precision and react swiftly to auditory cues.
Chat and Game Audio Balancing:
Leverage the audio balancing options to tailor the mix between chat and game audio, ensuring that neither element overpowers the other. Achieve a harmonious blend that allows for clear communication while preserving the immersive impact of in-game audio. By striking the right balance, you can fully immerse yourself in the gaming environment without compromising the clarity of communication with your teammates.
Preserving Hearing Health:
Consider enabling volume limiters or adjusting the overall volume levels to safeguard your hearing health during extended gaming sessions. By exercising caution and moderation in volume settings, you prioritize your long-term well-being while still enjoying the rich audio experience facilitated by your Turtle Beach headset.
By meticulously adjusting these audio settings, you optimize the performance of your Turtle Beach headset, ensuring that it seamlessly integrates with your gaming environment and elevates your overall experience. The ability to customize and fine-tune the audio output and microphone settings empowers you to create a tailored audio experience that aligns with your unique preferences and gaming style. With the audio settings optimized, you are now prepared to embark on the final phase of this transformative journey – testing your Turtle Beach headset to experience its full capabilities in action.
Step 4: Testing the Headset
With your Turtle Beach headset seamlessly integrated with your Xbox console and the audio settings meticulously adjusted to your preferences, the moment has arrived to put the headset to the test. This pivotal phase allows you to immerse yourself in a series of comprehensive tests to gauge the performance, audio fidelity, and communication capabilities of your headset, culminating in a firsthand experience of its transformative potential.
Immersive Audio Experience:
Embark on a gaming session that showcases a diverse range of audio elements, from atmospheric environmental sounds to explosive in-game effects. As you traverse virtual landscapes and engage in intense gameplay, pay close attention to the clarity, depth, and spatial accuracy of the audio delivered through your Turtle Beach headset. Take note of the nuanced details, such as directional cues and ambient soundscapes, which contribute to a heightened sense of immersion.
Communication Clarity:
Initiate communication with fellow gamers or friends through the headset's microphone, engaging in conversations that highlight the clarity and reliability of the audio transmission. Whether coordinating strategies in multiplayer battles or engaging in casual banter, assess the microphone's ability to capture your voice with precision while minimizing background noise. Evaluate the seamless integration of the microphone with the headset, ensuring that it serves as a reliable conduit for effective communication within the gaming community.
Audio Customization Validation:
Put the customized audio settings to the test by exploring a variety of gaming genres and scenarios, each presenting distinct audio characteristics. Evaluate the effectiveness of the equalizer adjustments and spatial audio enhancements in enhancing the overall gaming experience. Pay attention to how the tailored audio profile enriches the sonic landscape, elevating the impact of in-game sound effects and musical scores while preserving vocal clarity and spatial awareness.
Extended Comfort Assessment:
Engage in an extended gaming session while wearing your Turtle Beach headset, assessing its comfort, ergonomics, and long-term wearability. Evaluate the headset's ability to maintain a comfortable fit without causing undue pressure or discomfort, ensuring that you can fully immerse yourself in extended gaming sessions without physical fatigue or distraction.
Real-world Scenario Simulation:
Immerse yourself in real-world scenarios that mirror your typical gaming environment, whether it involves competitive multiplayer matches, cooperative gameplay, or solo adventures. Assess how the Turtle Beach headset enhances your ability to react swiftly to in-game audio cues, communicate effectively with teammates, and maintain a heightened sense of audio awareness throughout diverse gaming experiences.
By subjecting your Turtle Beach headset to these comprehensive tests, you gain a holistic understanding of its capabilities and performance across various facets of the gaming landscape. This hands-on exploration serves as a testament to the seamless integration of advanced audio technology with your gaming environment, affirming the transformative impact of your headset on the overall gaming experience.
Conclusion
As we draw the curtains on this comprehensive guide to connecting your Turtle Beach headset to your Xbox console, it's evident that you have embarked on a transformative journey toward audio mastery in gaming. The seamless integration of advanced audio technology with your gaming environment has unlocked a new dimension of immersive gameplay, communication clarity, and personalized audio experiences.
Throughout this walkthrough, you have navigated the unboxing process, expertly connected your Turtle Beach headset to your Xbox console, fine-tuned the audio settings to suit your preferences, and put the headset to the test in real-world gaming scenarios. Each step of this journey has been meticulously designed to empower you with the knowledge and confidence to harness the full potential of your gaming audio setup.
By unboxing the Turtle Beach headset, you were greeted with a meticulously crafted package that hinted at the advanced technology within. The inclusion of essential accessories and documentation laid the foundation for a seamless setup process, setting the stage for the immersive audio journey that awaited.
Connecting the headset to your Xbox console marked a pivotal moment, as you expertly identified and established the necessary physical connections, ensuring a stable and reliable integration. This phase underscored your commitment to unlocking the full potential of your gaming audio setup, setting the stage for a transformative audio experience.
Adjusting the audio settings empowered you to customize the audio output, microphone configuration, and spatial audio enhancements, tailoring the audio experience to align with your unique preferences. This phase highlighted the versatility and adaptability of your Turtle Beach headset, allowing you to craft a personalized audio profile that elevates your gaming immersion.
Testing the headset in real-world gaming scenarios served as the ultimate validation of its capabilities, allowing you to experience firsthand the transformative impact of advanced audio technology. From immersive audio experiences to communication clarity and extended comfort assessments, each test reaffirmed the seamless integration of the Turtle Beach headset with your gaming environment.
As you reflect on this journey, it becomes clear that the fusion of the Turtle Beach headset with your Xbox console has transcended traditional gaming audio, elevating it to a realm of unparalleled excellence. The meticulous attention to detail, intuitive design, and transformative capabilities of the headset have redefined your gaming experience, setting the stage for a future filled with immersive audio mastery.
With your newfound expertise in connecting and optimizing your Turtle Beach headset, you are poised to embark on countless gaming adventures, each enriched by the seamless integration of advanced audio technology. As you venture into the boundless landscapes of virtual worlds, engage in competitive multiplayer battles, or embark on epic quests, the immersive audio experience facilitated by your Turtle Beach headset will serve as a steadfast companion, enriching every moment and enhancing your overall gaming mastery.
In conclusion, this guide has not only equipped you with the technical know-how to connect your Turtle Beach headset to your Xbox console but has also ignited a passion for immersive audio excellence in gaming. As you continue your gaming journey, may the transformative capabilities of your Turtle Beach headset serve as a constant reminder of the boundless potential that awaits within the realm of gaming audio mastery.