Introduction
Welcome to the world of immersive gaming audio! If you're a proud owner of a Turtle Beach headset and a PlayStation 4 (PS4) console, you're in for a treat. Connecting your Turtle Beach headset to your PS4 opens up a realm of audio magic, allowing you to experience games, movies, and music in a whole new dimension. Whether you're a hardcore gamer seeking a competitive edge or a casual player looking to enhance your gaming experience, this guide will walk you through the process of connecting your Turtle Beach headset to your PS4 and optimizing the audio settings for maximum enjoyment.
With its advanced audio technology and ergonomic design, your Turtle Beach headset is more than just a peripheral – it's a gateway to a world of rich, dynamic soundscapes. From the subtle rustle of leaves in a stealth game to the thunderous roar of explosions in an action-packed blockbuster, your headset is poised to deliver an audio experience that transcends the ordinary. By seamlessly integrating your headset with your PS4, you'll be able to fully immerse yourself in the virtual worlds of your favorite games, picking up on every nuanced sound cue and communicating clearly with your teammates.
In the following steps, we'll delve into the process of unboxing your Turtle Beach headset, connecting it to your PS4, and fine-tuning the audio settings to suit your preferences. Whether you're a tech-savvy enthusiast or a newcomer to the world of gaming peripherals, this guide is designed to be your companion, offering clear and concise instructions to ensure a smooth setup process. So, grab your headset, power up your PS4, and get ready to elevate your gaming experience with the captivating audio prowess of your Turtle Beach headset. Let's embark on this audio adventure together!
Step 1: Unboxing Your Turtle Beach Headset
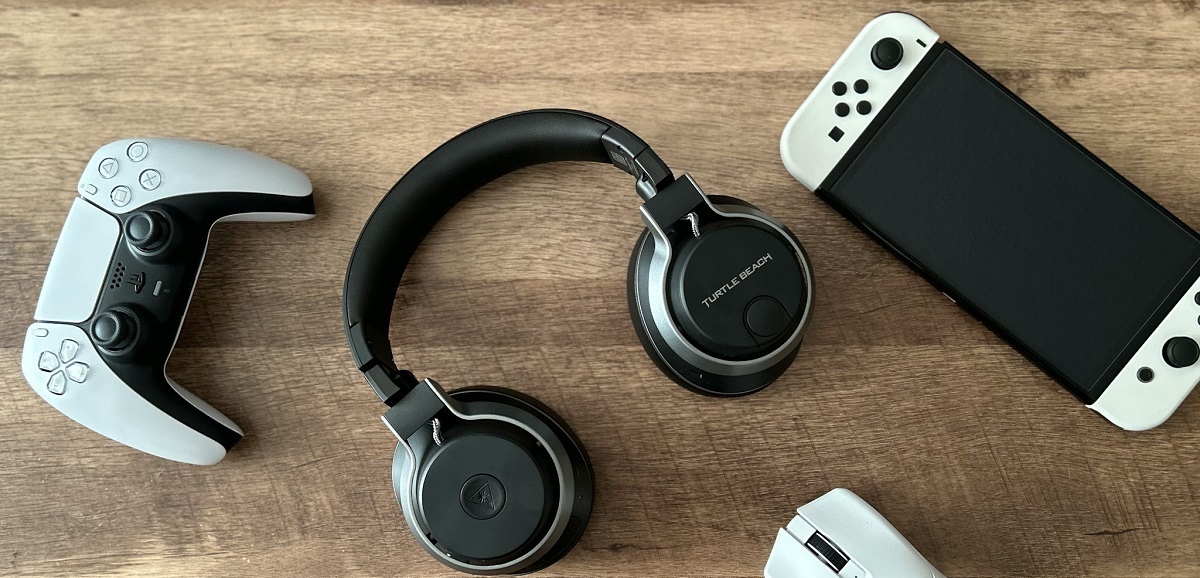
Unboxing a new gadget is always an exciting experience, and your Turtle Beach headset is no exception. As you eagerly open the packaging, you'll be greeted by a sleek and meticulously designed headset that exudes quality and sophistication. The first step in this audio journey is to carefully unbox your Turtle Beach headset and familiarize yourself with its components.
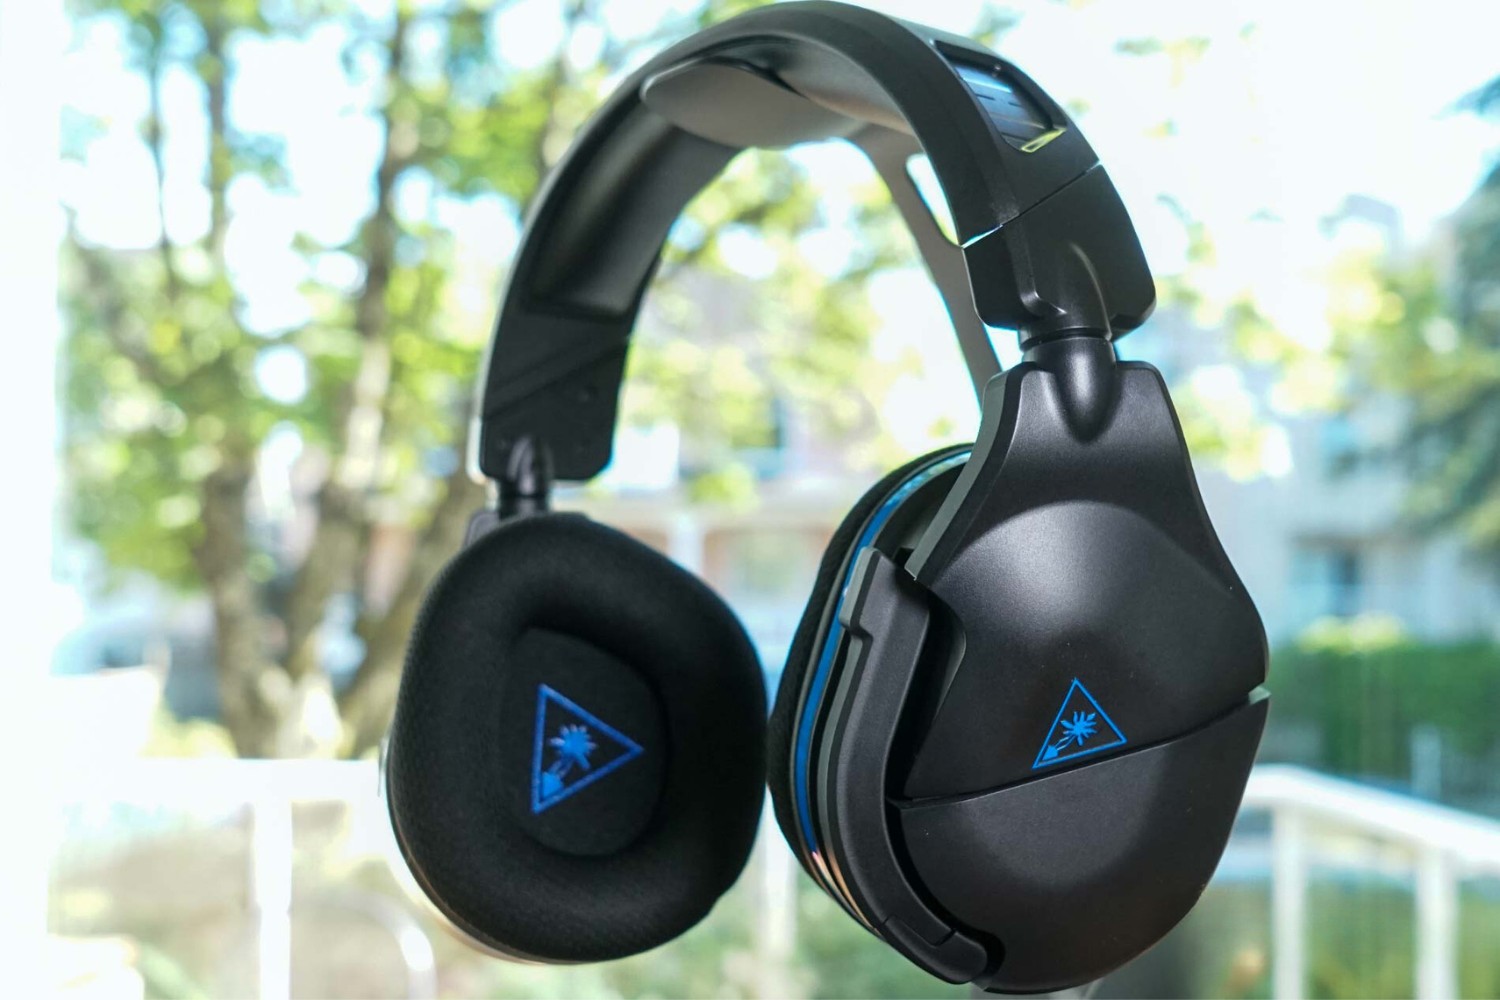
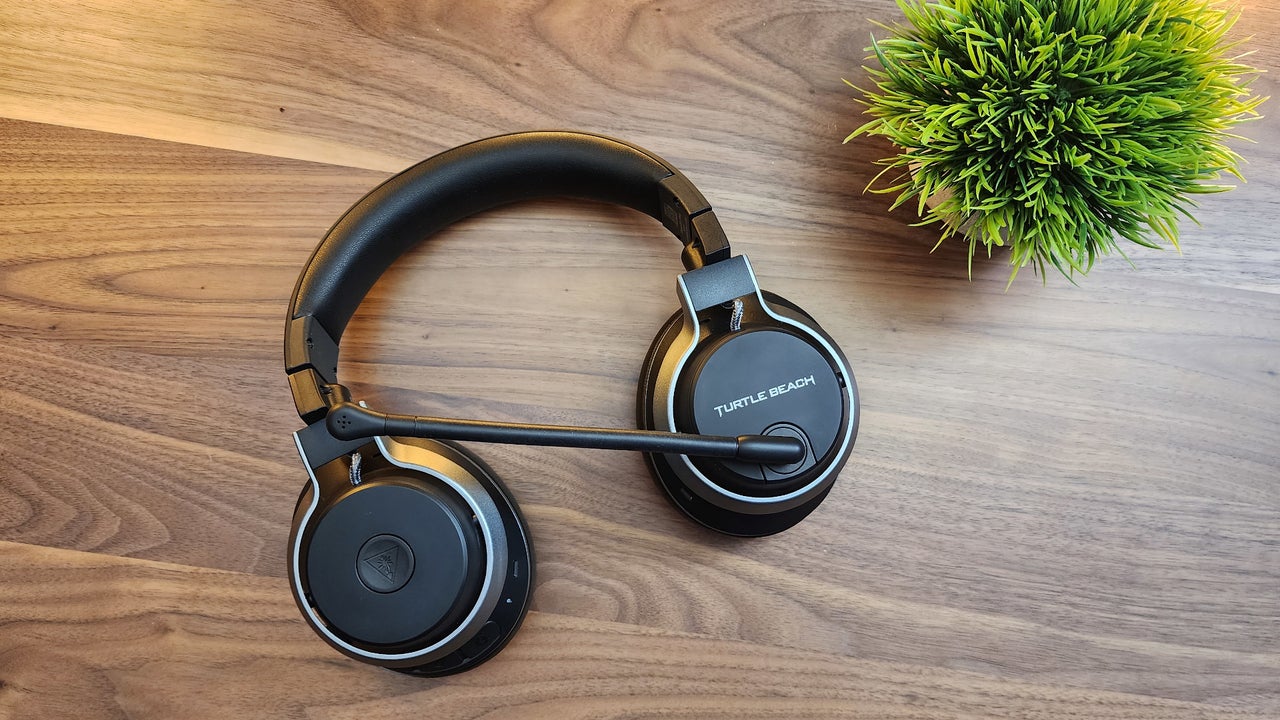
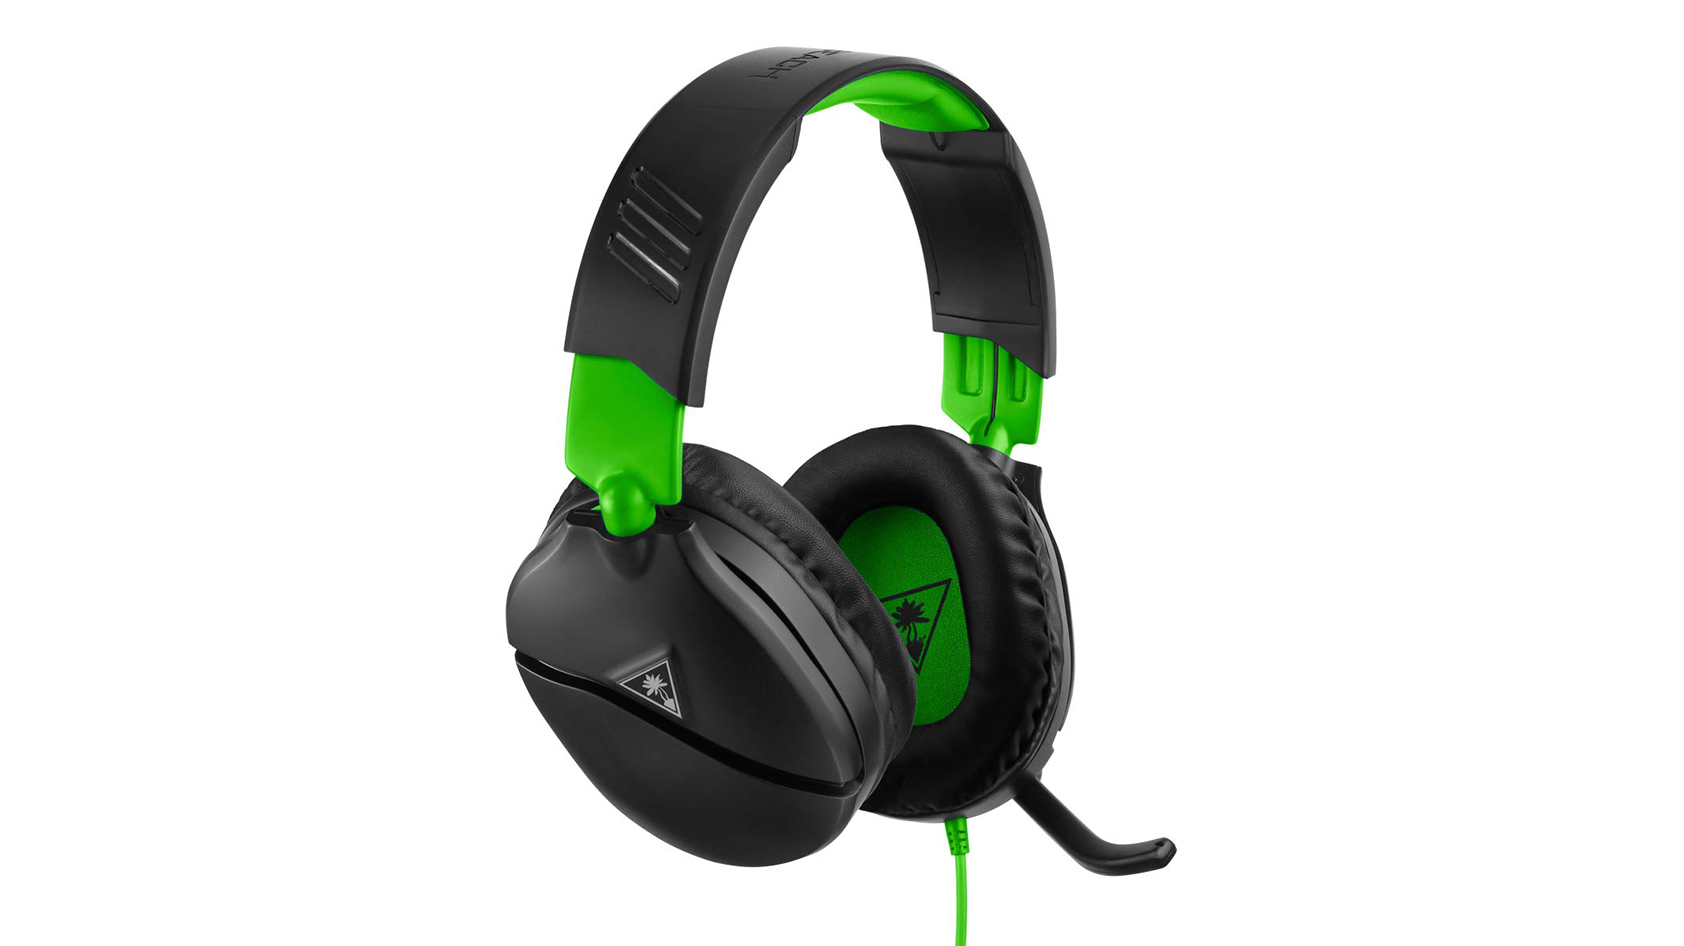
Upon lifting the lid of the box, you'll find the main attraction – your Turtle Beach headset nestled snugly within protective padding. As you lift it out, you'll immediately notice its lightweight yet sturdy construction, designed to provide comfort during extended gaming sessions. The plush ear cushions and adjustable headband are crafted for ergonomic excellence, ensuring that you can immerse yourself in the audio experience without discomfort.
Next, you'll discover the accompanying accessories that complement your headset. Depending on the model, you may find a detachable microphone for crystal-clear voice communication, a USB transmitter for wireless connectivity, or additional cables for versatile setup options. Take a moment to appreciate the thoughtful inclusion of these accessories, as they are integral to unlocking the full potential of your Turtle Beach headset.
As you explore further, you might encounter user manuals and documentation that provide valuable insights into the features and functionality of your headset. While it may be tempting to dive straight into the setup process, sparing a few moments to peruse the user manual can yield valuable tips and troubleshooting guidance, ensuring a seamless integration with your PS4.
Finally, as you complete the unboxing ritual, take a moment to admire the elegant design and attention to detail that defines your Turtle Beach headset. From the stylish branding to the precision-engineered components, every aspect reflects the dedication to delivering a premium audio experience.
With your Turtle Beach headset unboxed and ready for action, you've taken the first step towards unlocking its audio magic. Now, let's proceed to the next stage and connect your headset to your PS4, paving the way for an immersive audio journey that will elevate your gaming encounters to new heights.
Step 2: Connecting Your Headset to Your PS4
Connecting your Turtle Beach headset to your PS4 is a straightforward process that paves the way for an enriched audio experience. Whether you're delving into the captivating narrative of a single-player adventure or engaging in intense multiplayer battles, a seamless connection between your headset and PS4 is essential for unlocking the full potential of both devices.
Wired Connection:
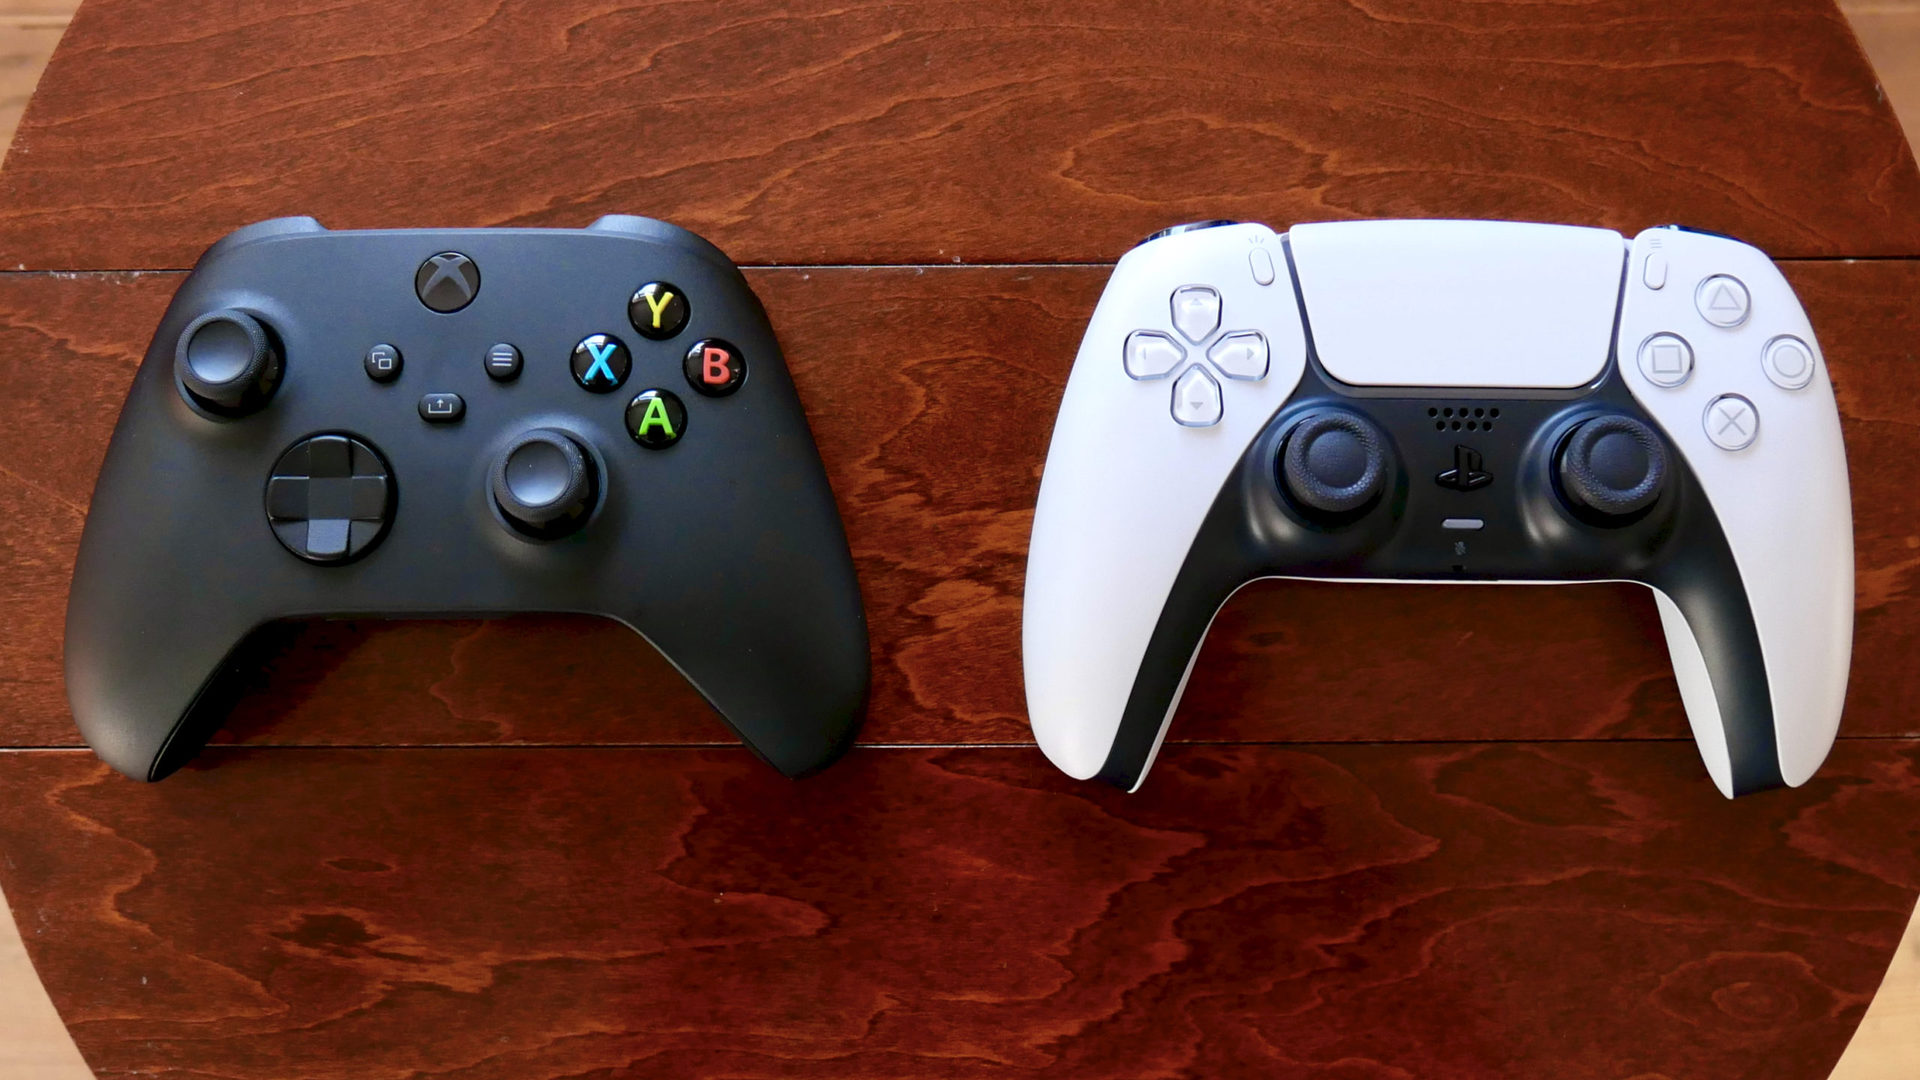
If you're using a wired Turtle Beach headset, begin by locating the headset's main cable. This cable typically features a 3.5mm audio jack or a USB connector, depending on the model of your headset. With your PS4 powered on, locate the controller and identify the 3.5mm audio jack located at the bottom of the controller. Gently insert the 3.5mm audio jack from your headset into the controller's audio jack, ensuring a secure connection. Once connected, your PS4 will automatically detect the headset, and you can proceed to the audio settings to configure the audio output and microphone settings.
Wireless Connection:
For wireless Turtle Beach headsets that utilize a USB transmitter, the setup process is equally simple. Begin by plugging the USB transmitter into one of the available USB ports on your PS4. Once connected, power on your headset and follow the manufacturer's instructions to pair it with the USB transmitter. This typically involves holding down the power button or a dedicated pairing button on the headset until the pairing process is initiated. Upon successful pairing, your headset is ready to deliver immersive audio wirelessly, granting you the freedom to move without being tethered by cables.
Additional Considerations:
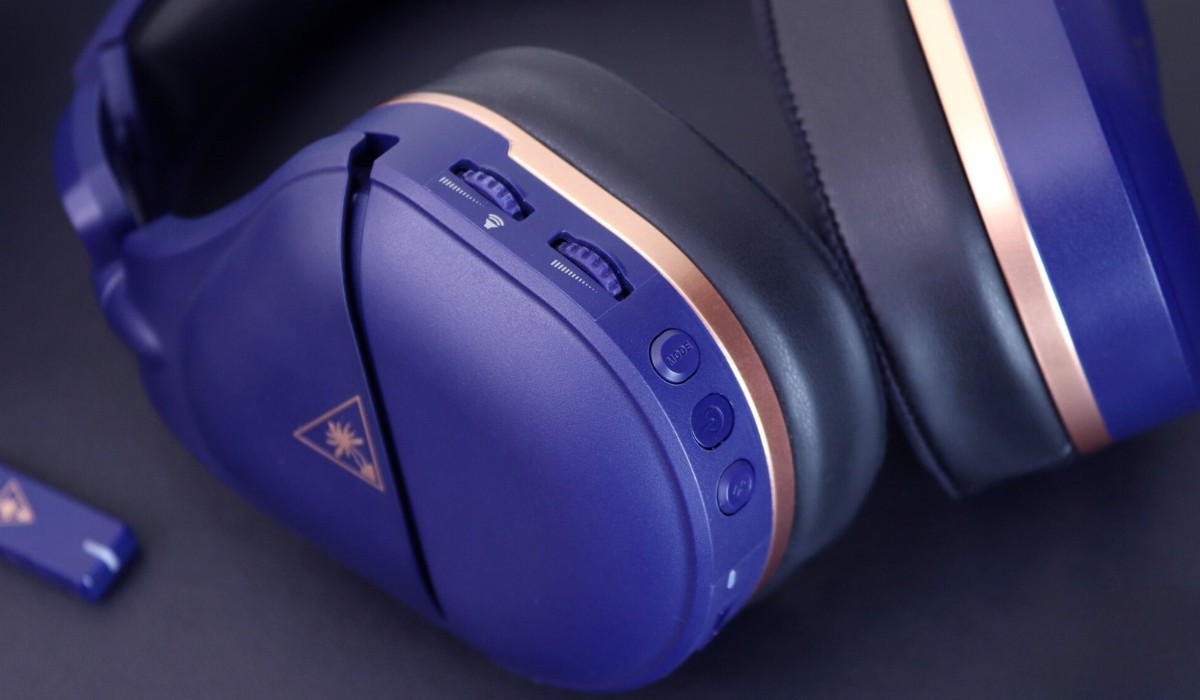
Some Turtle Beach headsets may offer advanced connectivity options, such as optical audio connections for enhanced audio fidelity. If your headset and PS4 support optical audio, you can explore this connection method to leverage the full potential of your headset's audio capabilities. Additionally, certain Turtle Beach headsets feature customizable audio presets and controls, allowing you to fine-tune the audio output to suit different gaming genres and personal preferences. Familiarizing yourself with these features can empower you to tailor the audio experience to your liking.
By successfully connecting your Turtle Beach headset to your PS4, you've laid the foundation for a captivating audio journey that will elevate your gaming encounters. With the physical connection established, it's time to venture into the realm of audio settings on your PS4, where you can further optimize the audio output to suit your preferences and immerse yourself in the sonic wonders of your Turtle Beach headset.
Step 3: Adjusting Audio Settings on Your PS4
Once your Turtle Beach headset is seamlessly connected to your PS4, it's time to delve into the realm of audio settings to fine-tune the sound output and microphone settings. By customizing these settings, you can optimize the audio experience to suit your preferences and enhance the immersion in your gaming endeavors.
Audio Output Settings:
Navigate to the "Settings" menu on your PS4 and select "Devices," followed by "Audio Devices." Here, you can configure the output settings to ensure that the audio is channeled through your Turtle Beach headset. By selecting "Output to Headphones," you can choose between "All Audio" or "Chat Audio" based on your preference. The "All Audio" option directs all audio output to your headset, encompassing game audio, chat audio, and system notifications, providing a comprehensive audio experience. Conversely, the "Chat Audio" option routes only the chat audio to your headset, allowing you to maintain awareness of external sounds while communicating with fellow players.
Microphone Settings:
Effective communication is paramount in multiplayer gaming, and your Turtle Beach headset's microphone plays a pivotal role in facilitating clear and crisp voice transmission. In the "Audio Devices" menu, you can access "Adjust Microphone Level" to calibrate the microphone sensitivity, ensuring that your voice is accurately captured without distortion. Additionally, you can enable "Sidetone" to hear your own voice through the headset, providing auditory feedback during voice chat sessions.
Custom Audio Presets:
Certain Turtle Beach headsets offer the flexibility to customize audio presets, allowing you to tailor the sound profile to suit different gaming genres or personal preferences. By accessing the manufacturer's companion app or dedicated software, you can explore a range of audio presets, including options optimized for immersive gaming, competitive multiplayer, or cinematic experiences. These presets often encompass equalizer settings, allowing you to adjust the balance of bass, treble, and mid-range frequencies to align with your audio preferences.
Accessibility Features:
The PS4 boasts a range of accessibility features that can enhance the overall audio experience, catering to diverse user needs. From text-to-speech capabilities for in-game text chat to audio cues that provide visual information through sound, these features are designed to make gaming more inclusive and accommodating for all players.
By navigating through these audio settings on your PS4, you can unlock the full potential of your Turtle Beach headset, immersing yourself in a world of captivating audio nuances and seamless communication. With the audio settings optimized to your preferences, you're poised to embark on gaming adventures that are enriched by the captivating audio prowess of your Turtle Beach headset.
Step 4: Testing Your Headset
With your Turtle Beach headset seamlessly connected to your PS4 and the audio settings finely tuned to your preferences, it's time to embark on the pivotal stage of testing your headset. This critical step allows you to validate the integration of your headset with your PS4, ensuring that the audio output, microphone functionality, and overall performance meet your expectations.
Audio Validation:
To commence the testing process, launch a game or multimedia application on your PS4 that showcases a diverse range of audio elements. As you delve into the virtual world of your chosen game, pay close attention to the audio cues that unfold around you. From the ambient sounds of nature to the thundering crescendo of action sequences, your Turtle Beach headset should faithfully reproduce the intricacies of the audio landscape, delivering a rich and immersive experience. Take note of the spatial audio capabilities, assessing the headset's ability to convey directional sound cues that enhance your situational awareness within the game environment.
Microphone Assessment:
In a multiplayer game or within a party chat, engage in voice communication with fellow players to evaluate the microphone performance of your Turtle Beach headset. Clear and articulate voice transmission is essential for effective communication, and your headset's microphone should accurately capture your voice while minimizing background noise. Assess the clarity and fidelity of your voice as it is transmitted to other players, ensuring that your communications are crisp and intelligible.
Comfort and Ergonomics:
During the testing phase, pay attention to the comfort and fit of your Turtle Beach headset during extended gaming sessions. Evaluate the pressure distribution of the ear cushions and the overall weight distribution of the headset, ensuring that it remains comfortable and wearable for prolonged periods. The ergonomic design of the headset should mitigate discomfort and fatigue, allowing you to remain immersed in your gaming endeavors without distraction.
Audio Preset Exploration:
If your Turtle Beach headset offers customizable audio presets, take the opportunity to explore the available sound profiles. Switch between different presets tailored for gaming, movies, and music, and assess how each preset influences the audio characteristics. Pay attention to the nuances in sound reproduction, noting any enhancements in bass response, treble clarity, and overall tonal balance. By experimenting with these presets, you can identify the settings that best complement your preferred gaming genres and audio preferences.
Final Impression:
As you conclude the testing phase, reflect on the overall audio experience facilitated by your Turtle Beach headset. Consider the immersive qualities of the audio output, the clarity of voice communication, and the comfort of prolonged usage. If the headset aligns with your expectations and elevates your gaming encounters, you can rest assured that the integration of your Turtle Beach headset with your PS4 has been a resounding success.
By meticulously testing your Turtle Beach headset in various scenarios, you can ascertain its capabilities and ensure that it seamlessly integrates with your PS4, delivering an audio experience that enriches your gaming endeavors. With the testing phase completed, you're now poised to immerse yourself in a world of captivating audio magic, leveraging the prowess of your Turtle Beach headset to elevate your gaming encounters to new heights.
Conclusion
Congratulations on successfully connecting your Turtle Beach headset to your PS4 and fine-tuning the audio settings to optimize your gaming experience. As you conclude this audio adventure, you stand on the threshold of a new realm of immersive audio magic that promises to elevate your gaming encounters to unprecedented levels of engagement and enjoyment.
By unboxing your Turtle Beach headset, you embarked on a journey of anticipation and excitement, unveiling a meticulously crafted device designed to deliver premium audio performance. The careful exploration of its components and accessories provided a glimpse into the thoughtful engineering and ergonomic excellence that define your headset.
The process of connecting your headset to your PS4, whether through a wired or wireless setup, solidified the symbiotic relationship between these two devices. The seamless integration facilitated by the physical connection laid the groundwork for a cohesive audio experience that transcends the ordinary, empowering you to fully immerse yourself in the sonic wonders of your favorite games.
Delving into the audio settings on your PS4 allowed you to tailor the audio output and microphone settings to align with your preferences, ensuring that every auditory nuance is faithfully reproduced and every voice communication is crystal clear. The ability to customize audio presets and explore accessibility features further enriched the audio landscape, catering to diverse gaming preferences and user needs.
The pivotal phase of testing your Turtle Beach headset validated its performance across various criteria, from audio fidelity and microphone clarity to comfort and ergonomics. Through this comprehensive assessment, you confirmed the seamless integration of your headset with your PS4, affirming its capability to deliver a captivating audio experience that enhances your gaming endeavors.
As you reflect on this journey, you now possess the knowledge and confidence to leverage the captivating audio prowess of your Turtle Beach headset, infusing every gaming session with immersive soundscapes and seamless communication. The successful integration of your headset with your PS4 has unlocked a world of audio magic, poised to enrich your gaming encounters and transport you to realms where audio excellence reigns supreme.
With your Turtle Beach headset and PS4 standing as harmonious allies in your gaming arsenal, you're primed to embark on a new chapter of gaming experiences, empowered by the captivating audio magic that awaits. So, don your headset, seize your controller, and immerse yourself in the captivating audio journey that amplifies the thrill of gaming and elevates your encounters to extraordinary heights. The stage is set, and the audio adventure beckons – embrace it with enthusiasm and revel in the immersive wonders that await you.


