Introduction
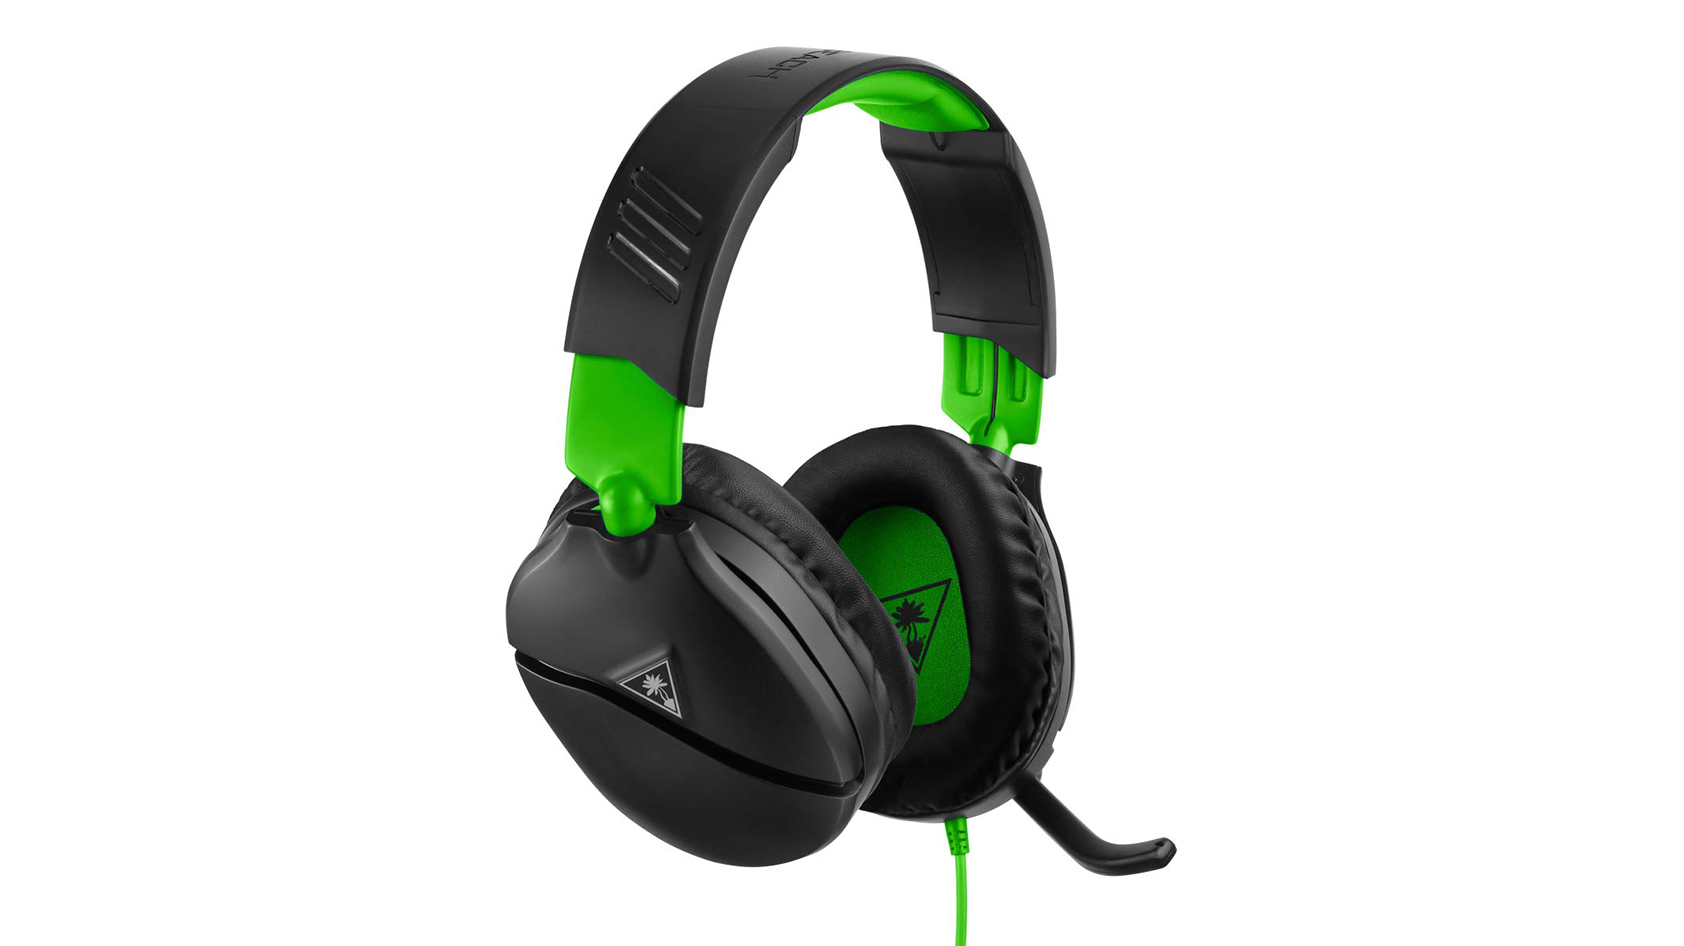
Are you ready to elevate your gaming or audio experience to new heights? Connecting your Turtle Beach headset to your PC can unlock a world of immersive sound, crystal-clear communication, and an overall enhanced audio experience for gaming, streaming, or simply enjoying your favorite music. Turtle Beach headsets are renowned for their exceptional audio quality and comfort, making them a popular choice among gamers and audio enthusiasts alike.
In this comprehensive guide, we will walk you through the process of connecting your Turtle Beach headset to your PC, ensuring that you can seamlessly enjoy the full potential of your audio gear. Whether you're a seasoned gamer looking to optimize your setup or a music lover seeking an enhanced listening experience, this step-by-step guide will equip you with the knowledge and confidence to make the most of your Turtle Beach headset.
By following the simple yet crucial steps outlined in this guide, you'll be able to harness the power of your Turtle Beach headset, immersing yourself in rich, dynamic audio that brings your favorite games, movies, and music to life. So, grab your Turtle Beach headset, prepare to embark on a journey to audio excellence, and let's get started!
Step 1: Checking Your PC's Audio Ports
Before diving into the exciting process of connecting your Turtle Beach headset to your PC, it's essential to familiarize yourself with your computer's audio ports. Understanding the available ports and their functionalities will ensure a smooth and hassle-free setup process, allowing you to make the most of your headset's capabilities.
-
Identifying Audio Ports: Start by locating the audio ports on your PC. Most desktop computers and laptops feature distinct audio input and output ports. The audio output port is typically designated by a headphone icon and is used for connecting external speakers or headphones. On the other hand, the audio input port, often marked with a microphone icon, is utilized for connecting external microphones or headsets.
-
Analog vs. Digital Connections: It's important to differentiate between analog and digital audio ports. Analog ports, commonly found on older PCs, utilize 3.5mm jacks for audio input and output. In contrast, modern PCs may feature digital audio ports, such as USB or optical ports, which offer enhanced audio quality and compatibility with advanced audio devices like Turtle Beach headsets.
-
Checking Compatibility: Verify that your PC's audio ports are compatible with your Turtle Beach headset. Most Turtle Beach headsets utilize a 3.5mm audio jack for connectivity, making them compatible with standard audio output ports. However, if your headset features advanced functionalities, such as surround sound or USB connectivity, ensure that your PC supports these features through its audio ports.
-
Testing Audio Output: To confirm the functionality of your PC's audio output, consider connecting a pair of headphones or external speakers to the audio output port. Playing a sample audio file or video will allow you to verify that the audio output is functioning as expected, ensuring that your Turtle Beach headset can deliver an optimal audio experience.
By thoroughly inspecting and understanding your PC's audio ports, you can lay a solid foundation for the seamless integration of your Turtle Beach headset. With this essential knowledge in hand, you're now ready to proceed to the next step of connecting your Turtle Beach headset to your PC.
Step 2: Connecting Your Turtle Beach Headset
Connecting your Turtle Beach headset to your PC is a straightforward process that paves the way for an exceptional audio experience. Whether you're gearing up for an intense gaming session, immersing yourself in your favorite music, or engaging in virtual communication, a secure and efficient connection is pivotal. Here's a detailed walkthrough to ensure a seamless connection between your Turtle Beach headset and your PC:
-
Locating the Audio Jacks: Begin by identifying the audio jacks on your Turtle Beach headset. Most Turtle Beach headsets feature a 3.5mm audio jack, which serves as the primary means of connectivity. This standard audio jack allows for compatibility with a wide range of devices, including PCs, gaming consoles, and mobile devices.
-
Inspecting the PC's Audio Ports: Next, examine your PC's audio ports to identify the appropriate jack for connecting your Turtle Beach headset. If your PC features separate audio input and output ports, locate the audio output port, typically marked with a headphone icon. For PCs with a single combined audio port, ensure compatibility with your headset's audio jack.
-
Securing the Connection: With the appropriate audio jack identified, gently insert the 3.5mm connector from your Turtle Beach headset into the corresponding audio output port on your PC. Apply a firm yet gentle pressure to ensure a secure connection, minimizing the risk of audio interruptions or loose connections during use.
-
Adjusting the Headset Controls: Some Turtle Beach headsets feature inline controls for volume adjustment, microphone muting, and audio presets. Familiarize yourself with these controls and ensure that they are appropriately configured for your desired audio settings. This step is crucial for optimizing your audio experience and ensuring seamless communication during gaming or virtual meetings.
-
Verifying Connectivity: Once the headset is connected, verify the successful establishment of the connection. You can do this by playing a sample audio file or engaging in a test call to confirm that the audio output and microphone input are functioning as expected.
By following these detailed steps, you can confidently establish a secure and reliable connection between your Turtle Beach headset and your PC. This connection sets the stage for an immersive and captivating audio experience, allowing you to fully appreciate the exceptional sound quality and comfort that Turtle Beach headsets are renowned for. With your headset now seamlessly integrated with your PC, you're ready to embark on a journey of audio excellence, whether in the gaming realm or the realm of entertainment and communication.
Step 3: Adjusting Audio Settings
After successfully connecting your Turtle Beach headset to your PC, it's crucial to fine-tune the audio settings to optimize your audio experience. By adjusting the audio settings, you can customize the sound output, microphone input, and overall audio performance to suit your preferences and specific usage scenarios. Here's a comprehensive guide to adjusting the audio settings for your Turtle Beach headset on your PC:
1. Sound Output Configuration
- Accessing Sound Settings: Navigate to the sound settings on your PC, typically accessible through the system tray or the control panel. On Windows, right-click the sound icon and select "Open Sound Settings" to access the sound control panel.
- Selecting the Default Playback Device: Within the sound settings, ensure that your Turtle Beach headset is selected as the default playback device. This directs the audio output to your headset, allowing you to enjoy immersive sound without interference from other audio devices.
2. Microphone Configuration
- Configuring Microphone Settings: If your Turtle Beach headset features a built-in microphone or a detachable mic, access the microphone settings within the sound control panel. Verify that the headset's microphone is selected as the default recording device, enabling clear and accurate voice transmission during gaming or communication.
3. Equalizer and Audio Enhancements
- Utilizing Audio Enhancements: Some PCs offer built-in equalizer settings and audio enhancements to fine-tune the sound output. Explore the available audio enhancements, such as bass boost, virtual surround sound, or customizable equalizer presets, to tailor the audio to your preferences and optimize your gaming or listening experience.
4. Headset-Specific Software
- Installing Manufacturer Software: If your Turtle Beach headset comes with dedicated software, install it to unlock advanced audio customization features. The manufacturer's software may offer specialized audio presets, mic monitoring options, and firmware updates to enhance the overall functionality of your headset.
5. Test and Adjust
- Testing Audio Output: Play a variety of audio content, including music, game sound effects, and voice communication, to assess the sound quality and ensure that the audio settings align with your preferences.
- Adjusting Levels: Fine-tune the volume levels, microphone sensitivity, and audio enhancements based on your personal preferences and the specific audio requirements of your activities, whether it's gaming, streaming, or virtual meetings.
By meticulously adjusting the audio settings for your Turtle Beach headset on your PC, you can unlock the full potential of your audio gear, immersing yourself in rich, dynamic sound tailored to your preferences. These personalized audio settings will elevate your gaming experiences, enhance your communication clarity, and amplify your overall enjoyment of music and multimedia content, making every audio interaction a truly captivating experience.
Step 4: Testing Your Headset
After completing the process of connecting and adjusting the audio settings for your Turtle Beach headset on your PC, it's essential to conduct thorough testing to ensure that all components are functioning optimally. Testing your headset allows you to verify the audio output quality, microphone performance, and overall functionality, providing the assurance that your audio setup is ready for immersive experiences. Here's a detailed guide on testing your Turtle Beach headset to guarantee a seamless and exceptional audio experience:
1. Audio Playback Test
Initiate the testing process by playing a diverse range of audio content, including music tracks, game sound effects, and multimedia videos. Pay close attention to the audio output quality, assessing the clarity, depth, and spatial positioning of sound elements. By experiencing a variety of audio sources, you can evaluate the headset's ability to deliver immersive and accurate sound reproduction, ensuring that your gaming, music, and multimedia experiences are enriched by the headset's audio prowess.
2. Microphone Test
Engage in a test call or utilize voice communication features in a gaming environment to assess the performance of the headset's microphone. Speak naturally into the microphone and request feedback from the recipient regarding the clarity and fidelity of your voice transmission. Additionally, consider recording a brief voice sample and playing it back to evaluate the microphone's capture quality and noise-canceling capabilities. A reliable microphone is crucial for seamless communication during gaming sessions and virtual meetings, making this testing phase essential for ensuring clear and articulate voice transmission.
3. Comfort and Fit Assessment
Beyond audio and microphone performance, it's important to evaluate the comfort and fit of your Turtle Beach headset during an extended wear test. Wear the headset for an extended period, such as during a gaming session or while enjoying an extended music playlist, and assess the comfort level, weight distribution, and ear cushioning. A comfortable and secure fit is essential for prolonged usage without discomfort or fatigue, ensuring that you can fully immerse yourself in audio experiences without distractions or discomfort.
4. Surround Sound and Audio Presets
If your Turtle Beach headset features surround sound capabilities or customizable audio presets, explore these features during the testing phase. Engage with content optimized for surround sound, such as games with spatial audio effects, and evaluate the headset's ability to deliver an immersive and directional audio experience. Additionally, experiment with different audio presets, if available, to assess their impact on sound quality and tailor the audio output to your preferences.
5. Compatibility and Versatility
Test the compatibility and versatility of your Turtle Beach headset by connecting it to other devices, such as gaming consoles, mobile devices, or audio interfaces. Verify that the headset seamlessly integrates with different platforms and devices, allowing you to enjoy consistent audio performance across various usage scenarios. This testing phase ensures that your Turtle Beach headset serves as a versatile audio companion, adapting to your diverse audio needs beyond PC usage.
By meticulously conducting these comprehensive tests, you can gain confidence in the functionality and performance of your Turtle Beach headset, ensuring that it meets and exceeds your expectations for audio quality, communication clarity, and overall comfort. This thorough testing process serves as the final assurance that your Turtle Beach headset is poised to deliver exceptional audio experiences across gaming, entertainment, and communication realms.
Conclusion
In conclusion, the process of connecting your Turtle Beach headset to your PC opens the door to a realm of unparalleled audio experiences, whether you're a dedicated gamer, a music enthusiast, or someone who values clear communication in virtual interactions. By following the steps outlined in this guide, you've embarked on a journey to harness the full potential of your Turtle Beach headset, unlocking immersive soundscapes, crystal-clear communication, and personalized audio experiences tailored to your preferences.
Through meticulous examination of your PC's audio ports, you've gained a foundational understanding of the connectivity options available, ensuring a seamless integration with your Turtle Beach headset. By identifying the appropriate audio jacks and securing the connection with precision, you've established a reliable link between your headset and your PC, setting the stage for captivating audio immersion.
The adjustment of audio settings has empowered you to tailor the sound output, microphone input, and overall audio performance to align with your unique preferences and usage scenarios. By exploring equalizer settings, audio enhancements, and dedicated headset software, you've personalized your audio environment, enhancing your gaming, communication, and entertainment experiences with a touch of individuality.
Thorough testing has provided the assurance that your Turtle Beach headset delivers exceptional audio quality, reliable microphone performance, and enduring comfort, ensuring that it seamlessly integrates with your PC and adapts to a diverse range of audio needs. From immersive gaming soundscapes to seamless communication clarity, your headset has proven its capability to elevate every audio interaction.
As you proceed with your audio endeavors, whether delving into intense gaming battles, immersing yourself in musical journeys, or engaging in virtual collaborations, your Turtle Beach headset stands as a steadfast companion, ready to deliver captivating audio experiences at every turn. With a secure, optimized connection to your PC and personalized audio settings at your fingertips, you're poised to embark on a seamless audio journey, where every sound is vivid, every voice is clear, and every moment is enriched by the exceptional capabilities of your Turtle Beach headset.
So, with your Turtle Beach headset seamlessly integrated with your PC, it's time to embrace the world of audio excellence, where every sonic nuance becomes a part of your immersive reality, and every audio interaction becomes a captivating experience. Let the power of your Turtle Beach headset transport you to new realms of audio bliss, where every sound is a symphony of perfection, and every moment is enriched by the magic of exceptional audio.


