Introduction
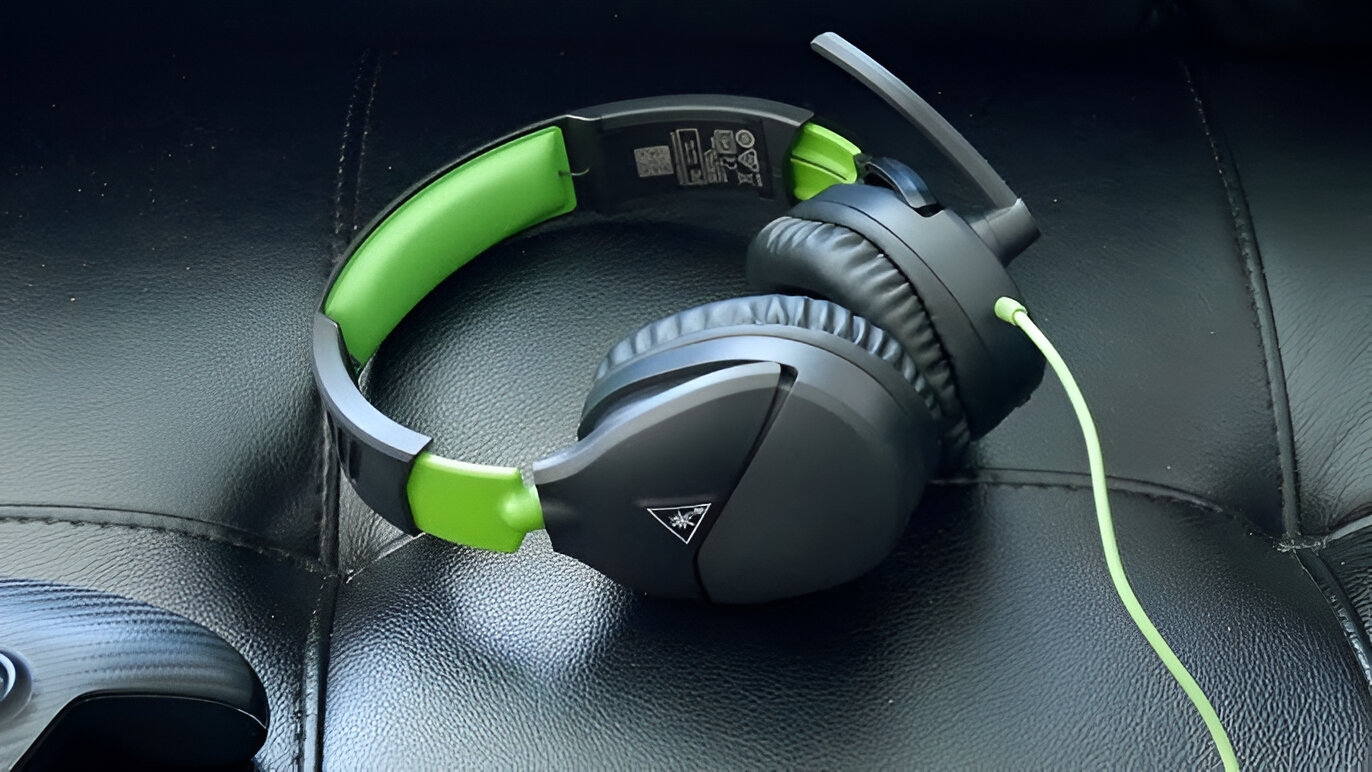
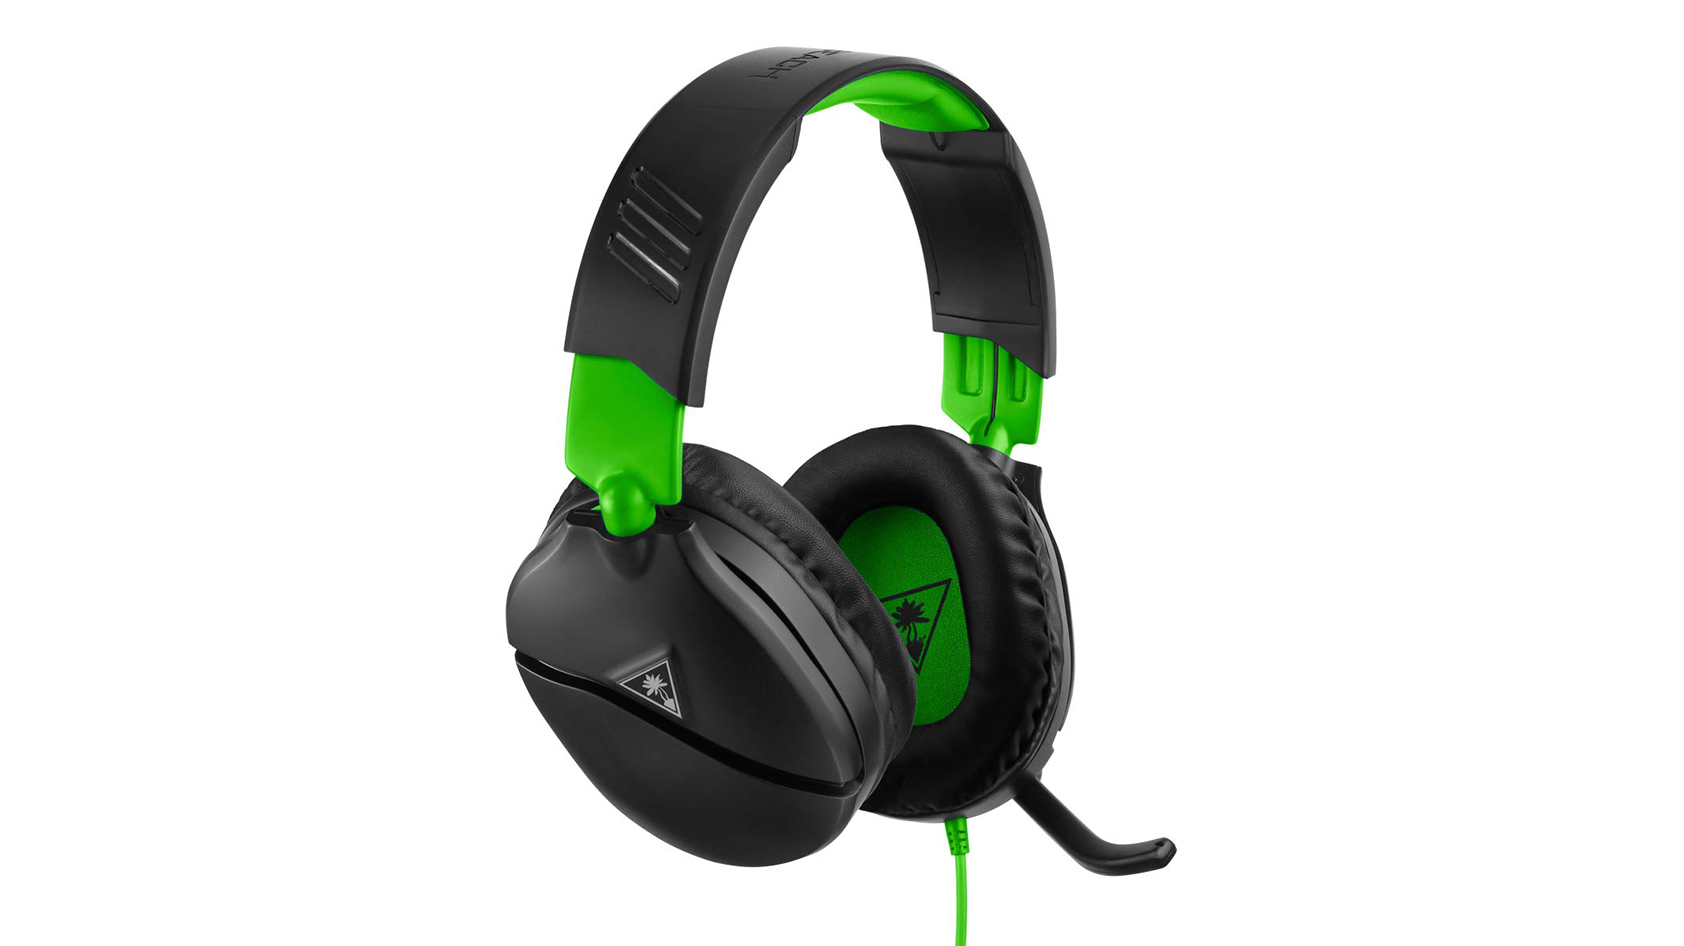
So, you've got your hands on the Turtle Beach® Ear Force® Recon 50X gaming headset and you're eager to experience the immersive sound and crystal-clear communication it offers. Whether you're gearing up for an intense gaming session, diving into a virtual world, or simply enjoying your favorite tunes, this headset promises to elevate your audio experience to a whole new level. But before you can start enjoying the rich soundscapes and seamless communication, you'll need to hook up your headset to your PC. Don't worry, it's a straightforward process, and I'm here to guide you through it step by step.
In this comprehensive guide, I'll walk you through the process of connecting your Turtle Beach® Ear Force® Recon 50X gaming headset to your PC, ensuring that you're set up and ready to go in no time. From checking your PC's compatibility to adjusting the audio settings, I'll cover everything you need to know to seamlessly integrate your headset with your PC. So, grab your headset, get comfortable, and let's dive into the exciting world of high-quality audio and seamless communication. Let's get started!
Step 1: Check your PC’s Compatibility
Before diving into the setup process, it’s essential to ensure that your PC is compatible with the Turtle Beach® Ear Force® Recon 50X gaming headset. This compatibility check will help you identify any potential issues that may arise during the setup and ensure that your gaming experience is seamless.
First and foremost, verify that your PC has the necessary audio ports to connect the headset. The Turtle Beach® Ear Force® Recon 50X gaming headset utilizes a 3.5mm audio jack, so your PC should have corresponding audio input and output jacks. Most modern PCs are equipped with these standard audio ports, but it’s always a good idea to double-check to avoid any surprises during the setup process.
Additionally, check the operating system of your PC. The Turtle Beach® Ear Force® Recon 50X gaming headset is compatible with a wide range of operating systems, including Windows and macOS. Ensure that your PC’s operating system aligns with the headset’s compatibility requirements to guarantee a smooth setup and optimal performance.
If you’re using a desktop PC, locate the audio ports on the front or rear panel of the computer. These ports are typically color-coded, with pink indicating the microphone input and green denoting the audio output. For laptop users, the audio ports are usually located on the side of the device. Familiarize yourself with the location of these ports to streamline the connection process.
Lastly, if your PC is equipped with a single 3.5mm combo port that serves as both the audio input and output, you may need an audio splitter cable to connect the Turtle Beach® Ear Force® Recon 50X gaming headset effectively. This splitter cable separates the audio input and output, allowing you to connect the headset without any compatibility issues.
By performing this quick compatibility check, you can proactively address any potential compatibility issues and set the stage for a hassle-free setup process. Once you’ve confirmed that your PC is compatible with the headset, you’re ready to move on to the next step and begin the connection process.
Step 2: Connect the Headset to Your PC
Now that you’ve confirmed your PC’s compatibility, it’s time to connect your Turtle Beach® Ear Force® Recon 50X gaming headset and unleash its impressive audio capabilities. Follow these simple steps to establish a seamless connection between your headset and PC.
Step 1: Locate the 3.5mm audio jacks on your PC. As mentioned earlier, these ports are typically color-coded, with pink representing the microphone input and green indicating the audio output. Ensure that you identify the correct ports to facilitate the proper connection.
Step 2: Take the 3.5mm audio jack attached to the Turtle Beach® Ear Force® Recon 50X gaming headset and insert it into the corresponding audio input port on your PC. The jack is designed to fit snugly into the port, establishing a secure connection for both audio input and output.
Step 3: If your PC features separate audio input and output ports, ensure that you insert the headset’s audio jack into the appropriate port designated for audio output. This step is crucial for directing the audio output from your PC to the headset, allowing you to experience immersive sound without any disruptions.
Step 4: Once the headset is connected to your PC, gently adjust the volume control on the headset to a comfortable level. This step ensures that you can enjoy the audio at an optimal volume without overwhelming your senses.
Step 5: If you’re using an audio splitter cable to connect the headset to a single combo port on your PC, simply plug the corresponding jacks into the appropriate input and output ports, following the color-coding to ensure accurate connections. The splitter cable effectively separates the audio input and output, allowing you to enjoy the full functionality of the Turtle Beach® Ear Force® Recon 50X gaming headset.
By following these straightforward steps, you can seamlessly connect your Turtle Beach® Ear Force® Recon 50X gaming headset to your PC, paving the way for an immersive audio experience that enhances your gaming, entertainment, and communication activities. With the headset successfully connected, you’re now ready to fine-tune the audio settings on your PC to optimize your experience further.
Step 3: Adjust Audio Settings on Your PC
After connecting your Turtle Beach® Ear Force® Recon 50X gaming headset to your PC, it’s essential to configure the audio settings to ensure optimal performance and a personalized audio experience. By adjusting these settings, you can fine-tune the audio output, microphone input, and overall sound quality to align with your preferences and gaming needs.
Step 1: Access the audio settings on your PC by navigating to the system preferences or control panel, depending on your operating system. Look for the “Sound” or “Audio” settings to access the audio configuration options.
Step 2: Within the audio settings, locate the playback options and select the Turtle Beach® Ear Force® Recon 50X gaming headset as the default playback device. This step ensures that the audio output from your PC is directed to the headset, allowing you to experience the full range of sound with clarity and precision.
Step 3: Adjust the volume and sound settings to suit your preferences. Experiment with the audio levels to find the perfect balance that complements your gaming experience. You can fine-tune the bass, treble, and overall volume to create an immersive audio environment that enhances your gameplay and entertainment activities.
Step 4: If the headset features inline controls for volume and microphone muting, familiarize yourself with these controls and ensure that they are functioning as intended. These controls allow you to adjust the volume and mute the microphone with ease, providing convenient access to essential audio settings during your gaming sessions.
Step 5: If you plan to use the microphone for in-game communication or voice chat, access the recording settings within the audio configuration options. Select the Turtle Beach® Ear Force® Recon 50X gaming headset as the default recording device to enable the microphone and ensure that your voice is transmitted clearly and accurately during gameplay.
By customizing the audio settings on your PC to accommodate the Turtle Beach® Ear Force® Recon 50X gaming headset, you can optimize your gaming experience and immerse yourself in high-quality audio that enhances every aspect of your gameplay. With the audio settings adjusted to your preferences, you’re now ready to put the headset to the test and ensure that it delivers the exceptional audio performance you expect.
Step 4: Test the Headset
Now that you’ve connected and configured your Turtle Beach® Ear Force® Recon 50X gaming headset with your PC, it’s time to put it to the test and ensure that everything is functioning as intended. By conducting a thorough test, you can verify the audio output, microphone performance, and overall functionality of the headset, setting the stage for an immersive and seamless gaming experience.
Audio Output Test: To assess the audio output, play a variety of audio content, including music, game sound effects, and dialogue. Pay attention to the clarity, depth, and spatial accuracy of the sound. Listen for nuances in the audio, such as directional cues and ambient effects, to gauge the headset’s ability to deliver a rich and immersive audio experience.
Volume and Sound Quality: Adjust the volume to different levels and assess the sound quality at each setting. Ensure that the audio remains clear and distortion-free, even at higher volume levels. Experiment with different genres of music and game genres to evaluate the headset’s versatility in delivering high-quality sound across various audio sources.
Microphone Test: If you plan to use the microphone for in-game communication or voice chat, conduct a microphone test to gauge its performance. Record a short audio clip or use the microphone in a communication application to verify the clarity and accuracy of your voice transmission. Ensure that the microphone captures your voice clearly without distortion or background noise.
Inline Controls: Utilize the inline controls on the headset to adjust the volume and mute the microphone during the test. Verify that these controls function seamlessly, providing convenient access to essential audio settings without interrupting your gaming experience.
Comfort and Fit: Throughout the test, pay attention to the comfort and fit of the headset. Ensure that it remains comfortable during extended gaming sessions and that the ear cups provide effective noise isolation without causing discomfort or fatigue.
By conducting a comprehensive test of the Turtle Beach® Ear Force® Recon 50X gaming headset, you can gain confidence in its performance and ensure that it meets your expectations for high-quality audio, seamless communication, and comfort during gaming and entertainment activities. With the headset successfully tested and verified, you’re now ready to immerse yourself in an unparalleled audio experience that enhances every aspect of your gaming journey.
Conclusion
Congratulations! You’ve successfully connected, configured, and tested your Turtle Beach® Ear Force® Recon 50X gaming headset with your PC, paving the way for an immersive and seamless audio experience. By following the step-by-step guide provided, you’ve gained the knowledge and confidence to integrate the headset into your gaming setup, ensuring that you can enjoy high-quality audio, crystal-clear communication, and comfortable gaming sessions.
Through the process of checking your PC’s compatibility, connecting the headset, adjusting the audio settings, and conducting a comprehensive test, you’ve established a solid foundation for an exceptional gaming experience. The compatibility check allowed you to proactively address any potential issues, ensuring that the setup process proceeded smoothly without any surprises.
By connecting the headset to your PC and adjusting the audio settings, you’ve personalized your audio experience to align with your preferences, optimizing the sound output, microphone performance, and overall comfort. The thorough testing process allowed you to verify the headset’s audio quality, microphone clarity, and inline controls, ensuring that it meets your expectations for high-performance gaming gear.
As you embark on your gaming adventures, the Turtle Beach® Ear Force® Recon 50X gaming headset will serve as your trusted companion, delivering immersive soundscapes, seamless communication, and unparalleled comfort. Whether you’re engaging in intense multiplayer battles, exploring immersive virtual worlds, or simply enjoying your favorite music, the headset’s exceptional audio performance will elevate every aspect of your gaming and entertainment activities.
With the headset seamlessly integrated into your gaming setup, you’re now poised to embark on an audio journey that enhances your gaming experiences, enriches your entertainment pursuits, and elevates your communication during online interactions. The combination of superior audio quality, intuitive controls, and comfortable design ensures that the Turtle Beach® Ear Force® Recon 50X gaming headset will be an indispensable asset in your gaming arsenal, enhancing every moment you spend in front of your PC.
So, don your headset, immerse yourself in the captivating audio landscapes, and embark on unforgettable gaming experiences with the confidence that your audio needs are expertly catered to by the Turtle Beach® Ear Force® Recon 50X gaming headset. Let the immersive audio experience unfold as you venture into the mesmerizing realms of gaming and entertainment, powered by the exceptional audio performance of your trusted gaming companion.


