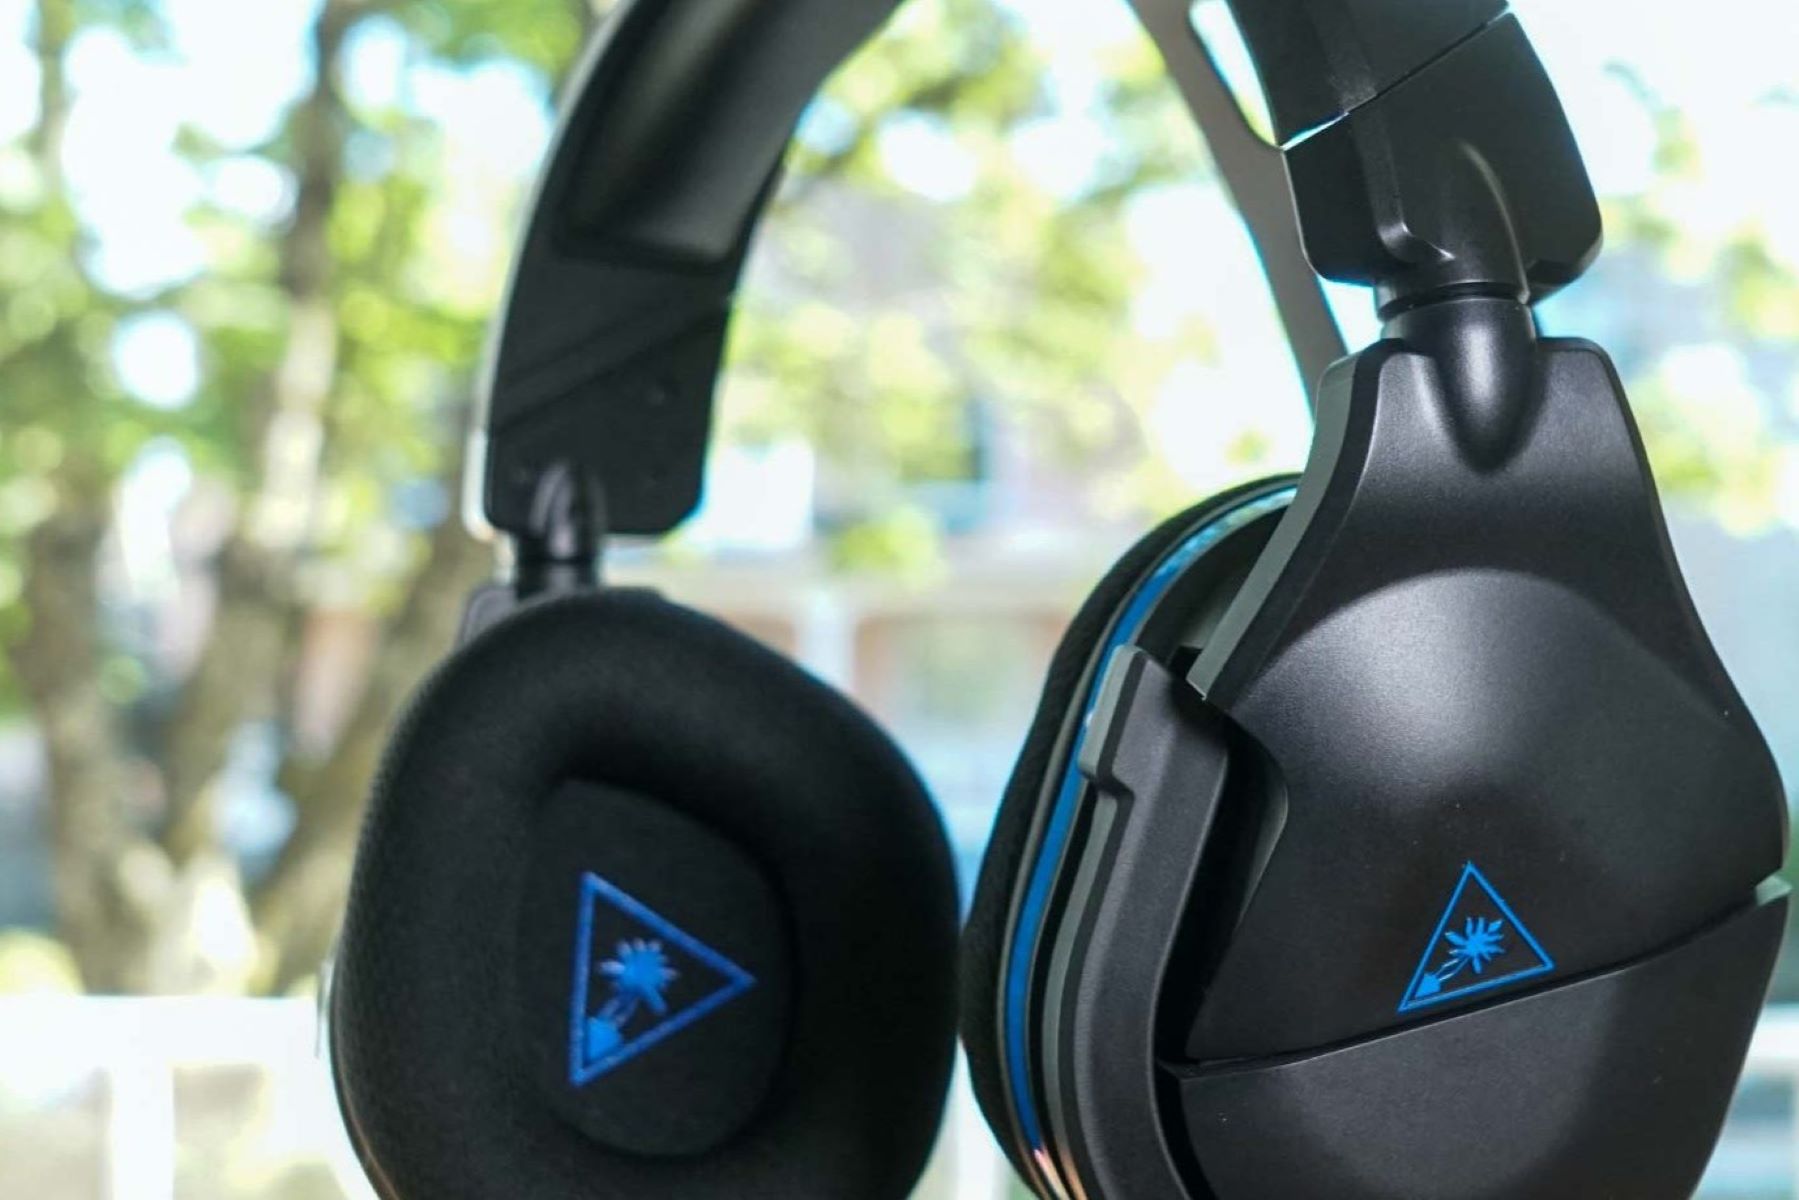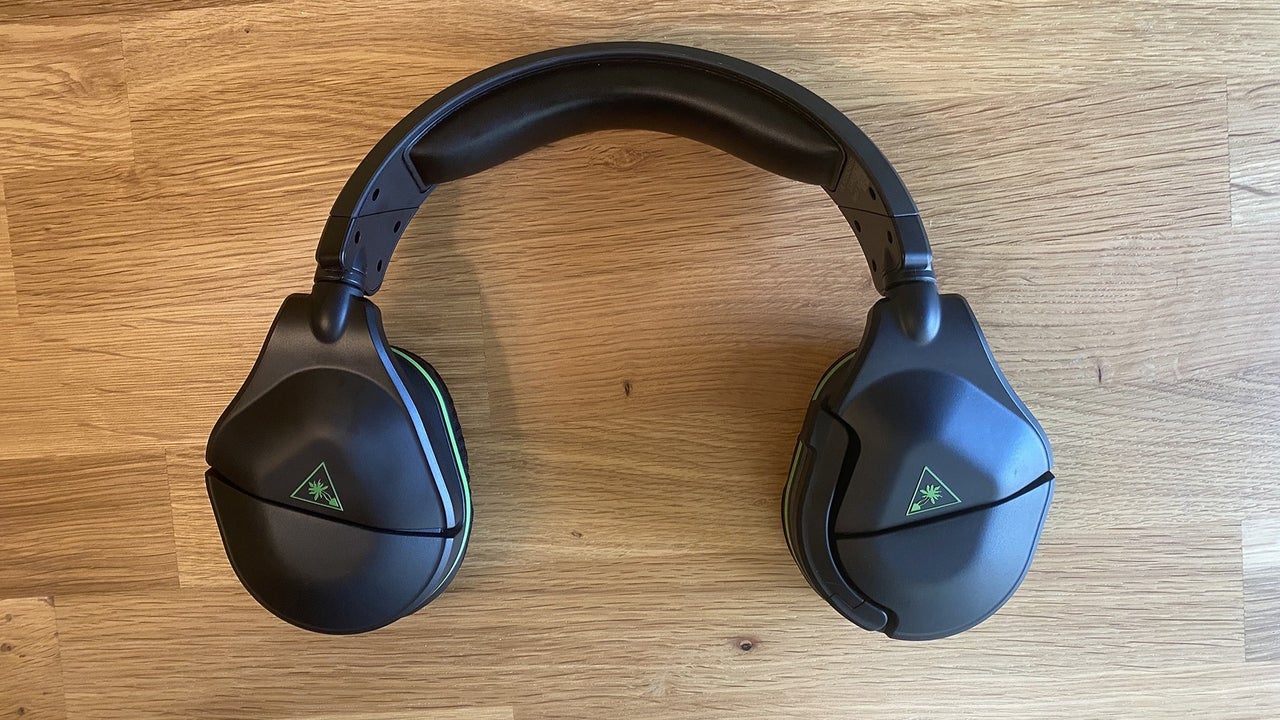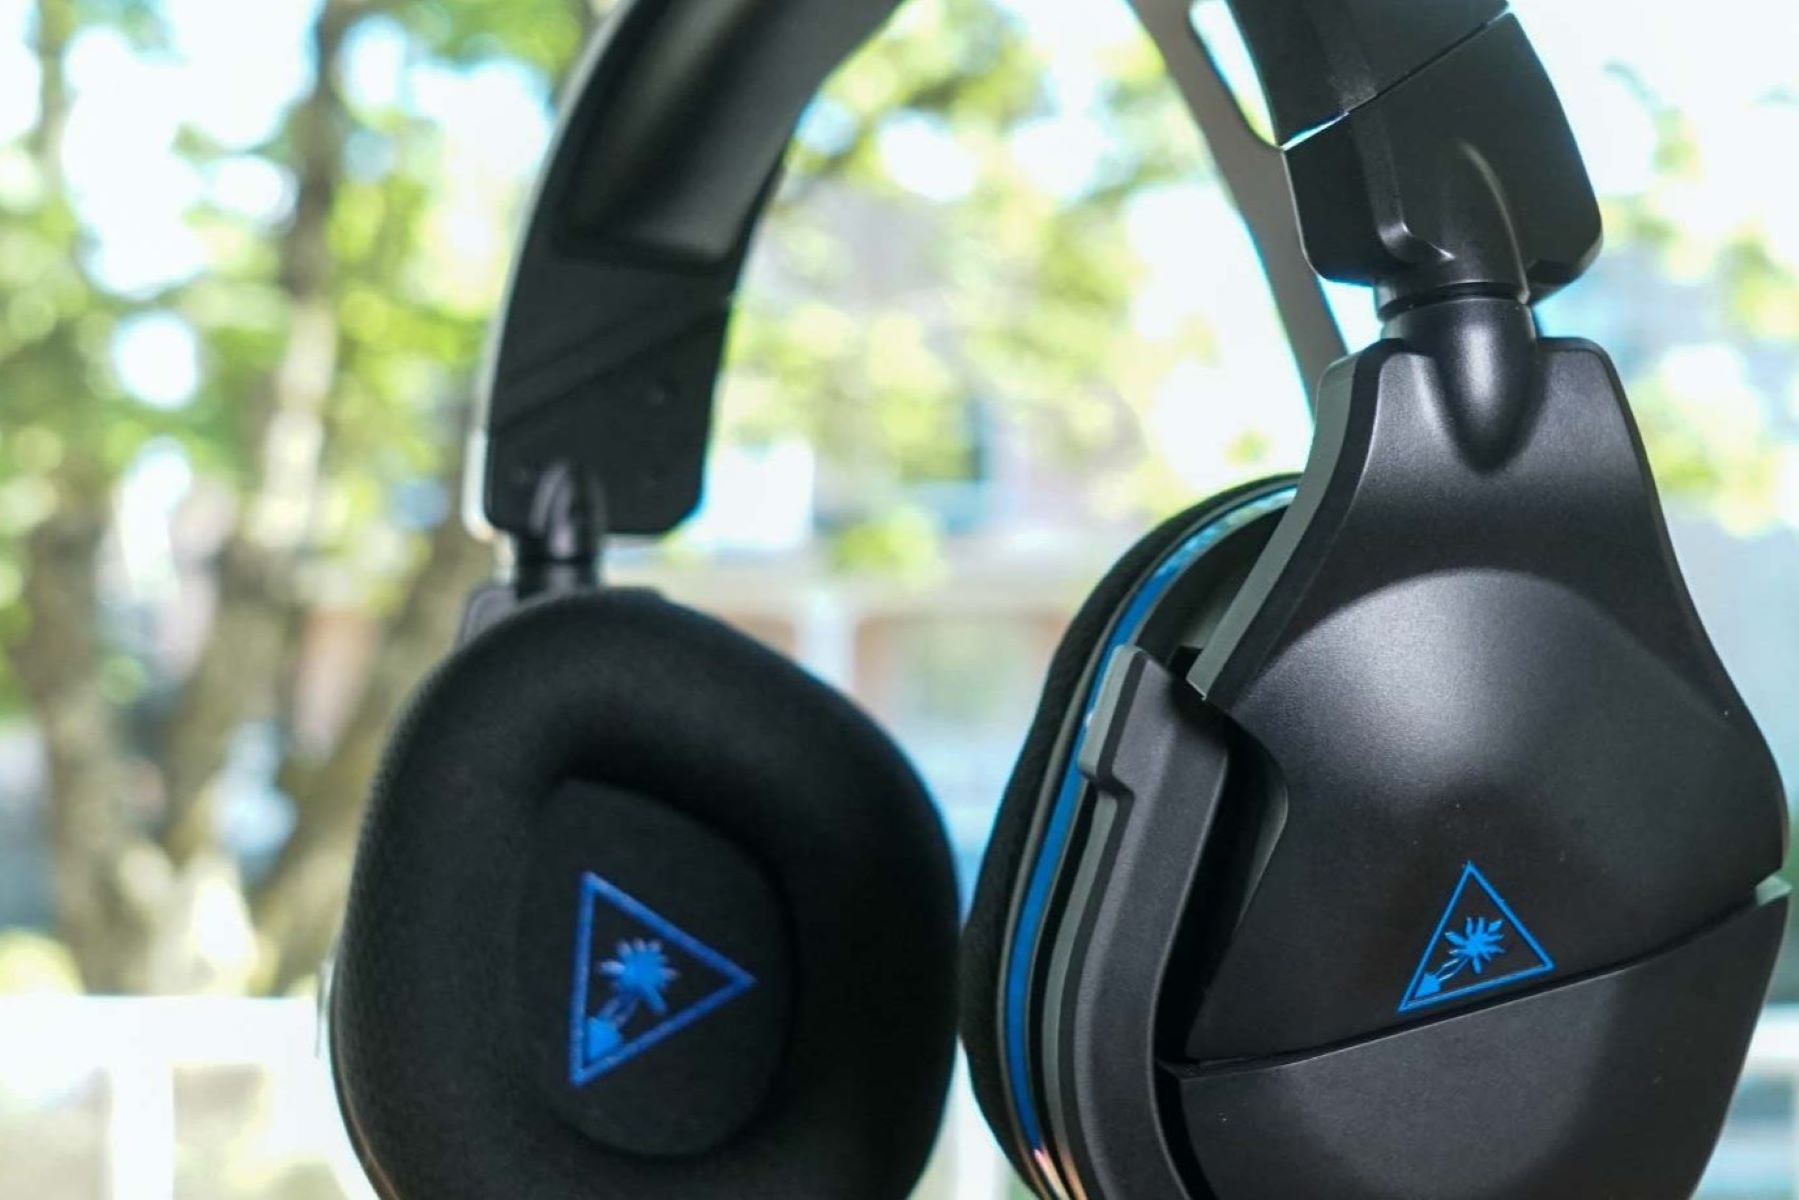
To get the best audio experience from your gaming sessions, a proper turtle beach headset setup is essential for connecting your headset to your console or PC and configuring it correctly. This guide provides the exact steps you need to physically connect your headset to your platform of choice, optimize the audio settings, and resolve any common issues you might encounter.
Turtle Beach headset setup: what you need to know first
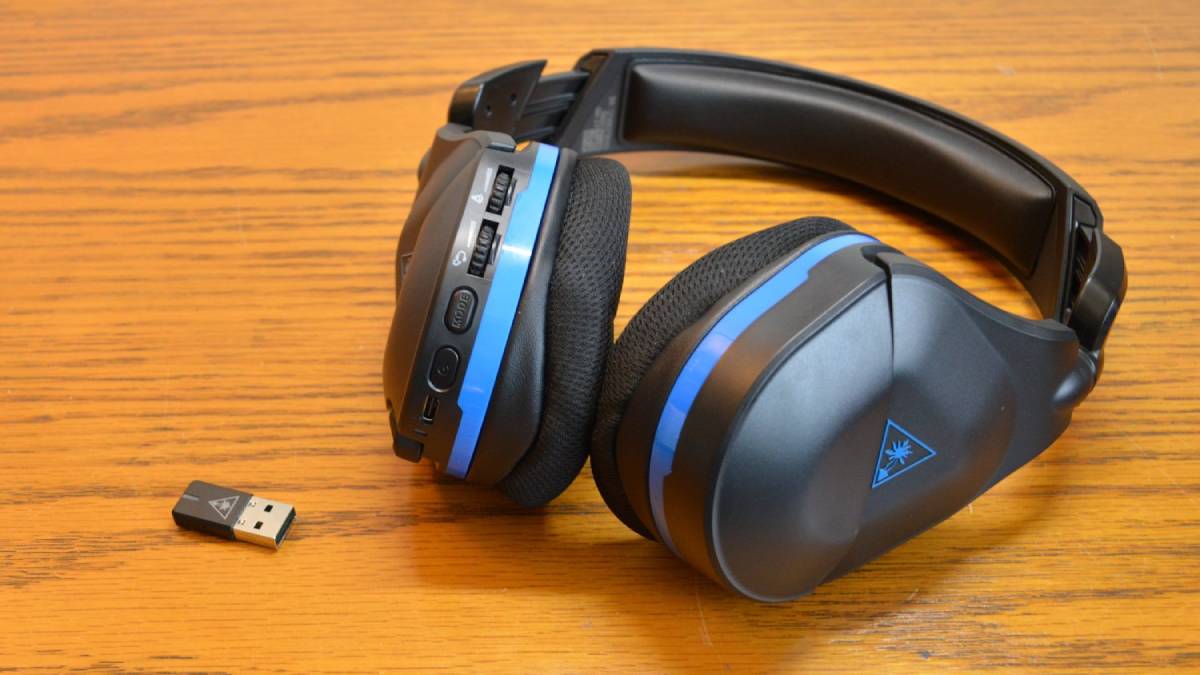
Turtle Beach headsets connect to your gaming platform using one of three main methods: a universal 3.5mm wired connection, a low-latency 2.4GHz wireless USB dongle, or the proprietary Xbox Wireless protocol for Xbox consoles. Before you begin, it is critical to update your headset's firmware using the Turtle Beach Audio Hub desktop app for Windows or Mac. This ensures the best performance and prevents many common issues. Some wireless headsets also feature a physical mode switch on the USB transmitter that must be set to the correct platform (e.g., "Xbox" or "PS/USB") before you plug it in.
How to connect to Xbox consoles
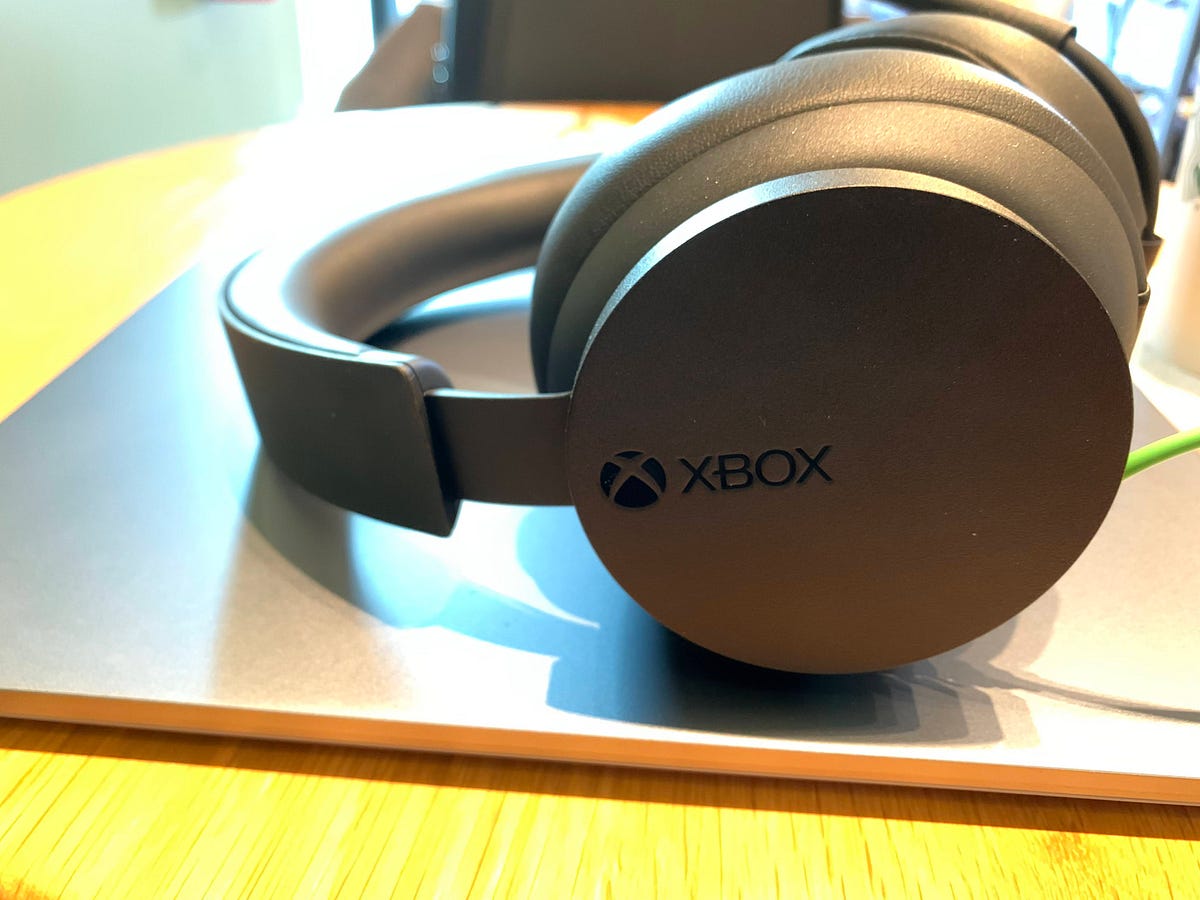
When connecting a headset to a console, Xbox has specific requirements. You can connect via a 3.5mm cable directly to your controller, use a USB wireless transmitter set to "Xbox" mode, or use a headset with built-in Xbox Wireless. Standard Bluetooth or generic 2.4GHz dongles will not work for game audio on Xbox.
- For a 3.5mm wired connection, plug the audio cable into the headset jack on your Xbox controller.
- For a wireless headset with a USB transmitter, set the transmitter's mode switch to "Xbox," plug it into your console, then power on the headset. Wait for the LEDs on both the transmitter and headset to turn solid, indicating a successful connection.
- For headsets with built-in Xbox Wireless, simply press the pairing button on the headset and then on the Xbox console to sync them.
After the physical connection, press the Xbox button on your controller, go to Profile & System > Settings > General > Volume & Audio Output, and set Headset Format to "Windows Sonic For Headphones" for virtual surround sound. You can also adjust Headset Volume, Headset Chat Mixer, and Mic Monitoring directly from the Audio section of the Xbox Guide.
How to connect to PlayStation consoles
Setting up your Turtle Beach headset on PlayStation consoles (PS4 and PS5) is straightforward. For wireless audio, you must use a 2.4GHz USB dongle, as PlayStation consoles do not support standard Bluetooth for game audio. A 3.5mm wired connection to the controller is also an option.
- For a wireless headset, plug the USB transmitter into your console. If your transmitter has a mode switch, ensure it is set to "PS/USB." Power on the headset and wait for the LEDs to become solid.
Once connected, go to Settings > Sound > Audio Output. Select your headset model or "Headset Connected To Controller" as the Output Device. Set "Output to Headphones" to "All Audio" and turn "Volume Control (headphones)" to maximum. On PS5, enable "3D Audio for Headphones" in the same sound settings to enhance spatial awareness in games.
How to connect to a PC
Connecting to a PC offers the most flexibility. For the lowest latency gaming audio, use a 2.4GHz wireless USB dongle. Bluetooth is also an option but introduces higher latency (60-100ms), making it less ideal for competitive play. A 3.5mm wired connection is universally compatible and often requires plugging into both the headphone and microphone jacks on your PC or a combined port on a laptop.
- For a wired headset, plug the 3.5mm cable(s) into the appropriate ports on your PC. Some wired headsets may also require a USB connection for power or additional features.
- For a 2.4GHz wireless headset, plug the USB dongle into your PC, power on the headset, and wait for the LEDs to sync.
- For Bluetooth, put your headset into pairing mode and connect it through your PC's Bluetooth settings.
After connecting, right-click the speaker icon in your Windows taskbar, go to Sound Settings, and ensure your Turtle Beach headset is selected as both the default playback device and the default recording device.
Pairing and re-pairing your wireless headset
Most wireless Turtle Beach headsets pair automatically when you power them on after plugging in the transmitter. If the connection is lost, indicated by double-blinking LEDs on both the headset and transmitter, you can manually re-pair them. Start with the headset powered off. Plug the USB transmitter into your console or PC. Then, press and hold the headset's power button for several seconds until the LEDs begin flashing, indicating they are searching for each other. The LEDs will turn solid once the pairing is successful.
Customizing your audio with the Audio Hub app
After the physical connection is established, you can fine-tune your audio using the Turtle Beach Audio Hub app. The desktop app (Windows/Mac) is used for firmware updates and advanced settings. Through either app, you can customize EQ presets, adjust mic monitoring levels, and remap control buttons to your preferences.
Testing your microphone and audio
Once everything is connected, verify that both audio and microphone are working. Play a game or test audio from your platform's dashboard to confirm sound output. To test the microphone, use a party chat or recording app. Most Turtle Beach headsets feature a flip-to-mute function: flipping the microphone up mutes it, often with an audible tone, and flipping it down unmutes it.
Troubleshooting common setup problems
If you encounter issues, start with these concise fixes based on common troubleshooting logic.
- No sound: Check that the headset is selected as the default audio device on your platform. For wireless headsets, verify the transmitter's mode switch is set correctly and that the LEDs are solid. Ensure the headset volume is turned up on both the headset and the console/PC.
- Mic not working: Make sure the microphone is fully attached and not muted (check the flip-to-mute position). In Windows, confirm the headset is set as the default recording device. On Xbox and PlayStation, check the mic monitoring and chat mixer settings.
- Audio distortion: Reduce the overall volume on your console or PC. Check the 3.5mm cable or wireless connection for interference. Reposition the wireless transmitter to ensure a clear line of sight.
- Unresponsive controls: Check for debris around the buttons or dials. Reset the headset's configuration to default settings using the Audio Hub app. If the issue persists, ensure the firmware is up to date.