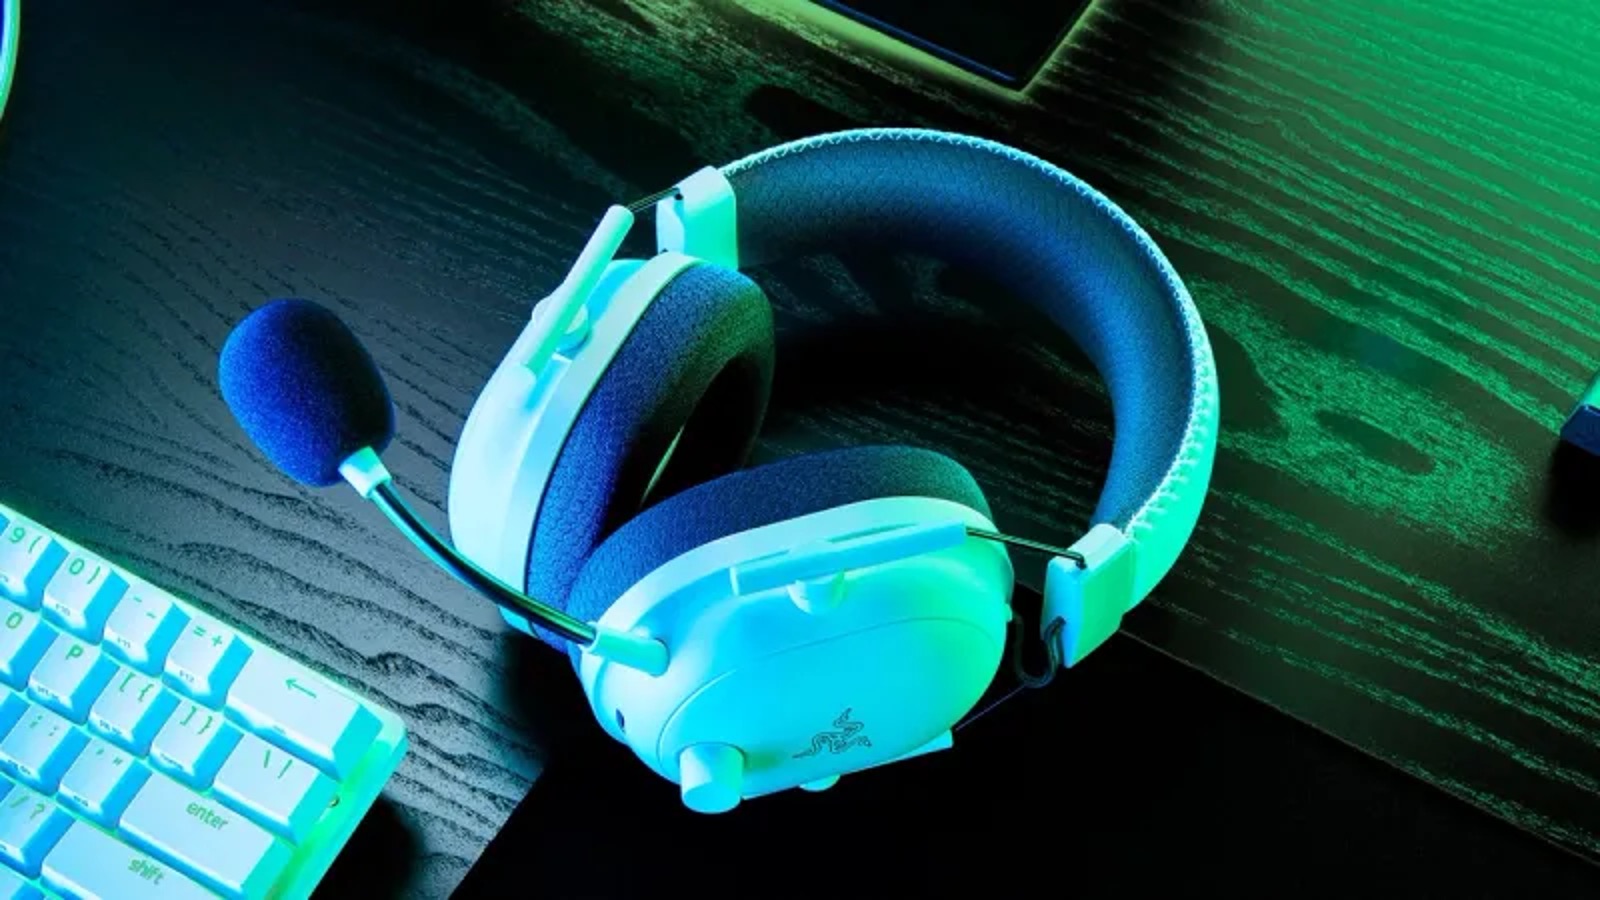
Check the Connection
When your headset is not working as expected, the first step in troubleshooting is to check the connection. A loose or faulty connection can often be the culprit behind audio issues. Here's how to go about it:
-
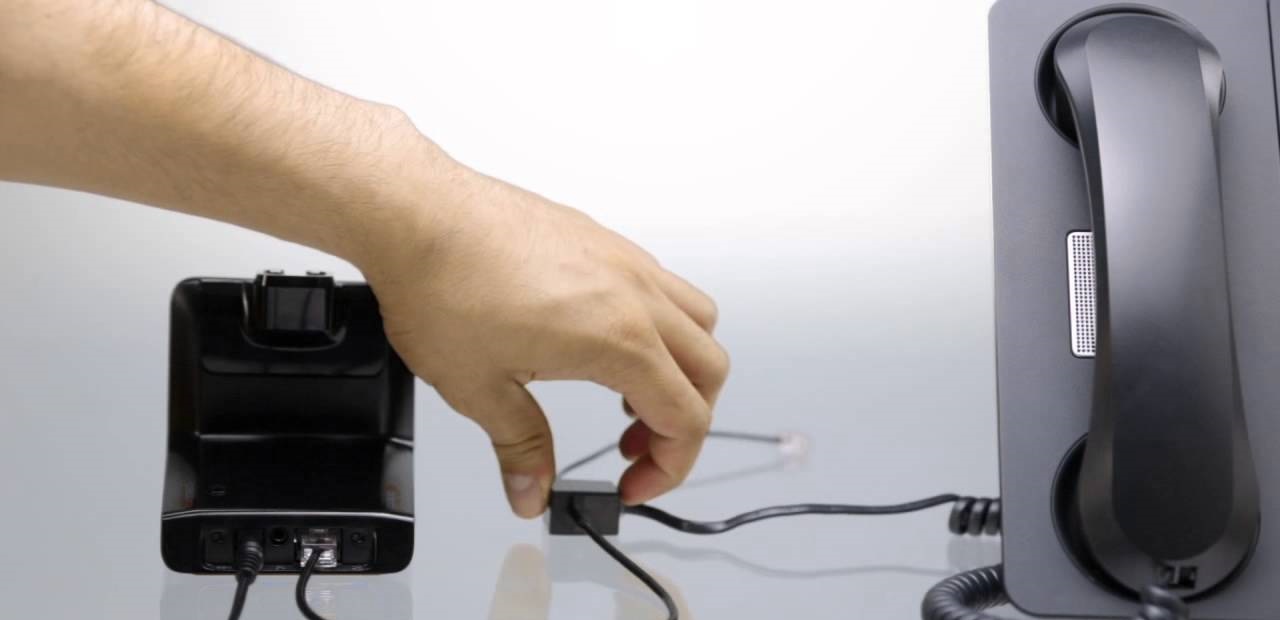
Ensure Proper Insertion: Start by checking if the headset is correctly plugged into the audio jack. Sometimes, a partially inserted plug can lead to sound problems. Give it a gentle push to ensure a secure connection.
-
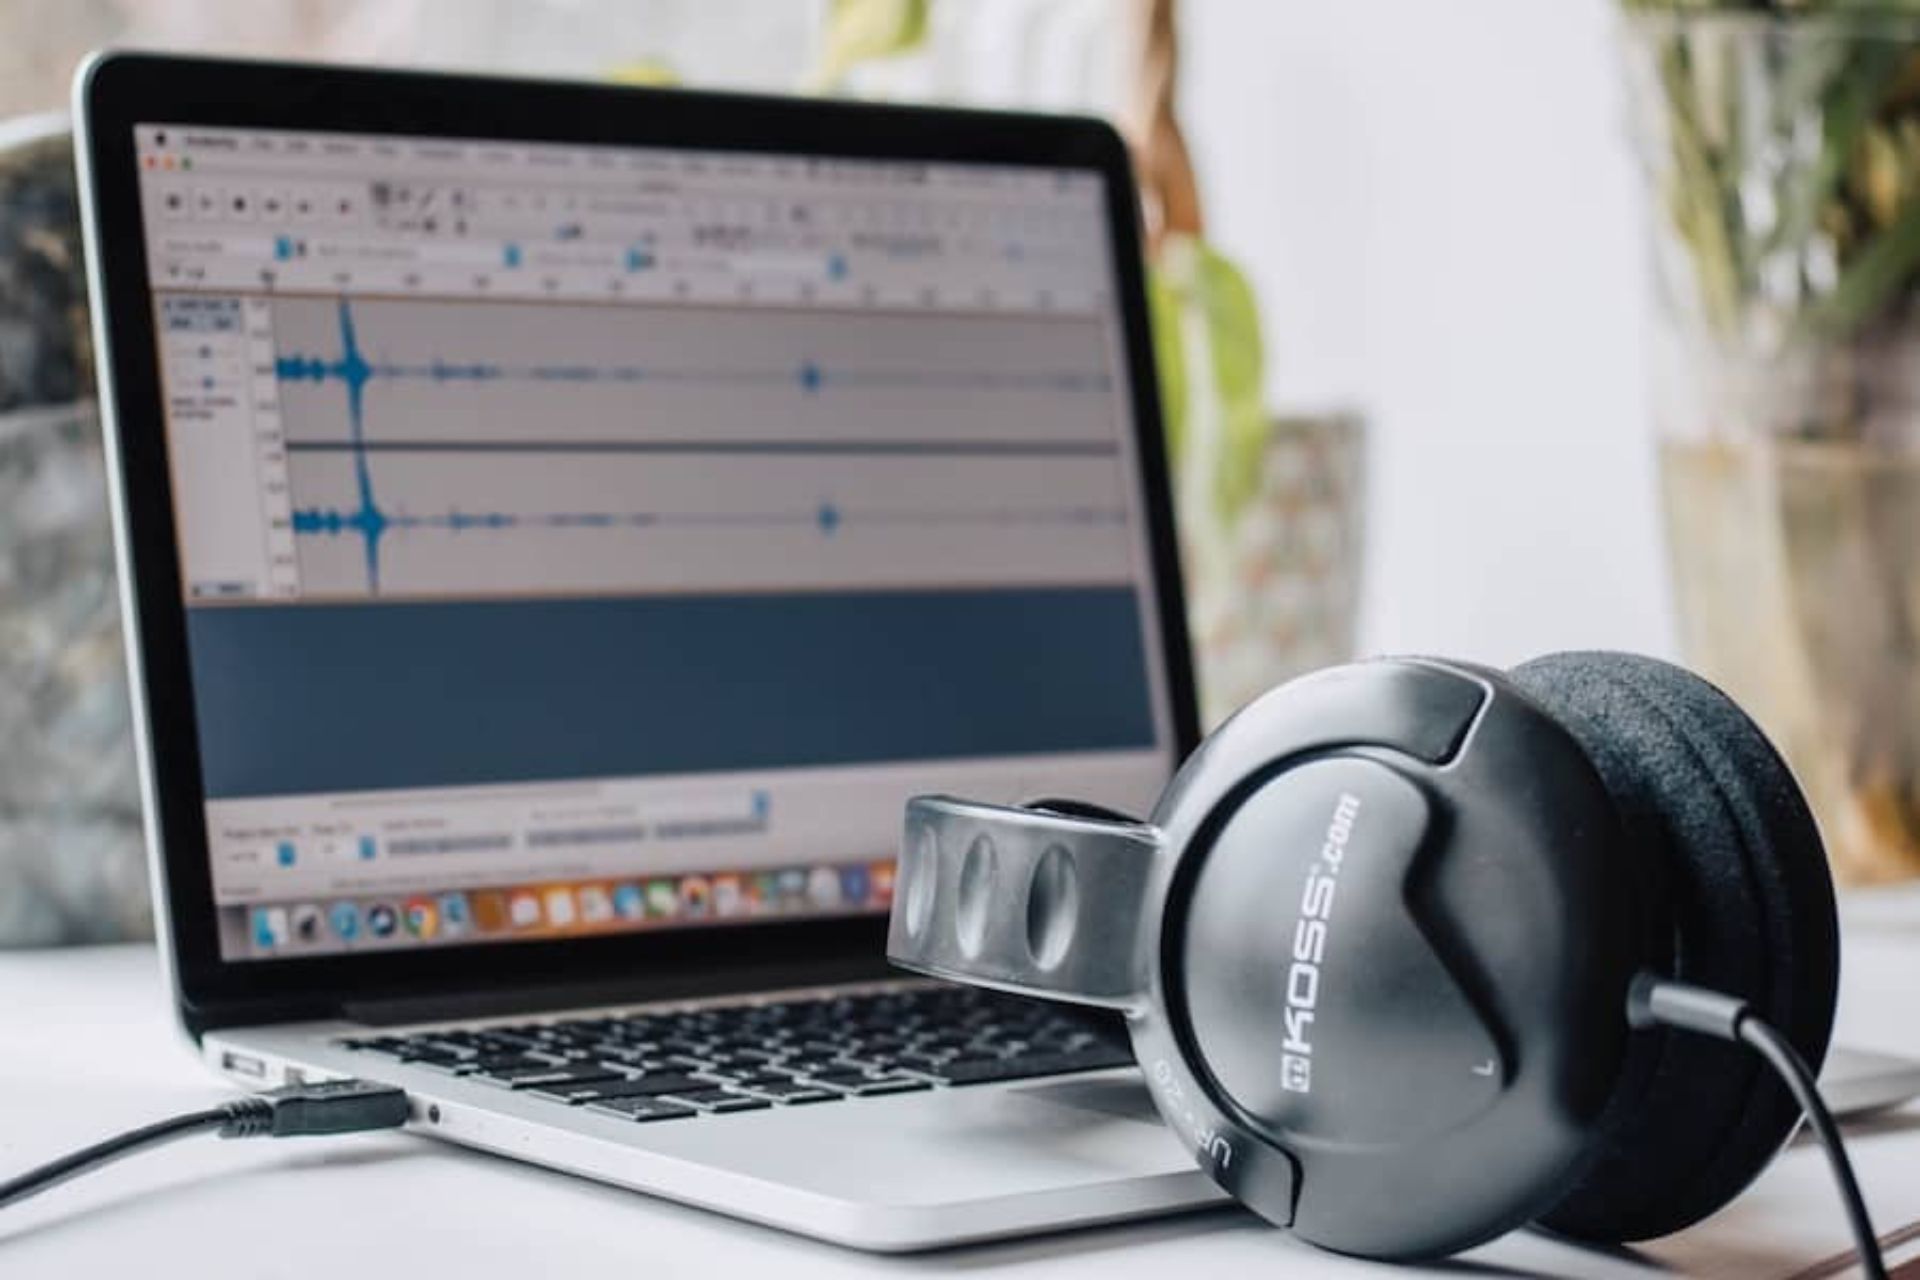
Inspect for Damage: Examine the cable and the audio jack for any signs of damage. A frayed cable or a bent pin in the audio jack can disrupt the connection and result in distorted sound or no audio at all.
-
Try a Different Port: If the headset is connected to a computer or a console, try plugging it into a different audio port. This can help determine if the issue is specific to the port or the headset itself.
-
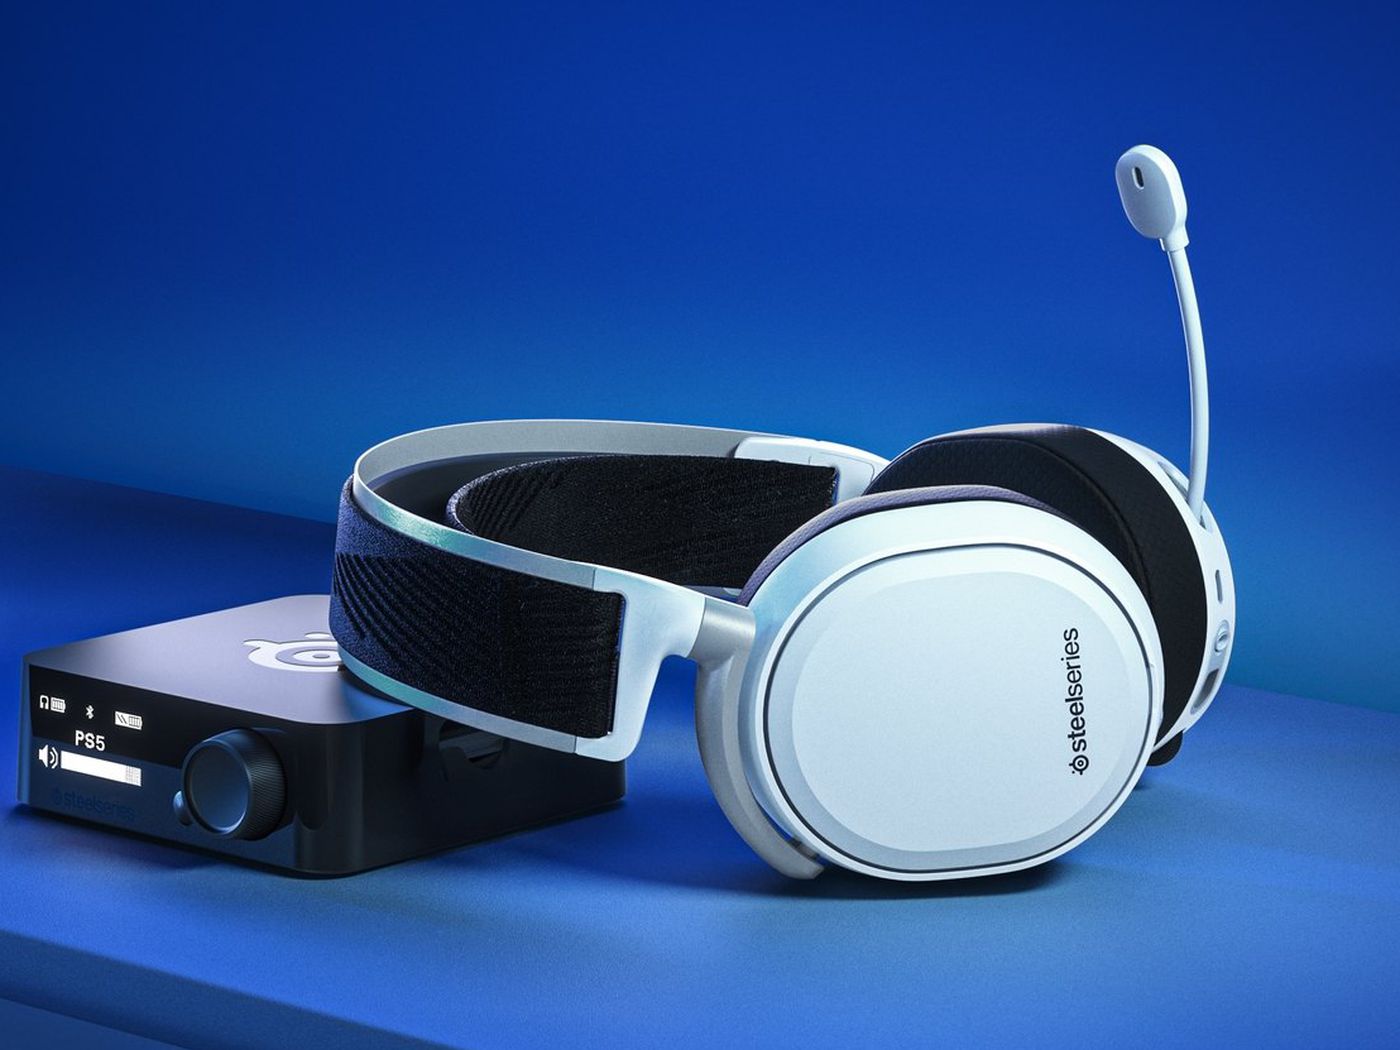
Wireless Connection: For wireless headsets, check the battery level and ensure that the wireless receiver is properly connected to the device. Low battery or a loose connection can cause audio disruptions.
-
Bluetooth Connectivity: If you're using a Bluetooth headset, ensure that it's paired with the device and within the recommended range. Interference from other electronic devices or being out of range can lead to audio dropouts.
By thoroughly checking the connection, you can rule out any basic connectivity issues that might be affecting the performance of your headset. Once you've confirmed that the connection is secure, you can move on to the next steps in troubleshooting your headset.
Adjust the Volume and Settings
When encountering issues with your headset, adjusting the volume and settings can often resolve common audio problems. Here's how to effectively troubleshoot this aspect:
Volume Adjustment
Start by checking the volume levels on both the device and the headset. If the volume is set too low, it can give the impression that the headset is malfunctioning. Conversely, excessively high volume settings can lead to distorted sound and potential damage to the headset's speakers.
Device Settings
Navigate to the audio settings on your device and ensure that the correct audio output is selected. Sometimes, the device may default to a different audio output, causing the sound to not be routed to your headset. Additionally, check for any sound enhancement or spatial audio settings that might be affecting the audio output. Disabling or adjusting these settings can often improve the overall audio experience.
Equalizer Settings
For advanced users, exploring the equalizer settings can provide a solution to audio discrepancies. Adjusting the equalizer settings to optimize the sound output for your specific headset can significantly enhance the audio quality and resolve issues related to sound clarity and balance.
Mic Settings
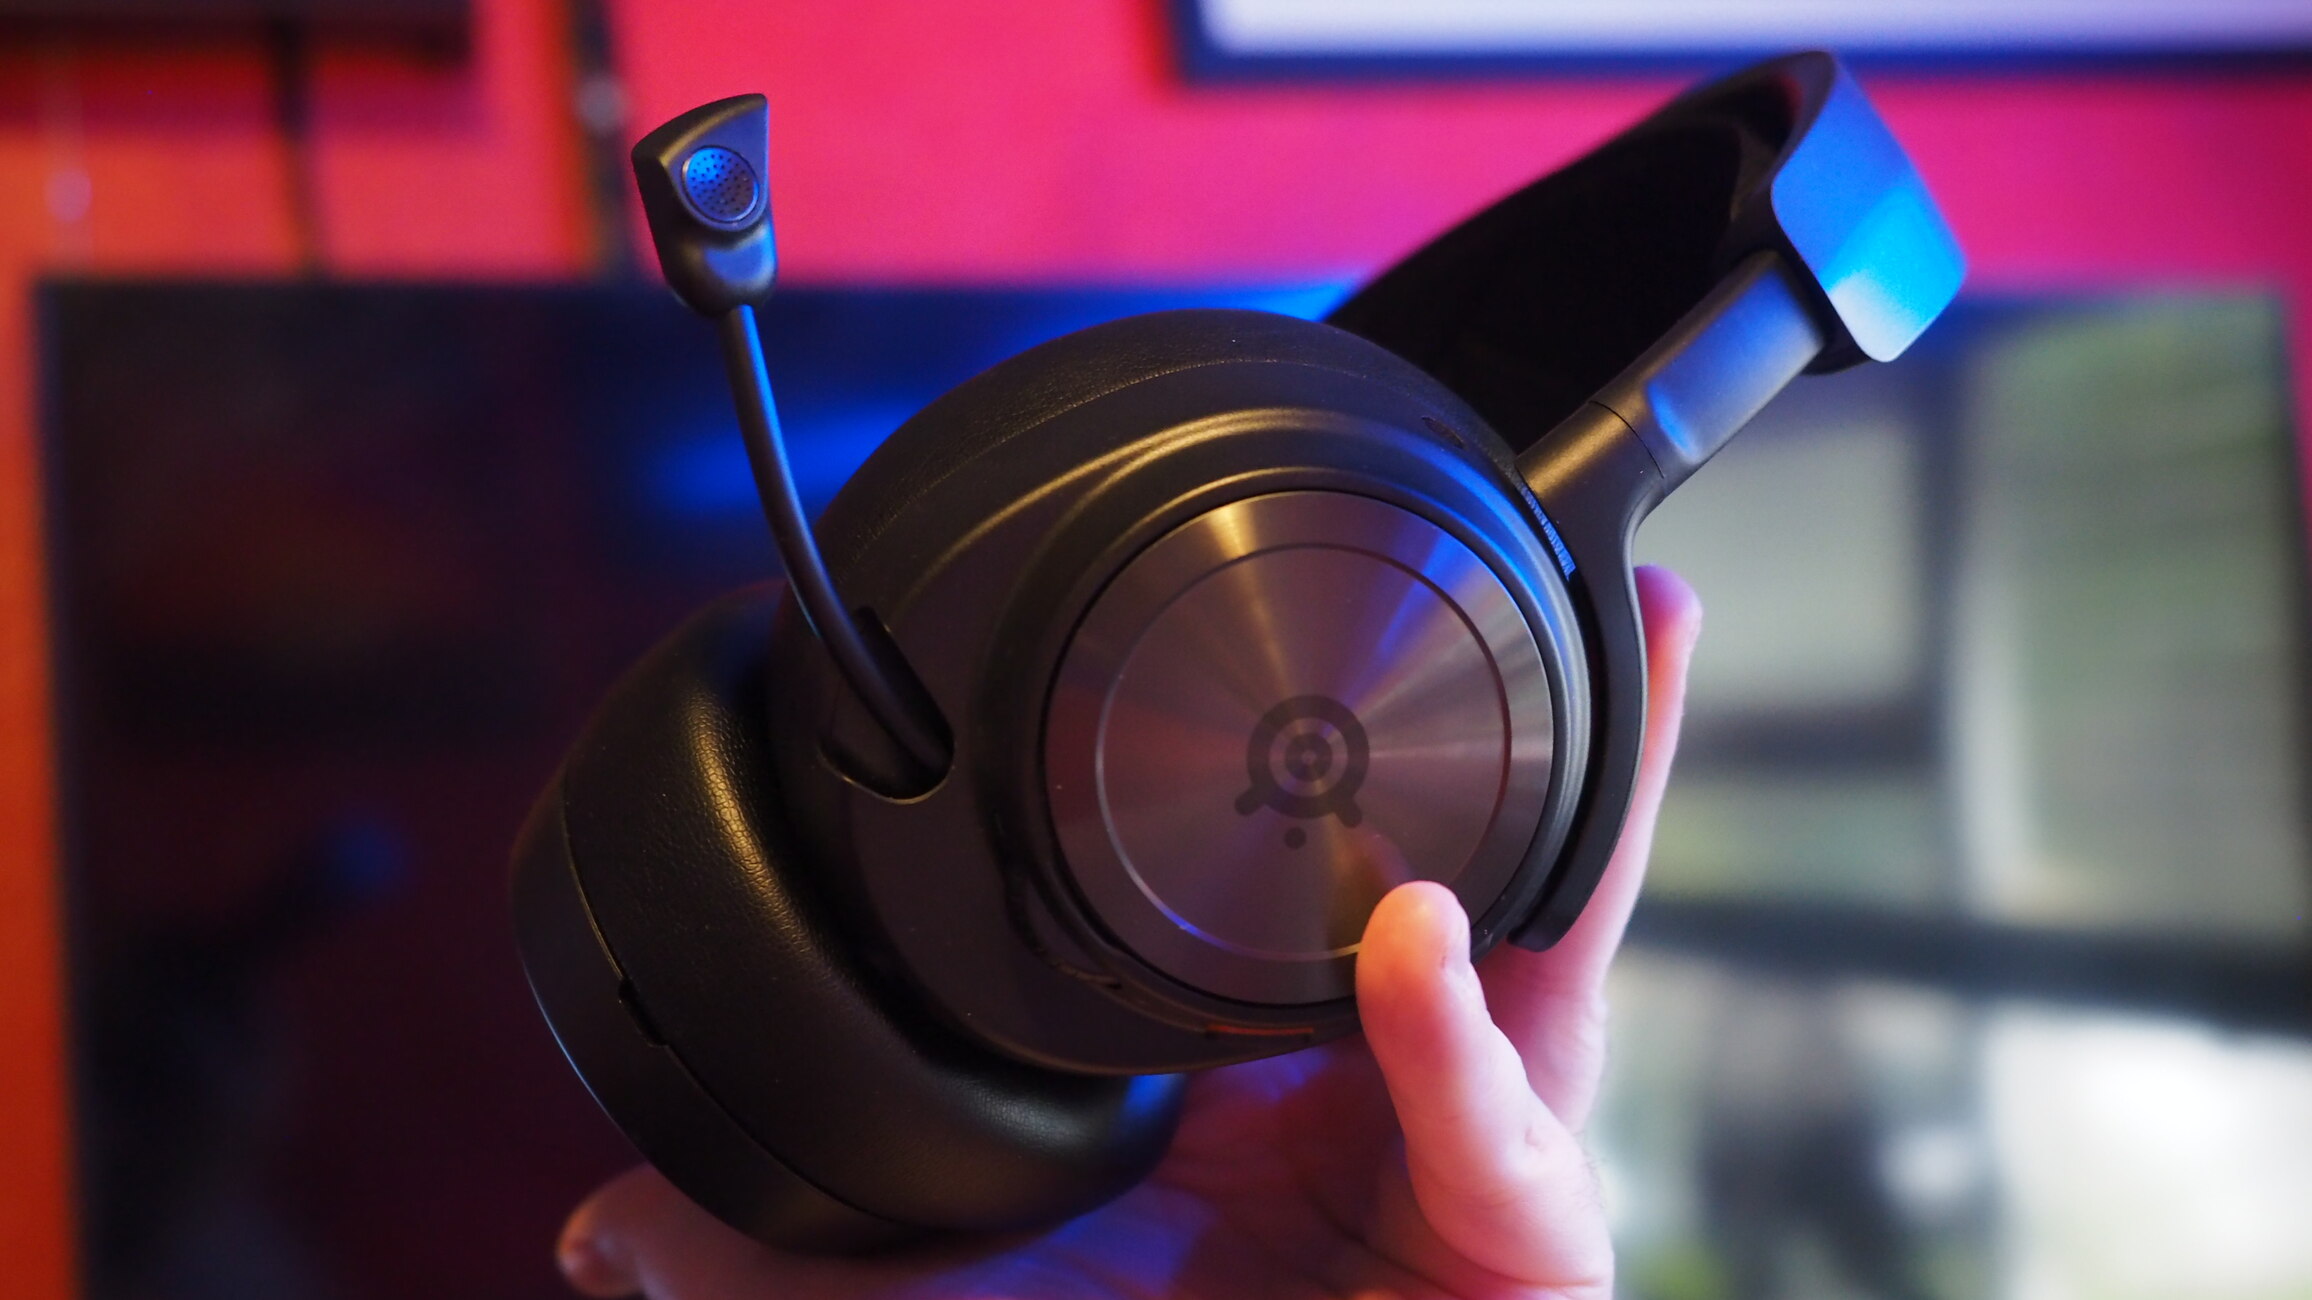
If your headset includes a microphone and you're experiencing problems with voice input, review the microphone settings on your device. Ensure that the correct microphone input is selected and that the microphone levels are appropriately adjusted. Additionally, check for any background noise suppression or mic boost settings that may be affecting the microphone's performance.
Audio Enhancements
Some devices offer audio enhancement features such as surround sound, virtual surround, or 3D audio. While these features can enhance the audio experience, they may also introduce compatibility issues with certain headsets. Disabling these enhancements or switching to a standard audio output mode can help troubleshoot audio problems.
By meticulously adjusting the volume and settings on both the device and the headset, you can often rectify common audio issues and restore the optimal functionality of your headset. If problems persist after these adjustments, it may be necessary to delve deeper into the troubleshooting process to identify and resolve the underlying cause of the audio problems.
Inspect the Cables and Ports
When troubleshooting a malfunctioning headset, inspecting the cables and ports is crucial in identifying potential issues that may be affecting the audio performance. Here's a detailed exploration of this essential troubleshooting step:
Cable Inspection
Begin by carefully examining the entire length of the headset cable, paying close attention to any signs of wear, fraying, or damage. Cables that have been subjected to repeated bending or twisting can develop internal wire damage, leading to intermittent audio cutouts or complete audio loss. Additionally, damaged insulation can result in exposed wires, increasing the risk of short circuits or electrical hazards.
If any damage is found, it's imperative to address it promptly. Depending on the severity of the damage, options may include using electrical tape as a temporary fix, applying heat-shrink tubing for more secure insulation, or seeking professional cable repair or replacement.
Port Evaluation
Inspect the audio ports on both the headset and the connected device for any debris, dust, or foreign objects that may be obstructing the connection. Accumulated debris can interfere with the electrical contacts, leading to poor audio transmission or intermittent connectivity. Utilize a can of compressed air or a soft brush to gently clean the ports and remove any obstructions, ensuring a clean and reliable connection.
Furthermore, examine the integrity of the ports themselves. Loose or damaged ports can result in unstable connections, causing audio disruptions. If a loose port is identified, it may be necessary to seek professional repairs or consider using alternative audio ports to establish a secure connection.
Adapter and Extension Cables
For headsets that utilize adapters or extension cables, thoroughly inspect these additional components for any signs of wear, damage, or connectivity issues. Adapters and extension cables are susceptible to wear and tear, especially at connection points, and may develop faults that impact audio transmission. Consider testing the headset without the adapters or extension cables to isolate potential issues related to these accessories.
By meticulously inspecting the cables and ports, addressing any identified issues, and ensuring a clean and secure connection, you can effectively eliminate common audio problems stemming from cable or port-related issues. This step serves as a foundational aspect of headset troubleshooting, laying the groundwork for a comprehensive and systematic approach to resolving audio malfunctions.
Update or Reinstall Drivers
In the realm of headset troubleshooting, the role of drivers cannot be overlooked. Drivers serve as the intermediary communication link between the headset and the device it's connected to, facilitating the seamless transmission of audio signals. Over time, outdated or corrupted drivers can lead to a myriad of audio issues, ranging from distorted sound to complete audio failure. To address these concerns, updating or reinstalling the drivers is a pivotal step in the troubleshooting process.
Driver Update
Commence the driver update process by identifying the specific model and manufacturer of your headset. This information can typically be found on the headset itself, its packaging, or through the manufacturer's official website. Once the details are obtained, navigate to the manufacturer's website and locate the support or downloads section. Here, you can search for the latest driver updates tailored for your headset model and the operating system of your device.
Download the latest driver version and follow the manufacturer's instructions for installation. It's crucial to adhere to the provided guidelines to ensure a seamless update process. Upon successful installation, the updated drivers can rectify compatibility issues, enhance audio performance, and introduce optimizations that address known audio-related concerns.
Driver Reinstallation
In scenarios where the audio problems persist despite the driver update, a complete driver reinstallation may be necessary. Begin by uninstalling the existing drivers through the device manager or the designated uninstallation utility provided by the headset's manufacturer. Once the drivers are uninstalled, proceed to restart the device to ensure a clean slate for the upcoming installation.
Next, reinstall the drivers using the latest version obtained from the manufacturer's website. Follow the installation instructions meticulously to guarantee a successful installation. A thorough driver reinstallation can effectively resolve deep-seated driver-related issues, reinstating the seamless audio functionality of the headset.
By prioritizing the update or reinstallation of drivers, you can eliminate potential driver-related obstacles that impede the optimal performance of your headset. This proactive approach ensures that the drivers remain in sync with the evolving software and operating system landscape, fostering a stable and reliable audio experience.
Test on Another Device
Testing your malfunctioning headset on another device can provide valuable insights into the root cause of the audio issues. This step is pivotal in isolating the source of the problem, whether it's related to the headset itself or the device it's connected to. By conducting this cross-device test, you can effectively narrow down the potential causes and make informed decisions regarding further troubleshooting or necessary actions.
When selecting an alternative device for testing, opt for a platform that supports the same type of audio connectivity as the original device. For instance, if the headset is primarily used with a computer, consider testing it on another computer or a compatible audio device such as a smartphone, tablet, or gaming console. This ensures that the test results accurately reflect the headset's performance across similar audio platforms.
Initiate the testing process by connecting the headset to the alternative device and attempting to reproduce the audio issues experienced on the original device. Pay close attention to the behavior of the headset, focusing on aspects such as sound quality, volume consistency, microphone functionality, and overall audio reliability. By observing the headset's performance on a different device, you can discern whether the issues persist across platforms or are exclusive to the original device.
If the audio problems persist on the alternative device, it indicates that the headset itself may be the primary source of the issues. In such cases, further troubleshooting steps, such as inspecting the physical components, contacting the manufacturer for support, or considering a replacement, may be necessary to address the underlying headset-related concerns.
Conversely, if the audio issues are not replicated on the alternative device, it suggests that the original device may be contributing to the headset's malfunction. In this scenario, revisiting the connectivity, settings, drivers, or audio output configurations on the original device becomes imperative to rectify the issues and restore the optimal functionality of the headset.
By diligently testing the headset on another device, you gain critical insights that guide the subsequent troubleshooting efforts. This methodical approach empowers you to make informed decisions and take targeted actions, ultimately leading to the successful resolution of the audio issues plaguing your headset.


