Introduction
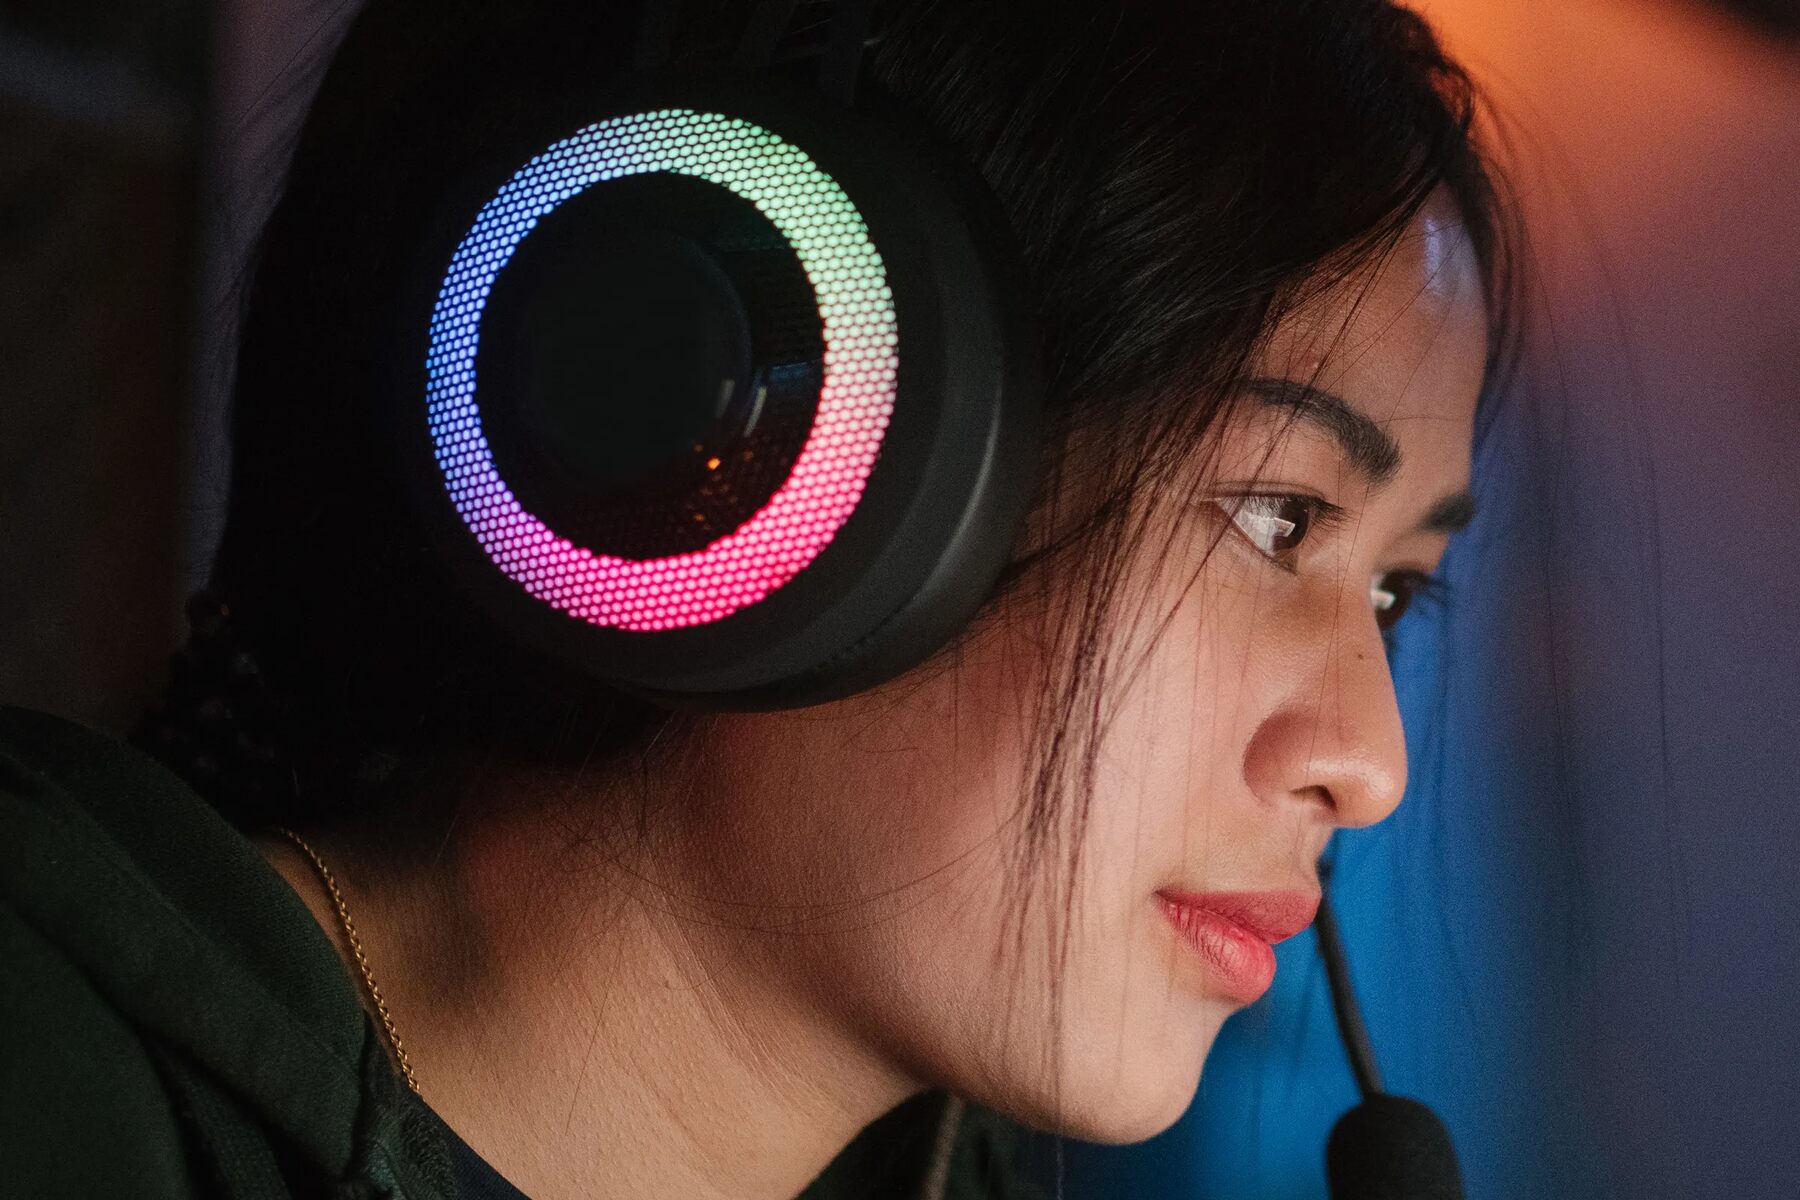
Welcome to the exciting world of gaming on your laptop! Playing games on a gaming laptop opens up a world of immersive experiences and allows you to connect with people from all over the globe. As you dive into the gaming world, you may find yourself wanting to use the microphone on your headset to communicate with other players, execute strategies, or simply chat with friends.
In this guide, we will walk you through the process of using the microphone on your headset with your gaming laptop. Whether you’re a seasoned gamer or new to the gaming community, we’ve got you covered. By the end of this article, you’ll have a clear understanding of how to connect your headset’s microphone to your laptop and adjust the necessary settings to achieve optimal performance.
Before we delve into the technical details, let’s briefly discuss why using a headset microphone is advantageous. While gaming laptops often come equipped with a built-in microphone, it may not offer the same level of audio quality and noise cancellation as a dedicated headset microphone. Additionally, using a headset allows for better focus and immersion in your gameplay, ensuring that you can communicate efficiently without any external distractions.
So, if you’re ready to step up your gaming experience by enabling the microphone on your headset, let’s get started! In the following sections, we’ll guide you through the process of finding the appropriate port on your gaming laptop, connecting your headset, adjusting the microphone settings, and troubleshooting common issues that may arise. Let’s dive in!
Finding the Appropriate Port on Your Gaming Laptop
Before you can start using the microphone on your headset, you need to locate the appropriate port on your gaming laptop. The port you will be looking for is typically labeled as the “audio” or “headphone/microphone” port. Here are the steps to help you find it:
- Inspect the sides or back of your gaming laptop. Look for small audio icons or labels indicating the presence of an audio port.
- Most gaming laptops are equipped with a 3.5mm audio jack, which is the standard size for headphone and microphone connections. It usually appears as a small circular hole.
- If you cannot locate the audio port, refer to your laptop’s user manual or visit the manufacturer’s website for specific information on the location of the audio port.
Once you have located the audio port, you are one step closer to enabling your headset microphone. Now, it’s time to connect your headset to the laptop. Keep reading for the next section on how to properly connect your headset and laptop.
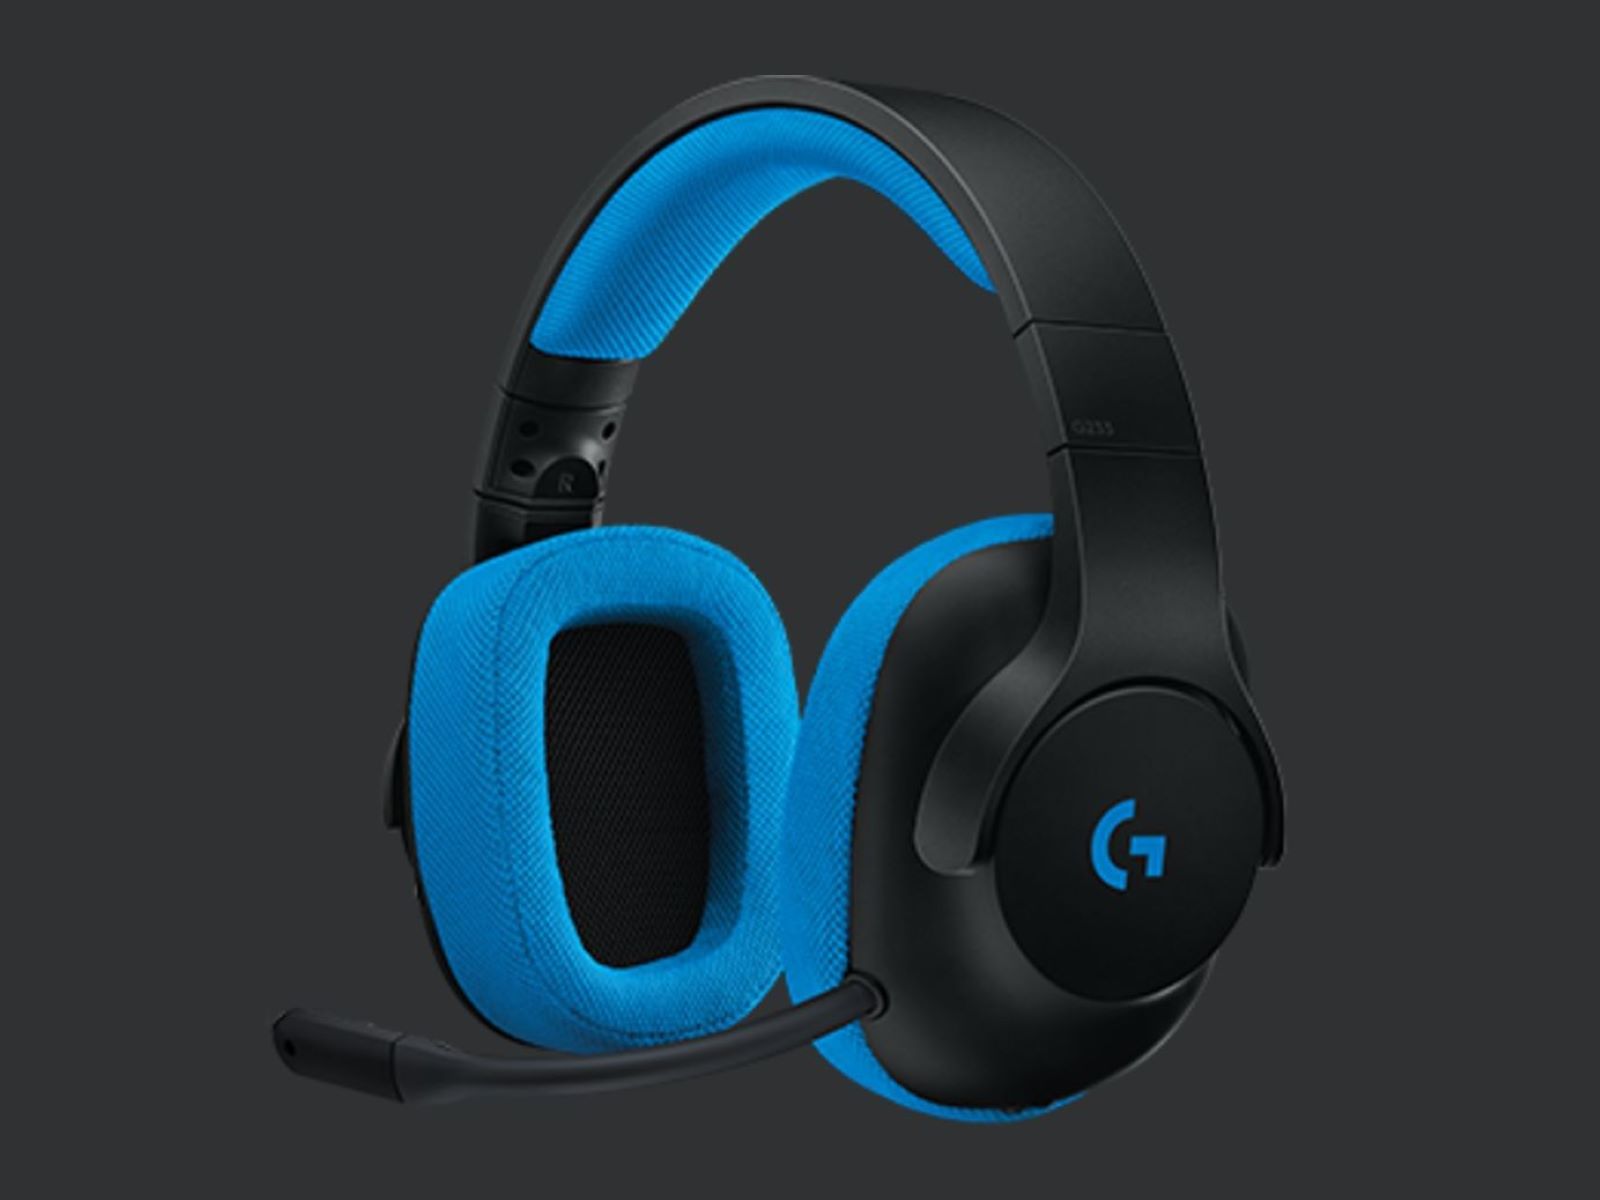
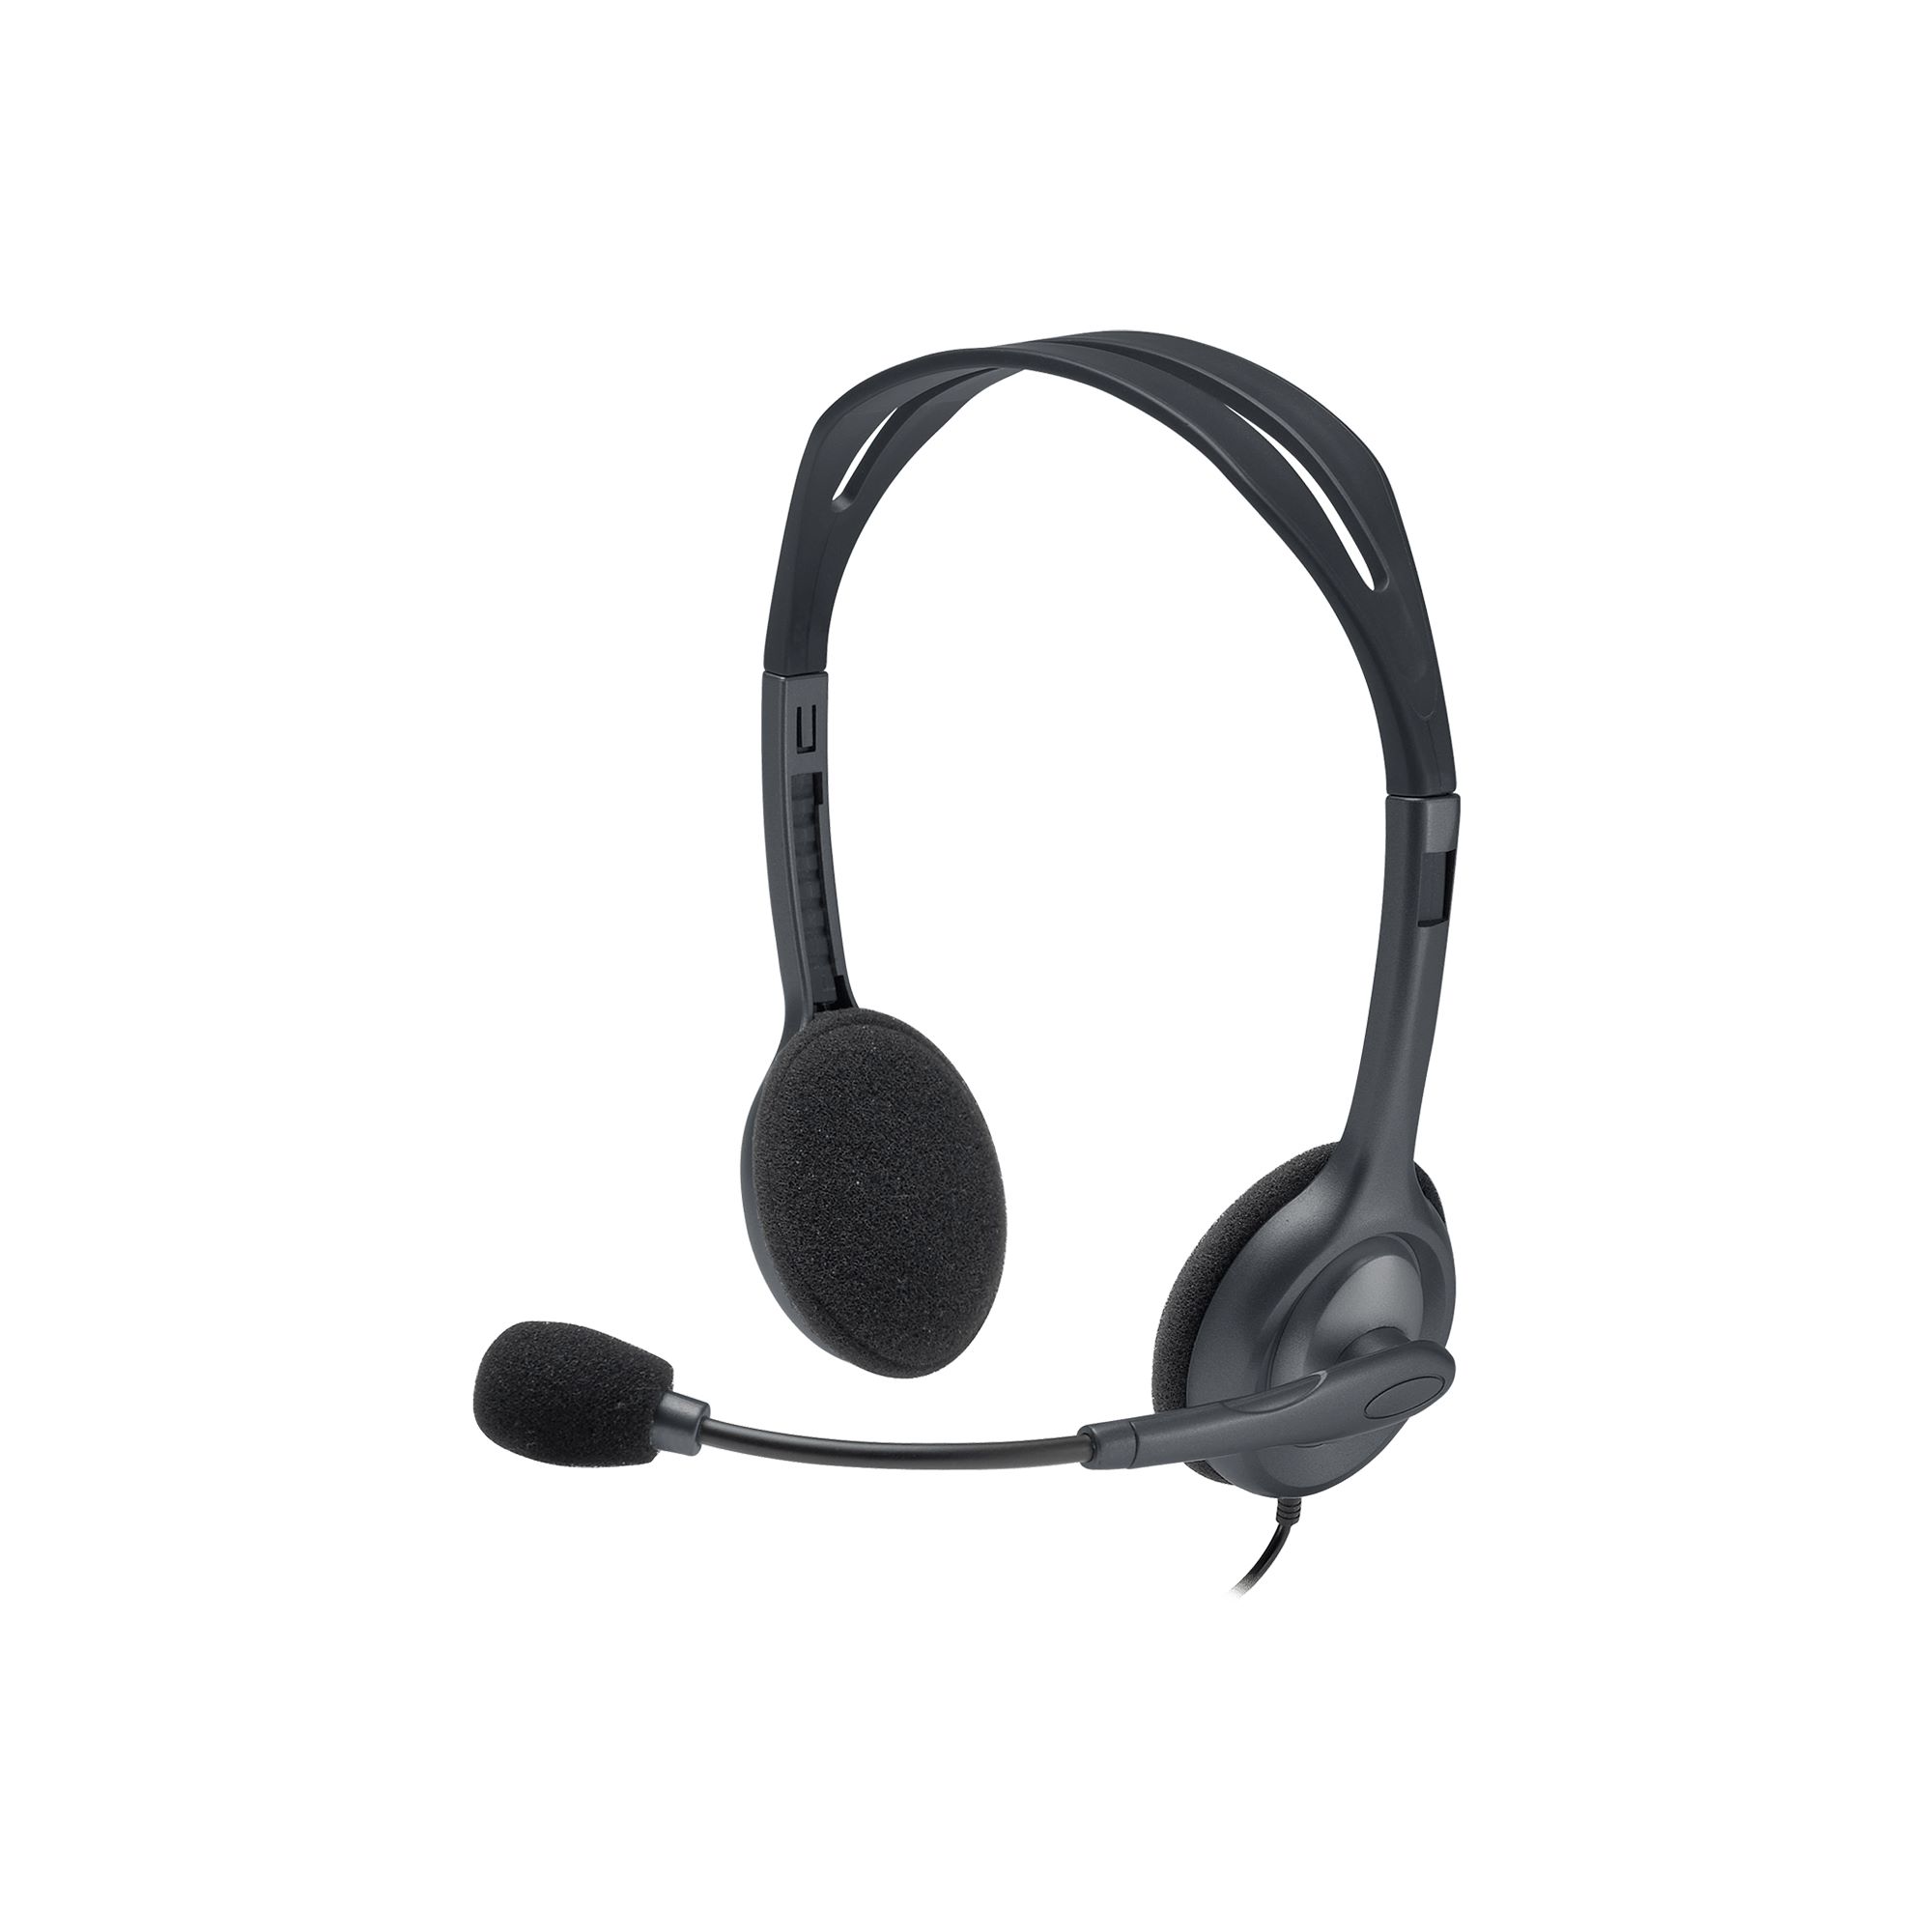
Connecting the Headset to the Laptop
Now that you have located the audio port on your gaming laptop, it’s time to connect your headset. Follow these steps to ensure a proper and secure connection:
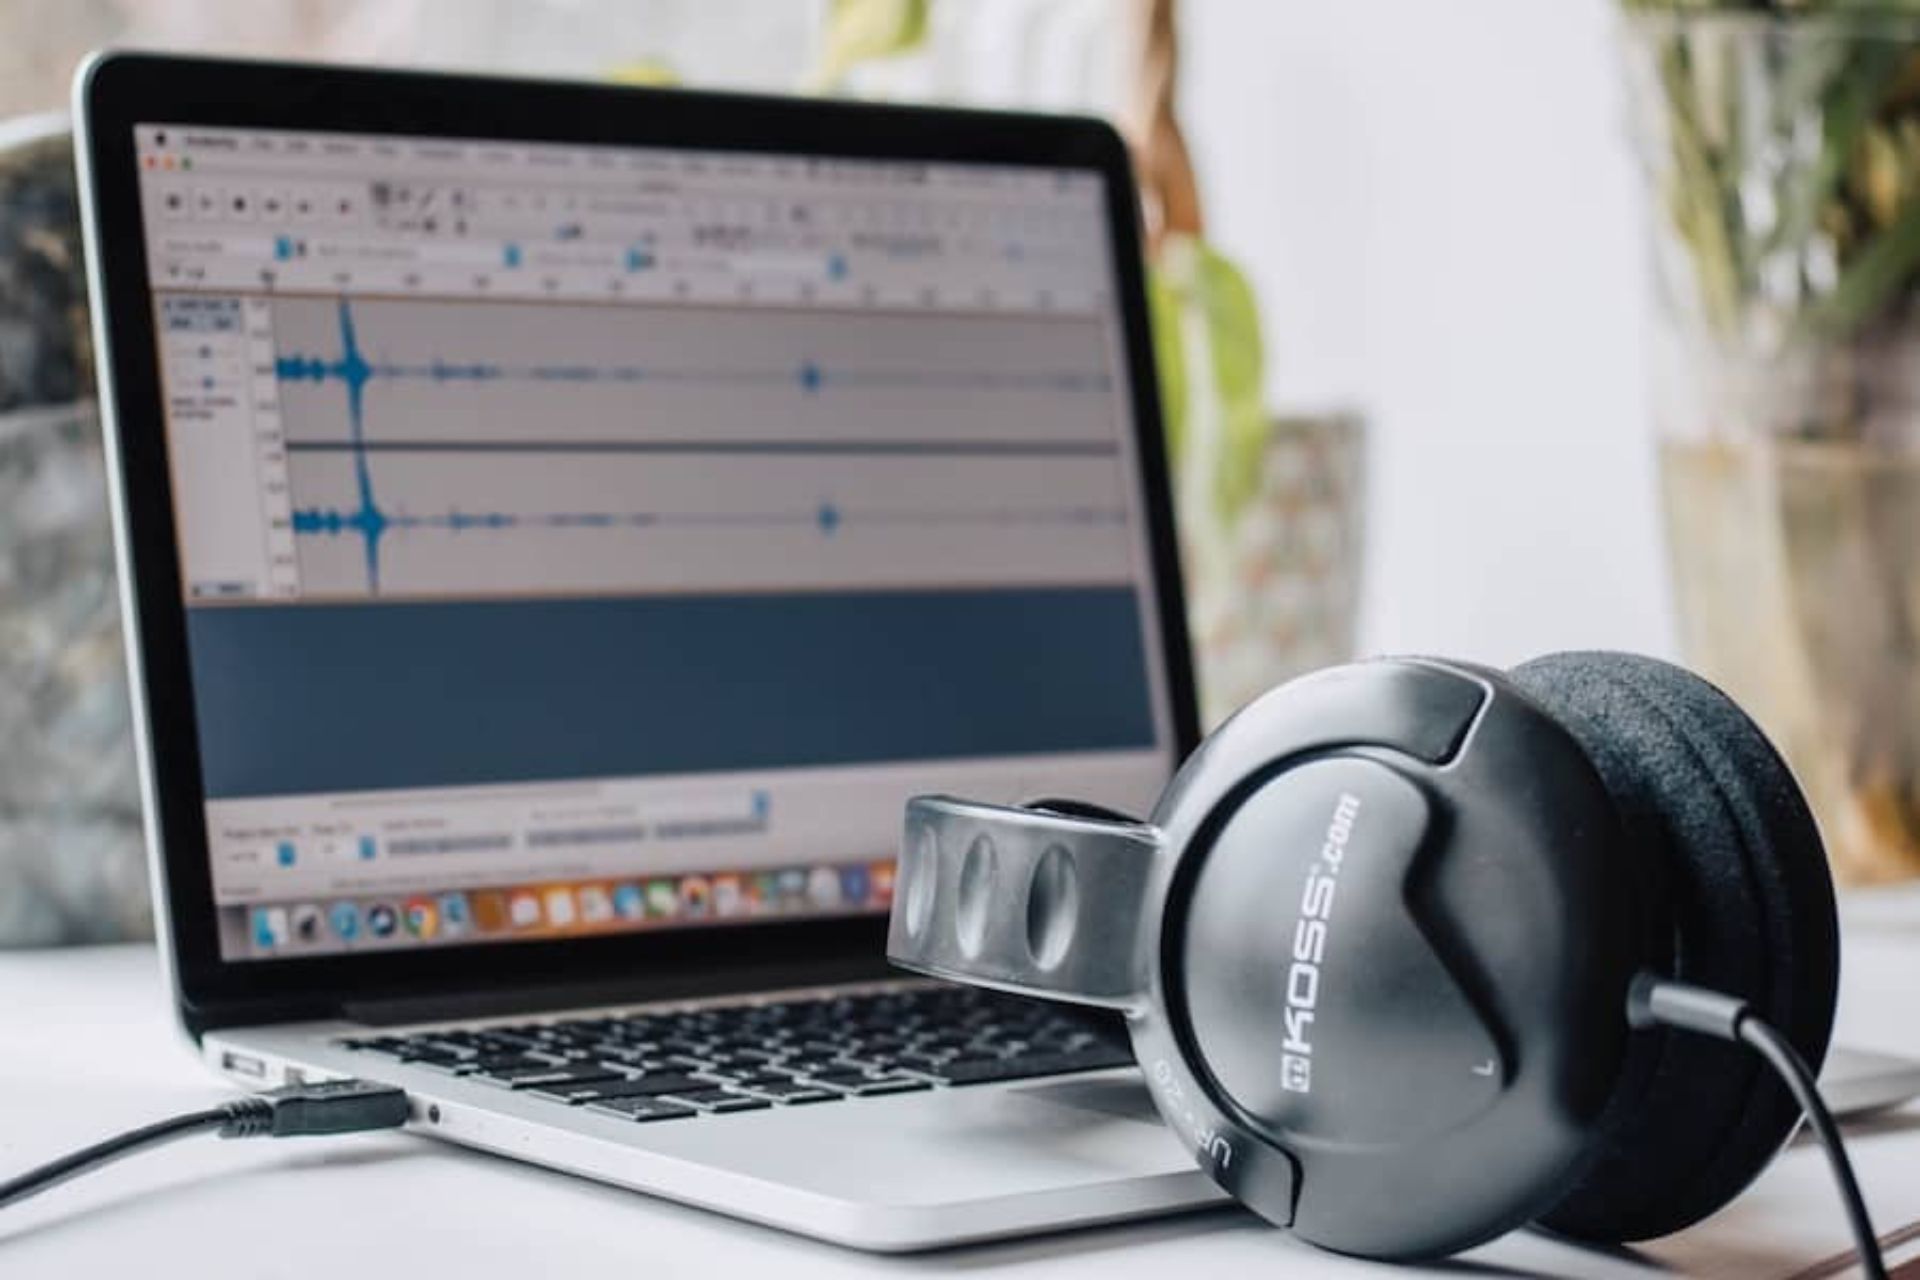
- Take the cable attached to your headset and locate the appropriate connectors. The cable will typically have two separate connectors: one for the headphones and one for the microphone.
- Insert the headphone connector into the audio port on your laptop. The headphone connector is usually marked with a headphone icon or has a green color coding.
- Next, insert the microphone connector into the corresponding port on your laptop. The microphone connector is typically marked with a microphone icon or has a red color coding.
- Ensure that both connectors are fully inserted into their respective ports to establish a secure connection.
Once your headset is properly connected to the laptop, you’re ready to move on to adjusting the microphone settings. Keep reading to learn how to optimize the microphone performance for your gaming sessions.
Adjusting the Microphone Settings on Your Laptop
After connecting your headset to your gaming laptop, it’s important to adjust the microphone settings to ensure optimal audio performance. Here’s how you can do it:
- Open the sound settings on your laptop. The process may vary depending on the operating system you are using. On Windows laptops, you can access the sound settings by right-clicking on the speaker icon in the system tray and selecting “Sounds” or “Playback devices”. On macOS laptops, you can go to “System Preferences” and click on “Sound”.
- In the sound settings panel, navigate to the “Recording” or “Input” tab. This is where you can view and modify the settings related to your microphone.
- Locate your headset’s microphone in the list of available recording devices. It will typically be identified by the headset’s brand or model name.
- Select the headset’s microphone and click on the “Properties” or “Configure” button.
- In the microphone properties window, you can adjust various settings such as volume, sample rate, and microphone enhancements. It’s recommended to keep the volume at an appropriate level and disable any unnecessary enhancements for clear and accurate audio capture.
- Once you have made the desired adjustments, click “OK” or “Apply” to save the settings.
By adjusting the microphone settings on your laptop, you can ensure that your headset’s microphone is working optimally and delivering high-quality audio. Now, it’s time to test the microphone to ensure it’s functioning as expected. Keep reading for the next section on testing the microphone.
Testing the Microphone
After adjusting the microphone settings on your laptop, it’s crucial to test the microphone to ensure it’s working correctly. Here’s a step-by-step guide on how to conduct a microphone test:
- Open any application or software on your laptop that allows audio recording. This can be a voice recorder app, video chat software, or online communication platform.
- In the application’s settings or preferences, locate the audio settings section. Look for an option to select the input or recording device.
- Ensure that your headset’s microphone is selected as the input or recording device.
- Start a test recording by speaking into the microphone. You can say a few words or sentences to test the audio quality and clarity.
- Play back the recorded audio to listen to the recording and evaluate the microphone’s performance.
- If the recorded audio sounds clear and audible, congratulations! Your headset’s microphone is working correctly. If not, you may need to revisit the microphone settings and adjust them accordingly.
Performing a microphone test allows you to identify any issues with the microphone and make necessary adjustments before engaging in gaming sessions or online communication. By ensuring that your microphone is functioning properly, you can enjoy seamless and effective communication while gaming.
If you encounter any problems or issues during the testing process, do not worry. We will discuss common troubleshooting steps in the next section to help you resolve potential microphone problems.
Troubleshooting Common Issues
While setting up and using the microphone on your headset with a gaming laptop is usually a straightforward process, you may encounter some common issues. Here are a few troubleshooting steps you can take to resolve these problems:
- Ensure that your headset is securely connected to the audio ports on your laptop. Sometimes, loose connections can result in audio or microphone issues.
- Check if the microphone is muted or the volume is turned down. It’s worth confirming that your microphone is not accidentally muted, either through a physical switch on the headset or in the software settings.
- Test your headset on another device. If the microphone works fine on another computer or device, it indicates that the issue may lie with your laptop’s settings or hardware.
- Update your audio drivers. Outdated or incompatible audio drivers can cause problems with the microphone. Visit the manufacturer’s website and download the latest drivers for your specific gaming laptop model.
- Scan for malware or conflicting software. Certain malware or conflicting software can interfere with the functionality of your microphone. Run a thorough scan on your laptop and ensure that no such issues are present.
- Restart your laptop. Sometimes, a simple restart can resolve temporary software glitches and restore the microphone’s functionality.
- If none of the above solutions work, consider seeking technical support. Contact the manufacturer of your gaming laptop or the headset manufacturer for further assistance and guidance.
By following these troubleshooting steps, you can hopefully address any issues you encounter with your headset’s microphone. Remember to be patient and systematic in your approach, as it may take a few attempts to pinpoint and resolve the problem.
Now that you’re equipped with the knowledge to troubleshoot common microphone issues, you can enjoy uninterrupted gaming and seamless communication with your team or friends.
Conclusion
Congratulations, you have successfully learned how to use the microphone on your headset with your gaming laptop! By following the steps outlined in this guide, you can now enjoy clear and crisp communication while gaming, strategizing, or chatting with friends.
Remember, finding the appropriate port on your gaming laptop is the first step, followed by securely connecting your headset. Adjusting the microphone settings ensures optimal audio performance, and testing the microphone confirms its functionality. And if you encounter any issues along the way, you can troubleshoot them using the tips provided.
Now you’re ready to dive into the exciting world of gaming, armed with the ability to communicate effectively with your teammates and friends. Whether you’re engaging in intense multiplayer battles or simply immersing yourself in a captivating single-player adventure, your headset’s microphone will enhance your overall gaming experience.
So, put on your headset, connect it to your gaming laptop, adjust the microphone settings, and embark on your gaming journey with confidence. Enjoy the immersive audio and seamless communication that your headset brings!