Introduction
Are you an avid gamer who wants to share your gaming experiences with the world? Or perhaps you're a content creator looking to enhance the audio quality of your recordings? The Turtle Beach X12 gaming headset is a popular choice for gamers and content creators alike, known for its exceptional audio performance and comfortable design. In this guide, you'll learn how to set up the Turtle Beach X12 gaming headset to record audio on your PC, allowing you to capture crystal-clear sound while immersing yourself in the gaming experience.
Recording audio with the X12 headset involves a few simple steps, from unboxing and connecting the headset to your PC to adjusting the audio settings and testing the recording. By following this guide, you'll be able to seamlessly integrate the X12 headset into your recording setup and elevate the quality of your audio content.
Whether you're a seasoned gamer or a budding content creator, mastering the setup process for the X12 headset will empower you to produce captivating gaming content with immersive audio. So, let's dive into the step-by-step process of setting up the Turtle Beach X12 gaming headset to record audio on your PC and unleash the full potential of your gaming experiences.
Step 1: Unboxing and Connecting the X12 Headset
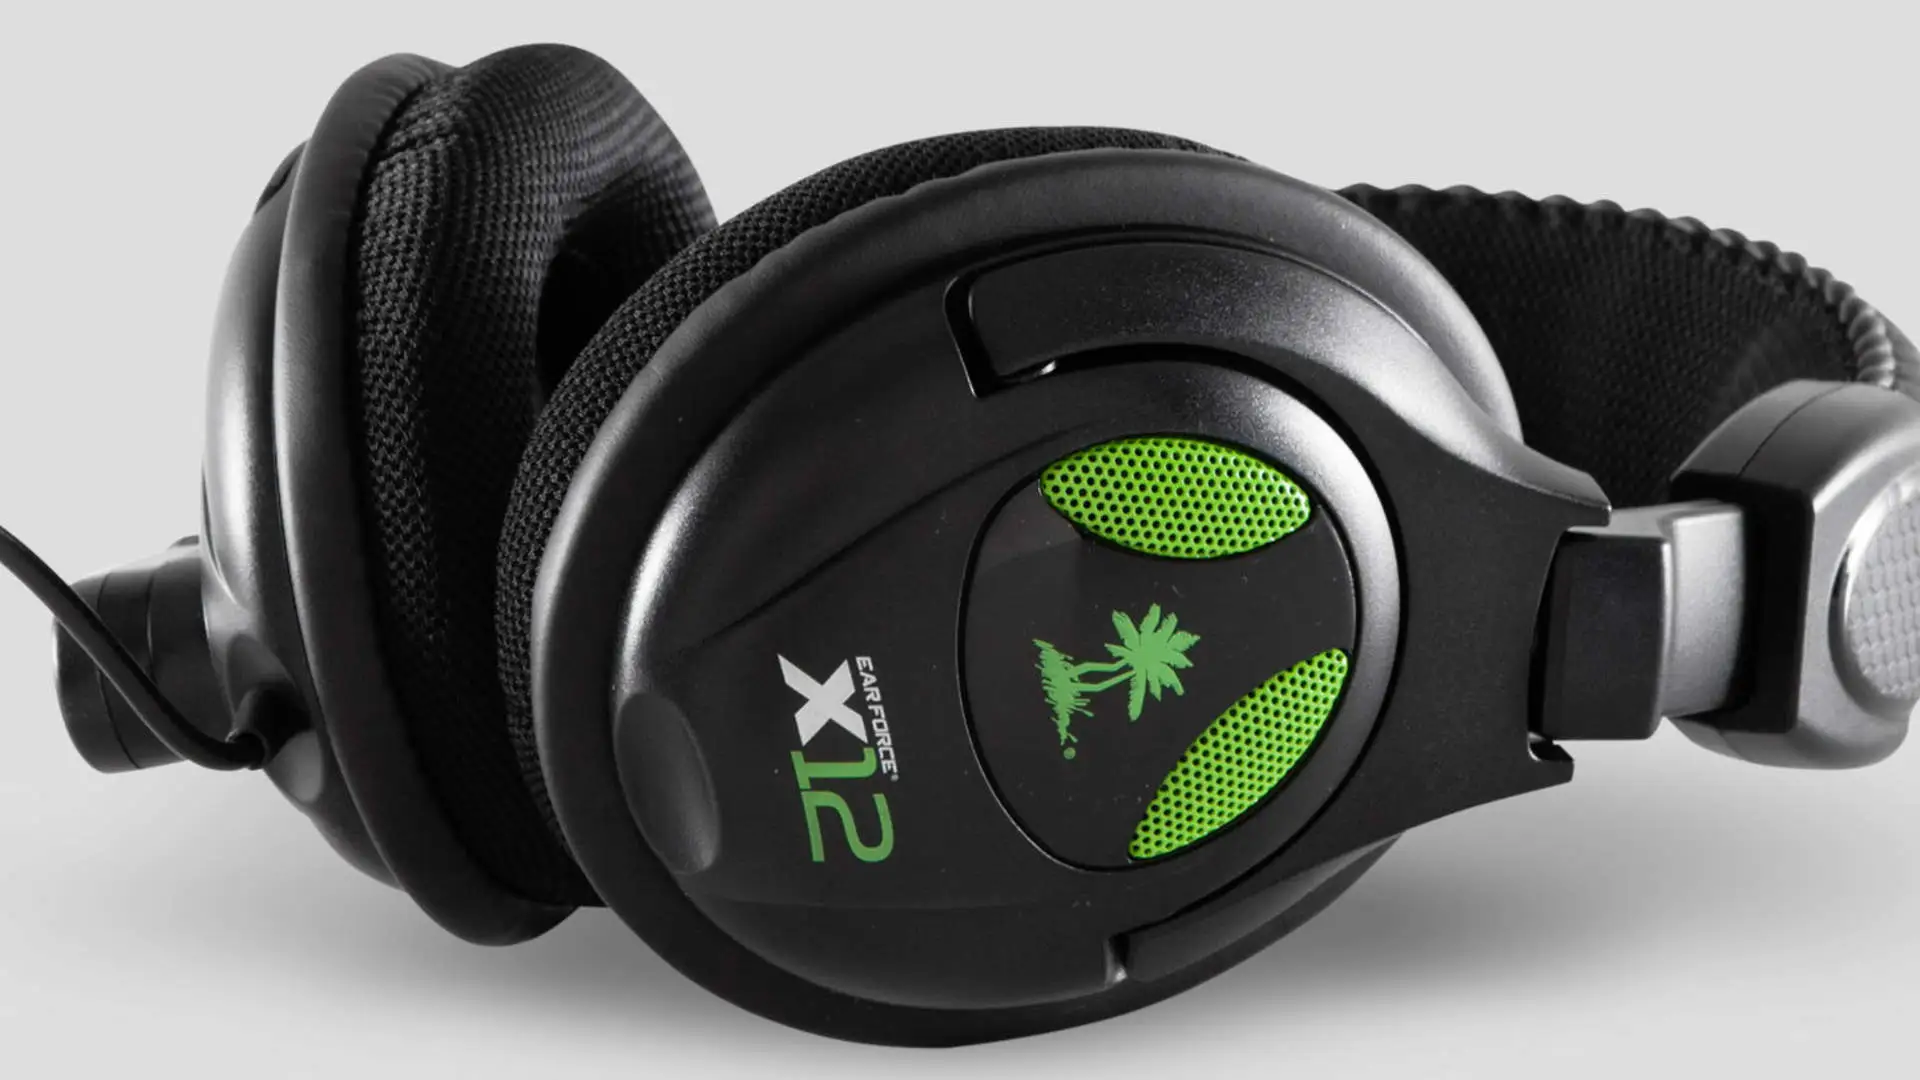
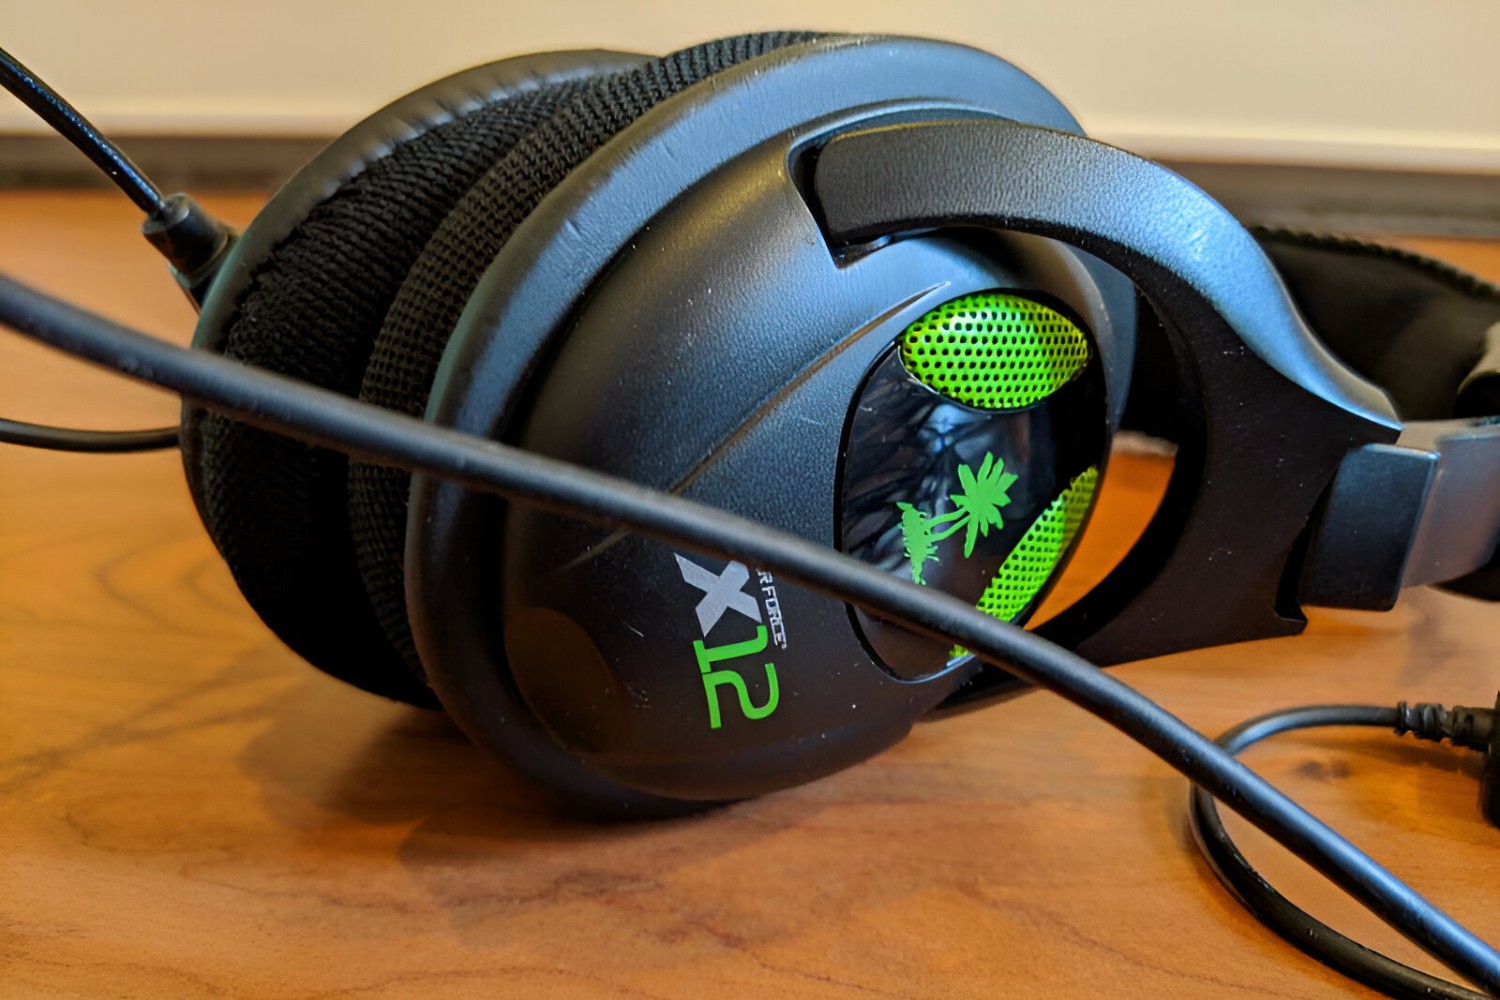
Upon receiving your Turtle Beach X12 gaming headset, the first step is to unbox the contents and familiarize yourself with the components. Inside the packaging, you’ll find the X12 headset, an audio control unit, and the necessary cables for connectivity. Take a moment to inspect each item and ensure that all components are in good condition.
Once you’ve examined the contents, it’s time to connect the X12 headset to your PC. Begin by locating the audio input and output ports on your computer. The X12 headset utilizes a standard 3.5mm headphone jack for audio output and a USB connector for power. Plug the 3.5mm green audio jack into the headphone output on your PC to enable audio playback through the headset.
Next, connect the USB connector to an available USB port on your computer. This USB connection provides power to the headset and enables the functionality of the audio control unit. Once both the audio jack and USB connector are securely plugged in, you’re ready to move on to the next step of the setup process.
With the X12 headset successfully connected to your PC, you’ll have the foundation in place for recording high-quality audio while gaming. The seamless integration of the headset with your computer sets the stage for an immersive audio experience, allowing you to focus on creating captivating content without technical distractions.
Now that the X12 headset is connected, you’re one step closer to harnessing its exceptional audio capabilities for recording on your PC. Let’s proceed to the next step, where we’ll delve into installing the necessary software to optimize the functionality of the X12 headset.
Step 2: Installing the Necessary Software
With the Turtle Beach X12 gaming headset successfully connected to your PC, the next crucial step is to install the essential software that will optimize the functionality of the headset. The X12 headset is compatible with various software applications that allow you to customize audio settings, adjust microphone levels, and enhance the overall recording experience.
Begin by visiting the official Turtle Beach website or the manufacturer’s designated support page to locate the appropriate software for the X12 headset. Ensure that you download the software version that is compatible with your operating system, whether it’s Windows or macOS. Once you’ve downloaded the software package, proceed to install it on your computer by following the provided instructions.
After the software installation is complete, launch the application and familiarize yourself with the available features and settings. Depending on the software provided by Turtle Beach, you may have access to audio presets, equalizer controls, and microphone enhancements that can significantly improve the recording quality of the X12 headset.
During the software setup process, you may be prompted to update the firmware of the X12 headset. It’s essential to follow the on-screen instructions to ensure that the headset’s firmware is up to date, as this can address any potential performance issues and unlock additional features that enhance the overall audio experience.
By installing the necessary software for the X12 headset, you’re equipping yourself with the tools to fine-tune audio settings, personalize your recording setup, and maximize the potential of the headset’s capabilities. The seamless integration of software with the X12 headset empowers you to tailor the audio output to your preferences, resulting in a more immersive and dynamic recording experience.
Now that the essential software is installed and configured, you’re poised to optimize the audio settings on your PC and harness the full potential of the X12 headset for recording purposes. Let’s proceed to the next step, where we’ll delve into adjusting the audio settings on your computer to ensure optimal recording performance.
Step 3: Adjusting Audio Settings on PC
Now that the Turtle Beach X12 gaming headset is connected to your PC and the necessary software is installed, it’s time to fine-tune the audio settings on your computer to ensure optimal recording performance. By customizing the audio settings, you can enhance the clarity of the recorded audio, adjust microphone levels, and create an immersive audio environment for your gaming experiences.
Begin by accessing the audio settings on your PC. Depending on your operating system, you can typically find the audio settings in the system preferences or control panel. Navigate to the audio settings and locate the playback devices section. Here, you should see the X12 headset listed as an available playback device. Set the X12 headset as the default playback device to channel the audio output through the headset.
Next, adjust the volume levels to ensure that the audio output through the X12 headset is at an optimal level for recording. You can fine-tune the volume using the audio control unit that accompanies the X12 headset or by adjusting the volume settings within the software application provided by Turtle Beach.
After configuring the playback settings, navigate to the recording devices section in the audio settings. Here, you should see the X12 headset listed as an available recording device. Set the X12 headset as the default recording device to enable the microphone and capture high-quality audio for your recordings.
Once the X12 headset is designated as the default recording device, adjust the microphone levels to ensure that the recording input is optimized. You can fine-tune the microphone levels within the recording devices settings, allowing you to capture clear and balanced audio without distortion or background noise.
Additionally, explore any advanced audio settings provided by the software application that accompanies the X12 headset. Depending on the software features, you may have access to equalizer controls, voice morphing options, and other audio enhancements that can further elevate the recording quality and create a personalized audio profile tailored to your preferences.
By adjusting the audio settings on your PC, you’re optimizing the recording environment for the Turtle Beach X12 gaming headset, allowing you to capture pristine audio while immersing yourself in the gaming experience. With the audio settings finely tuned, you’re ready to proceed to the next step, where we’ll test the recording to ensure that the X12 headset delivers exceptional audio performance for your content creation endeavors.
Step 4: Testing the Recording
With the Turtle Beach X12 gaming headset connected, the necessary software installed, and the audio settings adjusted on your PC, it’s time to conduct a thorough test of the recording capabilities. Testing the recording ensures that the X12 headset delivers exceptional audio performance, allowing you to verify the clarity of the recorded audio and make any necessary adjustments before diving into your gaming or content creation sessions.
Begin by launching your preferred recording software or application on your PC. Whether you’re using a dedicated recording software for gaming content or a general audio recording application, ensure that the X12 headset is selected as the input device for recording. This allows the microphone on the X12 headset to capture the audio input for your recordings.
Once the recording software is running and the X12 headset is designated as the input device, perform a test recording to gauge the audio quality. Speak into the microphone on the X12 headset and monitor the recorded audio levels to ensure that the sound is clear, balanced, and free from any unwanted distortion or background noise.
During the test recording, pay attention to the playback of the recorded audio through the X12 headset. Evaluate the overall sound quality, ensuring that the audio output is immersive and accurately captures the nuances of your voice and the gaming environment. If the recorded audio requires any adjustments, such as fine-tuning the microphone levels or making changes to the audio settings, take the necessary steps to optimize the recording quality.
Additionally, consider testing the recording in a gaming environment to assess how the X12 headset captures audio during gameplay. Engage in a gaming session while recording and evaluate how the headset delivers the in-game audio and captures your commentary, providing valuable insights into the headset’s performance in a dynamic gaming scenario.
By thoroughly testing the recording capabilities of the Turtle Beach X12 gaming headset, you can ensure that the audio quality meets your expectations and aligns with your content creation goals. Any adjustments made during the testing phase contribute to refining the recording setup and optimizing the X12 headset for capturing immersive and compelling audio for your gaming content.
With the recording successfully tested and any necessary adjustments made, you’re now equipped to embark on your gaming and content creation endeavors, leveraging the exceptional audio performance of the Turtle Beach X12 gaming headset to elevate the quality of your recordings.
Conclusion
Setting up the Turtle Beach X12 gaming headset to record audio on your PC is a straightforward process that empowers you to capture immersive and high-quality audio for your gaming experiences and content creation endeavors. By following the step-by-step guide outlined in this article, you’ve established a seamless integration of the X12 headset with your computer, optimizing its performance for recording purposes.
From unboxing and connecting the X12 headset to installing the necessary software and adjusting the audio settings on your PC, each step contributes to creating an immersive audio environment that enhances the overall gaming and recording experience. The meticulous testing of the recording capabilities ensures that the X12 headset delivers exceptional audio performance, allowing you to capture clear, balanced, and dynamic audio for your content.
With the X12 headset integrated into your recording setup, you’re poised to produce captivating gaming content with immersive audio, engaging your audience with the rich soundscapes of your gaming experiences. Whether you’re live streaming, creating gameplay videos, or recording commentary, the X12 headset serves as a reliable tool for capturing the essence of your gaming adventures.
Furthermore, the flexibility and customization offered by the X12 headset, along with the accompanying software, enable you to tailor the audio output to your preferences, creating a personalized audio profile that complements your unique style of gaming and content creation.
By mastering the setup process for the Turtle Beach X12 gaming headset, you’ve unlocked the potential to elevate the quality of your recordings and immerse your audience in the rich audio tapestry of your gaming content. As you embark on your gaming and content creation endeavors, the X12 headset stands as a reliable companion, delivering exceptional audio performance and enhancing the overall production value of your recordings.
With the foundation in place for recording audio with the X12 headset, you’re ready to embark on an audio-enhanced journey, capturing the excitement of your gaming experiences and sharing them with the world, all while immersing your audience in the captivating audio landscape crafted by the Turtle Beach X12 gaming headset.