Introduction
Are you an avid gamer looking to enhance your gaming experience without breaking the bank? Transforming your regular headphones into a gaming headset might just be the solution you’ve been searching for. By following a few simple steps, you can convert your existing headphones into a fully functional gaming headset, complete with a microphone for seamless communication with your fellow gamers. Whether you’re delving into the immersive world of multiplayer gaming or engaging in team-based battles, having a reliable headset can significantly amplify your gaming prowess.
In this guide, we’ll walk you through the process of turning your standard headphones into a gaming headset, allowing you to enjoy crystal-clear audio and seamless communication during your gaming sessions. With just a few affordable materials and a bit of DIY spirit, you can elevate your gaming experience without splurging on a brand-new headset. So, gather your tools and get ready to embark on this exciting journey of transforming your headphones into the ultimate gaming accessory.
Step 1: Gather the Necessary Materials
Before embarking on this DIY project, it’s essential to gather the materials required for the transformation. Here’s a list of items you’ll need to get started:
- Headphones: Select a pair of headphones that you’re comfortable wearing for extended gaming sessions. Whether you have a favorite set of over-ear headphones or prefer the lightweight design of in-ear buds, ensure that they provide the sound quality you desire.
- Microphone: Invest in a reliable microphone that can be easily attached to your headphones. You can opt for a detachable boom microphone or a clip-on microphone, depending on your preferences and budget.
- Adapter or Splitter: Depending on your gaming device, you may need an adapter or splitter to connect both the headphones and microphone to the audio jack. Ensure that the adapter is compatible with your gaming console, PC, or other gaming devices.
- Velcro Strips or Adhesive: To securely attach the microphone to your headphones, you’ll need velcro strips or adhesive that won’t damage the headphones’ surface. This will ensure that the microphone stays in place during intense gaming sessions.
- Optional: Extension Cable: If your headphones’ cable is not long enough to comfortably reach your gaming device, consider purchasing an extension cable to provide ample slack and freedom of movement.
Once you’ve gathered these materials, you’ll be well-equipped to proceed with the next steps of transforming your headphones into a gaming headset. With these essentials in hand, you’re one step closer to experiencing immersive gaming audio and seamless communication with your fellow gamers.
Step 2: Attach a Microphone
Now that you have all the necessary materials, it’s time to attach the microphone to your headphones. This step is crucial for enabling clear and effective communication during your gaming sessions. Follow these simple guidelines to seamlessly integrate the microphone with your headphones:
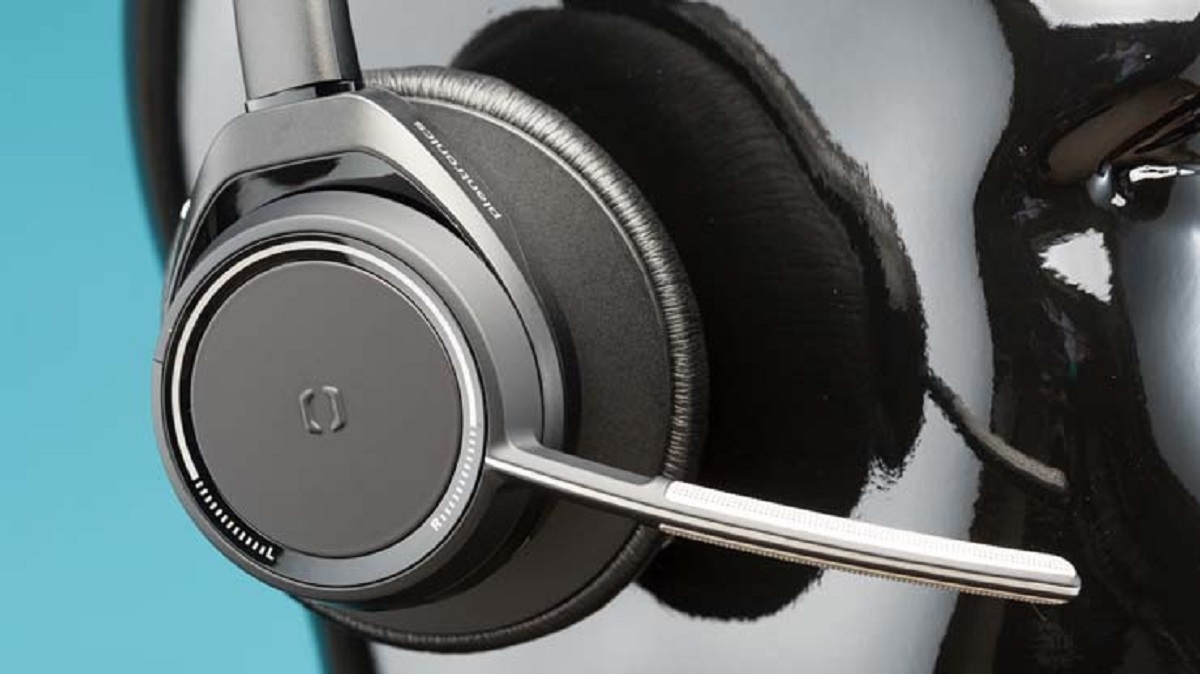
- Identify the Ideal Placement: Determine the optimal placement for the microphone on your headphones. For a boom microphone, this typically involves positioning it near the corner of the headphones’ ear cup, ensuring that it’s close to your mouth for clear voice capture. If using a clip-on microphone, find a suitable location along the headphone cable where it won’t interfere with your movements.
- Secure the Microphone: Using velcro strips or adhesive, securely fasten the microphone to the chosen location on your headphones. Ensure that the attachment is stable and won’t shift during gaming sessions, as this will maintain consistent voice quality and minimize distractions.
- Adjust the Microphone Position: If your microphone allows for adjustments, fine-tune its position to achieve the best audio pickup. This may involve angling the boom microphone for optimal voice capture or positioning the clip-on microphone to minimize background noise.
- Cable Management: Neatly route the microphone cable alongside the headphone cable to prevent tangling and maintain a tidy setup. Utilize cable clips or ties to keep the cables organized and minimize the risk of snagging during gaming.
By carefully following these steps, you’ll successfully integrate the microphone with your headphones, transforming them into a fully functional gaming headset. With the microphone securely in place, you’re now ready to proceed to the next stage of connecting your newly upgraded headset to your gaming device.
Step 3: Connect the Headphones to Your Gaming Device
With the microphone securely attached to your headphones, it’s time to connect your customized gaming headset to your gaming device. Whether you’re using a PC, gaming console, or mobile device, the process of establishing the audio and microphone connections is essential for a seamless gaming experience. Follow these steps to ensure a successful connection:
- Locate the Audio Jack: Identify the audio jack on your gaming device where you’ll plug in your headphones. This may be located on the front or back of your PC tower, the controller of your gaming console, or the audio port of your mobile device.
- Insert the Headphone Plug: Plug the headphone connector into the audio jack of your gaming device. Ensure that it’s fully inserted to establish a secure connection and prevent audio disturbances during gameplay.
- Connect the Microphone: If your microphone utilizes a separate plug, insert it into the designated microphone jack on your gaming device. This step is crucial for enabling voice communication with other players during multiplayer games or online chats.
- Adjust Audio Settings: Access the audio settings on your gaming device to configure the input and output sources. Ensure that the device recognizes both the headphones and microphone, and make any necessary adjustments to optimize audio quality and microphone sensitivity.
- Test the Setup: Before diving into your gaming session, conduct a quick test to ensure that both the headphones and microphone are functioning as intended. Play a sample audio clip to verify the sound output and record a brief voice message to confirm that the microphone is capturing your voice accurately.
Once you’ve completed these steps, your headphones are successfully connected to your gaming device, and the microphone is ready to capture your voice with precision. With the audio and microphone configurations in place, you’re now poised to immerse yourself in the captivating world of gaming, equipped with your newly transformed gaming headset.
Step 4: Test the Setup
Before delving into an intense gaming session, it’s crucial to thoroughly test your newly configured gaming headset to ensure that both the audio and microphone components are functioning optimally. Follow these steps to conduct a comprehensive test of the setup:
- Audio Playback Test: Play a variety of audio sources, such as music, game soundtracks, and dialogue-rich videos, to assess the audio quality of your headphones. Pay attention to the clarity, depth, and balance of the sound to ensure an immersive and enjoyable audio experience.
- Microphone Check: Record a test voice message or engage in a voice chat with a friend to evaluate the microphone’s performance. Verify that your voice is captured clearly and without distortion, and confirm that background noise is effectively minimized to enhance communication during gaming.
- Gameplay Simulation: Launch your favorite game or gaming application to experience the full functionality of your gaming headset. Engage in gameplay that involves audio cues, dialogue, and multiplayer interaction to gauge the headset’s performance in a real gaming environment.
- Adjustments and Fine-Tuning: If you encounter any audio or microphone-related issues during testing, take the time to make necessary adjustments. This may involve refining the microphone position, adjusting audio settings, or addressing any connectivity issues to optimize the overall gaming experience.
By meticulously testing the setup, you can identify and address any potential issues before immersing yourself in extended gaming sessions. This proactive approach ensures that your customized gaming headset delivers exceptional audio quality and reliable voice communication, enhancing your overall gaming experience.
Conclusion
Through the simple yet effective process of transforming your standard headphones into a gaming headset, you’ve unlocked a cost-effective way to elevate your gaming experience. By gathering the necessary materials, attaching a microphone, connecting the headset to your gaming device, and thoroughly testing the setup, you’ve successfully customized a gaming accessory tailored to your preferences and gaming needs.
With your upgraded gaming headset, you now have the ability to immerse yourself in captivating audio, communicate seamlessly with fellow gamers, and enjoy the versatility of a personalized gaming accessory. This DIY approach not only offers a budget-friendly alternative to purchasing a dedicated gaming headset but also provides a sense of accomplishment and customization as you tailor the setup to your preferences.
By harnessing the power of creativity and resourcefulness, you’ve taken a proactive step towards enhancing your gaming setup without compromising on quality. The adaptability and functionality of your newly transformed gaming headset empower you to dive into immersive gaming worlds, collaborate effectively with teammates, and experience the full spectrum of audio nuances within your favorite games.
As you embark on your gaming adventures with your customized headset, remember that the journey doesn’t end here. Feel free to explore additional modifications, fine-tune the setup to your liking, and share your newfound knowledge with fellow gaming enthusiasts. Your journey to transform headphones into a gaming headset signifies the limitless potential for innovation within the gaming community and the rewarding experience of personalizing your gaming setup to suit your unique preferences.