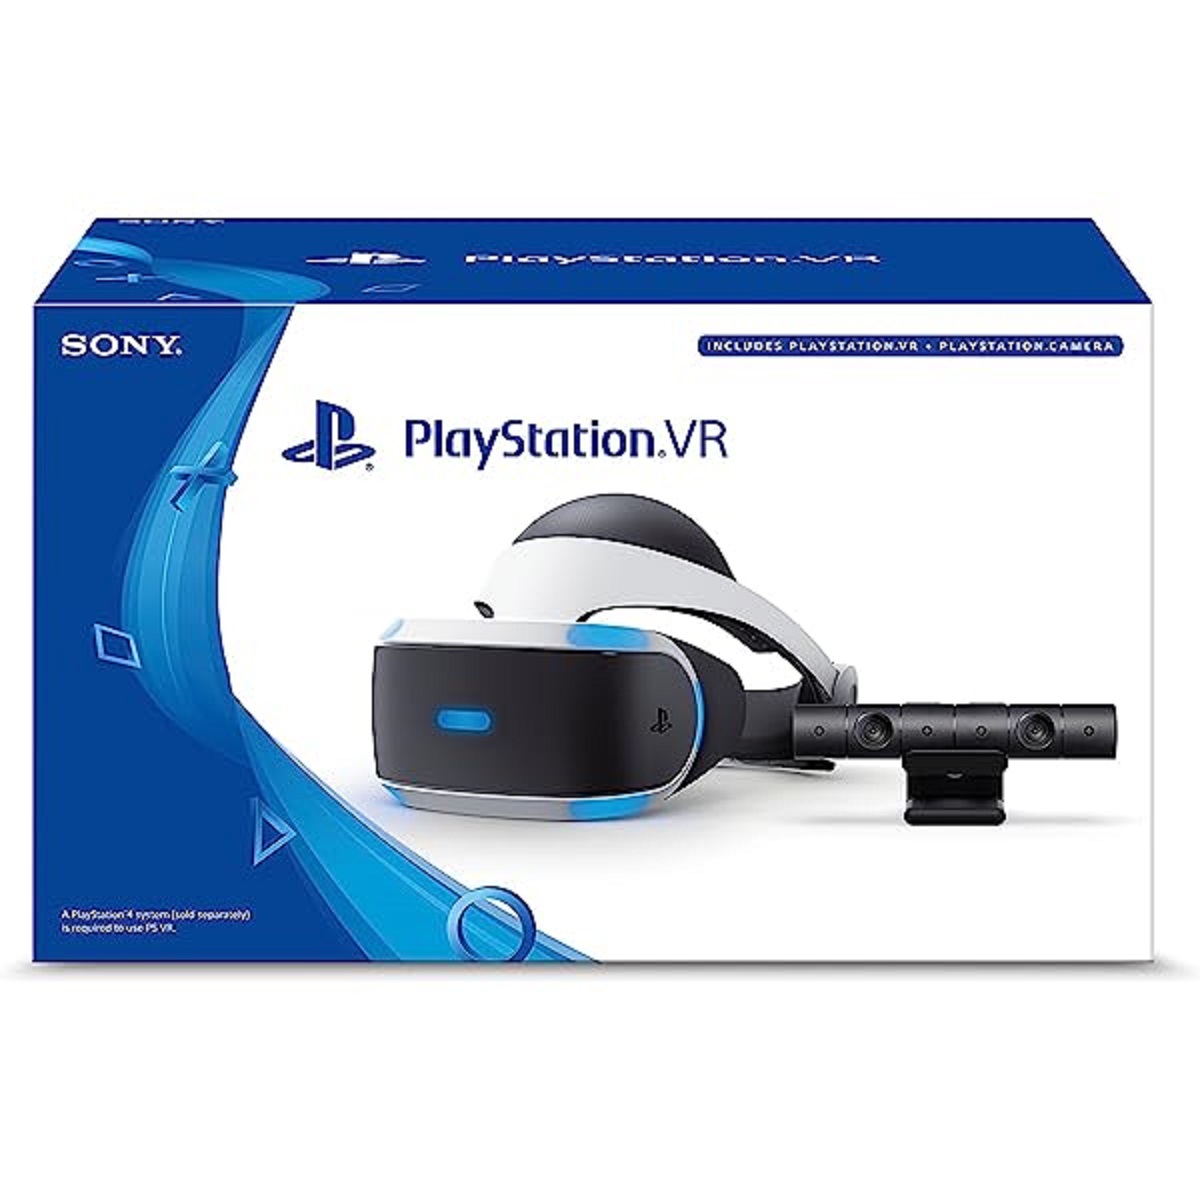
Preparing the PS4 for VR
Before you can embark on the immersive journey of virtual reality with your PS4 VR headset, it’s important to ensure that your console is properly prepared. This involves a few simple steps to optimize your gaming experience and make sure everything is compatible.
1. Update your PS4: Start by ensuring that your PS4 console is running the latest system software. Connect your PS4 to the internet and navigate to the Settings menu. From there, select ‘System Software Update’ and follow the on-screen instructions to download and install any available updates.
2. Clear some space: VR games often require extra installation space, so it’s a good idea to free up some room on your PS4’s hard drive. Delete any unnecessary games, applications, or media to make sure you have enough space to accommodate your VR adventures.
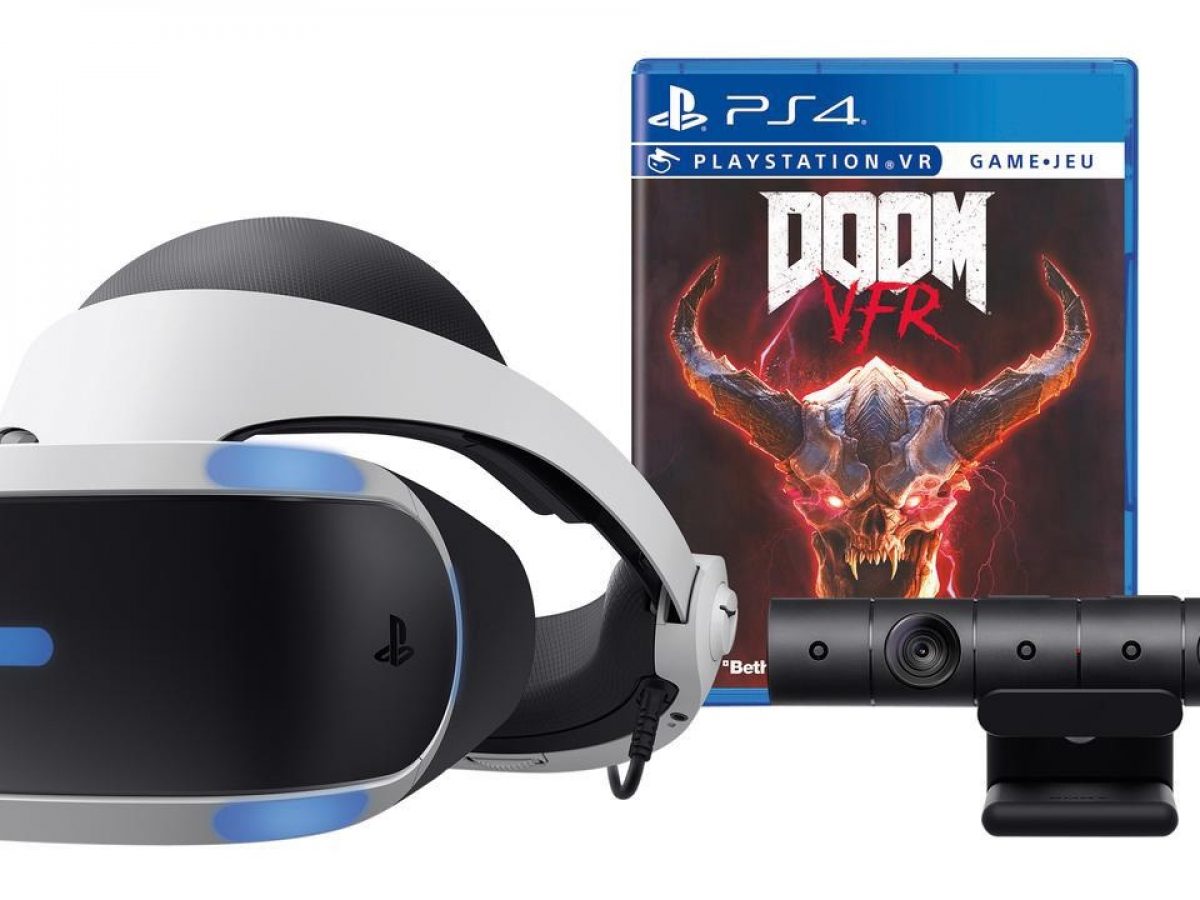
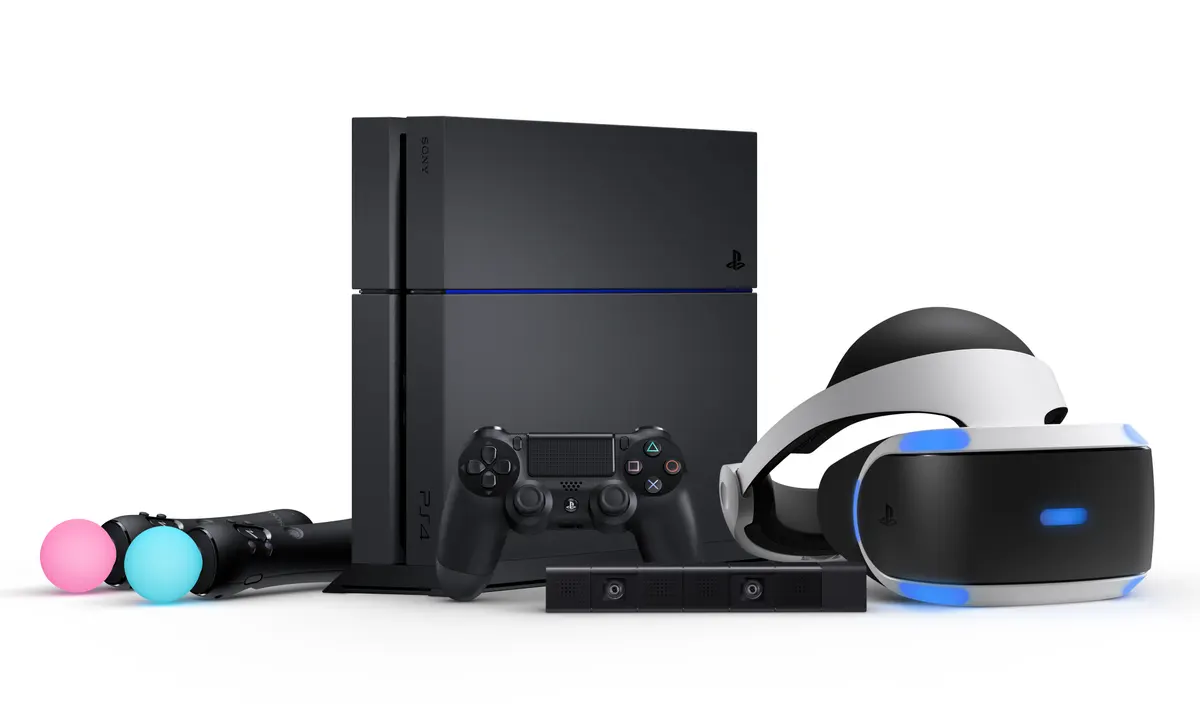
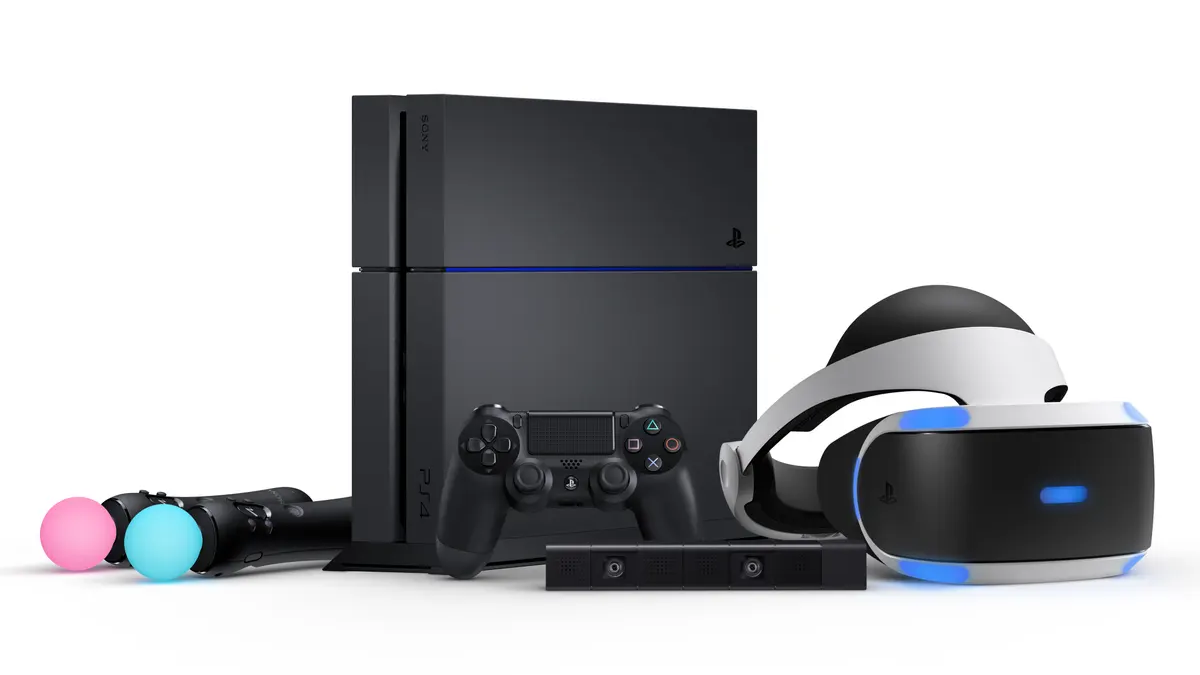
3. Set up the camera: The PlayStation Camera is an integral component of the PS4 VR experience. Place the camera on a stable surface near your TV or monitor, ensuring that it is positioned at eye level. Adjust the camera angle to capture your movements accurately and minimize any potential tracking issues.
4. Create a play area: VR gaming involves physical movement, so it’s essential to clear a suitable play area in front of your TV or monitor. Remove any obstacles or potential hazards, such as furniture or fragile items, to create a safe space for your VR adventures.
5. Check your controllers: Make sure your DualShock 4 controller and PlayStation Move controllers are fully charged or have fresh batteries. You’ll be using these controllers to interact with the virtual world, so ensuring they have enough power is crucial for a seamless gaming experience.
By following these steps, you’ll have your PS4 ready and optimized for your VR headset. Once you’ve completed the preparation process, you can move on to the next exciting step: setting up the PS4 VR headset itself.
Setting up the PS4 VR Headset
Now that your PS4 is prepared, it’s time to set up your VR headset and dive into the virtual world. Follow these steps to ensure a smooth setup process:
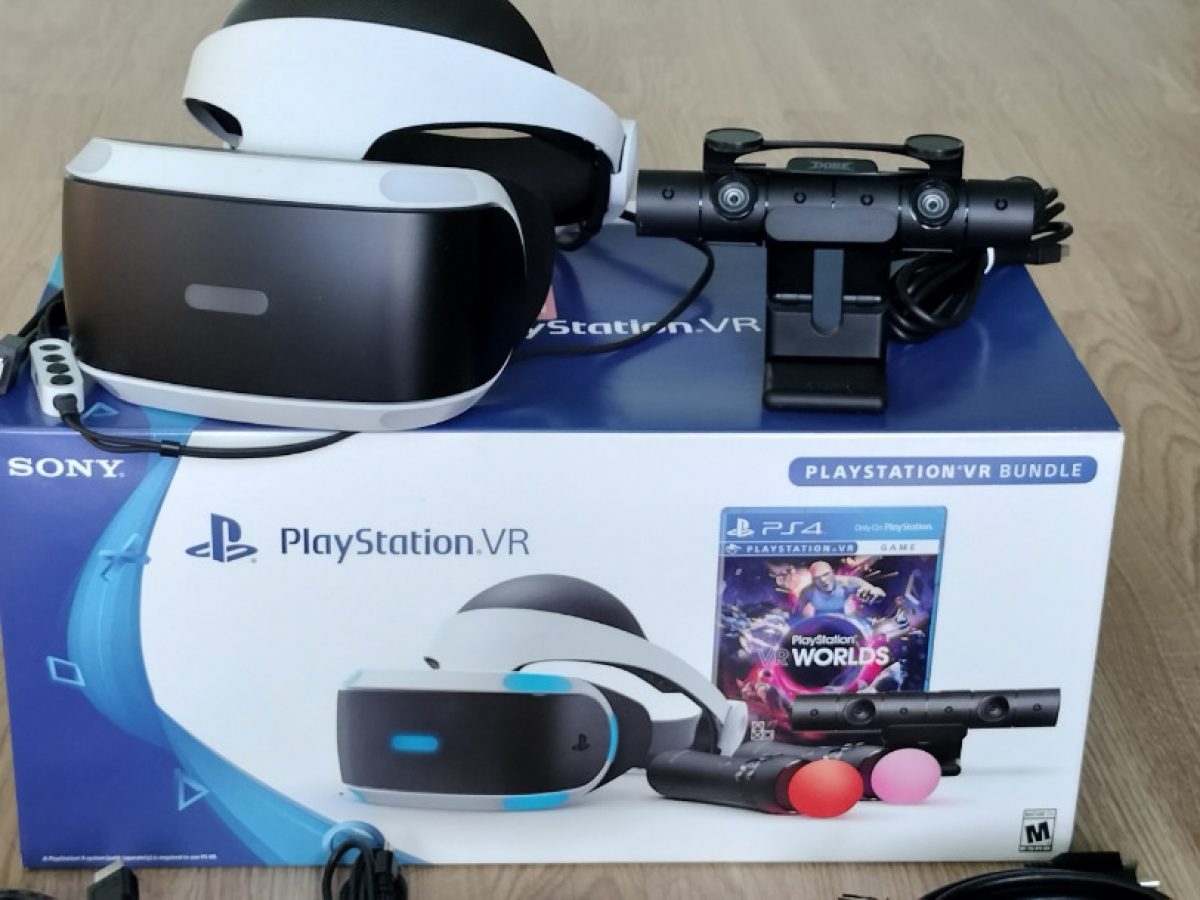
1. Connect the cables: Start by connecting the VR headset’s processing unit to your PS4 console using the provided HDMI cable. Ensure that the HDMI cable is securely connected to both the processing unit and the PS4.
2. Connect the headset: Connect the VR headset to the processing unit using the dedicated cable. Make sure the cable is properly inserted into both the headset and the processing unit to ensure a stable connection.
3. Position the headset: Place the VR headset on your head and adjust the headband for a comfortable fit. Make sure the lenses are aligned with your eyes and that the headset sits securely on your face. Adjust the headband and the slide button on the back of the headset as needed.
4. Adjust the IPD: The IPD (Interpupillary Distance) is the measurement between your eyes. To ensure optimal visuals, adjust the IPD on the headset by sliding the button located beneath the visor. Align the visuals until they appear clear and in focus.
5. Plug in the power: Connect the power cable to the processing unit and plug it into a power outlet. Ensure that the power cable is securely connected and that the processing unit’s light is turned on.
6. Put on the headphones: If your VR headset comes with built-in headphones, put them on for an immersive audio experience. Alternatively, you can use your own headphones by plugging them into the audio jack on the VR headset cable.
7. Adjust the volume: Use the volume controls on the VR headset or the PlayStation DualShock 4 controller to adjust the audio level to your preference. Experiment with the volume to find the right balance between game sounds and your surroundings.
Once you’ve completed the setup process, you’re almost ready to embark on your virtual reality journey. However, before you start playing, there are a few more important steps to follow – connecting the VR headset to the PS4, powering it on, and adjusting the VR settings, which we’ll cover in the next sections.
Connecting the VR Headset to the PS4
With the PS4 VR headset set up, the next step is to connect it to your PS4 console. Follow these steps to establish the connection:
1. Locate the VR connection cables: You will need the VR connection cables that came with your headset. These cables include a USB cable and an HDMI cable.
2. Connect the cables: Take the USB cable and plug one end into the back of the processing unit and the other end into one of the available USB ports on your PS4.
3. Connect the HDMI cable: Take the HDMI cable and connect one end to the HDMI port on the processing unit and the other end to an available HDMI port on your PS4.
4. Power on the PS4: Ensure that both the PS4 console and the VR headset are powered off. Then, power on your PS4 console by pressing the power button.
5. Power on the VR headset: Press the power button on the VR headset control unit to turn it on. The control unit will light up, indicating that it is receiving power.
6. Adjust the settings: Once the PS4 and VR headset are powered on, navigate to the Settings menu on your PS4. Select ‘Devices’, then ‘PlayStation VR’. From here, you can adjust various VR settings, such as display size and tracking lights, to optimize your VR experience.
7. Calibrate the headset: Some VR games or applications may require calibration. Follow the on-screen instructions to calibrate the VR headset for accurate head tracking and optimal gameplay.
Once the VR headset is properly connected to your PS4 and the necessary settings are adjusted, you are ready to start exploring the virtual world. Immerse yourself in breathtaking VR experiences and enjoy the incredible world of virtual reality gaming!
Powering on the VR Headset
Powering on your VR headset is a straightforward process that allows you to enter the immersive realm of virtual reality. Follow these steps to turn on your VR headset:
1. Make sure the headset is properly connected: Ensure that all the cables between the VR headset and the PS4 console are securely connected.
2. Locate the power button: On the VR headset control unit, you will find the power button. It is usually located on the front or the top of the control unit.
3. Press the power button: With the headset properly connected, press and hold the power button on the control unit. Hold it until you see the control unit light up or a power indicator appears.
4. Wait for the headset to power on: After pressing the power button, wait a few seconds for the VR headset to boot up. You may see lights or indicators on the headset or hear a power-on sound.
5. Put on the headset: Once the headset is powered on, put it on your head and adjust the straps for a comfortable fit. Ensure that the lenses are aligned with your eyes and the headset sits securely on your face.
6. Adjust the visuals: While wearing the headset, adjust the positioning of the visor and the band to ensure the visuals are clear, focused, and properly aligned with your eyes.
7. Begin your virtual reality experience: With the VR headset powered on and adjusted, you are now ready to dive into a world of virtual reality. Start up a VR game or application on your PS4 and follow the in-game instructions to begin your immersive journey.
Remember to take breaks when needed and be aware of your physical surroundings while wearing the VR headset. Enjoy the captivating experiences and incredible adventures that await you in the virtual realm!
Adjusting VR settings on the PS4
Setting up and calibrating your VR headset is crucial to ensure optimal performance and a comfortable gaming experience. Take the following steps to adjust the VR settings on your PS4:
1. Access the PS4 Settings menu: Power on your PS4 console and navigate to the Settings menu on the home screen.
2. Select ‘Devices’: Within the Settings menu, scroll down and select the ‘Devices’ option.
3. Choose ‘PlayStation VR’: In the Devices menu, you will find the ‘PlayStation VR’ option. Select it to access the VR settings.
4. Adjust display settings: Under the ‘PlayStation VR’ settings, you can adjust display settings such as the screen size and screen brightness. Experiment with these settings to find the optimal visual experience.
5. Calibrate tracking lights: Within the ‘PlayStation VR’ settings, you can calibrate the tracking lights on the VR headset. Follow the on-screen instructions to accurately set up the tracking lights for precise head and controller tracking.
6. Enable VR mode for non-VR content: If you want to experience non-VR games or applications in a simulated VR environment, you can enable the VR mode in the ‘PlayStation VR’ settings. This will provide a more immersive experience on a virtual screen.
7. Adjust VR audio settings: To customize your audio experience while using the VR headset, you can adjust the VR audio settings. This includes options for 3D audio and choosing the audio output device.
8. Set up user profiles: If multiple users will be using the VR headset, you can set up individual user profiles within the ‘PlayStation VR’ settings. This allows for personalized settings and progress tracking.
By taking the time to adjust the VR settings on your PS4, you can enhance your overall virtual reality experience. Experiment with the different settings and customize them to suit your preferences and gaming style.
Troubleshooting common issues
While the PS4 VR headset offers an immersive and enjoyable gaming experience, you may occasionally encounter some common issues. Here are a few troubleshooting tips to help you resolve them:
1. Tracking issues: If you experience tracking issues where your movements aren’t accurately reflected in the virtual environment, try adjusting the lighting conditions in your play area. Make sure there is adequate lighting and avoid direct light sources that may interfere with the tracking sensors.
2. Motion sickness: Motion sickness can be a concern for some users, especially during fast-paced VR experiences. To minimize the risk, take breaks when you start feeling uncomfortable. Additionally, ensure that you are seated or standing in a stable position while playing to reduce any potential disorientation.
3. Audio problems: If you encounter audio issues, check the audio connections and make sure the headset and/or controller volume is not muted or turned down too low. If using external headphones, try disconnecting and reconnecting them or using a different audio jack.
4. HDMI connectivity issues: If you experience intermittent audio or video loss, make sure the HDMI connections between the VR headset and the PS4 console are secure. Try using different HDMI ports on the console or try a different HDMI cable if possible.
5. Camera calibration problems: If the PS4 camera is not tracking your movements accurately, make sure the camera lens is clean and free from obstructions. You can also try adjusting the camera position or distance to improve tracking performance.
6. Software updates: Periodically check for software updates for both your PS4 console and the VR headset. Installing the latest updates can address known issues and improve performance.
7. System restart: If you encounter persistent issues, try restarting your PS4 console. This can help resolve minor glitches and refresh system processes.
Remember, if these troubleshooting tips don’t solve the problem, you can refer to the manufacturer’s support website or contact their customer support for further assistance. With some patience and persistence, most issues can be resolved, allowing you to fully enjoy the immersive world of virtual reality gaming.
Conclusion
Setting up and using the PS4 VR headset opens up a whole new world of immersive gaming experiences. By following the steps outlined in this guide, you can ensure a smooth and enjoyable journey into the virtual realm.
From preparing your PS4 console and creating a suitable play area to connecting and powering on the VR headset, each step is integral to the overall experience. Adjusting the VR settings on the PS4 allows you to customize your gameplay further, while troubleshooting tips help you address common issues that may arise.
Remember to take breaks when needed and be mindful of your surroundings while wearing the VR headset. Follow the manufacturer’s guidelines and safety precautions to make the most out of your virtual reality gaming sessions.
With the PS4 VR headset, you can transport yourself to amazing worlds, unleash your imagination, and immerse yourself in breathtaking adventures. Get ready to embark on an unforgettable journey filled with excitement, action, and stunning visuals.
Now, it’s time to step into the virtual realm and let the awe-inspiring world of virtual reality gaming captivate your senses. Get ready to redefine your gaming experience with the PS4 VR headset!