Introduction
VR headsets have revolutionized the way we experience virtual reality, allowing us to immerse ourselves in incredible worlds right from the comfort of our own homes. Whether you’re an avid gamer, a tech enthusiast, or simply someone curious about the possibilities of VR, learning how to turn on a VR headset is the first step on your exciting VR journey.
In this article, we will guide you through the process of turning on a VR headset, step by step. From connecting the headset to power to calibrating the system, we’ll cover everything you need to know to get your VR headset up and running smoothly.
Before we dive into the steps, it’s important to note that different VR headsets may have slightly different setup procedures. However, the overall process remains similar across most models. Make sure to follow the specific instructions provided with your VR headset for the best results.
Now, let’s get started and unlock the amazing world of virtual reality by turning on your VR headset!
Step 1: Connect the VR Headset to Power
The first step in turning on your VR headset is to connect it to a power source. Most VR headsets come with a dedicated power adapter that allows you to charge and power the device simultaneously. Follow these instructions to properly connect your VR headset to power:
- Locate the power port on your VR headset. It is typically located on the side or underside of the device.
- Take the power adapter and insert the appropriate end into the power port of the VR headset.
- Plug the other end of the power adapter into a wall outlet or a power strip.
- Make sure the power connection is secure and the VR headset is receiving power.
Once connected to power, some VR headsets may display a battery indicator or LED lights to indicate that the device is charging or powered on. It’s important to charge your VR headset fully before using it to ensure a longer usage time.
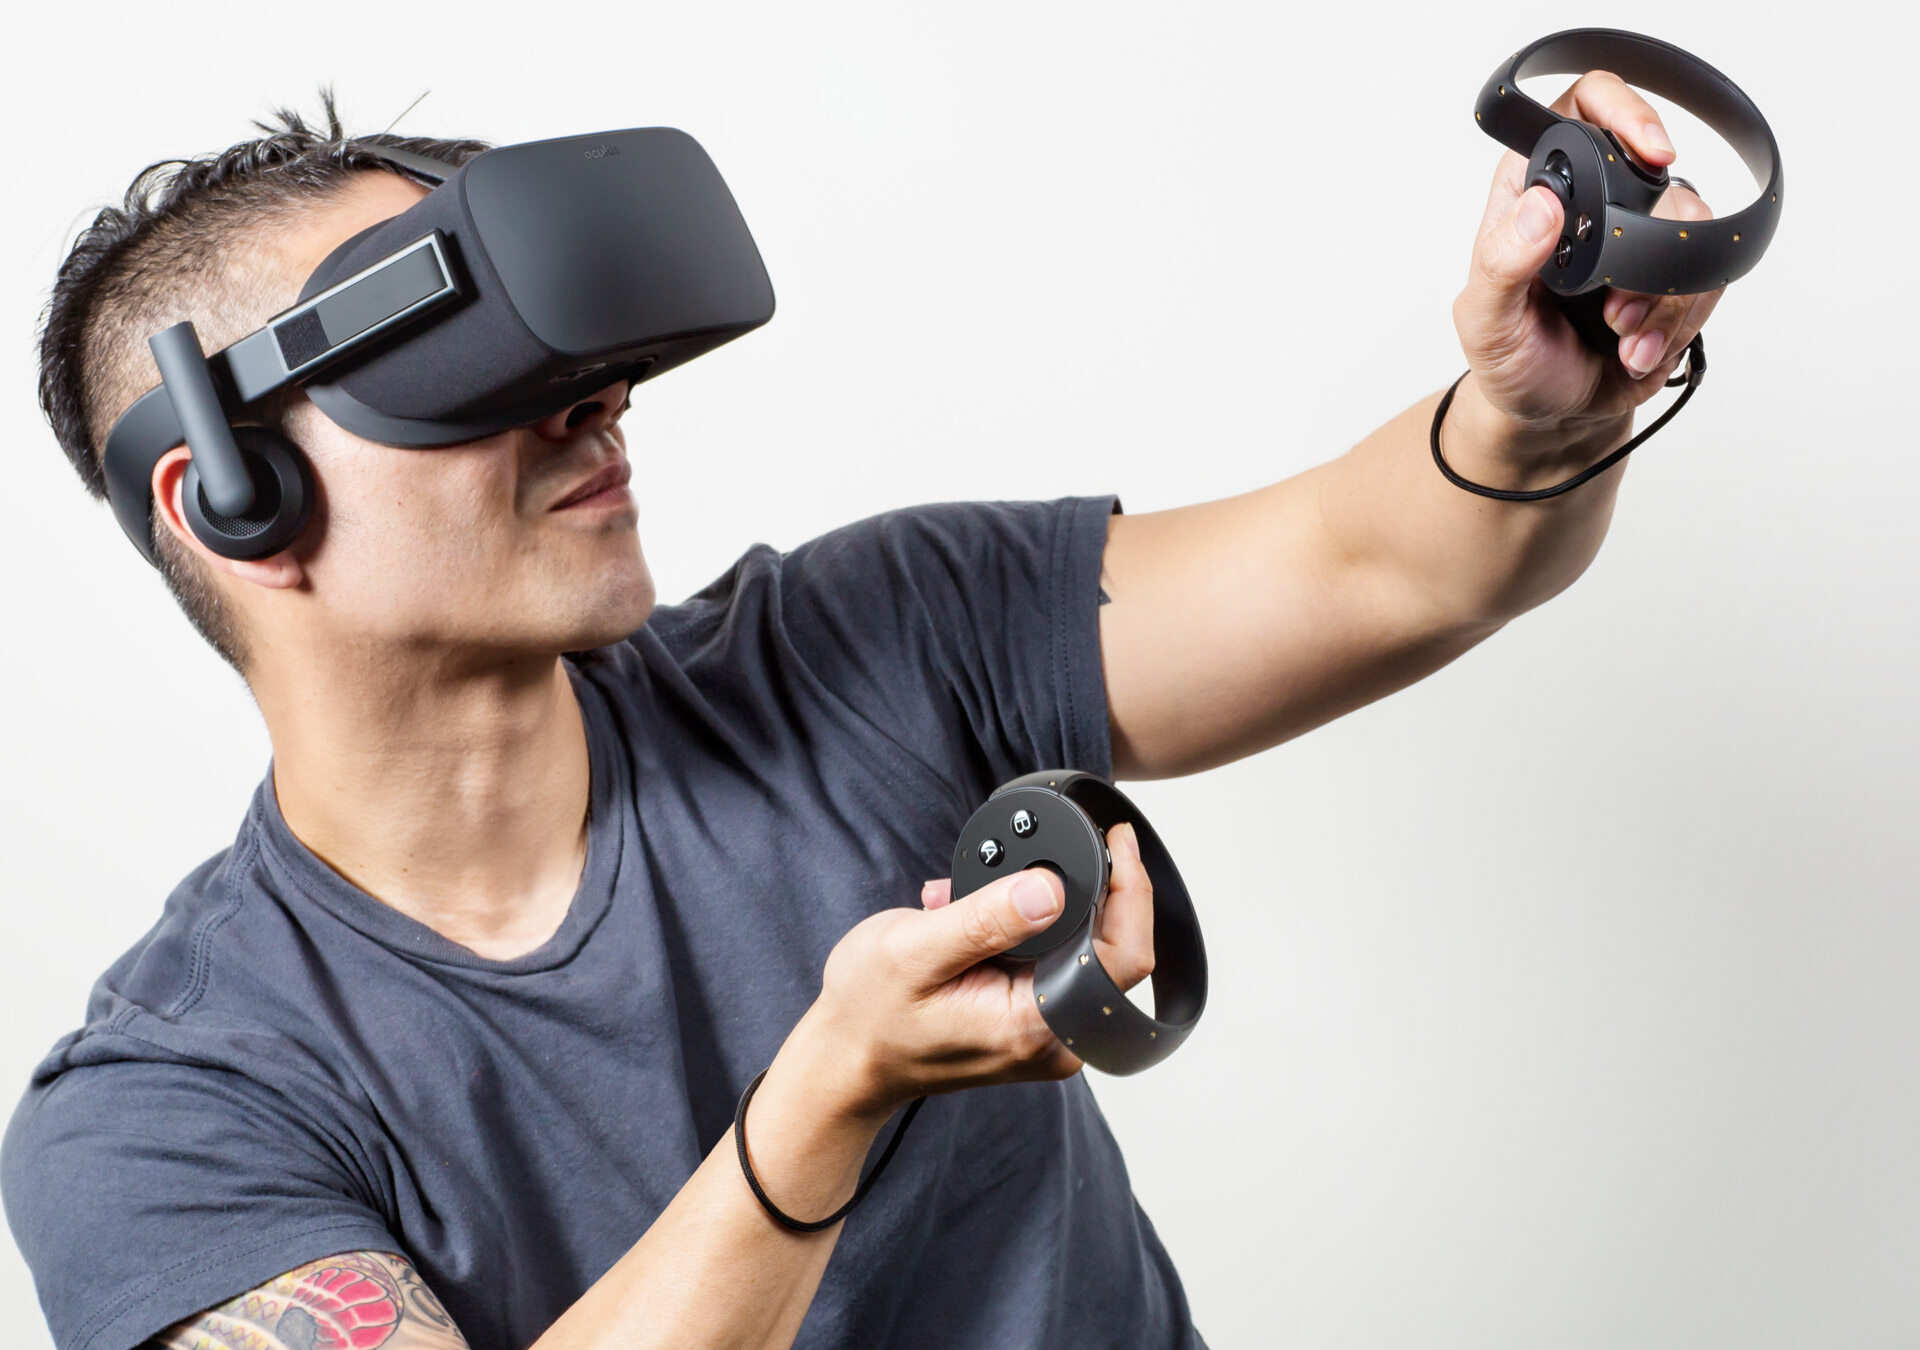
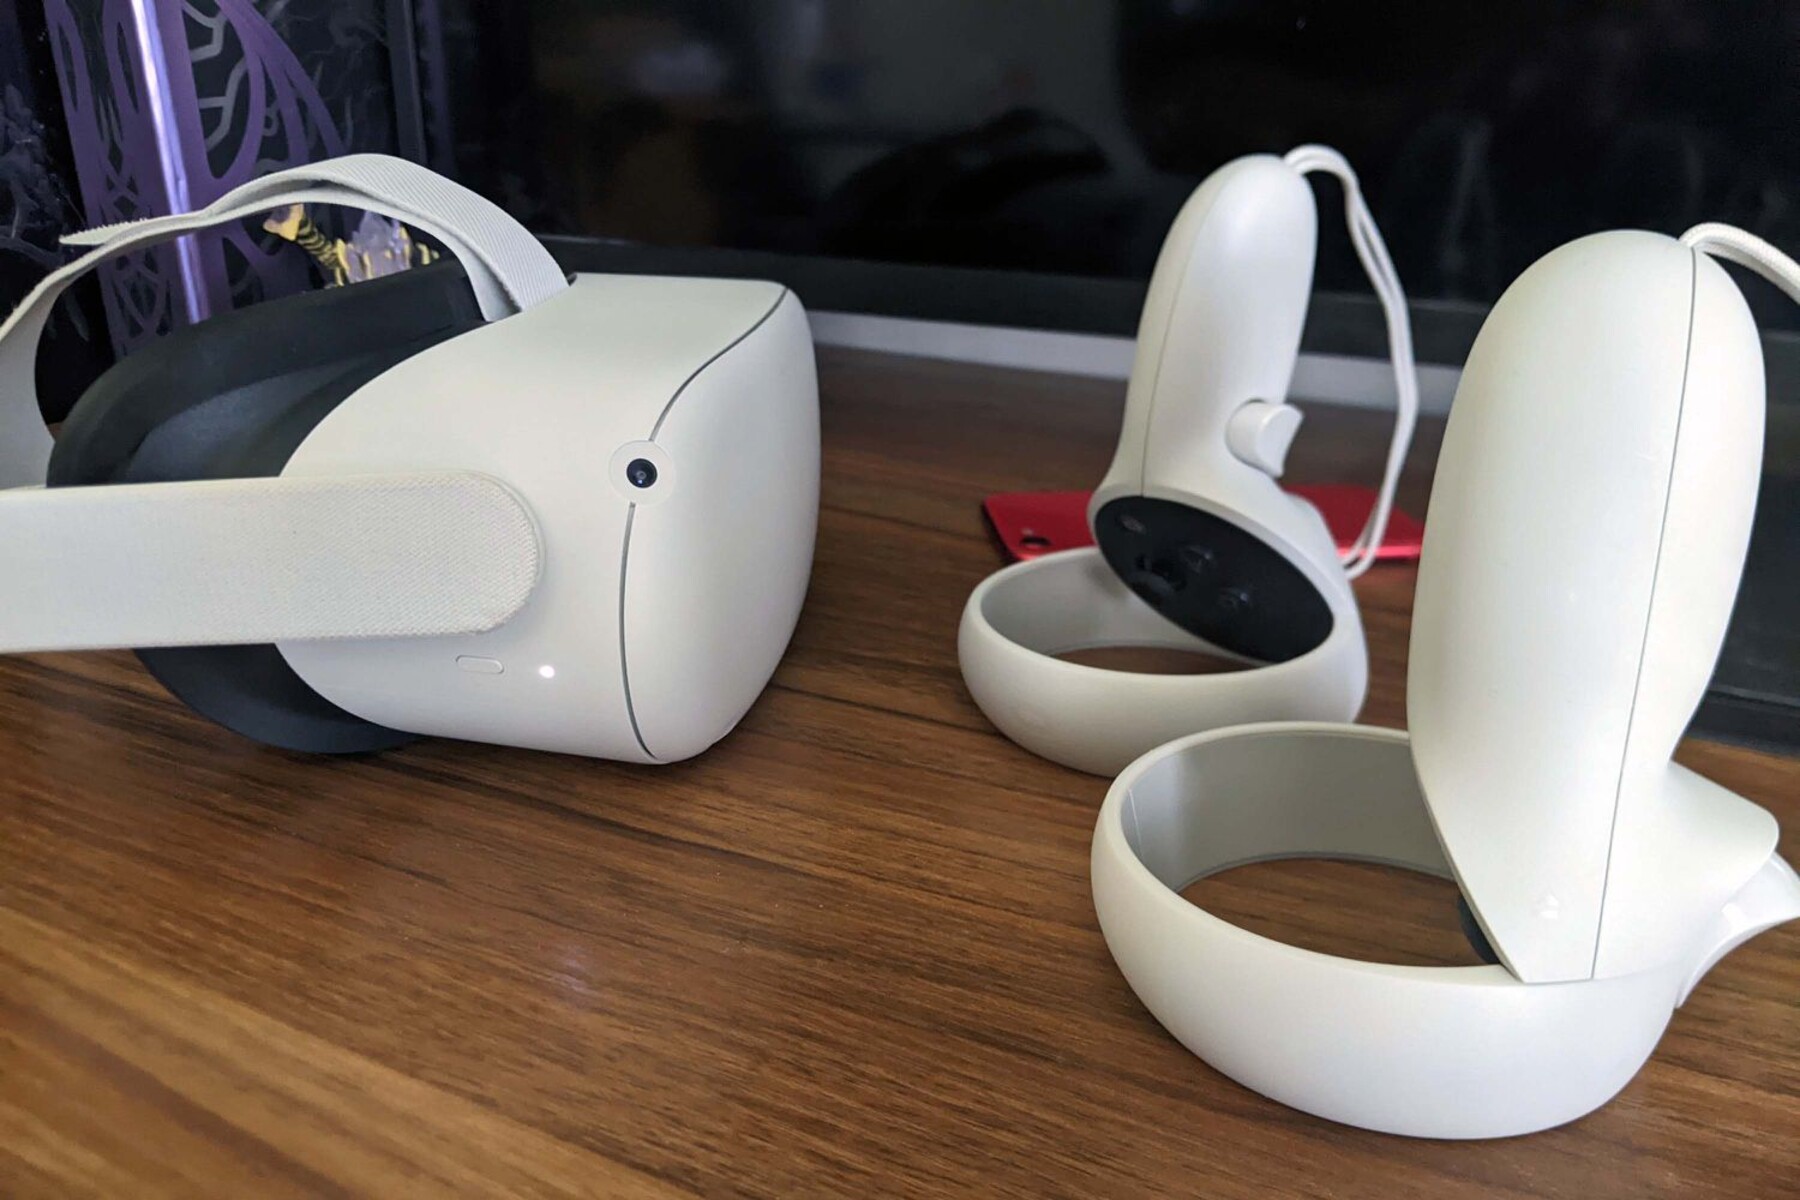
Keep in mind that some VR headsets, like the Oculus Quest, have built-in batteries that eliminate the need for a separate power adapter. These headsets can be charged directly using a USB-C cable connected to a computer or a power adapter. Refer to your headset’s manual or manufacturer’s instructions to determine the specific power requirements for your device.
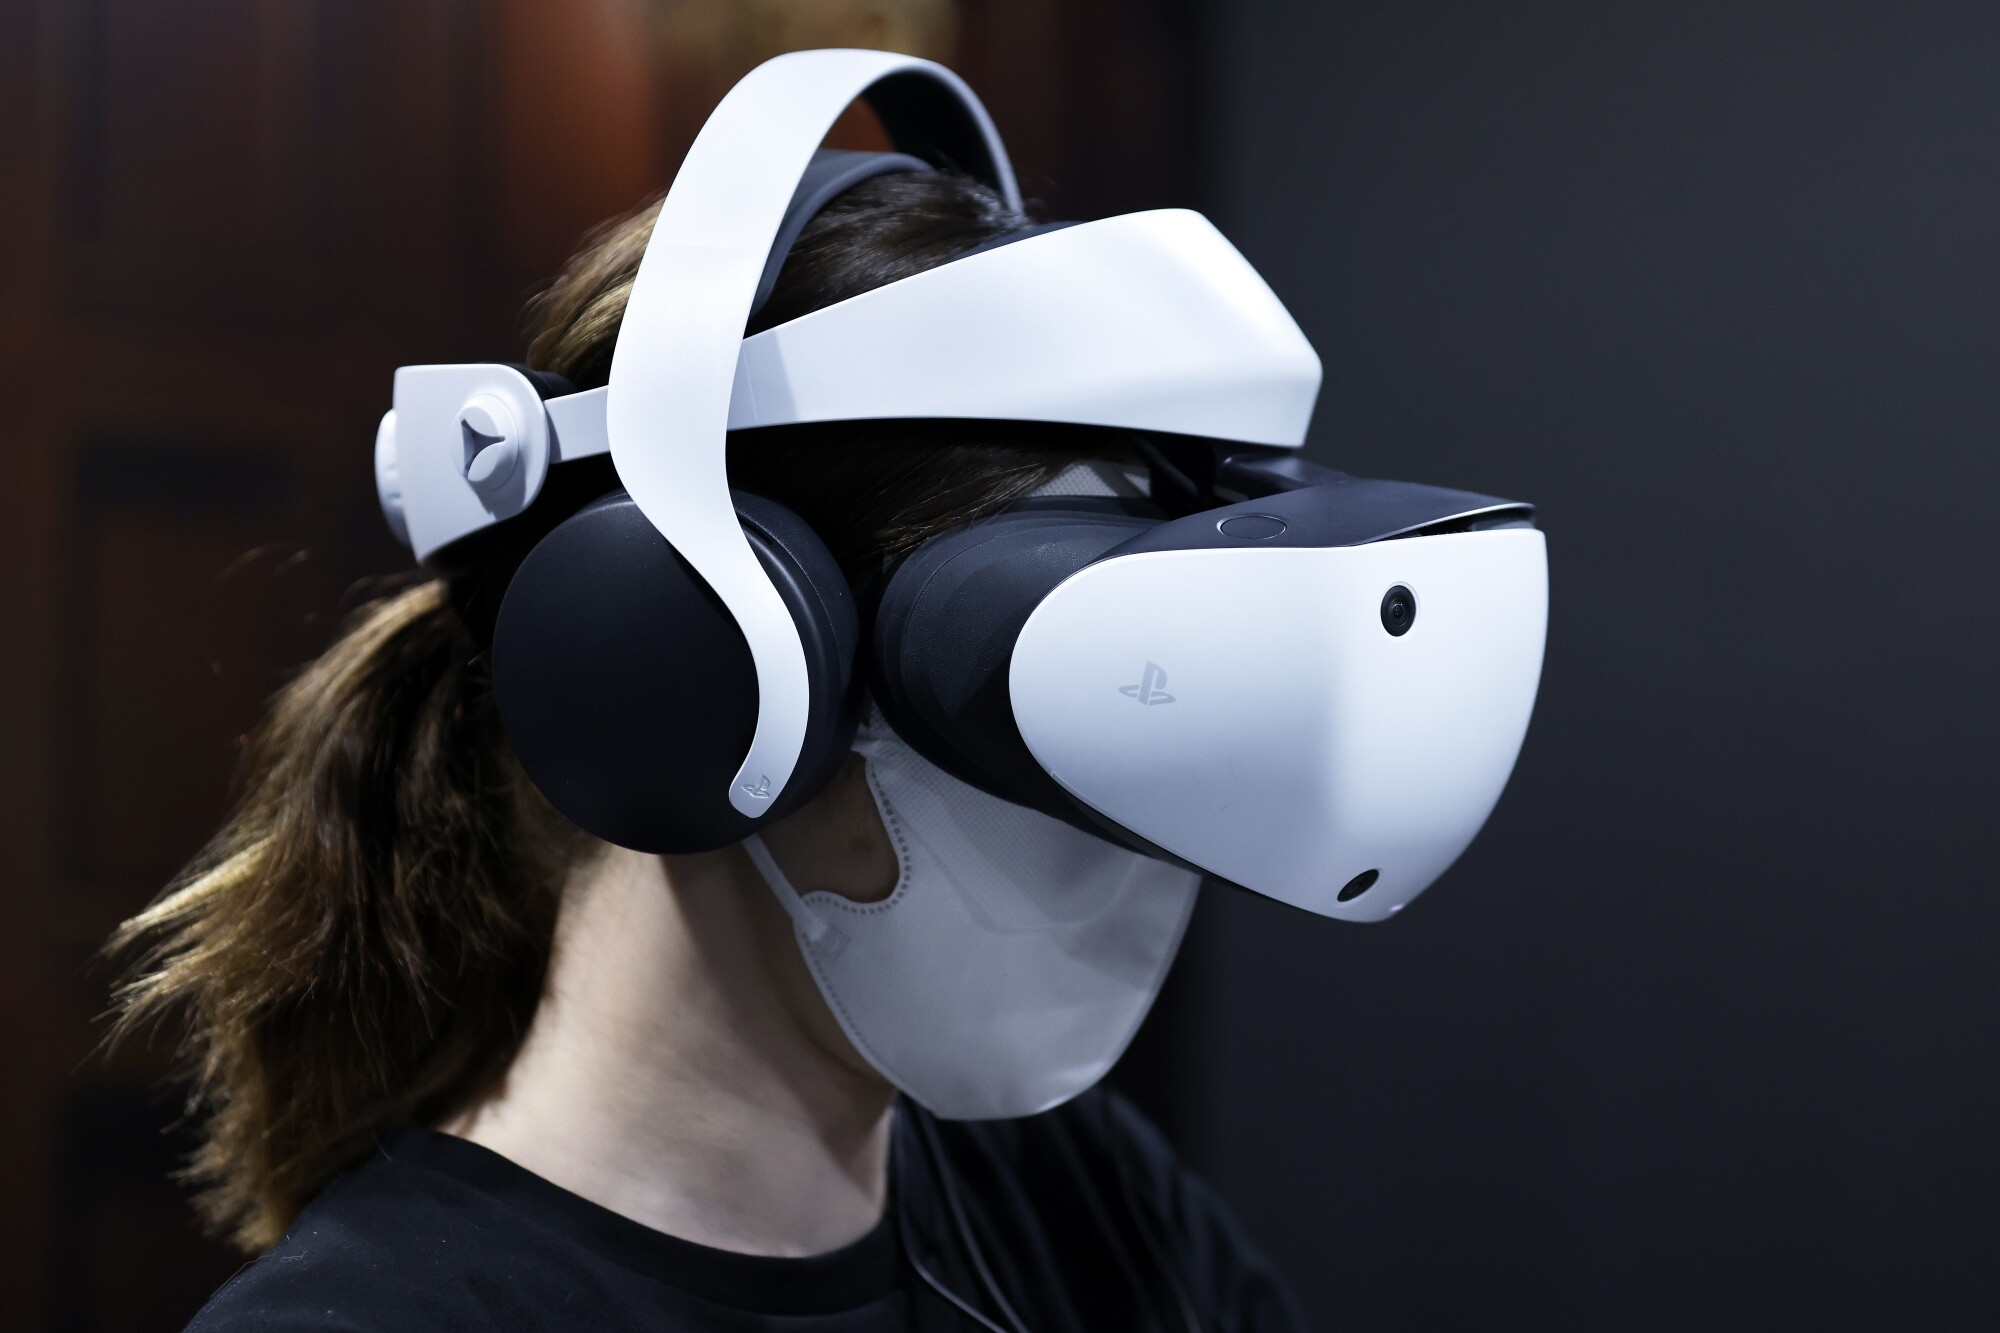
Step 2: Put on the VR Headset
After connecting your VR headset to power, it’s time to put it on and get ready for the immersive virtual reality experience. Follow these steps to properly put on your VR headset:
- Ensure that the VR headset is powered off before you put it on.
- Hold the headset with both hands, placing your thumbs on the side and your fingers underneath for support.
- Position the headset in front of your face, aligning it with your eyes.
- Slide the straps over your head, adjusting them so that the headset fits snugly but comfortably against your face.
- Make sure there are no obstructions between your face and the lenses of the VR headset. Adjust the straps and position of the headset as needed.
Putting on the VR headset correctly is crucial for both comfort and optimal visual performance. A properly positioned headset ensures that you get the most out of your virtual reality experience without any discomfort or eye strain.
In addition to adjusting the straps, some VR headsets also allow you to adjust the interpupillary distance (IPD). This refers to the distance between your eyes. Use the IPD adjustment feature, if available, to match the distance between your eyes for a clearer and more comfortable viewing experience.
Once you have the VR headset securely in place and adjusted to your liking, you’re ready to move on to the next steps and start exploring the virtual world that awaits you!
Step 3: Adjust the Straps
Now that you have put on the VR headset, it’s important to ensure that the straps are properly adjusted for a secure and comfortable fit. Follow these steps to adjust the straps on your VR headset:
- Look for the straps on both sides of the VR headset. They are typically made of adjustable elastic material.
- Hold the VR headset in place with one hand while using your other hand to adjust the straps.
- Start by adjusting the top strap. Pull on the strap to make it tighter or loosen it as needed.
- Next, adjust the side straps. Pull on both straps simultaneously or individually until the VR headset feels secure on your head.
- Avoid over-tightening the straps, as this can cause discomfort or pressure on your face.
Finding the right balance between a secure fit and comfort is key. The VR headset should feel snug against your face but not too tight that it causes discomfort or restricts blood circulation. Take the time to adjust the straps until you find the perfect fit for you.
Remember to check the positioning of the VR headset after adjusting the straps. Make sure the lenses are still aligned with your eyes and there are no gaps between the headset and your face. A proper strap adjustment ensures stability during your virtual reality experience, allowing you to fully immerse yourself in the virtual world without any distractions.
With the straps properly adjusted, you’re ready to move on to the next step and fine-tune the lens settings for optimal visual clarity and comfort.
Step 4: Adjust the Lenses
To ensure a clear and immersive visual experience in your VR headset, it’s important to adjust the lenses according to your individual needs. Here’s how you can adjust the lenses on your VR headset:
- Locate the lens adjustment mechanism on your VR headset. This may vary depending on the make and model of your device.
- Some headsets have a dial or slider on the bottom or sides of the device, while others may require you to physically move the lenses by hand.
- Start by putting on the VR headset and getting into a comfortable viewing position.
- Use the lens adjustment mechanism to adjust the distance between the lenses. This is typically done by moving them closer together or farther apart.
- Adjust the lenses until the visual content appears sharp and clear. If you wear glasses, ensure there’s enough space to accommodate them comfortably.
Each person’s eyes are unique, and adjusting the lenses allows you to find the sweet spot for optimal visual clarity and comfort. By aligning the lenses with your eyes correctly, you can reduce eye strain and ensure the best possible visual experience during your VR adventures.
Some VR headsets also offer additional features like adjusting the focus or IPD (interpupillary distance) settings. If your headset has these options, follow the manufacturer’s instructions to fine-tune them according to your specific needs.
With the lenses properly adjusted, you are now ready to move on to the next step and turn on your VR headset!
Step 5: Turn on the VR Headset
Now that you have connected your VR headset to power, put it on, and adjusted the straps and lenses, it’s time to turn on the device and start your virtual reality experience. The exact process of turning on a VR headset may vary depending on the model and brand, but here are some general steps you can follow:
- Locate the power button or switch on your VR headset. It is usually placed on the side or top of the device.
- Press and hold the power button for a few seconds until you see the indicator lights turn on or hear a startup sound.
- Release the power button and wait for the VR headset to boot up. It may take a few moments to initialize.
- Some VR headsets have a separate power button or switch for the included controllers. Make sure to turn them on as well by following the manufacturer’s instructions.
- Once the VR headset is turned on, you may see a startup screen or a home menu on the display.
It’s worth noting that some VR headsets, particularly standalone devices like the Oculus Quest, may have a quick start-up feature that activates the device as soon as you put it on. In such cases, turning on the headset is as simple as wearing it and securing the straps.
If you encounter any issues or have difficulty turning on your VR headset, consult the user manual or visit the manufacturer’s support website for troubleshooting guidance specific to your device. It’s always best to follow the manufacturer’s instructions to ensure a seamless and optimal VR experience.
Congratulations! Your VR headset is now turned on and ready for you to jump into the immersive world of virtual reality. Enjoy your VR adventures and explore the amazing possibilities that await you!
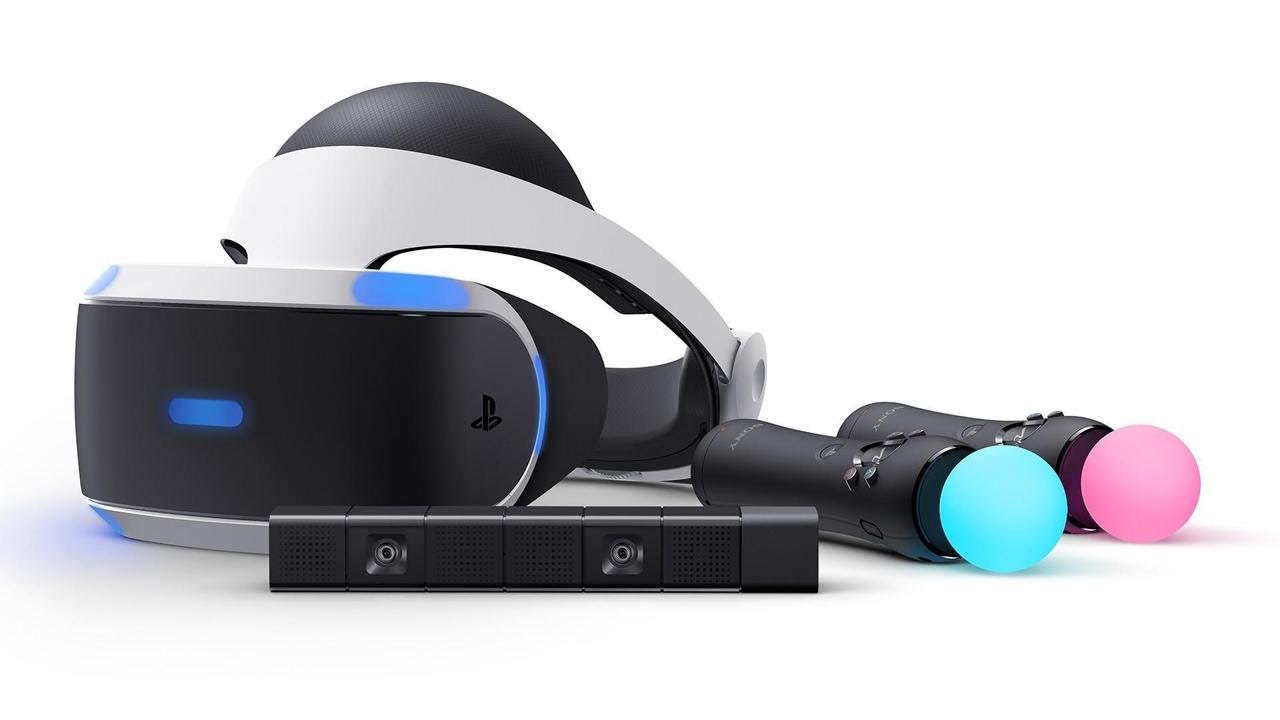
Step 6: Set Up the VR System
After turning on your VR headset, the next step is to set up the VR system to ensure optimal performance and compatibility with your device. While the specific setup process may vary depending on the VR headset and the platform you are using, here are some general steps to guide you:
- Follow the on-screen prompts or instructions provided by your VR headset to begin the setup process.
- You may be prompted to download and install the necessary software or firmware updates. It’s crucial to keep your VR system up to date for the best experience.
- Connect your VR headset to your computer or gaming console using the designated cables provided with your device.
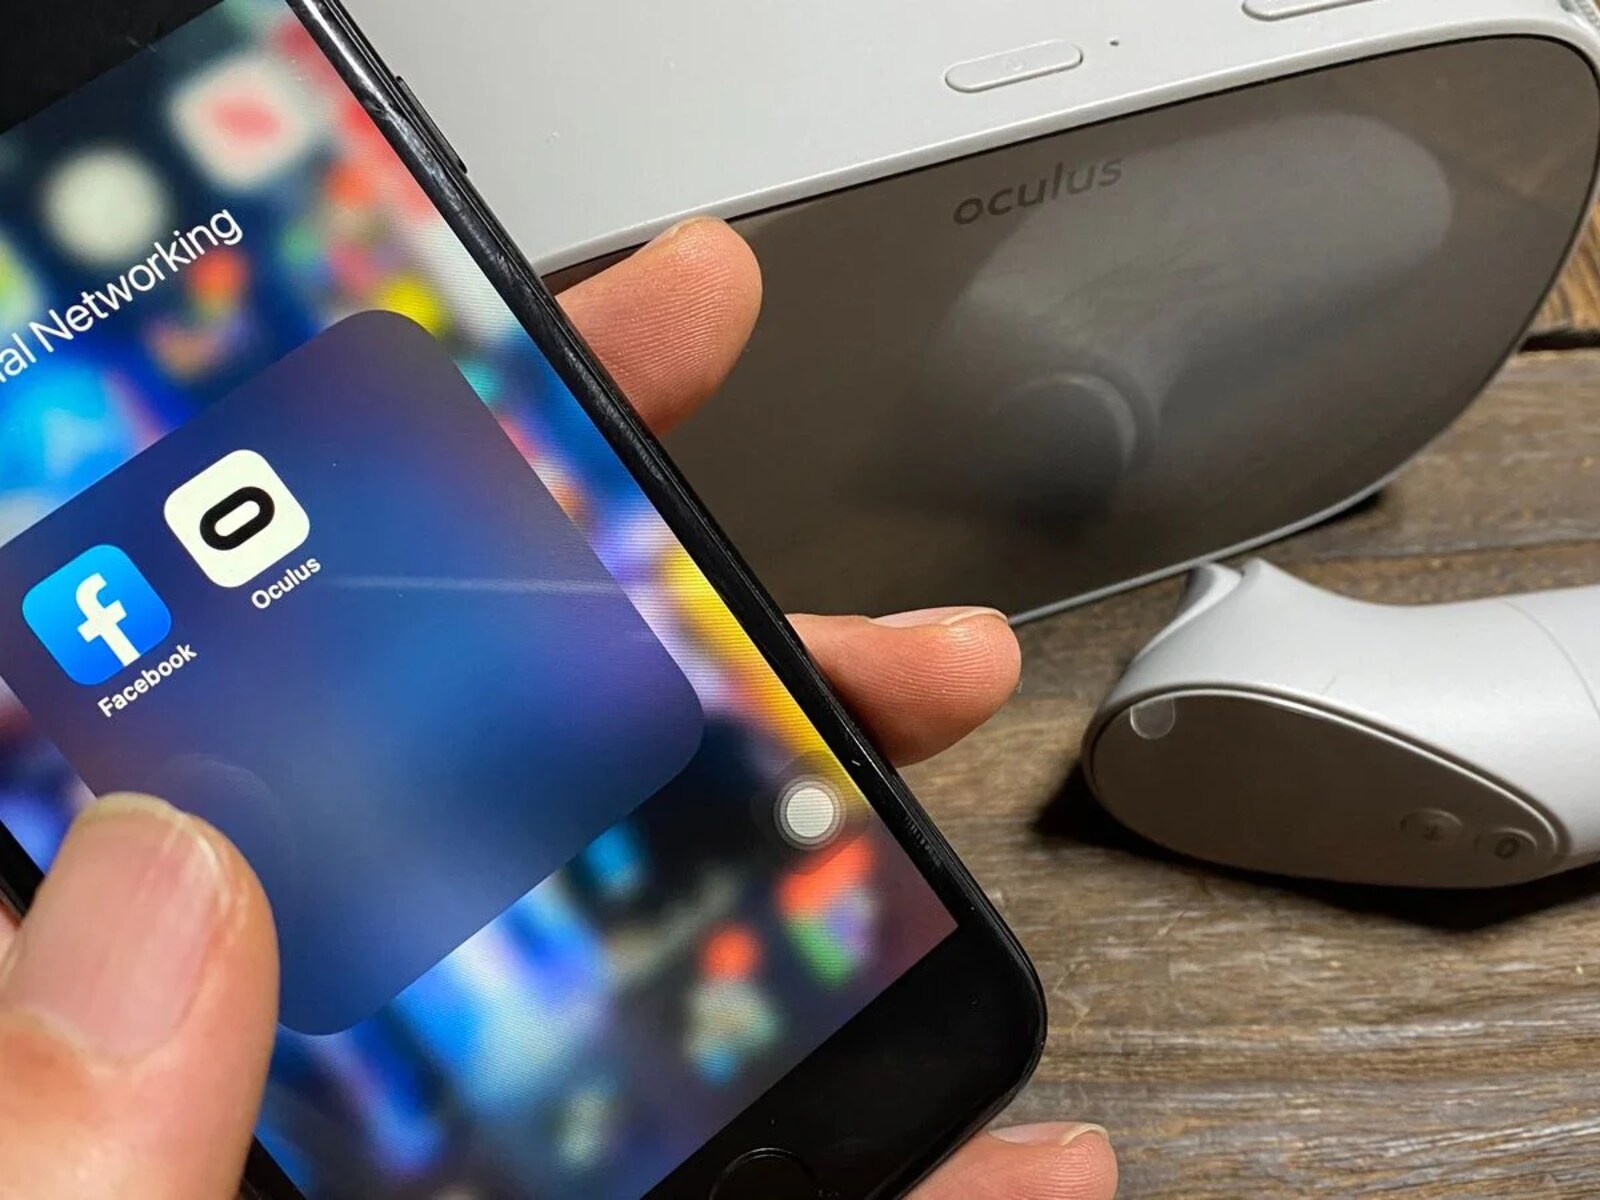
- Depending on the VR platform, you may need to create an account or sign in to an existing account to access the full range of content and features.
- Configure the VR settings according to your preferences. This may include choosing the preferred language, setting up a guardian system or boundary, and adjusting audio settings.
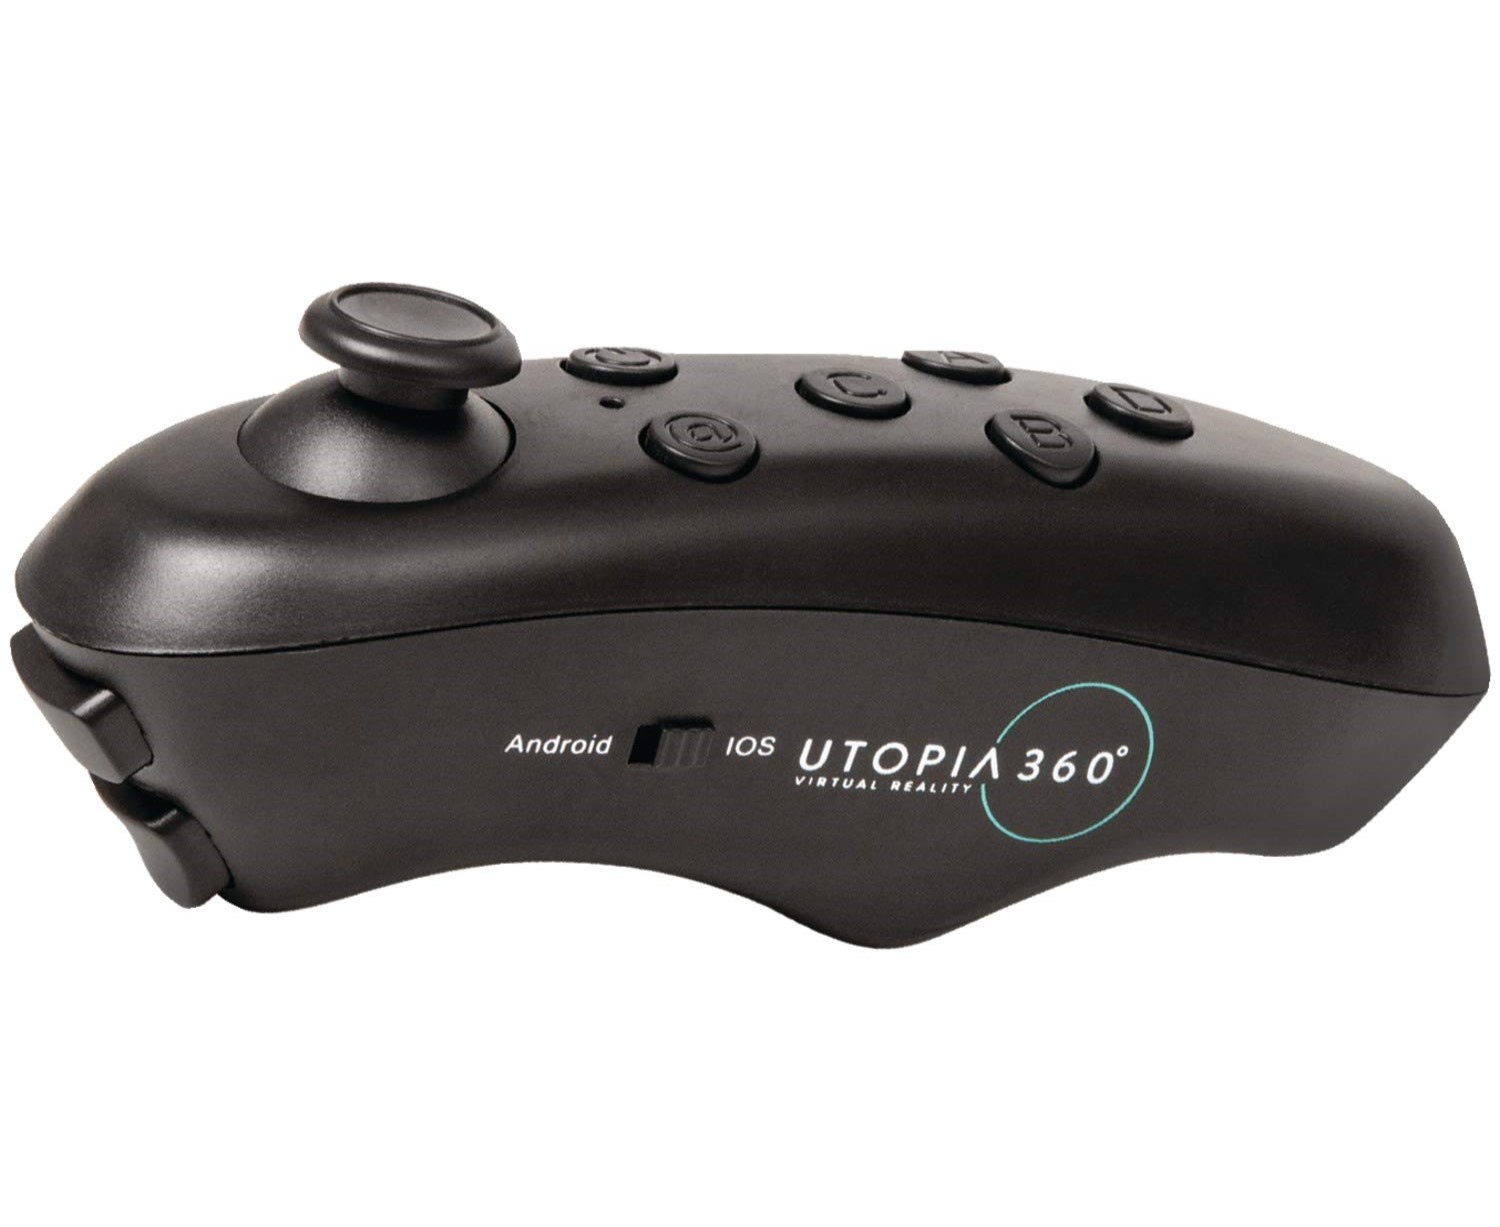
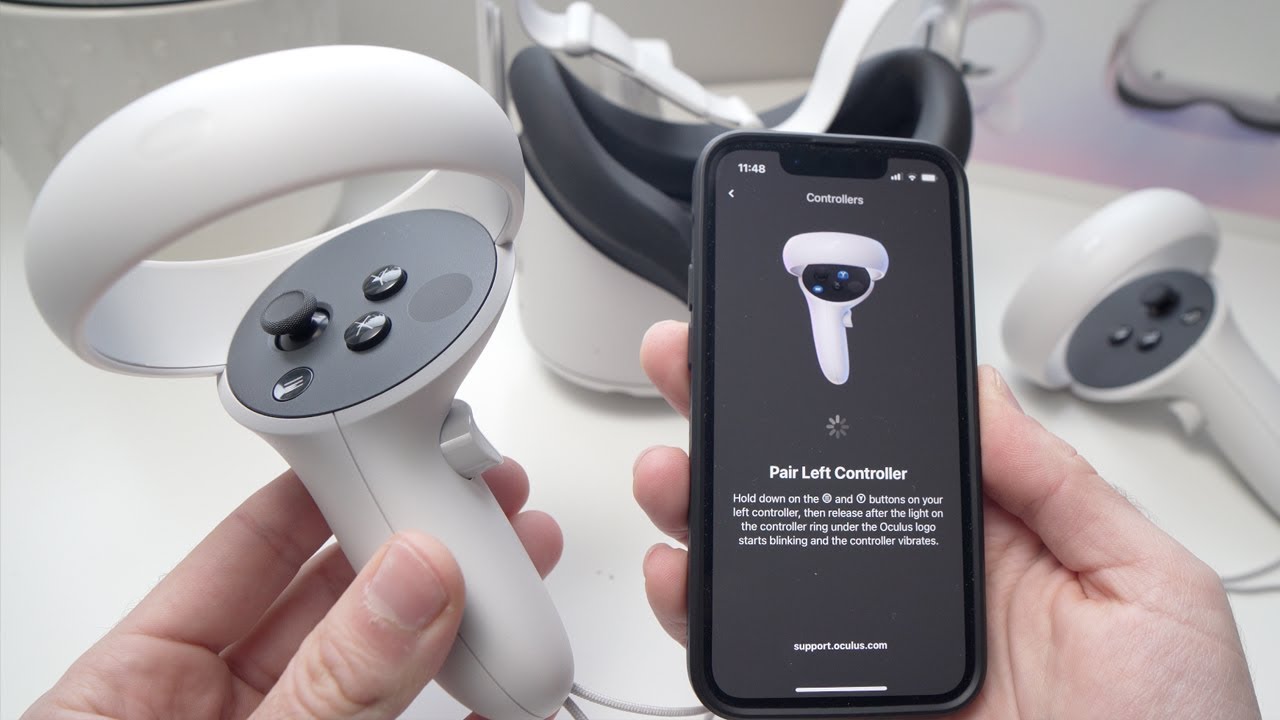
- If you have VR motion controllers, follow the instructions to pair them with your VR headset. This step is essential for full interaction and immersion in the virtual environment.
- Complete any additional setup steps recommended by the VR system, such as setting up a play area or adjusting tracking settings.
During the setup process, make sure to carefully read and follow the instructions provided by the manufacturer. These instructions will guide you through any specific setup requirements unique to your VR headset and help ensure a smooth and enjoyable VR experience.
Once the system setup is complete, you’re ready to explore the vast library of VR games, applications, and experiences available to you. Take your time to familiarize yourself with the VR system’s features and adjust any settings to suit your preferences.
Remember, setting up the VR system correctly is crucial for optimal performance and compatibility. If you encounter any difficulties during the setup process, consult the user manual or visit the manufacturer’s support website for assistance.
Step 7: Calibrate the VR Headset
To ensure precise tracking and accurate movement in the virtual environment, it’s important to calibrate your VR headset. Calibration helps align the tracking sensors of the headset, ensuring a seamless and immersive VR experience. The calibration process may vary depending on the VR headset and platform you are using, but here are some general steps to help you calibrate your VR headset:
- Access the settings or options menu on your VR system. This can usually be done through the main interface or by pressing a designated button on the controllers.
- Look for the calibration or tracking section within the settings menu.
- Follow the on-screen instructions to initiate the calibration process.
- During the calibration, you may be prompted to perform certain actions, such as looking in specific directions or moving the controllers around.
- Follow the instructions carefully and complete the calibration process as directed.
- If necessary, adjust the room lighting conditions to ensure optimal tracking. Excessive brightness or darkness can affect the accuracy of the tracking sensors.
- Once the calibration is complete, test the tracking by moving your head and controllers in different directions. Ensure that the virtual environment accurately mirrors your real-world movements.
Calibrating your VR headset is essential to maintain accurate tracking, reduce latency, and enhance the overall VR experience. It allows for a more immersive and realistic feeling within the virtual world.
If you encounter any issues or notice inconsistencies in the tracking performance, consult the user manual or visit the manufacturer’s support website for troubleshooting guidance specific to your VR headset. They may provide additional tips or instructions to improve tracking accuracy and address any calibration-related issues.
With your VR headset properly calibrated, you can now enjoy a smooth and immersive VR experience. Get ready to dive into captivating virtual realities and explore endless possibilities!
Conclusion
Congratulations! You’ve successfully learned how to turn on a VR headset and set it up for an immersive virtual reality experience. By following the steps outlined in this guide, you are now well-equipped to embark on thrilling adventures and explore virtual worlds from the comfort of your own home.
Remember to follow the specific instructions for your VR headset model to ensure the best results. Each VR headset may have slightly different setup procedures, but the overall process remains similar across most devices.
From connecting the VR headset to power and putting it on correctly to adjusting the straps, lenses, and calibrating the system, each step plays a crucial role in optimizing your VR experience. Take the time to carefully follow these steps to enjoy unparalleled immersion and clarity in the virtual world.
If you encounter any difficulties or have questions along the way, consult the user manual or visit the manufacturer’s support website for further guidance specific to your VR headset model.
Now, it’s time to let your imagination run wild as you dive into the incredible experiences and adventures waiting for you in virtual reality. Whether you’re a gaming enthusiast, a tech lover, or simply curious about the possibilities presented by VR technology, prepare yourself for an unforgettable journey.
So, power on your VR headset, put it on securely, adjust the straps and lenses, calibrate the system, and prepare to be transported to new dimensions. Get ready to experience the wonders of virtual reality and create memories that will leave a lasting impression.
Enjoy your VR journey and have an incredible time exploring the limitless possibilities of the virtual realm!