Introduction
Welcome to the fascinating world of virtual reality! If you are looking to enhance your smartphone gaming or immersive movie-watching experience, connecting a VR headset to your phone is the way to go. With virtual reality, you can step into a whole new dimension and immerse yourself in a digital environment that feels incredibly real.
In this article, we will guide you through the process of connecting your VR headset to your phone. Whether you have a standalone VR headset or a smartphone-compatible one, the steps are relatively similar. By following our instructions, you will be able to enjoy the mind-blowing experience of virtual reality right from your phone.
Before we delve into the details, it’s important to note that not all VR headsets are compatible with every phone. Therefore, before you get started, you need to ensure that your phone and VR headset are compatible with each other. This can usually be found on the VR headset manufacturer’s website or in the product manual. Once you’ve confirmed compatibility, you’ll be ready to take your first step towards an immersive virtual reality experience.
Step 1: Compatibility Check
The first step in connecting your VR headset to your phone is to perform a compatibility check. While most VR headsets are designed to work with a wide range of smartphones, it’s still important to ensure that your specific phone model is supported. This will ensure optimal performance and compatibility with the VR apps and games.
To check compatibility, review the VR headset manufacturer’s website or product manual. Look for a list of supported devices or compatible phone models. If your phone is listed, you’re good to go. If it’s not listed, it’s possible that your phone may still work with the VR headset, but it may not be officially supported. In such cases, it’s best to reach out to the manufacturer’s customer support for further guidance.
Additionally, make sure that your phone meets the recommended specifications for the VR headset. This includes factors such as the phone’s screen size, resolution, processing power, and operating system. Meeting these specifications ensures that your phone can handle the demands of virtual reality applications and provide a smooth and immersive experience.
Remember, compatibility is crucial to ensure optimal performance and functionality. Skipping this step may result in an incompatible setup, which can lead to issues like poor graphics, app crashes, or even damage to your phone or VR headset. So, take a few moments to double-check compatibility and ensure a seamless VR experience.
Step 2: Download VR Application
Once you have confirmed that your phone and VR headset are compatible, the next step is to download a VR application. These applications, also known as VR apps, are specifically designed to provide immersive experiences through your VR headset. They allow you to explore virtual environments, play games, watch videos, and much more.
To find VR apps, you can visit the app store on your phone. Both the Apple App Store for iOS devices and the Google Play Store for Android devices have a wide selection of VR apps available for download. Simply search for “VR” or “virtual reality” in the app store search bar, and you will be presented with a list of VR apps to choose from.
When selecting a VR app, consider your personal interests and preferences. Do you enjoy gaming? Look for VR games that offer thrilling experiences. Are you more interested in exploring virtual environments and watching 360-degree videos? Then opt for VR apps that focus on immersive media experiences. You can also read app reviews and ratings to get an idea of the app’s quality and user satisfaction.
Once you have chosen a VR app, simply click the “Download” or “Install” button, and the app will be downloaded to your phone. Depending on the app size and your internet connection speed, the download may take a few moments to complete. Once downloaded, the VR app will be ready to use in conjunction with your VR headset.
Some VR apps may require additional setup or permissions to access certain features. Follow the on-screen instructions to complete the setup process, granting any necessary permissions as prompted. Once you have completed the app setup, you’re one step closer to immersing yourself in the world of virtual reality.
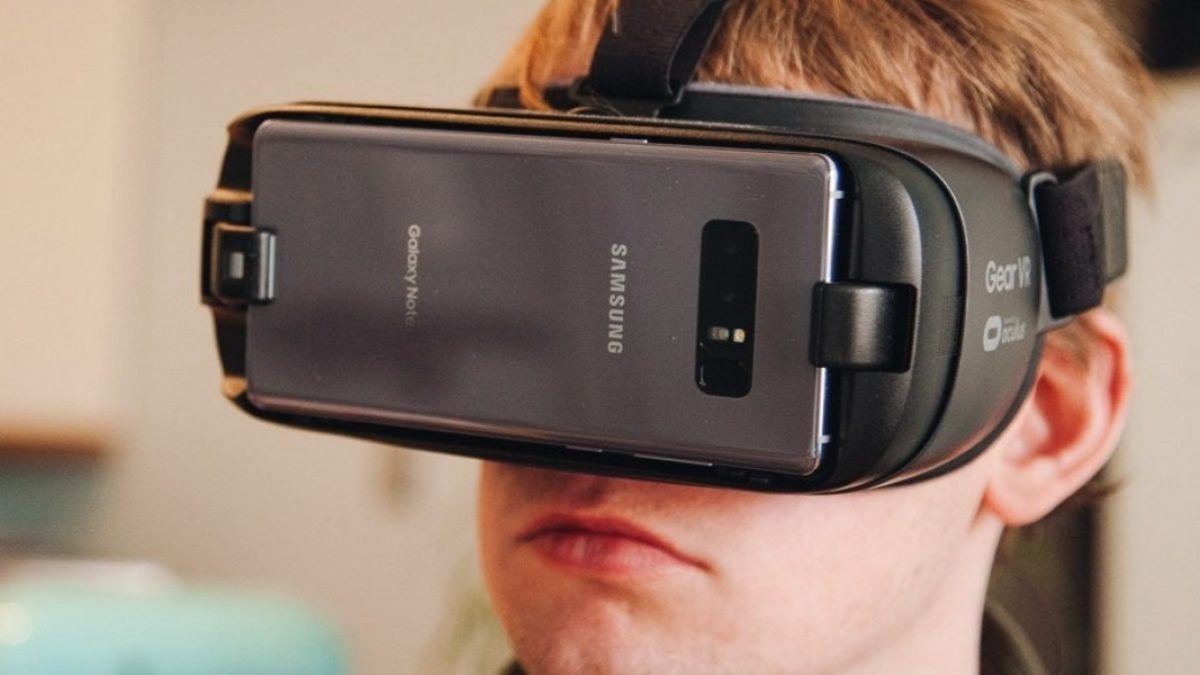
Step 3: Insert Your Phone into the VR Headset
Now that you have downloaded a VR app on your phone, it’s time to insert your phone into the VR headset. This step may vary slightly depending on the type of VR headset you have, but the general process remains the same.
First, remove the front cover or cover flap of your VR headset. This will expose the housing where you will insert your phone. If your VR headset has adjustable lenses, this is also a good time to adjust them to your desired settings.
Next, carefully place your phone into the designated slot or tray in the VR headset. Ensure that the phone is positioned securely and aligns with the lenses of the headset. Some headsets may have adjustable brackets or clamps to hold your phone in place, while others may rely on gravity or foam inserts to keep it secure.
Once your phone is in position, gently push it into place if necessary, making sure it’s snugly fit. Be cautious not to apply excessive force or damage your phone in the process. Make sure any cables (if applicable) are properly routed and do not obstruct the screen or buttons on your phone.
After inserting your phone, close the front cover or cover flap of the VR headset. This will help secure your phone in place and prevent any accidental removal during use.
It’s essential to note that you should not attach or detach your phone from the VR headset while the VR app is running or when the headset is connected to a power source. Doing so can cause interruptions or damage to your phone or the VR headset.
Once your phone is securely inserted into the VR headset, you’re now ready to adjust the headset straps and ensure a comfortable and immersive VR experience.
Step 4: Adjust the VR Headset Straps
Now that your phone is securely in place, it’s time to adjust the VR headset straps for a comfortable fit. Properly adjusting the straps will ensure that the headset stays in place during your virtual reality experience and prevents any discomfort or strain on your neck and head.
Start by loosening all the straps on the VR headset. Place the headset on your head and position it so that the lenses are aligned with your eyes. Adjust the top strap first, positioning it securely on the top of your head. Make sure the headset feels balanced and doesn’t slip forward or backward.
Next, adjust the side straps to ensure a snug and comfortable fit. The side straps should rest comfortably on the sides of your head, keeping the headset stable without causing any undue pressure or discomfort. Avoid over-tightening the straps, as this can lead to discomfort or headaches.
If your VR headset also has a strap that goes around the back of your head, adjust it accordingly. This strap helps further secure the headset and distribute the weight evenly.
Once you have adjusted all the straps, test the stability of the headset by gently moving your head from side to side and up and down. The VR headset should stay in place without shifting or sliding around excessively.
Keep in mind that everyone’s head shape and size are different, so spend some time adjusting the straps to find the most comfortable and secure fit for you. It’s also a good idea to periodically check the strap tightness during extended VR sessions, as the straps may naturally loosen over time.
By properly adjusting the VR headset straps, you can enjoy a comfortable and immersive virtual reality experience without any distractions or discomfort.
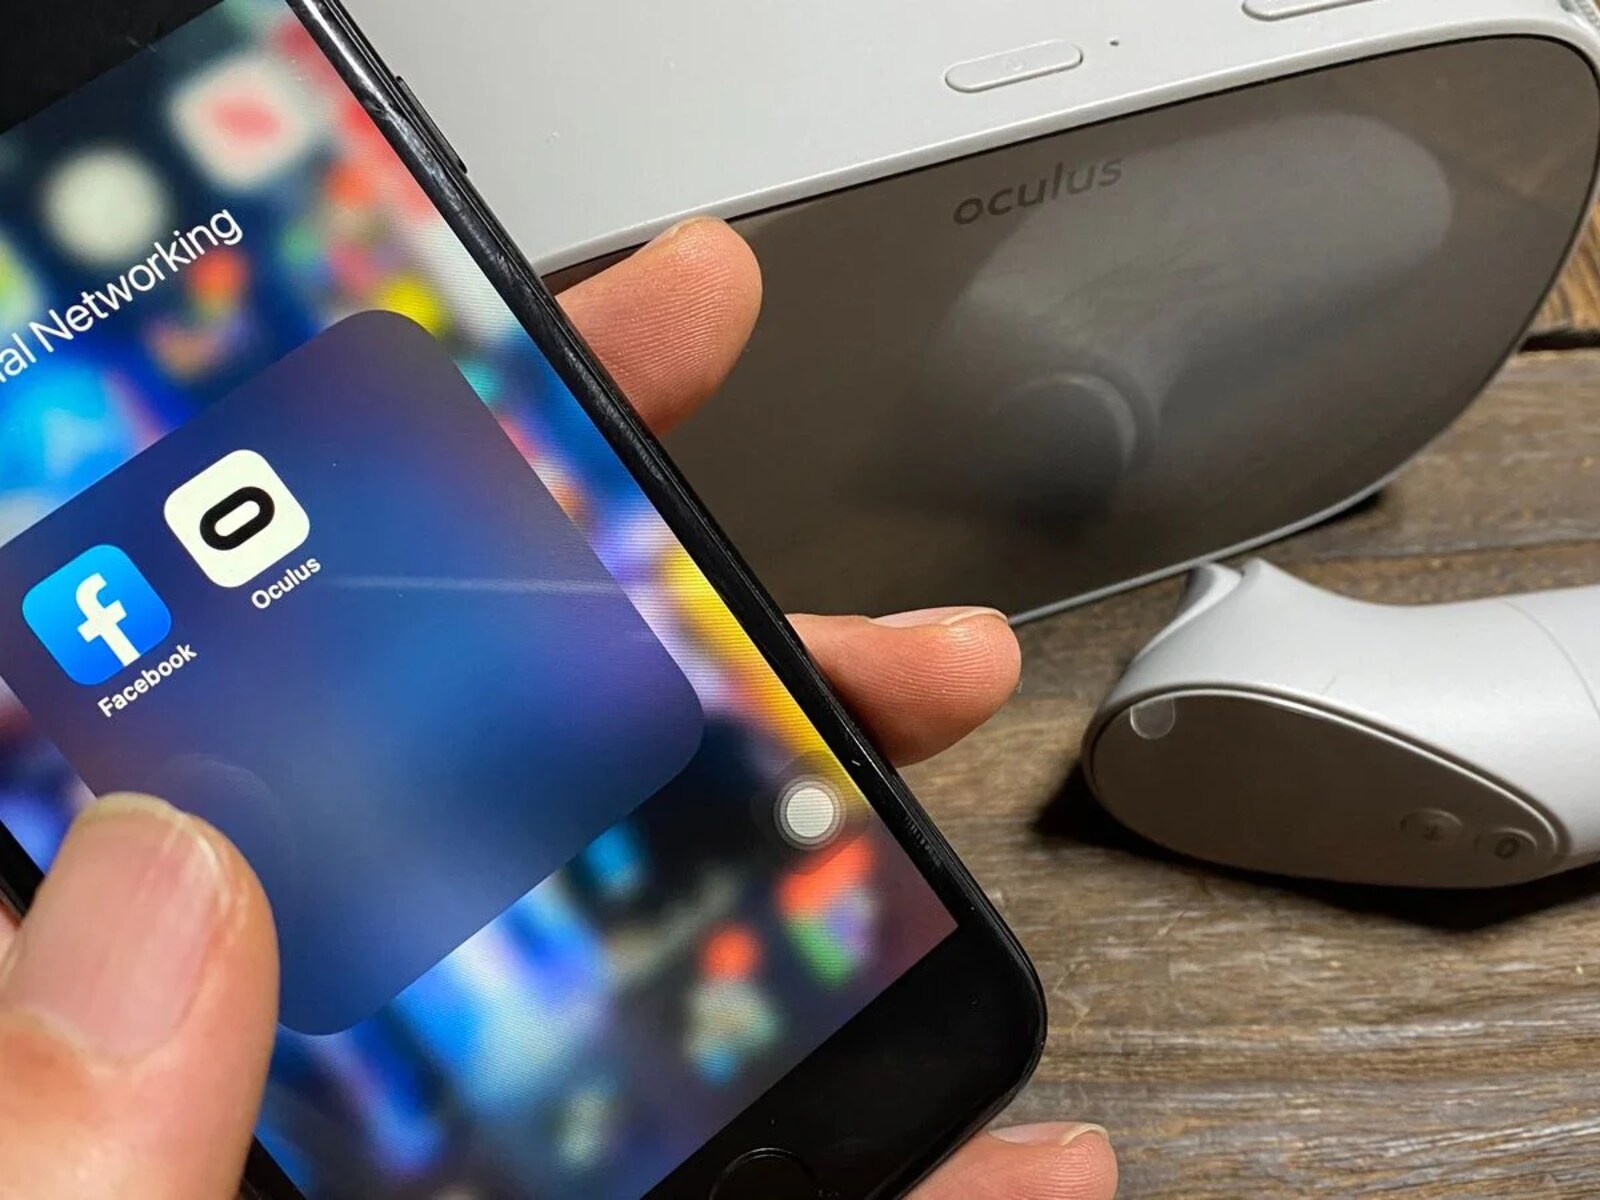
Step 5: Pair the VR Headset with Your Phone
After inserting your phone into the VR headset and adjusting the straps, the next step is to pair the VR headset with your phone. This step allows the VR headset to communicate with your phone and ensure a seamless connection for the virtual reality experience.
The pairing process may differ depending on the specific VR headset you have, but typically involves the following steps:
- Turn on your VR headset and put it on.
- Access the Bluetooth settings on your phone and make sure Bluetooth is turned on.
- Put your VR headset into pairing mode. This may involve pressing and holding a specific button or following the instructions provided by the manufacturer.
- On your phone, search for nearby Bluetooth devices and look for the name of your VR headset. Once it appears, select it to initiate the pairing process.
- Follow any on-screen prompts or enter a passcode, if prompted, to complete the pairing process. The passcode is usually specified in the VR headset’s user manual or on the manufacturer’s website.
- Wait for the pairing process to finish. Once paired, you should see a confirmation message on your phone or hear a notification sound from the VR headset.
It’s important to note that not all VR headsets require Bluetooth pairing. Some headsets may use a direct wired connection to your phone or rely on built-in sensors to detect and interact with your phone. Refer to the VR headset’s user manual or follow the manufacturer’s instructions to understand the specific pairing method for your device.
Once the pairing is successful, your VR headset will be connected to your phone, allowing the VR apps to display content on the headset’s display. This means you’re all set to dive into the immersive world of virtual reality using your paired phone and VR headset.
Remember to keep the Bluetooth connection enabled on your phone and ensure that the VR headset is within range during usage to maintain a stable connection.
Step 6: Calibration and Settings
After pairing your VR headset with your phone, it’s time to calibrate the device and adjust any necessary settings to optimize your virtual reality experience. Calibration ensures accurate motion tracking and alignment, while settings customization allows you to tailor the experience to your preferences.
Here are some common calibration and settings adjustments you may need to perform:
- Headset Alignment: In some VR headsets, you may need to perform an alignment process to ensure that the display lines up perfectly with your eyes. This calibration process may involve adjusting inter-pupillary distance (IPD) or aligning the lenses with your eyes using on-screen instructions.
- Motion Tracking: If your VR headset offers motion tracking, such as 6 degrees of freedom (6DOF), it’s essential to calibrate the tracking sensors properly. Follow the manufacturer’s instructions to complete any necessary calibration steps, which may involve standing or moving in specific positions for a brief period.
- Controller Pairing: If your VR headset includes controllers for gameplay or navigation, you may need to pair them with the headset. This process usually involves powering on the controllers and following on-screen instructions to connect them via Bluetooth or other wireless methods.
- Graphics and Display Settings: Depending on the VR app or game you’re using, there may be settings to adjust the graphics quality, resolution, or refresh rate. Explore the settings within the VR app to make adjustments based on your device’s performance capabilities and personal preferences.
- Audio Settings: Check the audio settings within the VR app to ensure it’s using the desired audio output, whether it’s the built-in speakers on the headset or headphones plugged into your phone.
- Comfort Settings: Some VR apps offer comfort settings to reduce motion sickness or discomfort during gameplay. These settings may include options for smooth turning, field of view adjustments, or reducing the intensity of certain visual effects.
Each VR headset and app may have different calibration and settings options, so it’s essential to refer to the user manual or instructions provided by the manufacturer or app developer. Take the time to explore and adjust the settings to your preference, ensuring a comfortable and enjoyable virtual reality experience.
Step 7: Start Enjoying VR Experience
You’ve reached the final step in connecting your VR headset to your phone – it’s time to start enjoying the immersive world of virtual reality! Now that your phone is securely inserted into the headset, the straps are adjusted, and all necessary settings are configured, you’re ready to dive into the VR experience.
Launch the VR app or game you downloaded earlier on your phone. Some VR headsets may have a dedicated button or control to launch the app, while others may require you to manually open the app on your phone before placing it into the headset.
Once the VR app is running, put on your VR headset and ensure it is properly positioned on your head. Align the lenses with your eyes and adjust the headset if needed to achieve a clear and comfortable field of view.
Now, explore the virtual environments, interact with objects, play games, watch immersive videos, or engage in any other activities offered by the VR app. Move your head and body to navigate within the virtual space and experience the sensation of being transported to a different reality.
Remember to take breaks and be aware of any discomfort or motion sickness that may occur during prolonged VR usage. If you start feeling uncomfortable, take a break, remove the headset, and give yourself a few moments to readjust.
Enjoy the VR experience at your own pace, discovering new realms, engaging in thrilling adventures, or simply immersing yourself in stunning virtual environments. The possibilities are endless, and it’s up to you to explore and make the most of this captivating technology.
When you’re finished with your virtual reality session, power off the VR headset and disconnect your phone if necessary. Safely store your VR headset and keep it in a cool and dry place to ensure its longevity.
If you’re new to virtual reality, remember to share your experience with friends and family, and encourage them to try it as well. Virtual reality offers a unique and exciting way to discover new worlds and immerse yourself in extraordinary experiences.
So, with your phone and VR headset connected, take the leap into the immersive world of virtual reality and enjoy the endless possibilities of this incredible technology.
Conclusion
Connecting a VR headset to your phone opens up a world of incredible virtual reality experiences right at your fingertips. By following the steps outlined in this guide, you can easily connect your phone to a compatible VR headset and start immersing yourself in captivating virtual environments.
From compatibility checks and downloading VR apps to inserting your phone into the headset, adjusting the straps, pairing devices, calibrating, and customizing settings, each step is essential in ensuring a seamless and enjoyable virtual reality experience. Take the time to carefully follow each step, paying attention to compatibility requirements and user guidelines provided by the manufacturer.
Once your phone is connected to the VR headset, you can dive into a wide range of virtual reality games, videos, and experiences. Explore new worlds, challenge yourself with interactive gameplay, or simply relax and enjoy immersive 360-degree videos.
Remember to prioritize your comfort and well-being during VR usage. Adjust the headset straps to achieve a secure and comfortable fit, take breaks as needed, and be aware of any discomfort or motion sickness that may arise. It’s important to listen to your body and take necessary breaks to avoid any potential discomfort.
Lastly, don’t forget to share your amazing VR experiences with others. Virtual reality is an exciting technology that brings people together through shared thrills and awe-inspiring moments. Show others the possibilities and invite them to try it out for themselves.
With your phone connected to a VR headset, the possibilities for exploration and entertainment expand exponentially. So, take the plunge, start your immersive journey, and enjoy the limitless wonders that virtual reality has to offer.